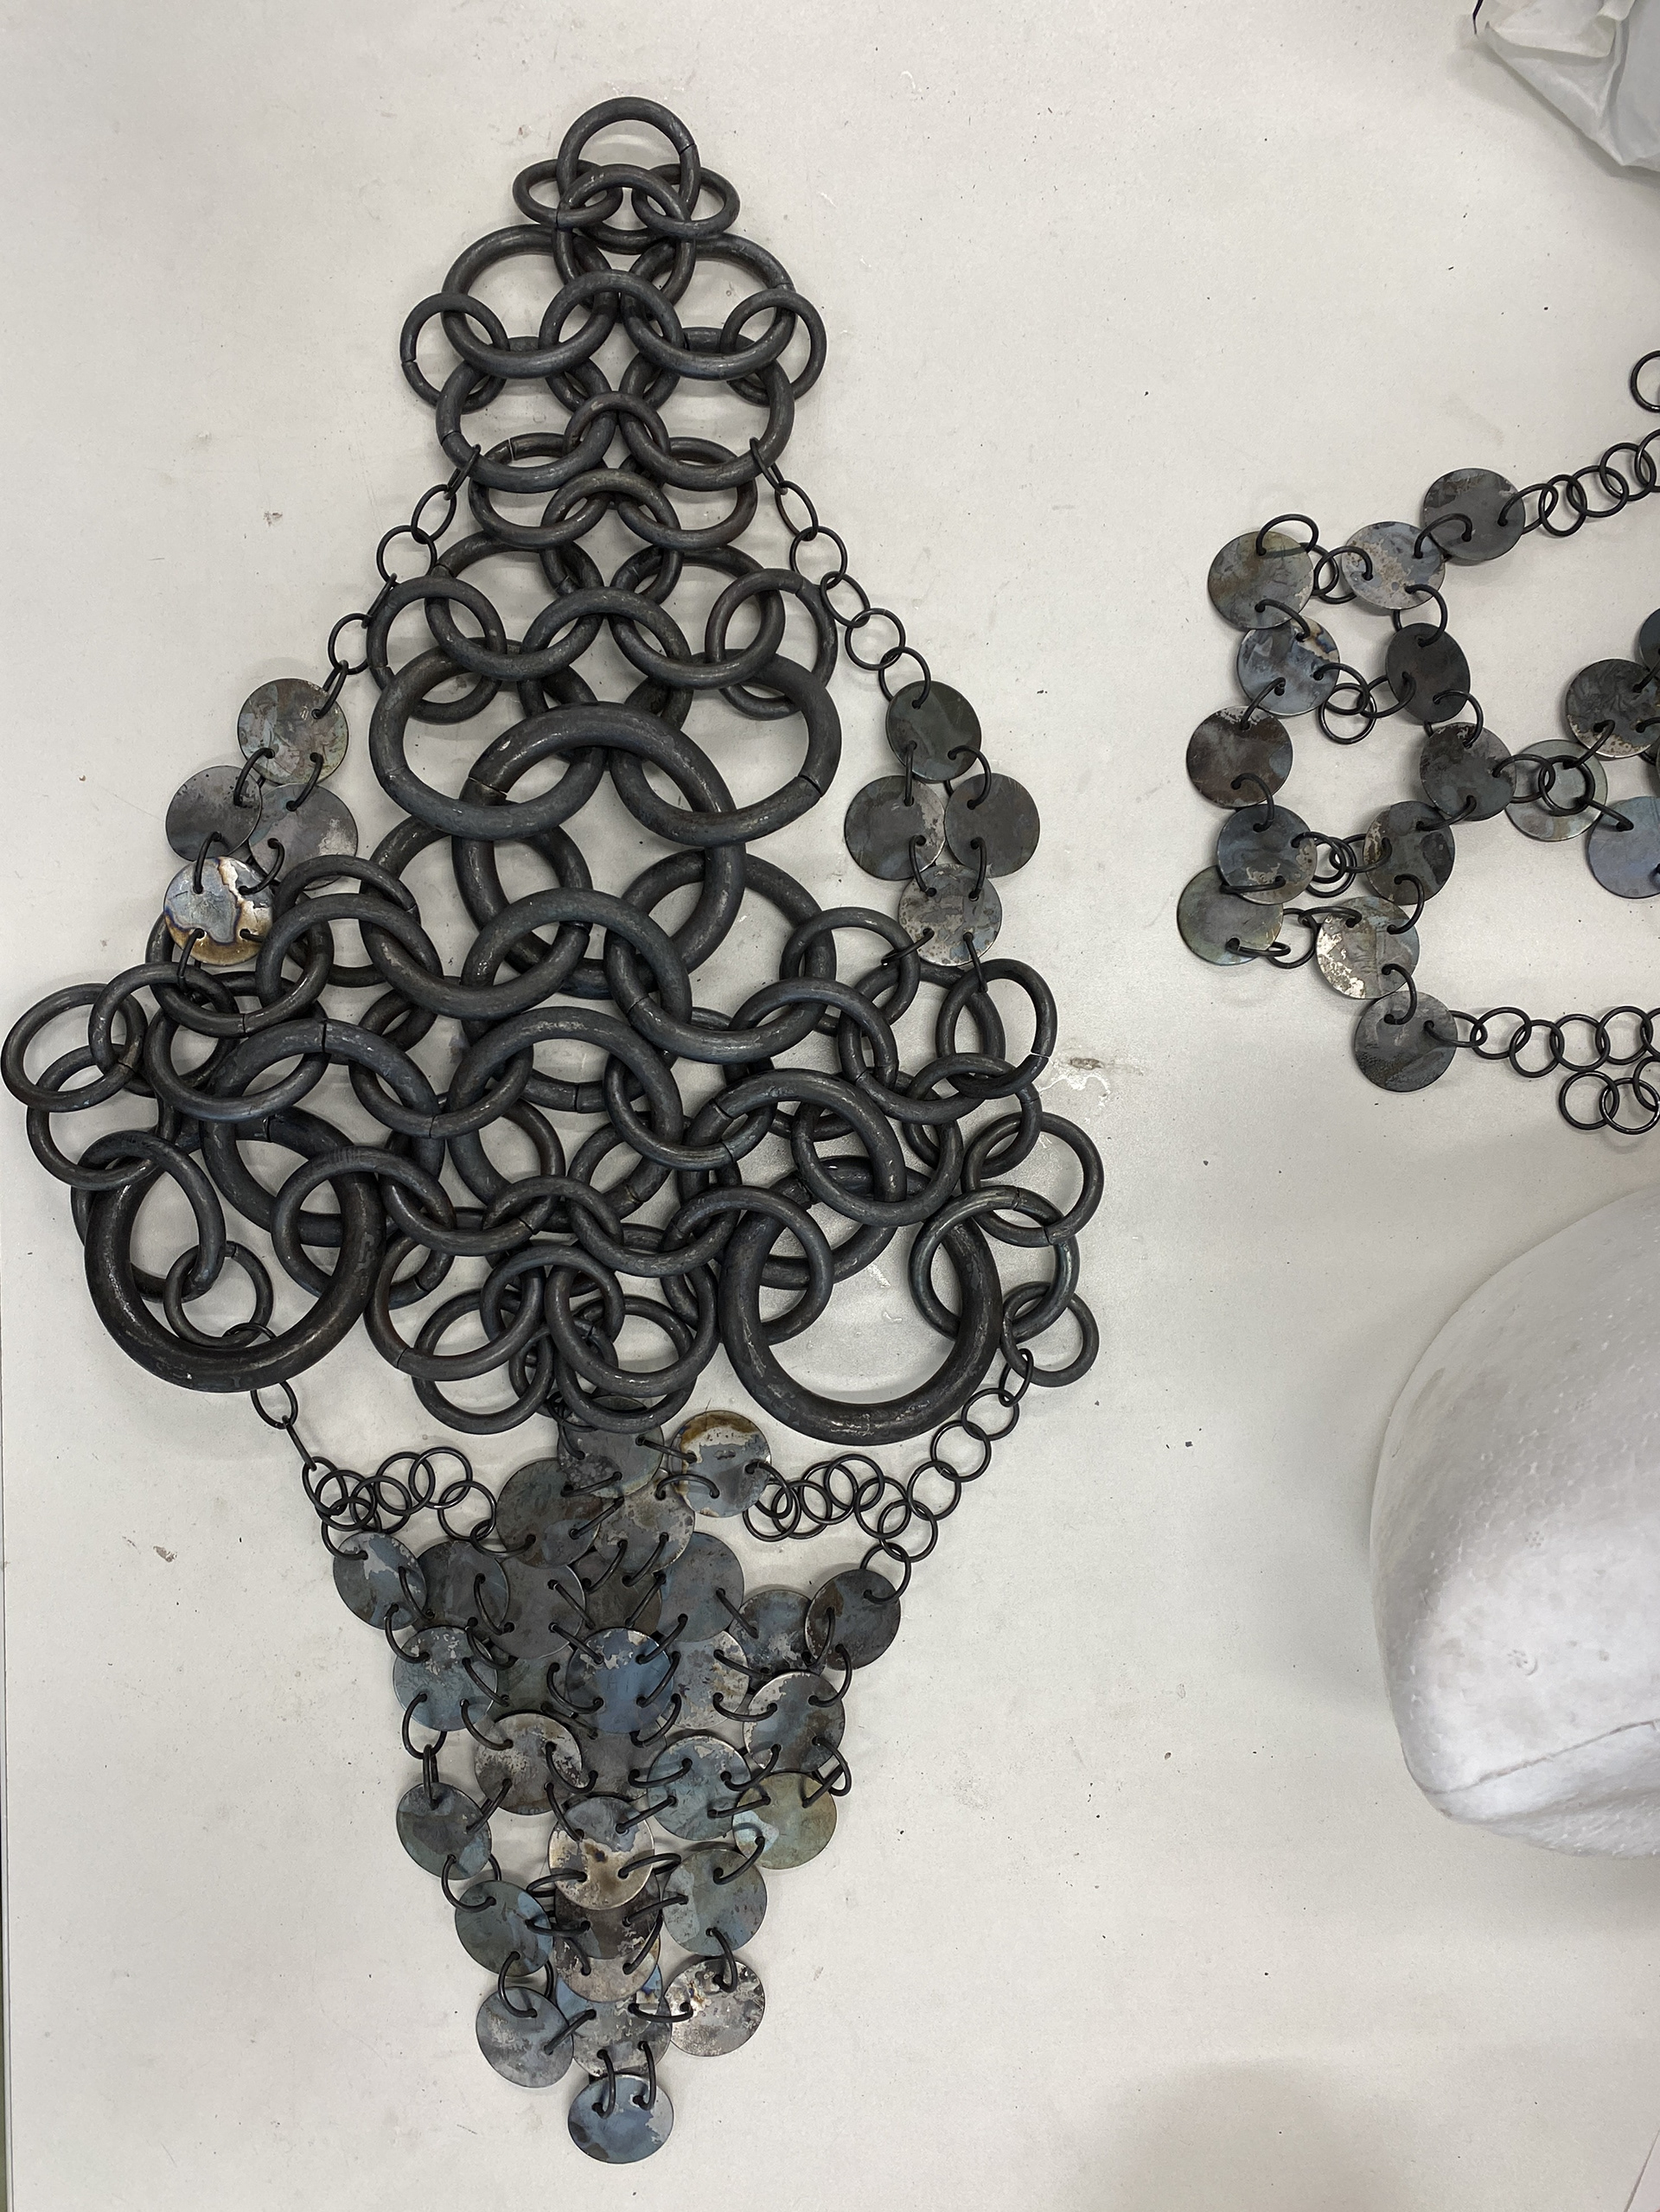
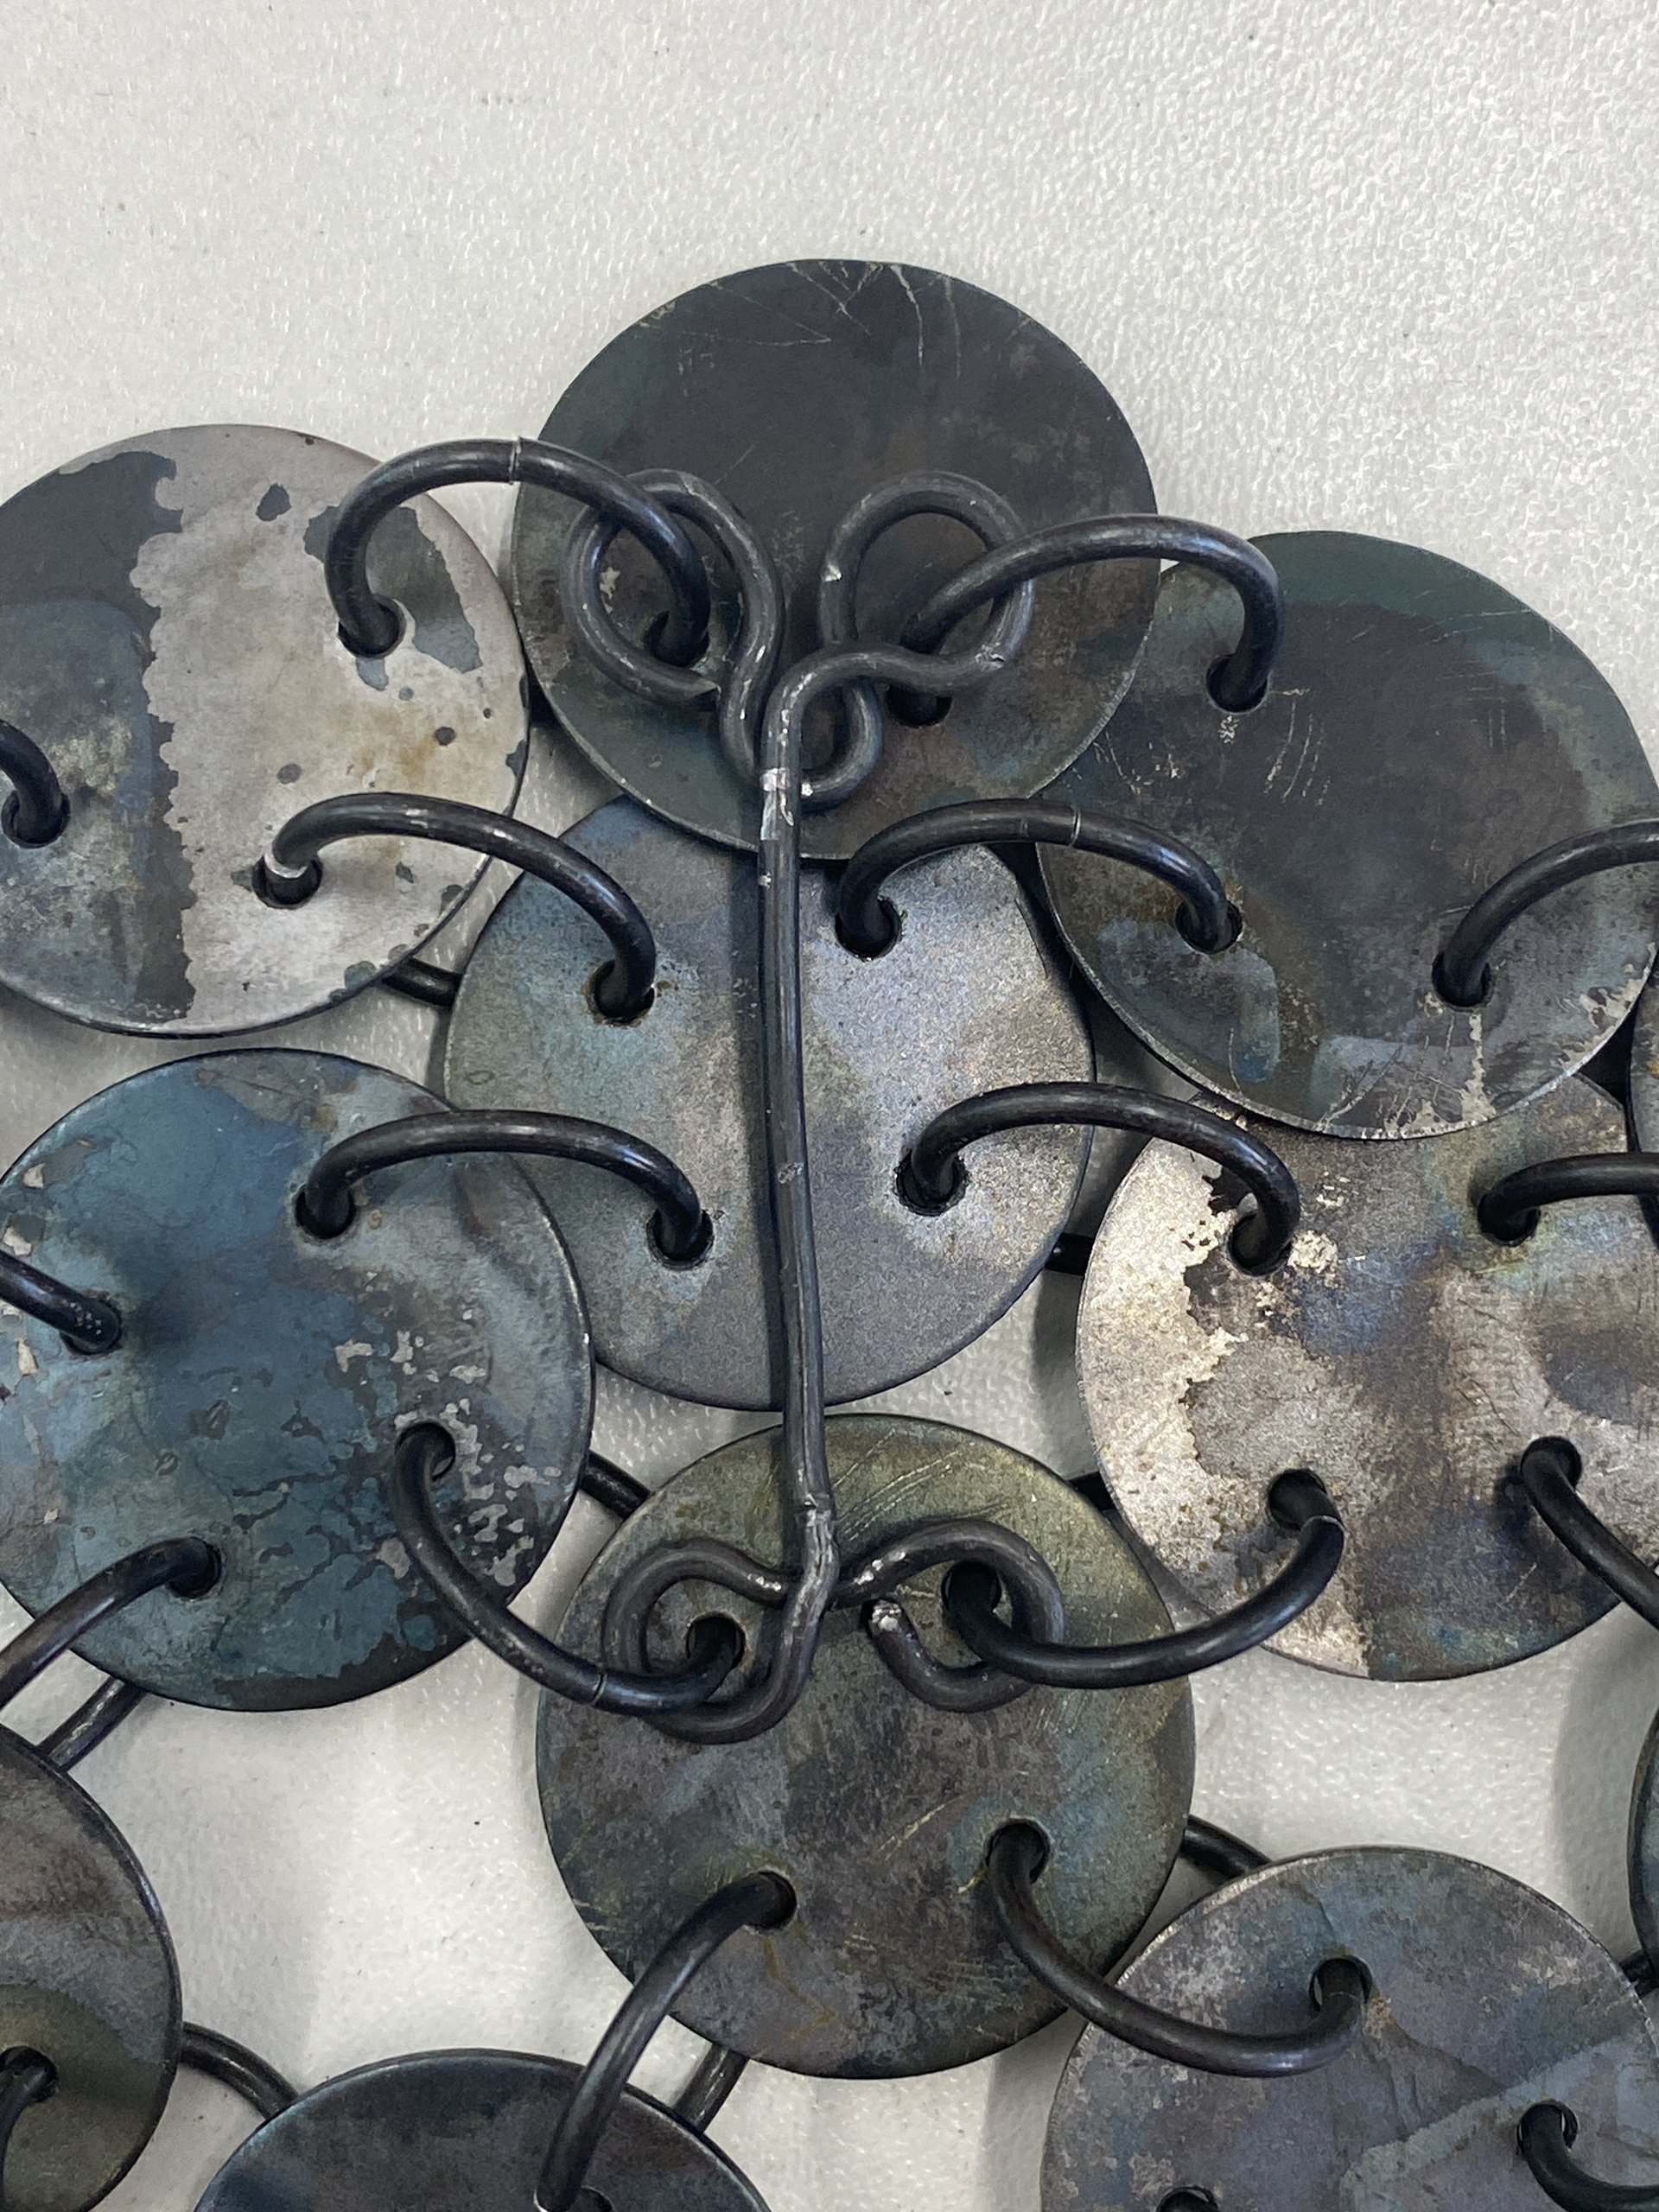
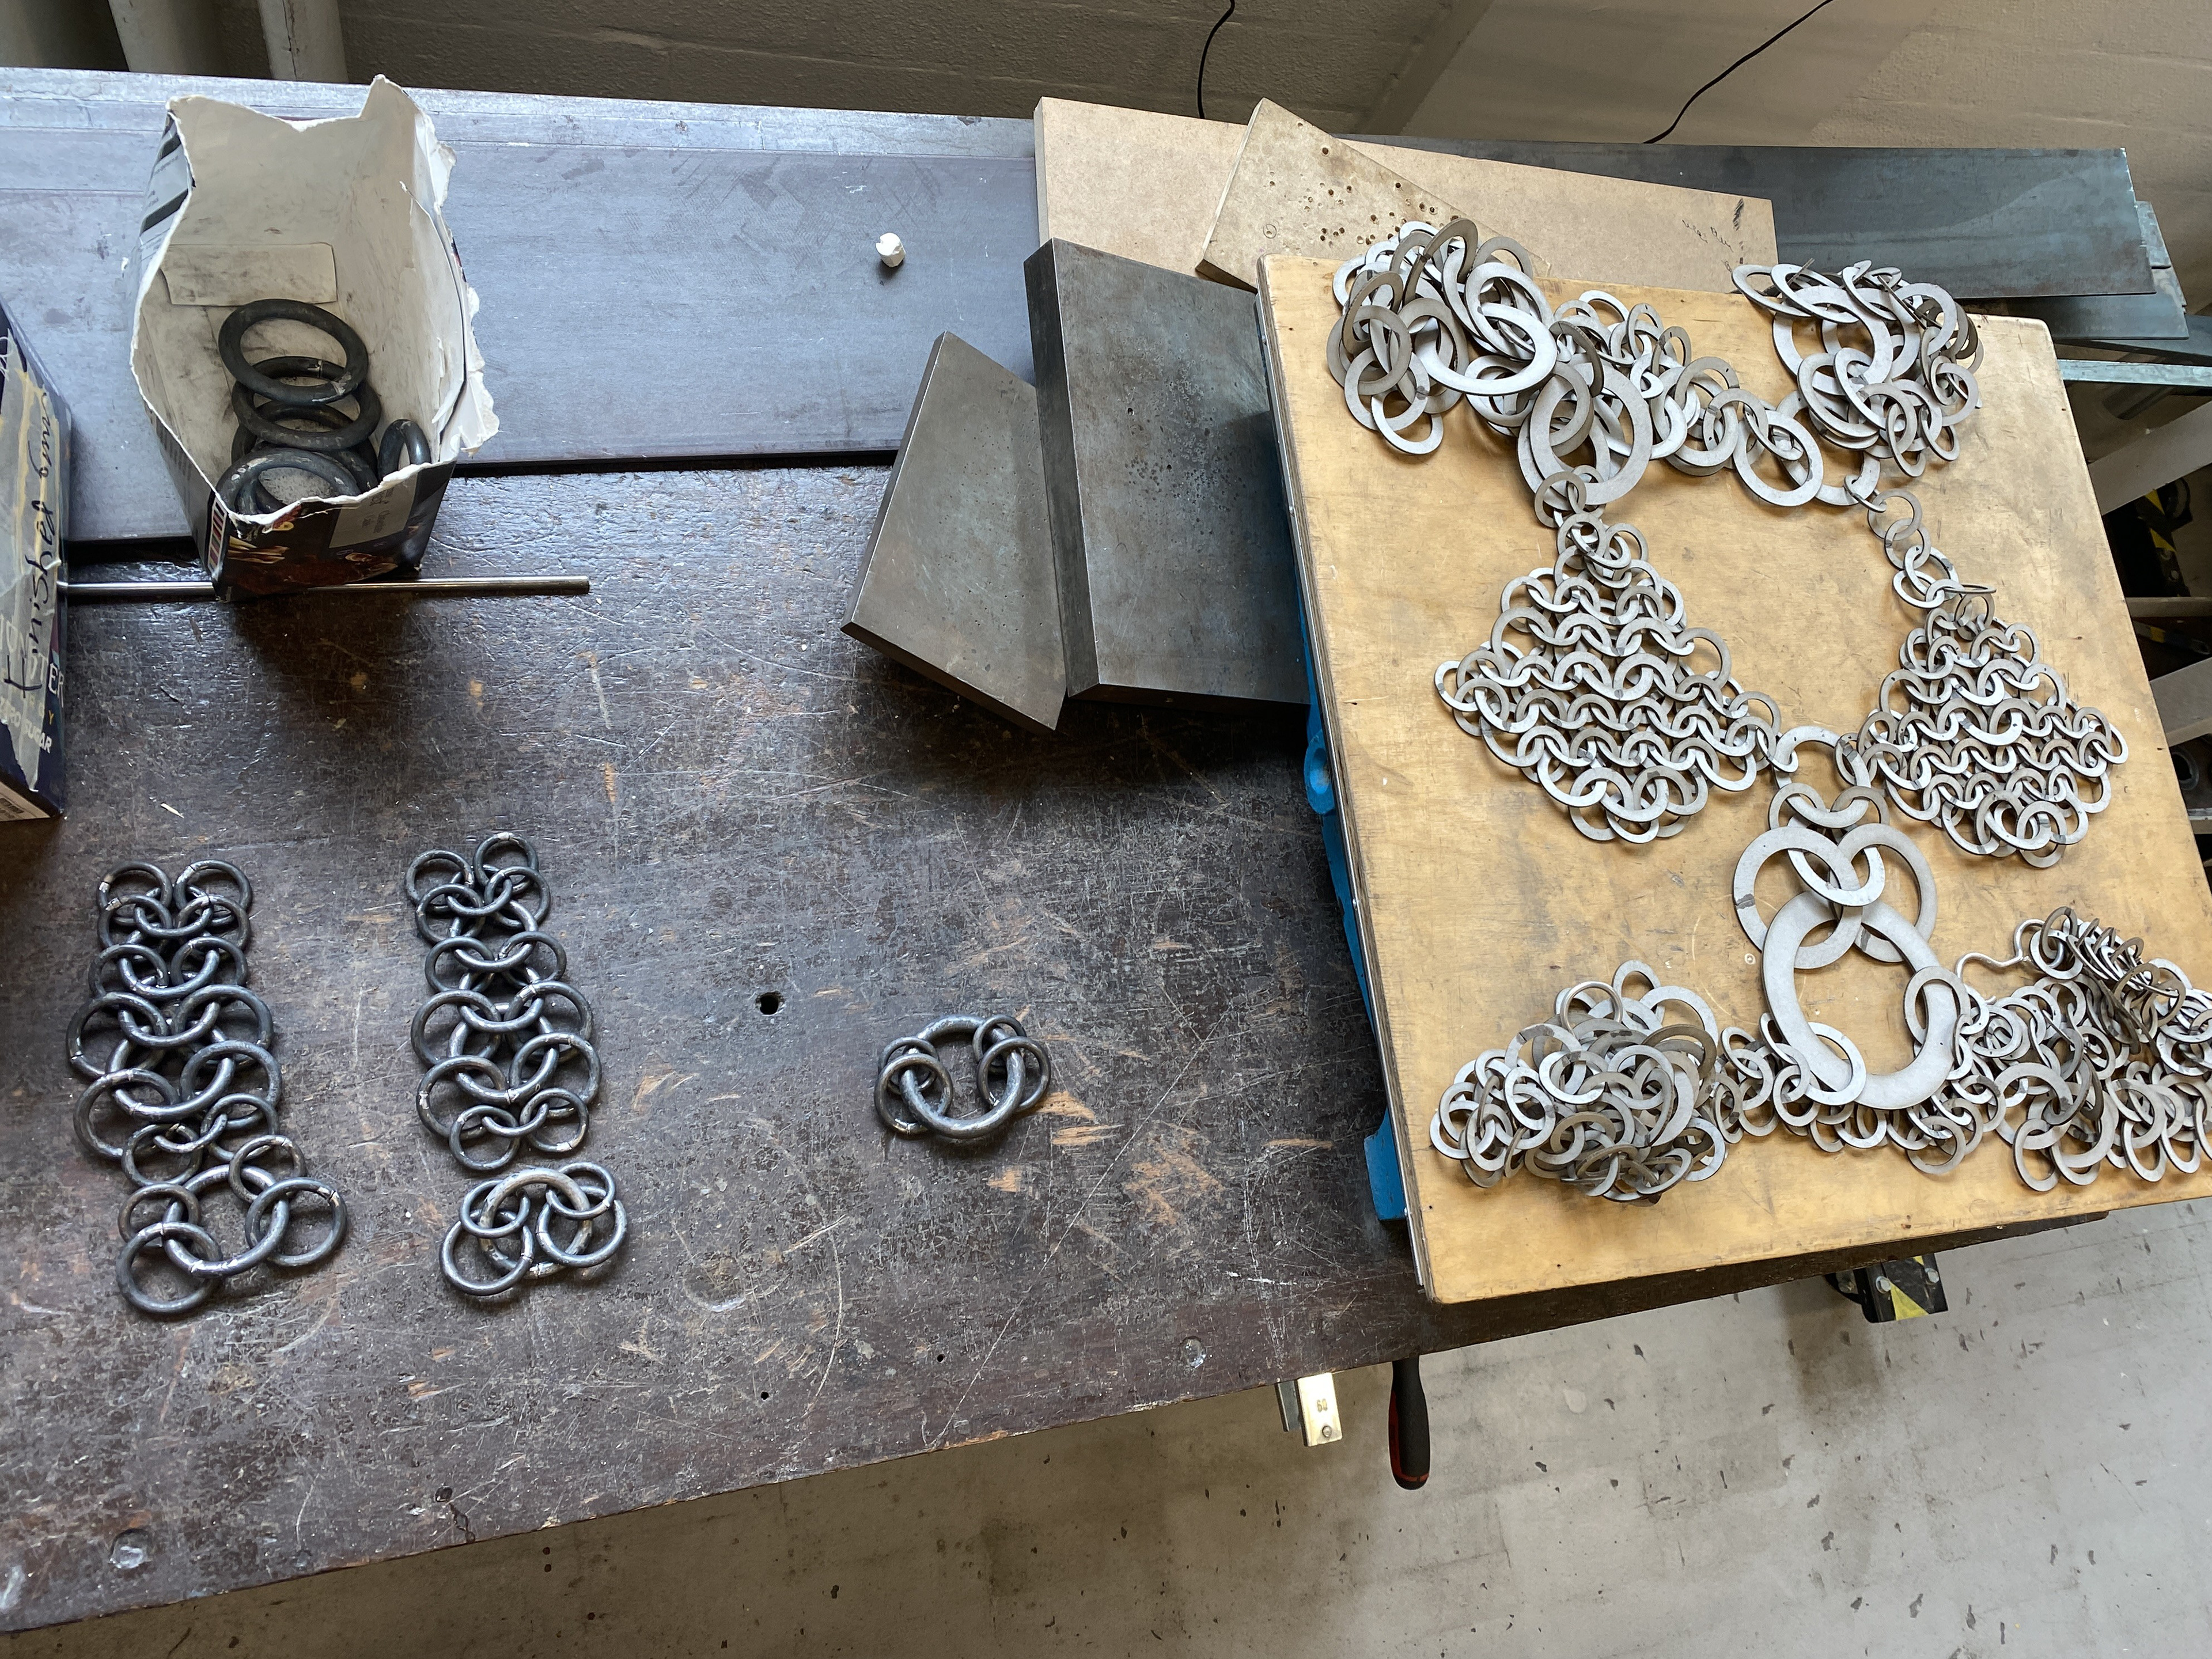
Making the Head piece
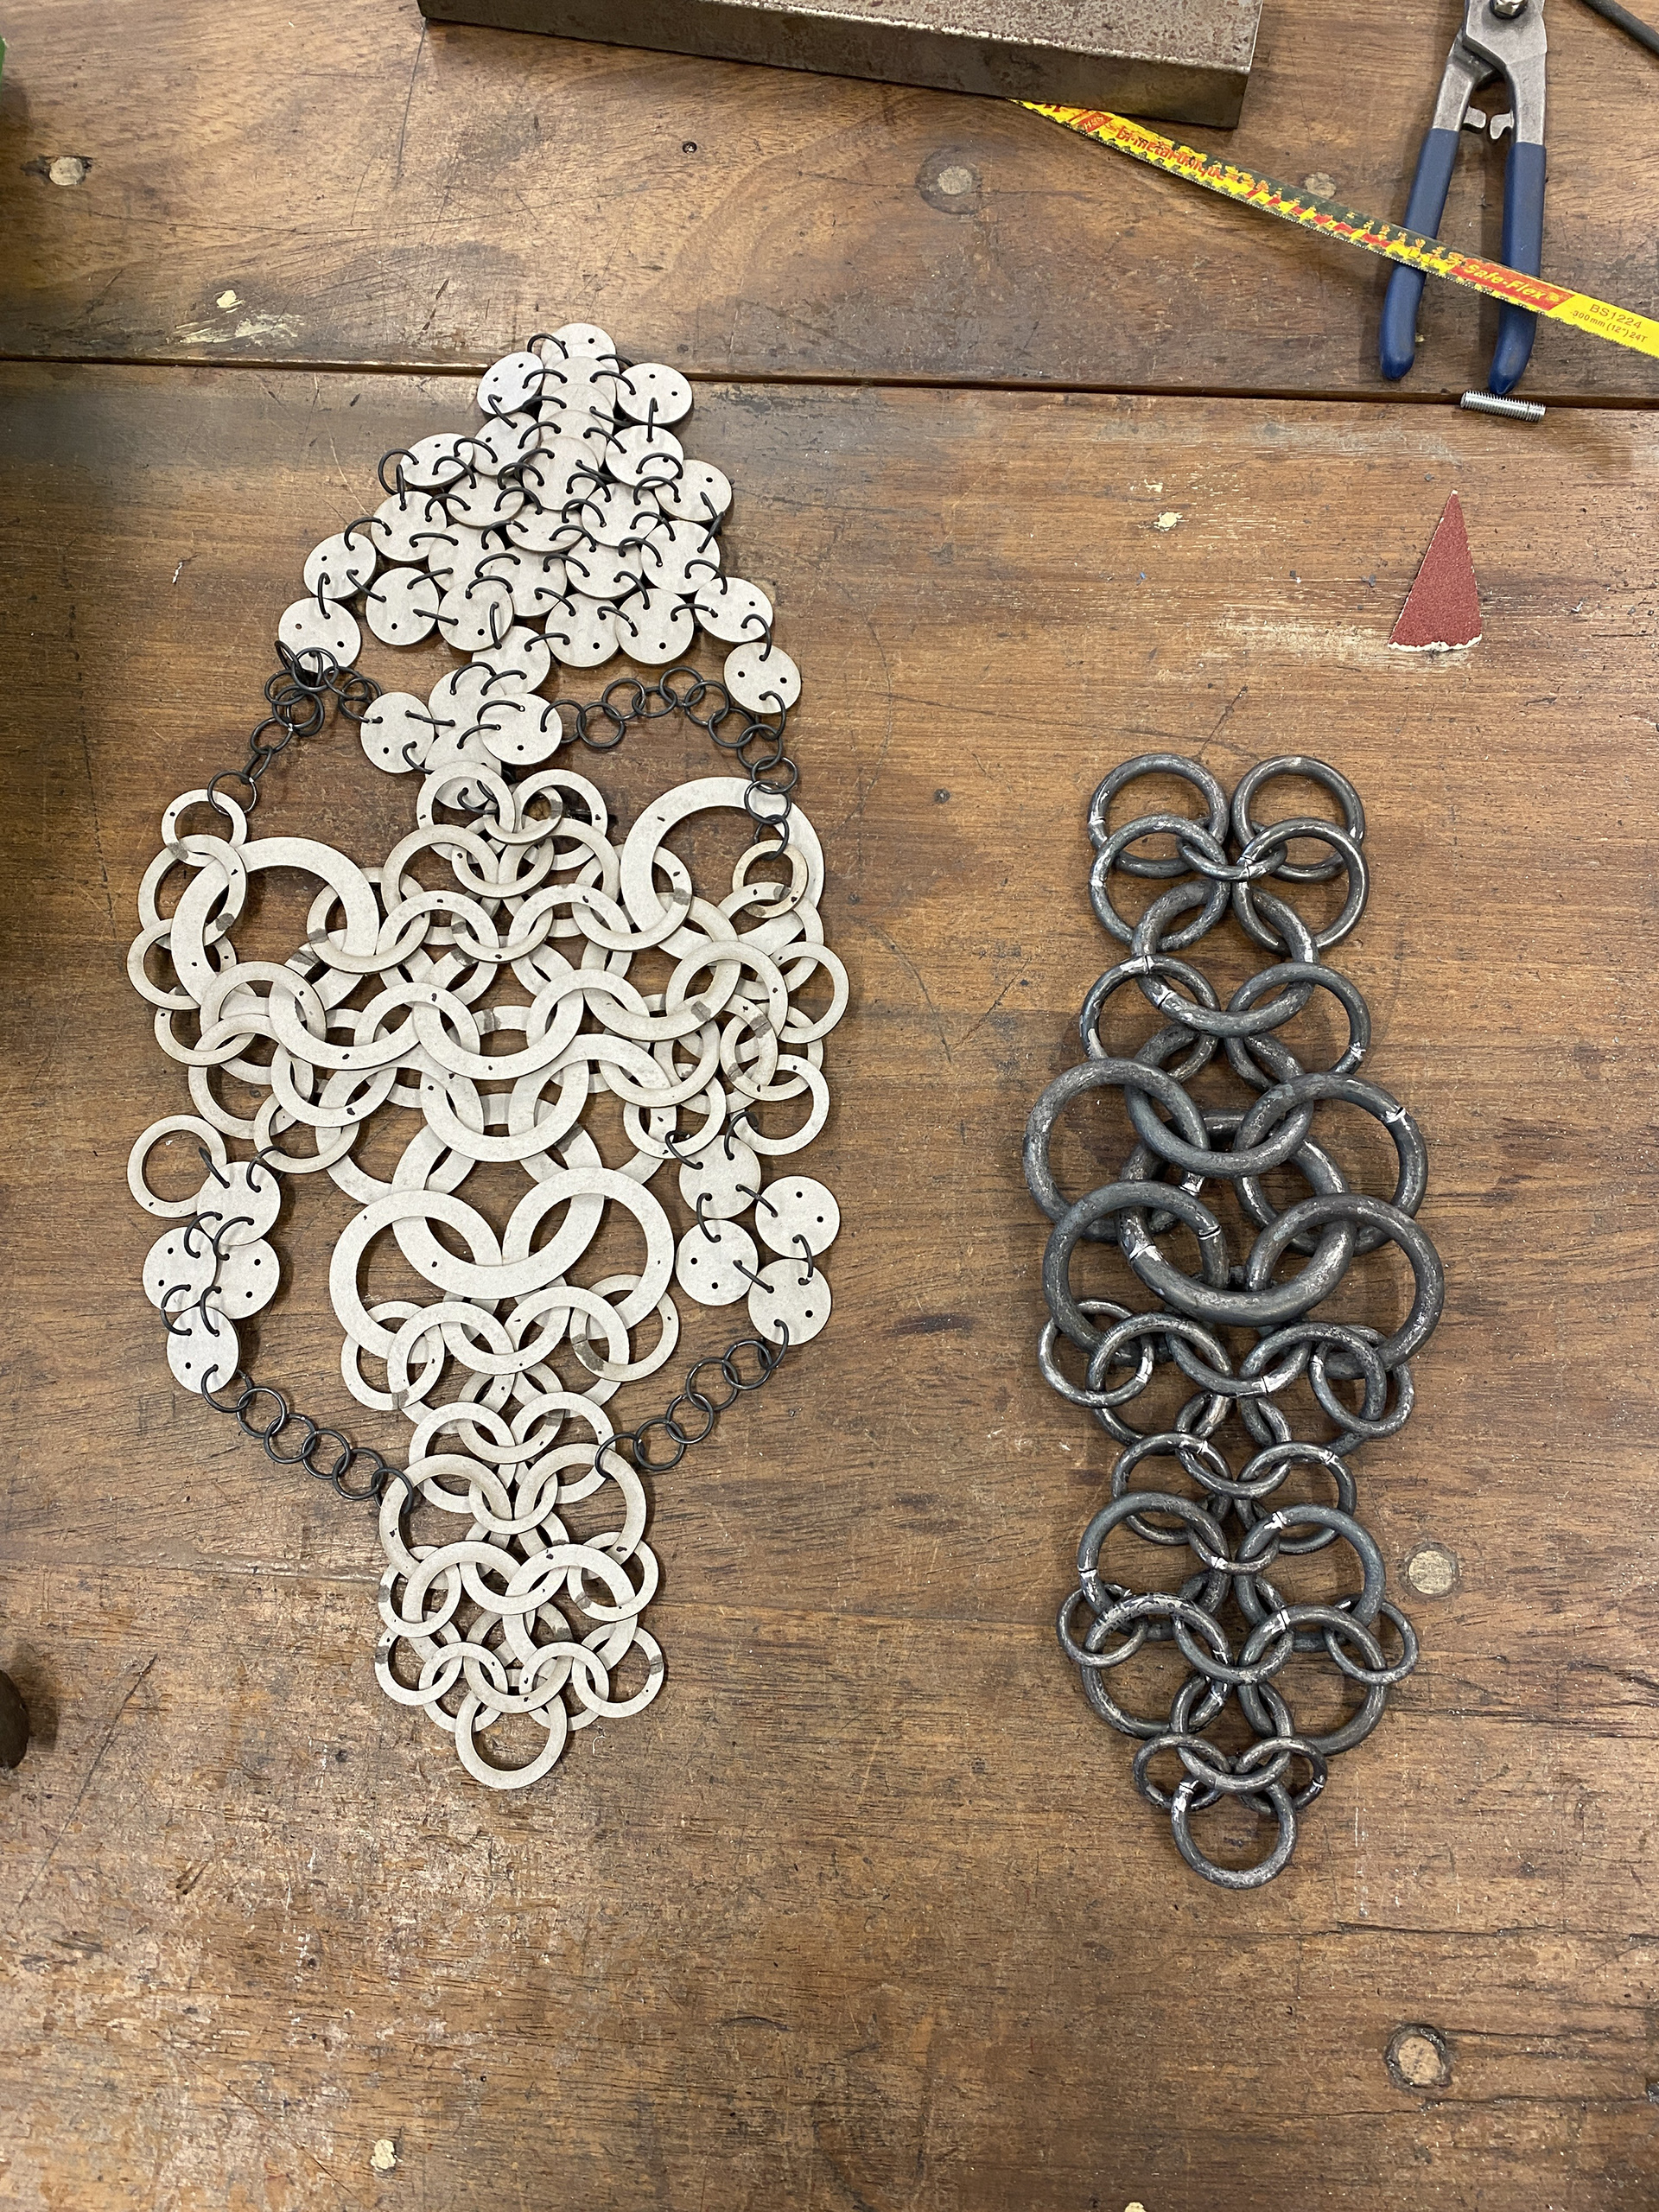
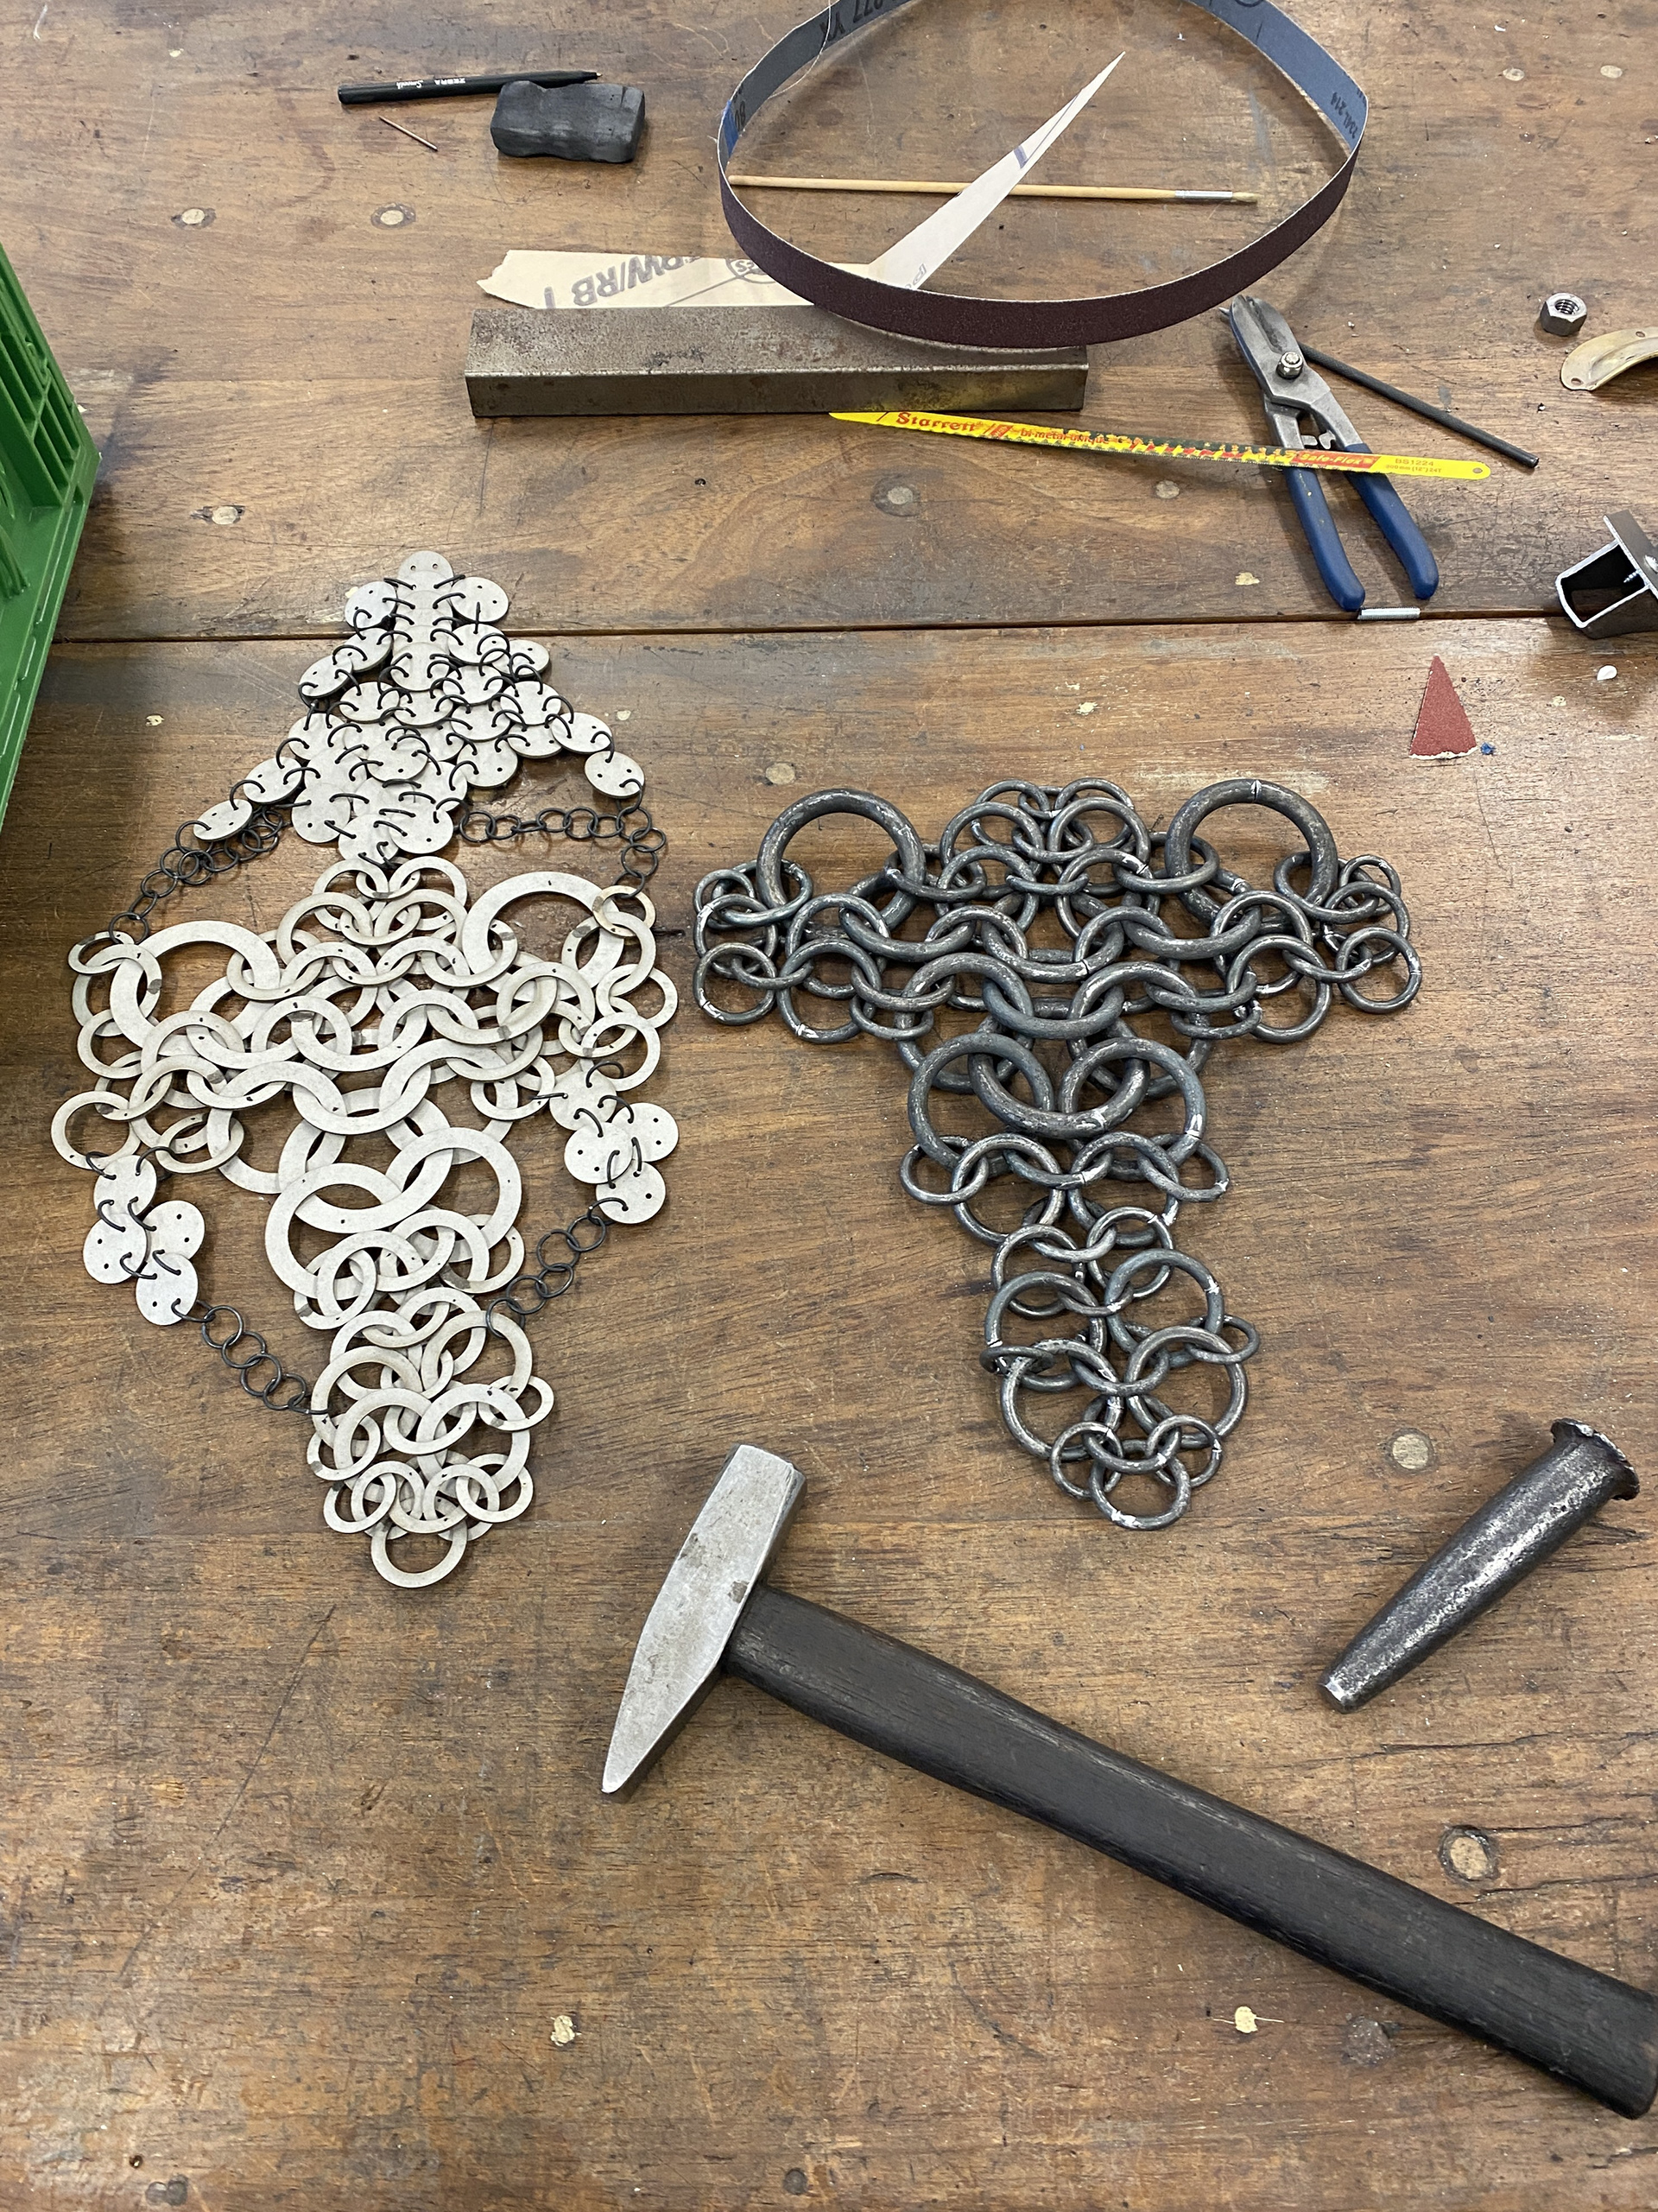
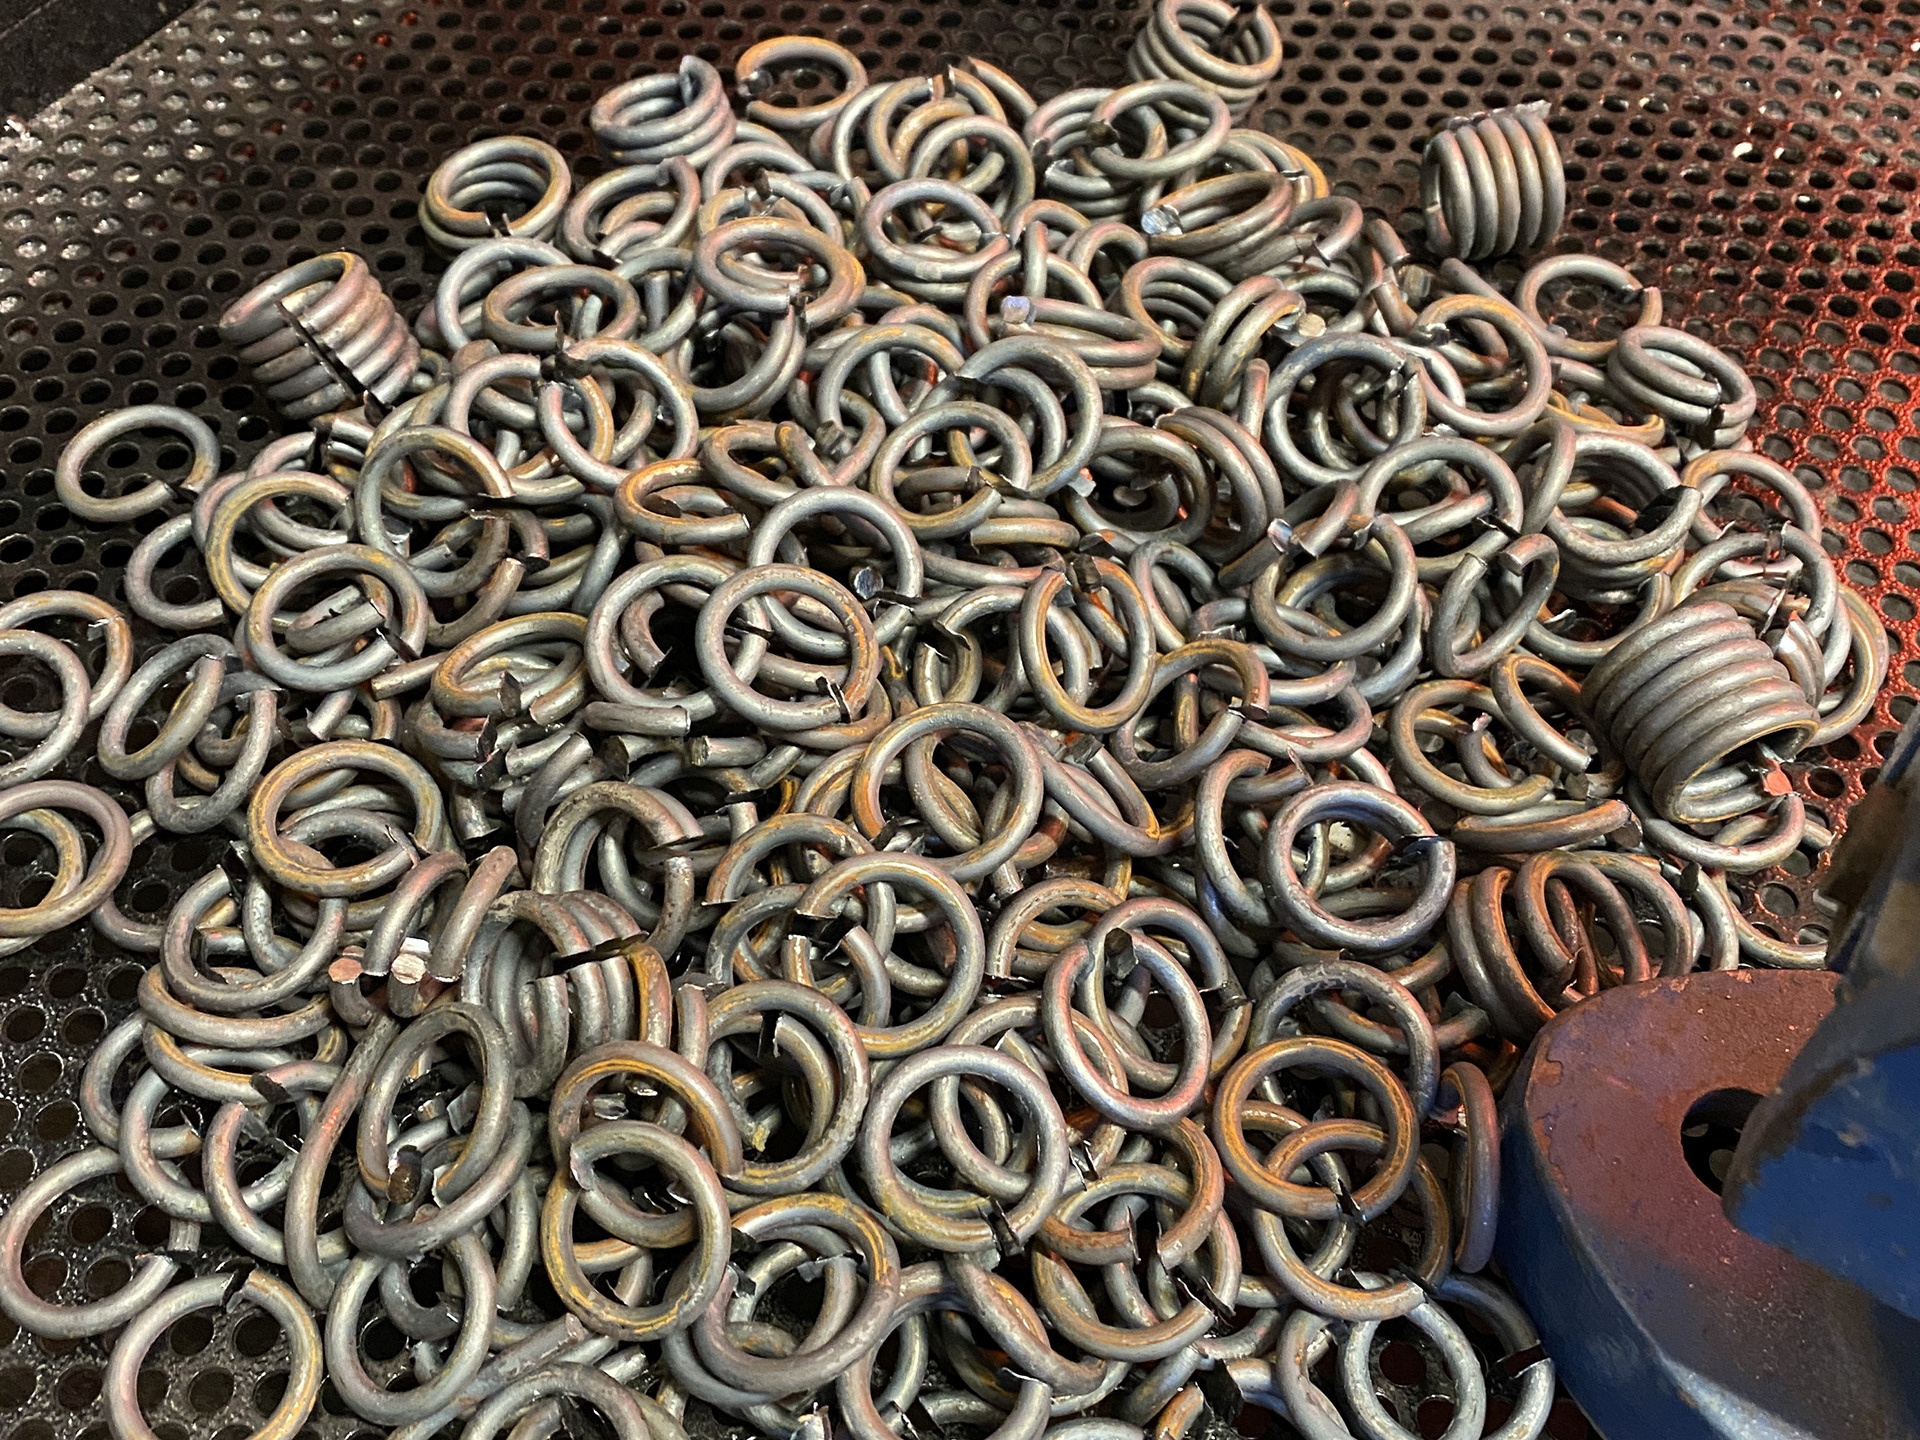
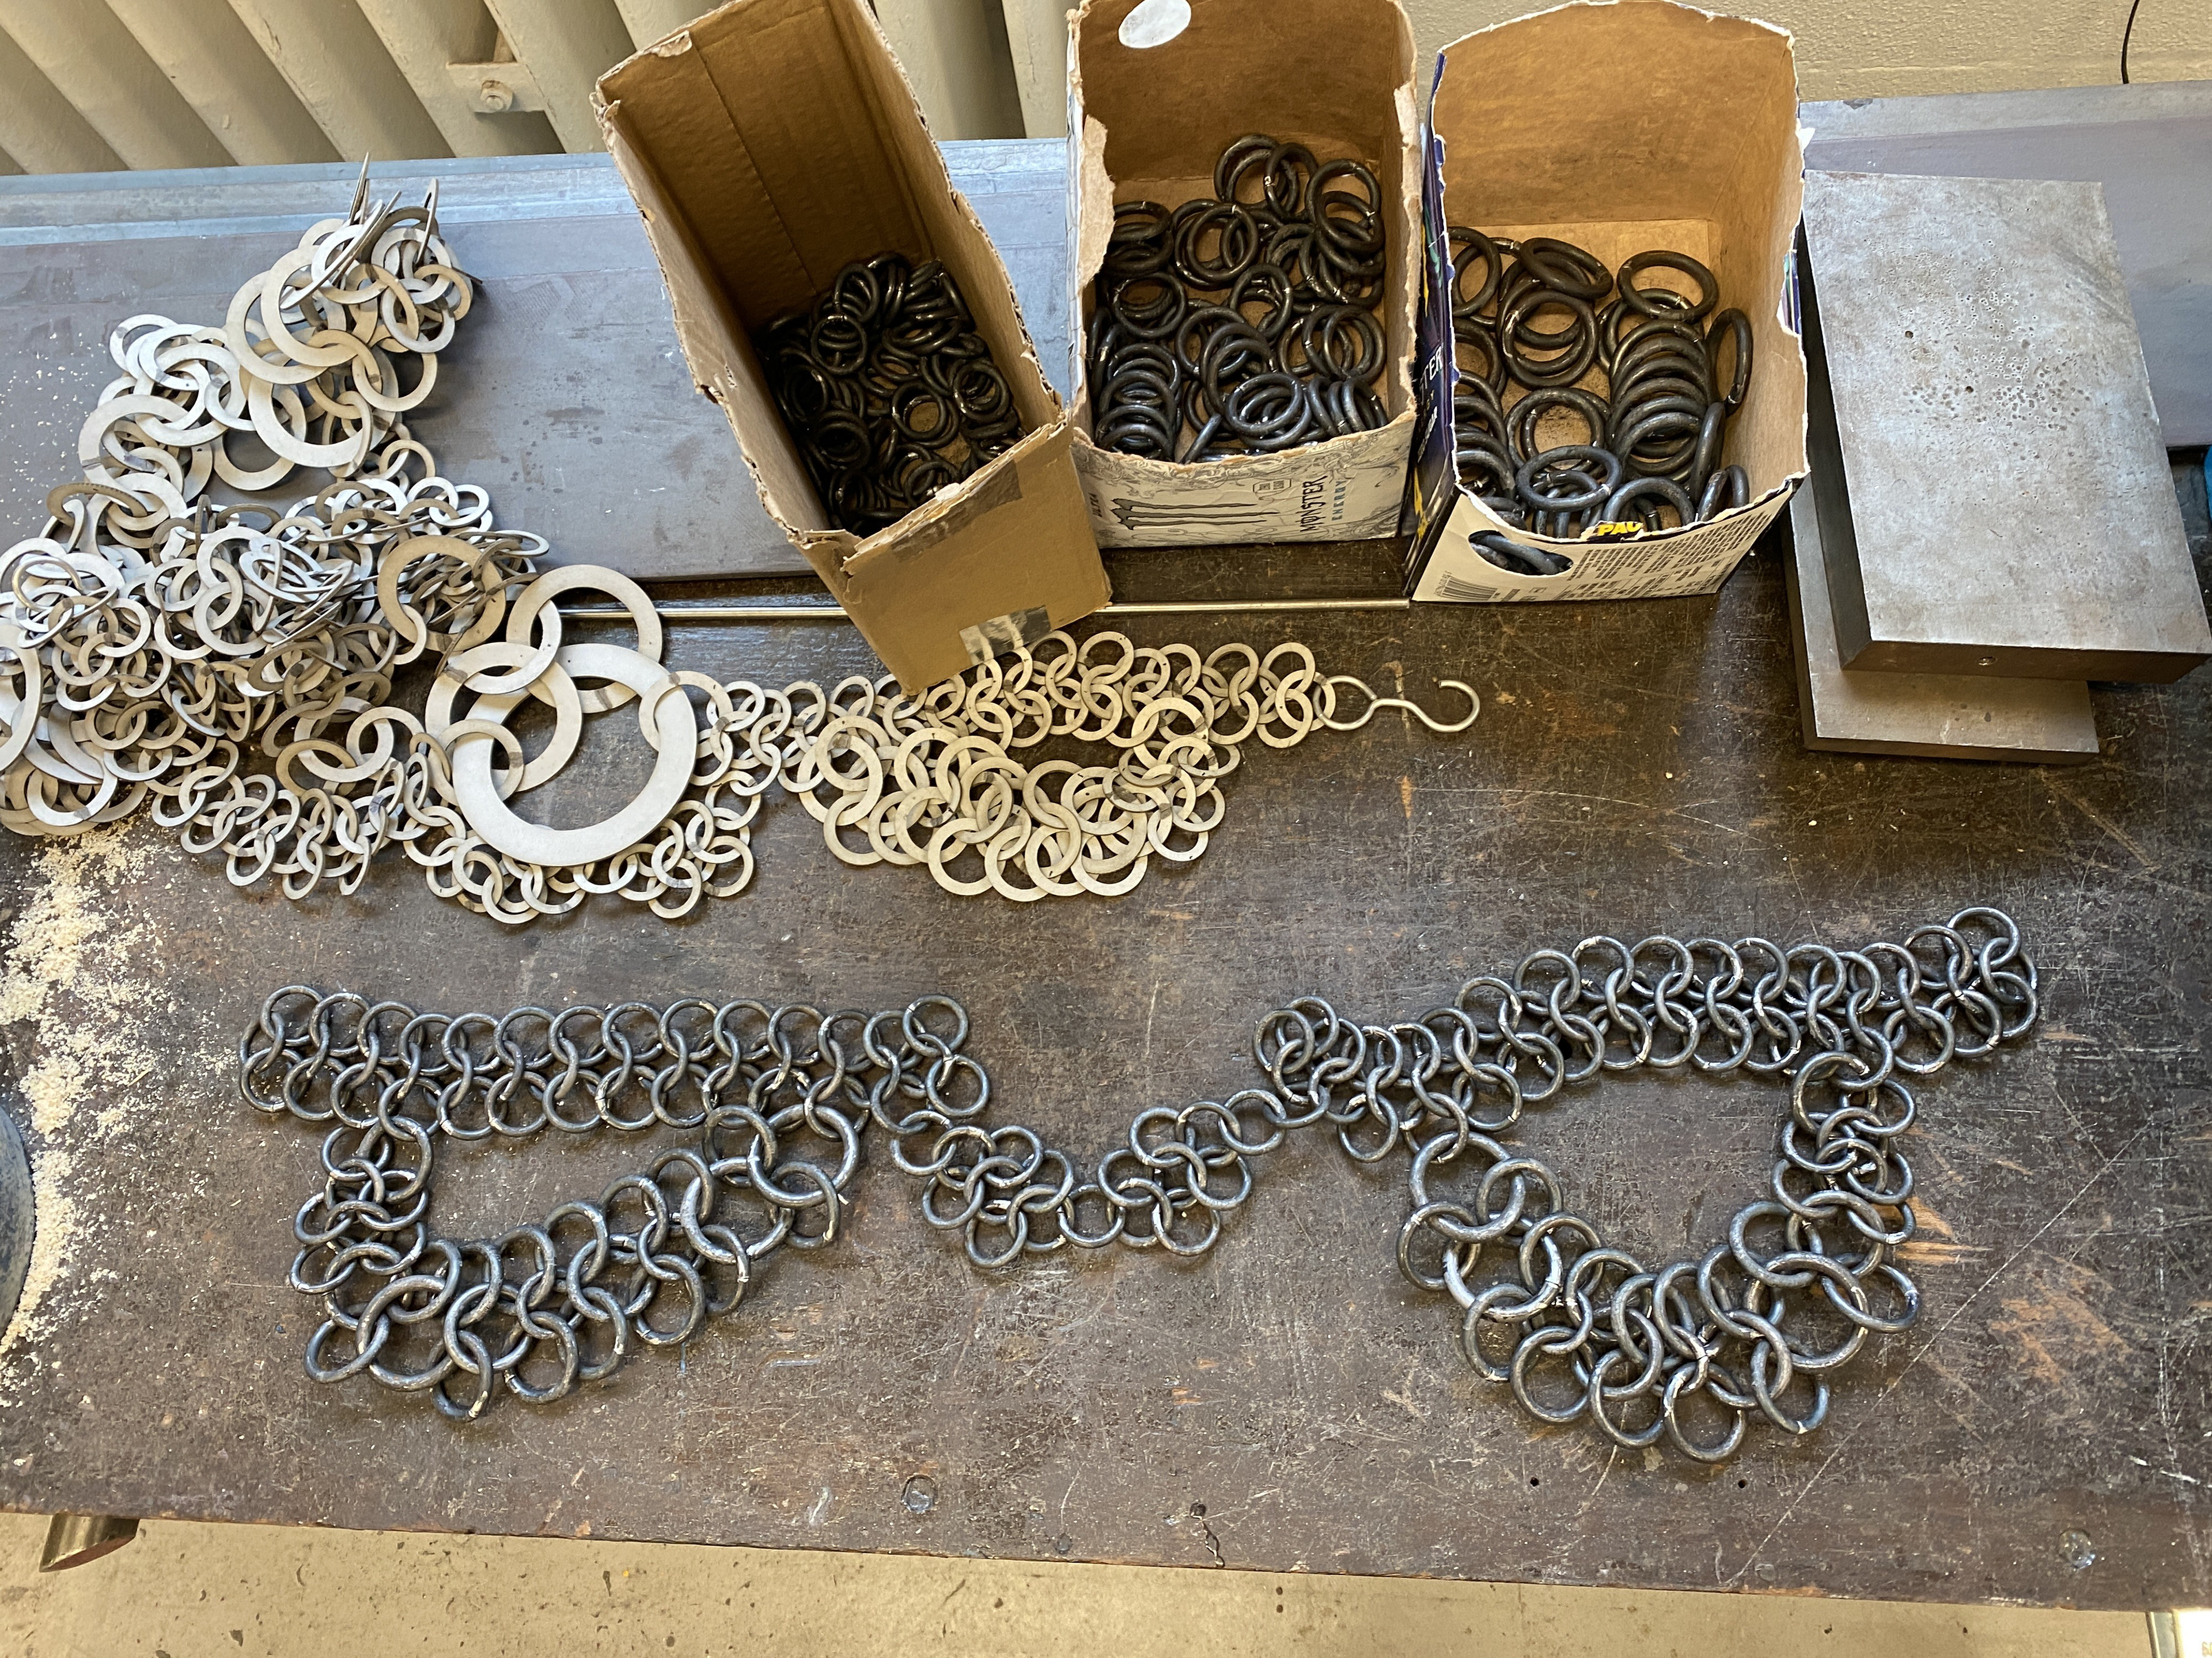
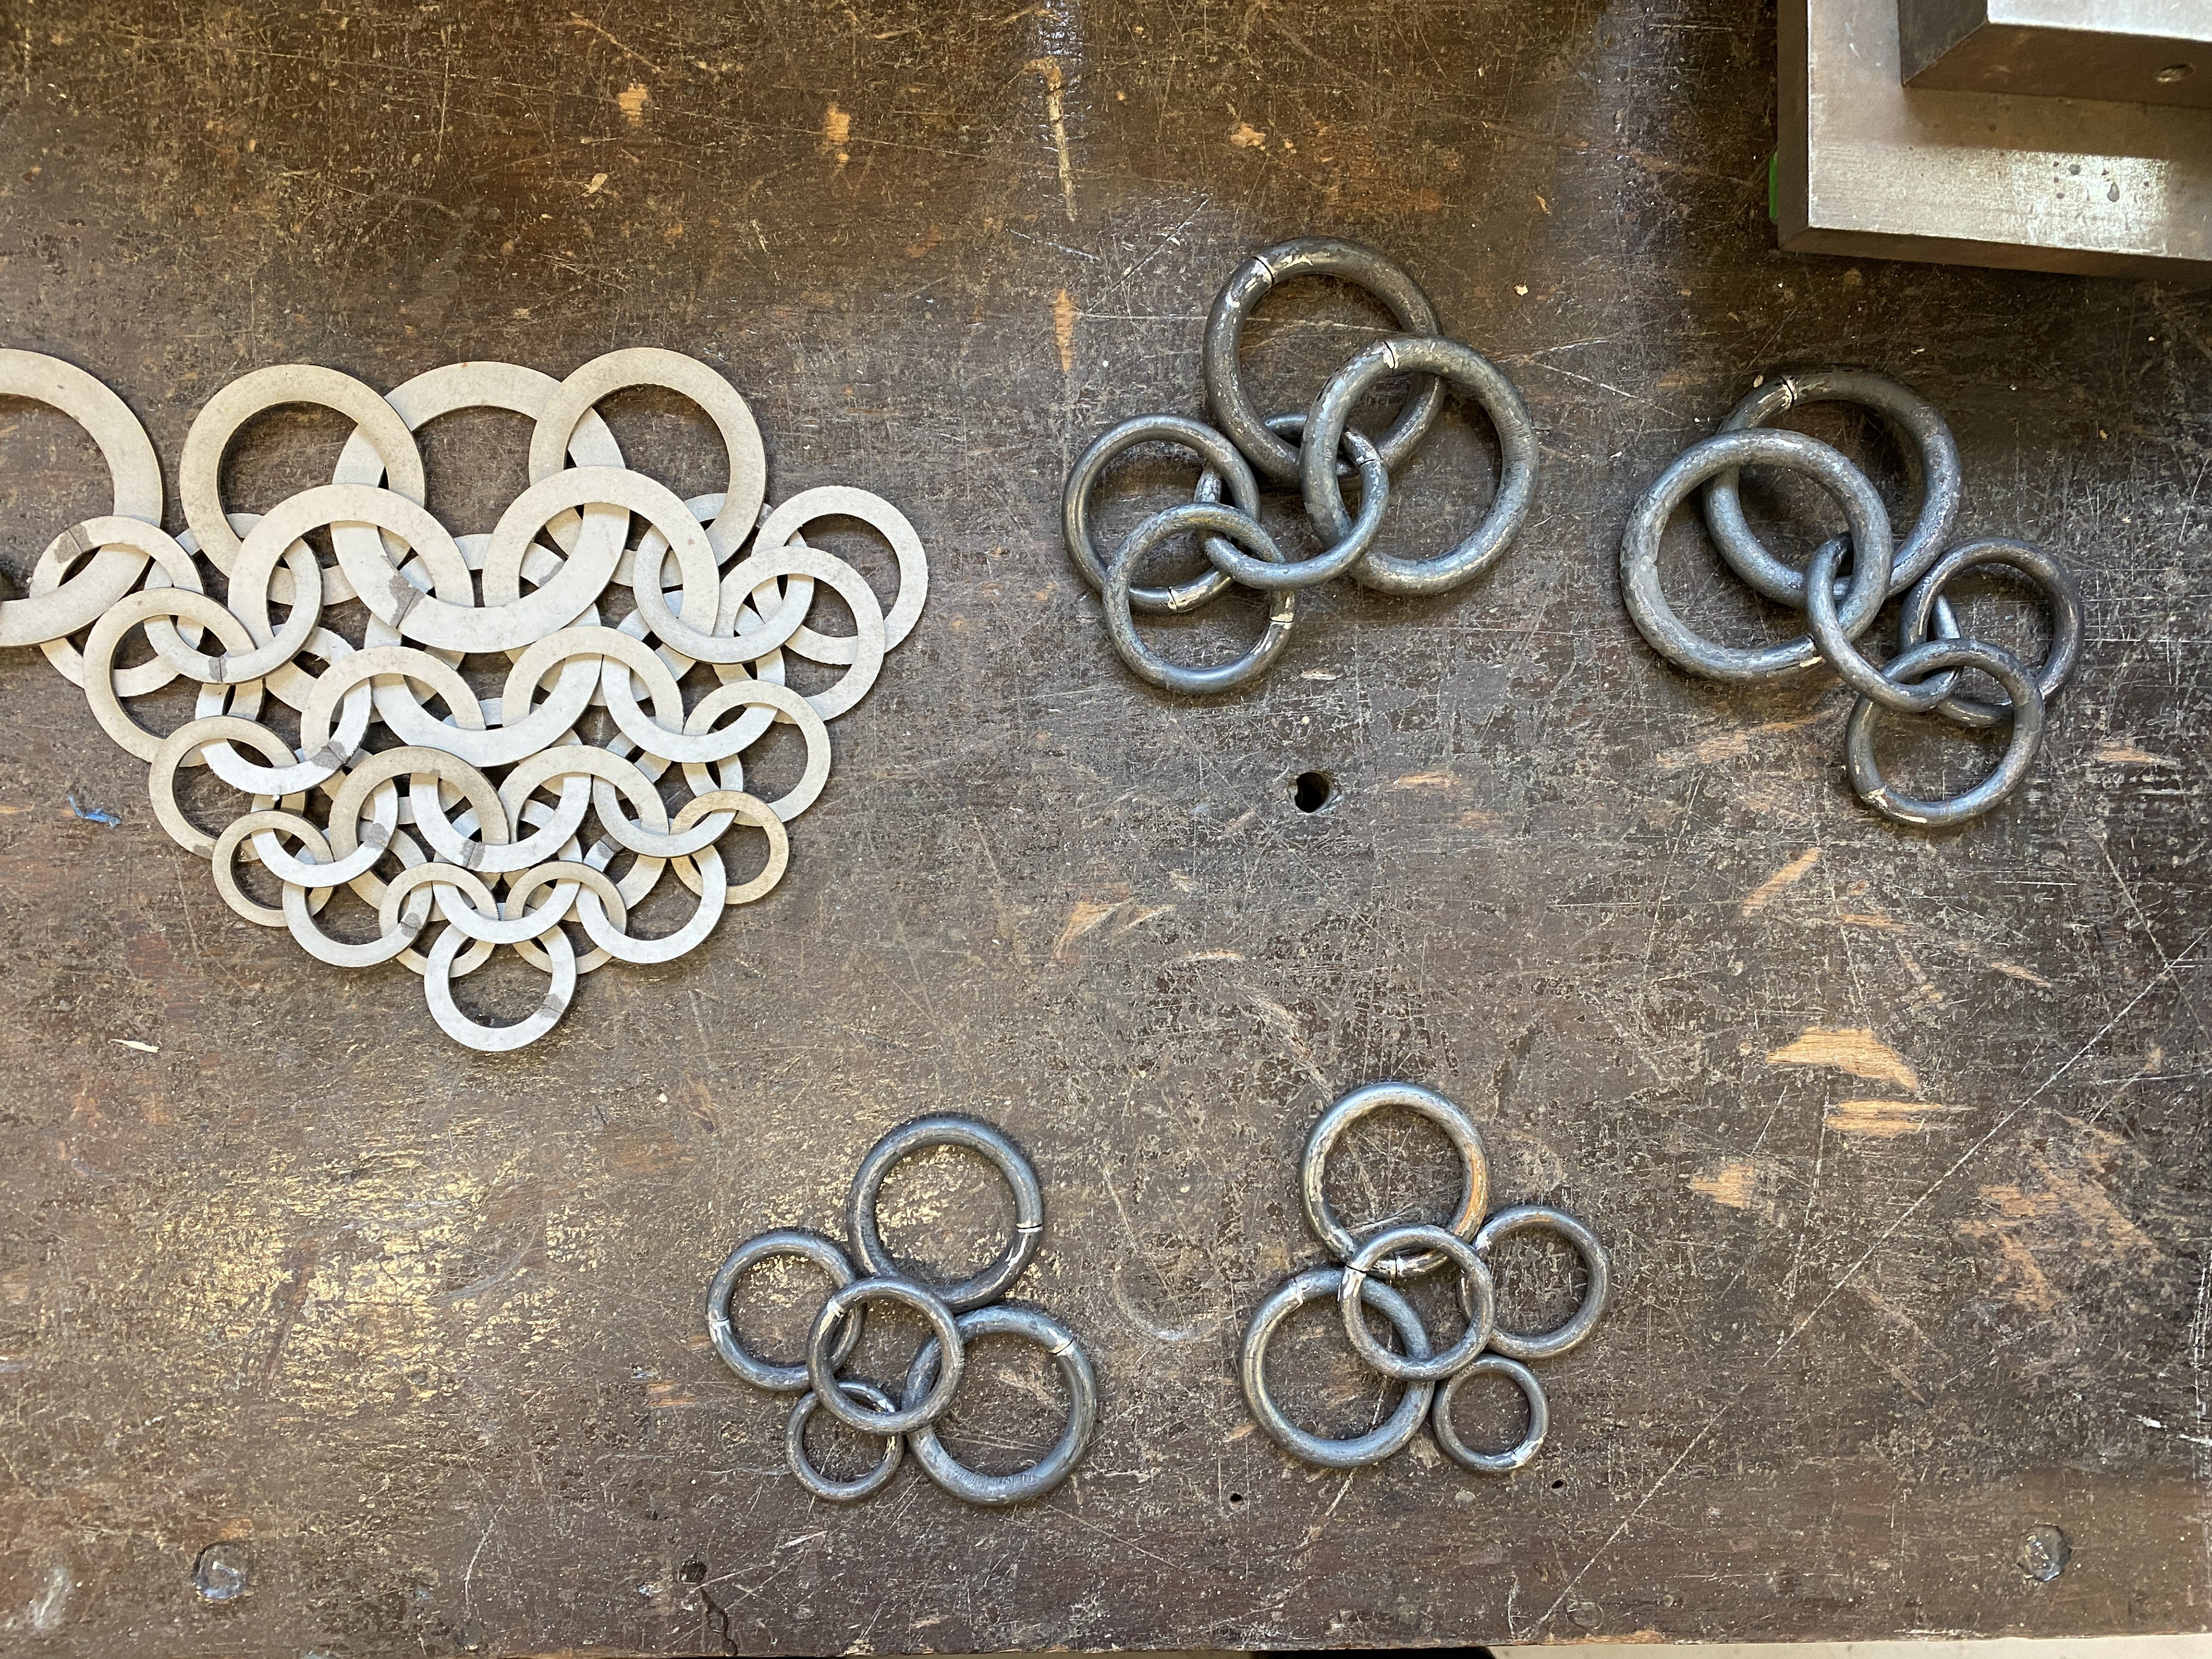
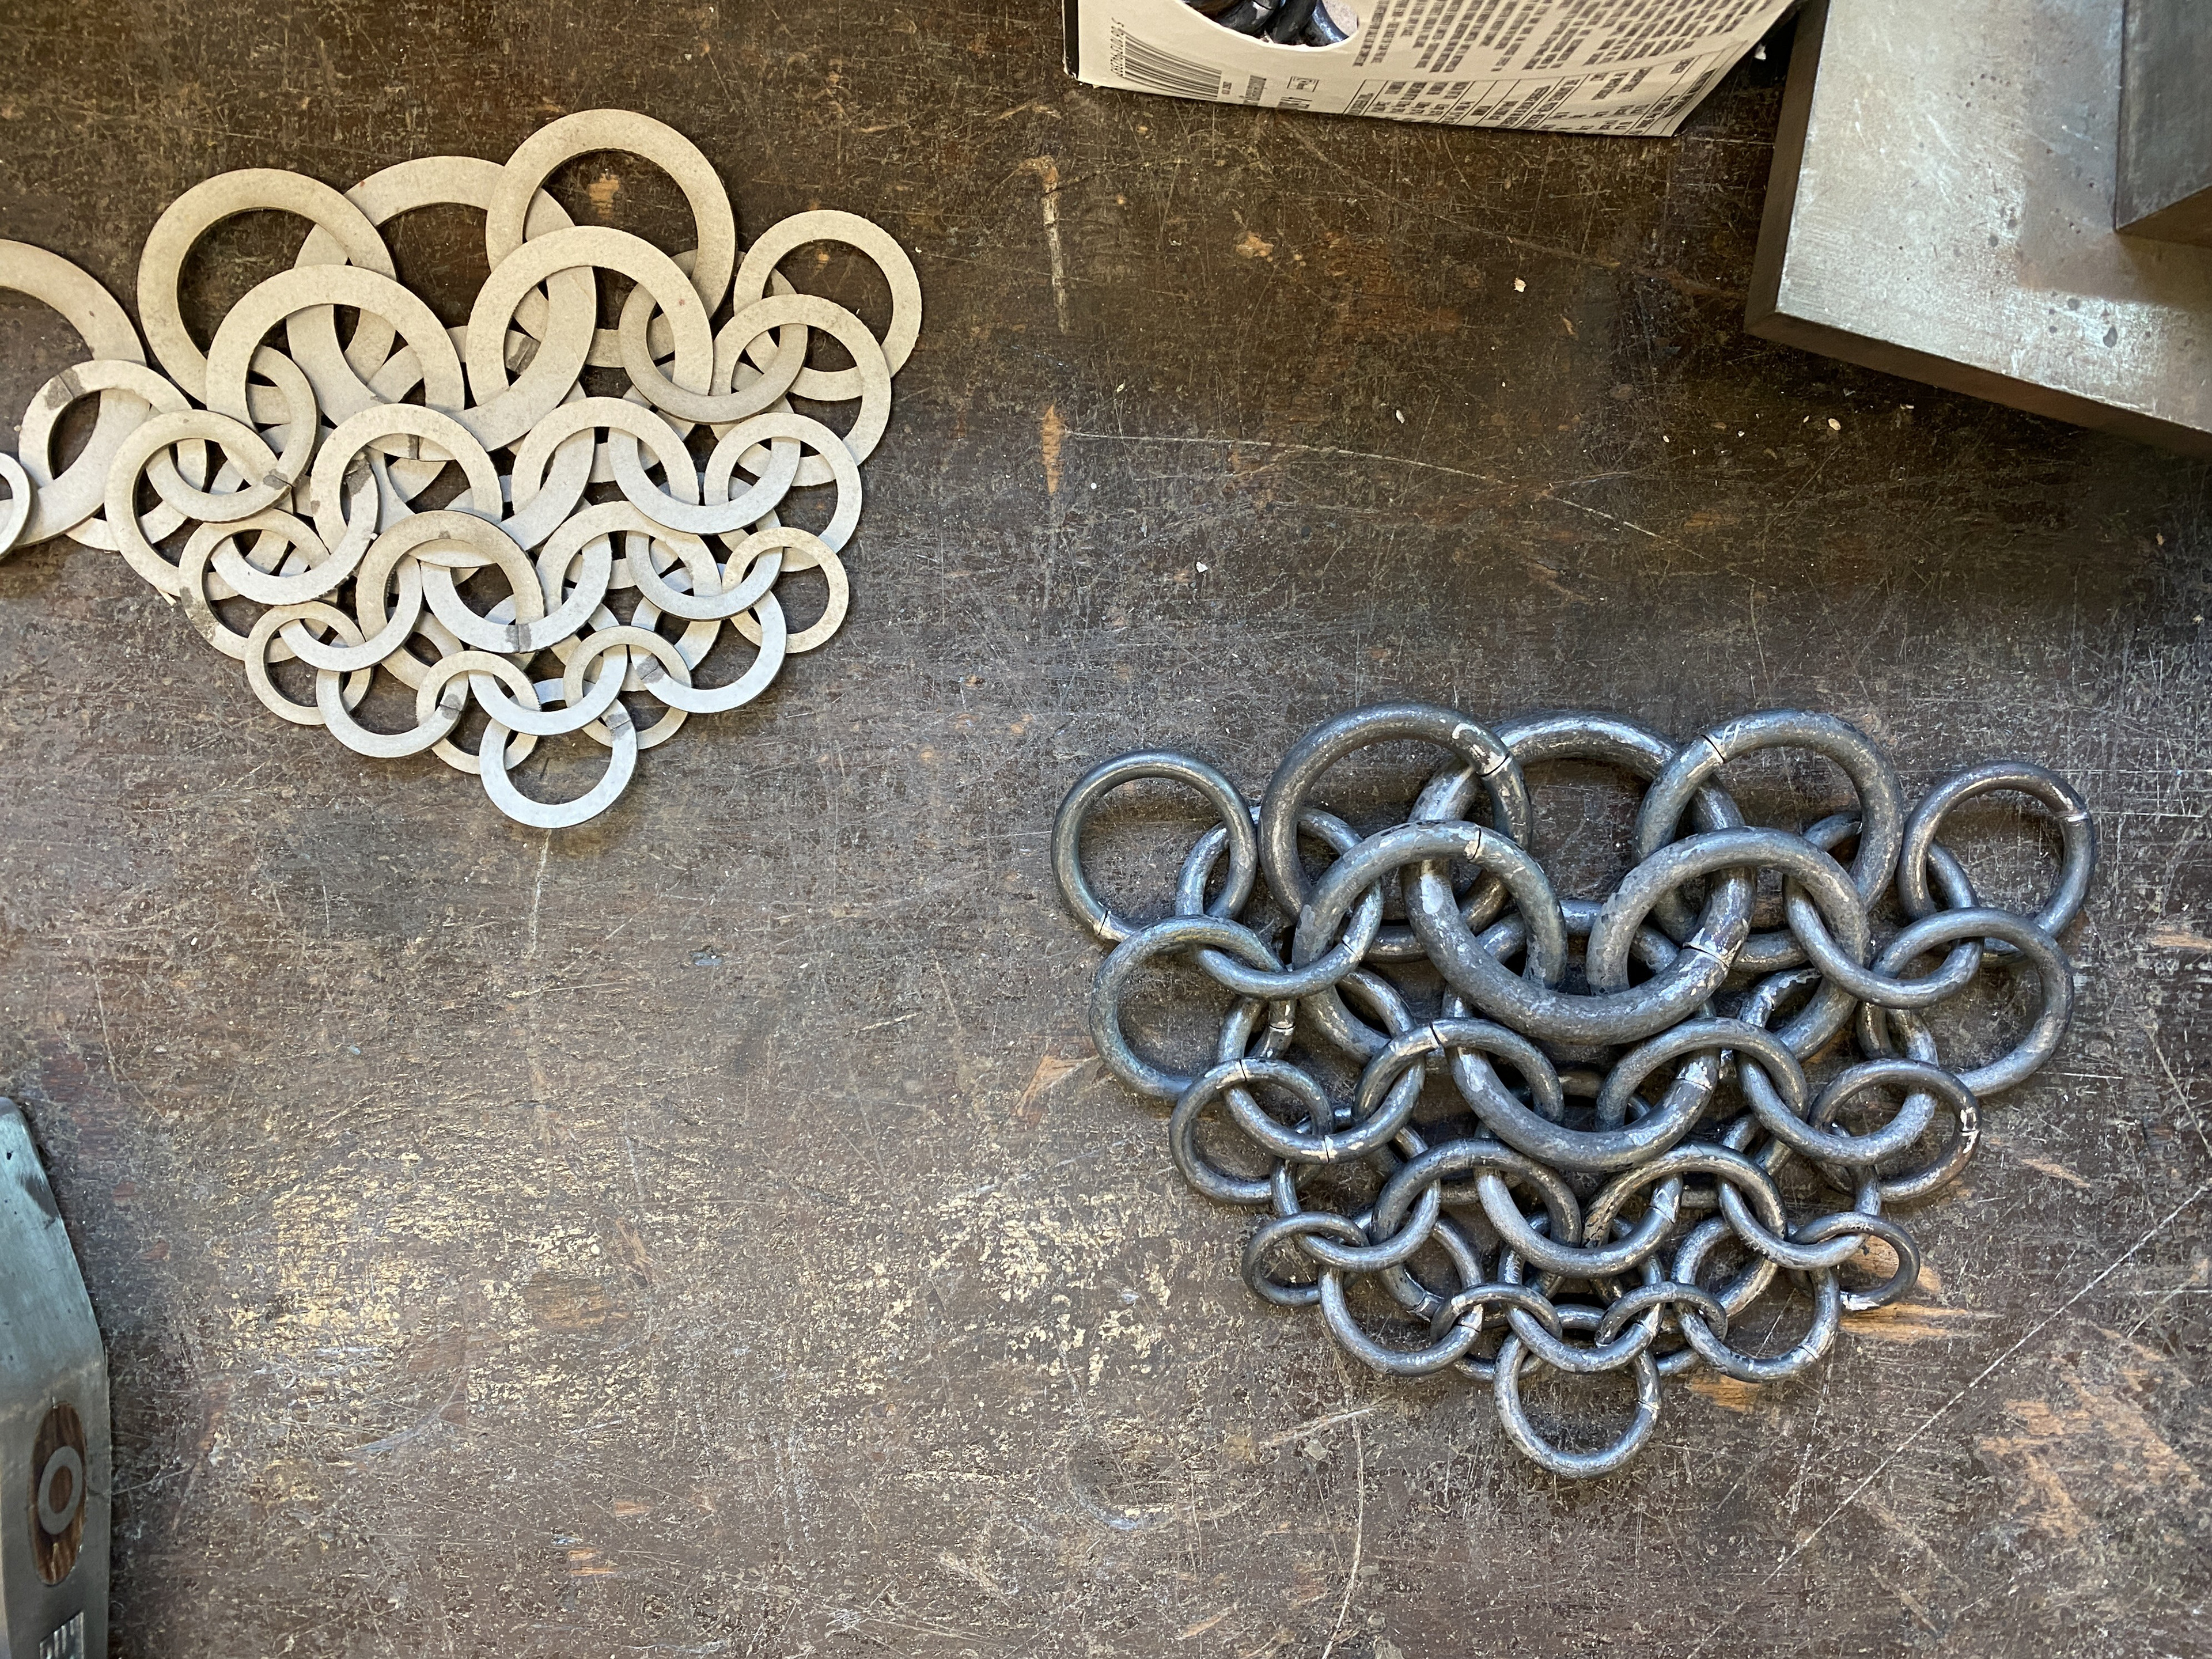
To make the Head piece I repeated my process of producing the links and weaved them together referencing the grey board model.
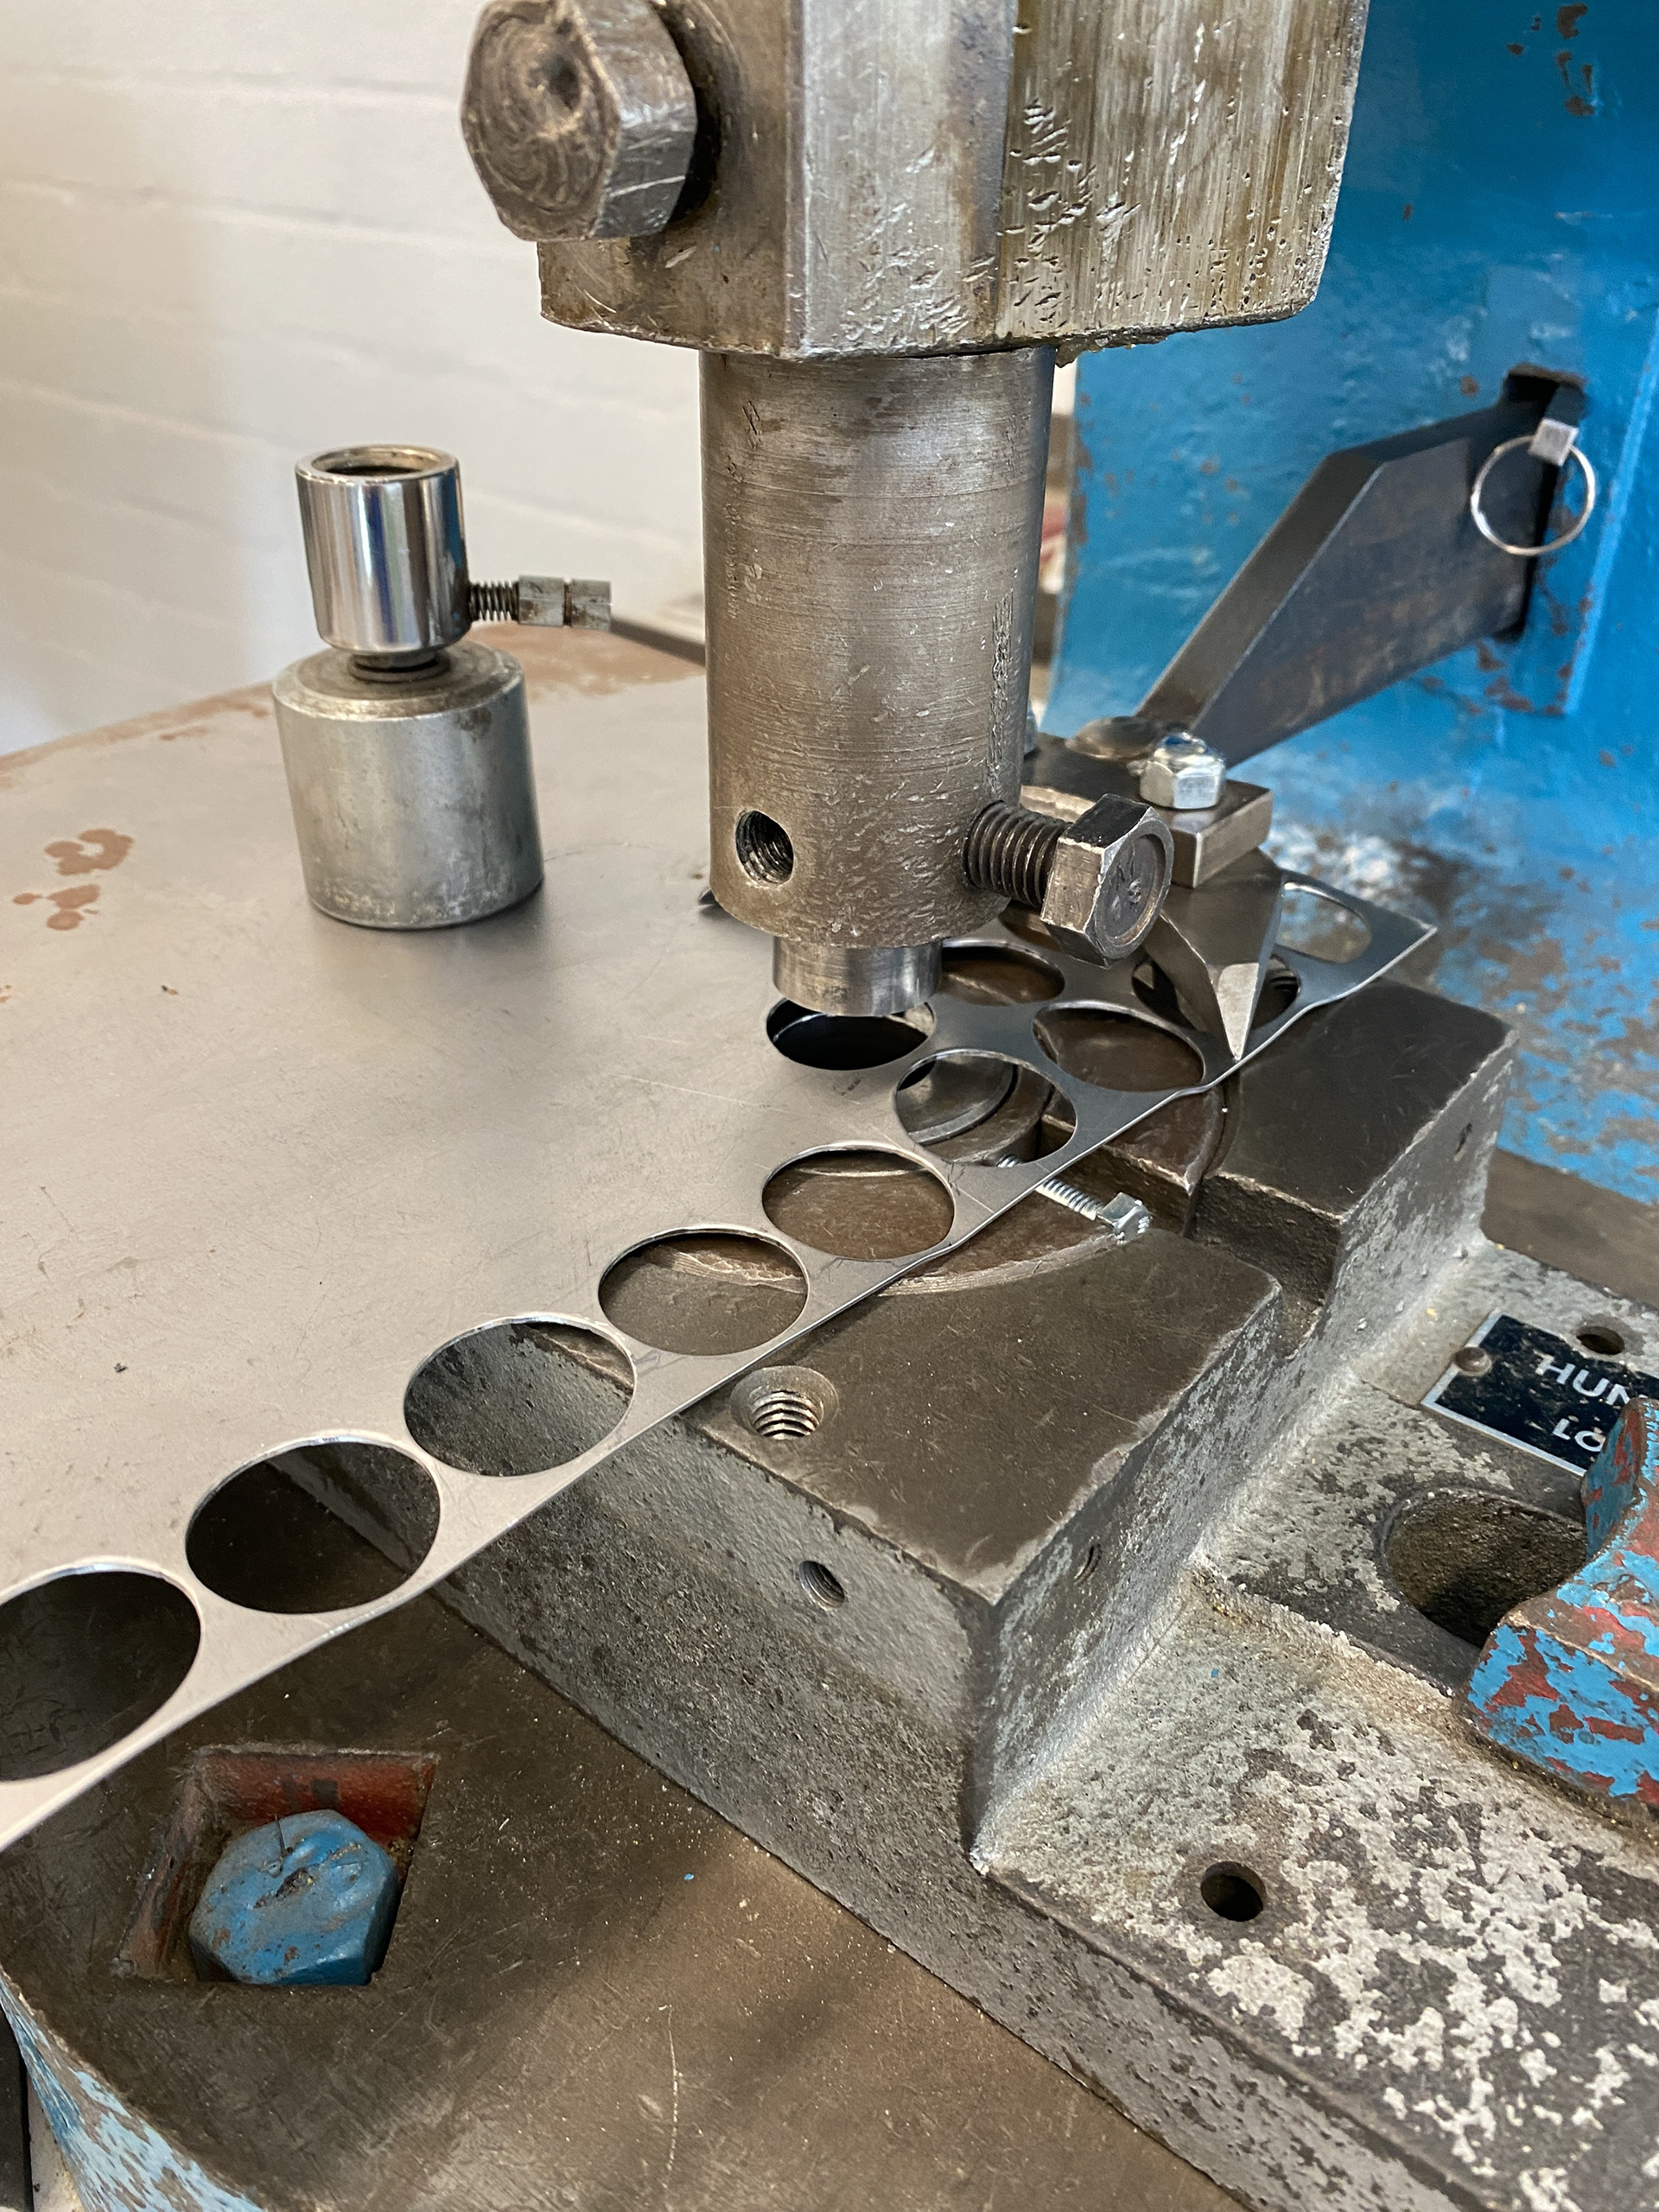
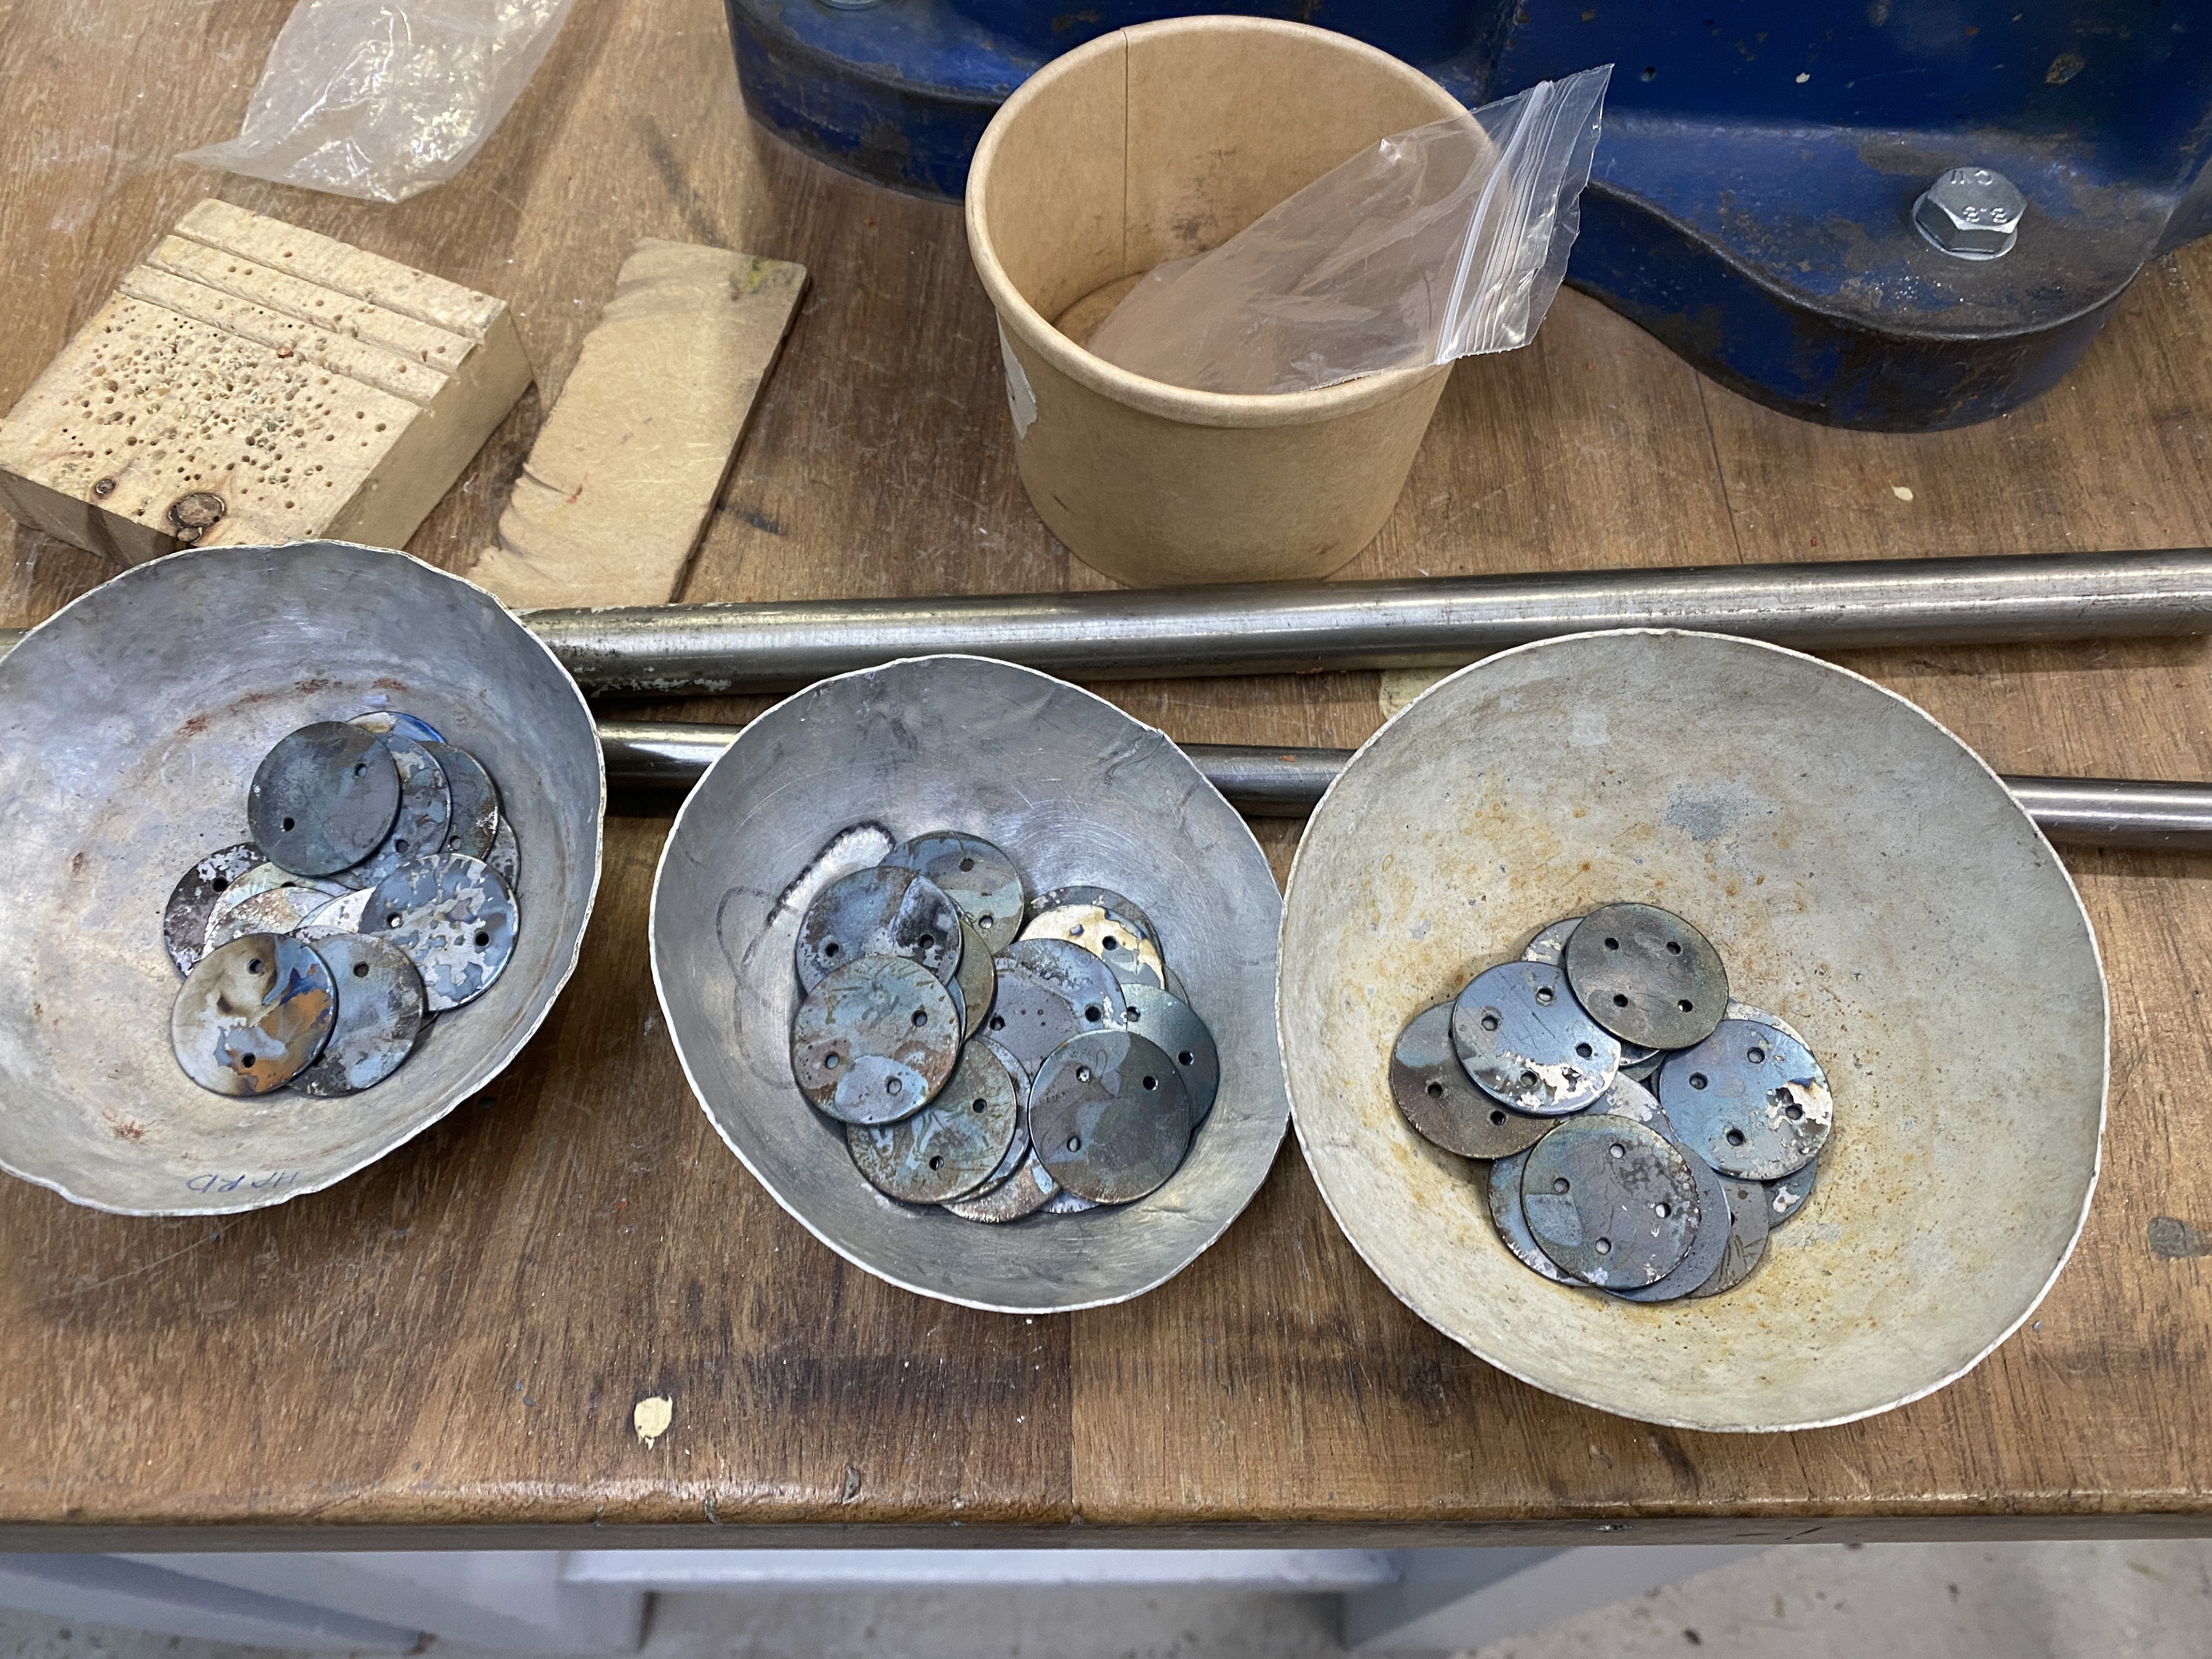
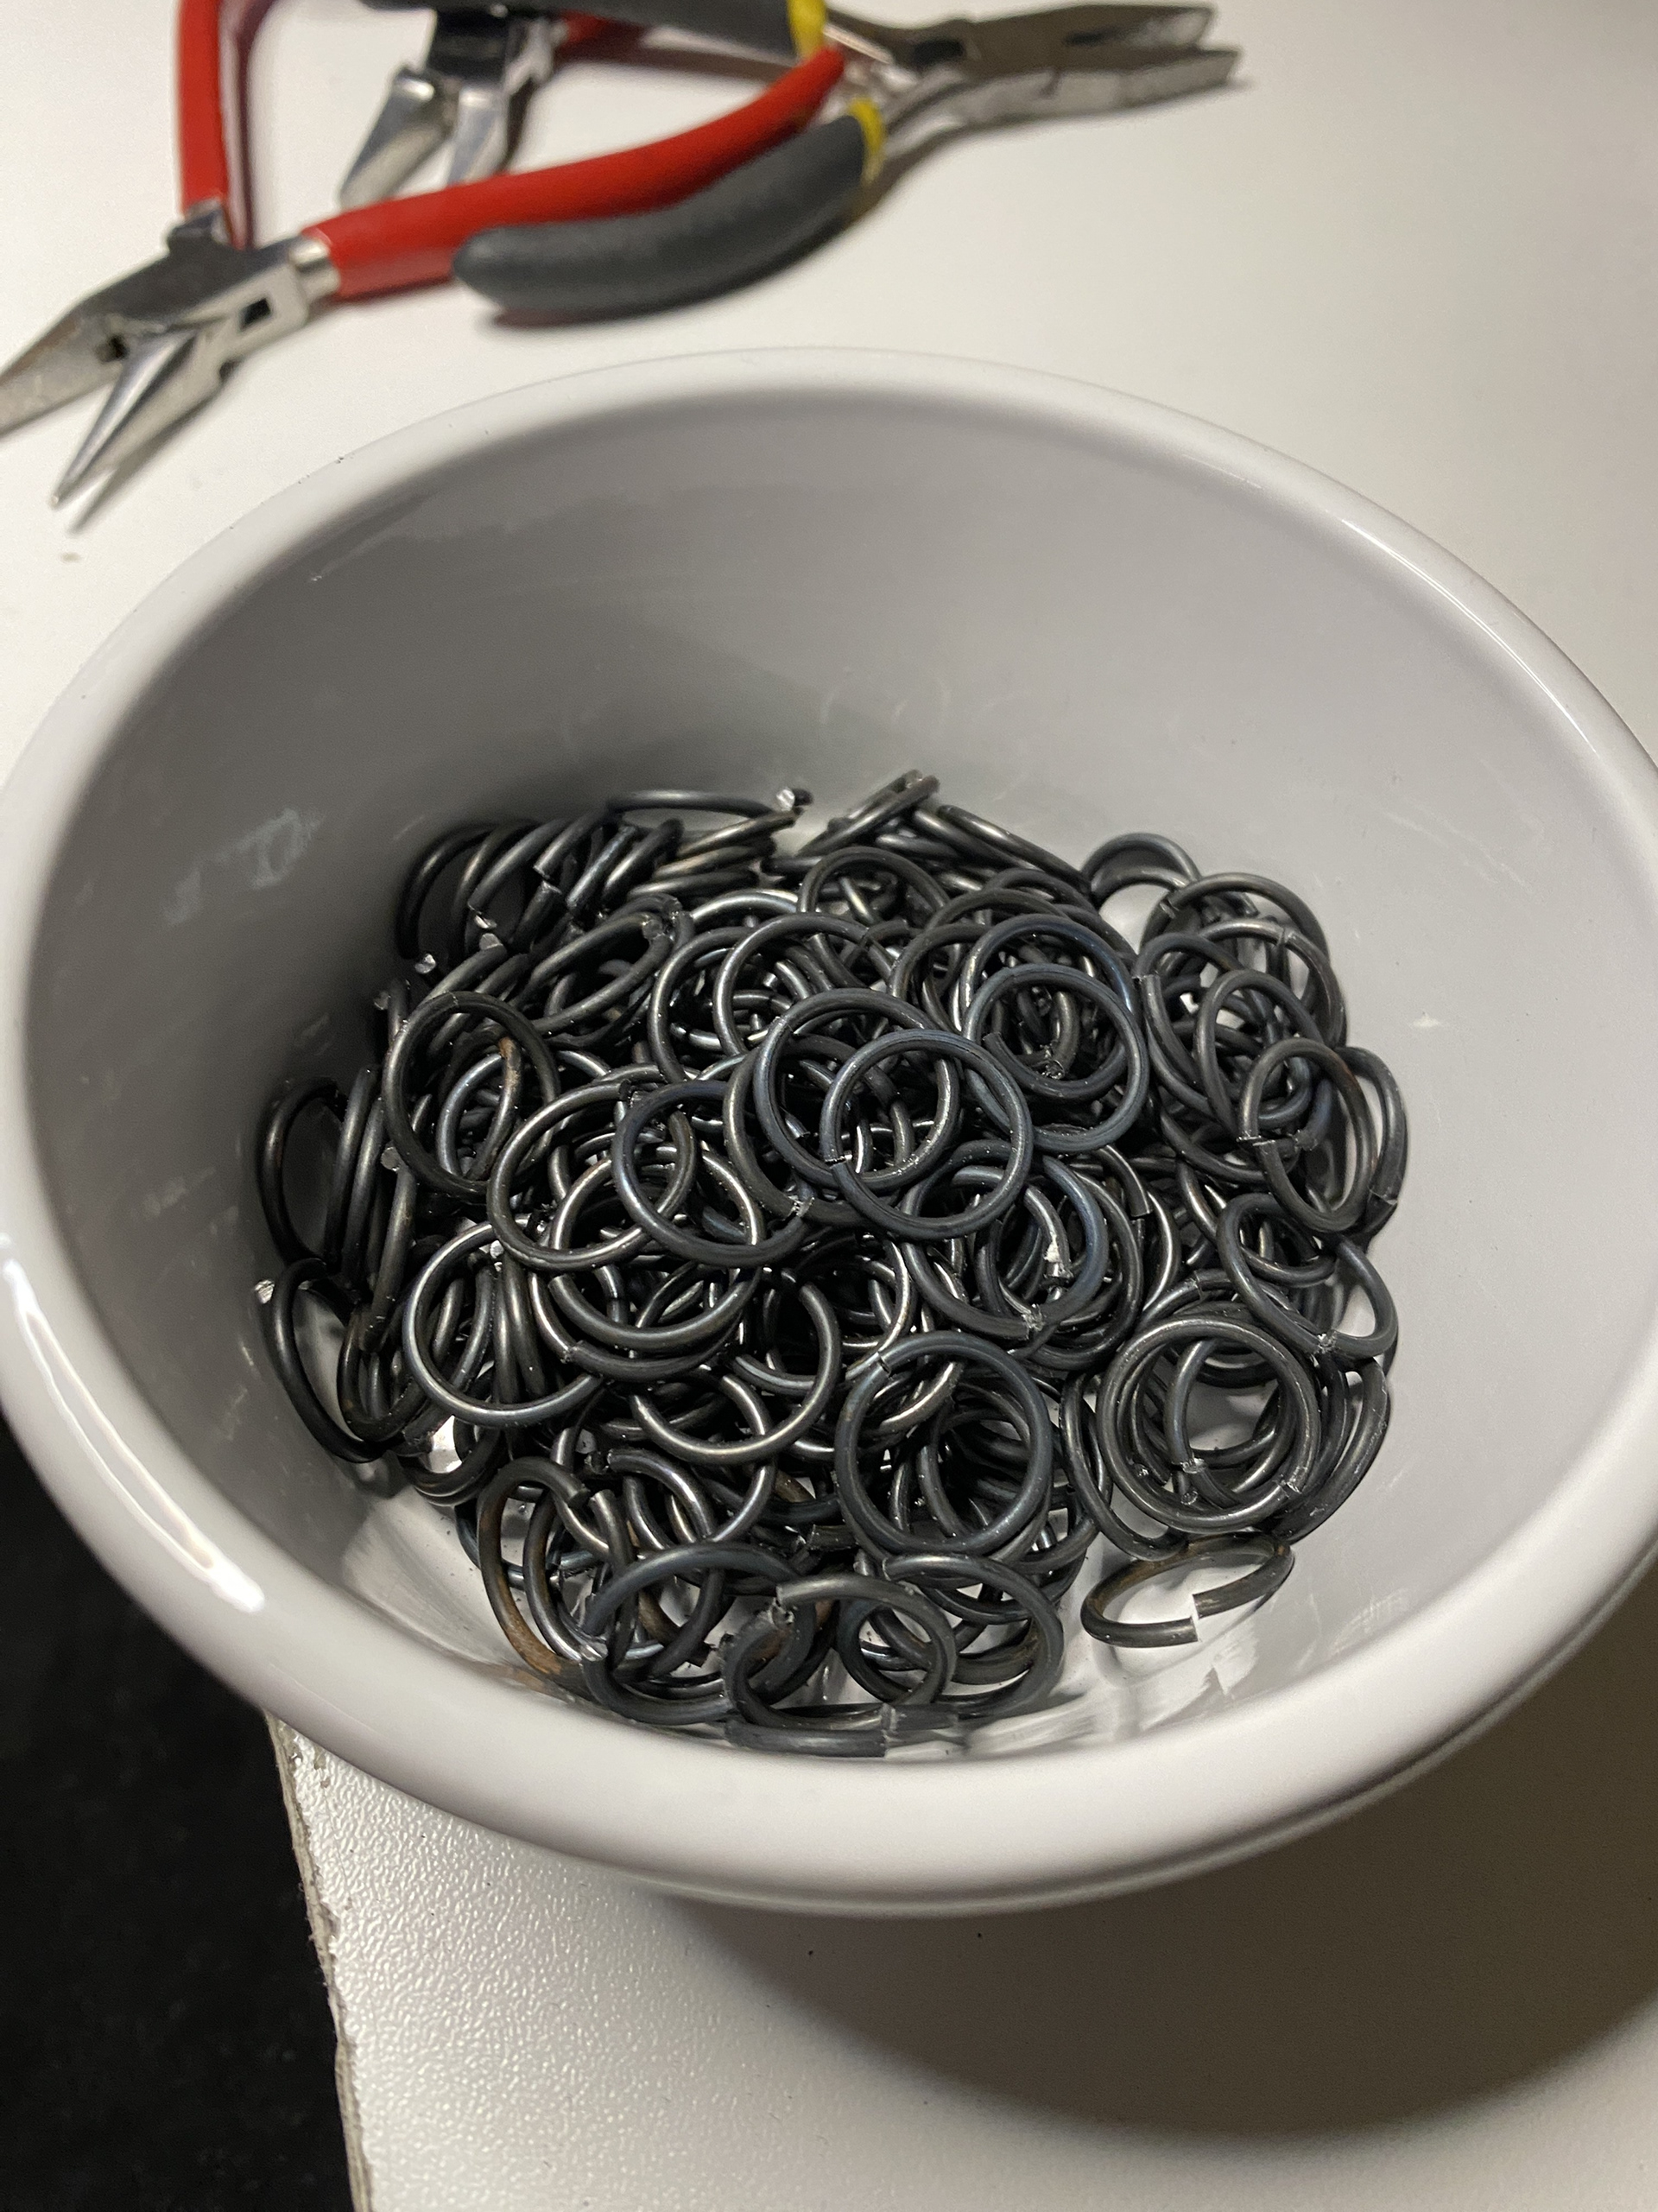
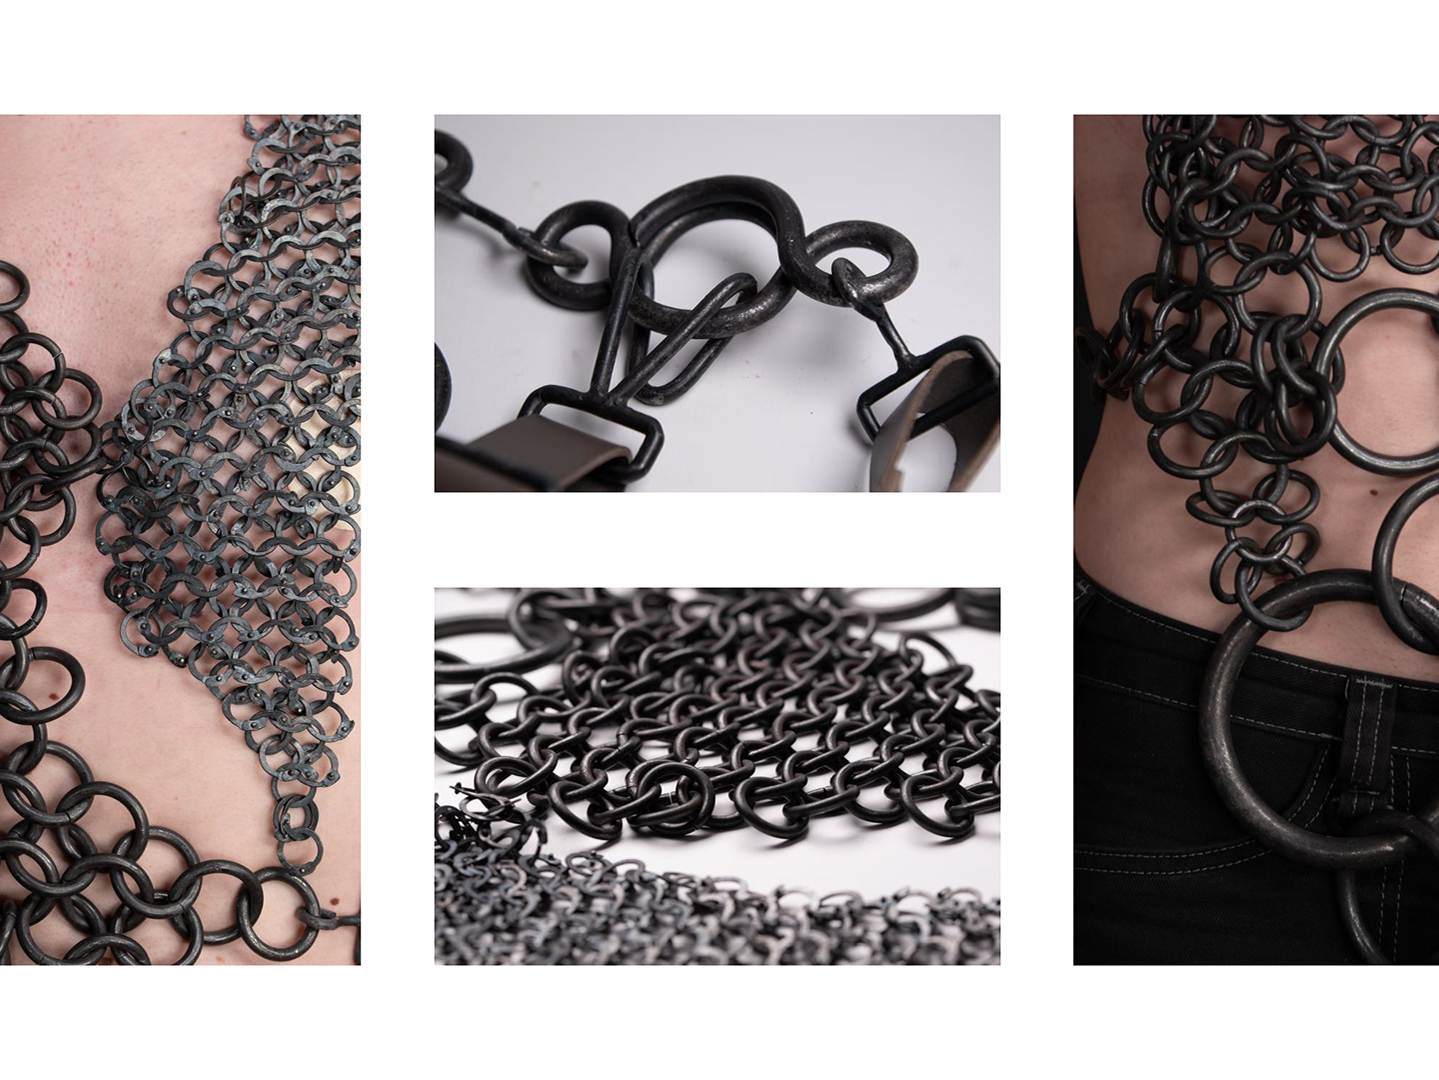
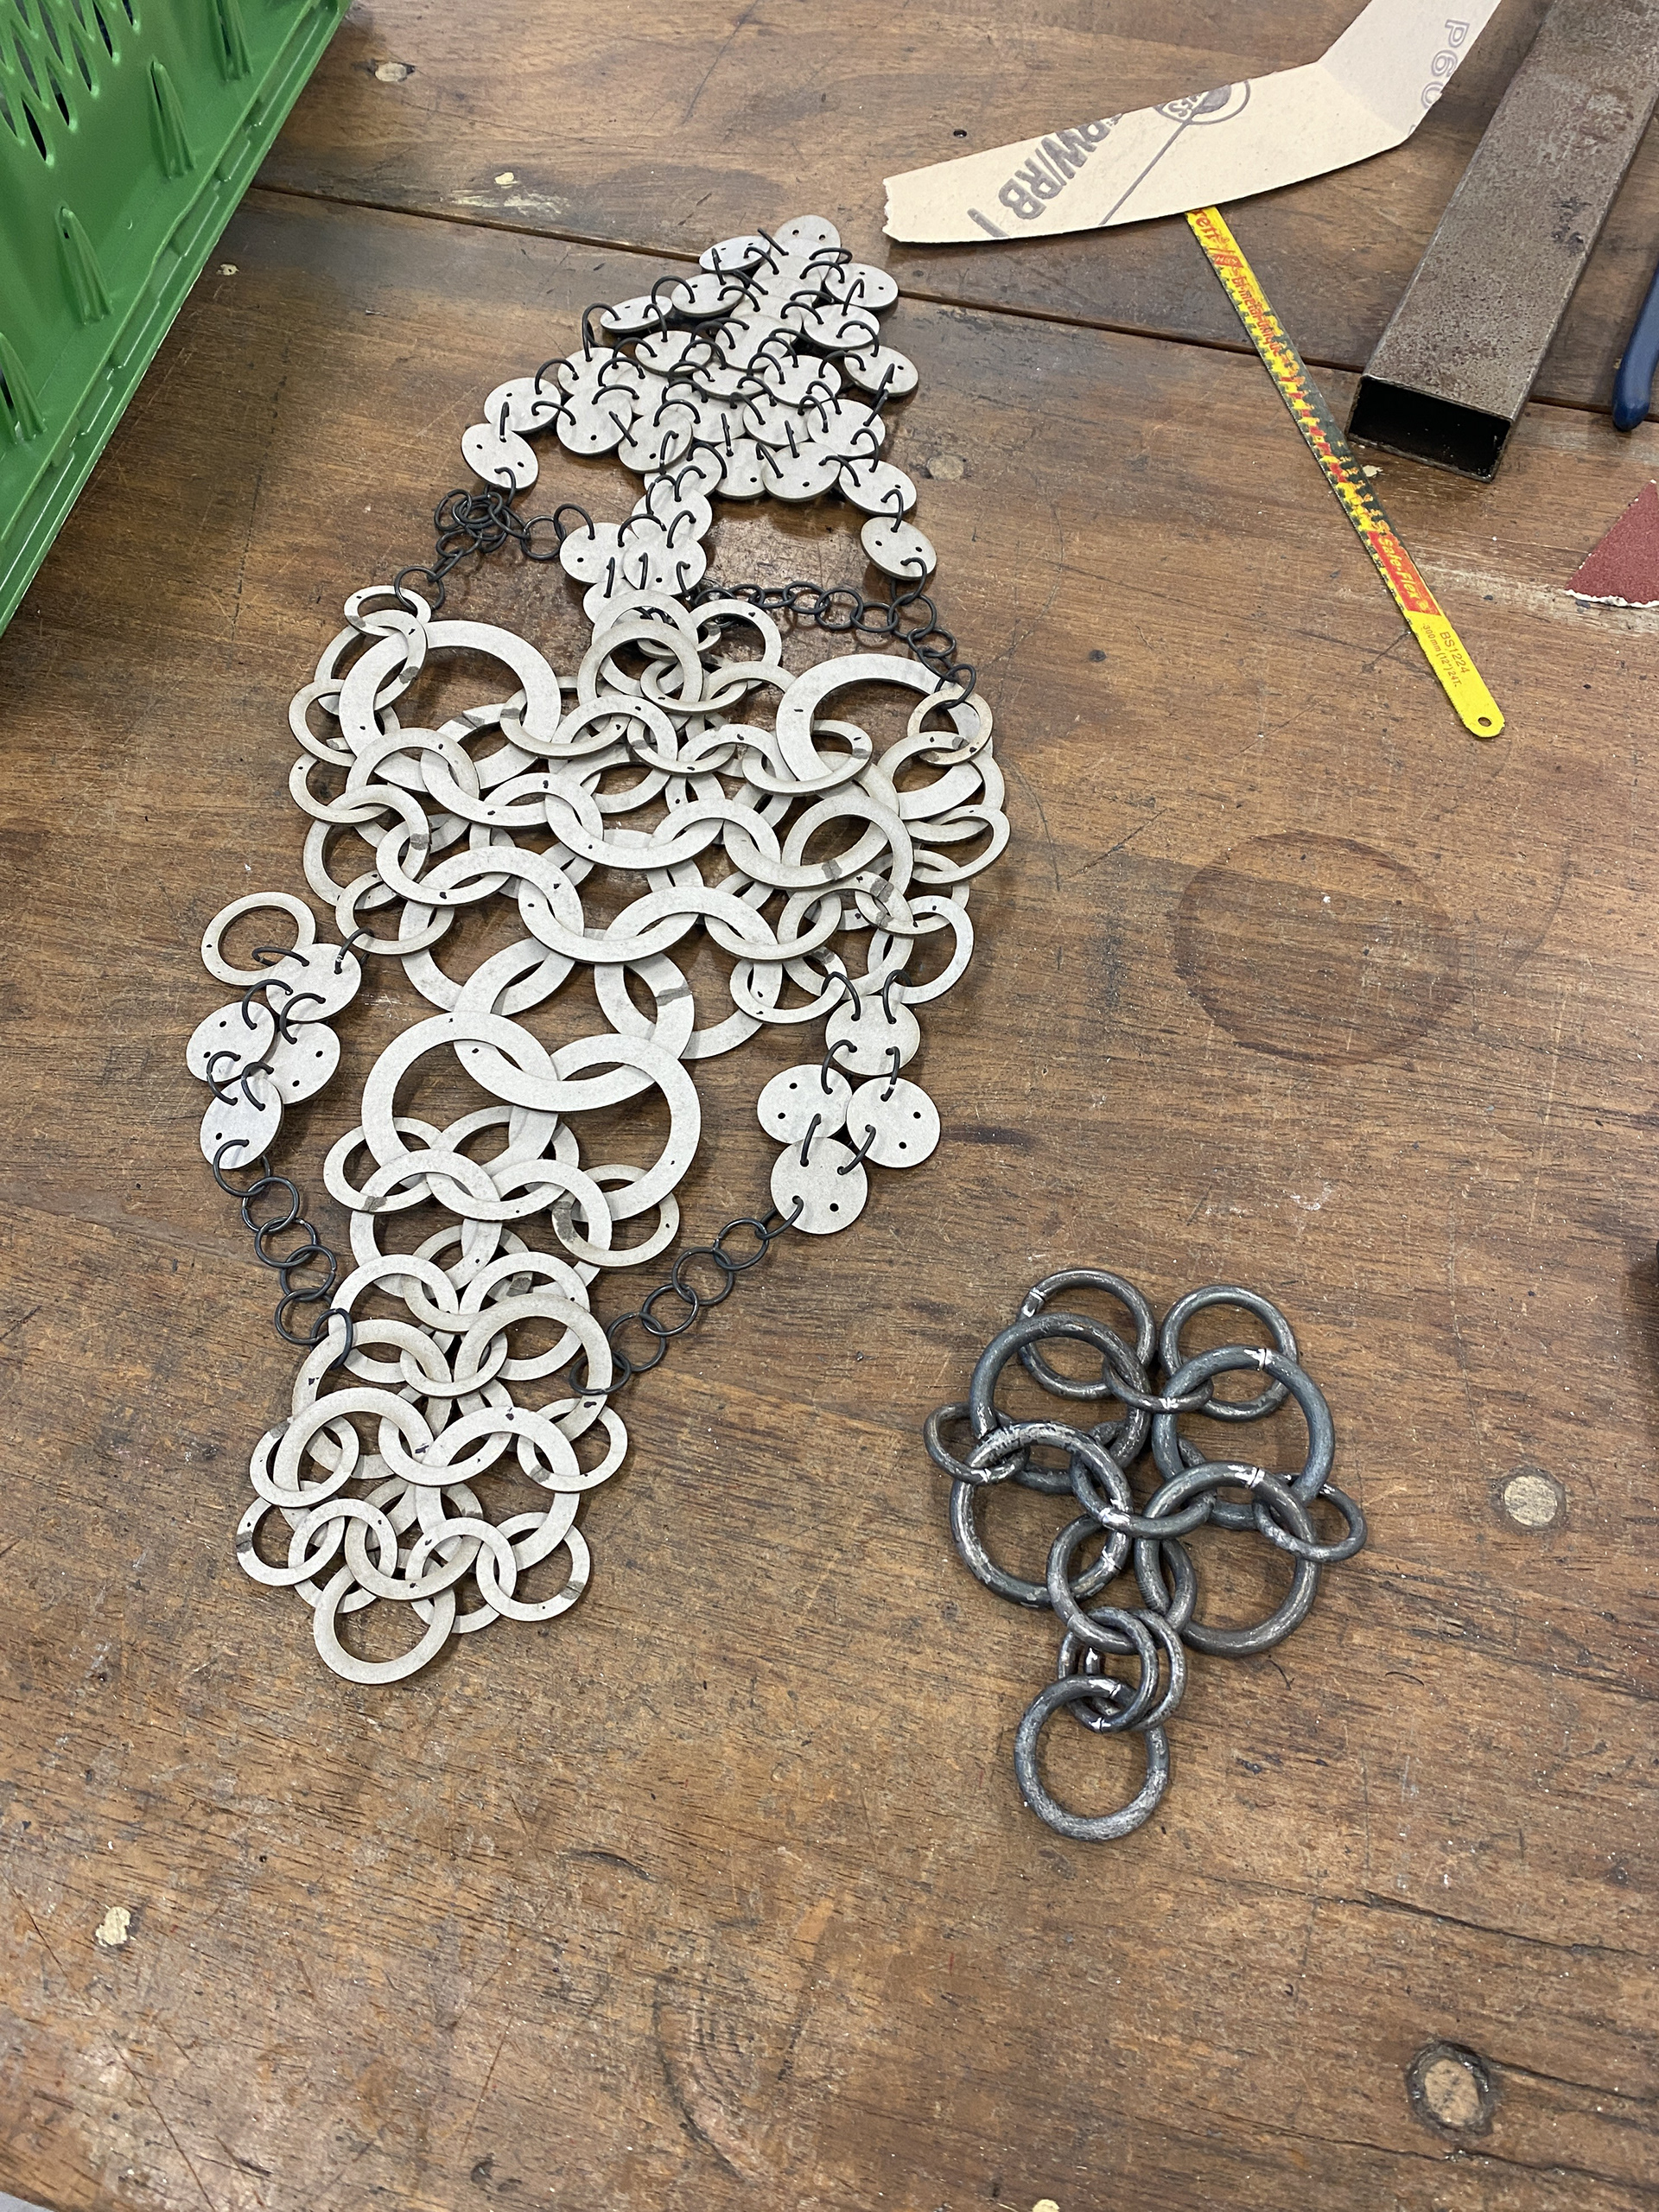
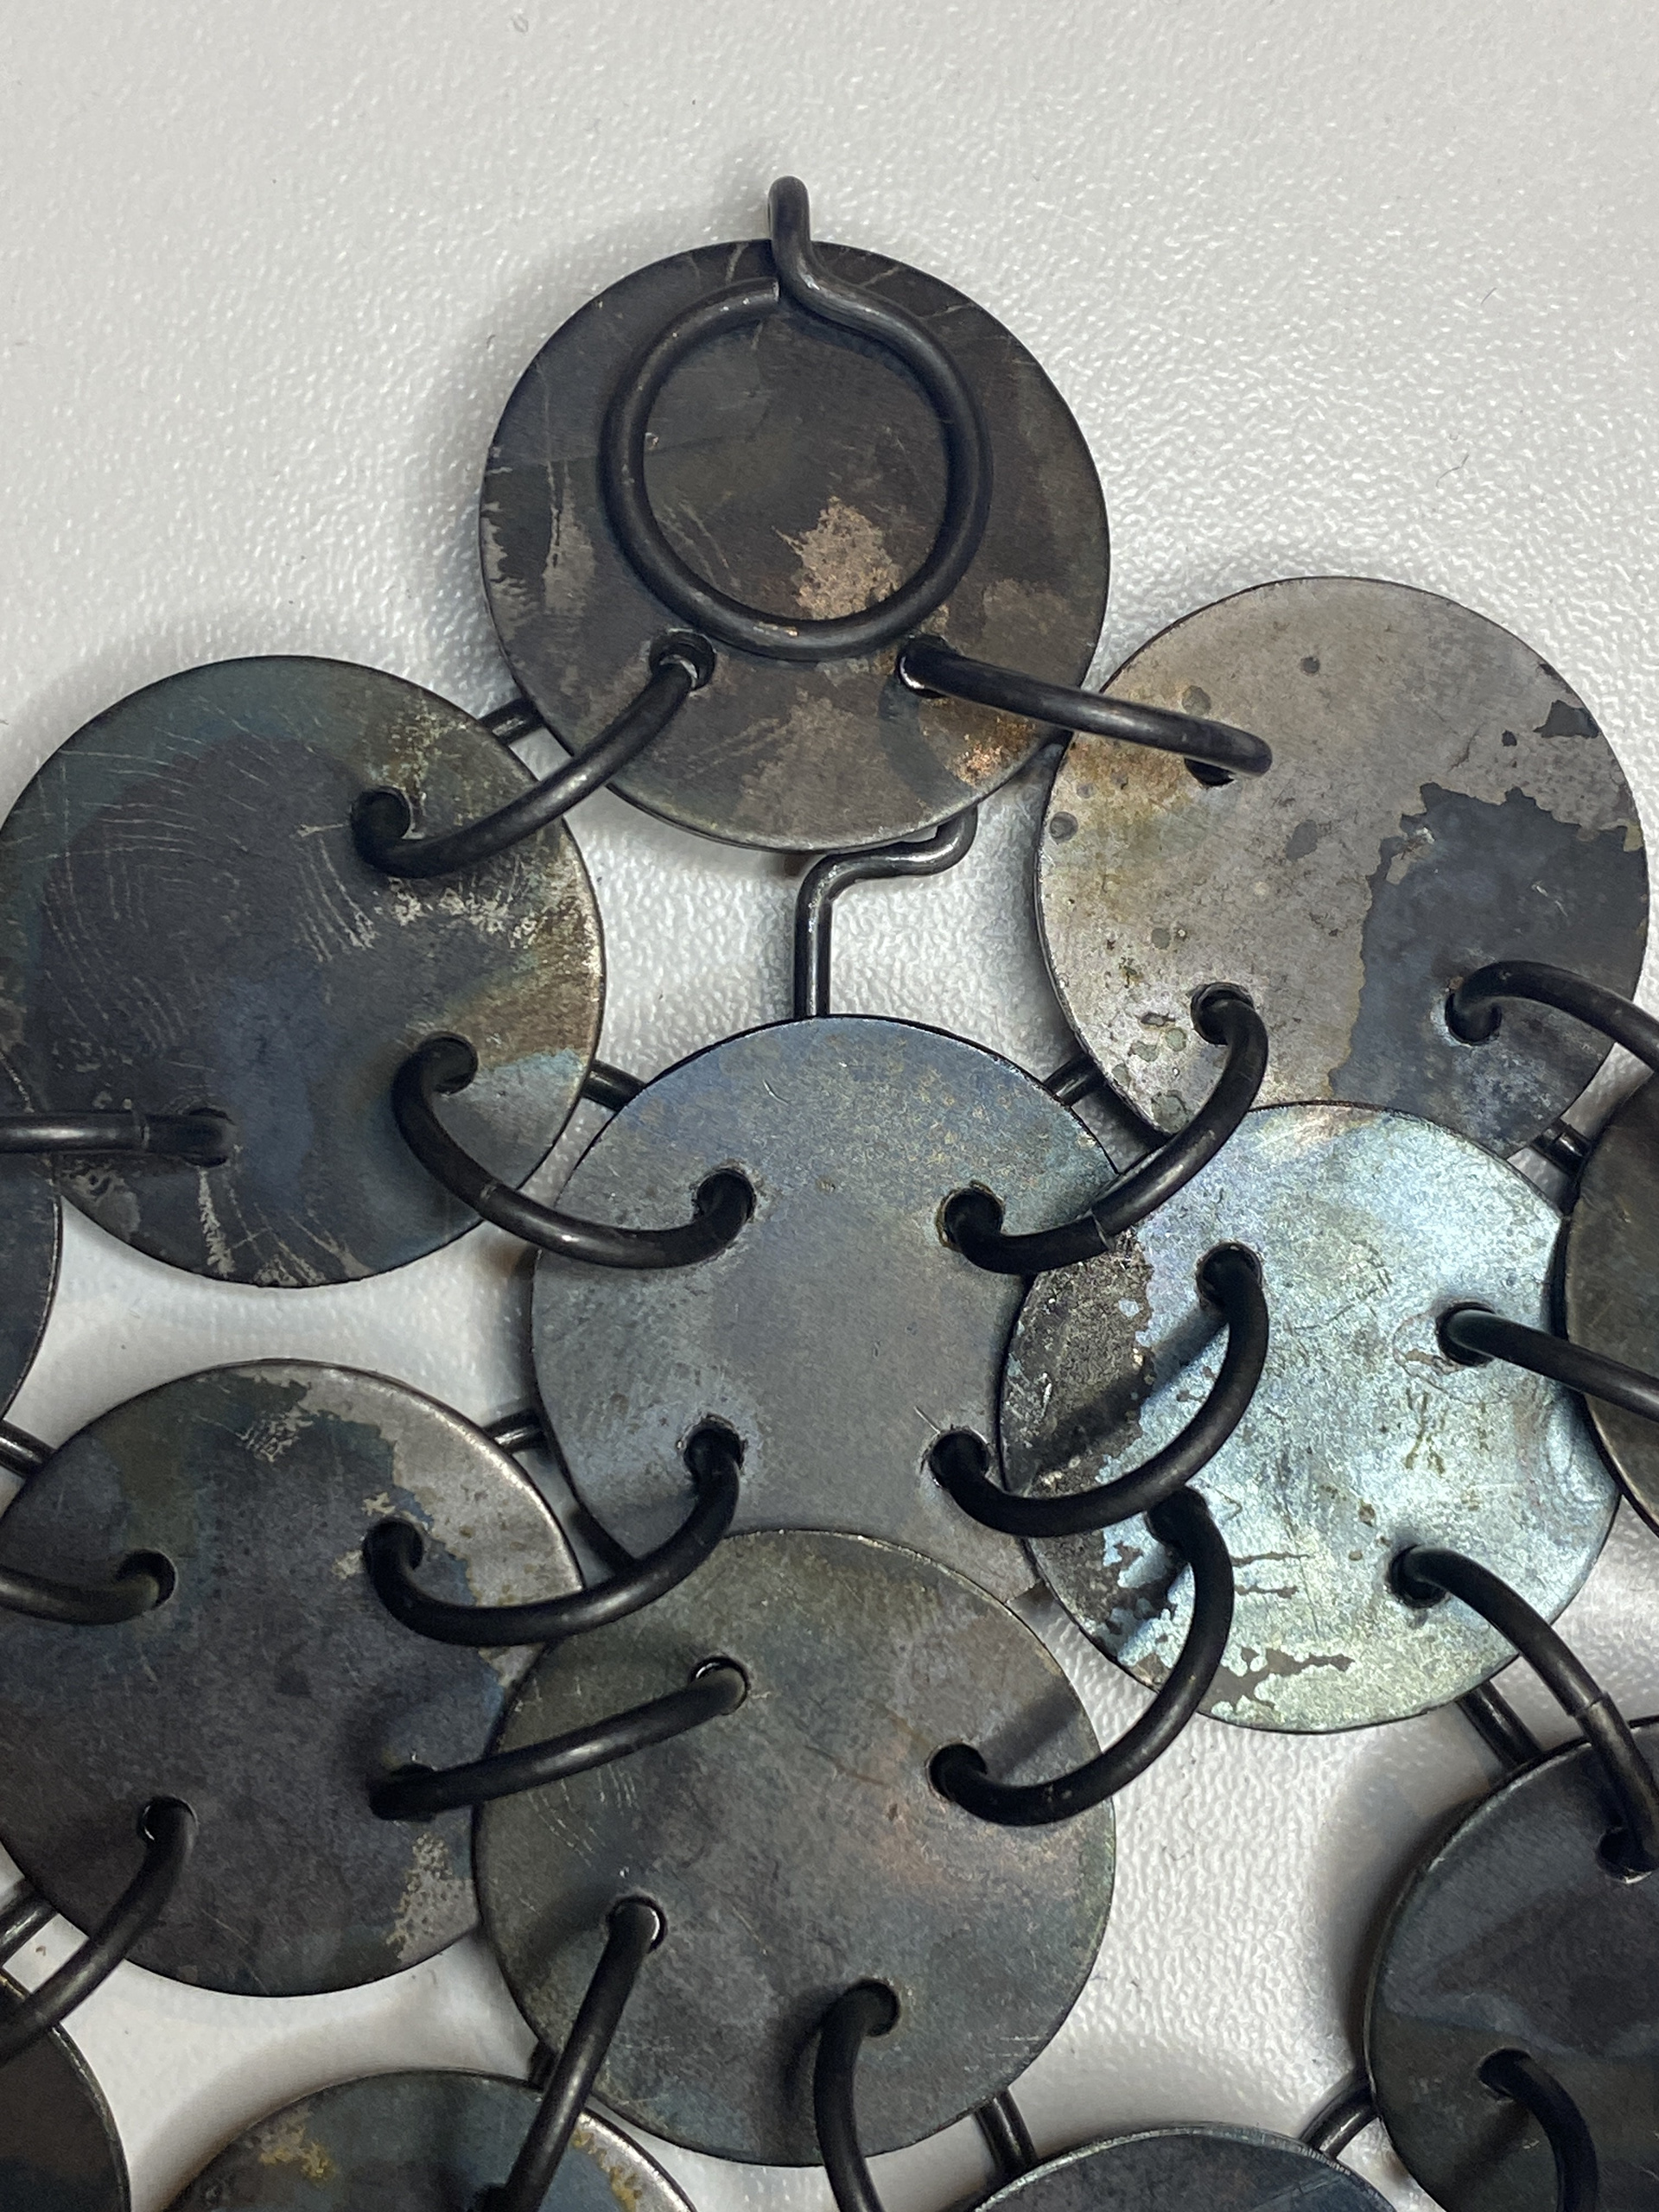
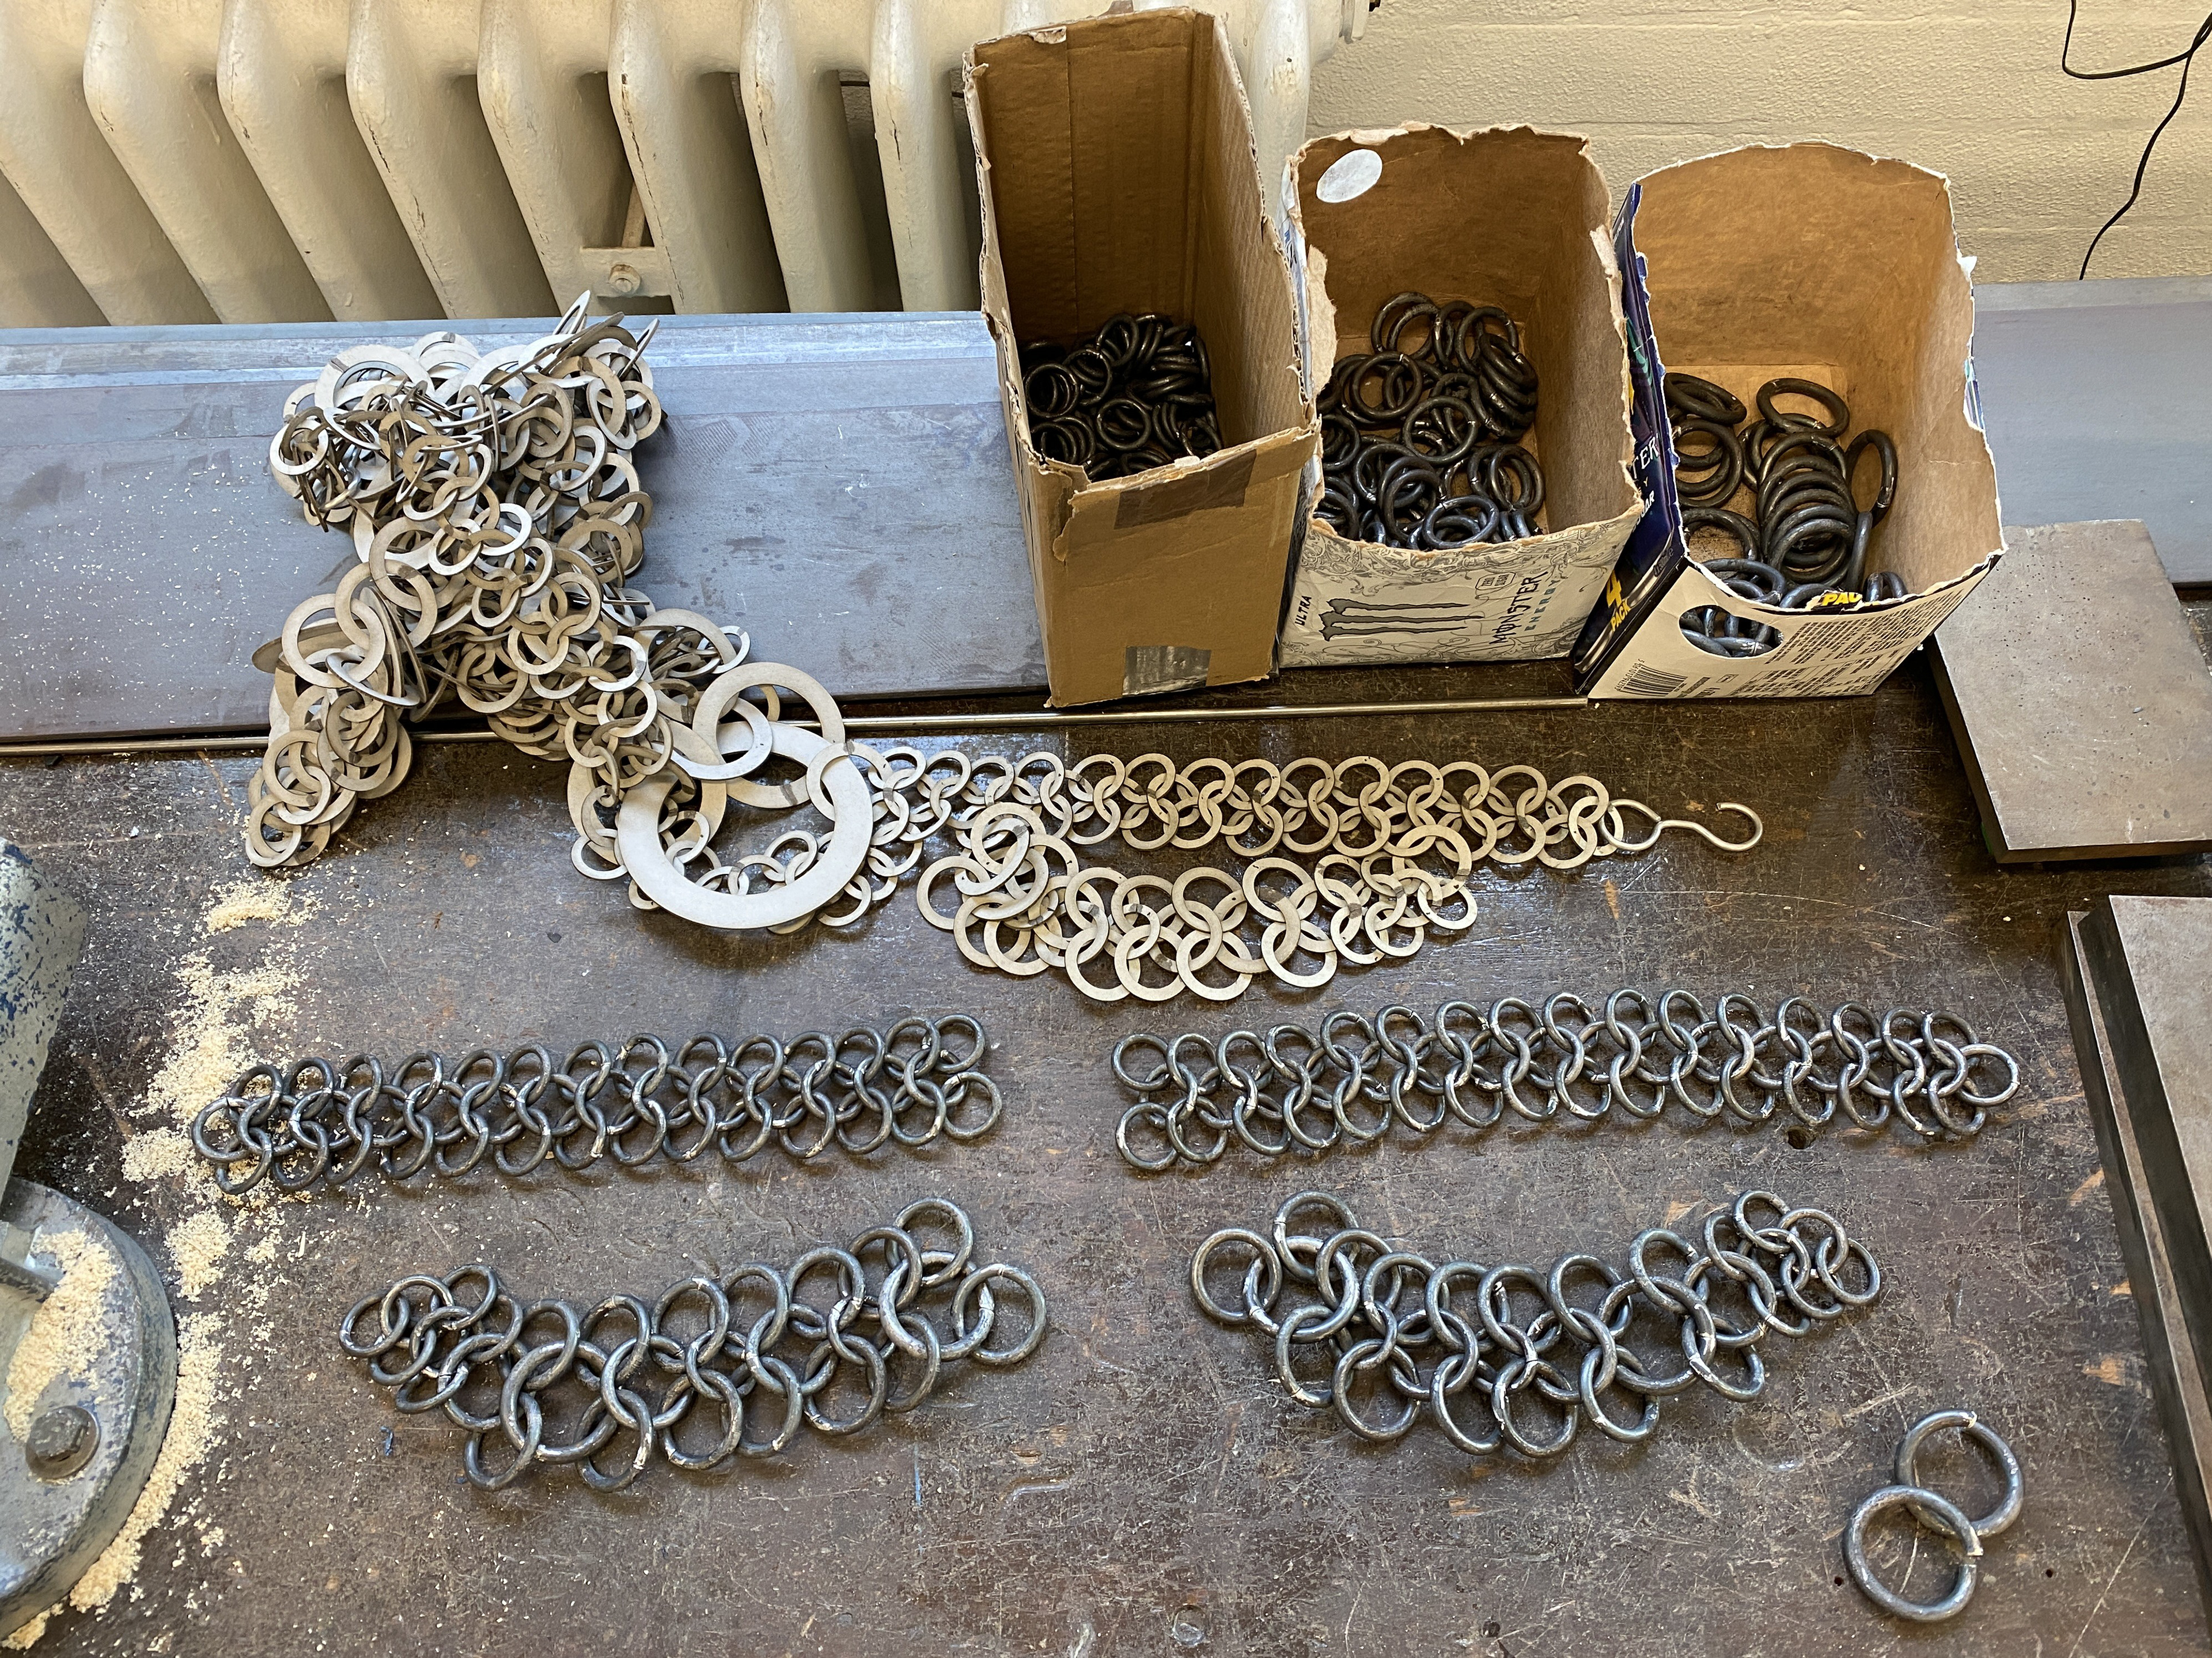
To produce the plate mail element, I fly pressed out the circles and drilled the required connecting holes before adding the surface finish in the forge. Additionally, I made the smaller links from the 1.6mm iron wire.
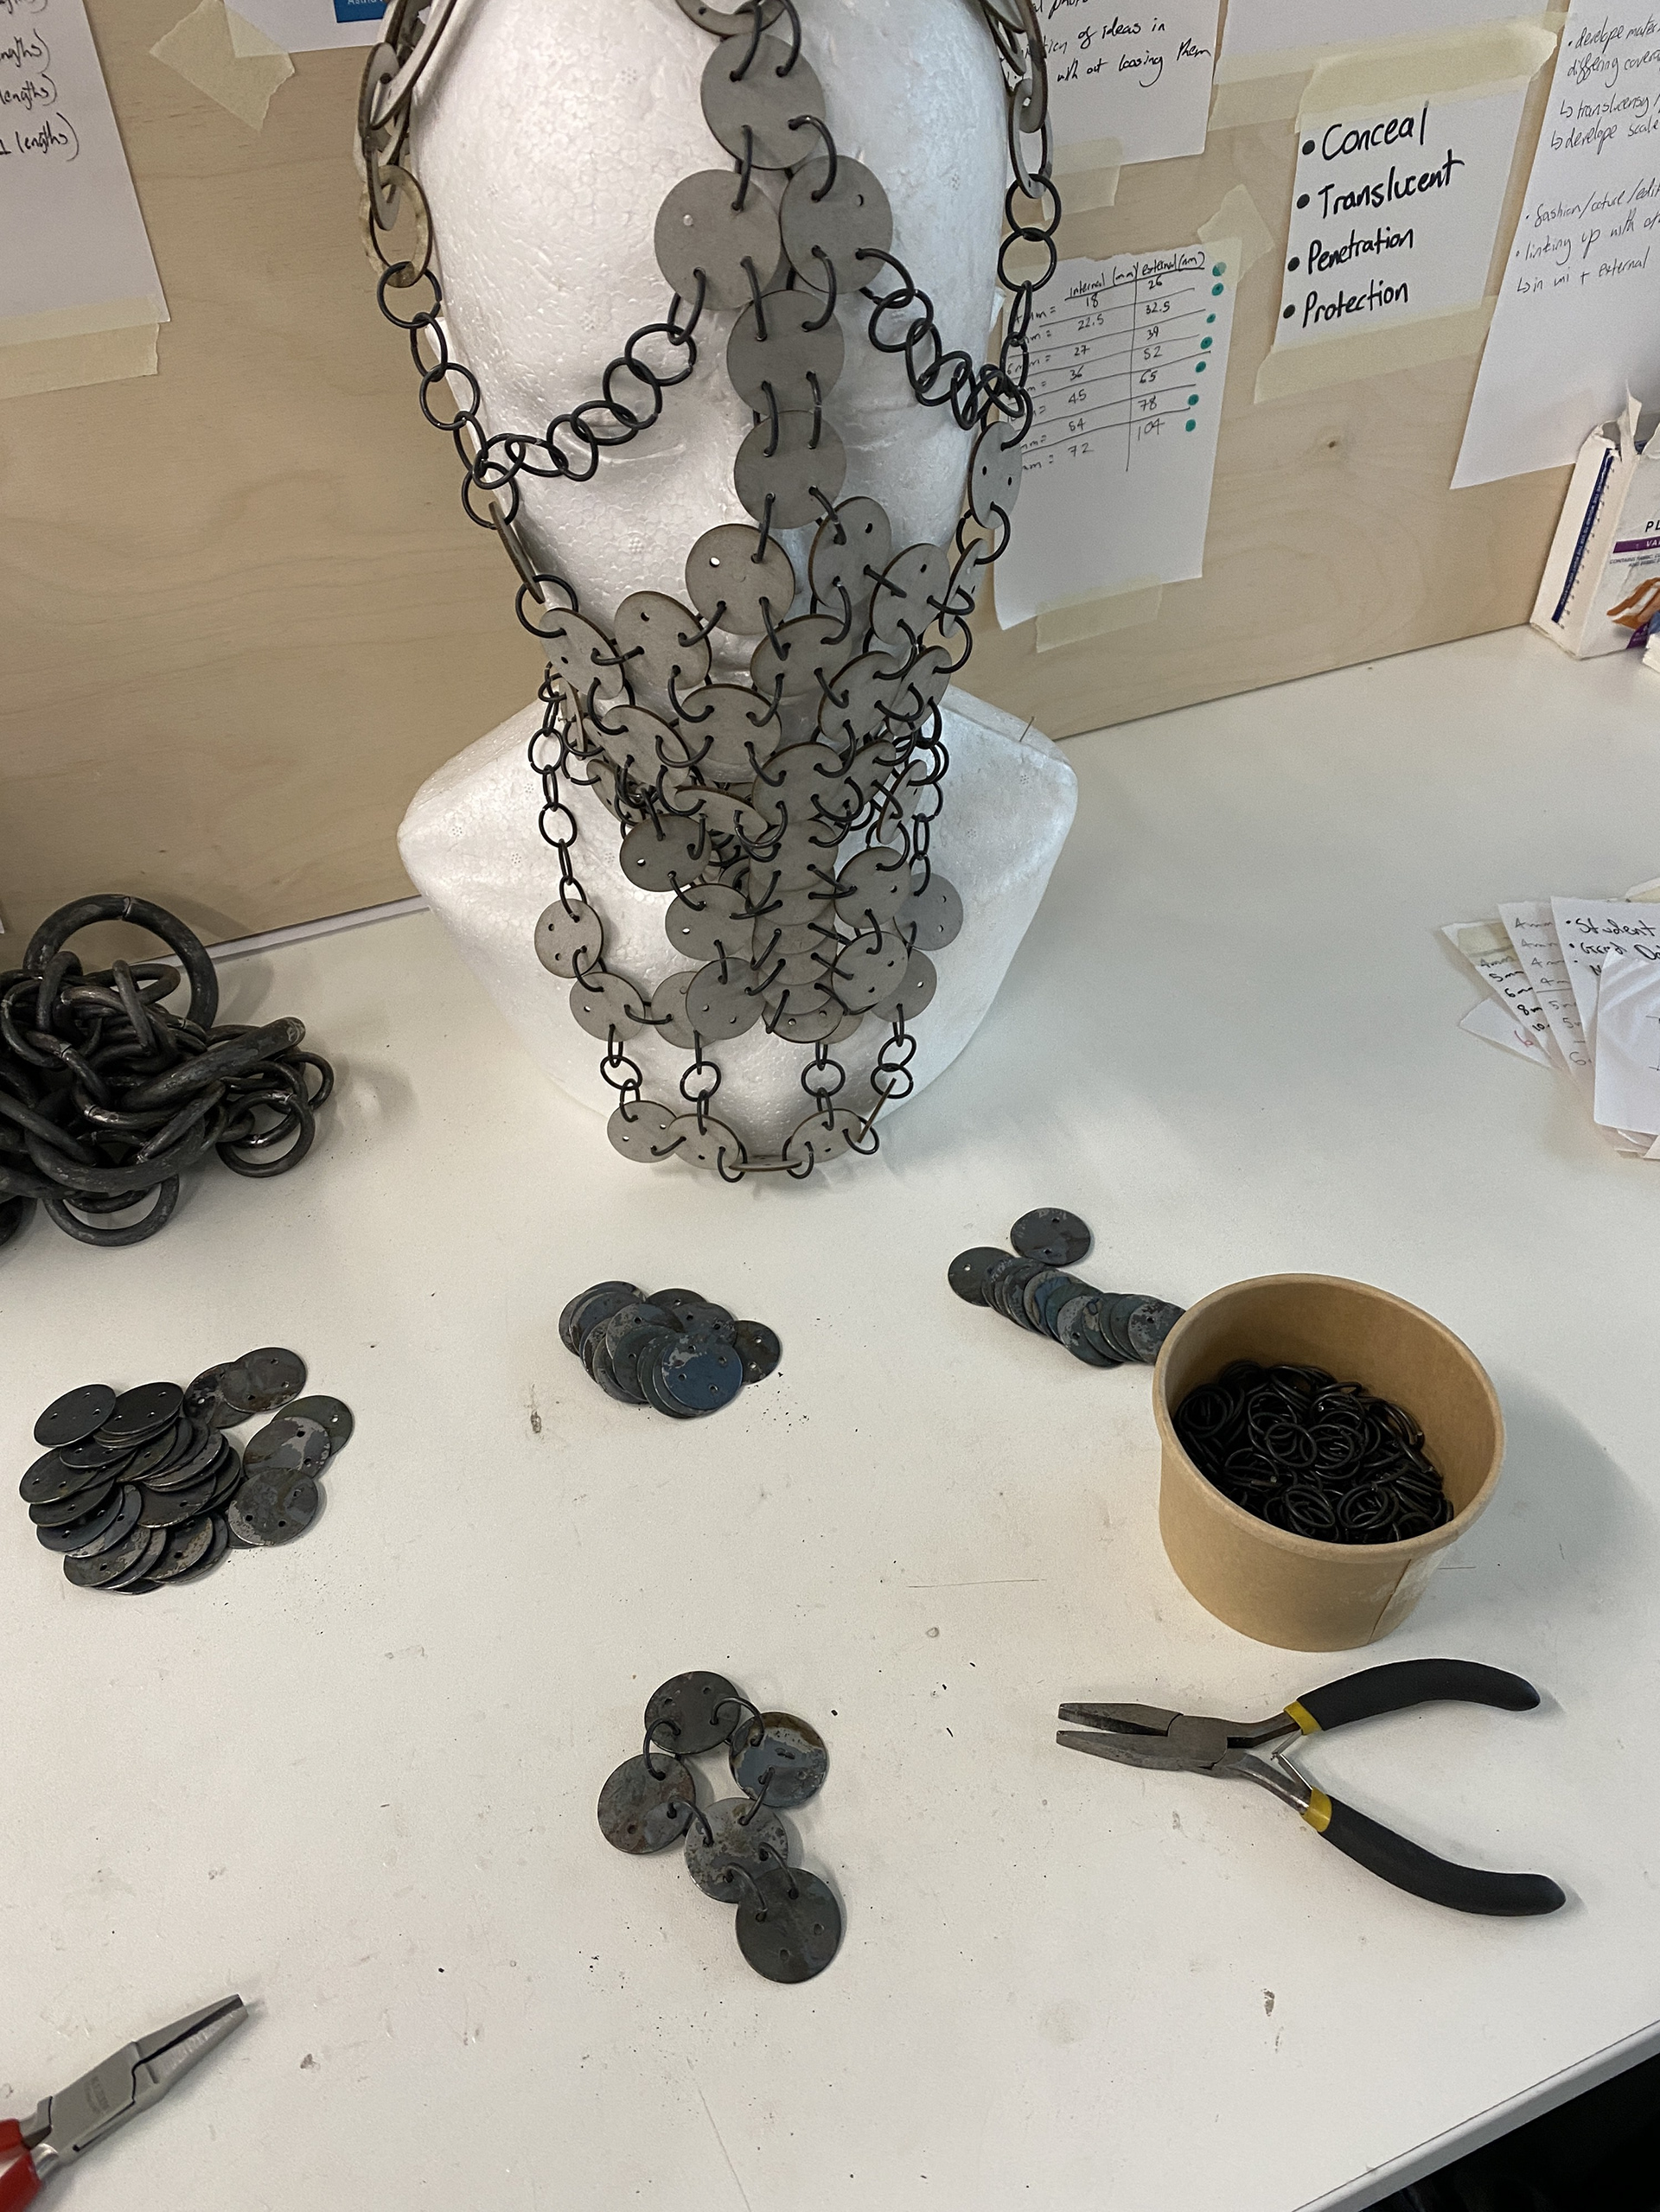


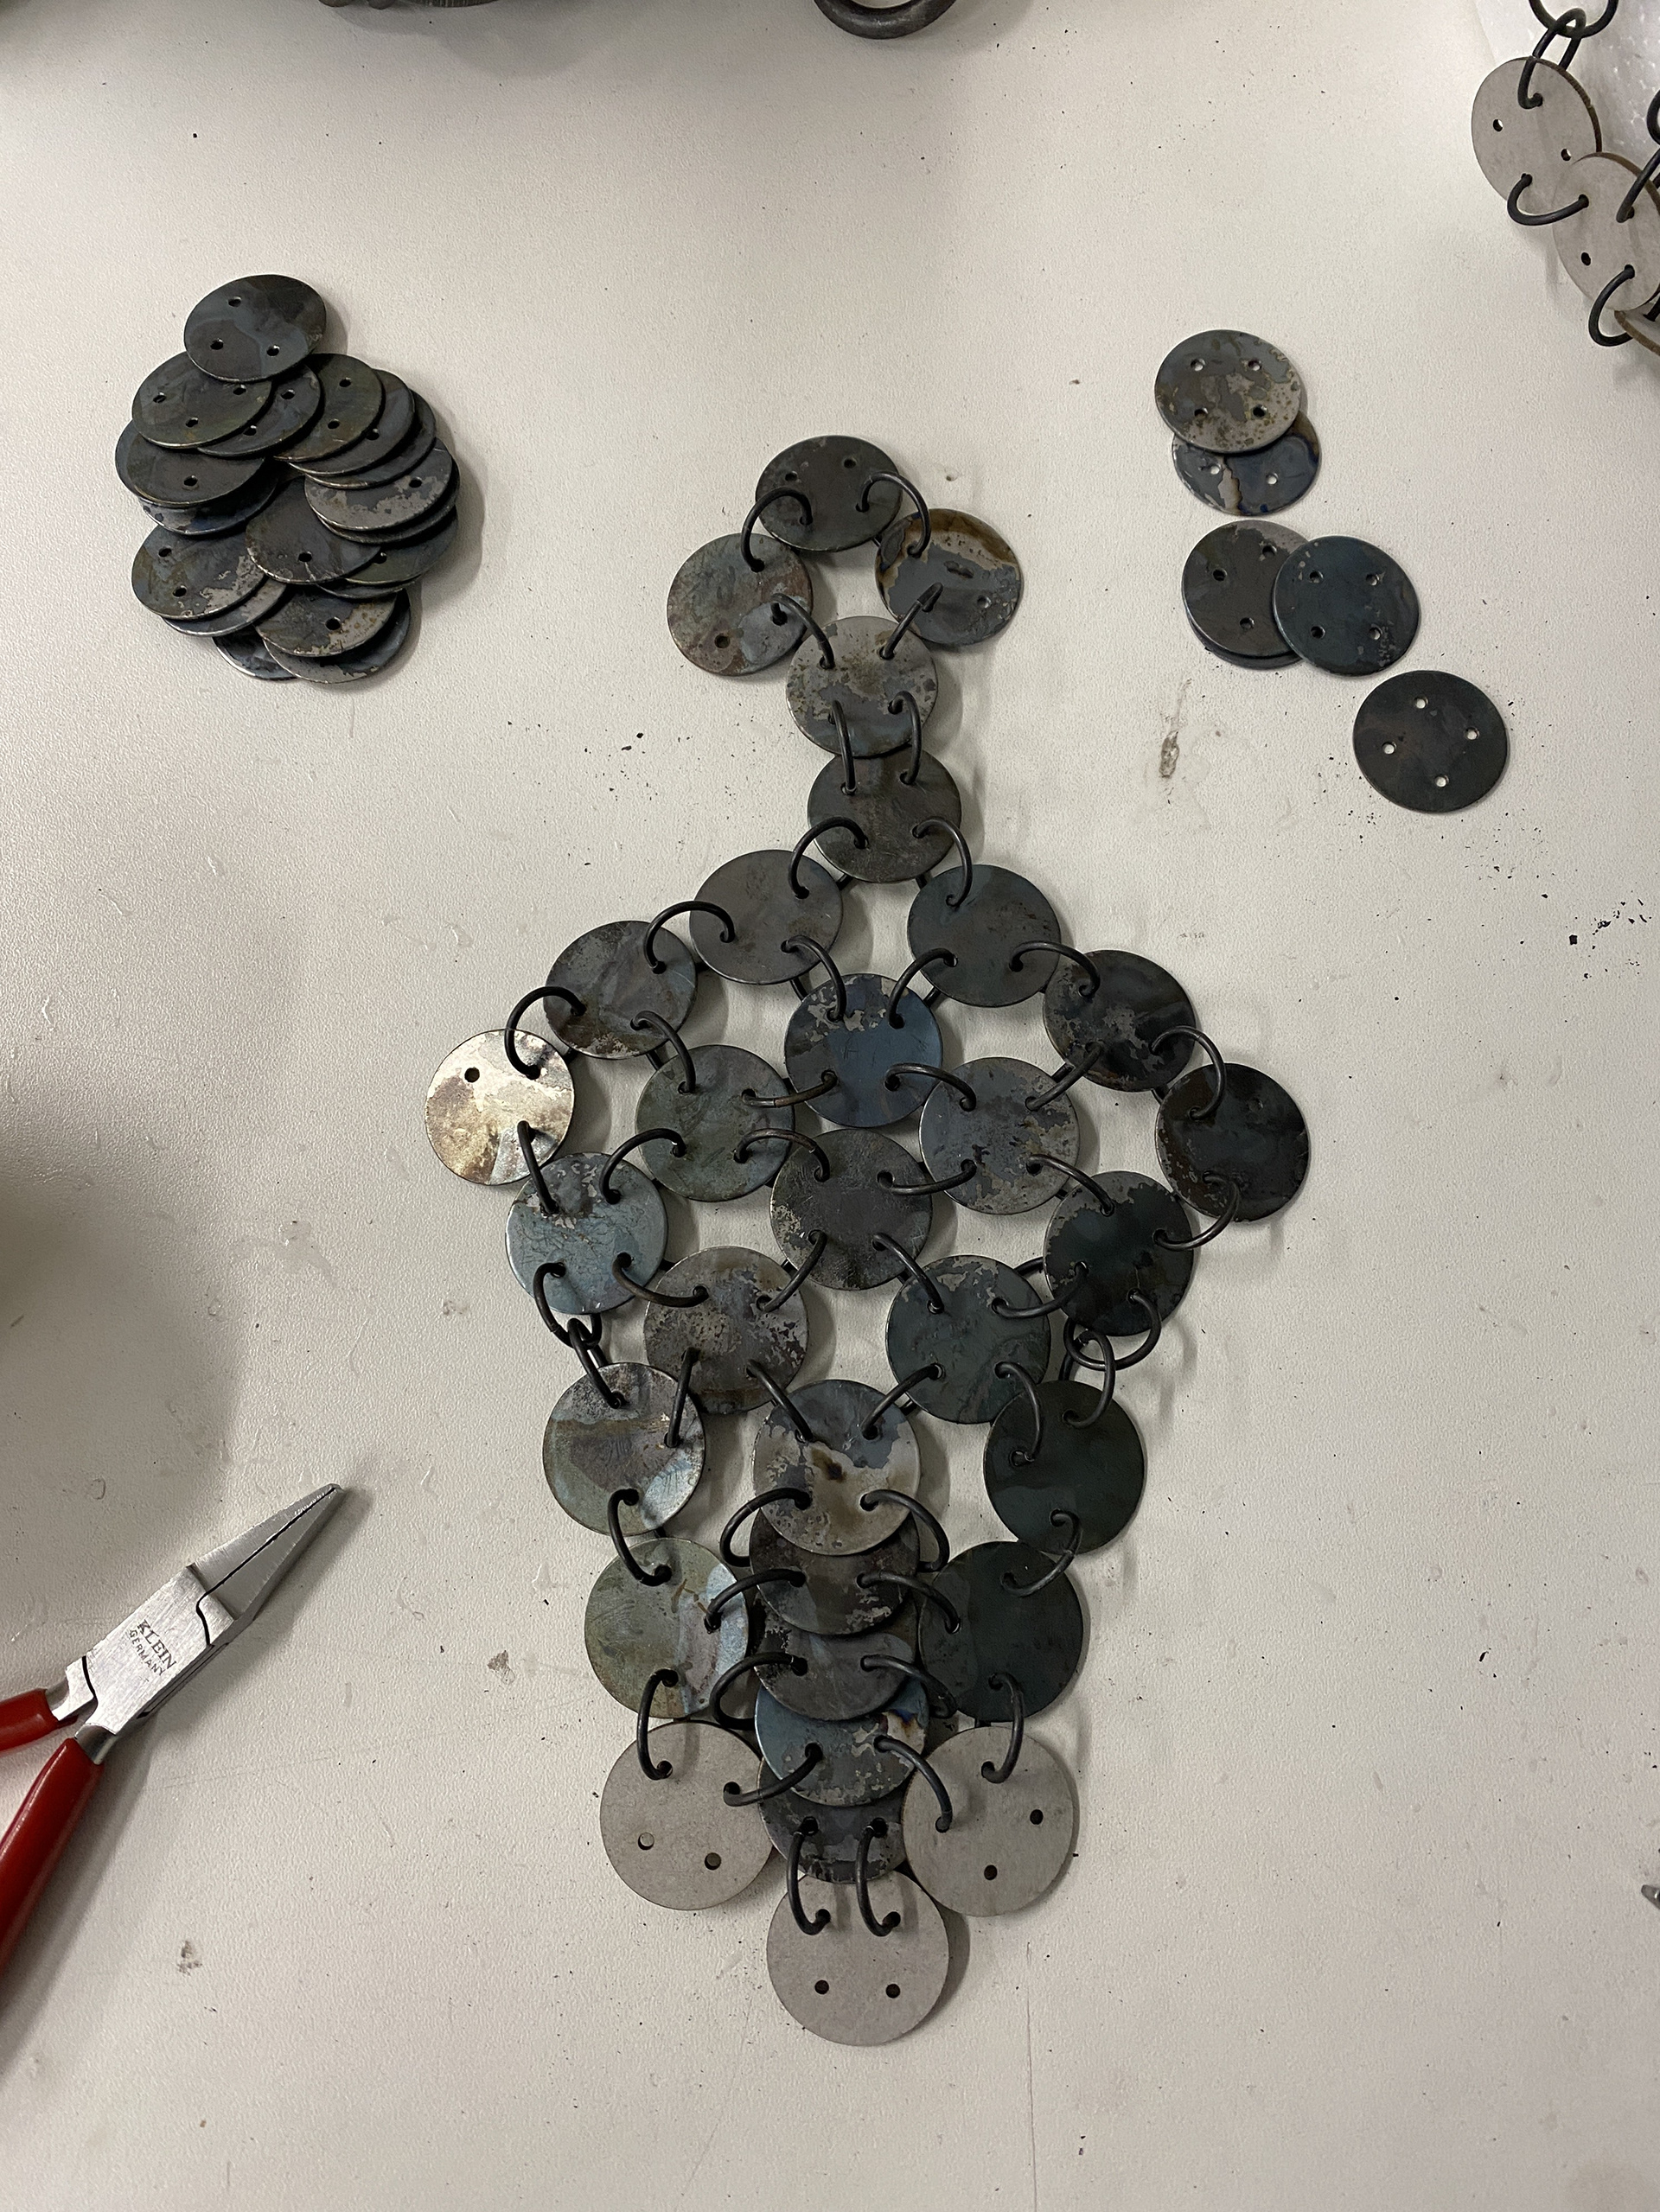
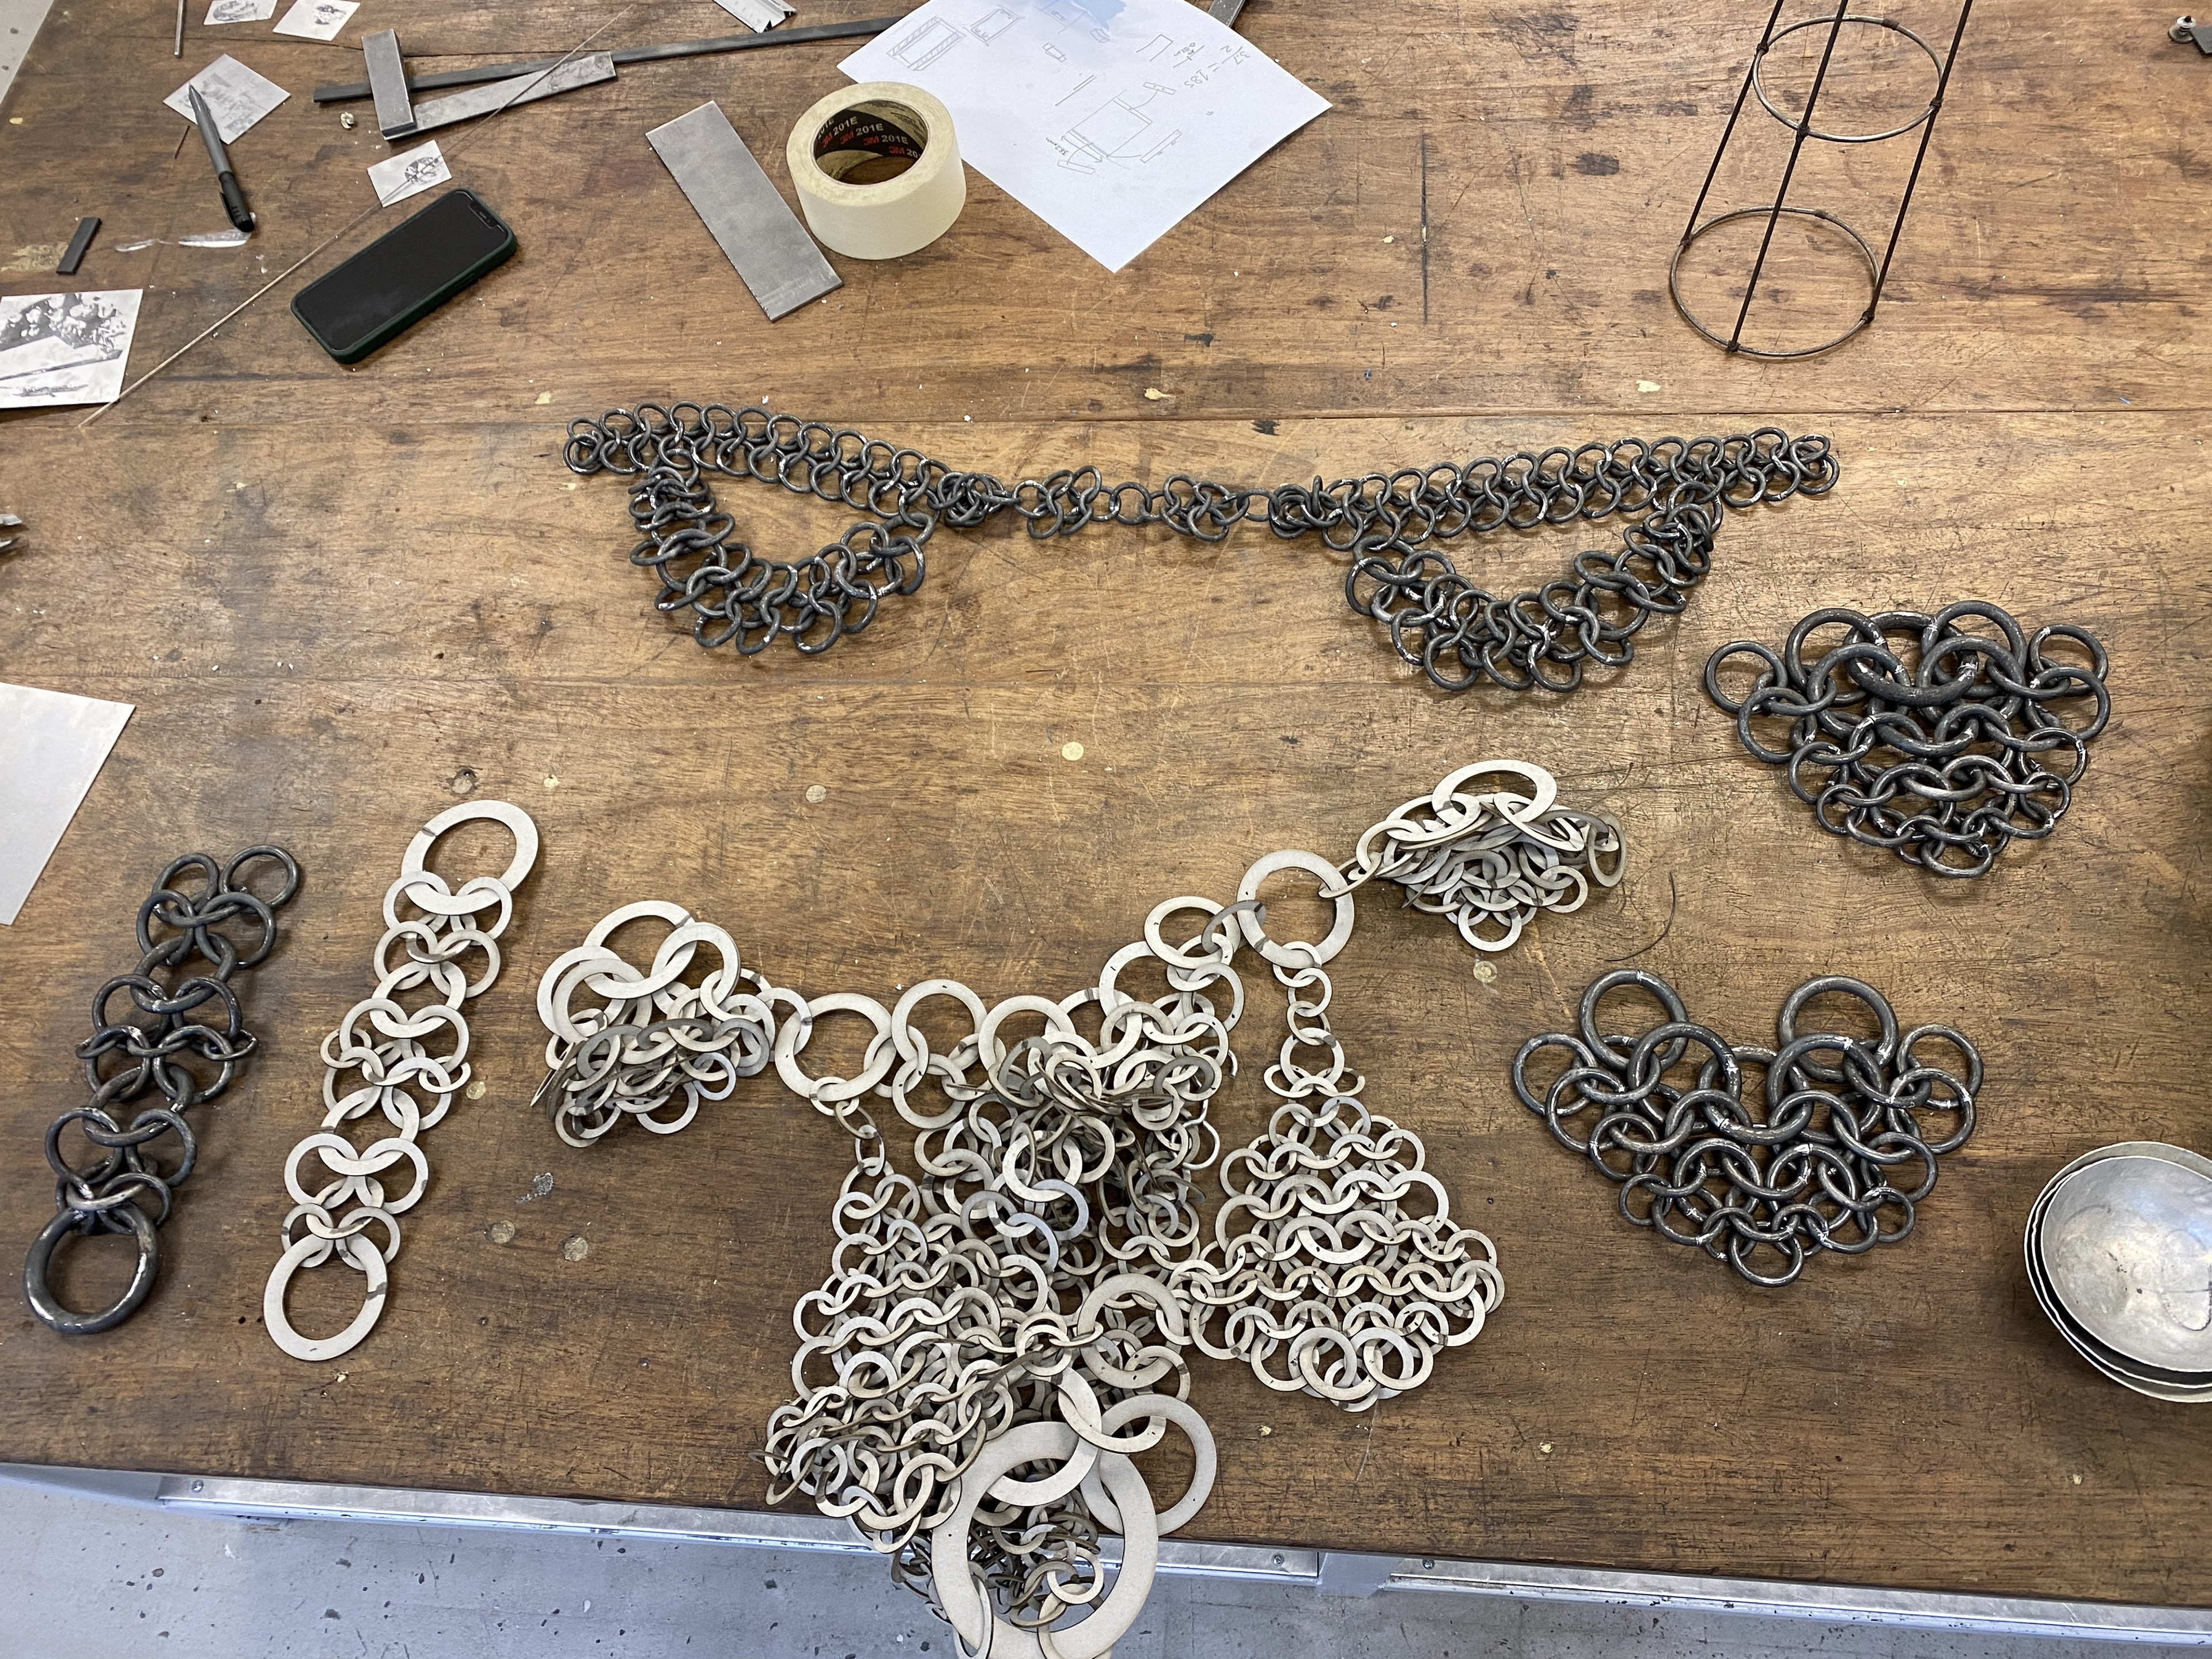
I then weaved the plate mail to the rest of the larger forged mail. I found that I had drilled some of the plates in the wrong places so had to remake some before completing the piece.
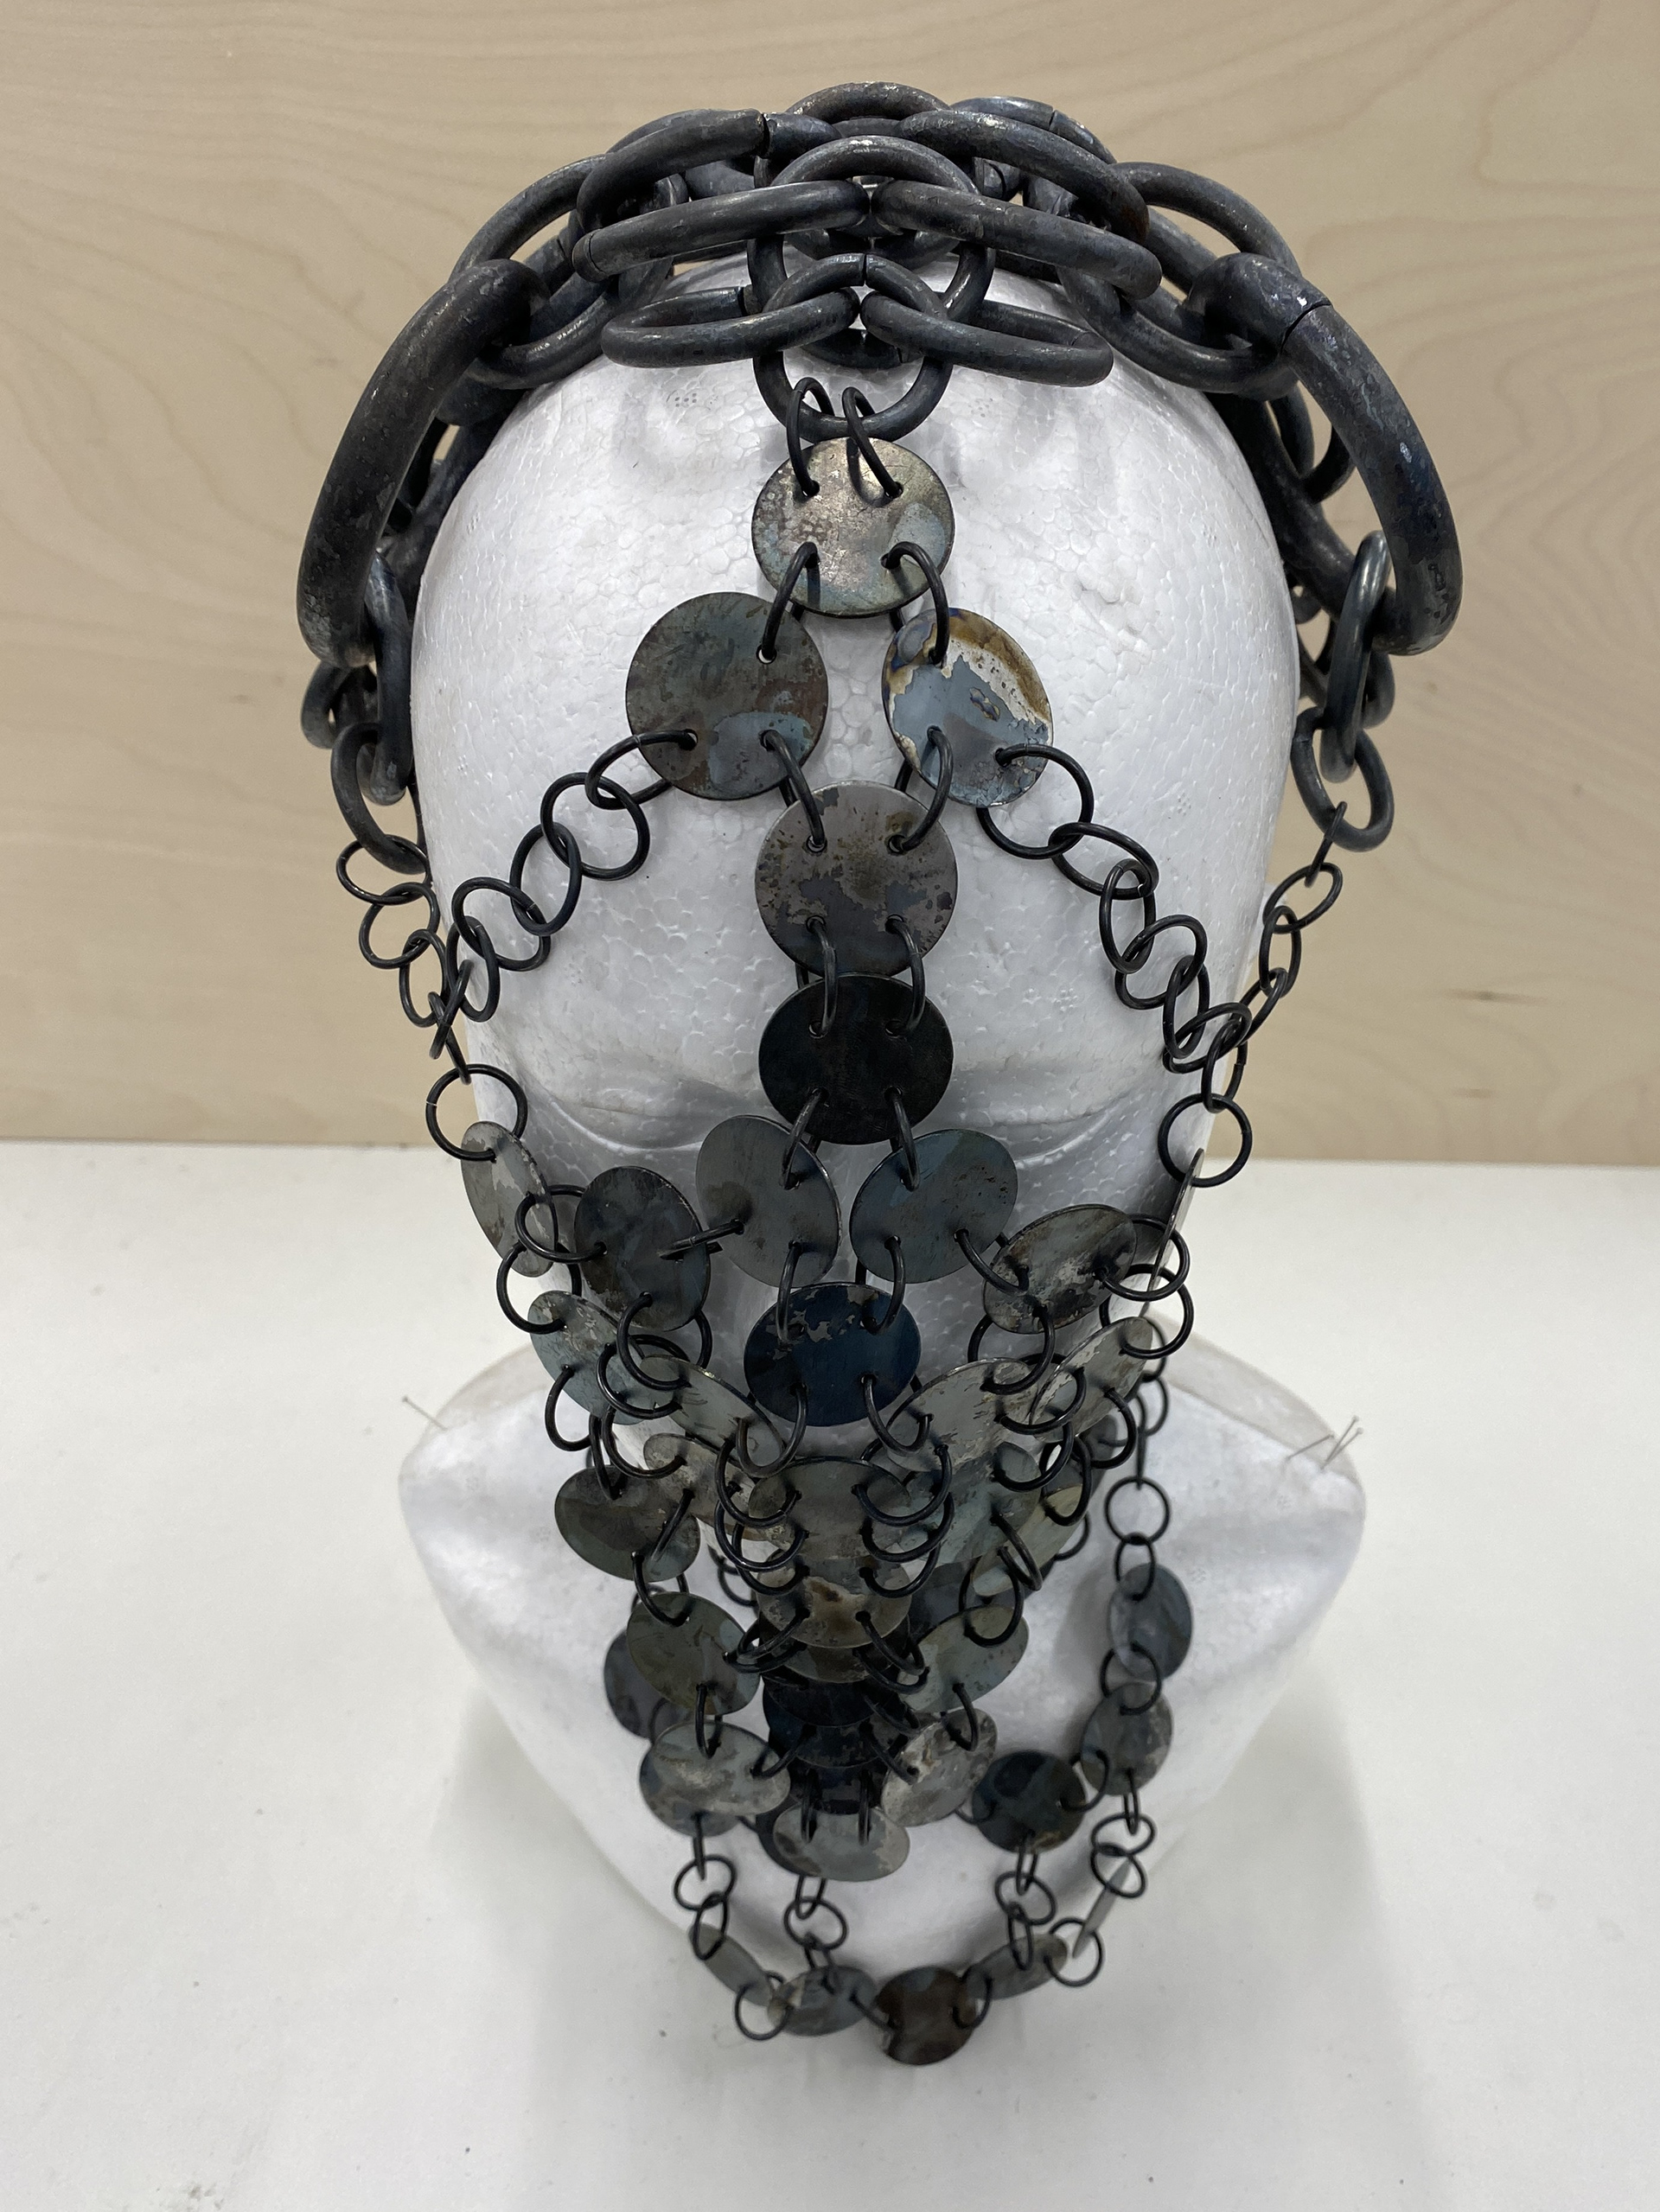
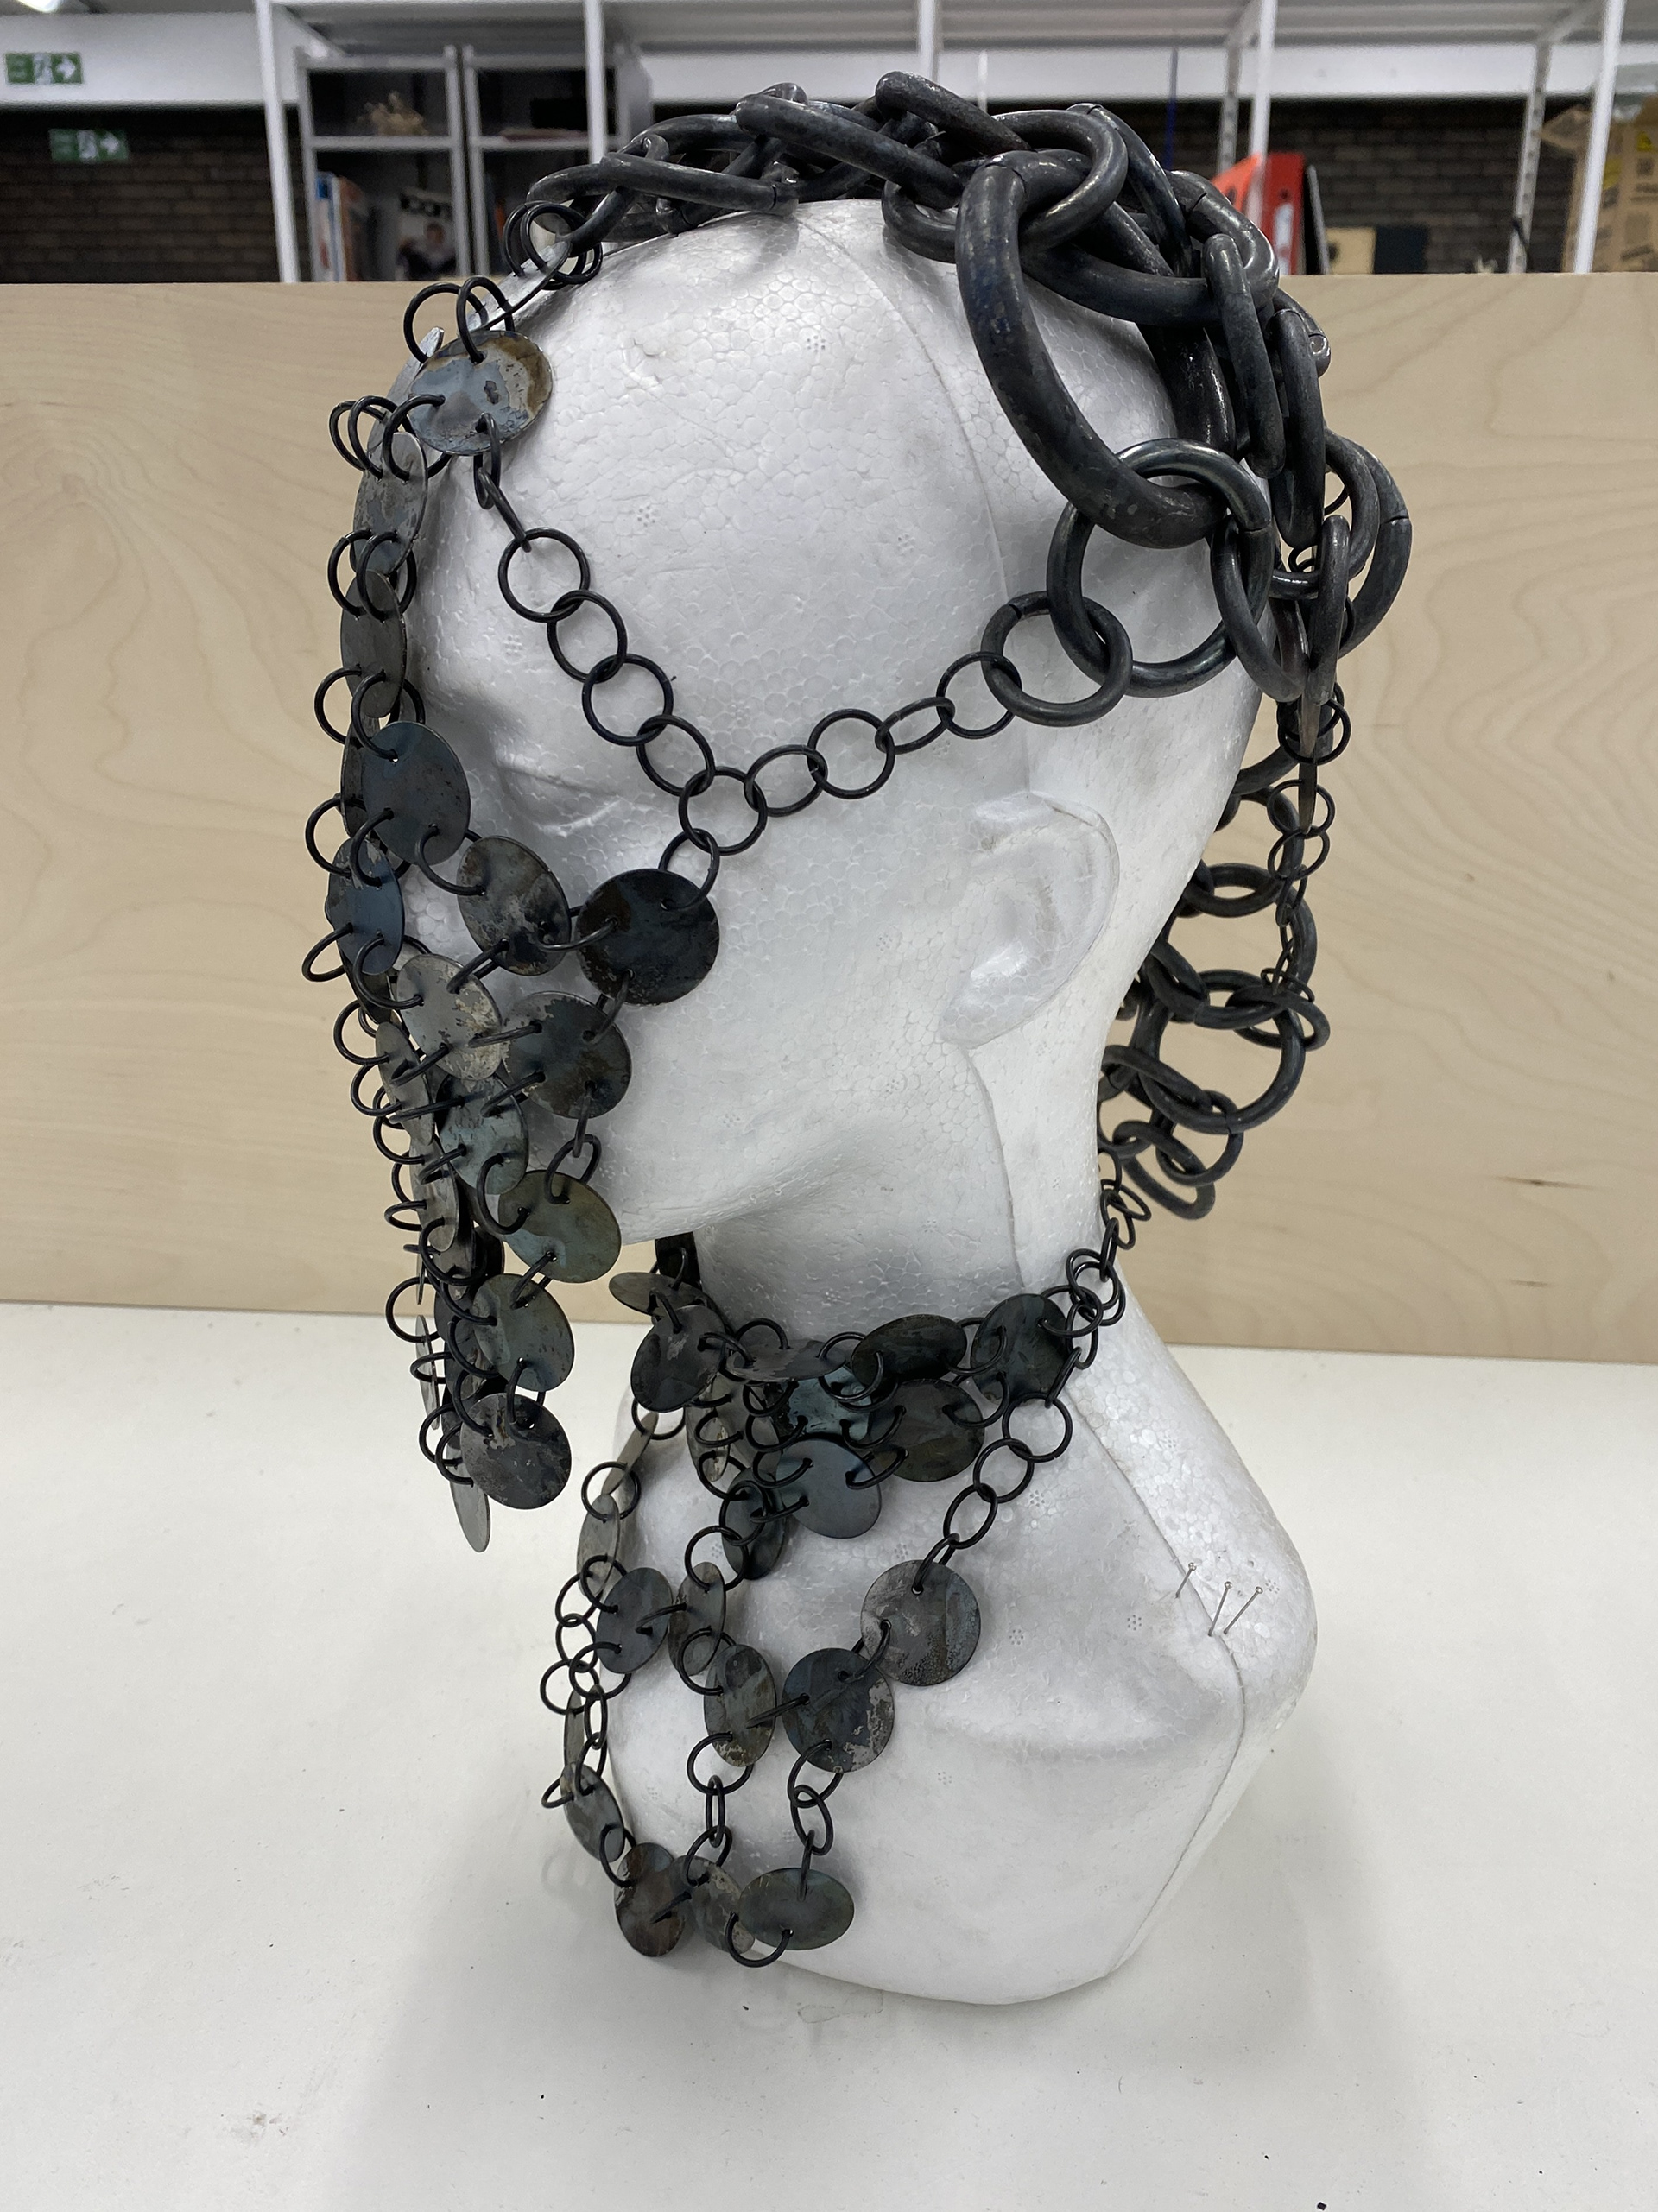
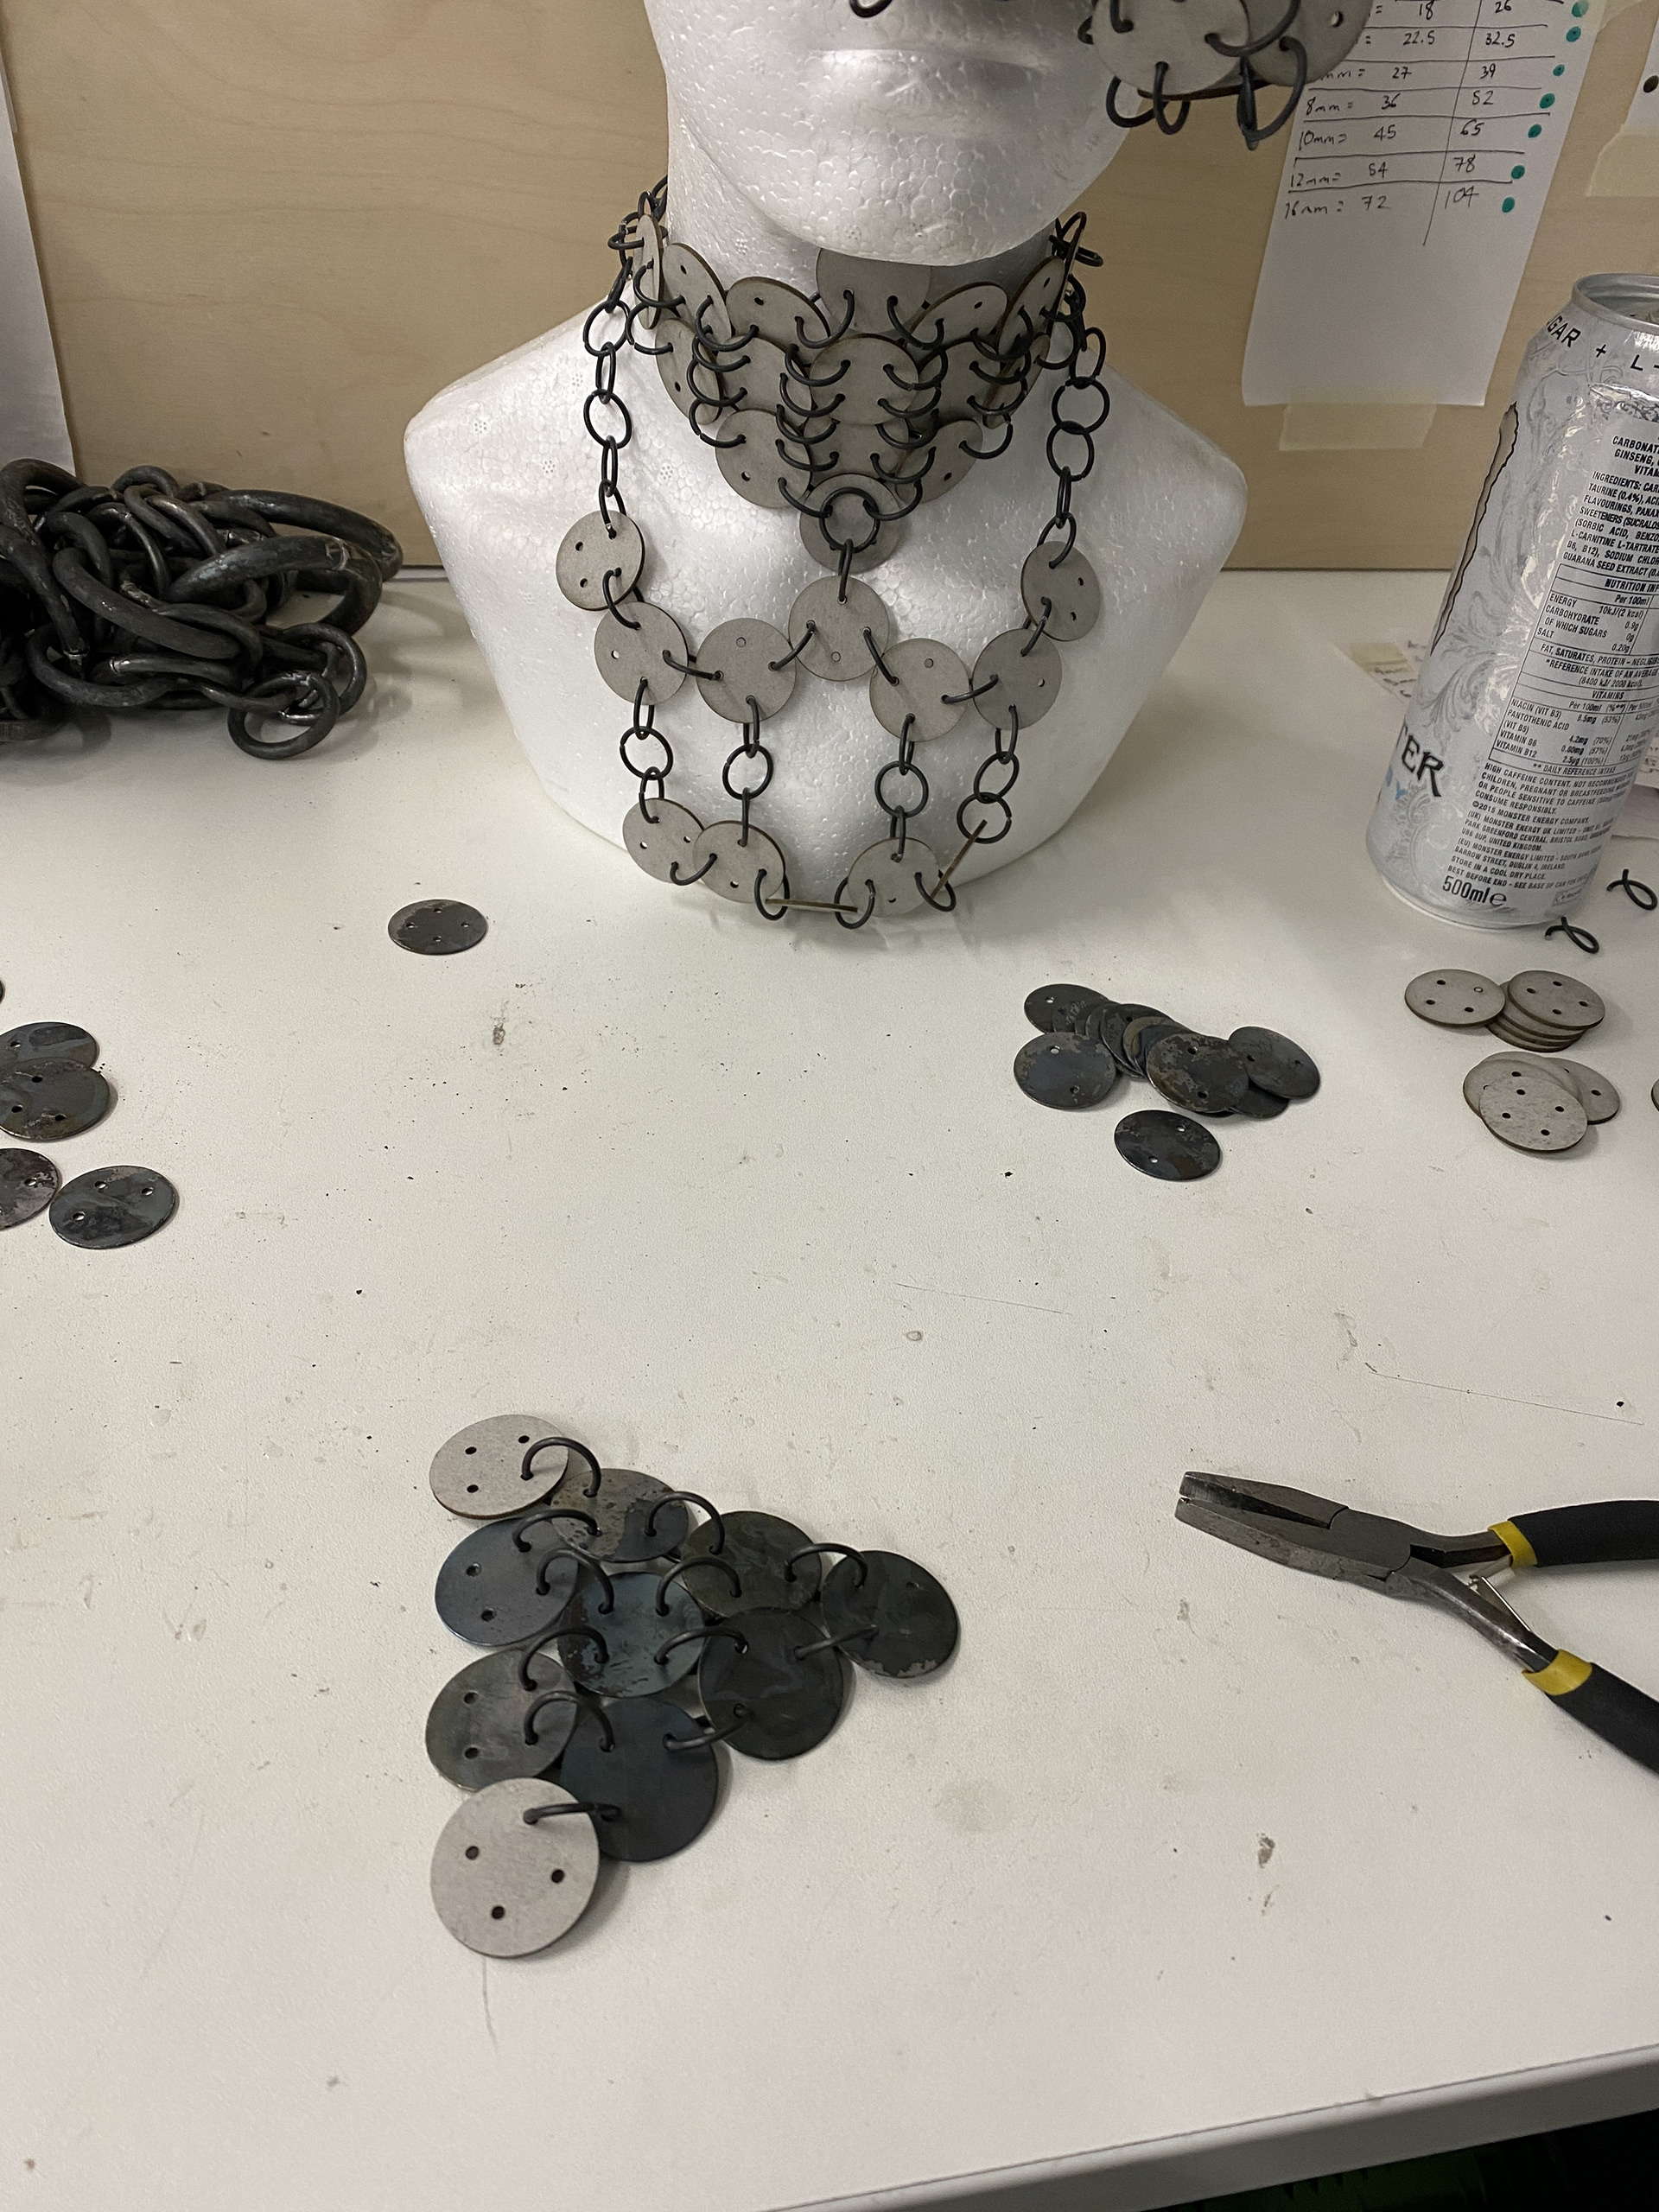
I am happy with the overall outcome of the piece and how it sits on the body. However, the necklace tended to flop down at the top of the neck rather than sit flush against it.
Fixing the necklace
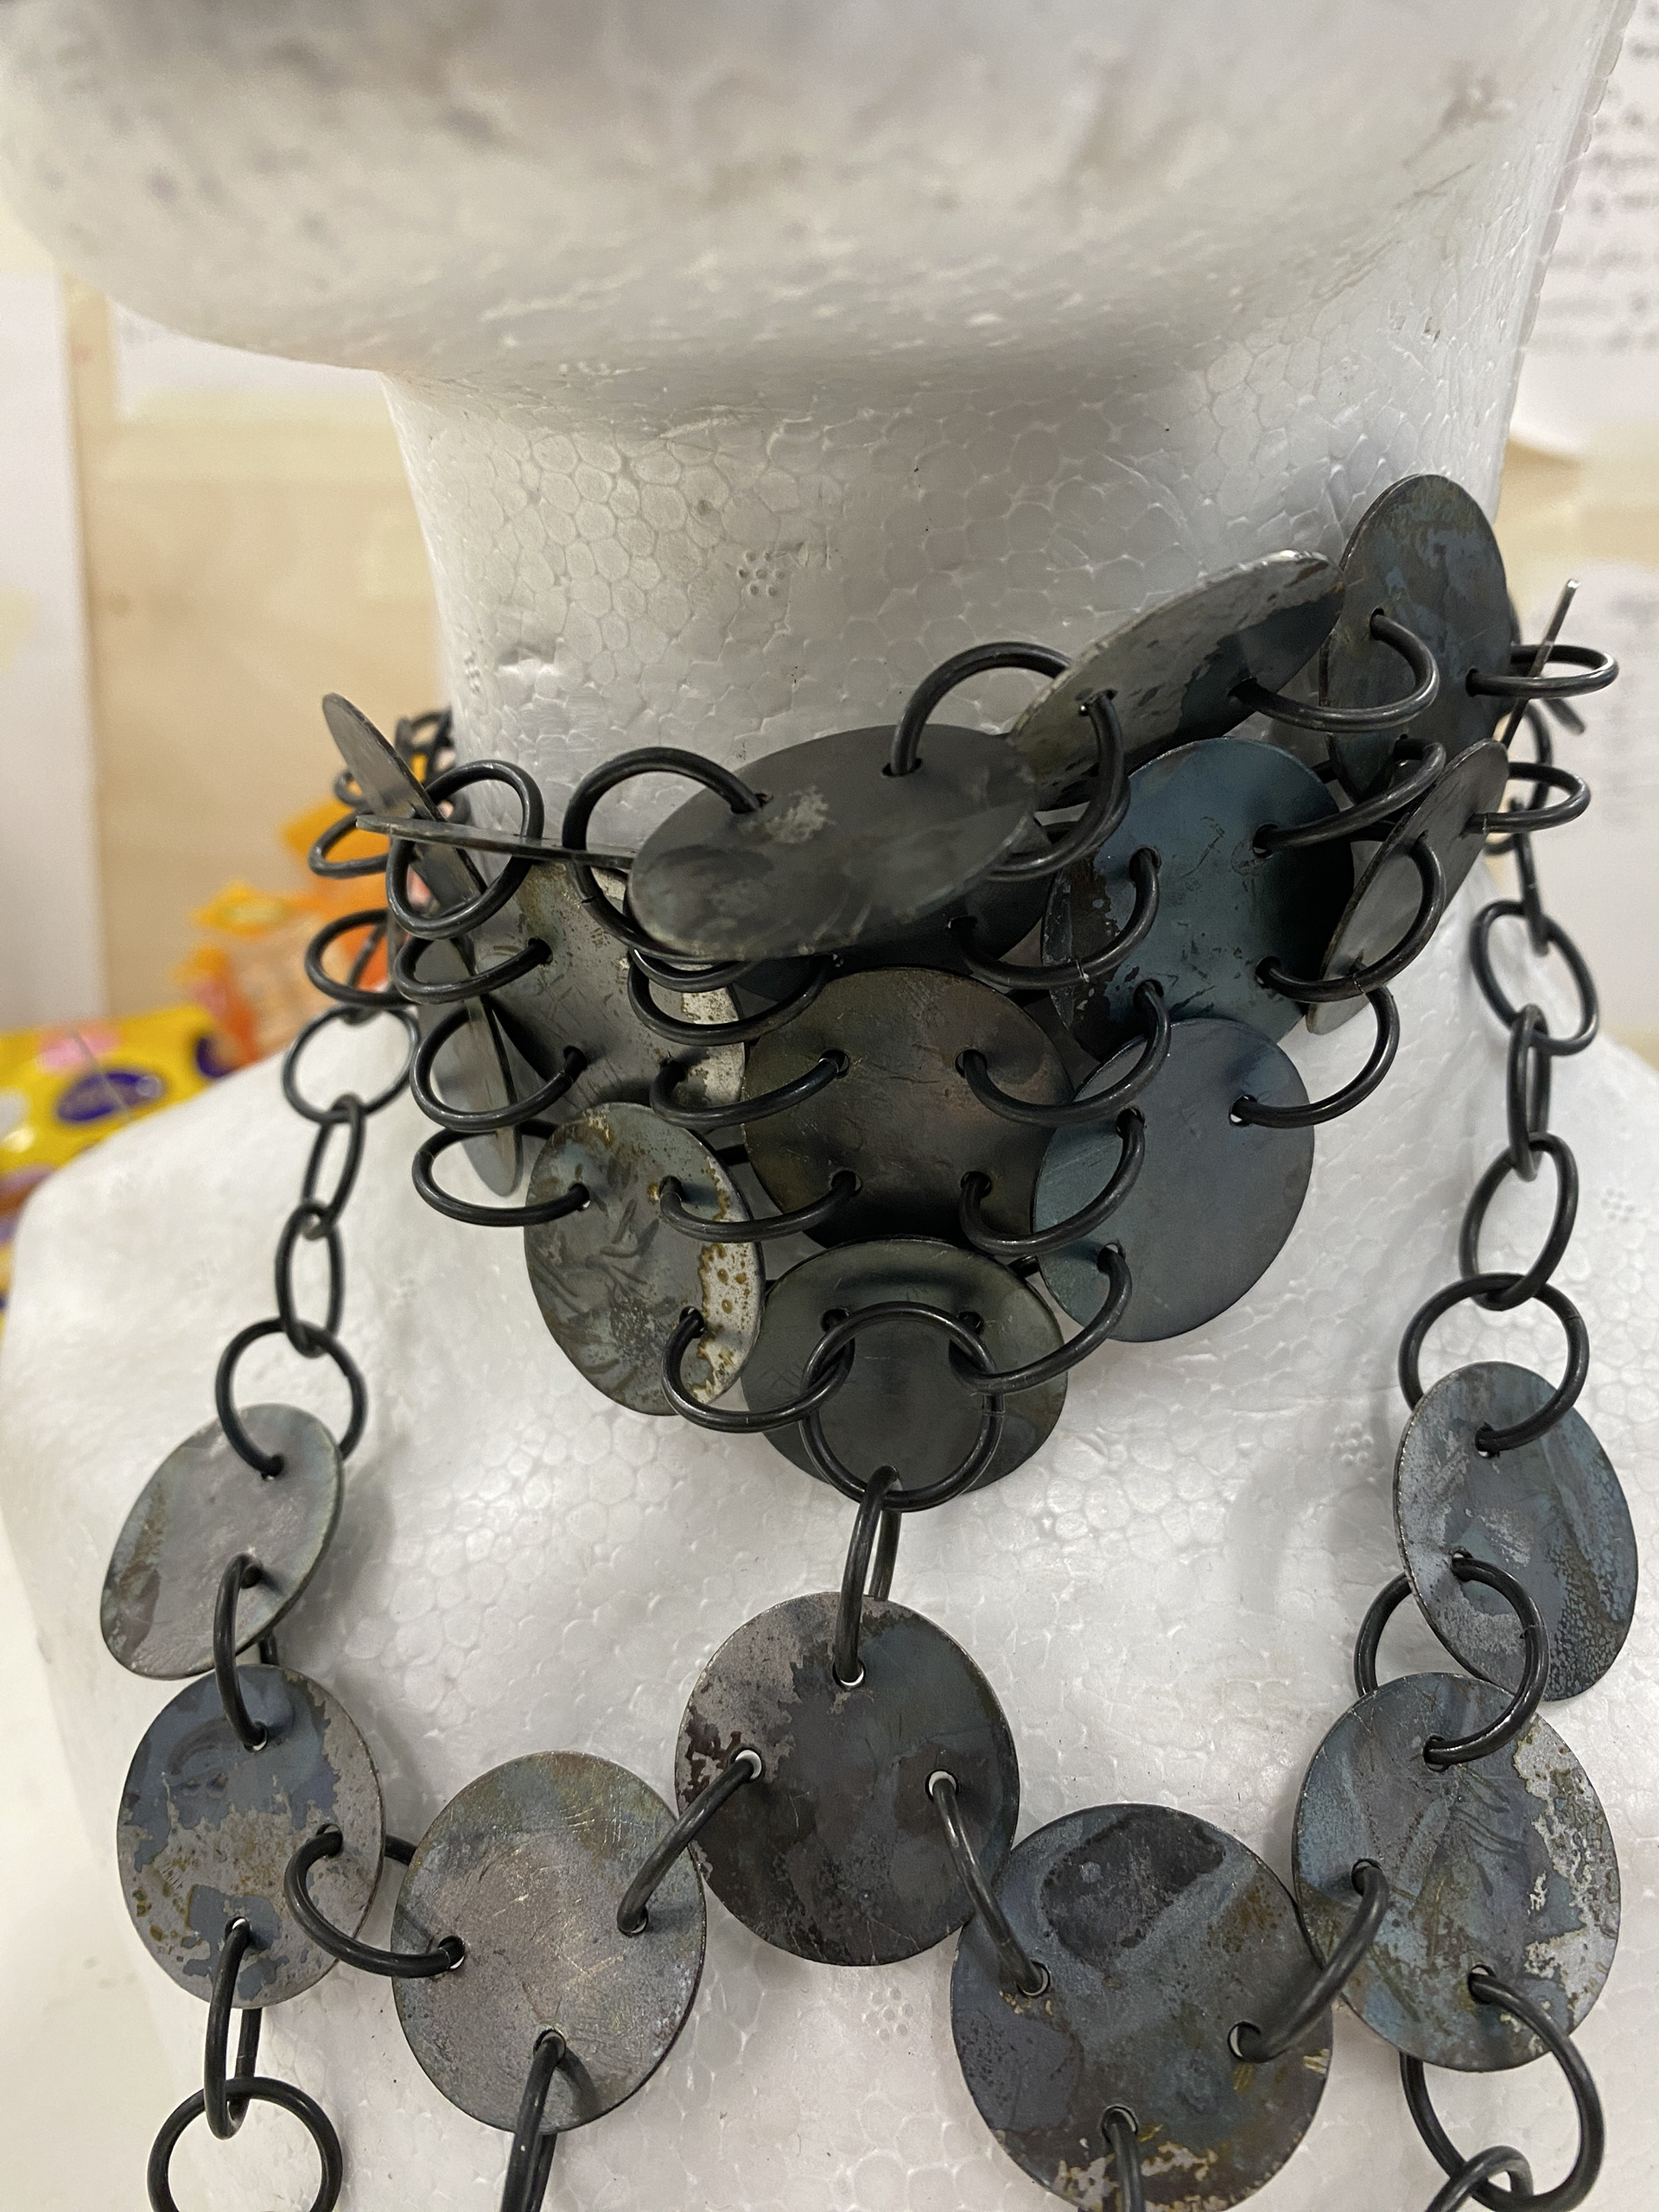
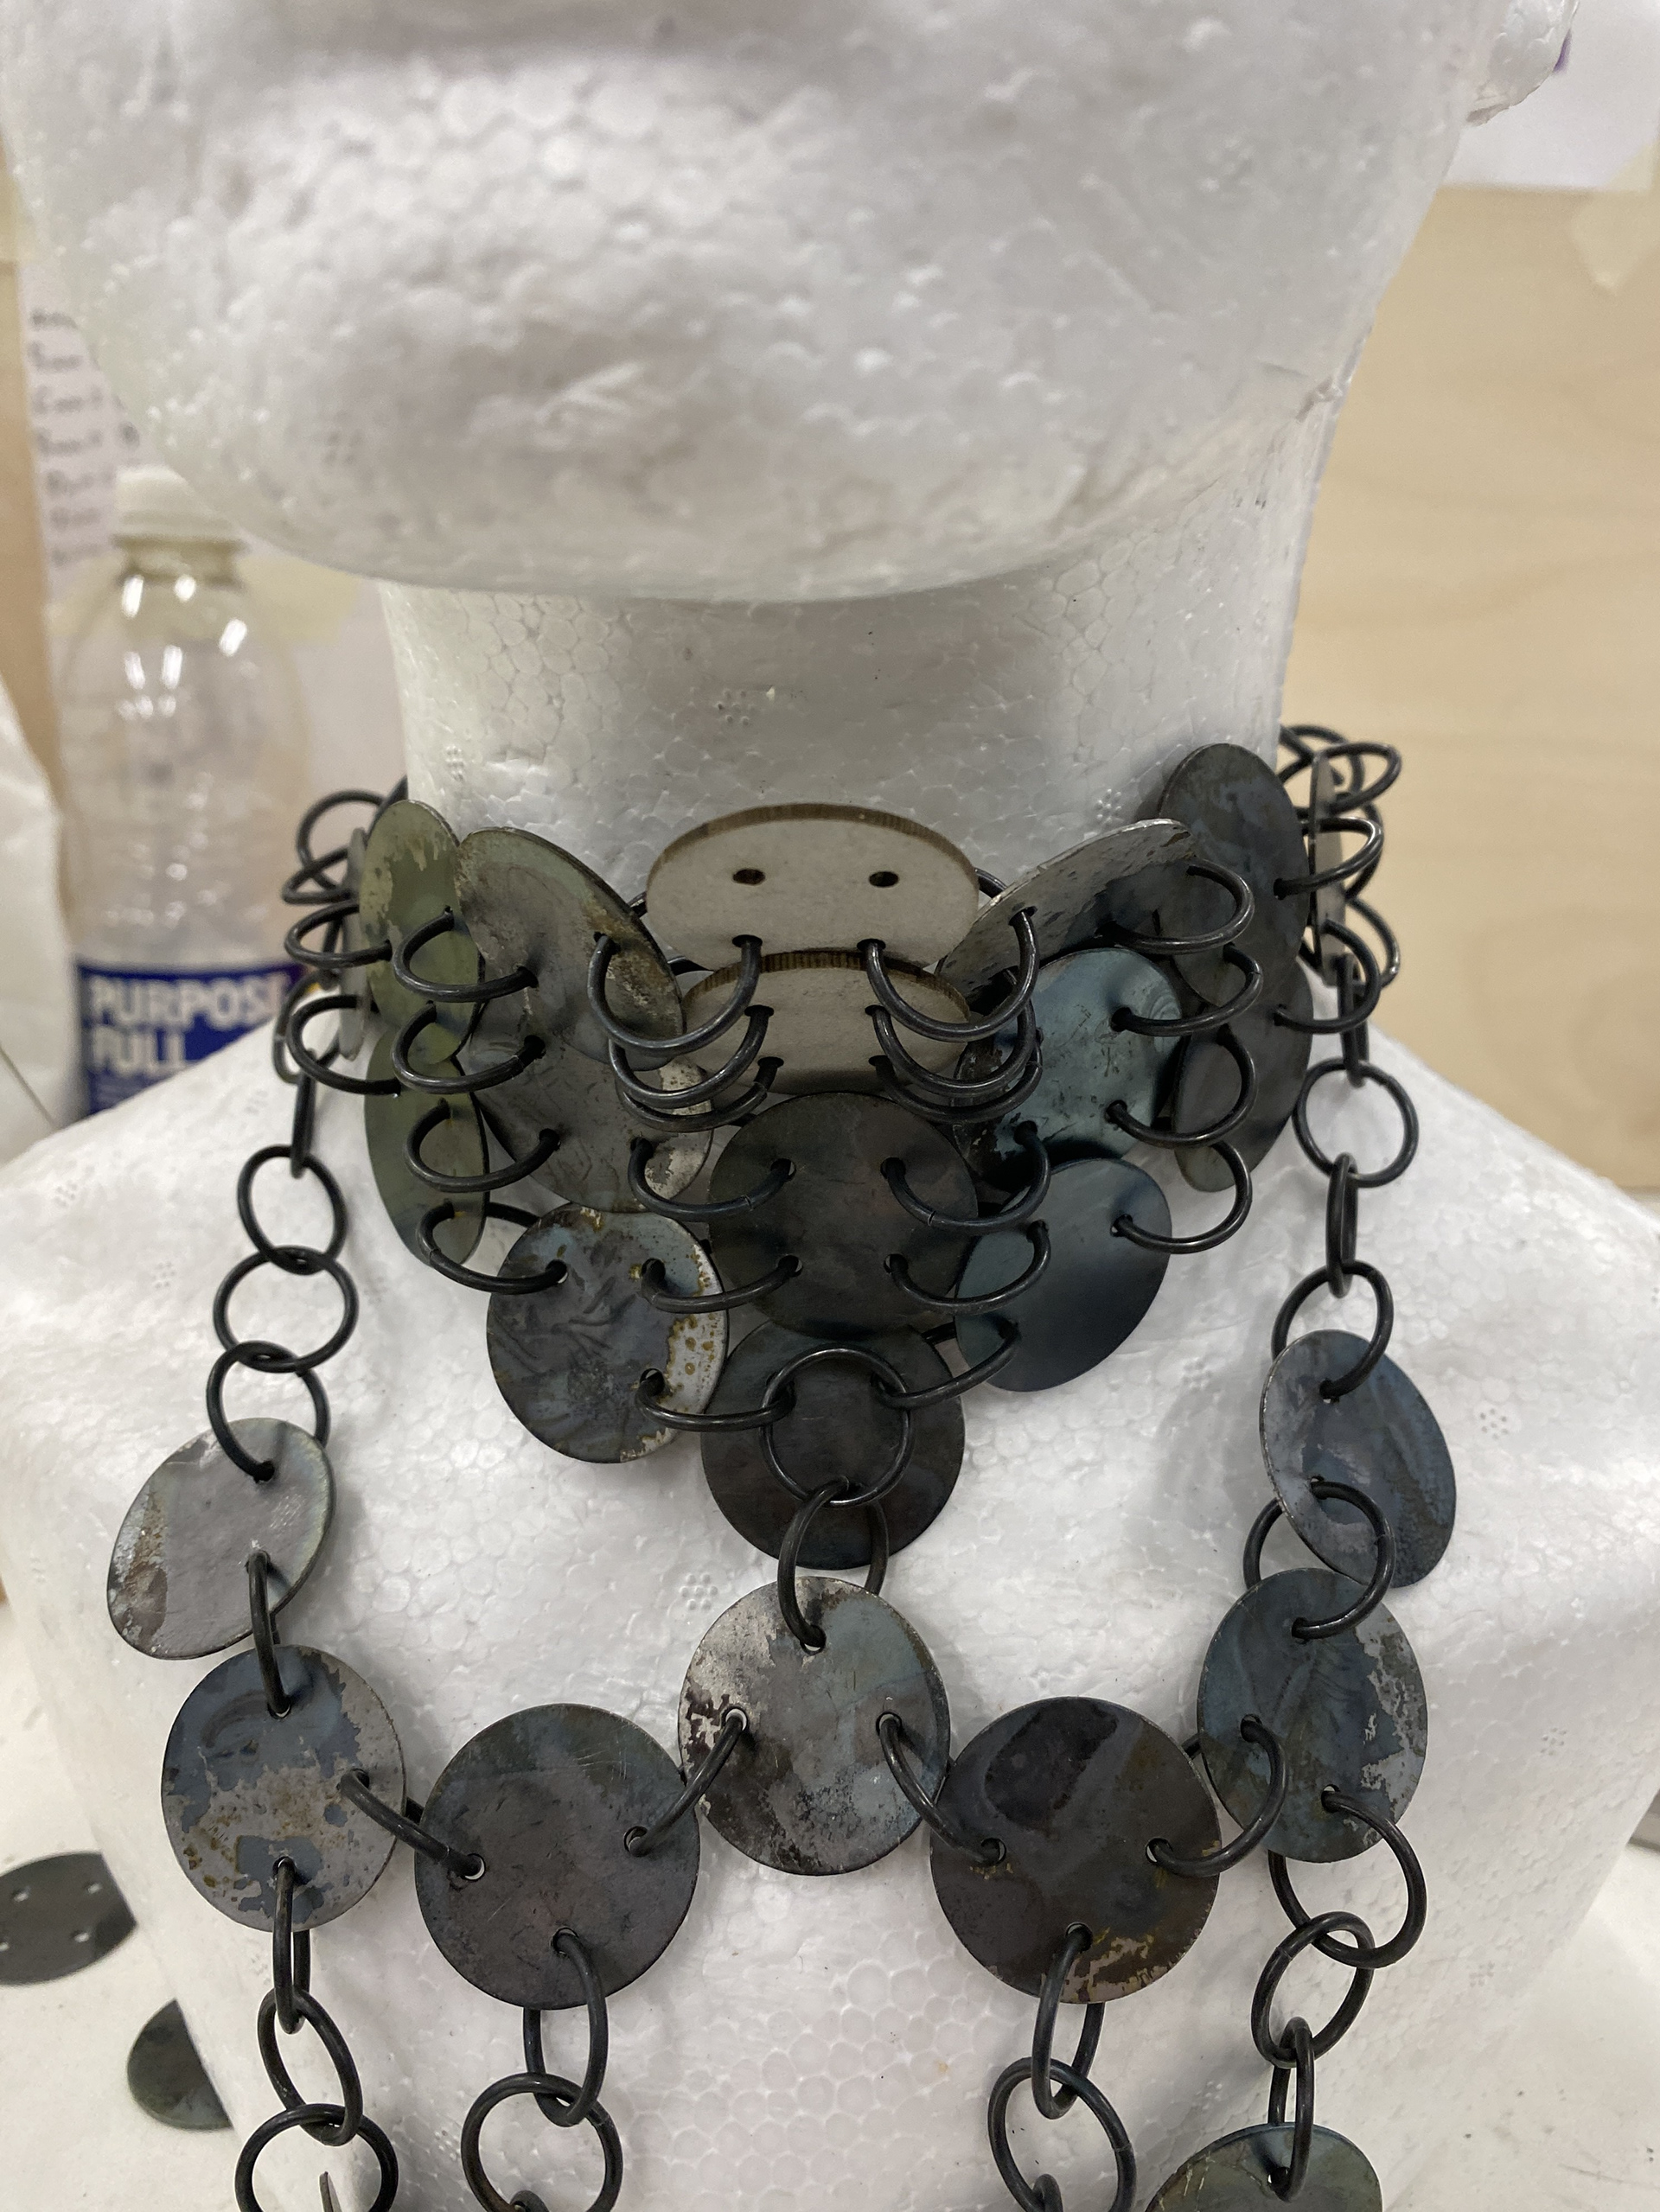
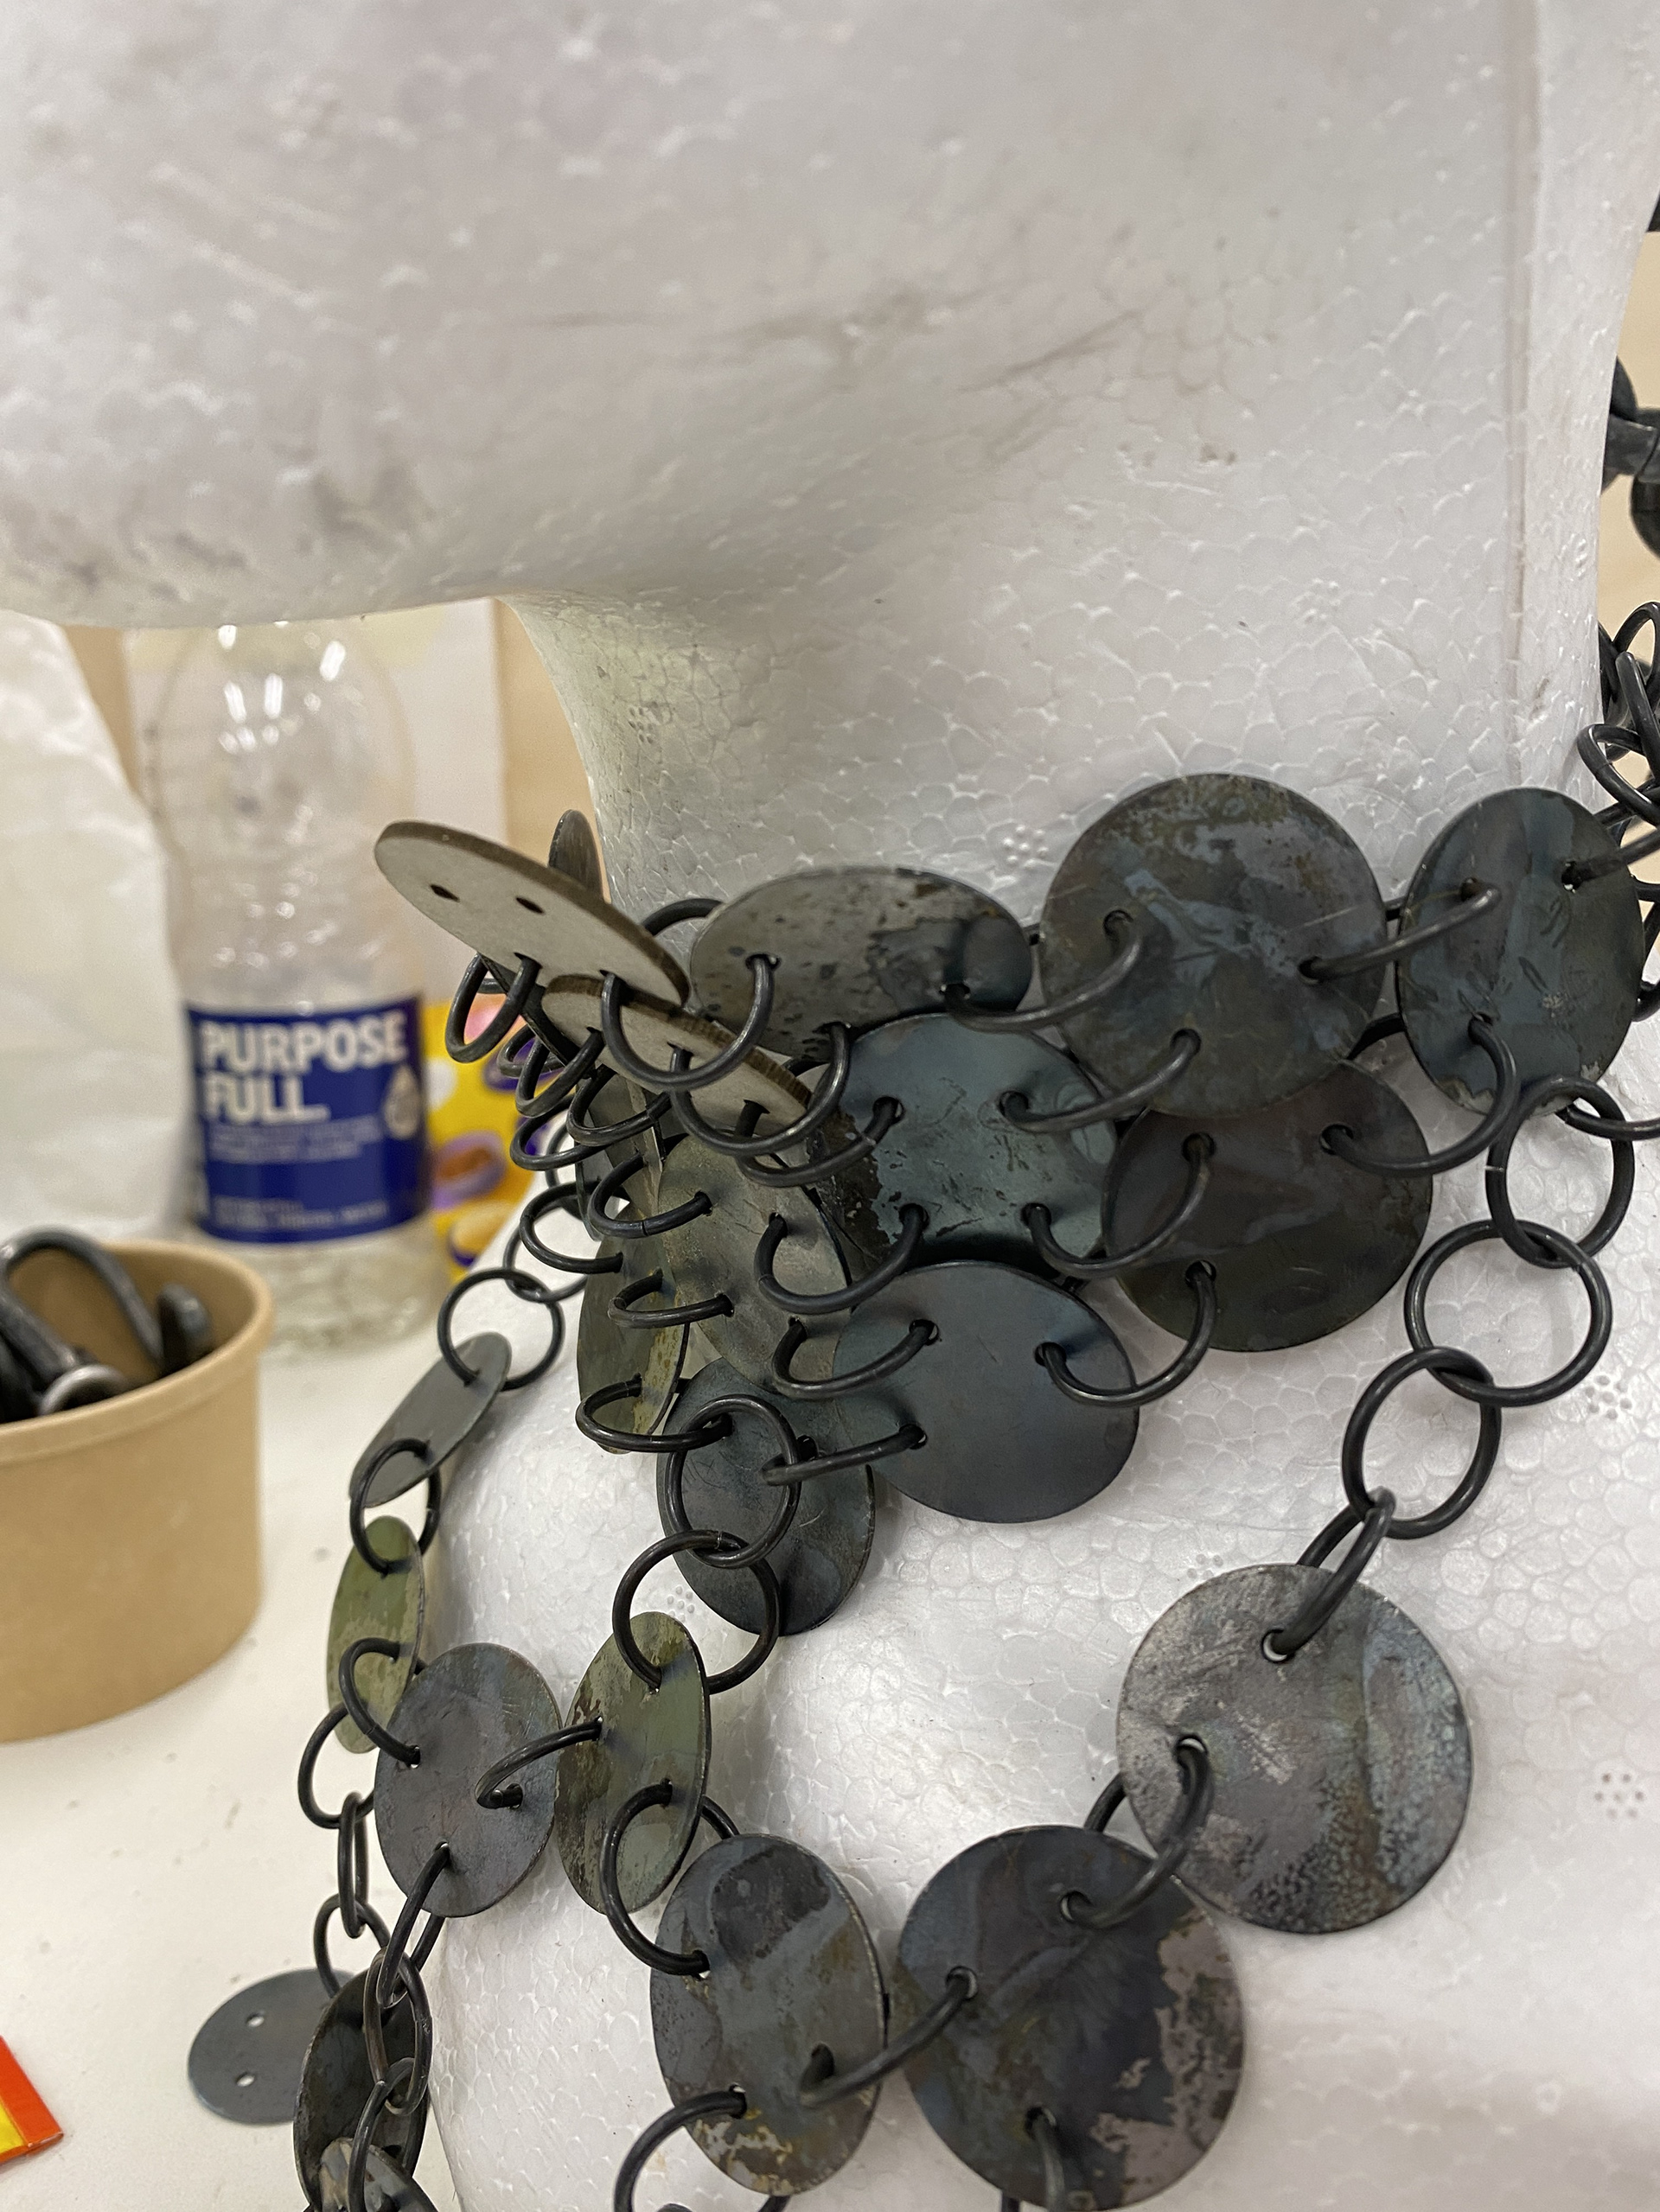
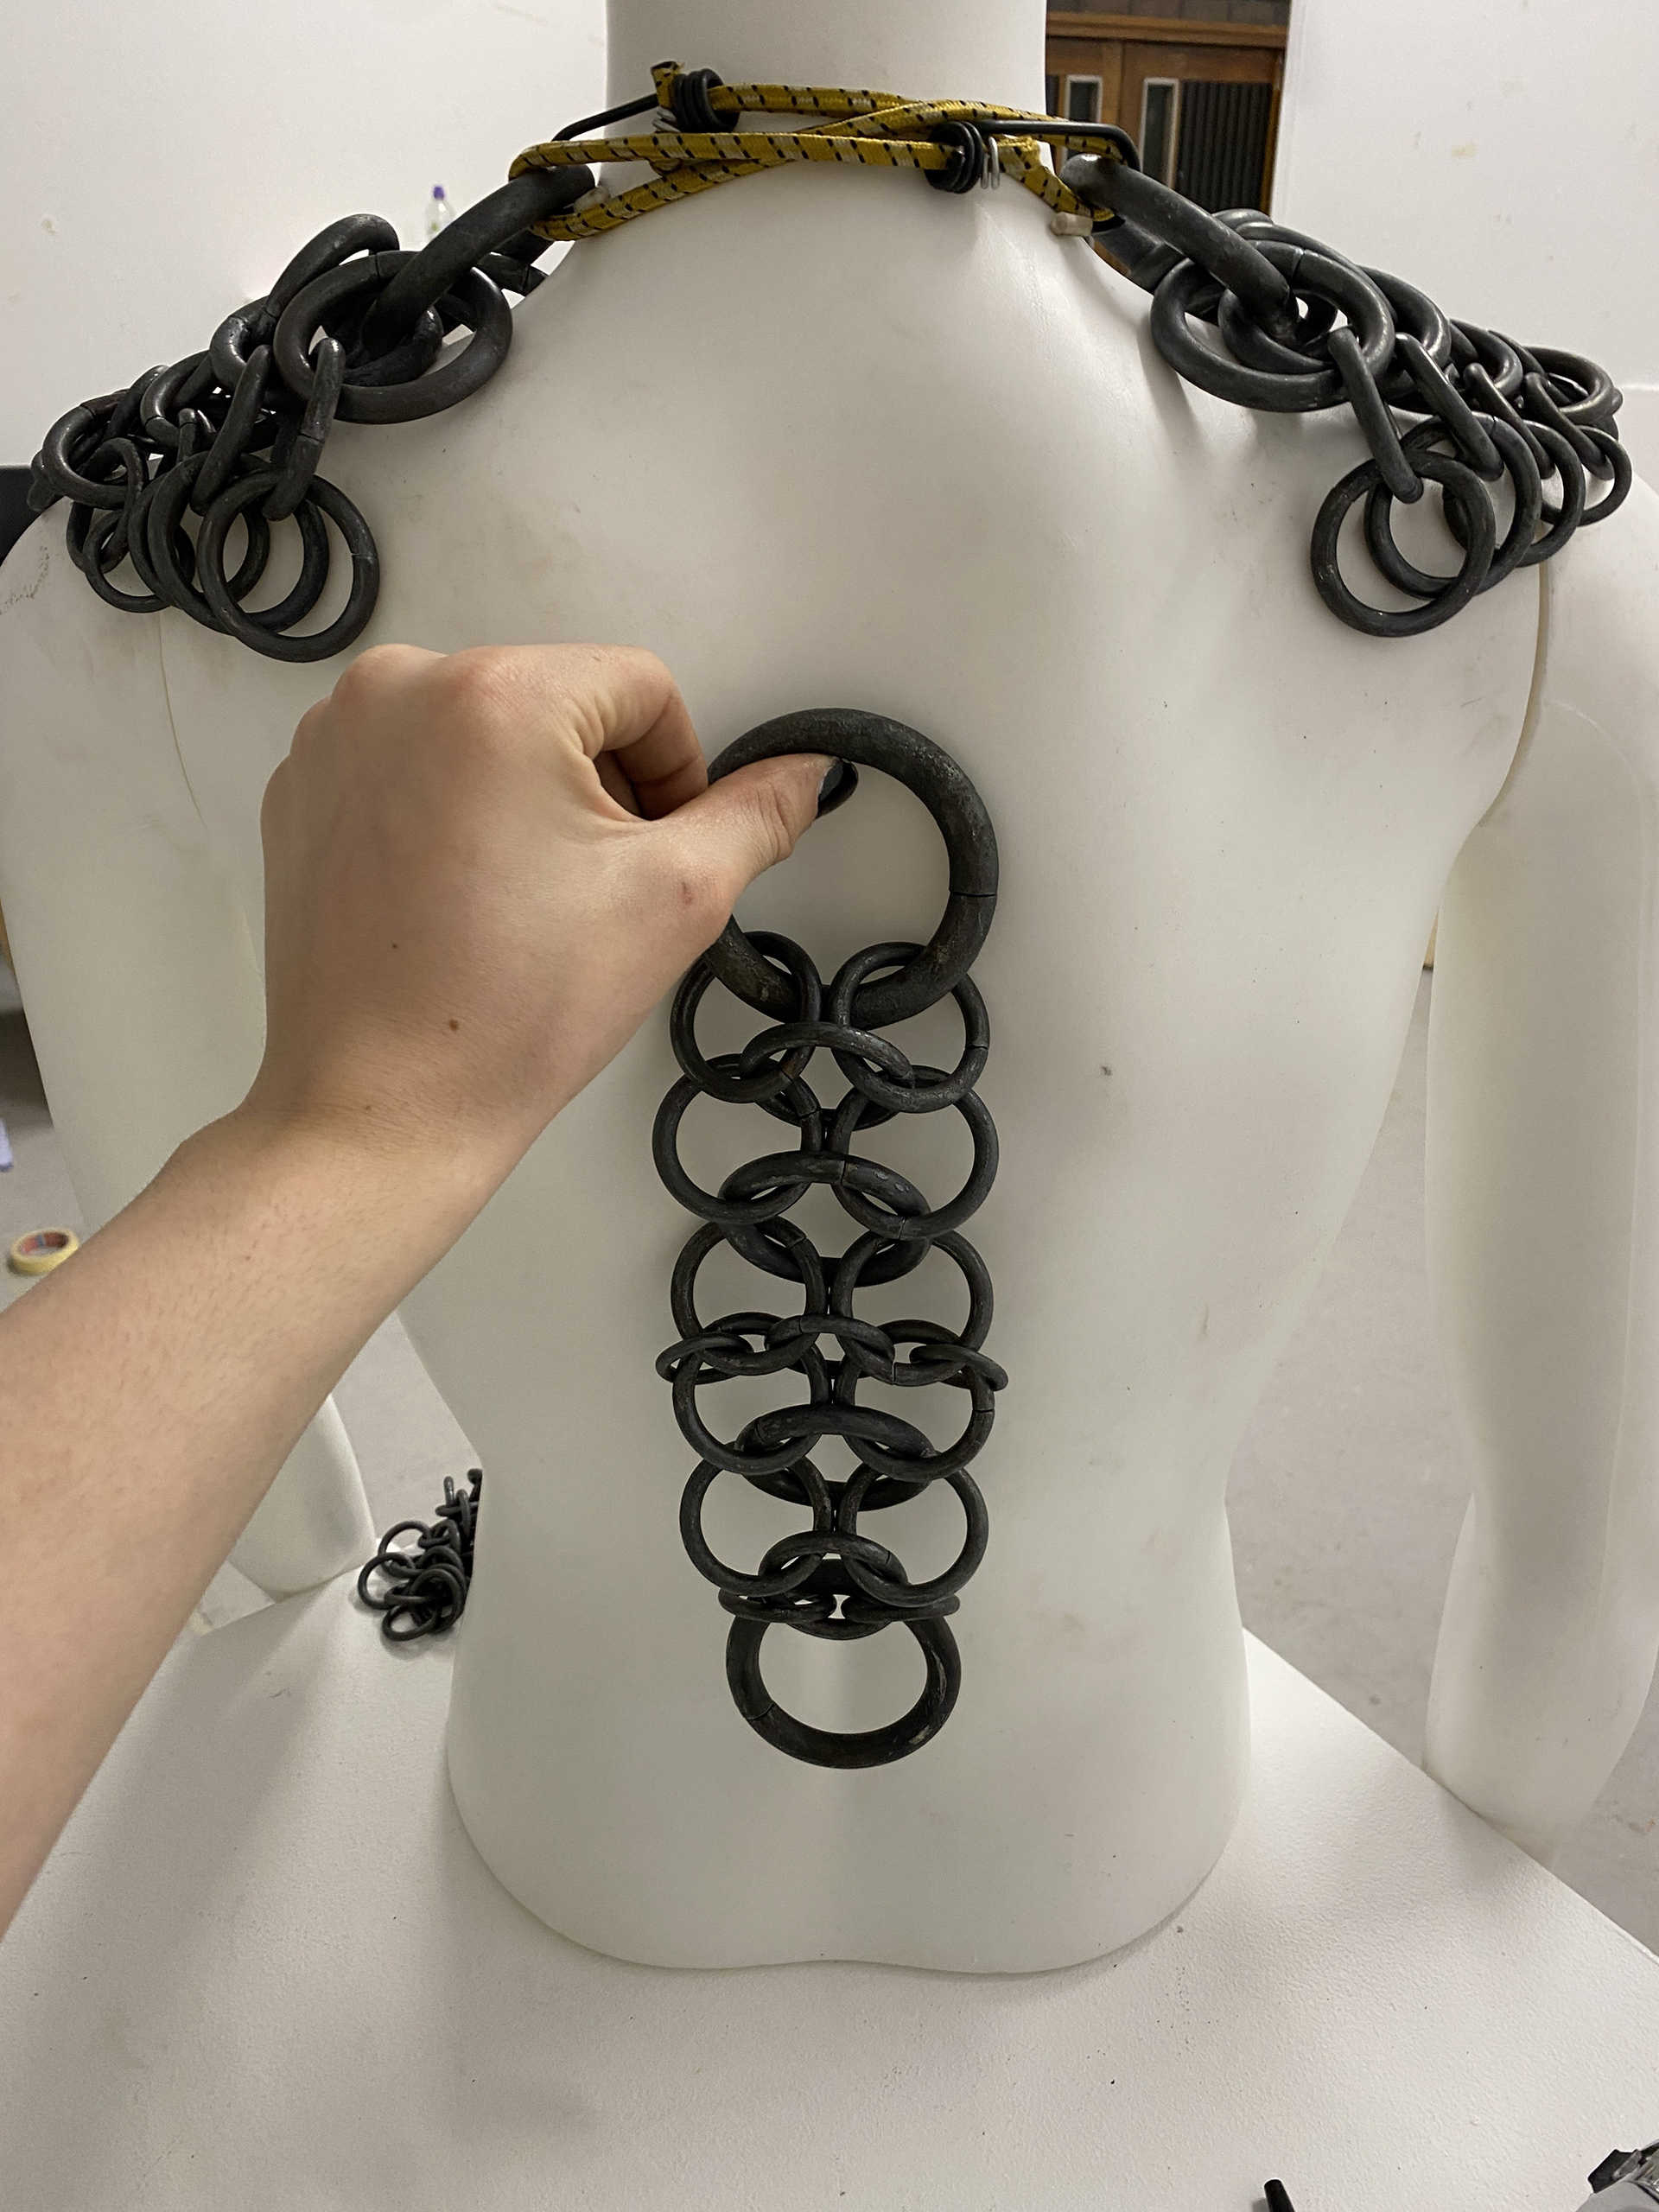
To address the issue of the necklace drooping at the top of the neck, I first experimented with modifying the plates. I replaced the top two plates with overlapping, glued grey board circles, aiming to create structure and rigidity while maintaining a harmonious aesthetic with the rest of the piece. Although this partially reduced the droop, it did not provide a sufficient fix. I realised that the issue could not be resolved through the mail structure alone and would require an additional structural support.
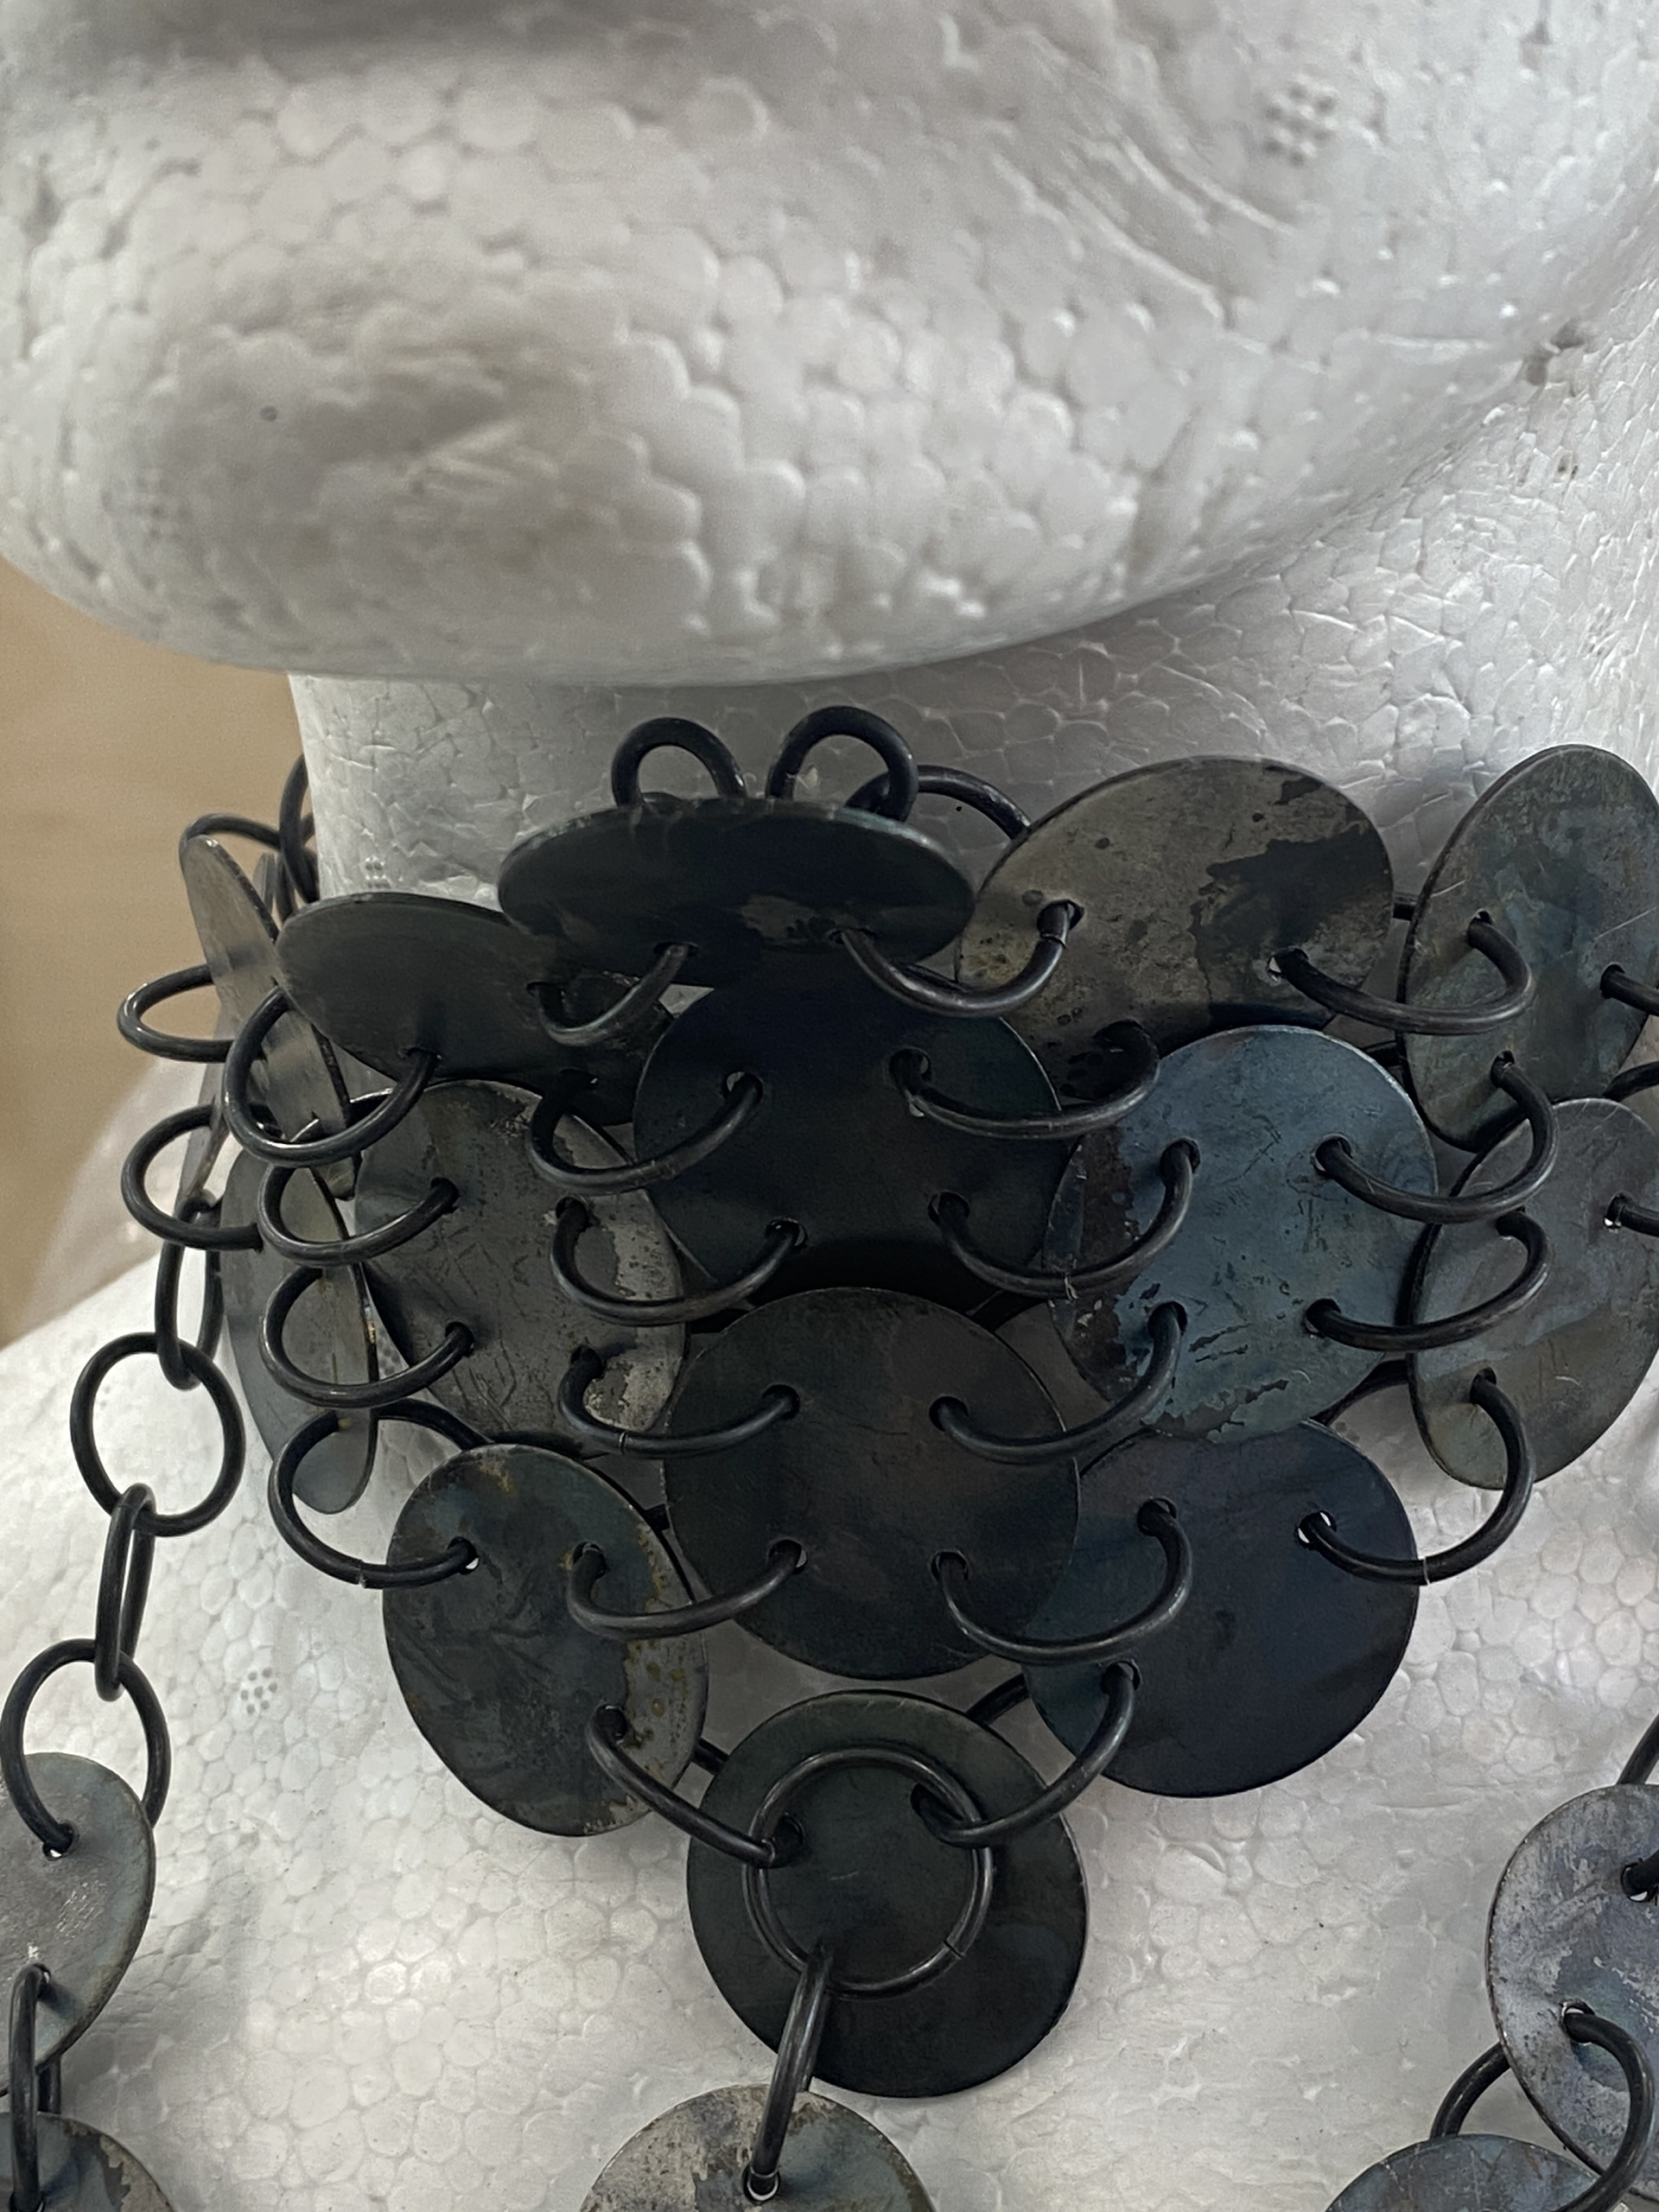

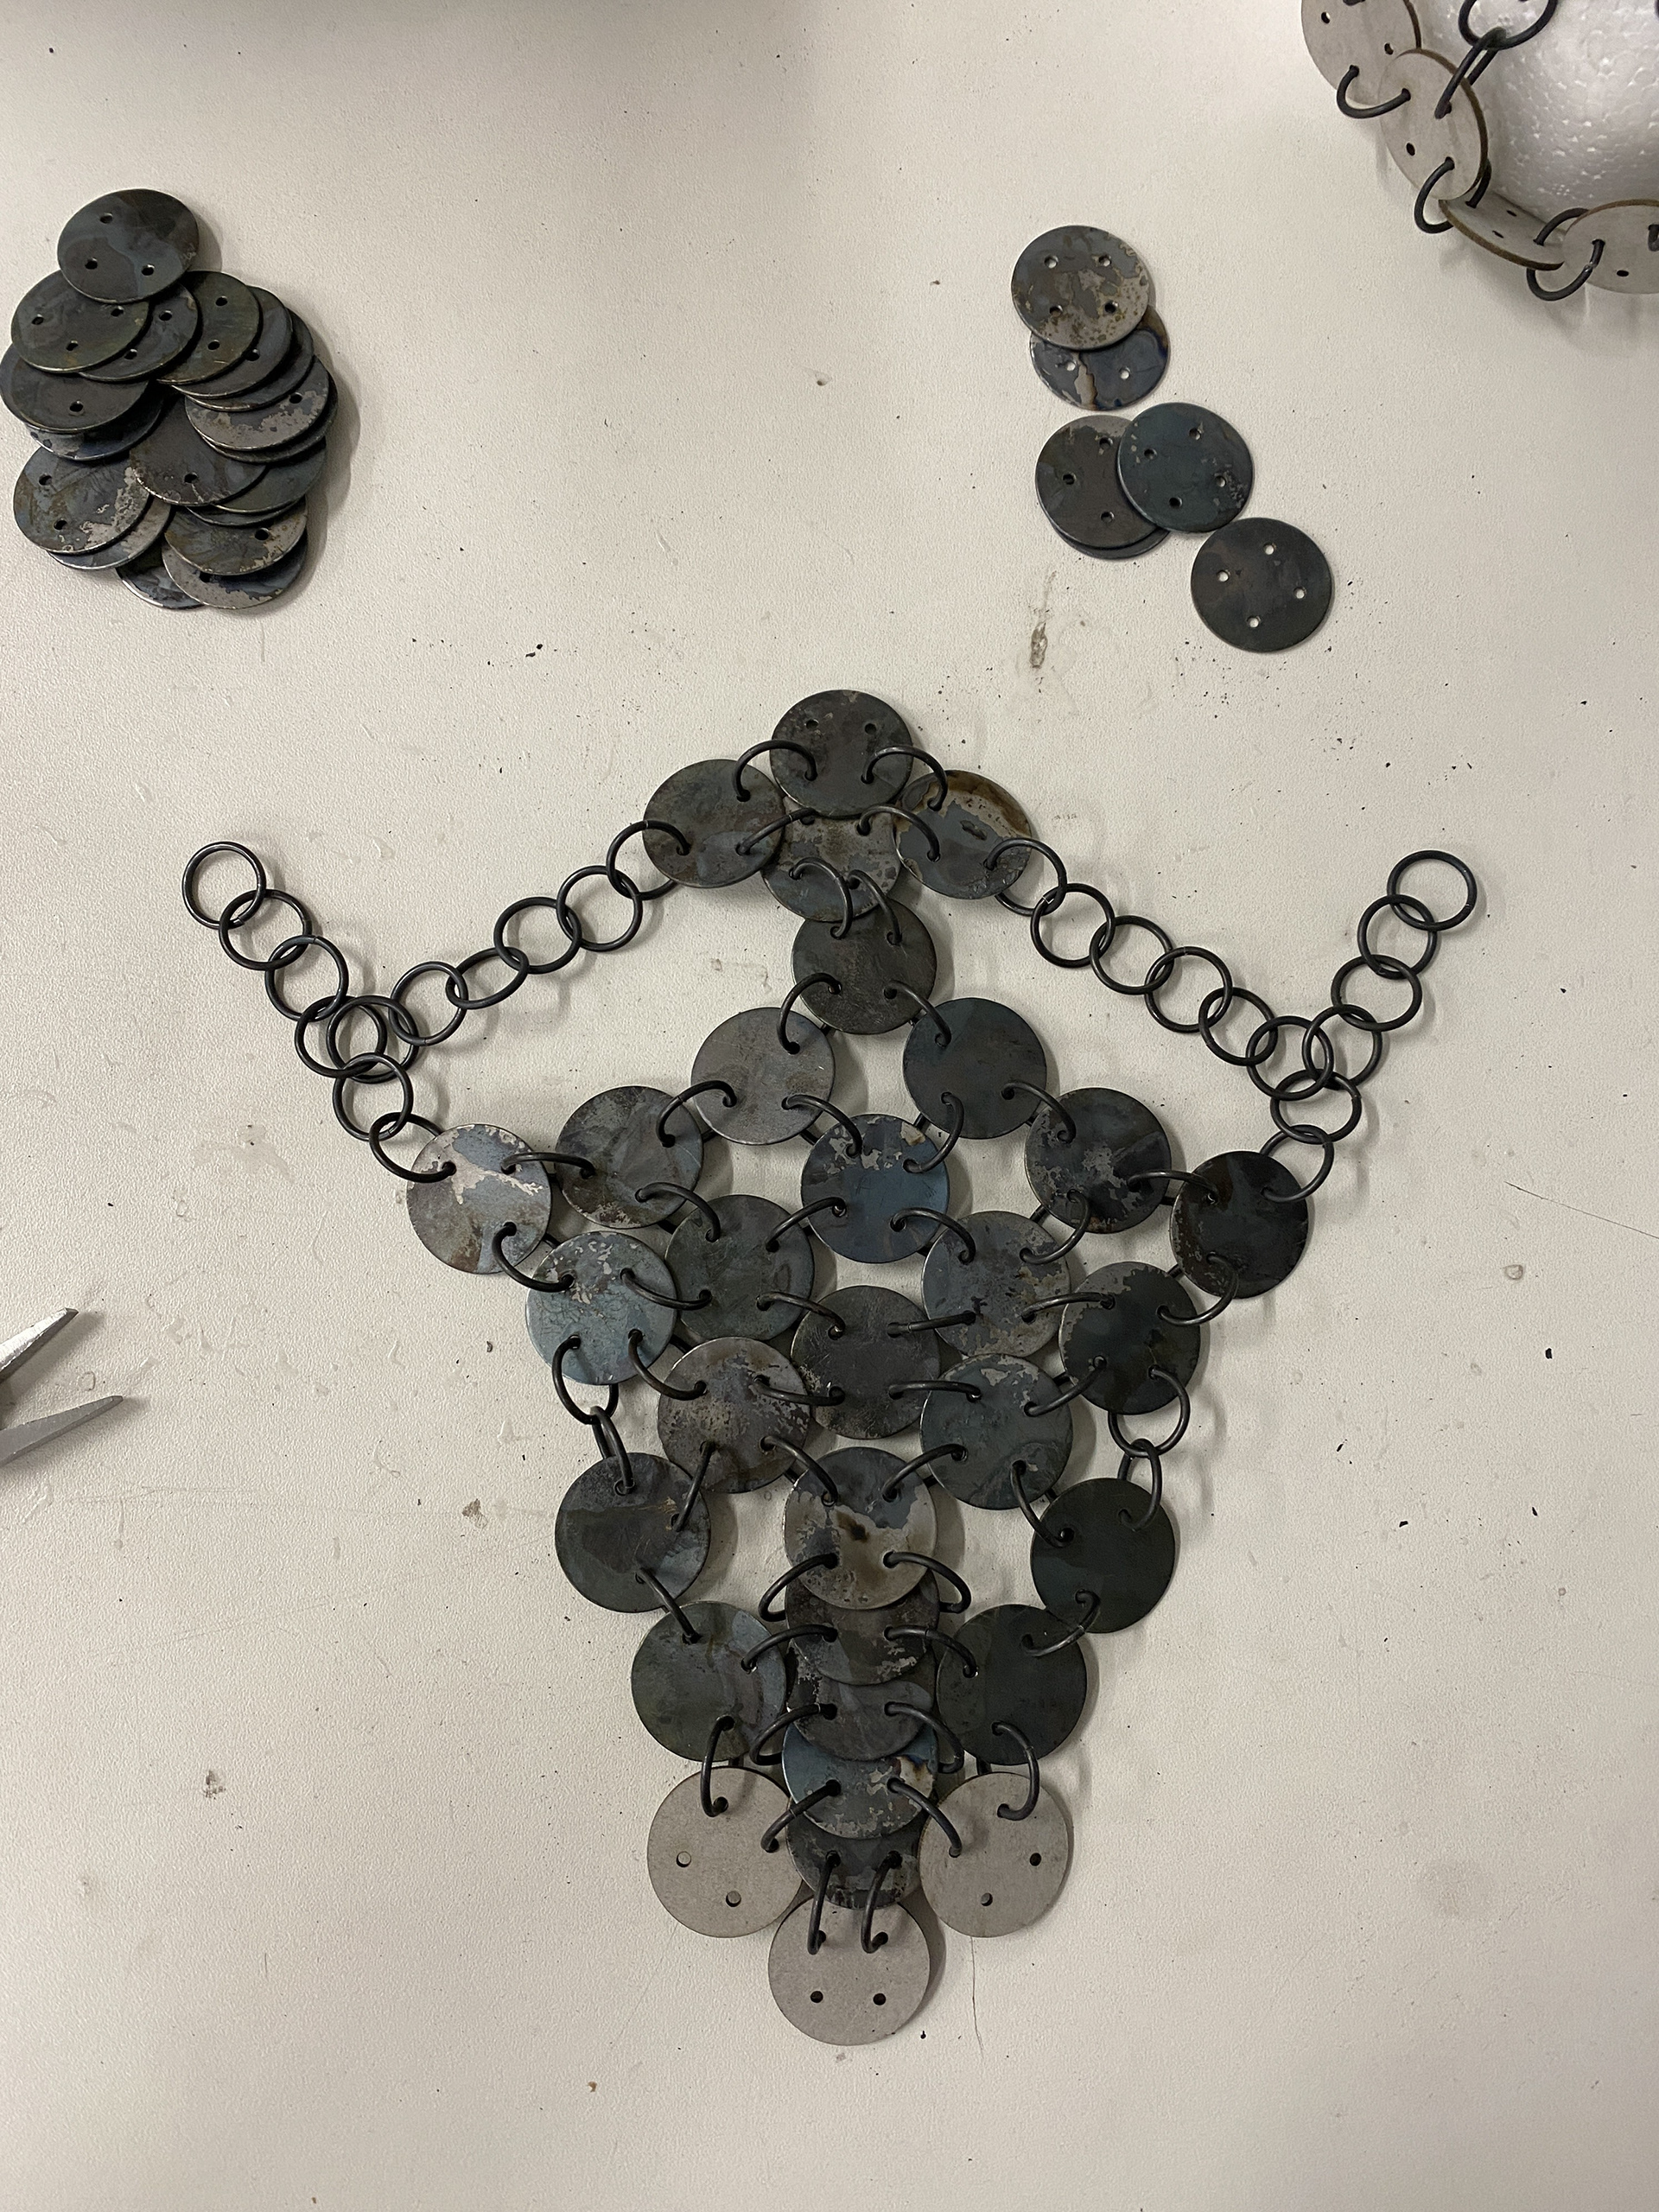
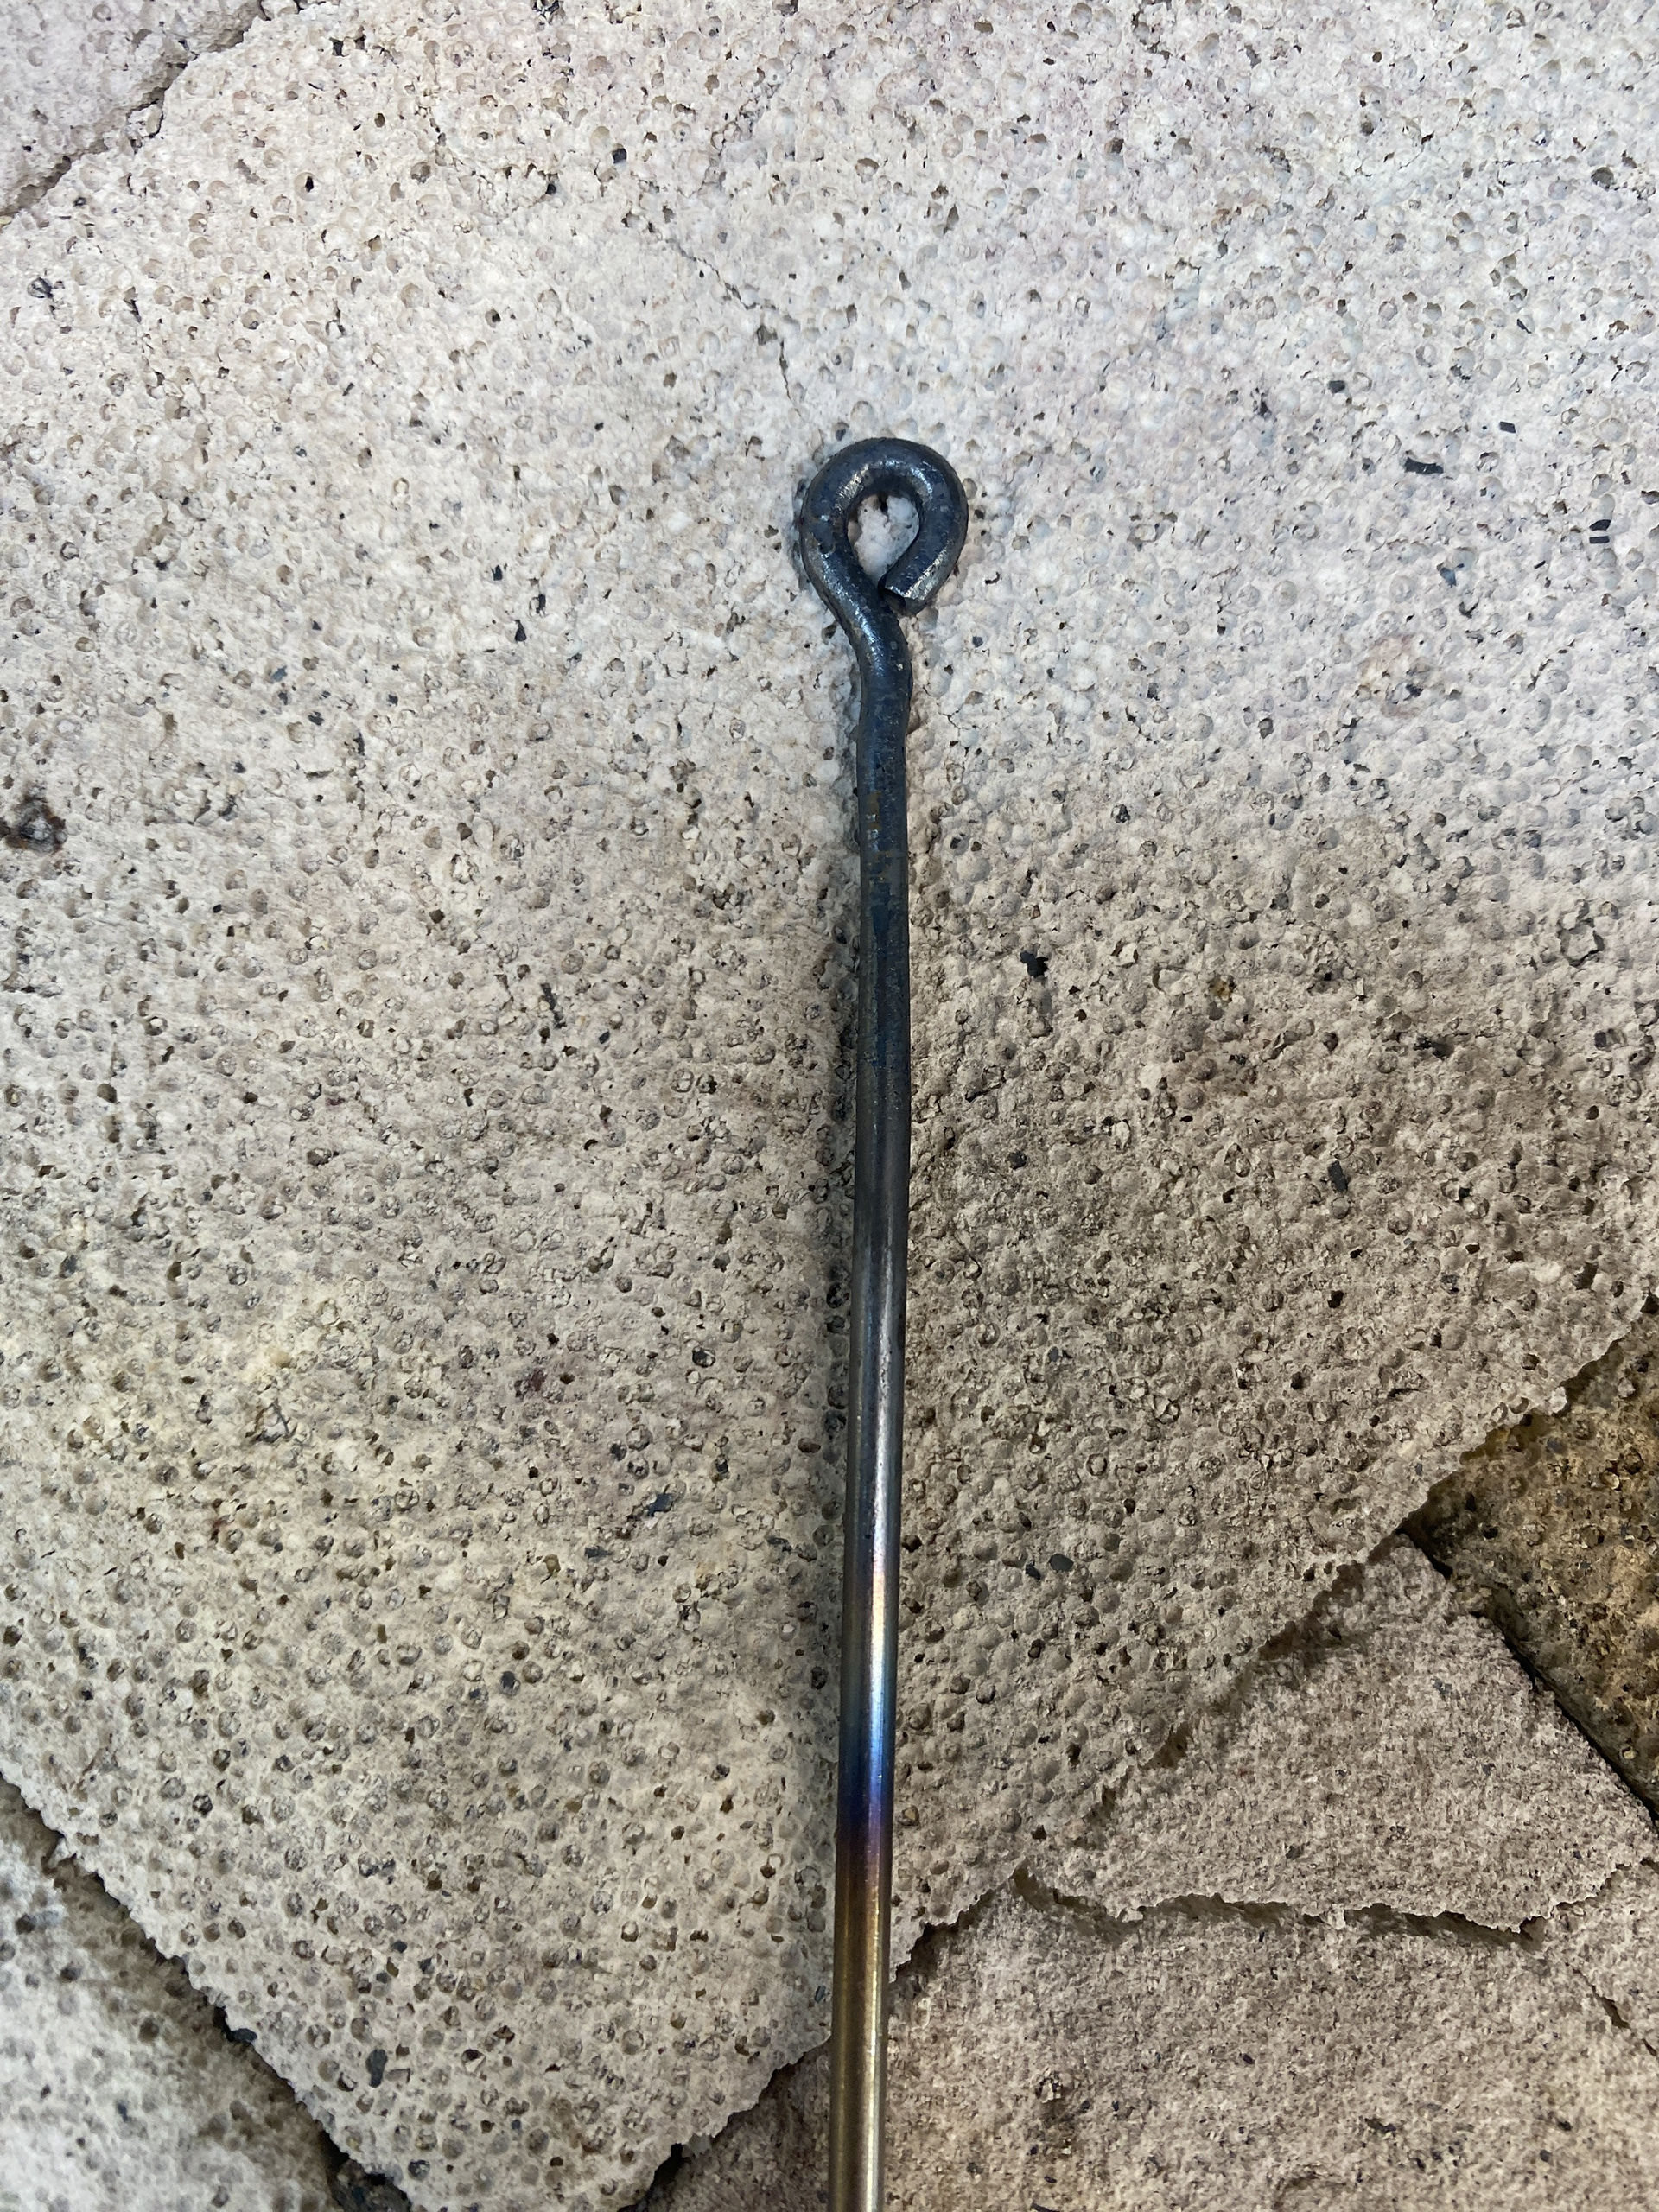
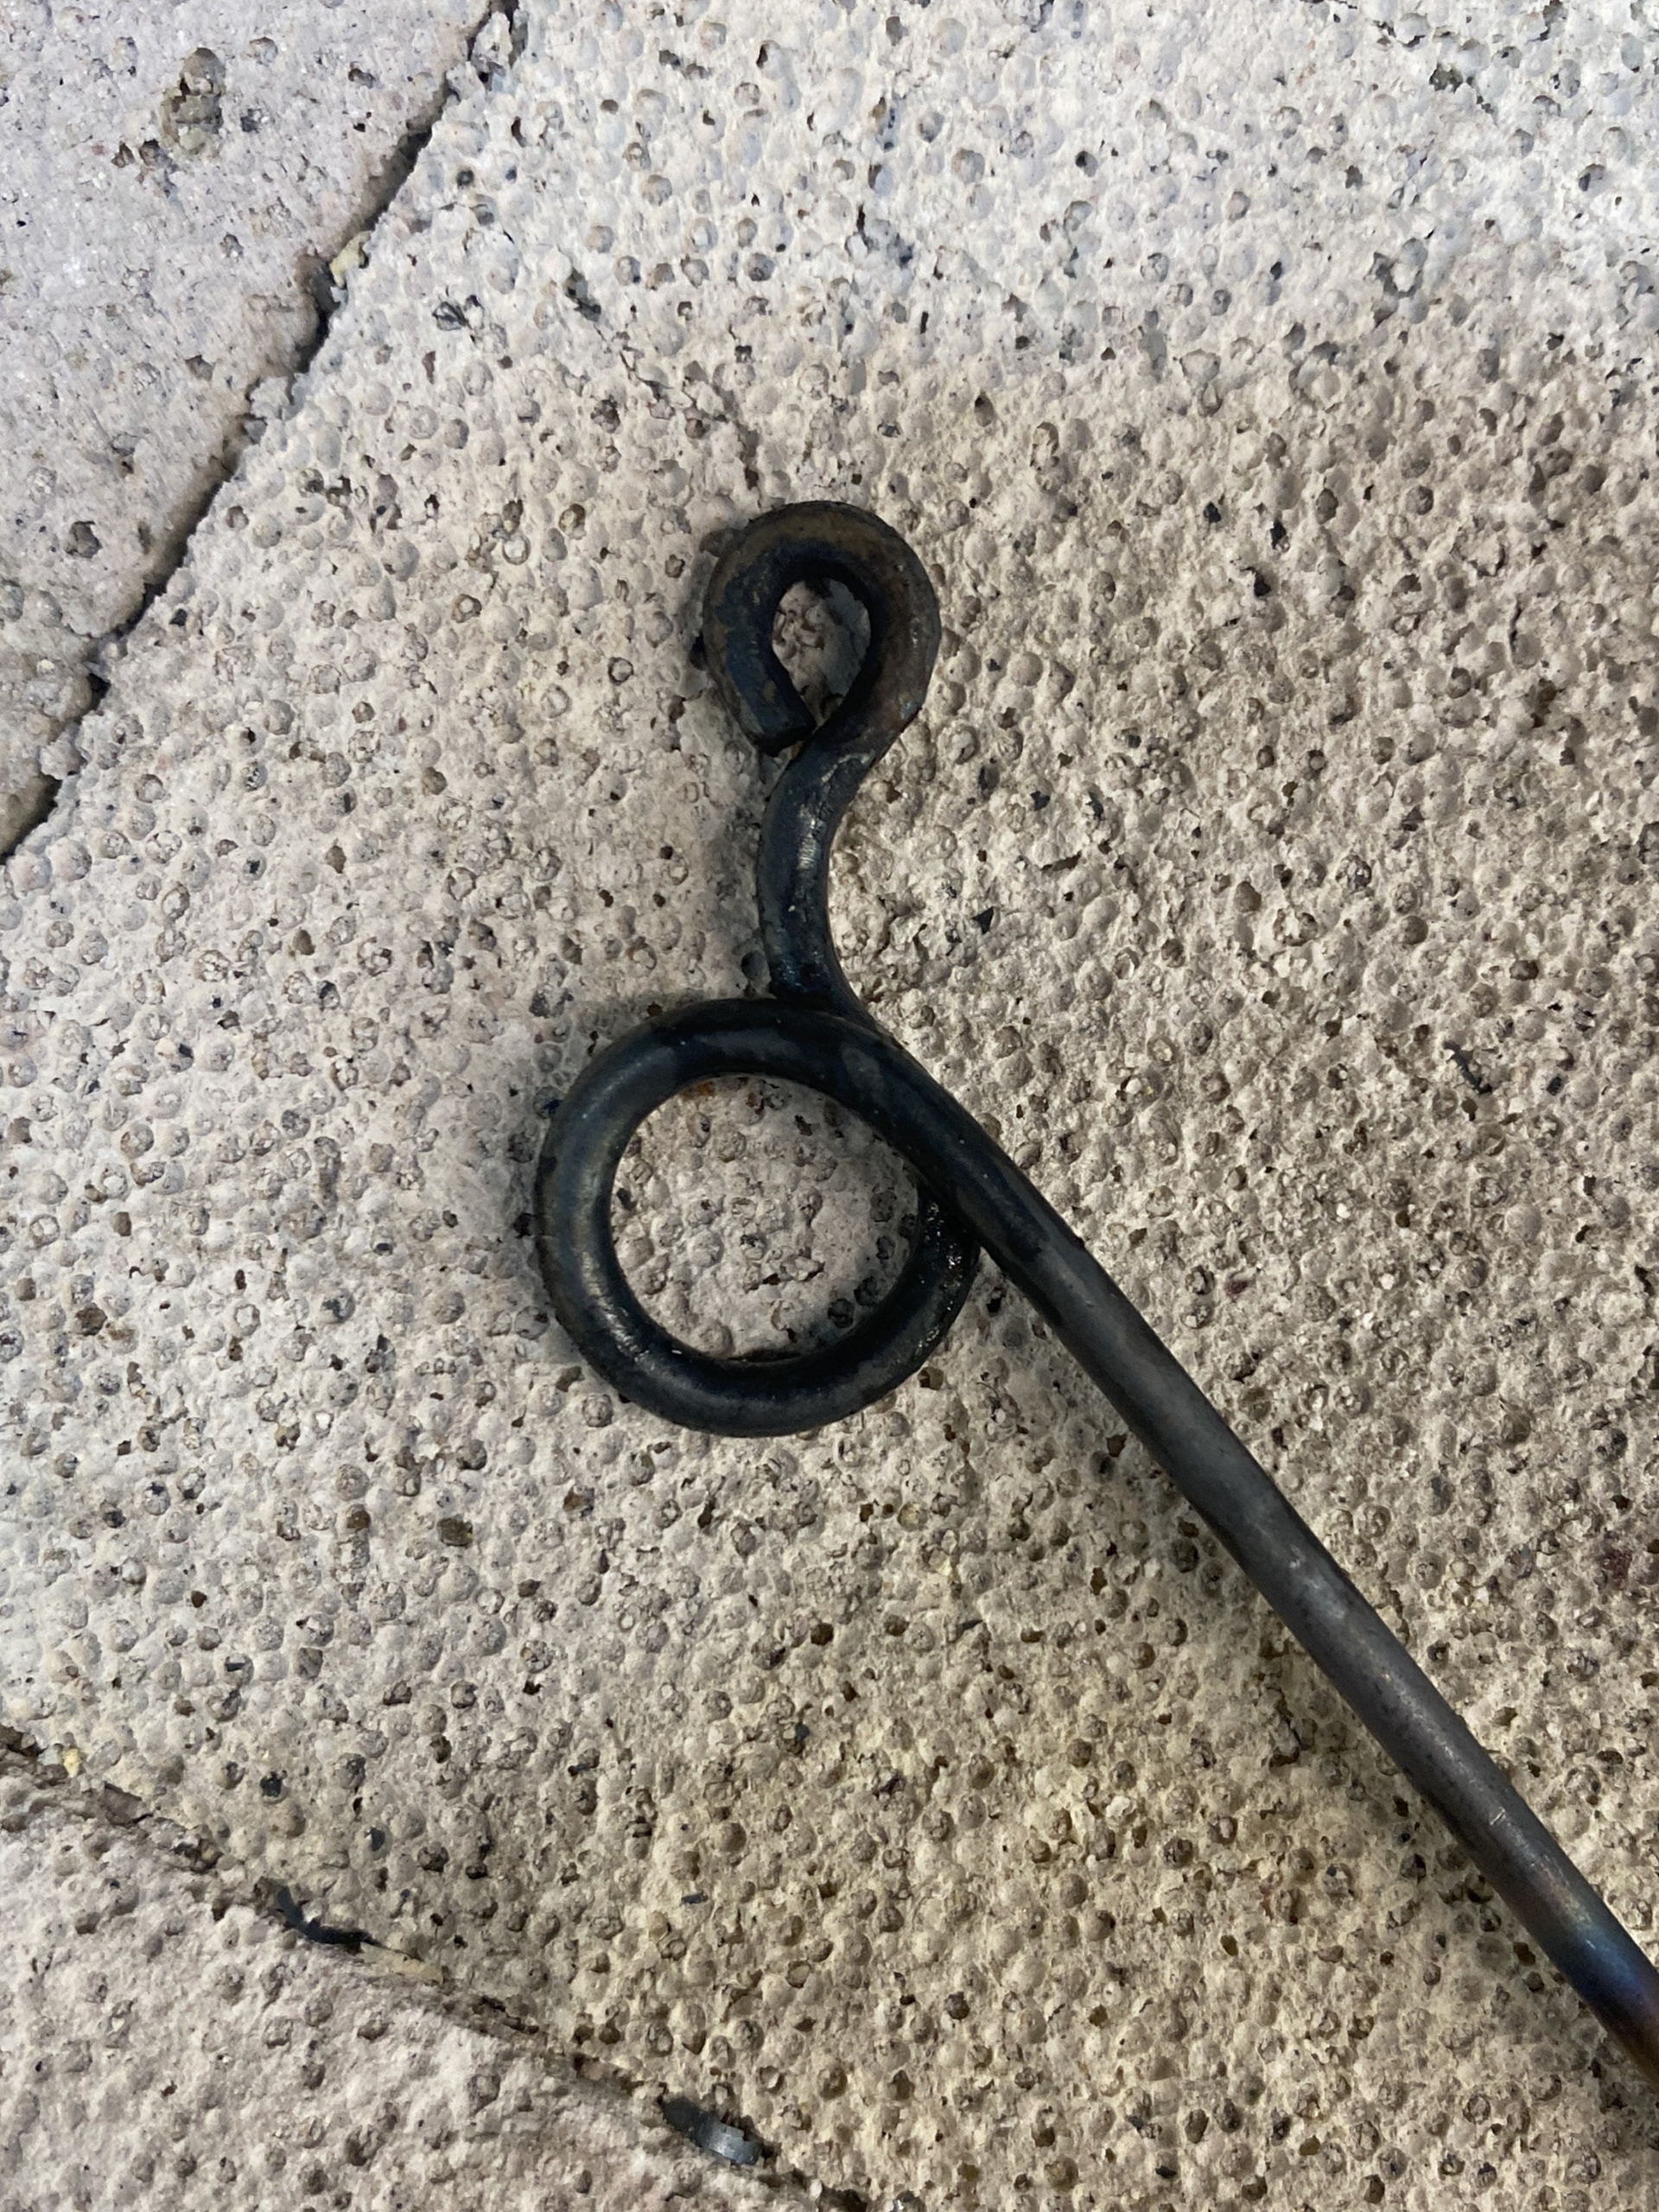
I tested a support structure designed to be concealed behind the links. Using the same 1.6mm wire as the links, I created a rigid bar to lock the piece in place. This effectively helped align the mail and prevented all but the top plate from drooping.
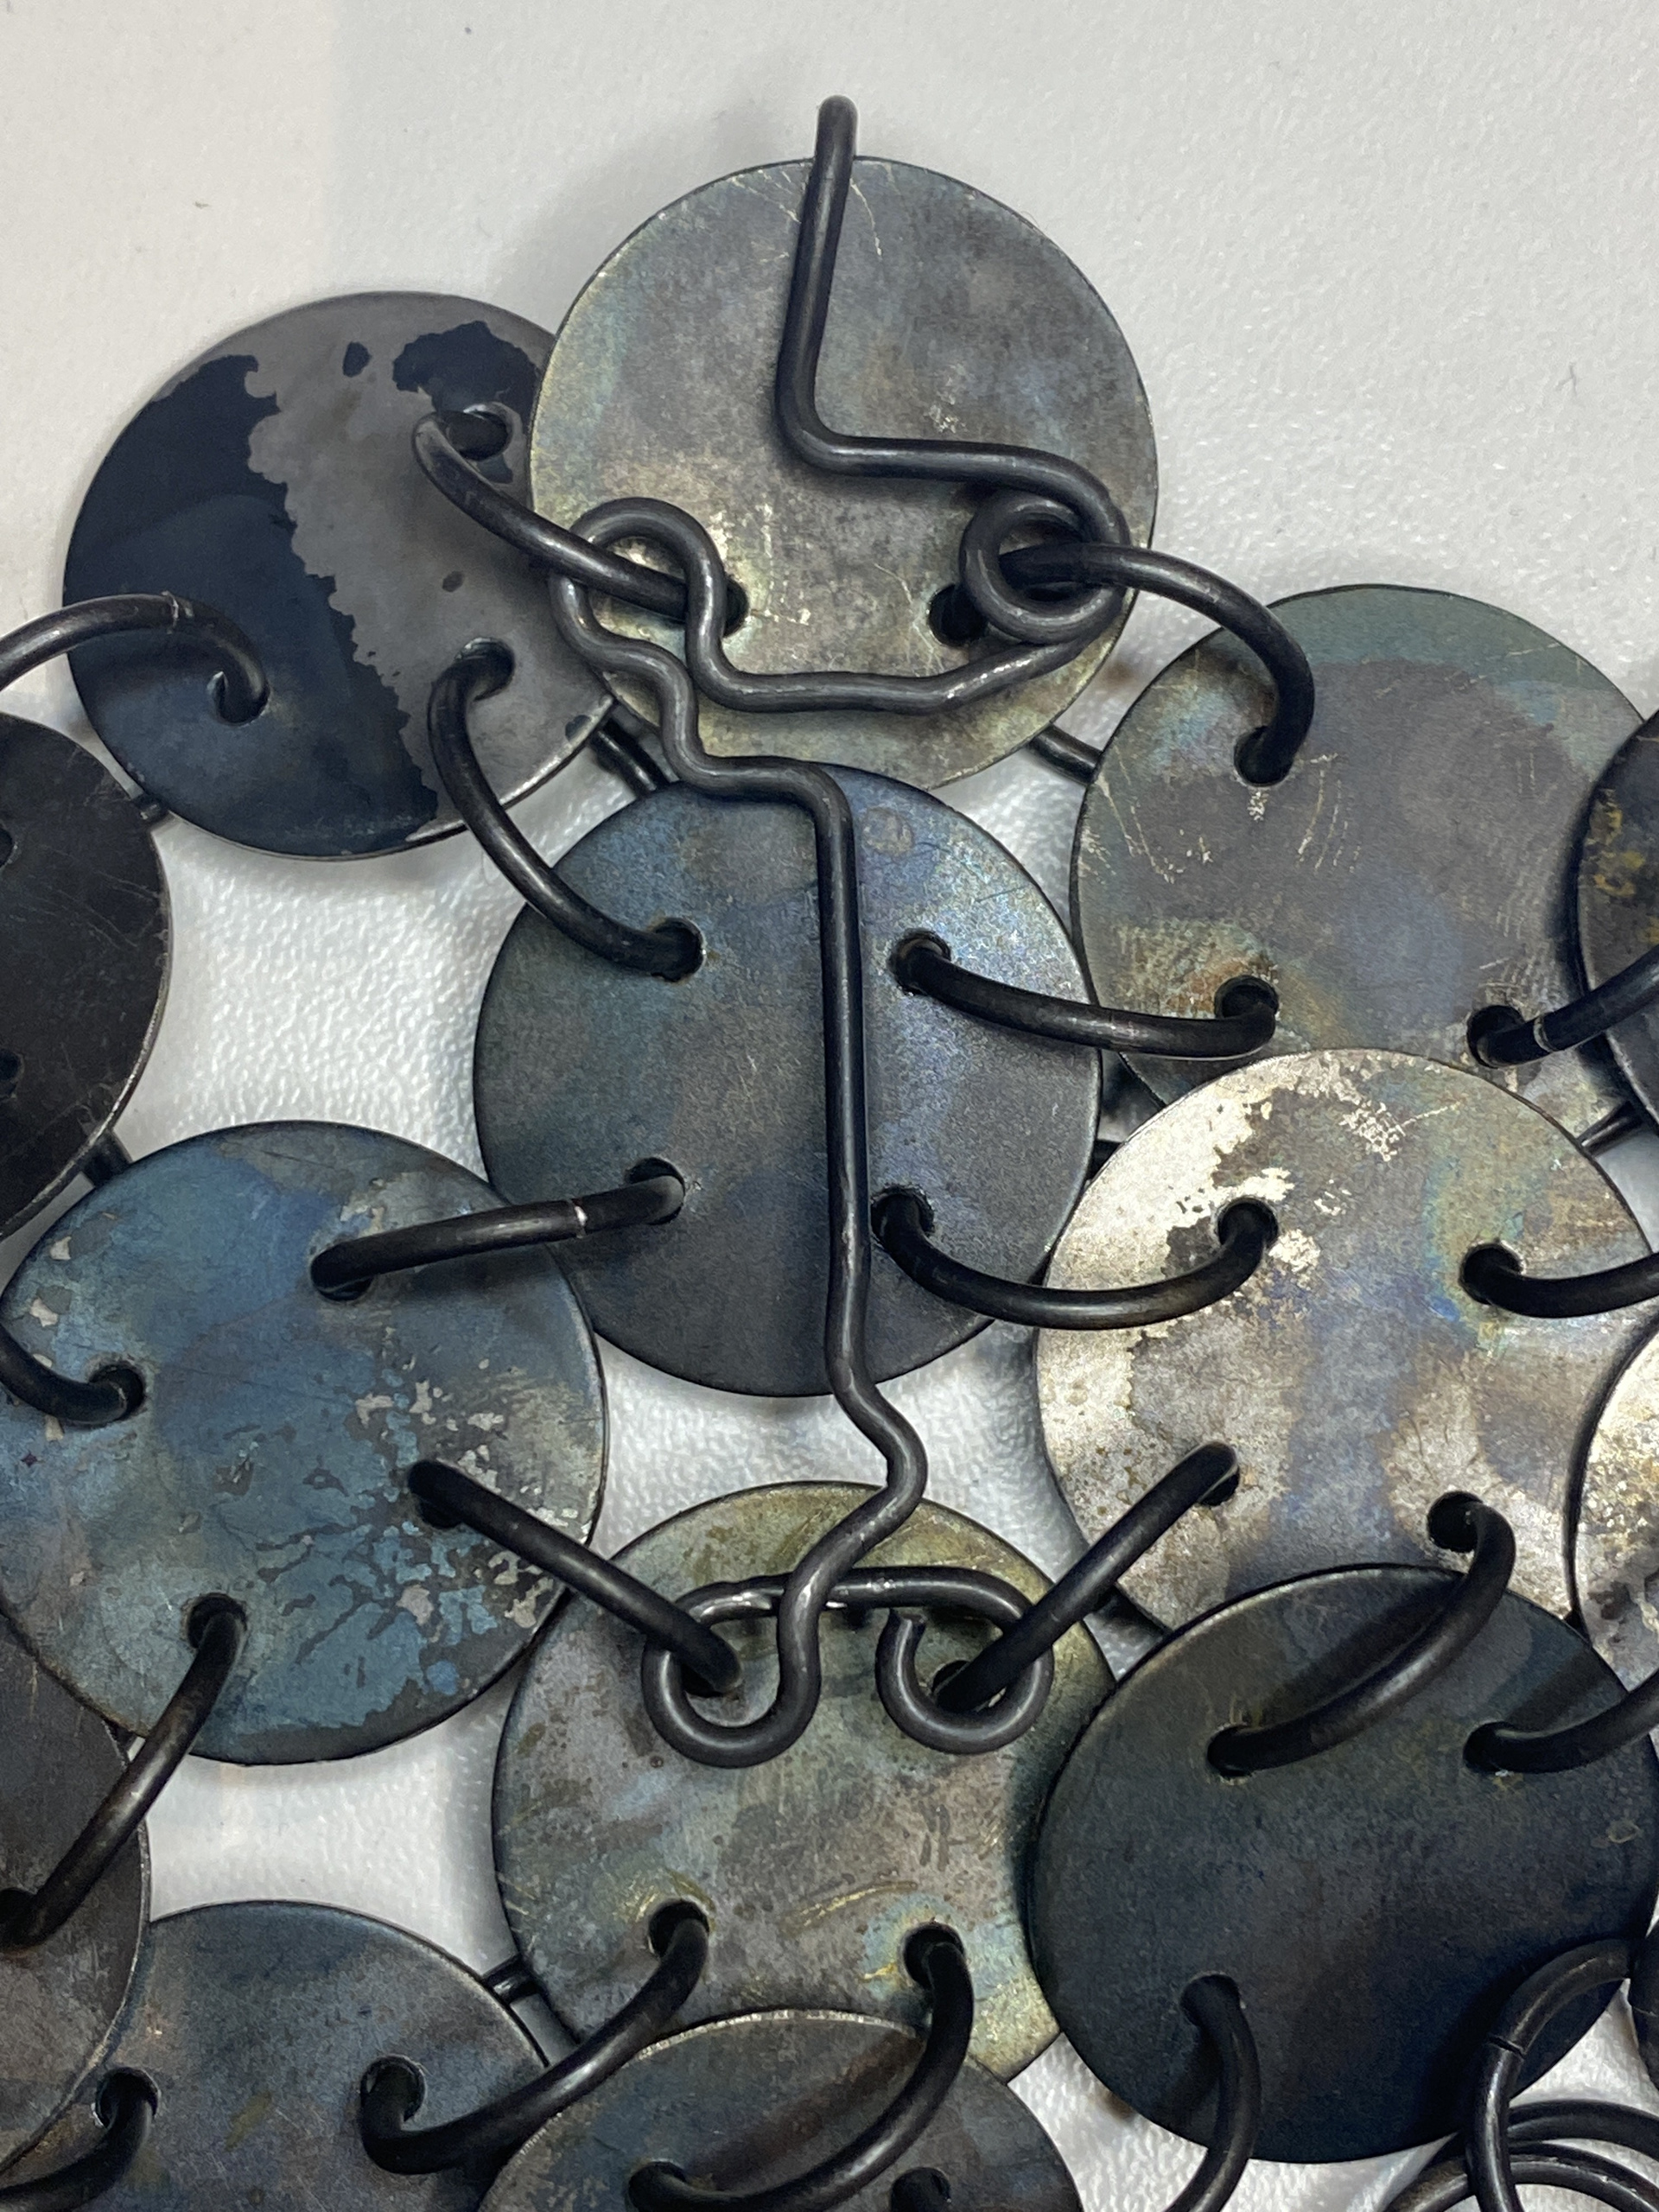
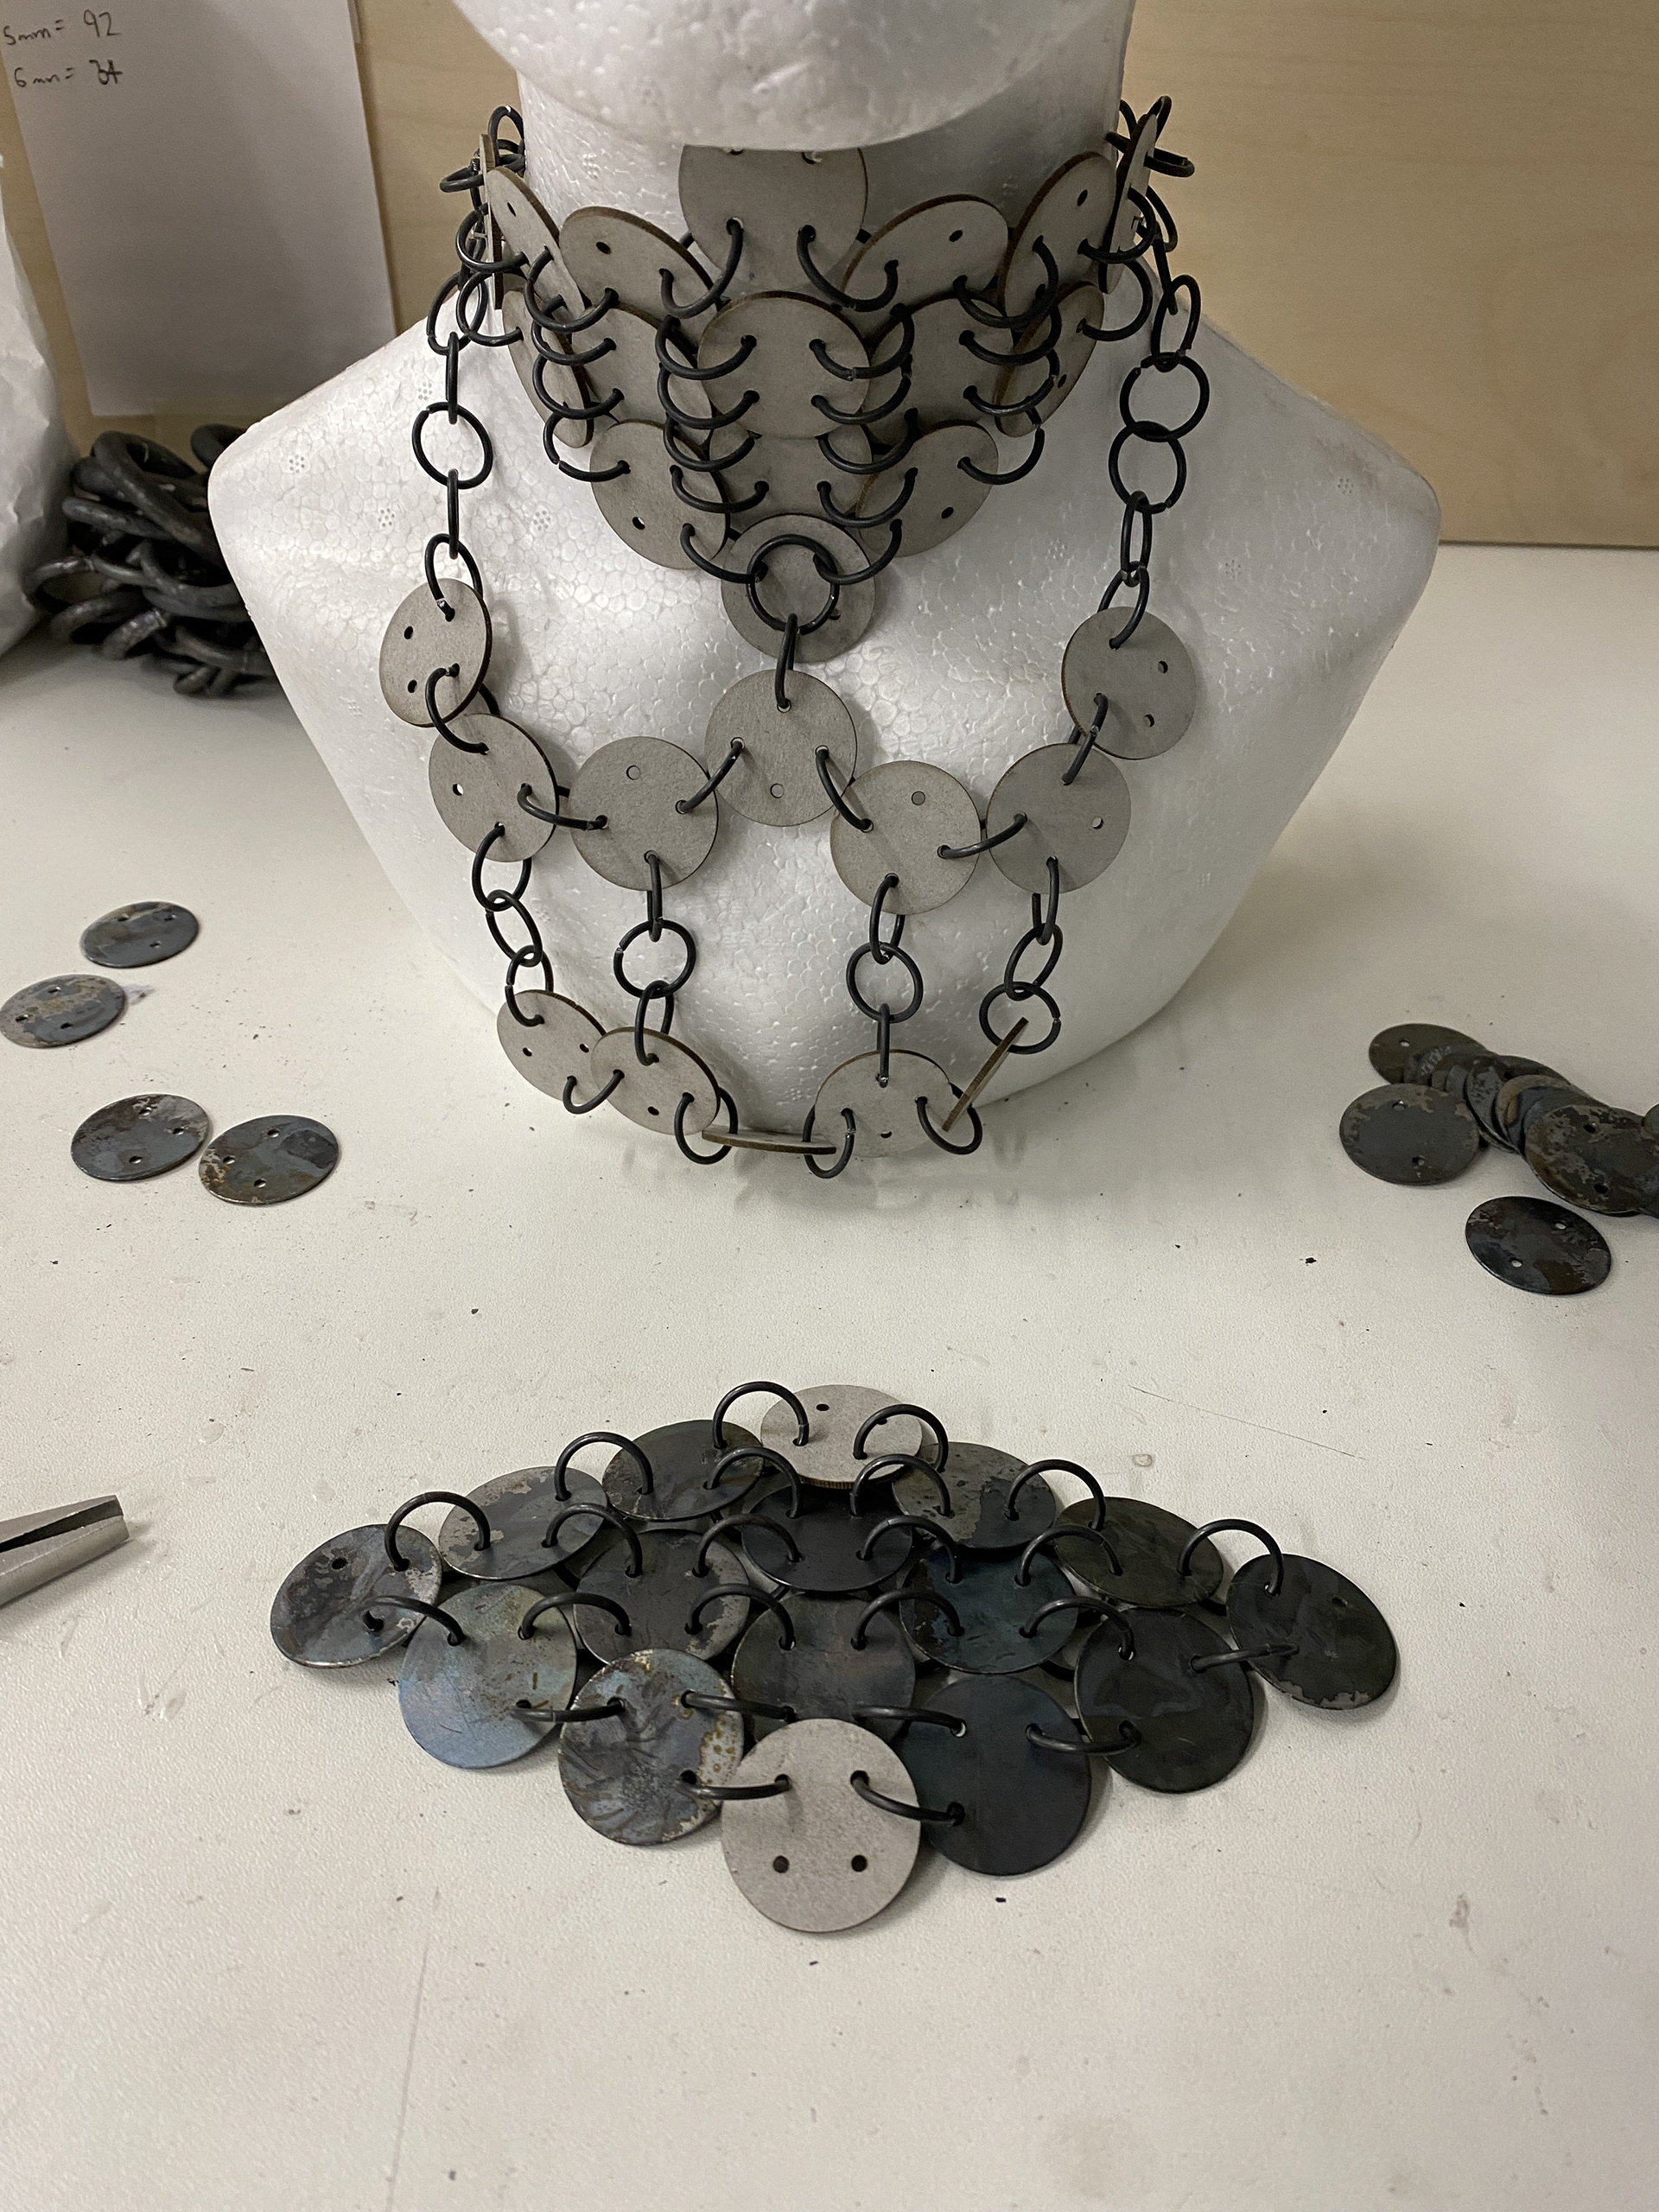
I continued the development of the test above by introducing a hook to lock the top plate in place. As this hook would be visible to from the outside, I wanted it to be harmonious with the rest of the design and not draw attention. Therefore, I created a circle the same size as the rest of the links, mirroring the link at the base of the chocker section.
This piece was successful in keeping the necklace from drooping.
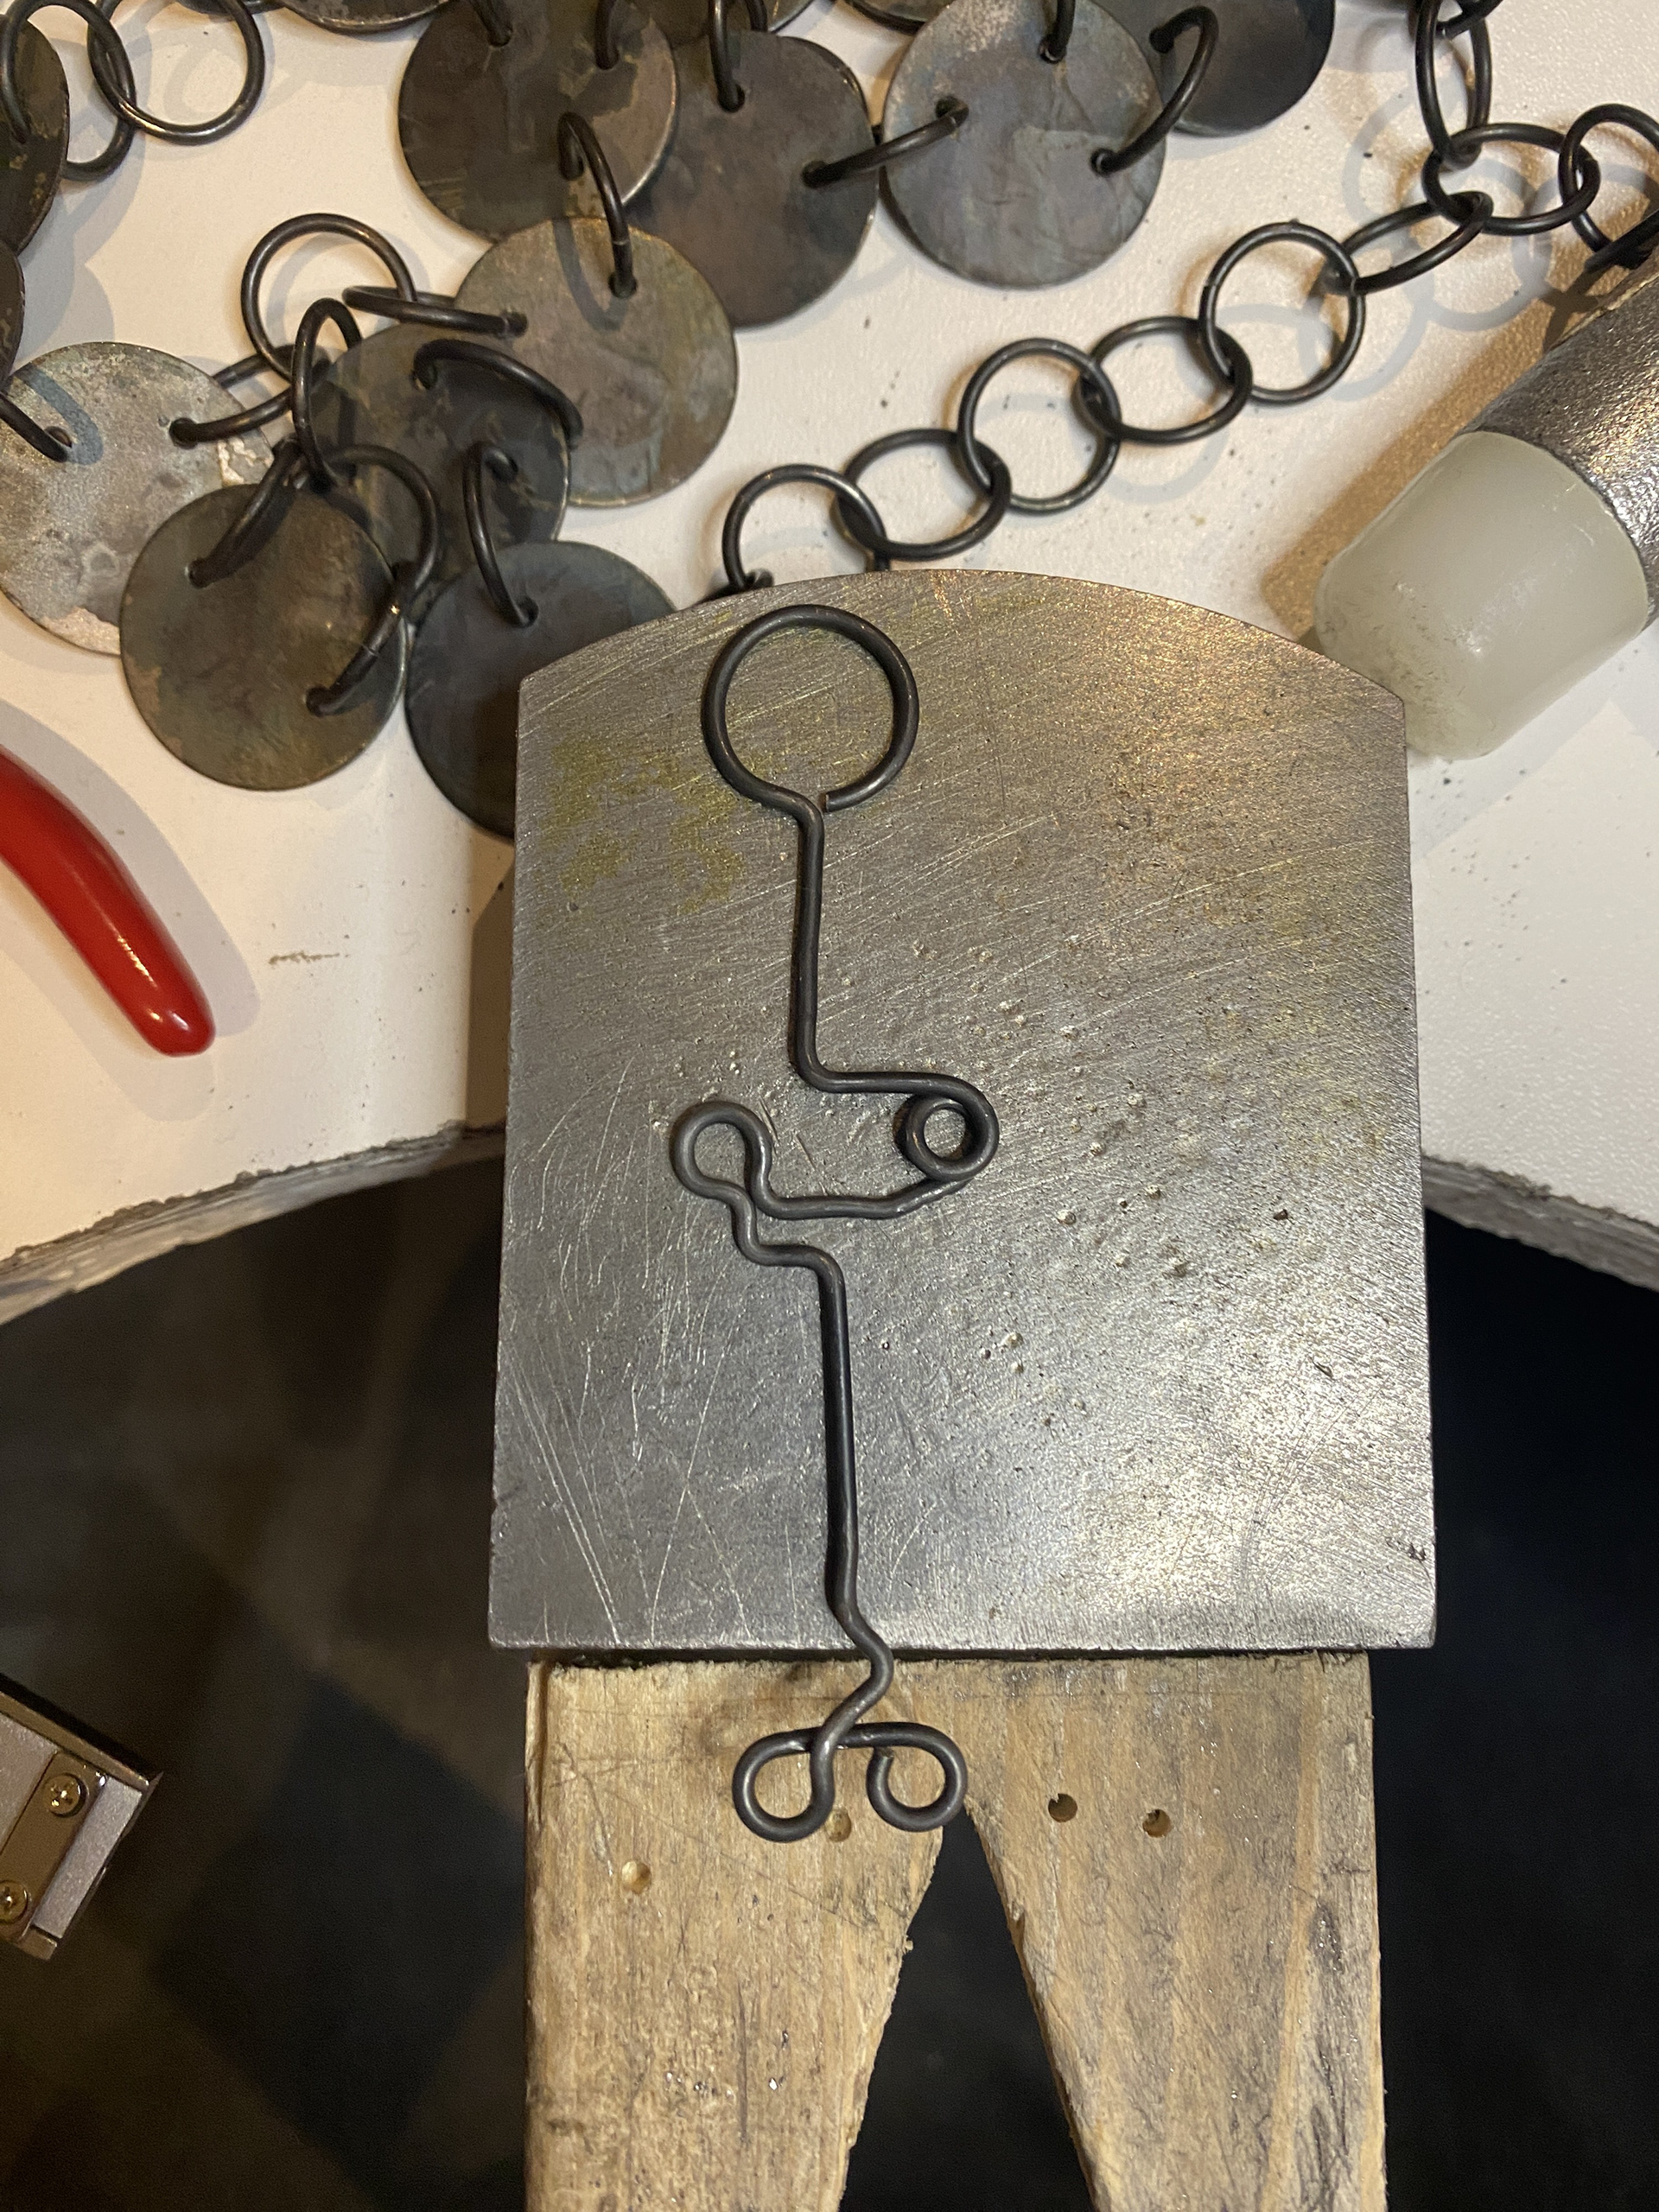
Modelling a clasp


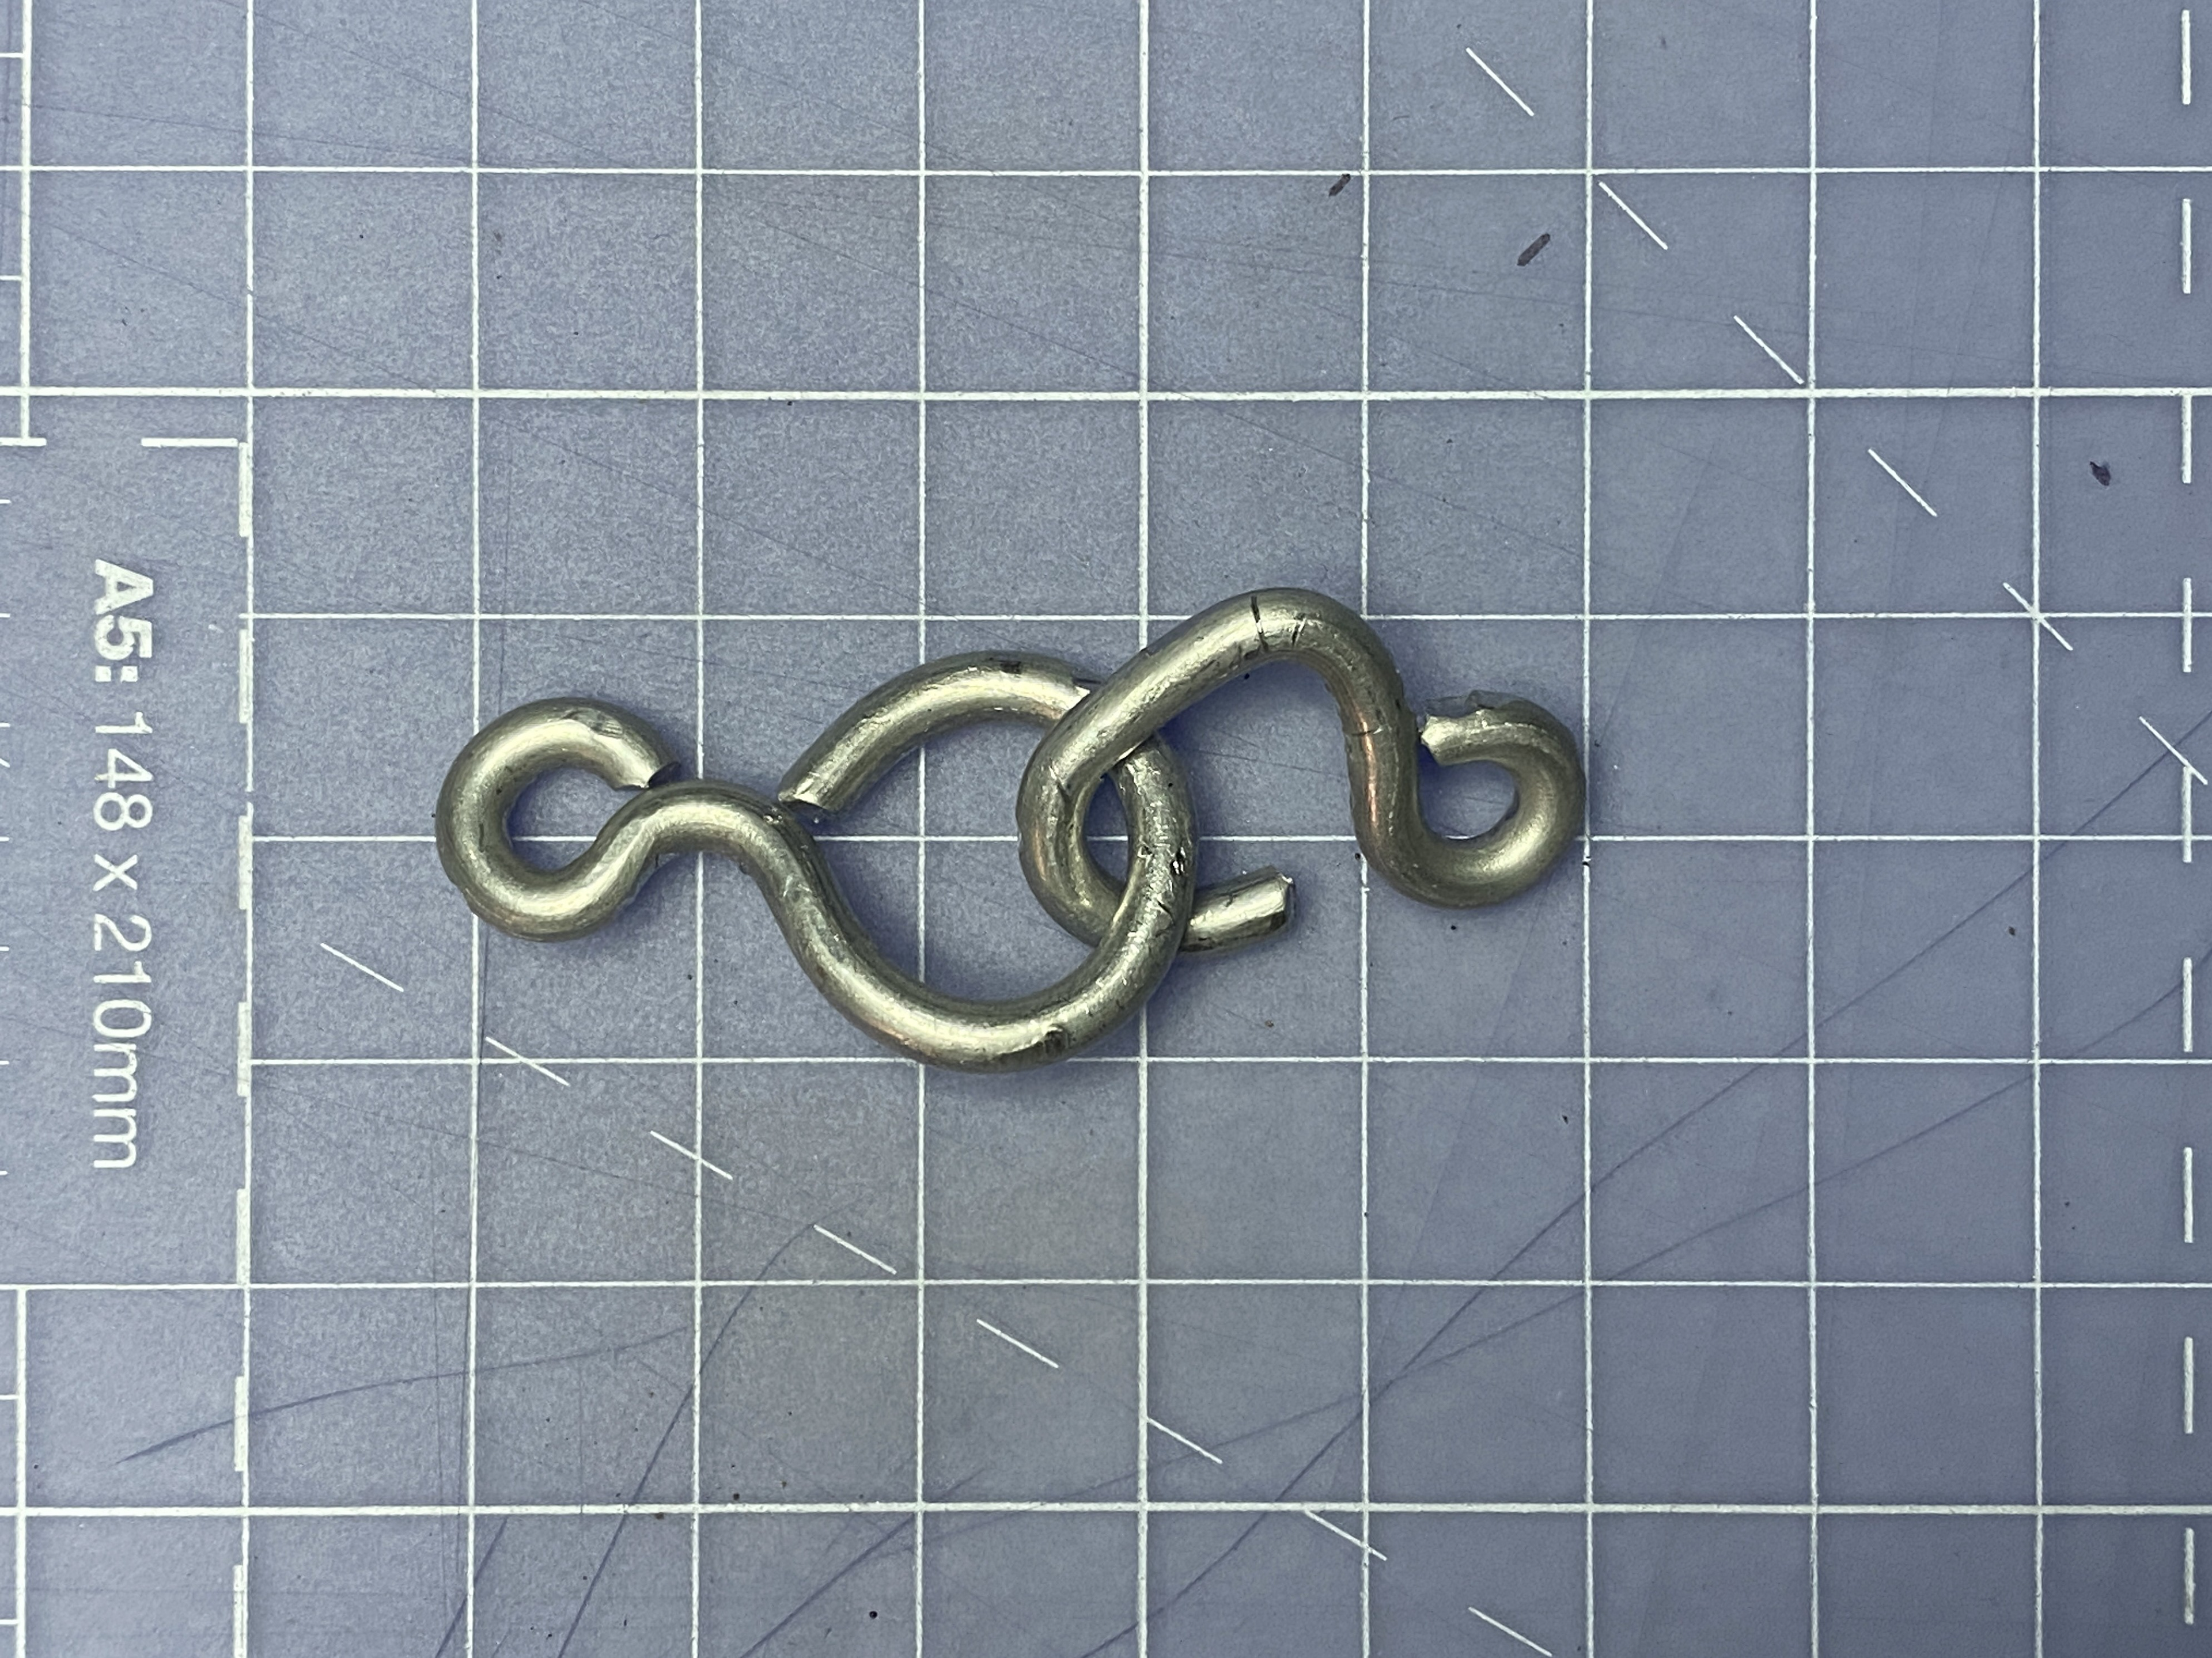
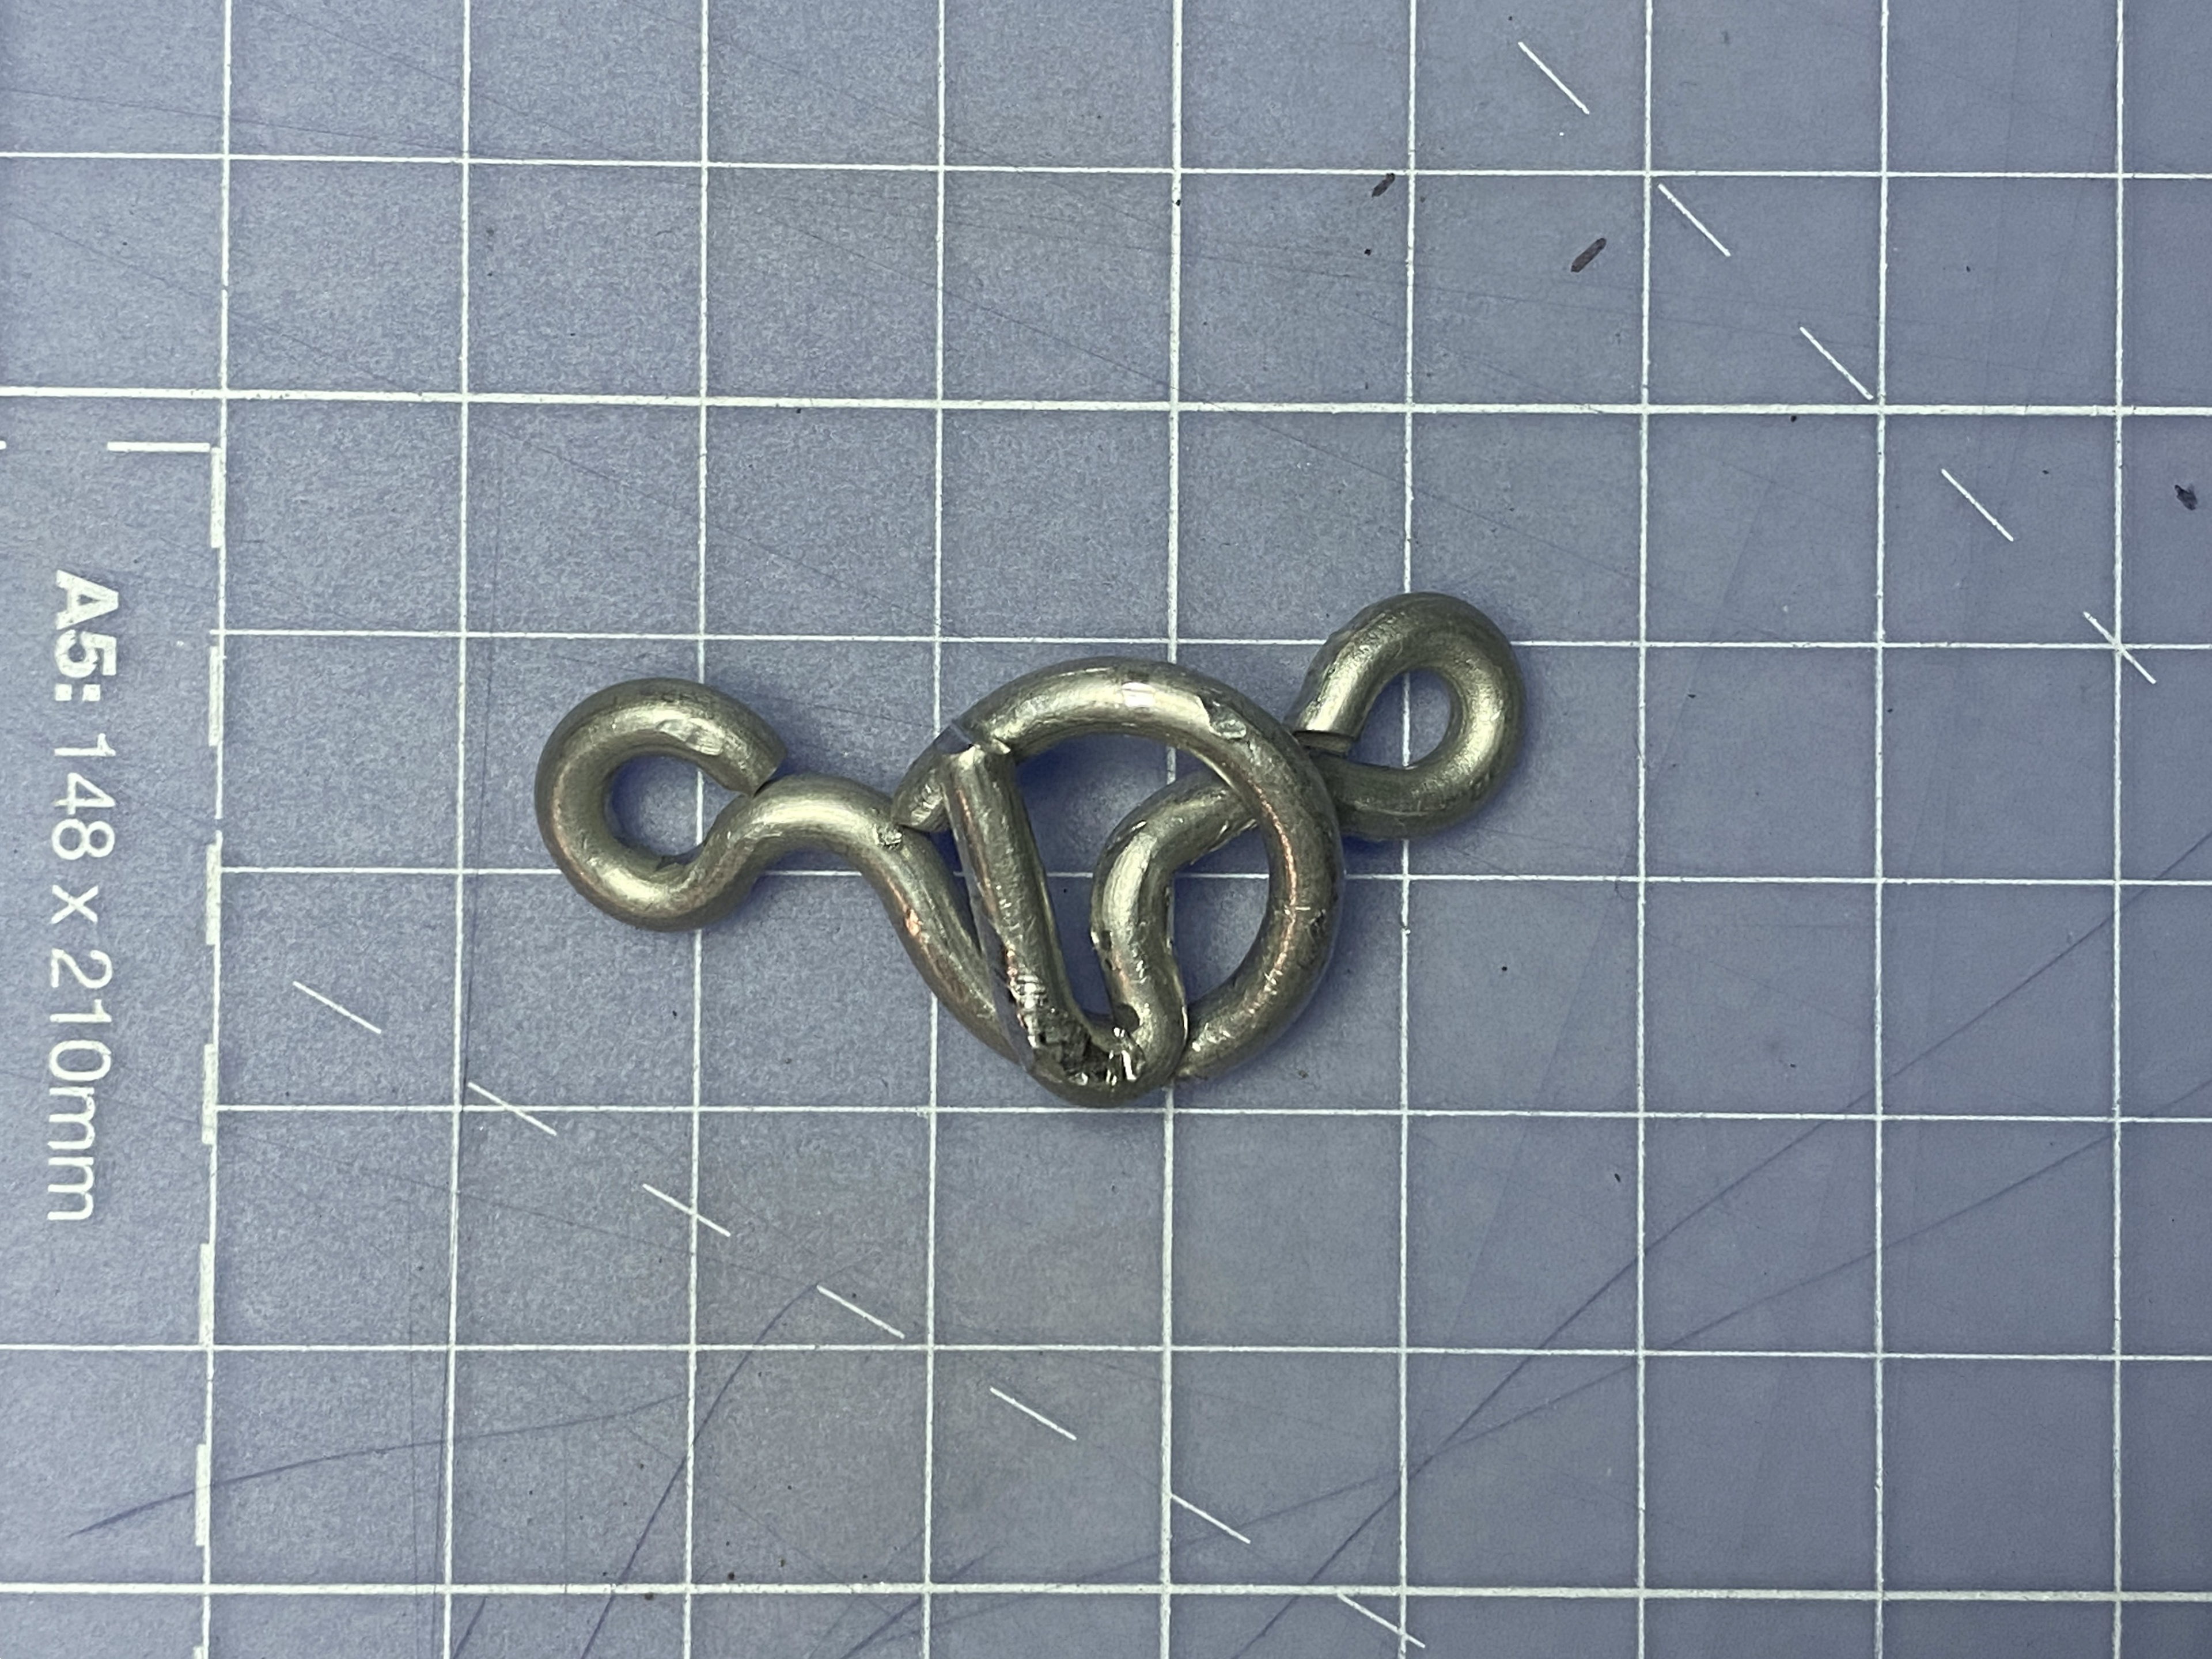
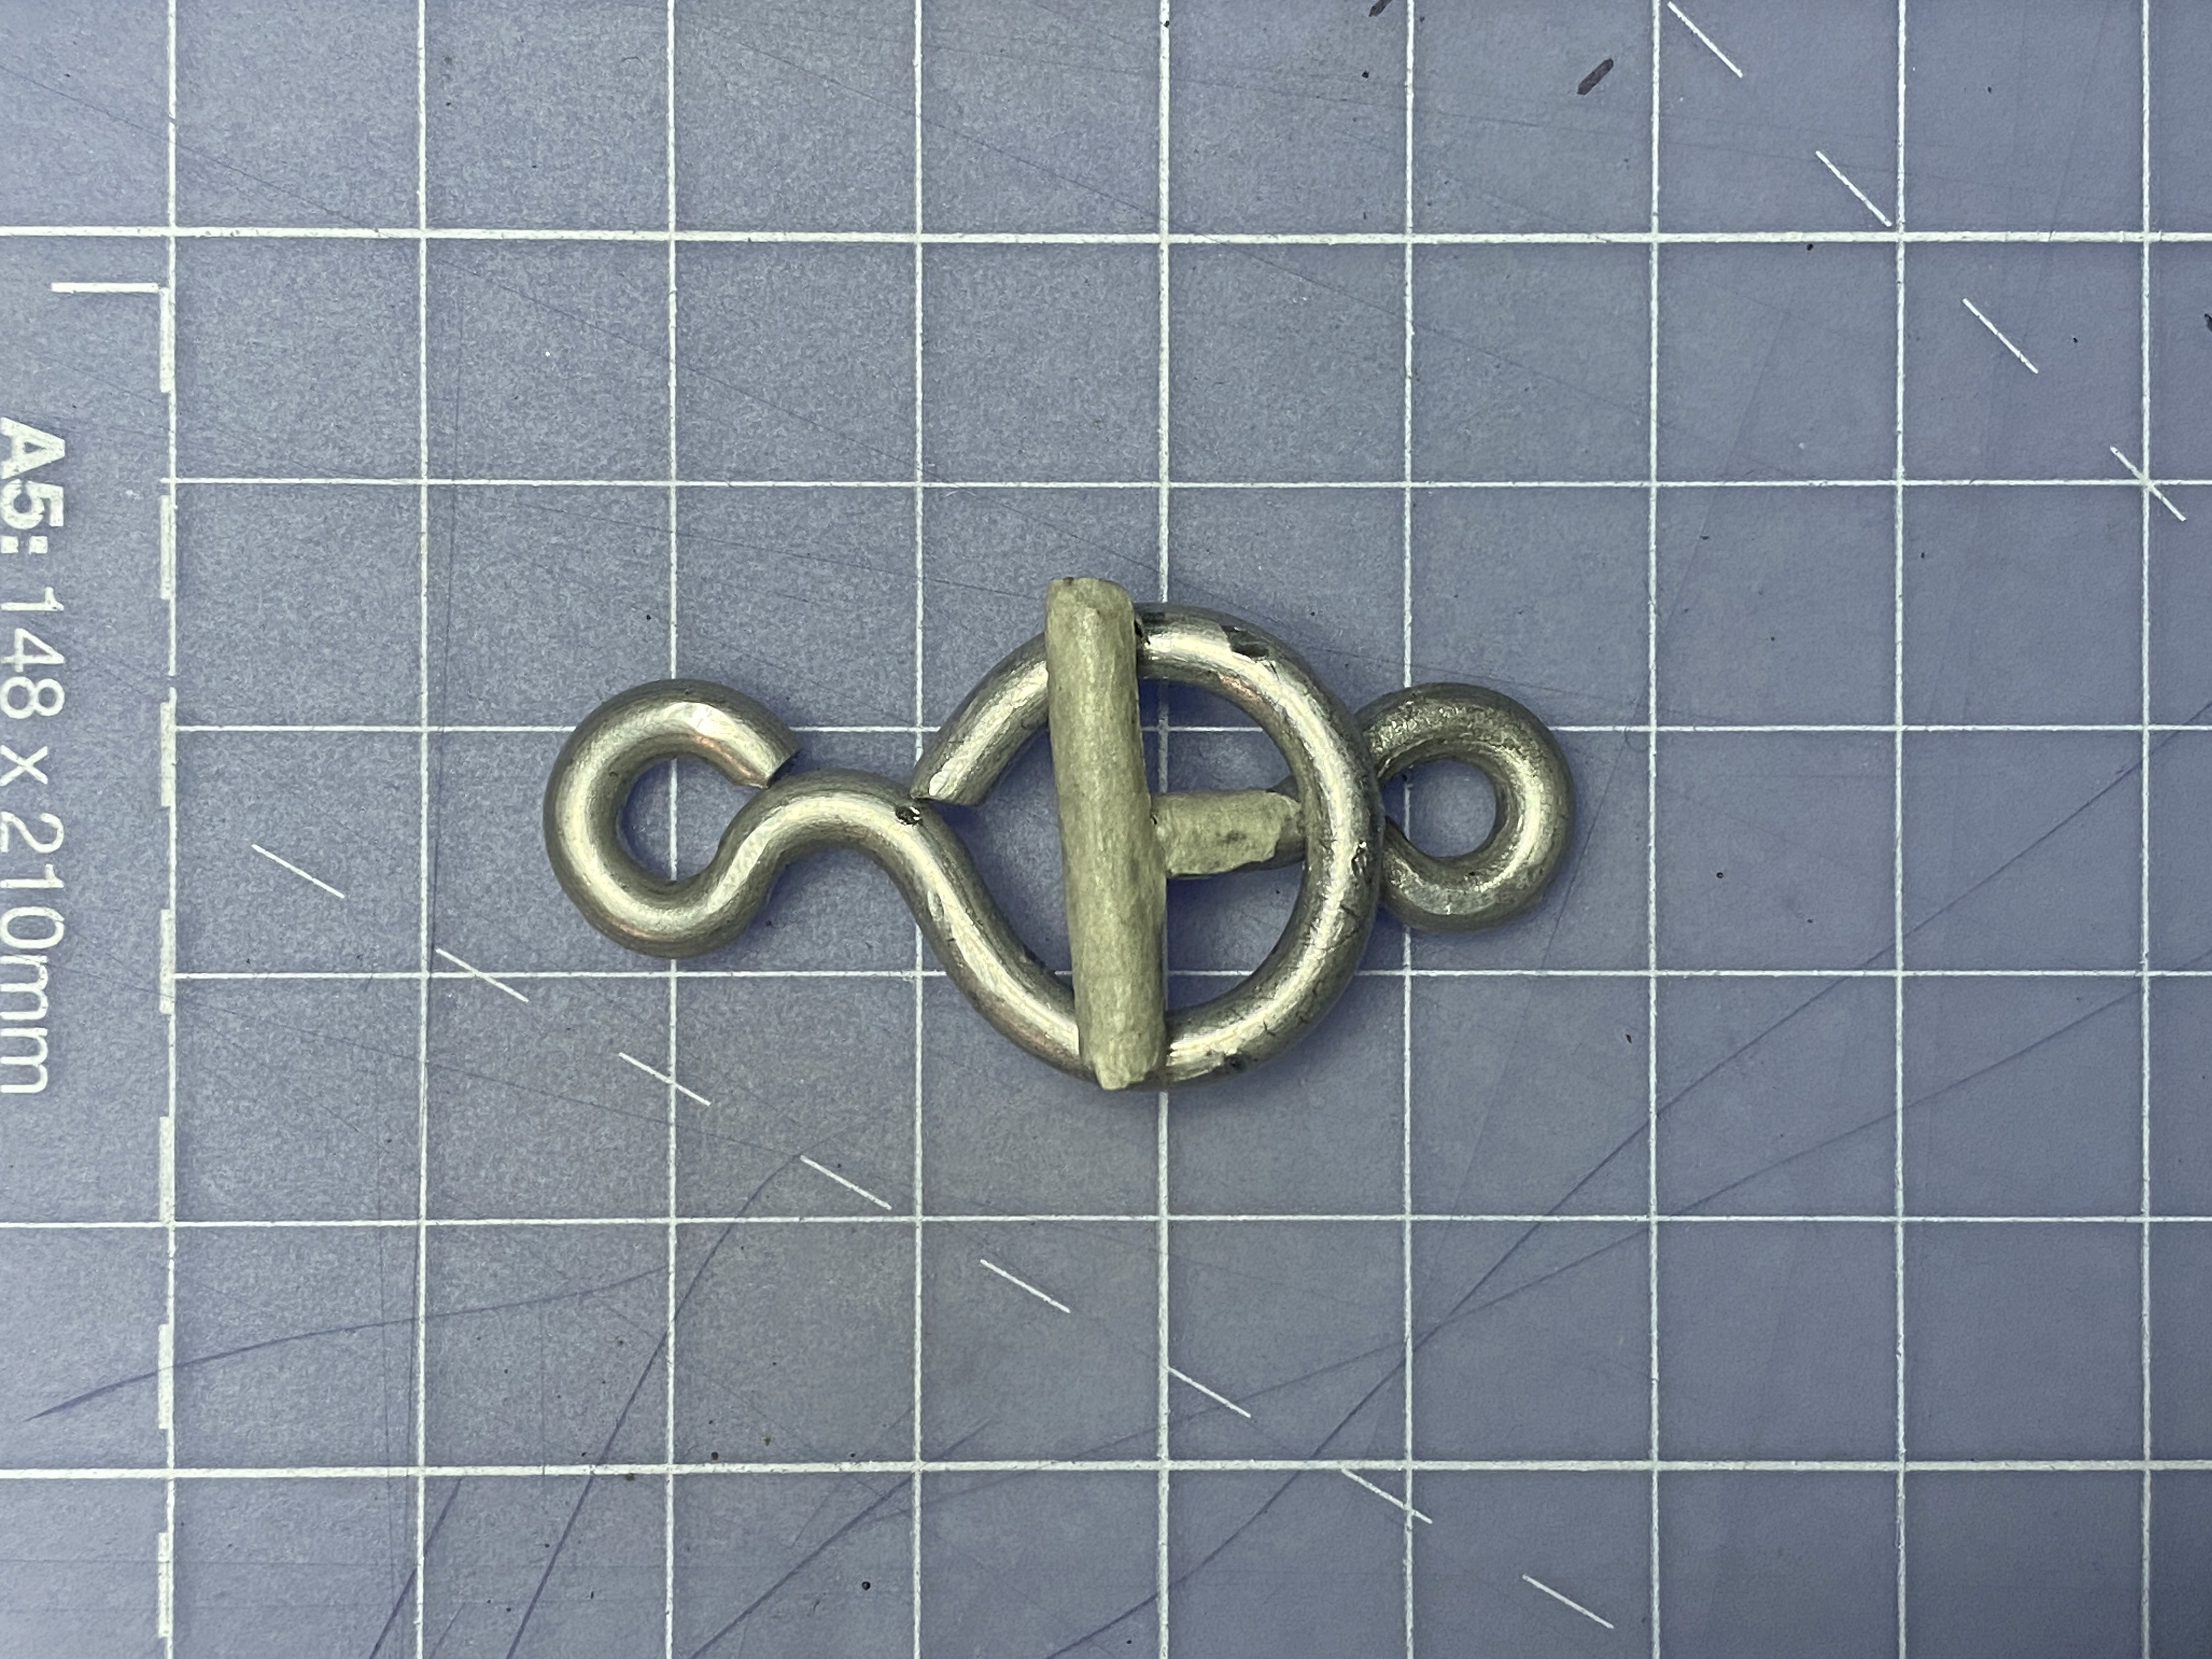
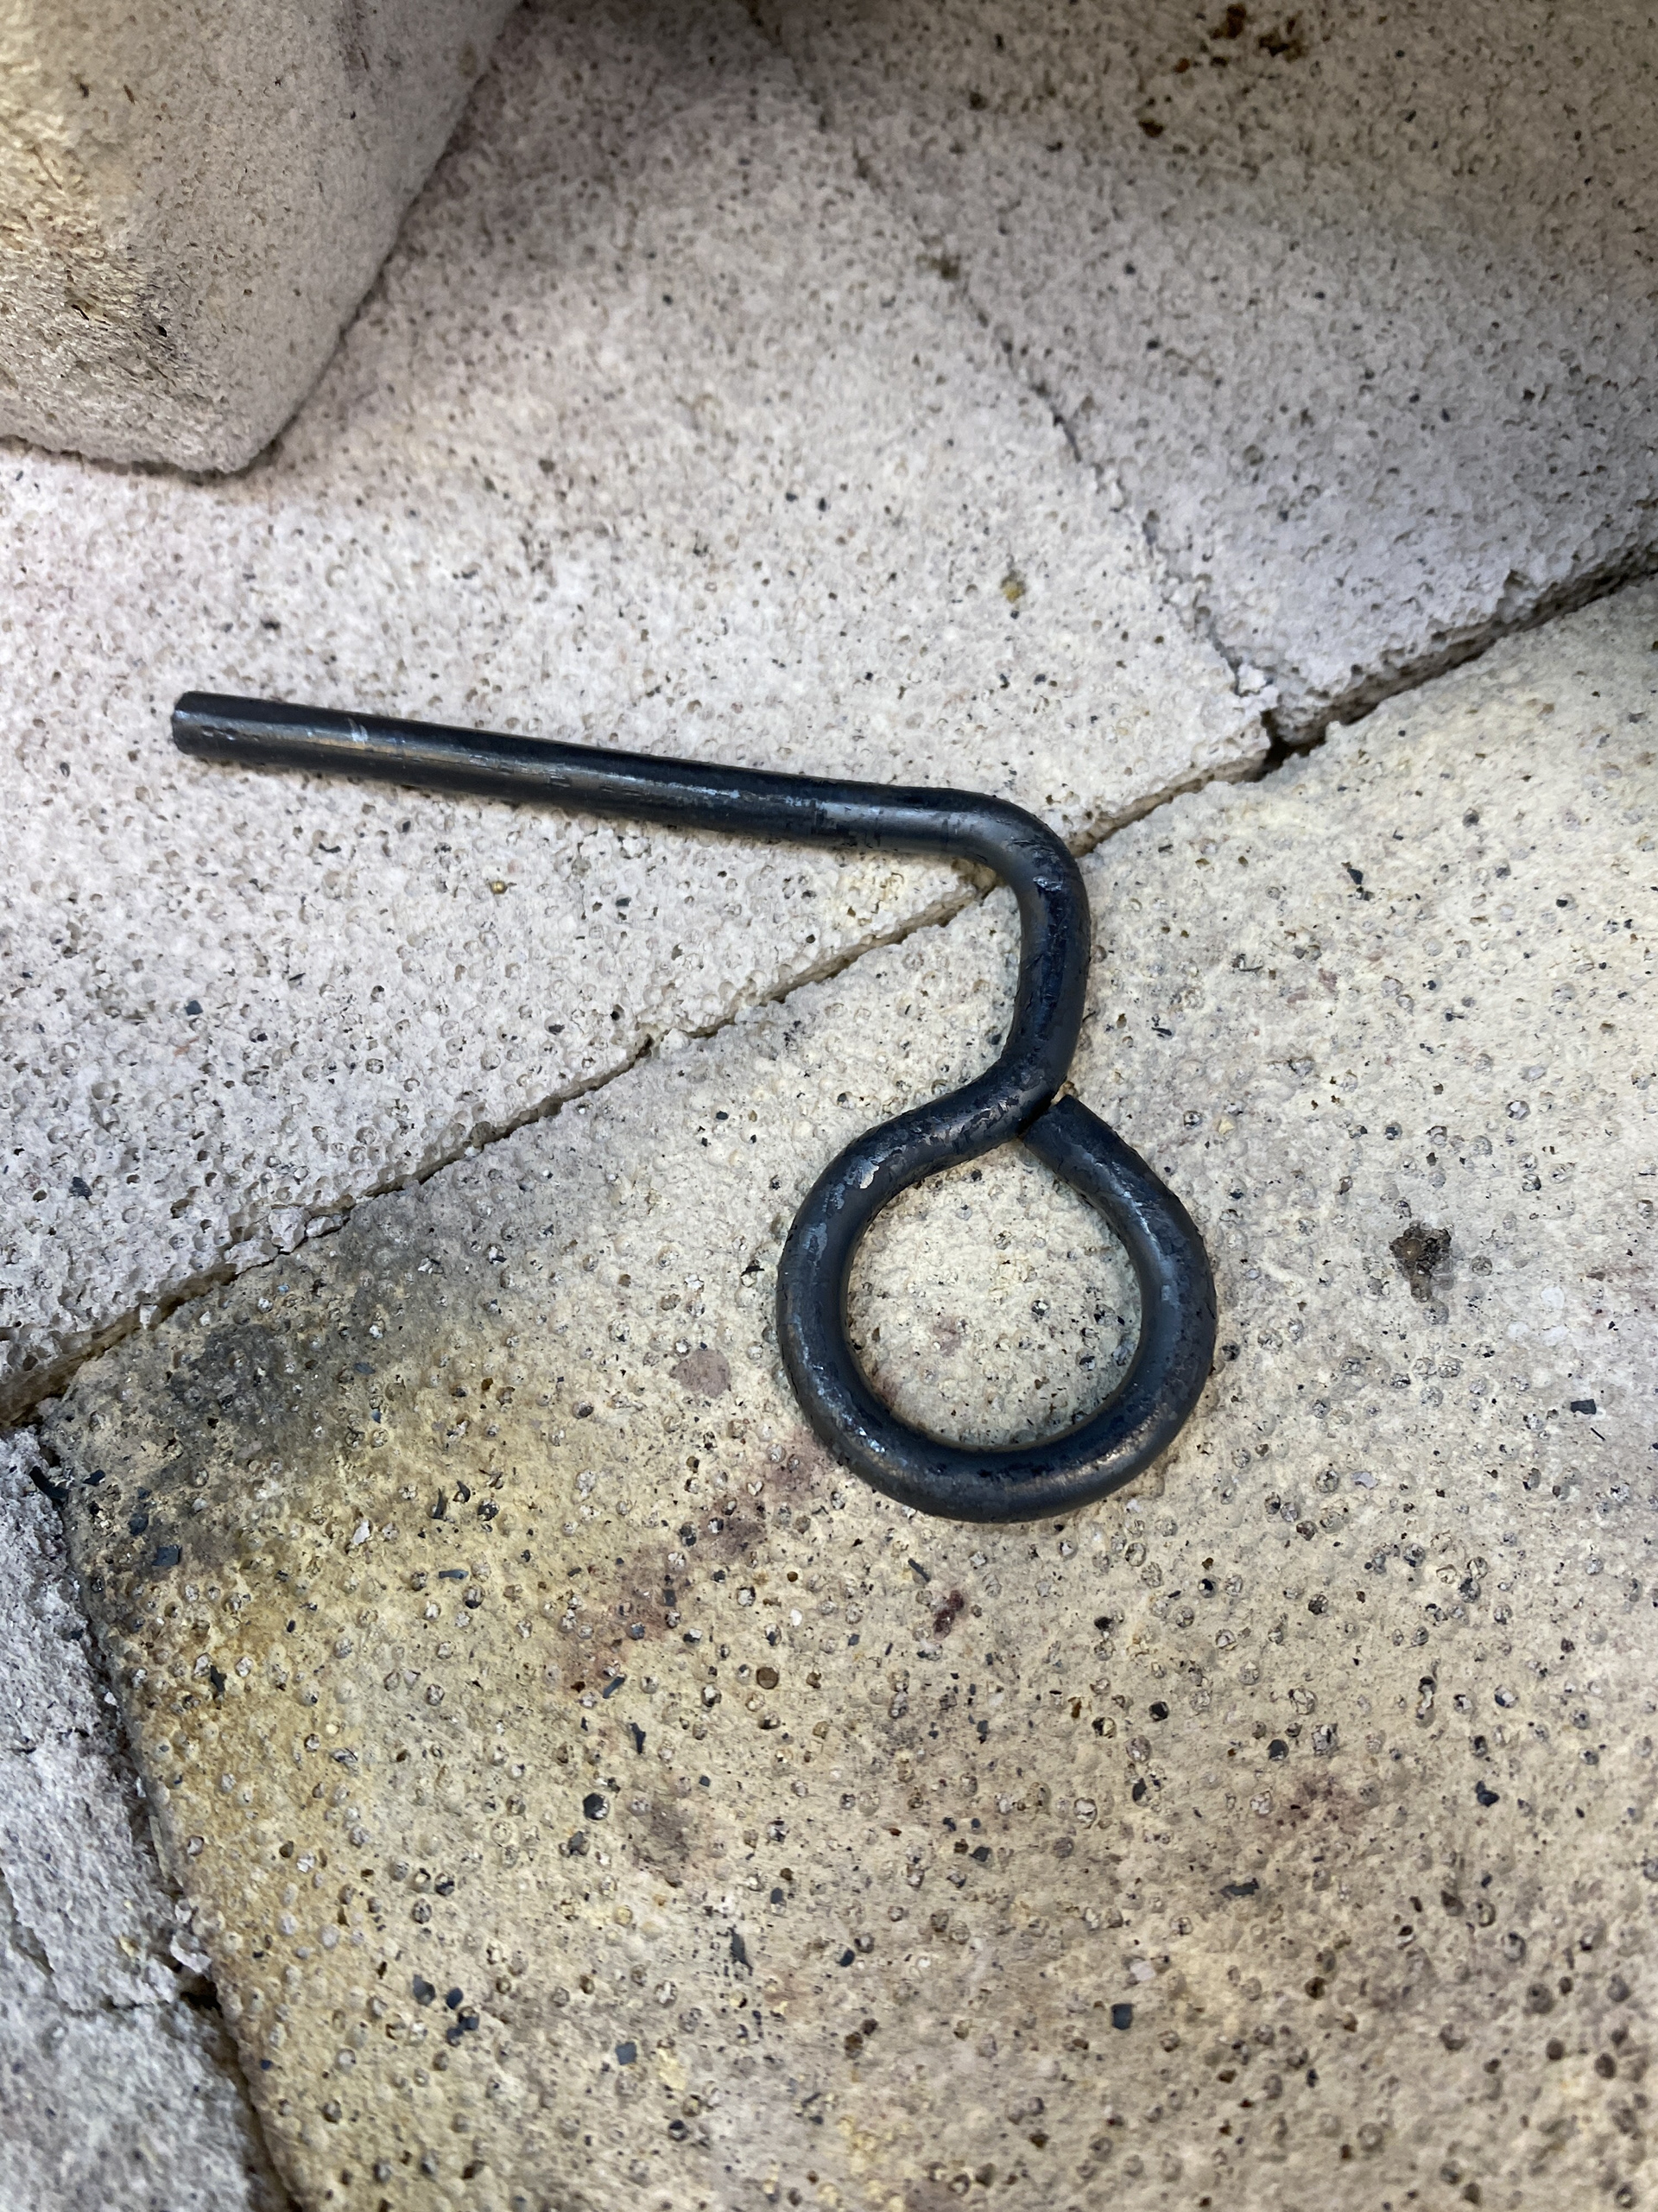
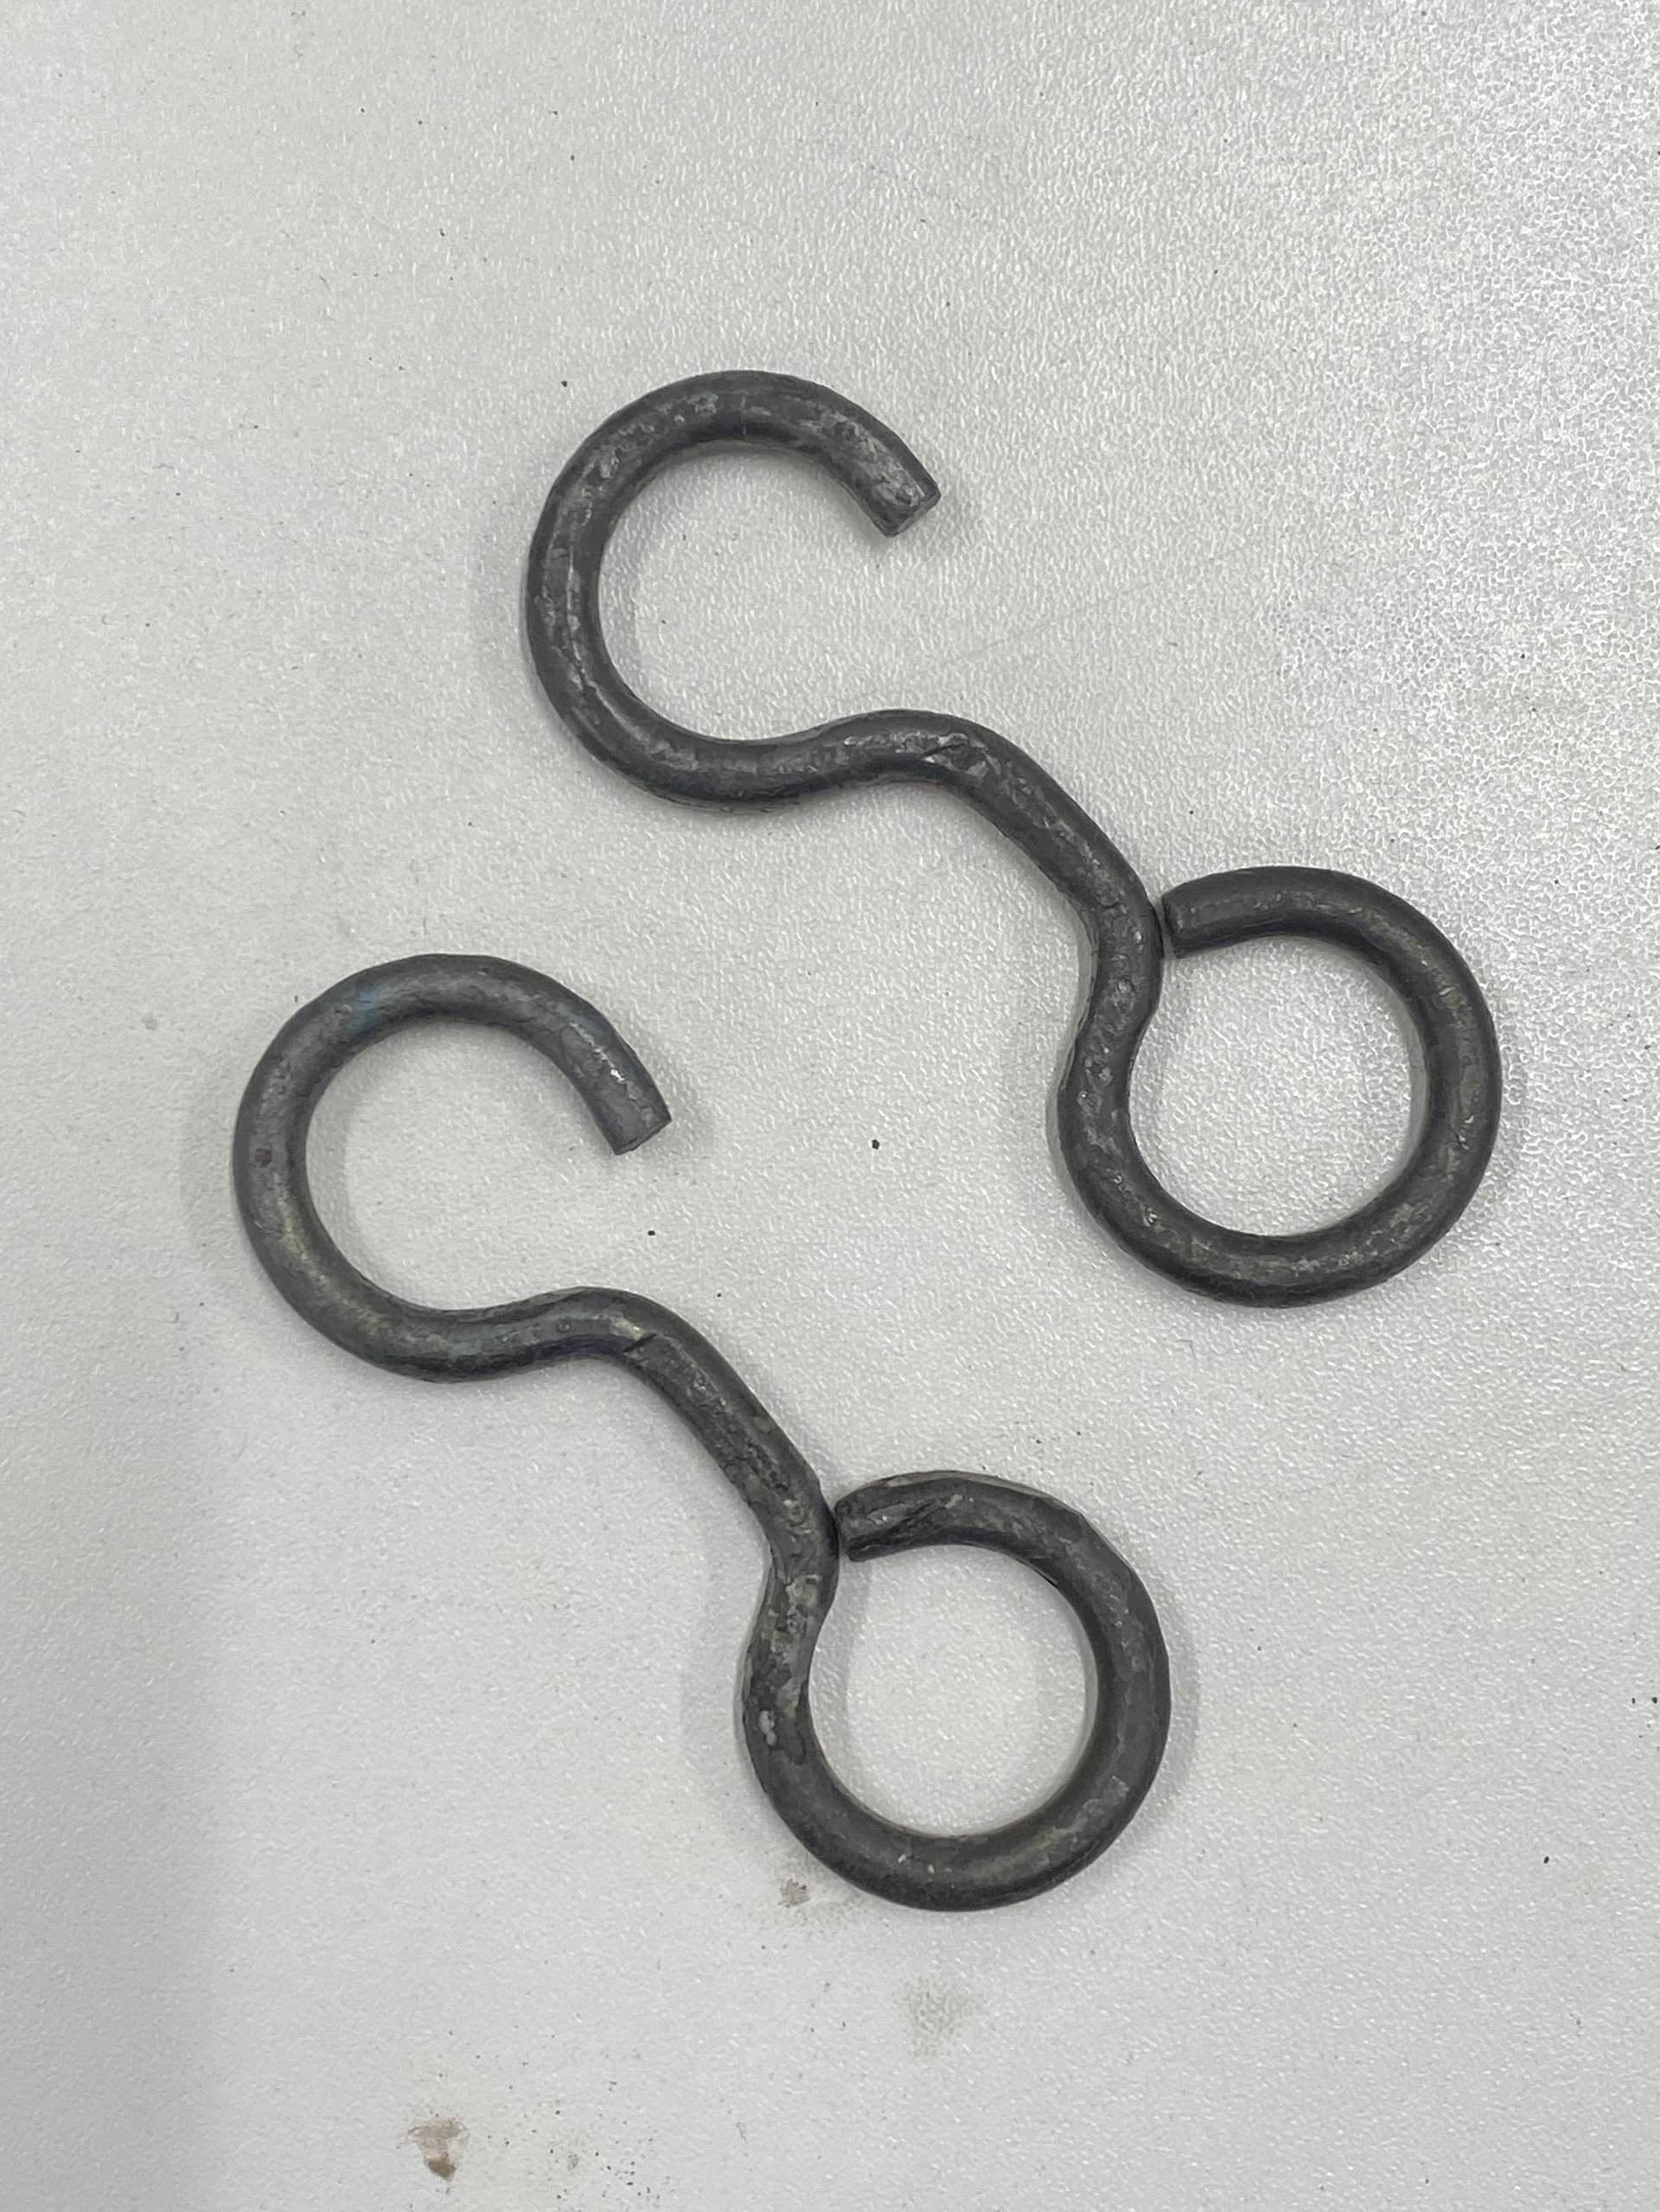
The final element of the headpiece left to create was the clasp at the back of the necklace. This required a small, delicate, yet strong fastening. I felt it needed to be subtle and purely functional rather than a statement piece like the clasps on the Shoulder piece. I modelled some simple hooks and a T-bar clasp using 3mm aluminium wire. Through testing, I found that the design that sat best against the neck was a simple hook and eye. To maintain a uniform aesthetic, I built the piece around the 12mm internal diameter of the chain link.
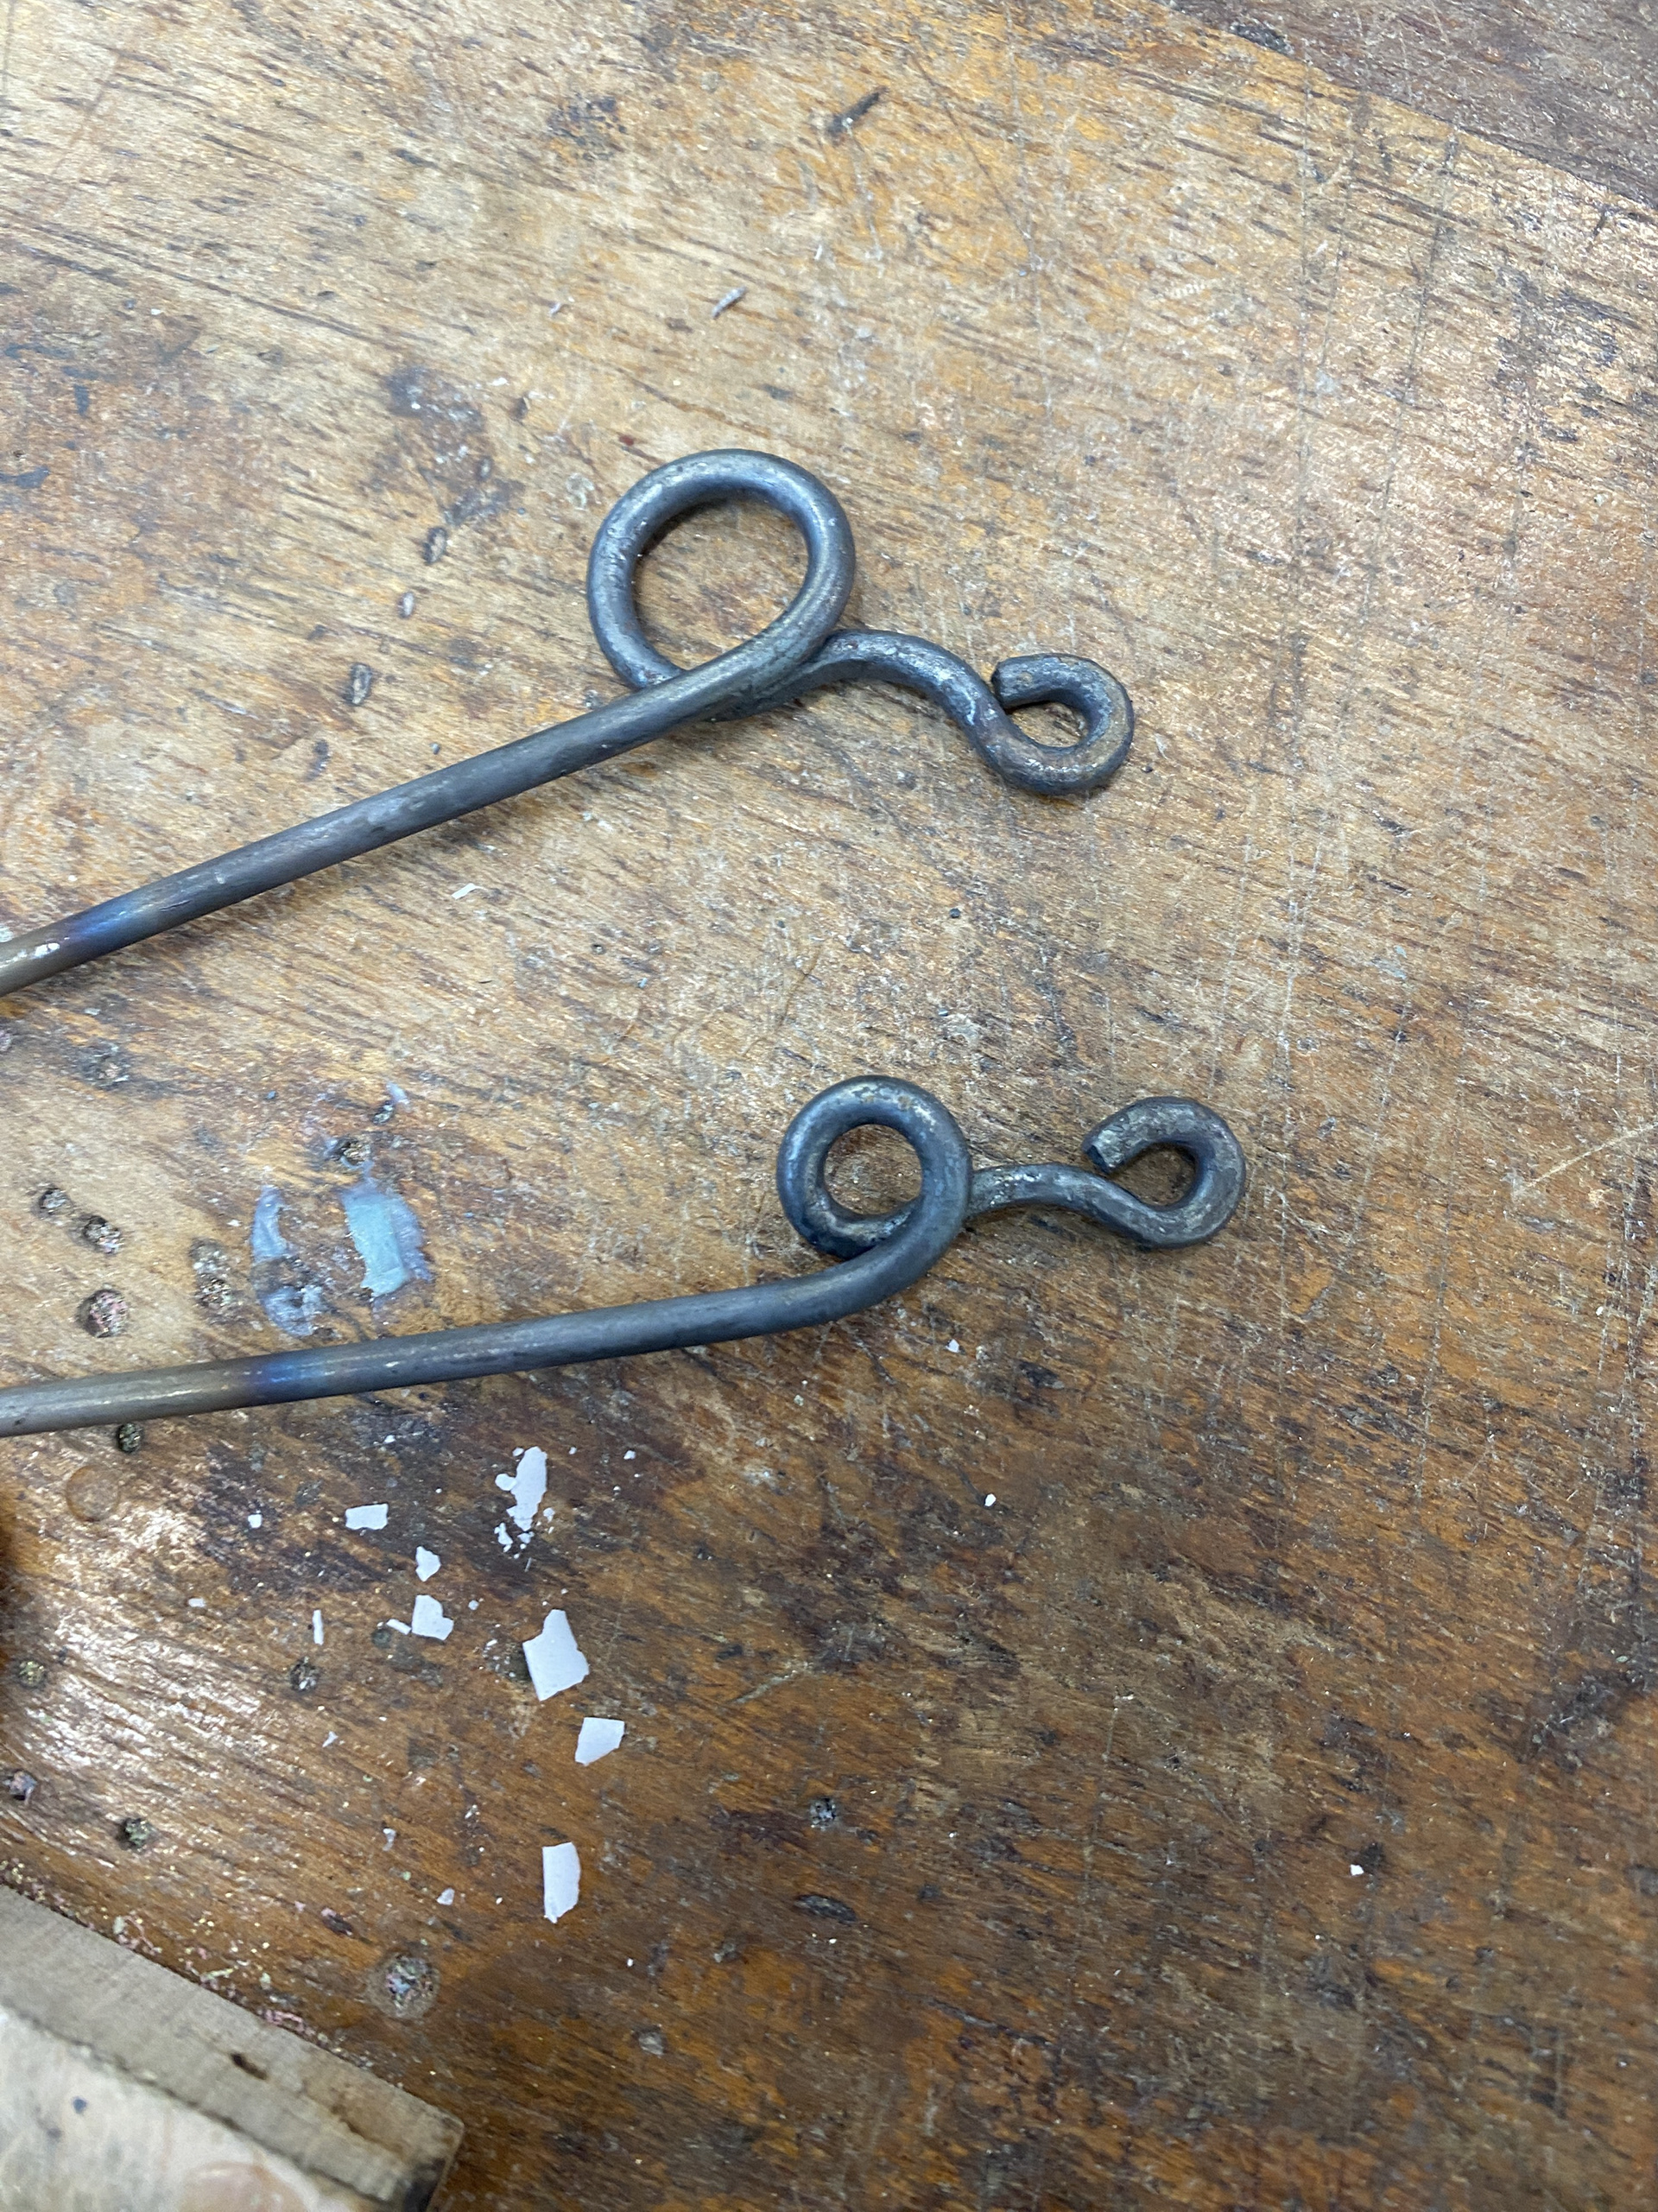
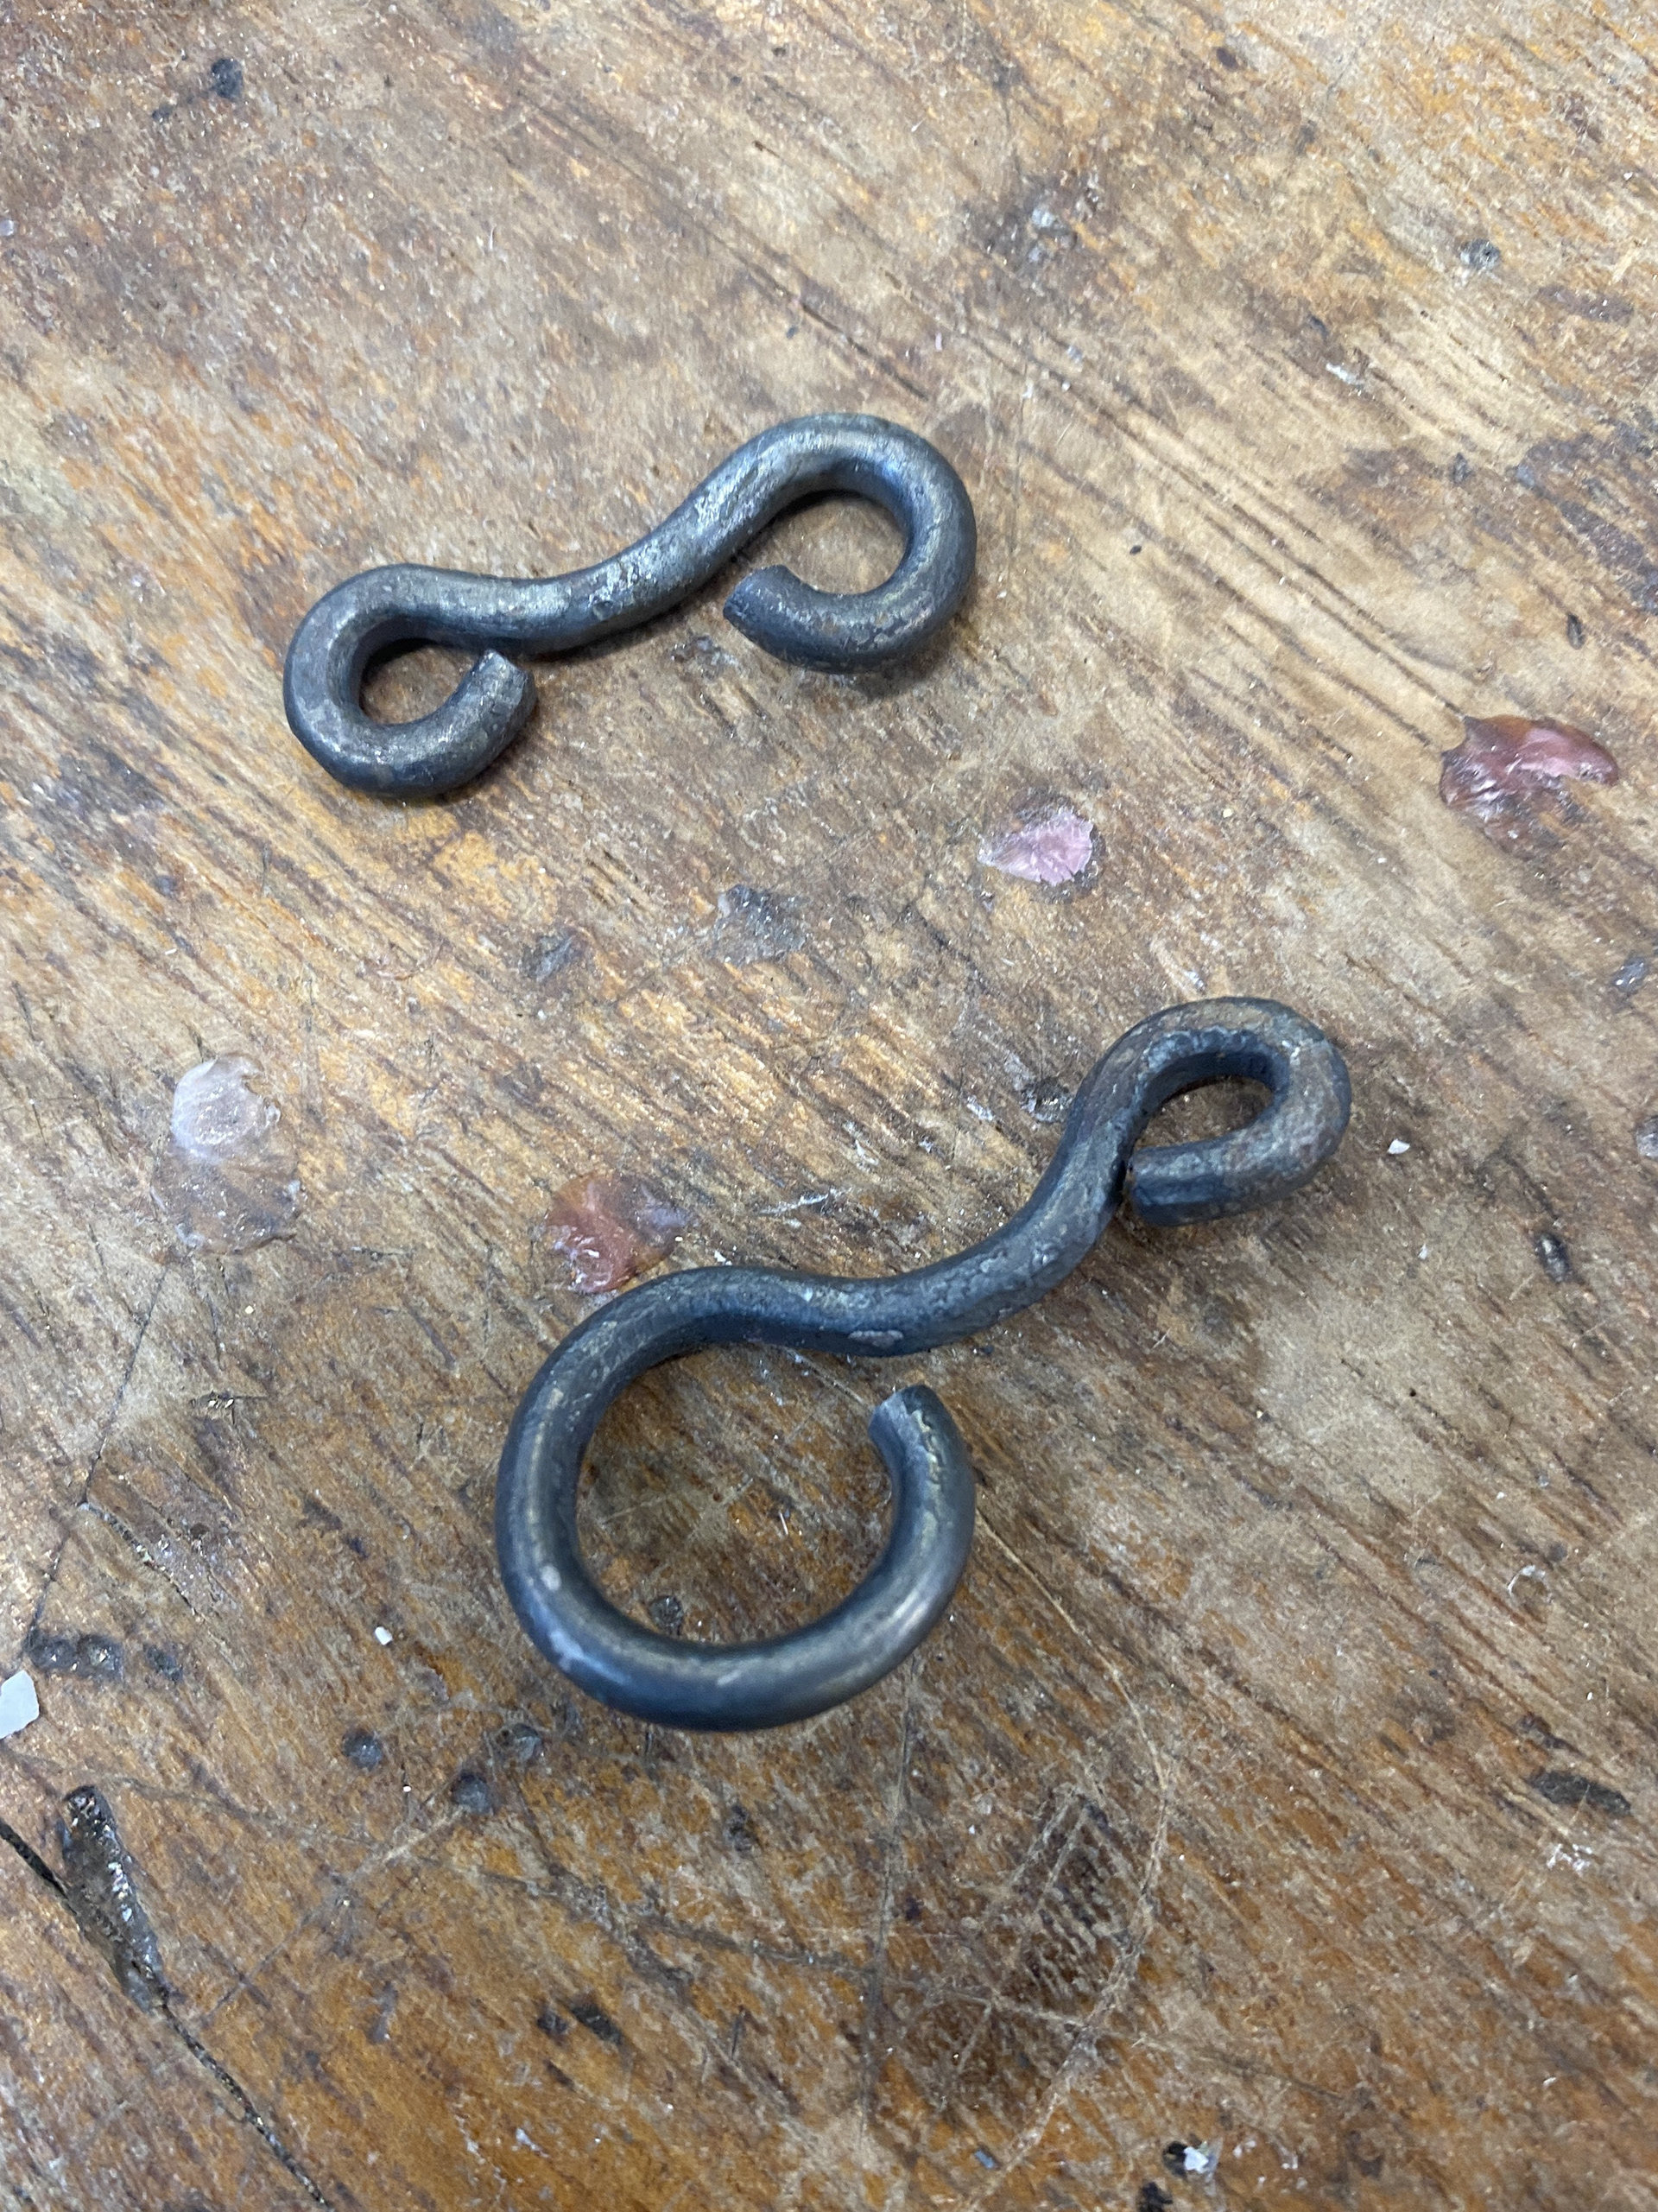
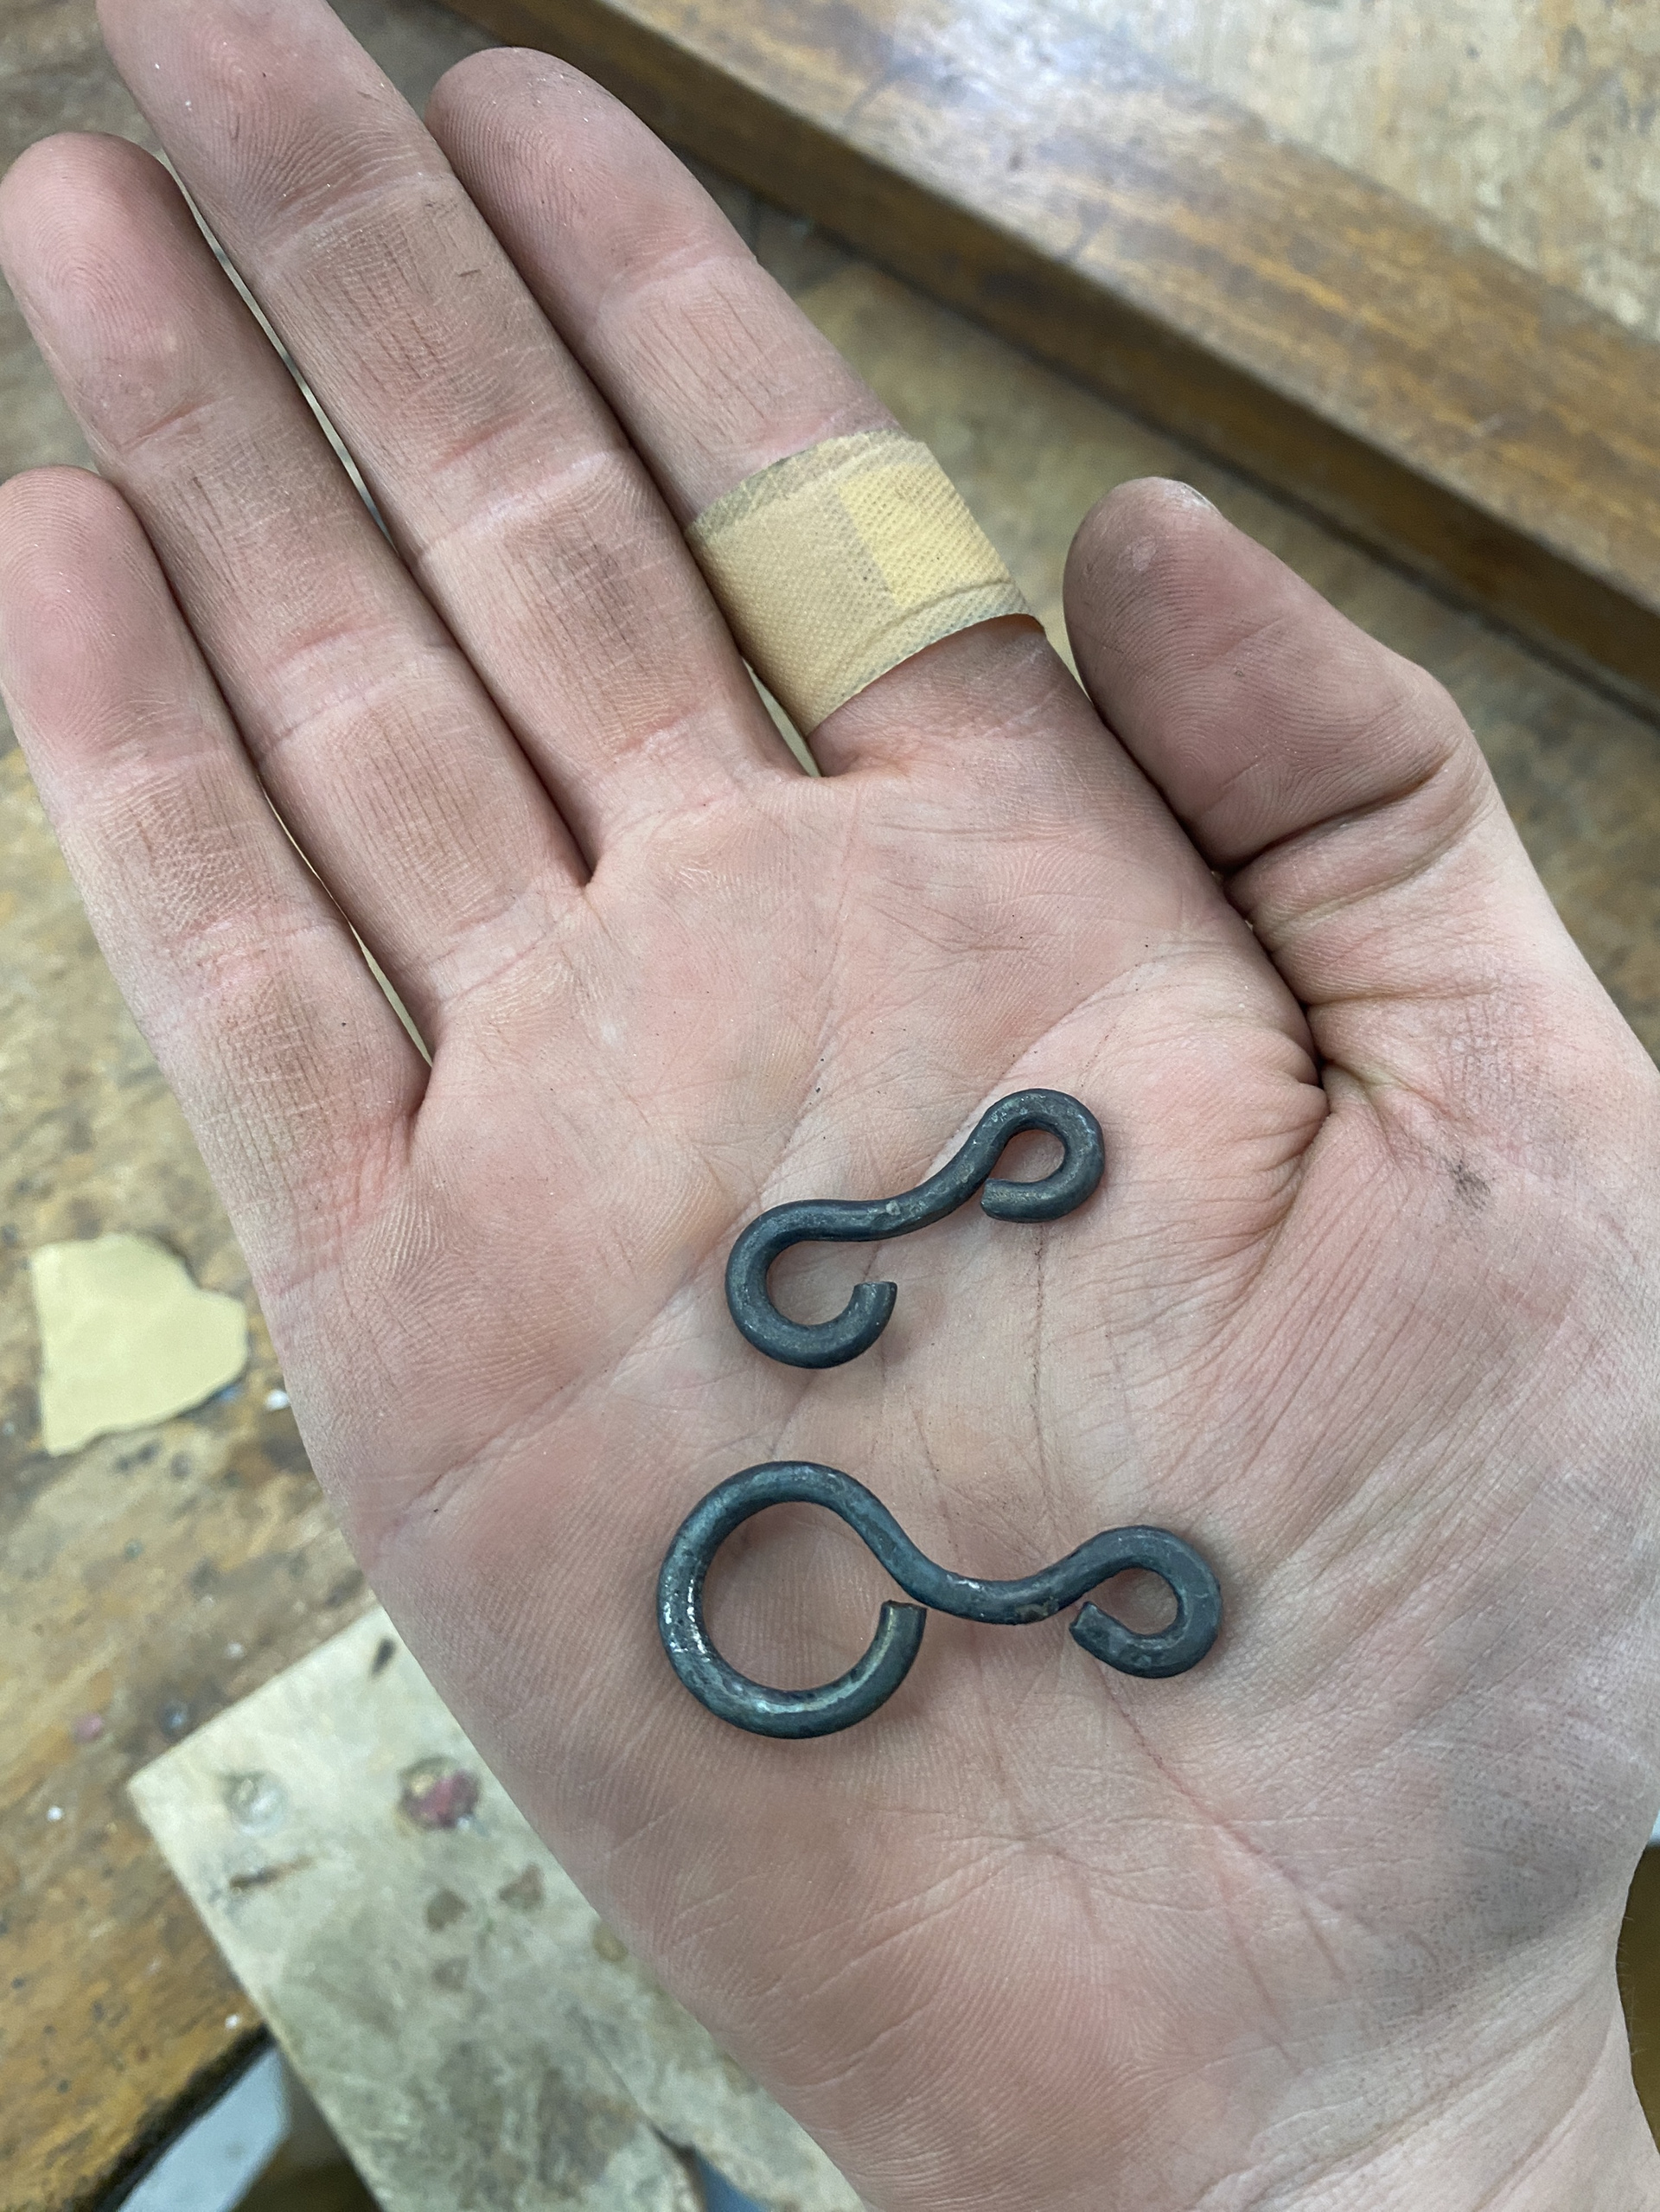
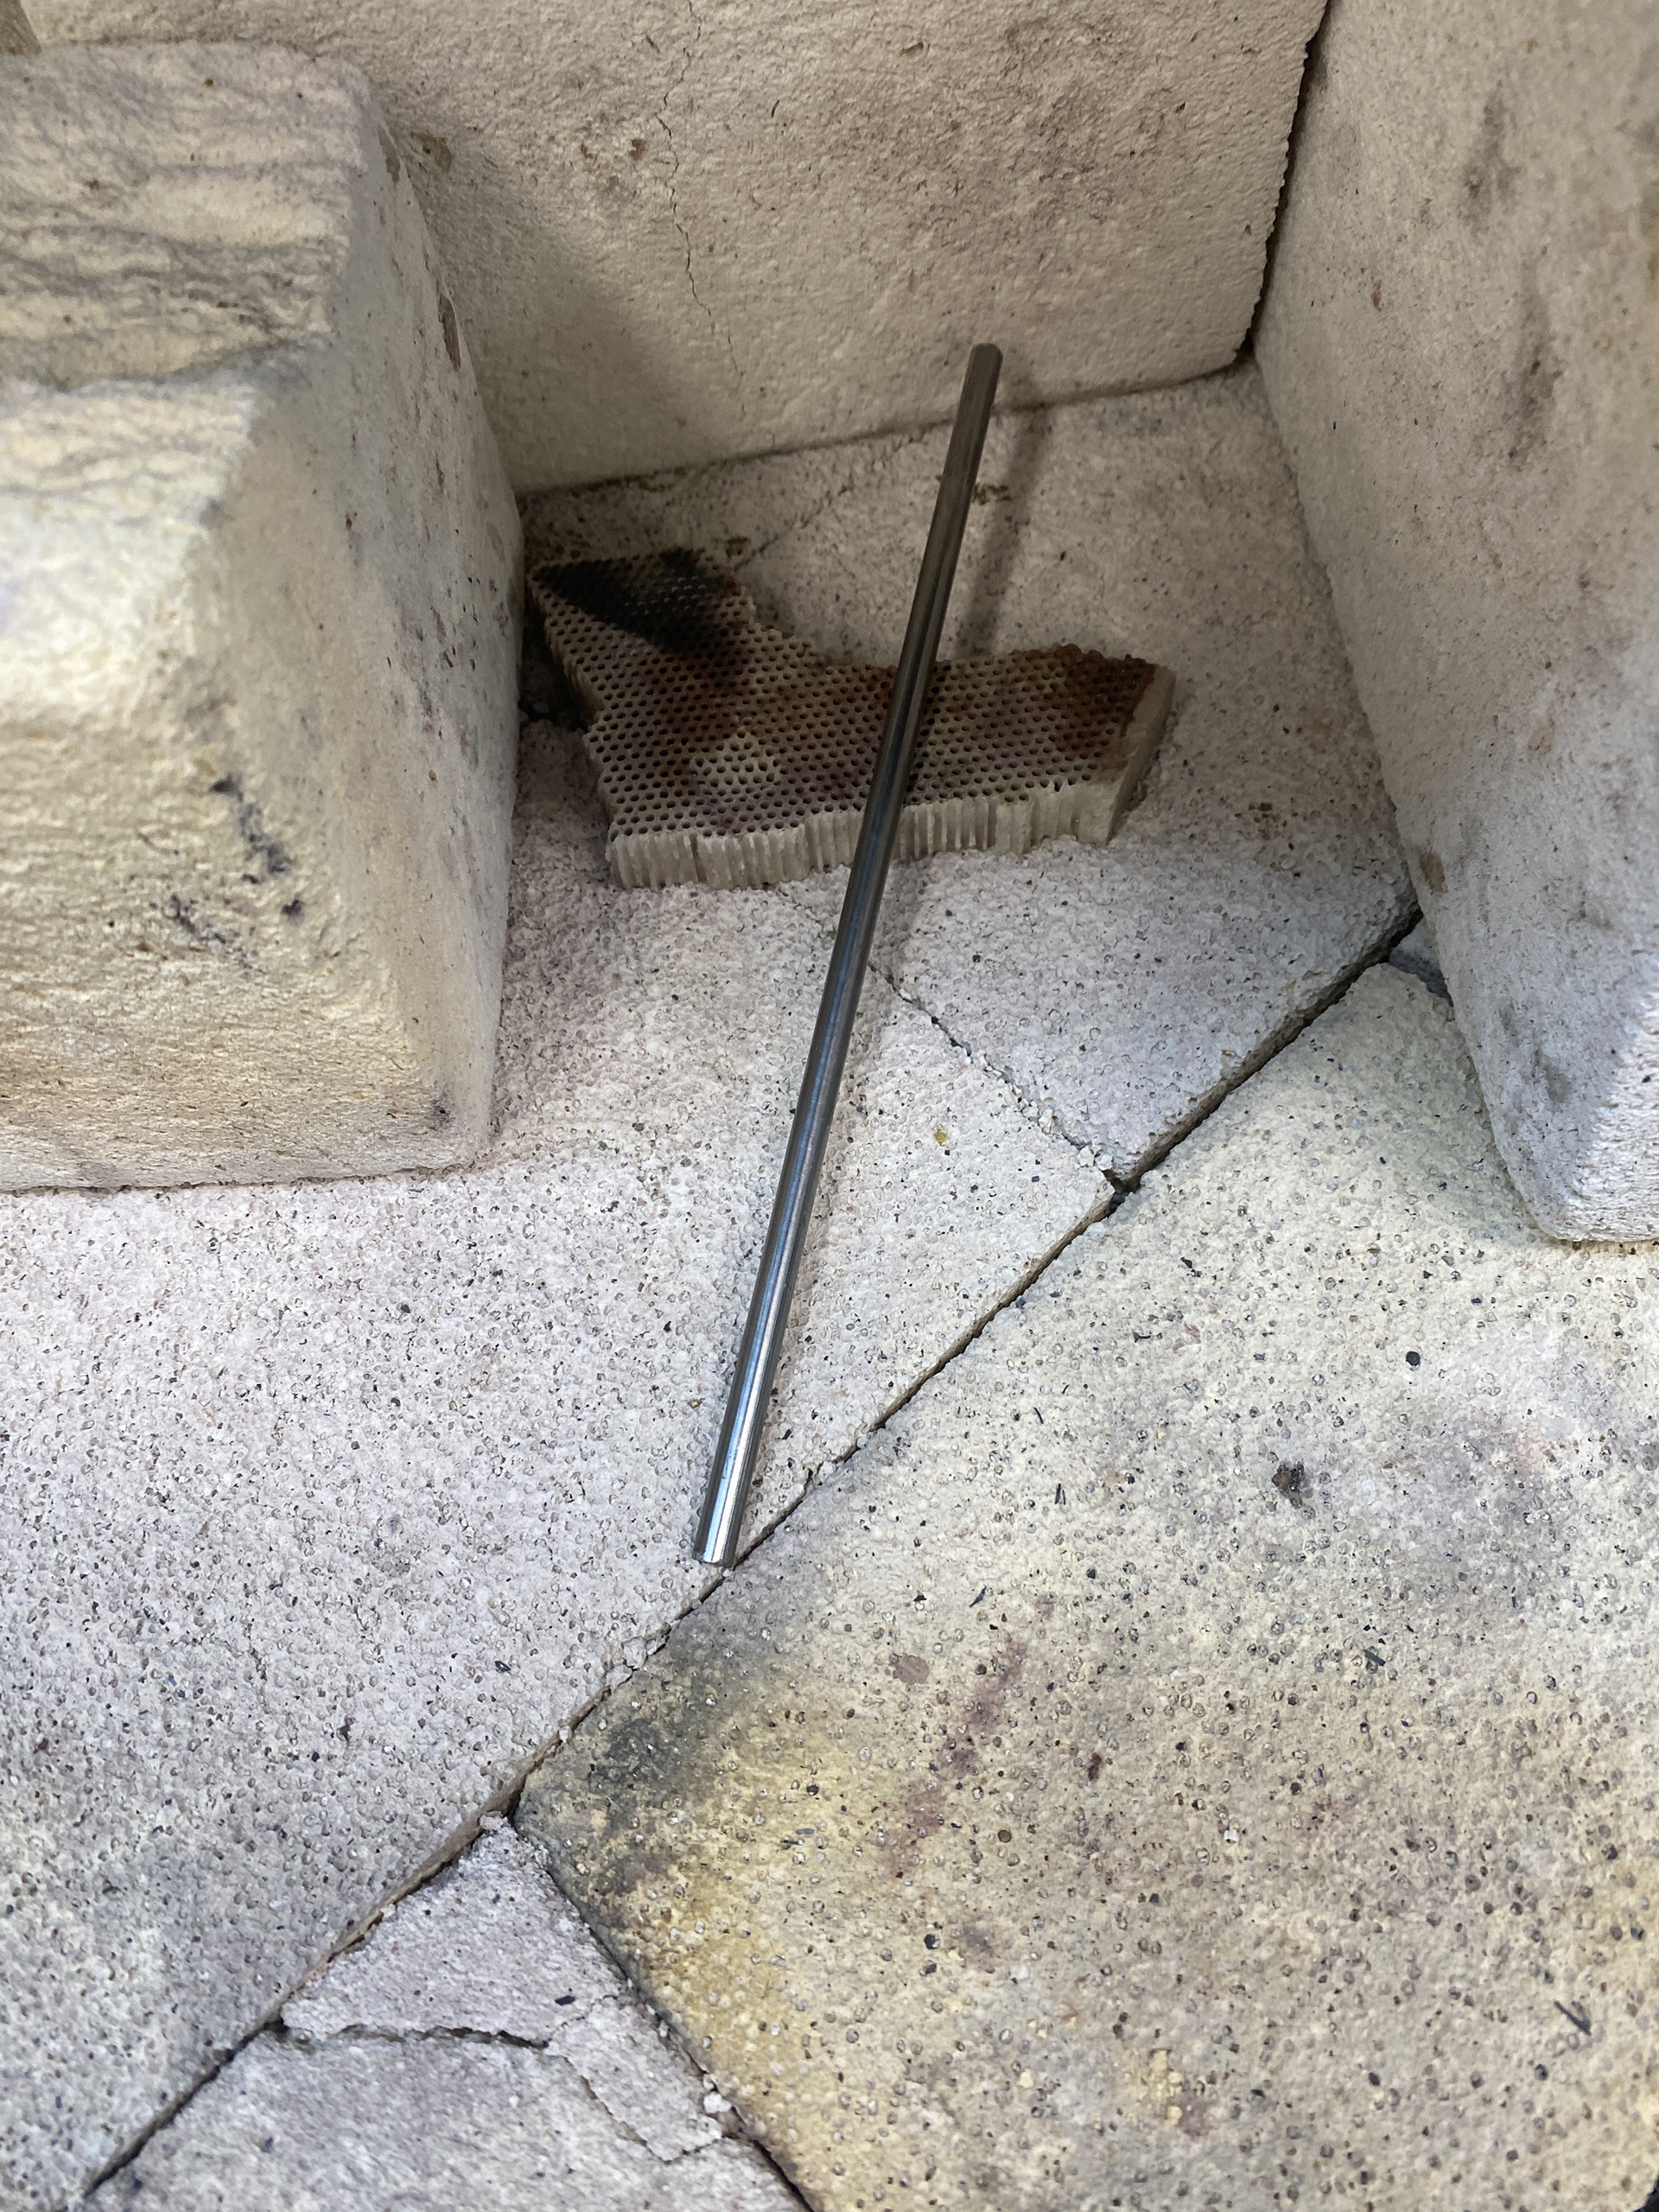
To manufacture the clasp, I used 4mm steel, as I found the 3mm material I had modelled with to be too flexible. I created a series of eyelets around different sized stakes and twisted the piece into alignment using scrolling tongs, paying close attention to maintaining a central line of symmetry. A combination of directional heat from the torch and quenching allowed me to make specific, targeted alterations.
Rather than using the exact length of stock for the piece, I worked with an excess, which made it much easier to twist the rod around the stakes and hold the workpiece in my hands instead of using tongs. Finally, I cut off the excess using a piercing saw before heating the piece again for final adjustments.
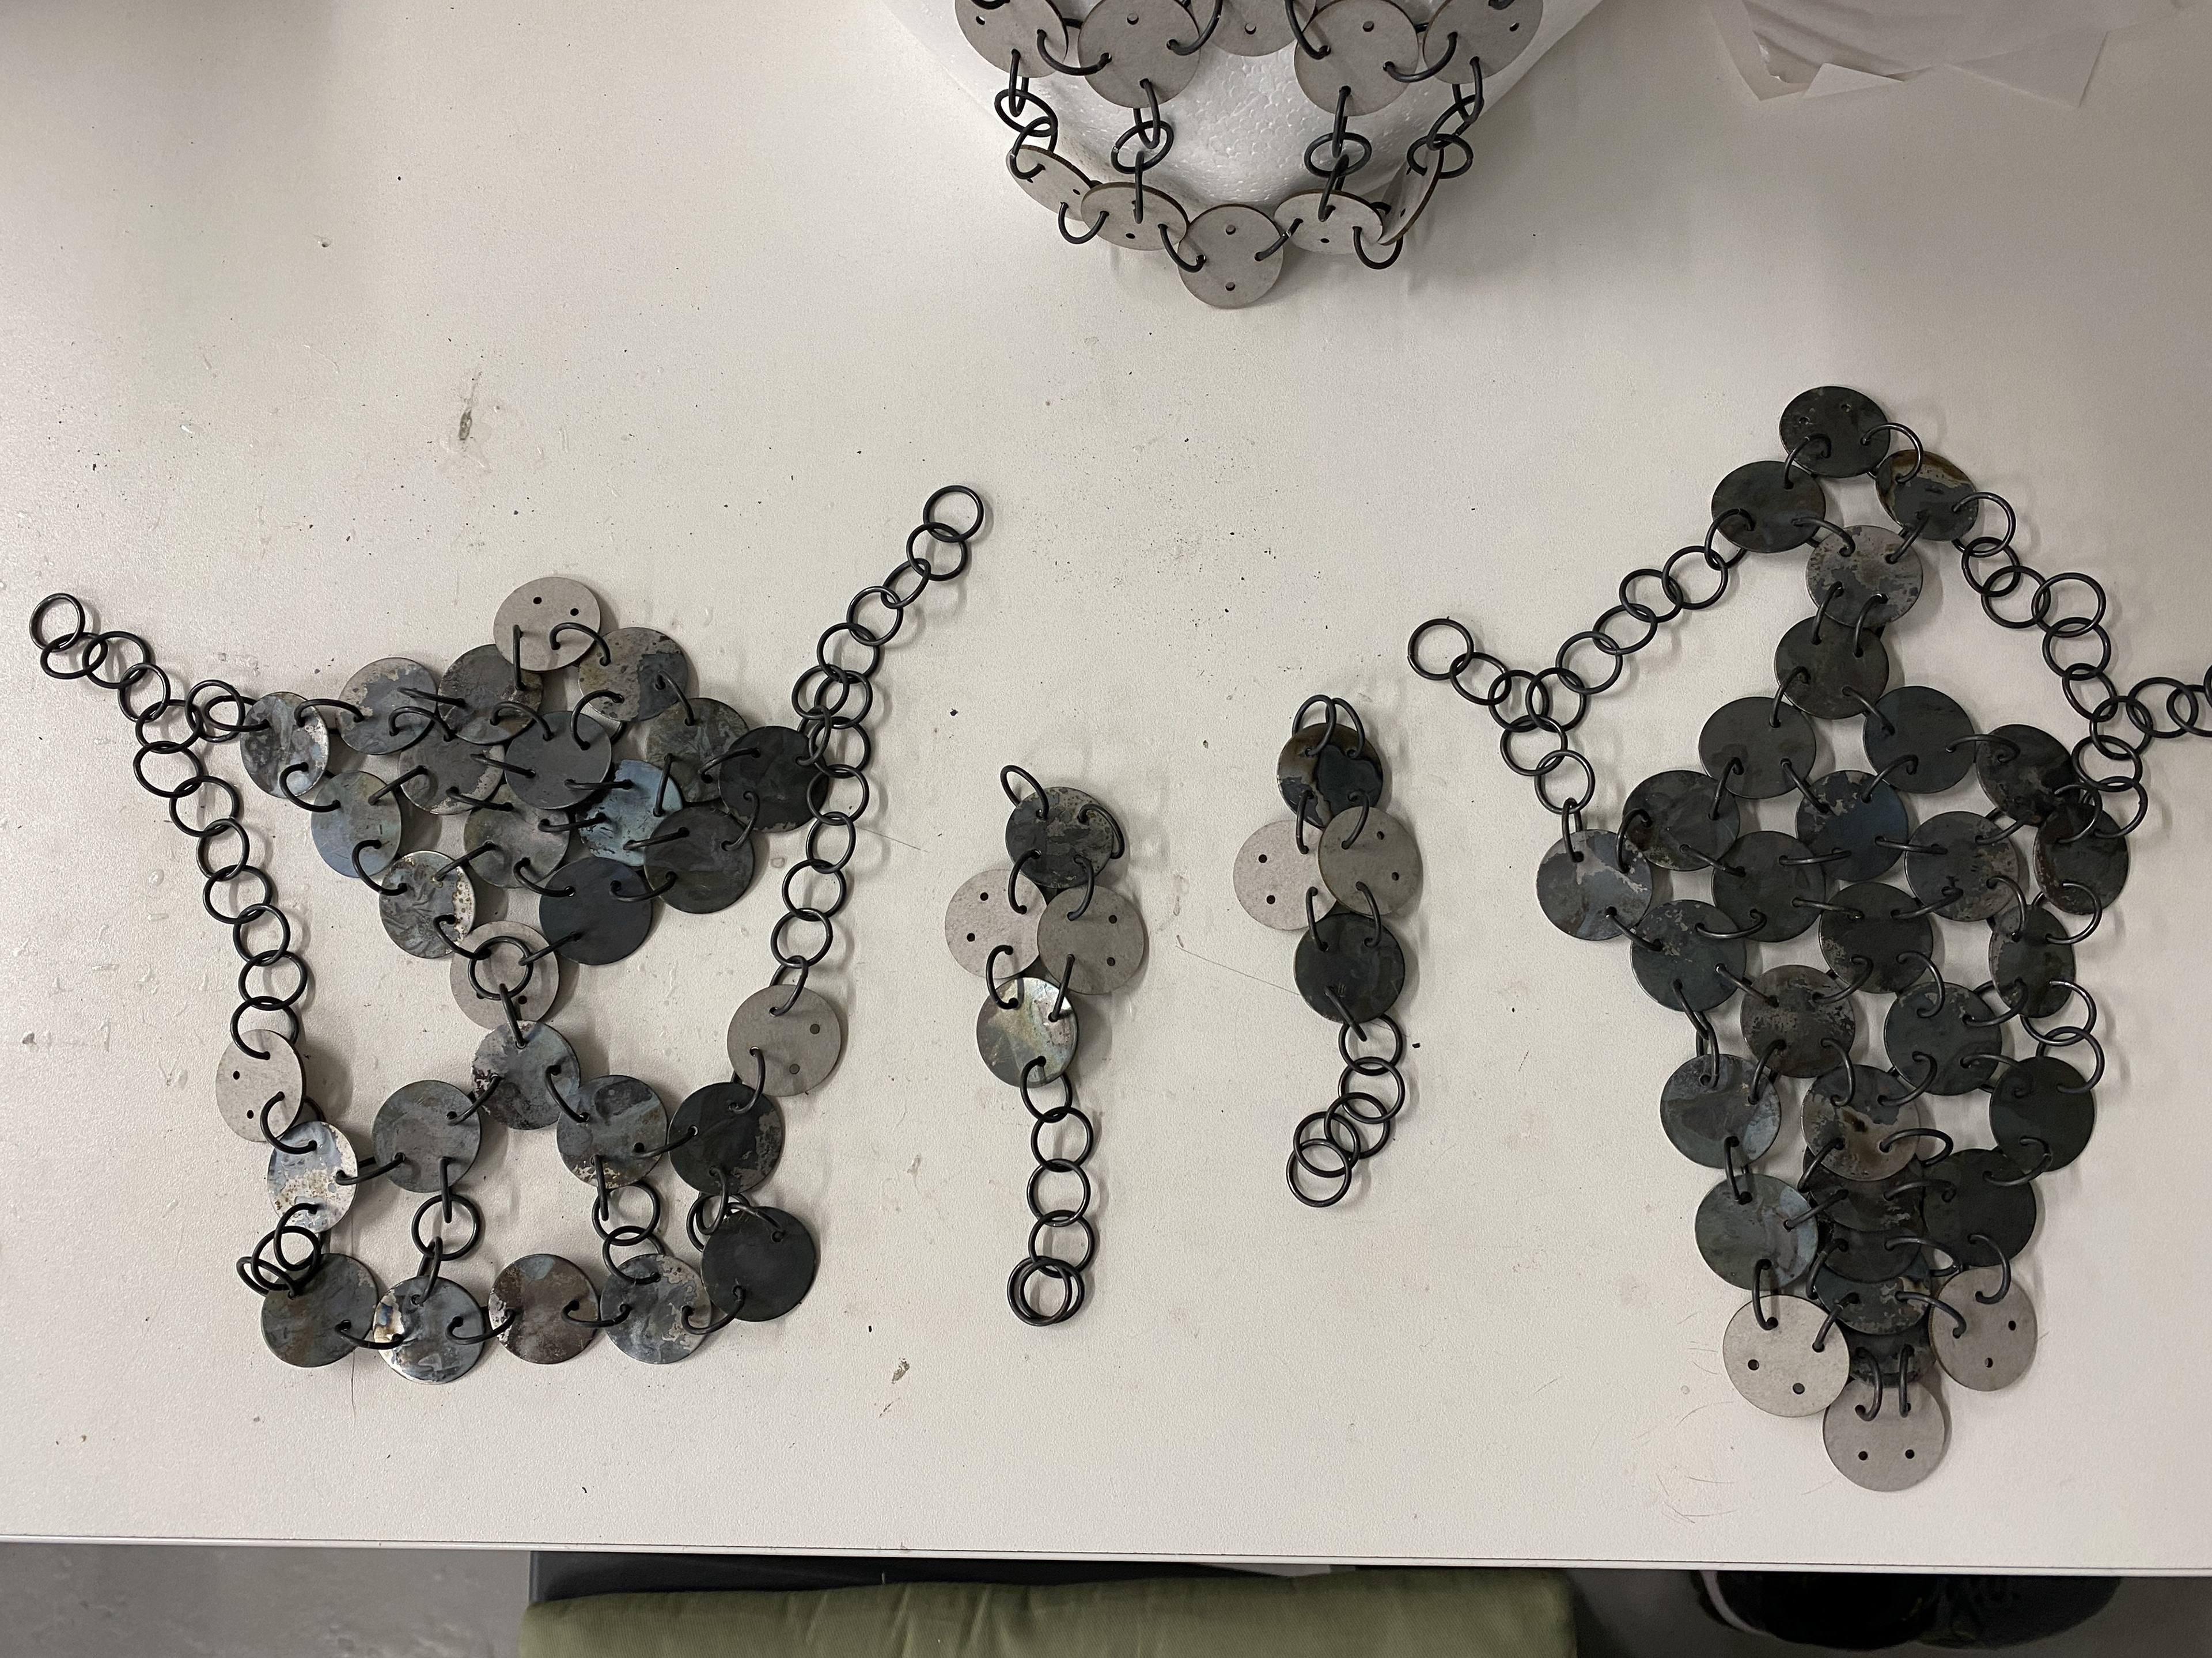
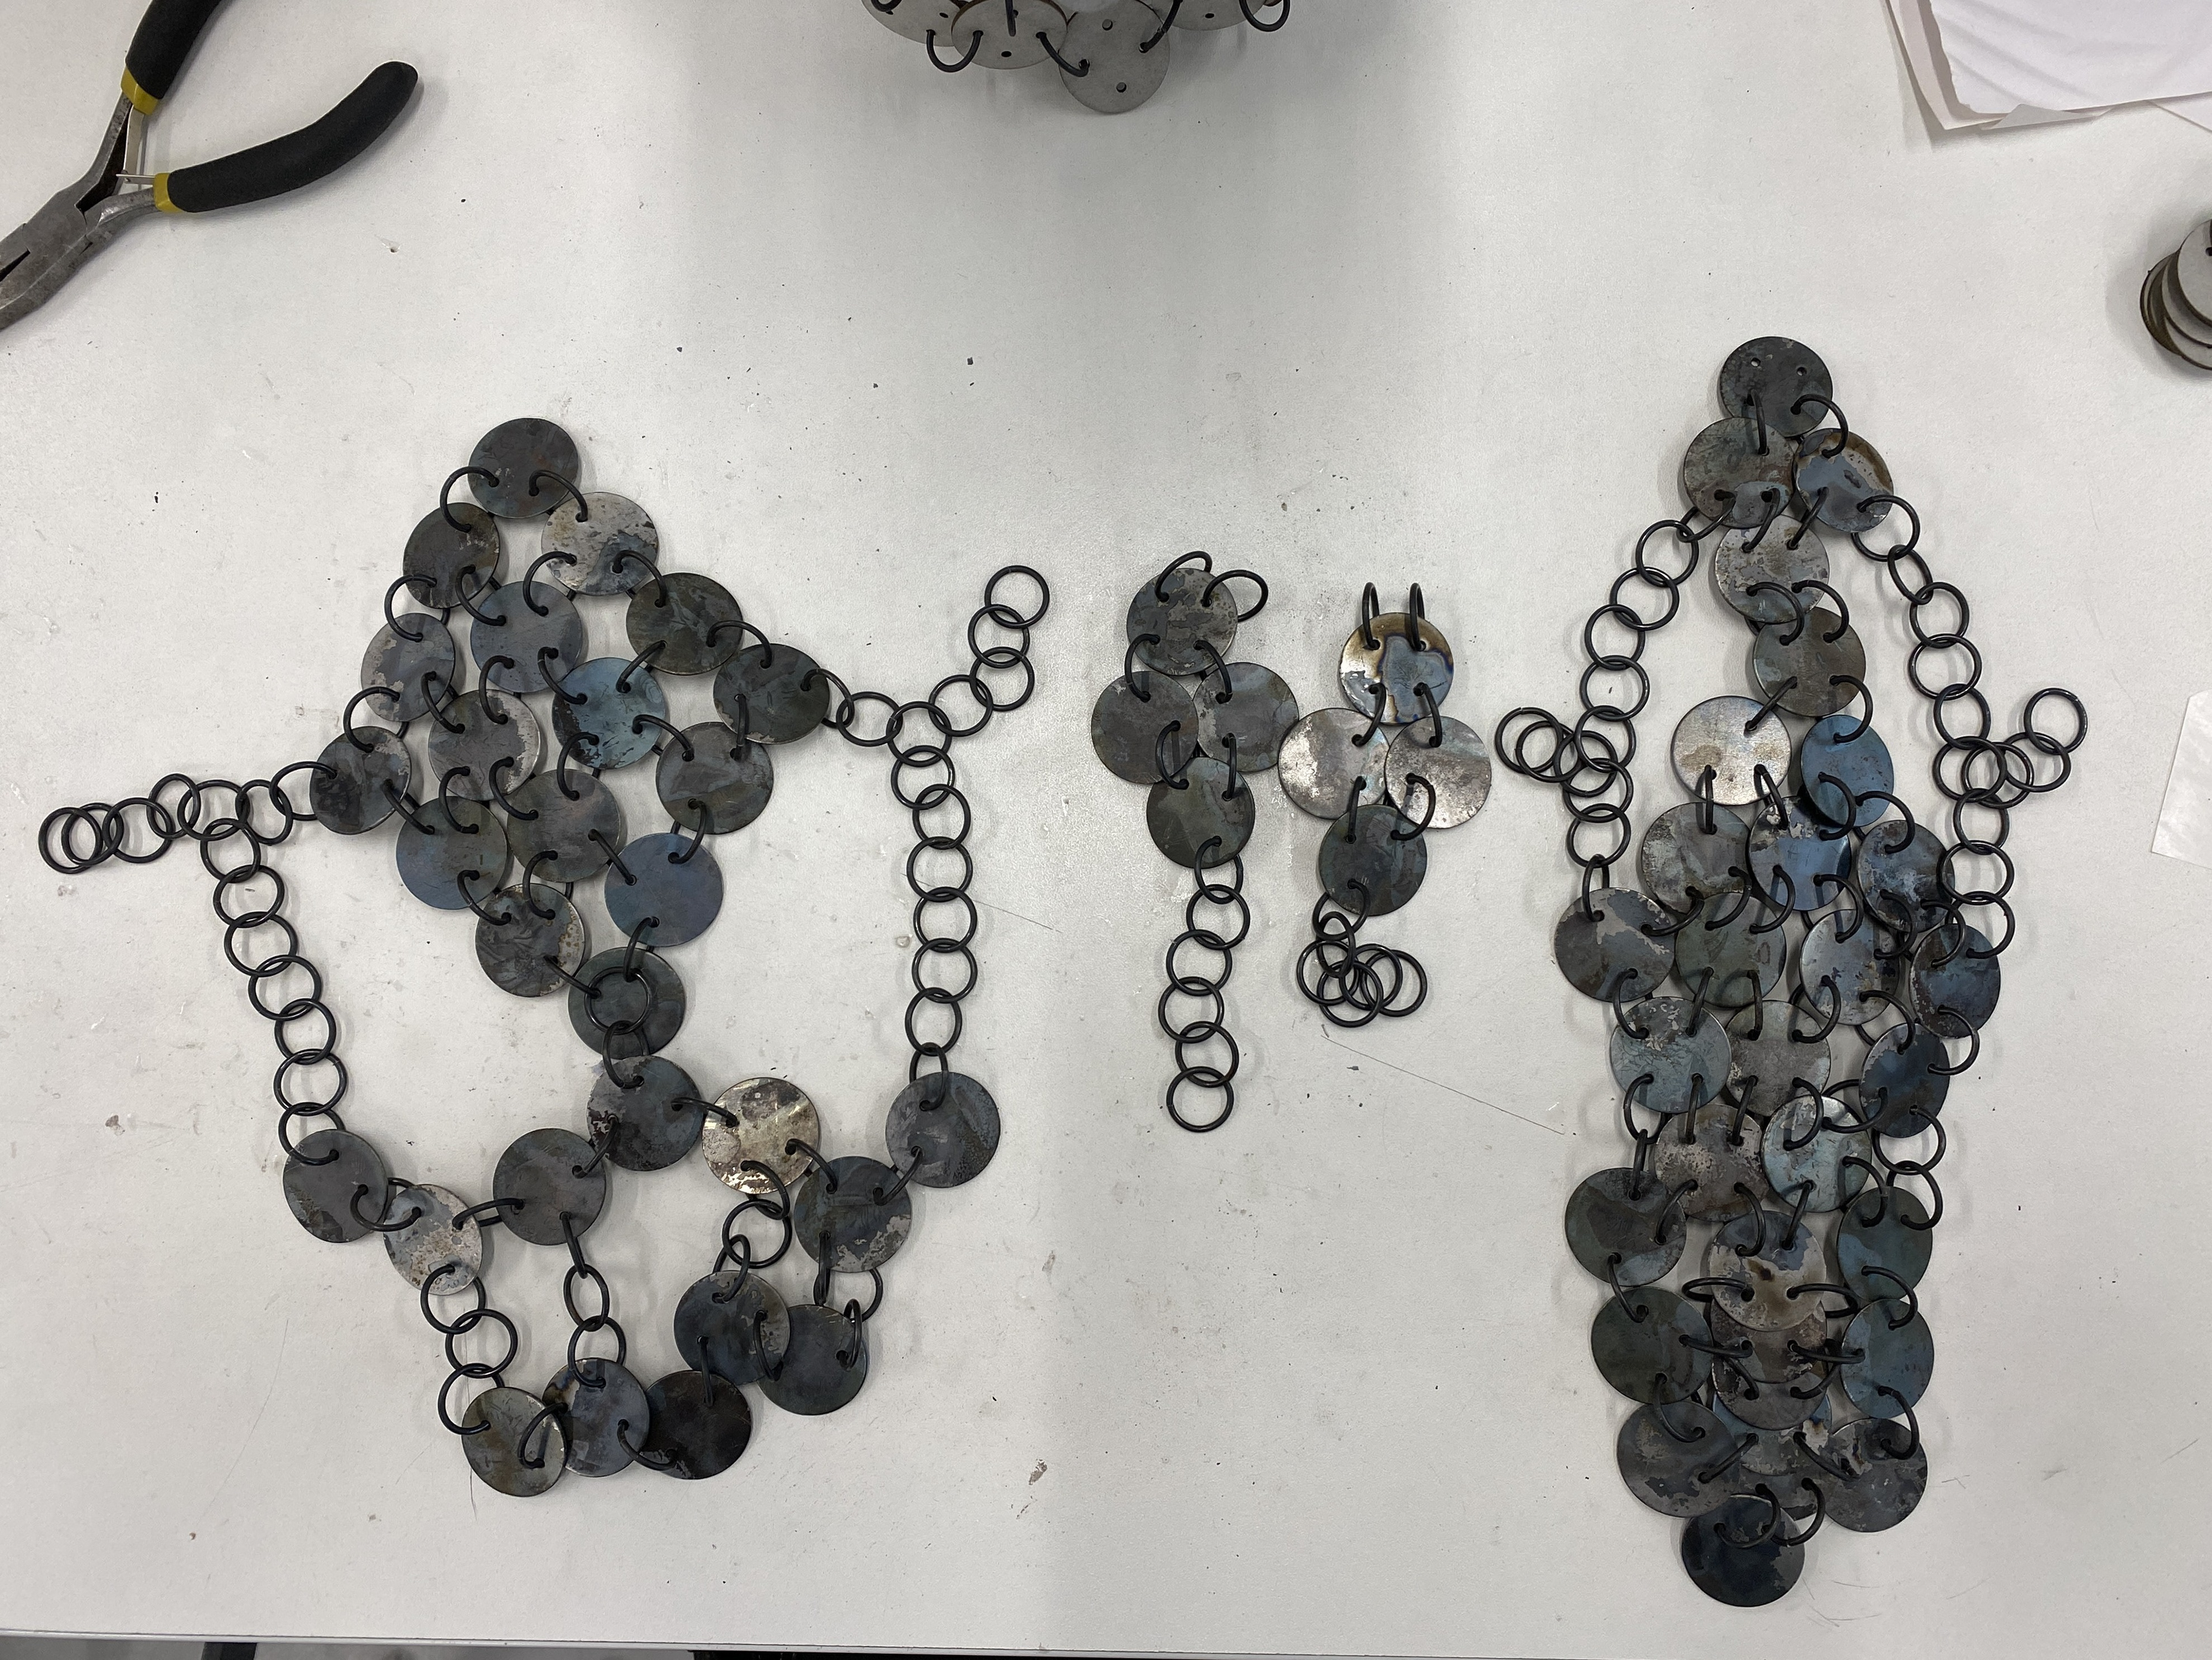
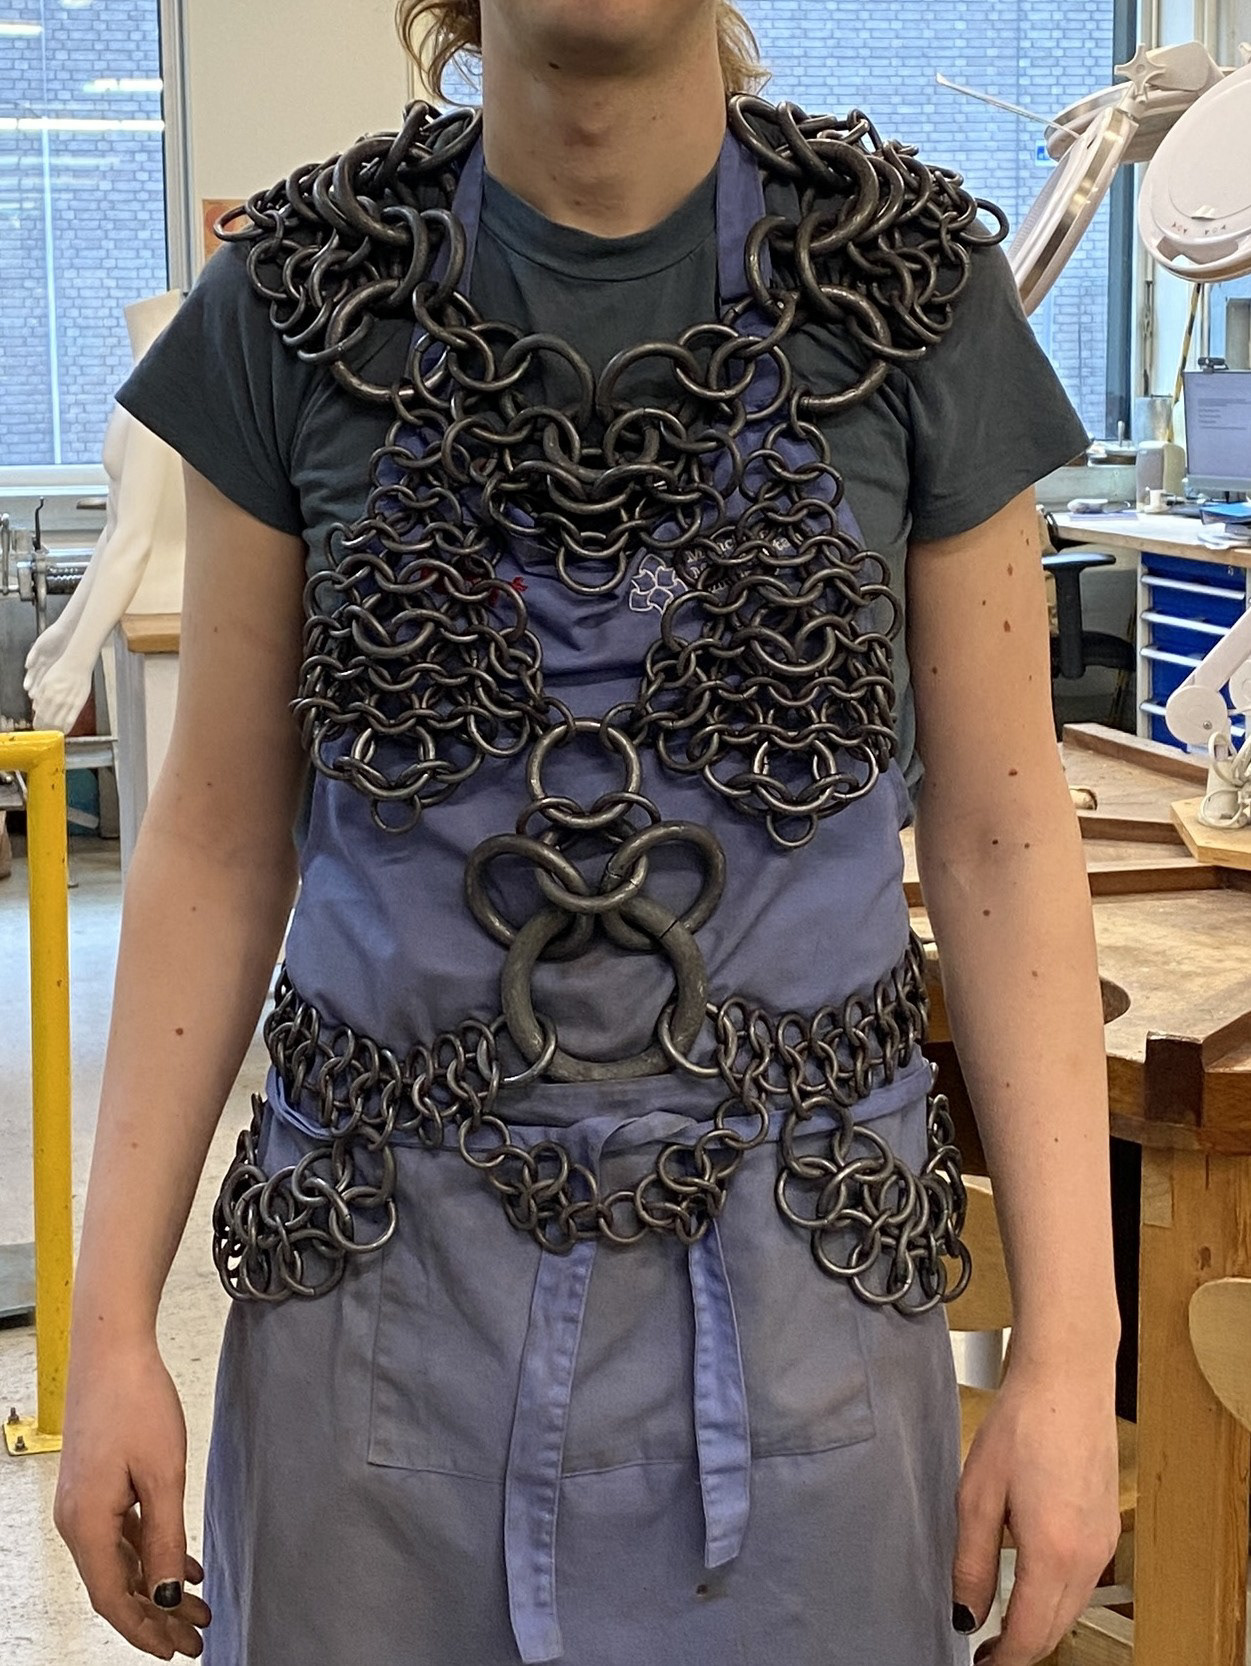
Making the Torso piece

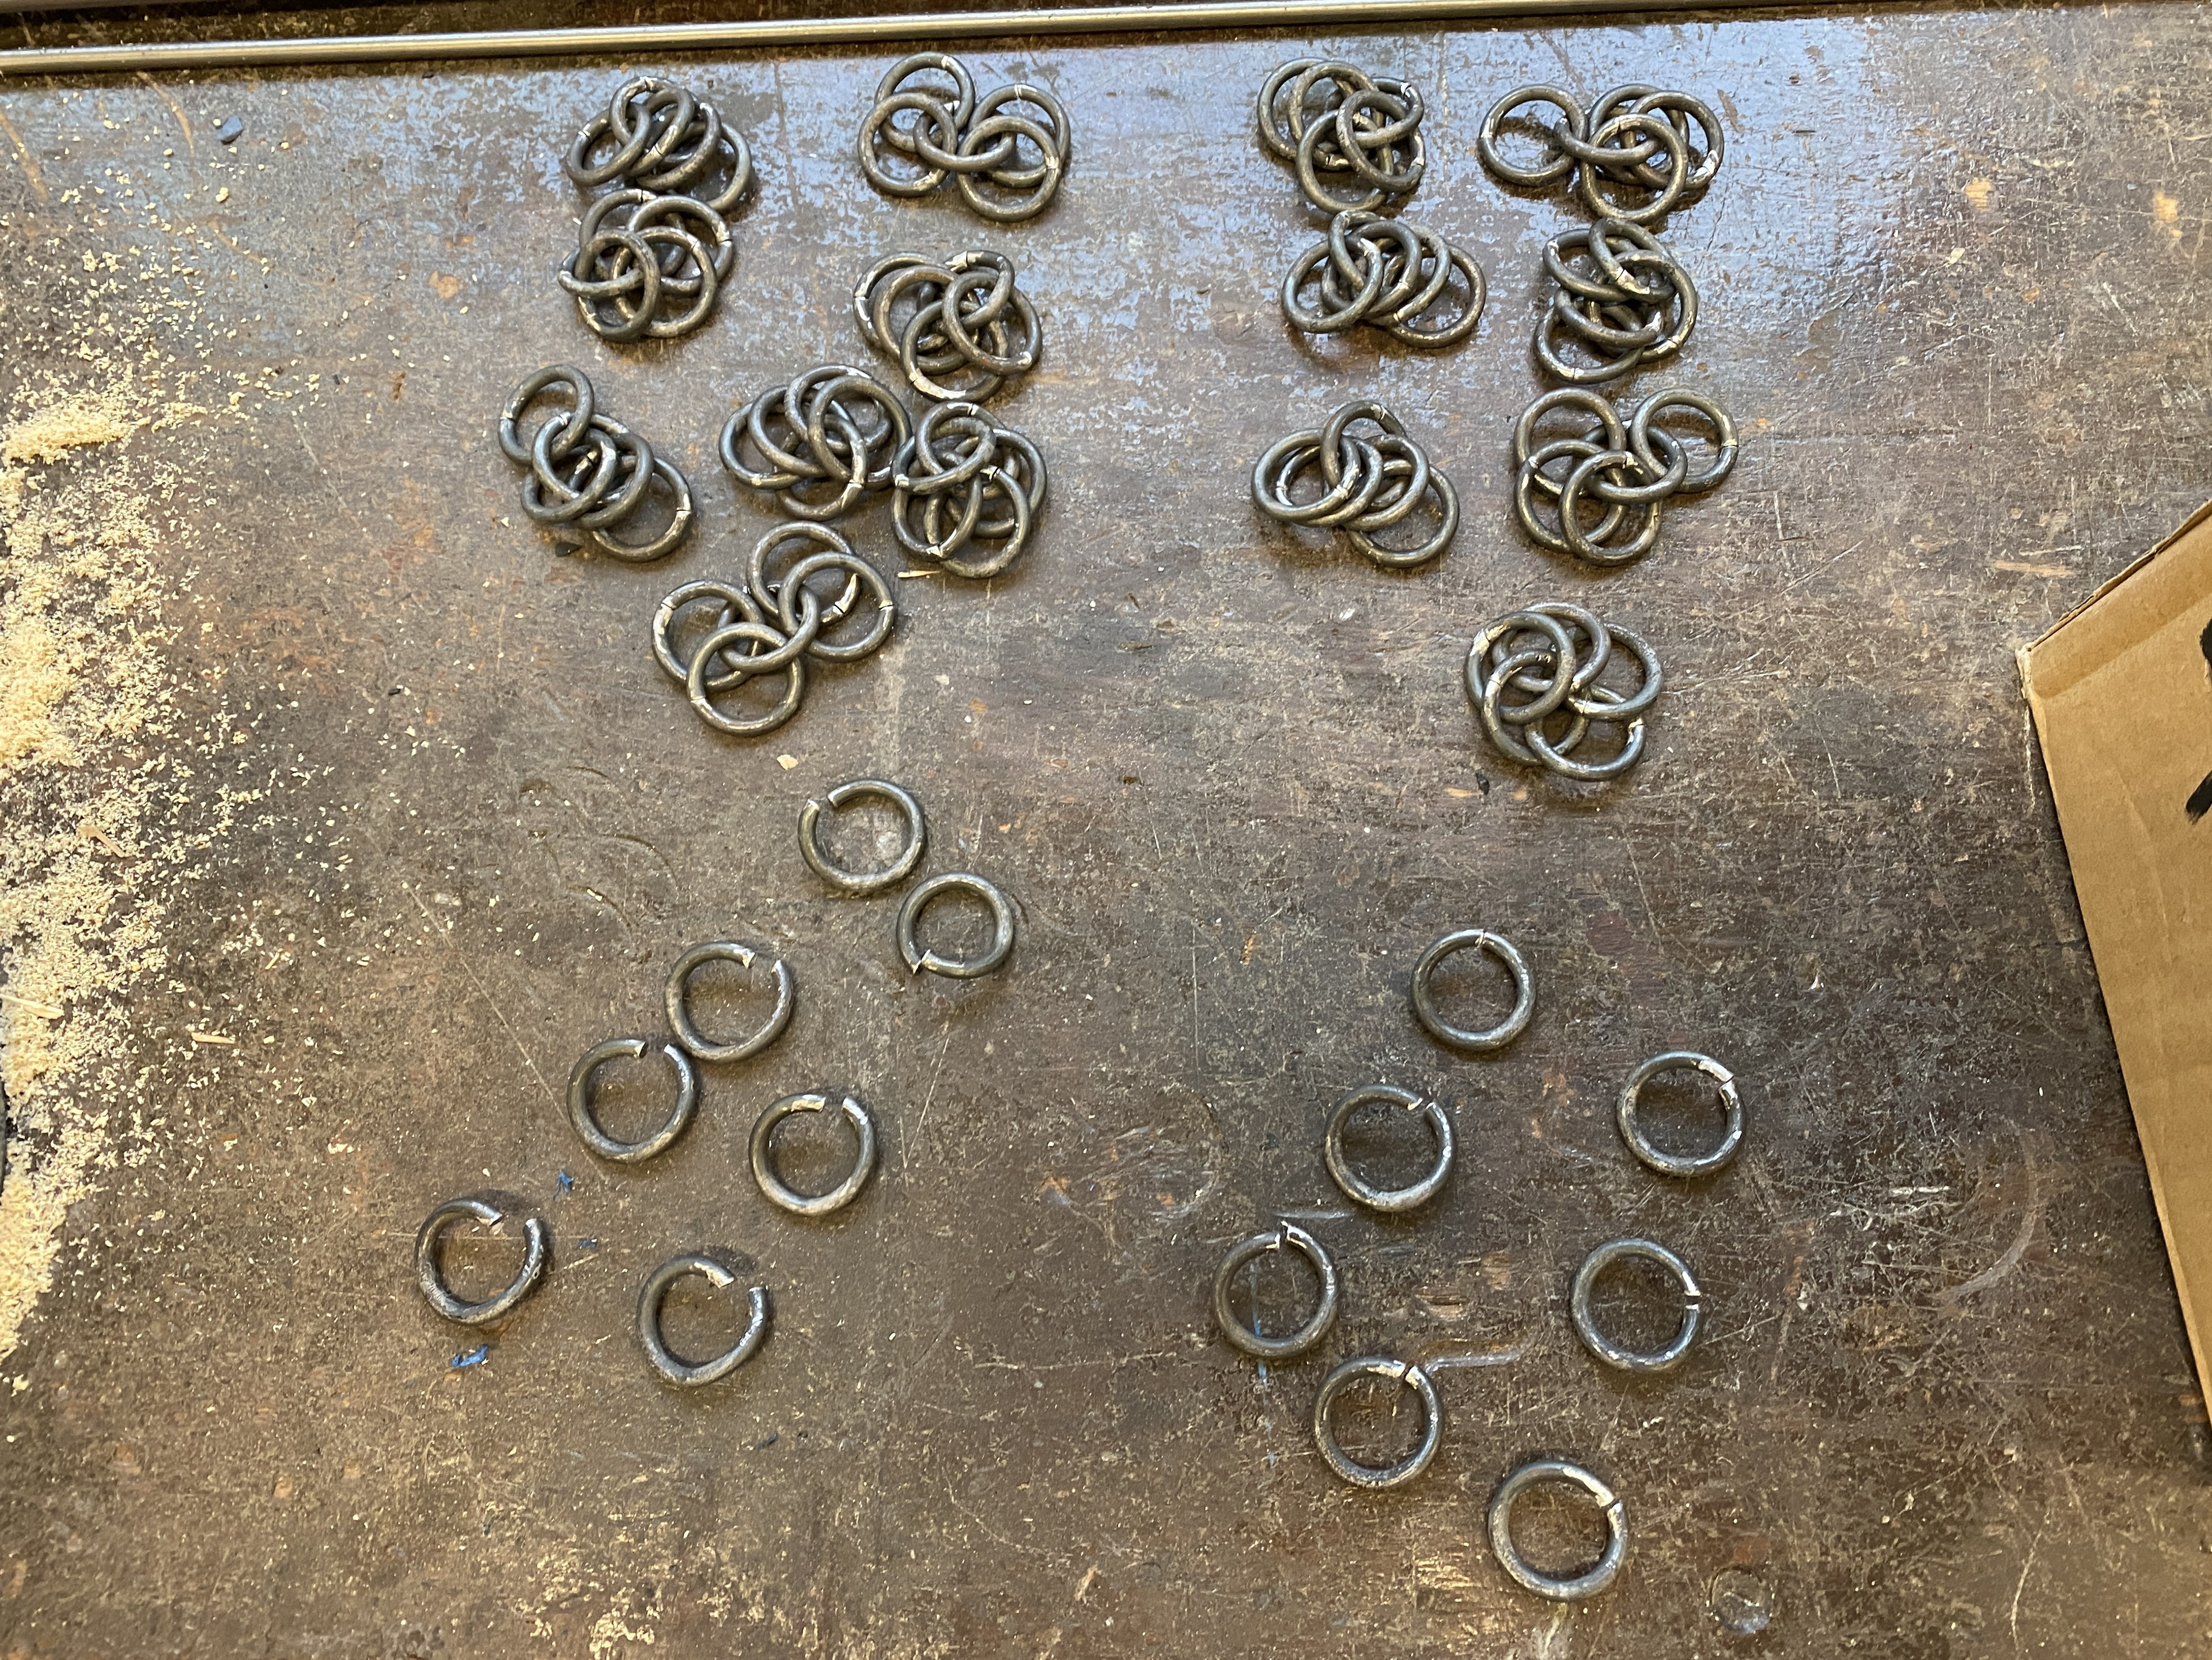

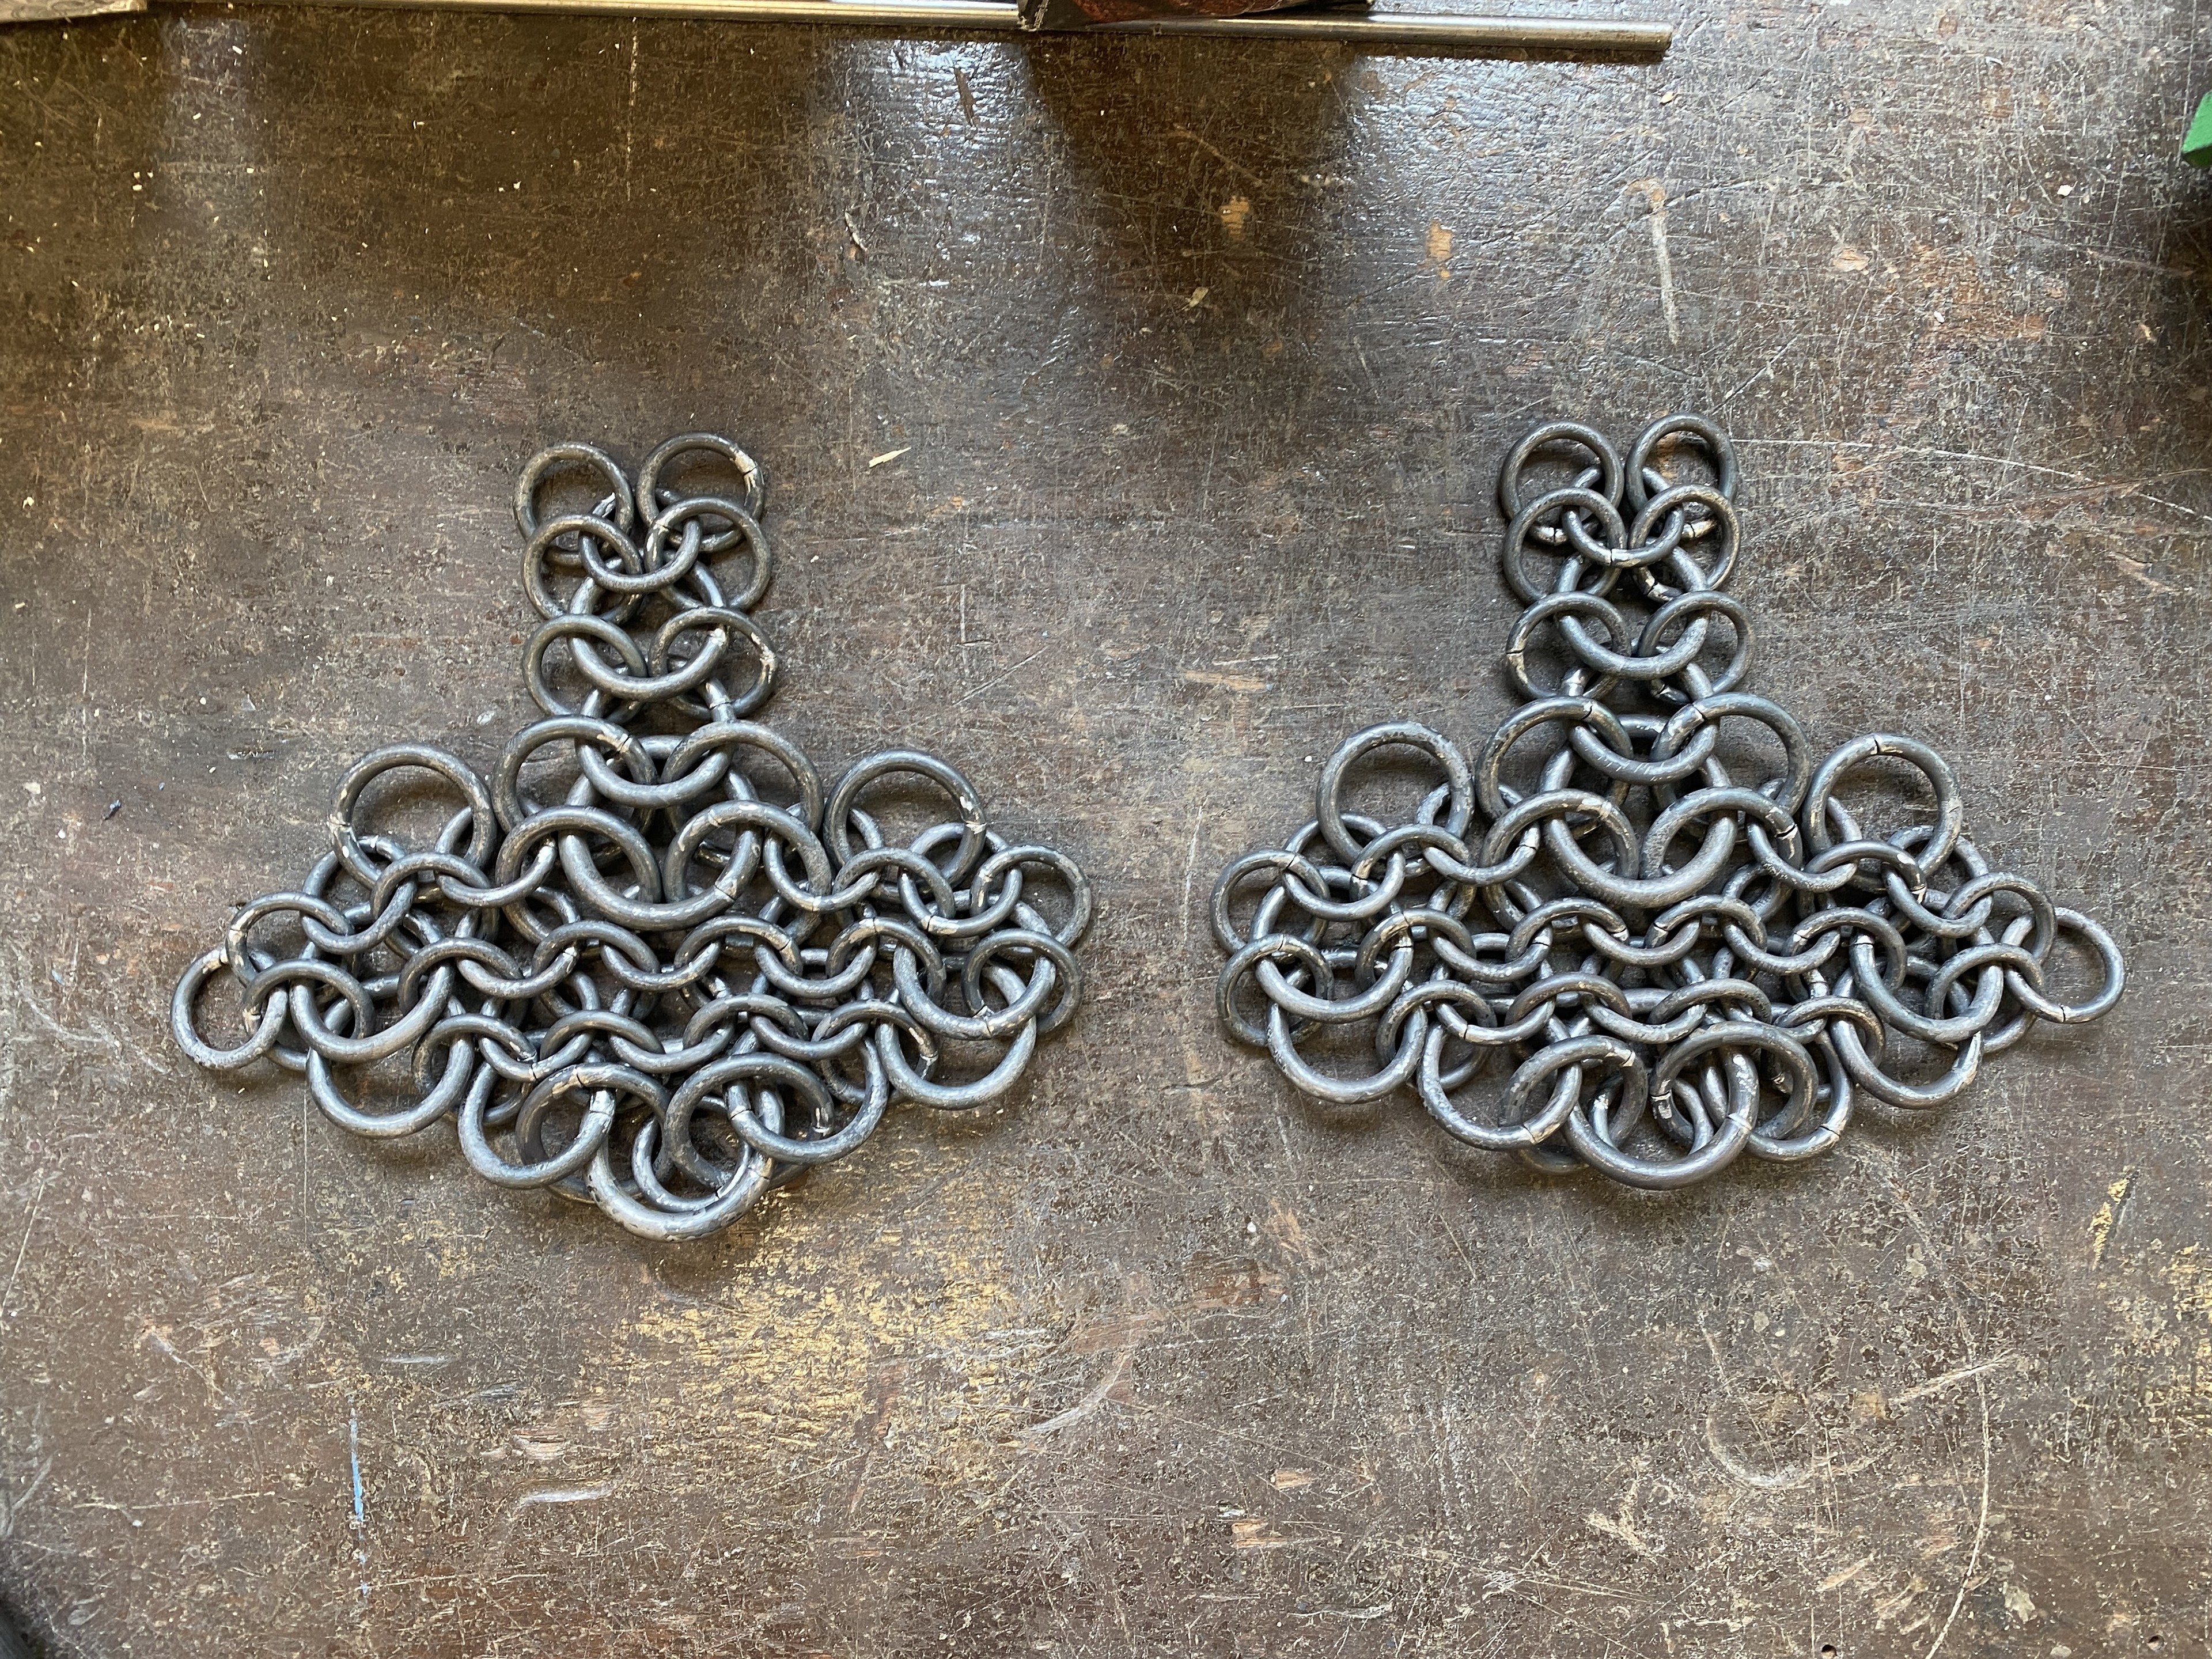
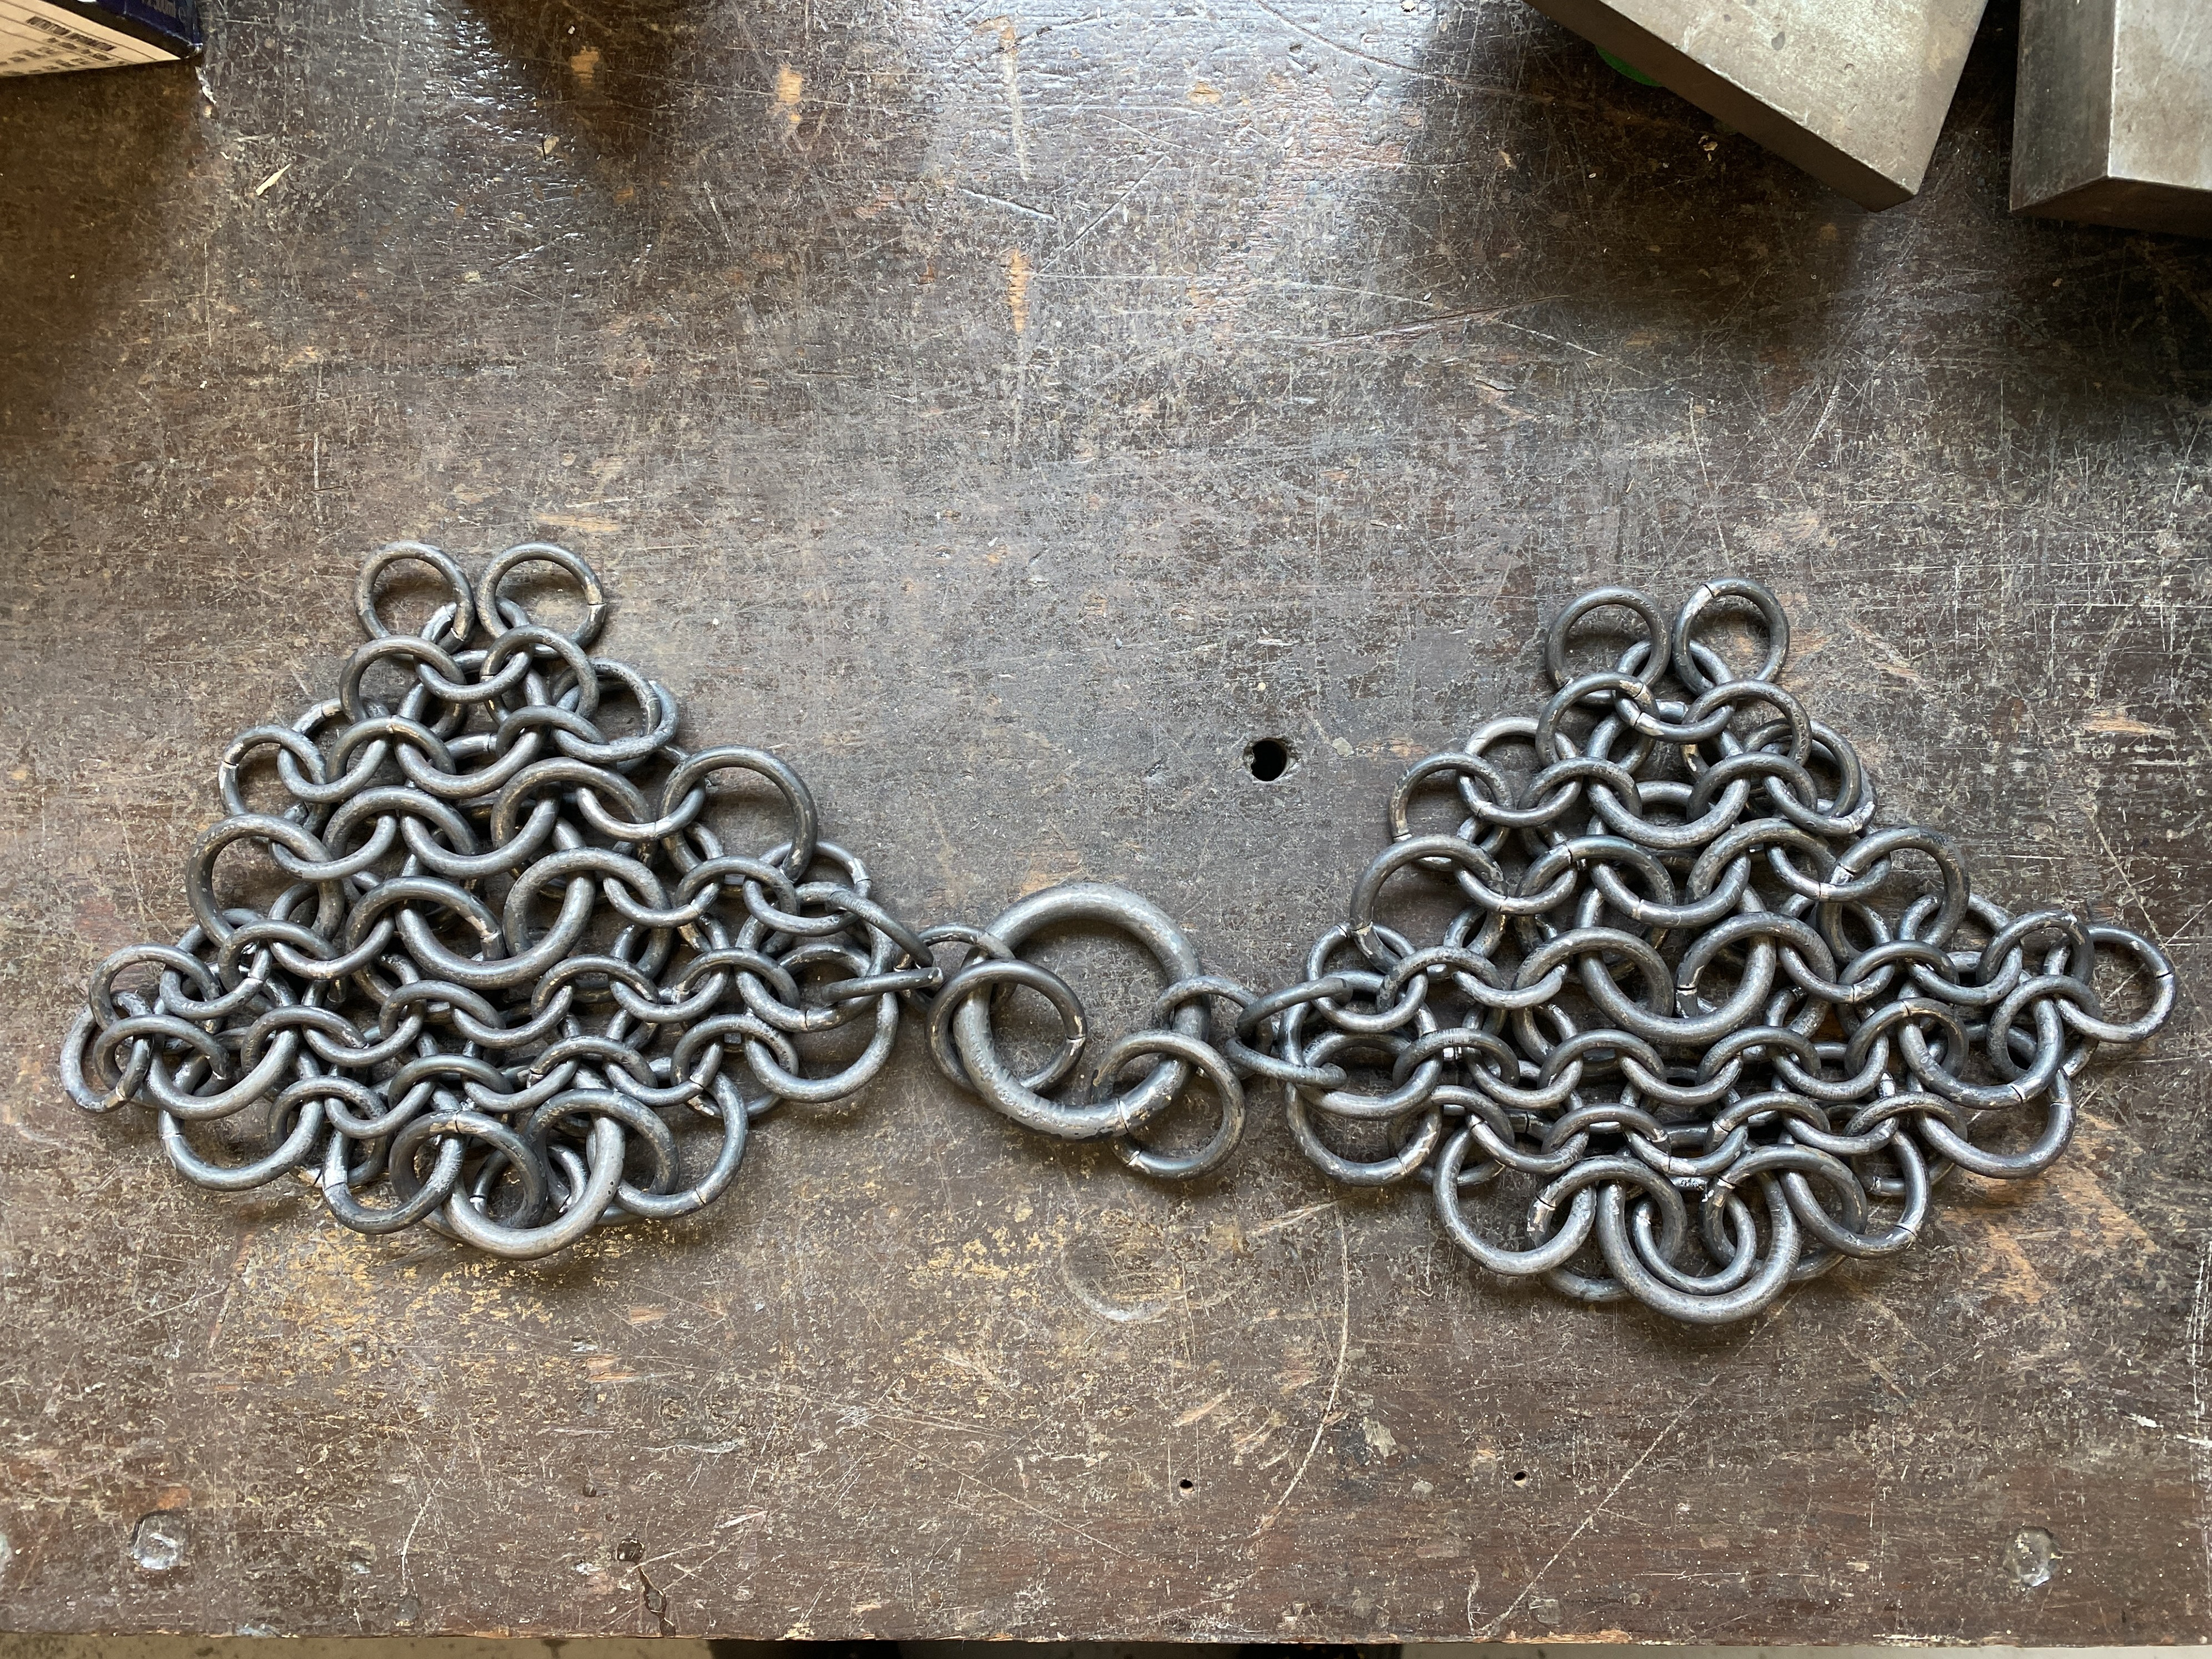
To create the torso piece, I repeated my process of producing the links and weaved them together, using the grey board model as a reference. Due to the symmetrical design, there were many repeated elements. To streamline the process, I created these multiples simultaneously, working in a sub-assembly style.
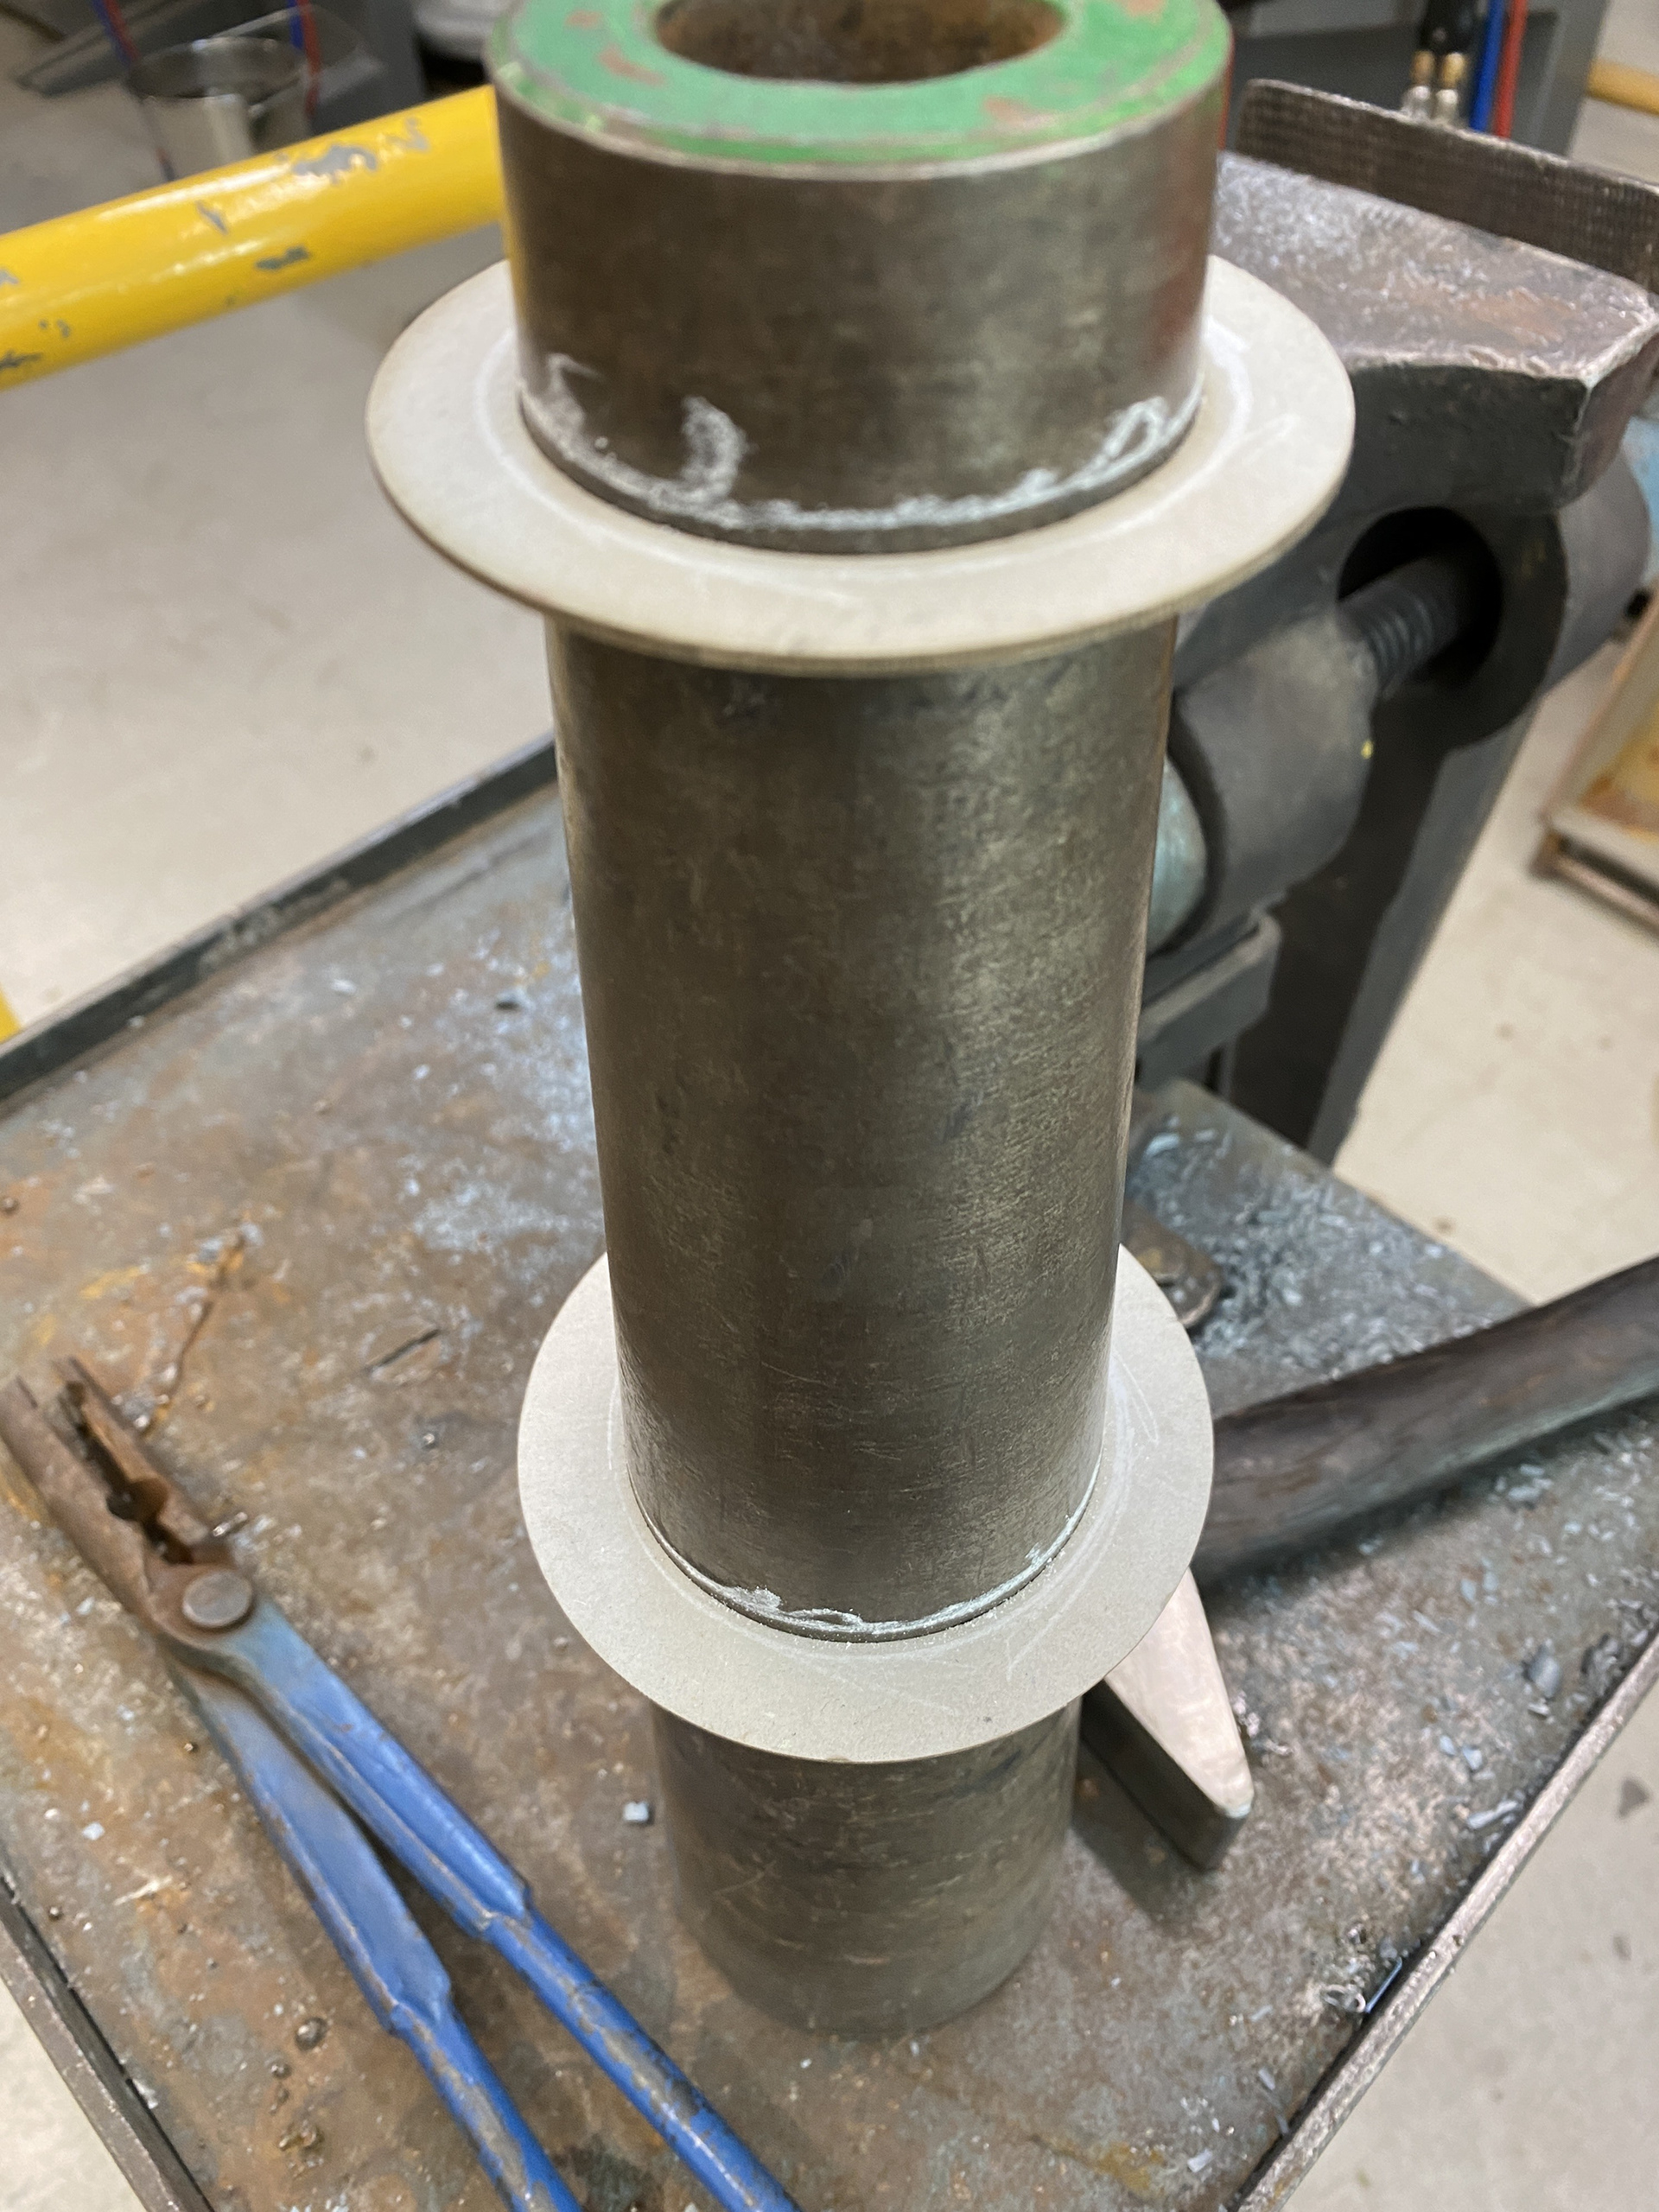
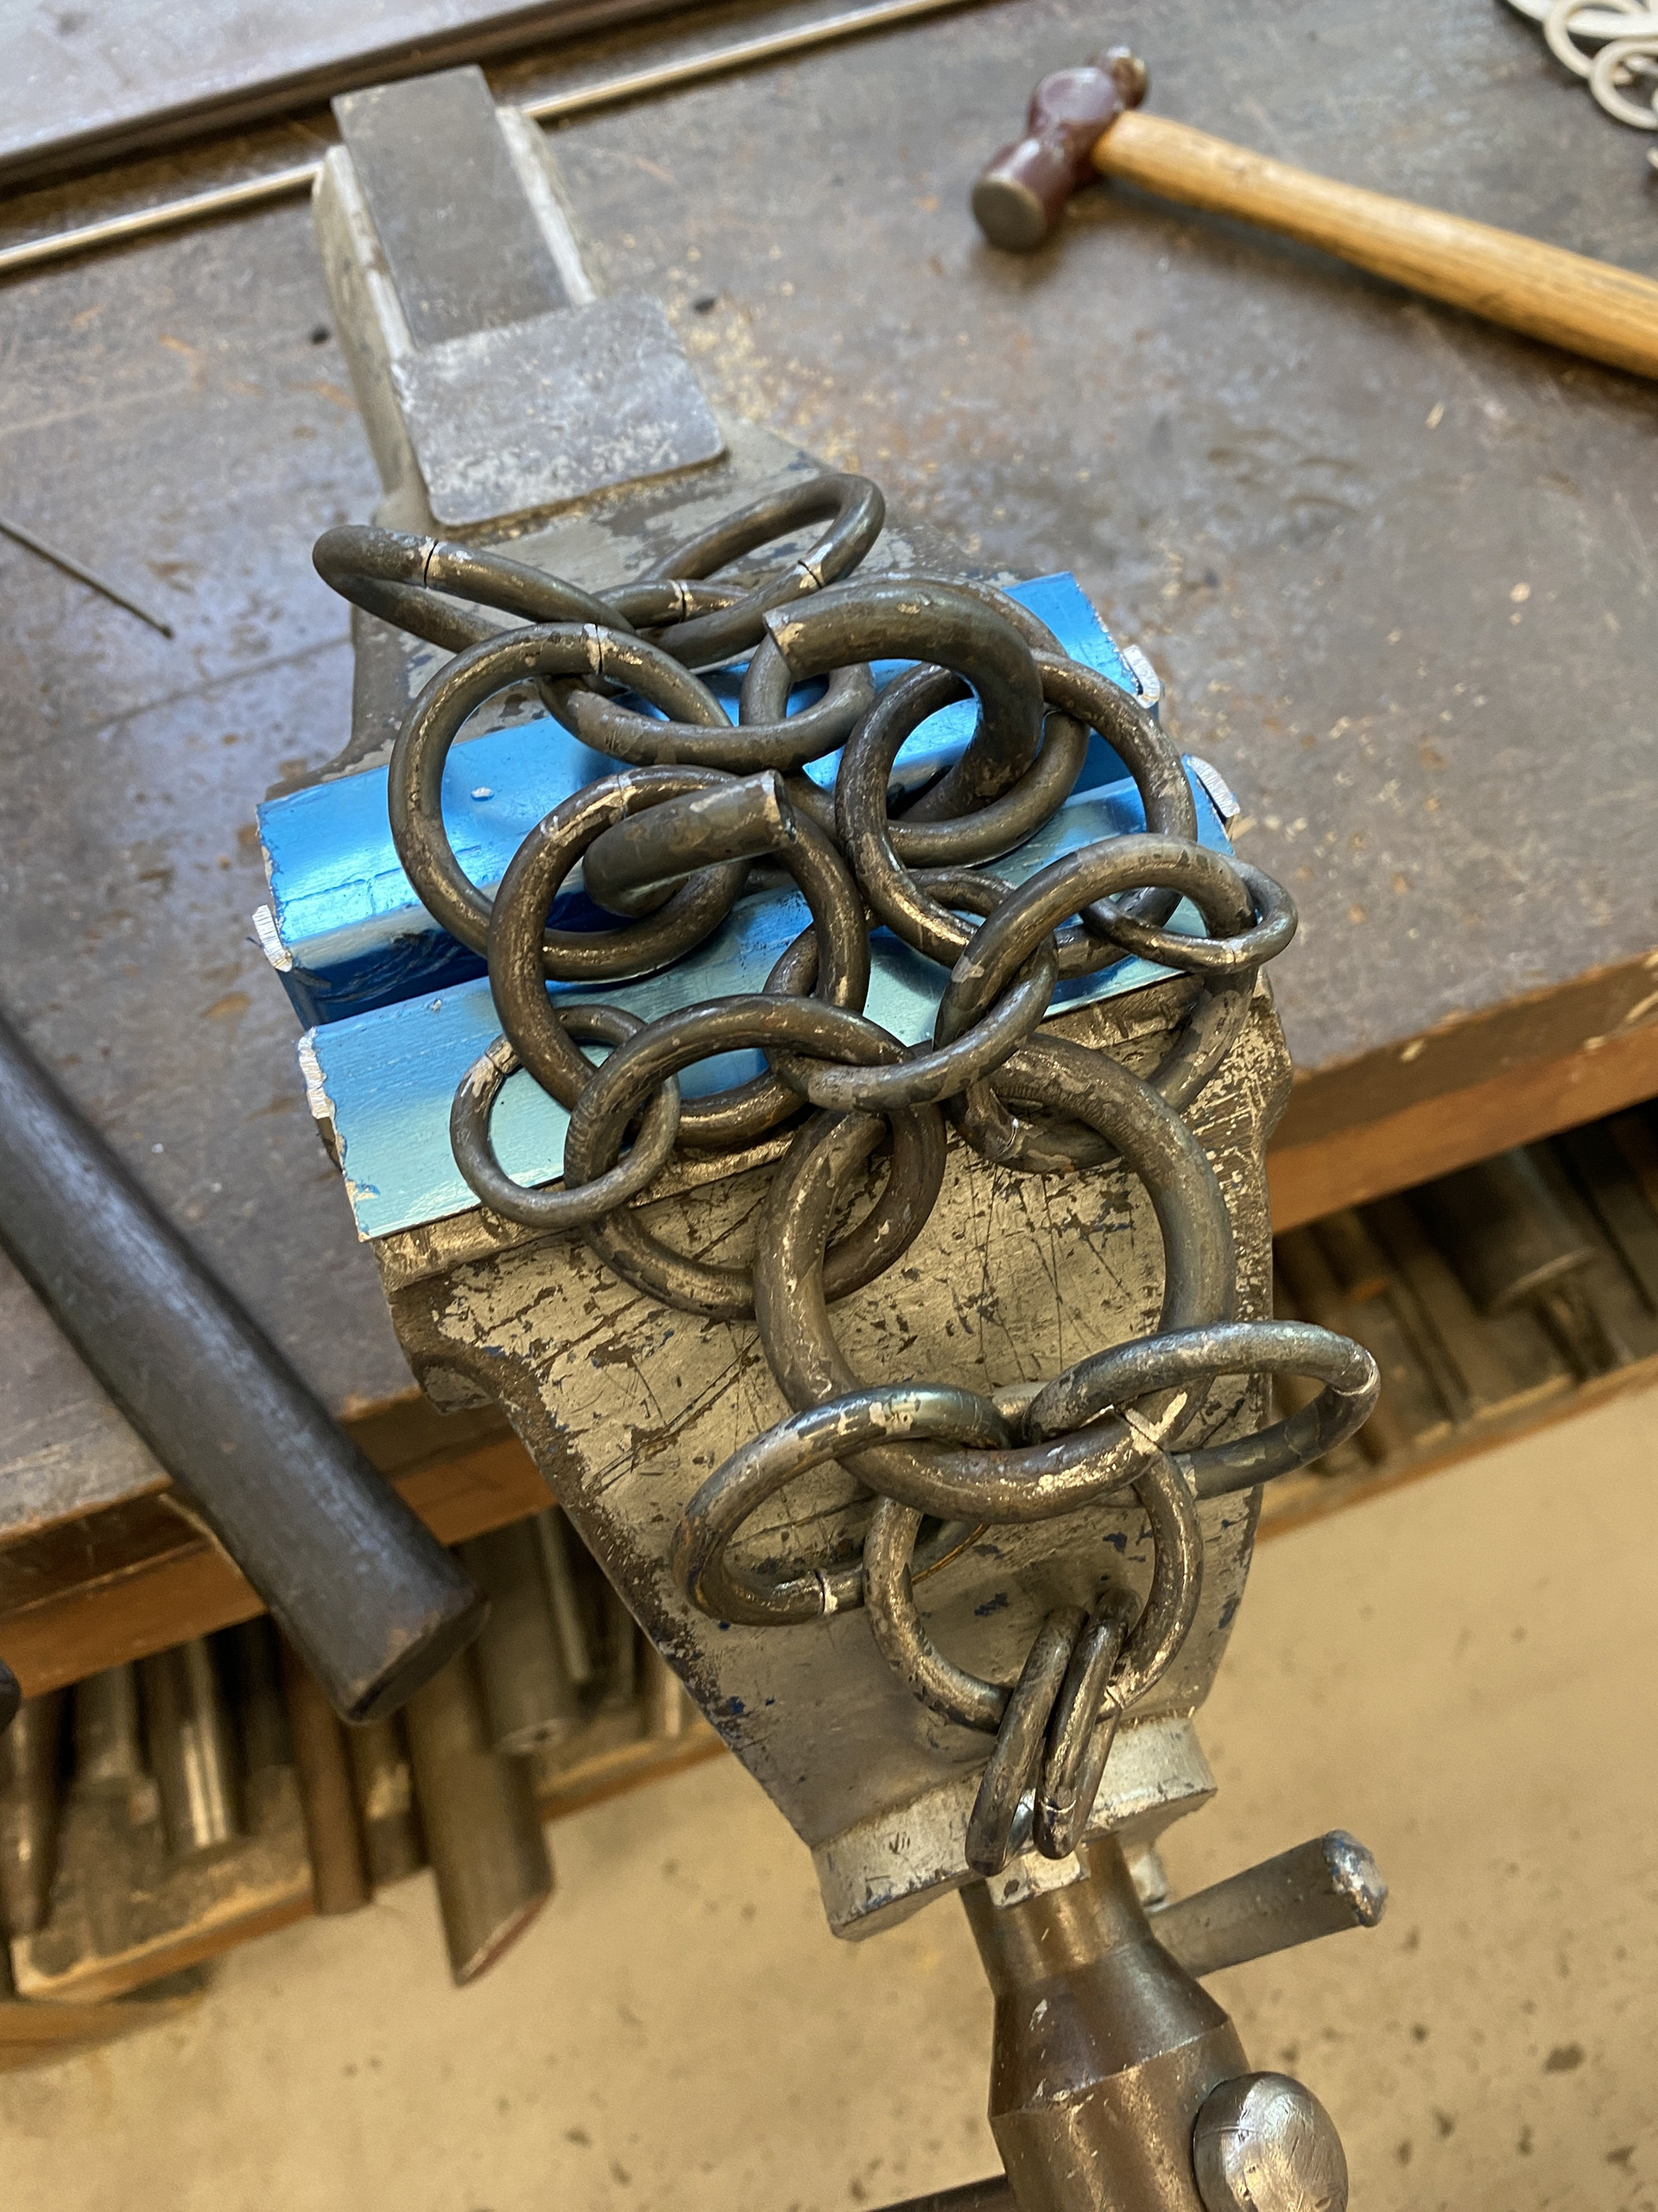
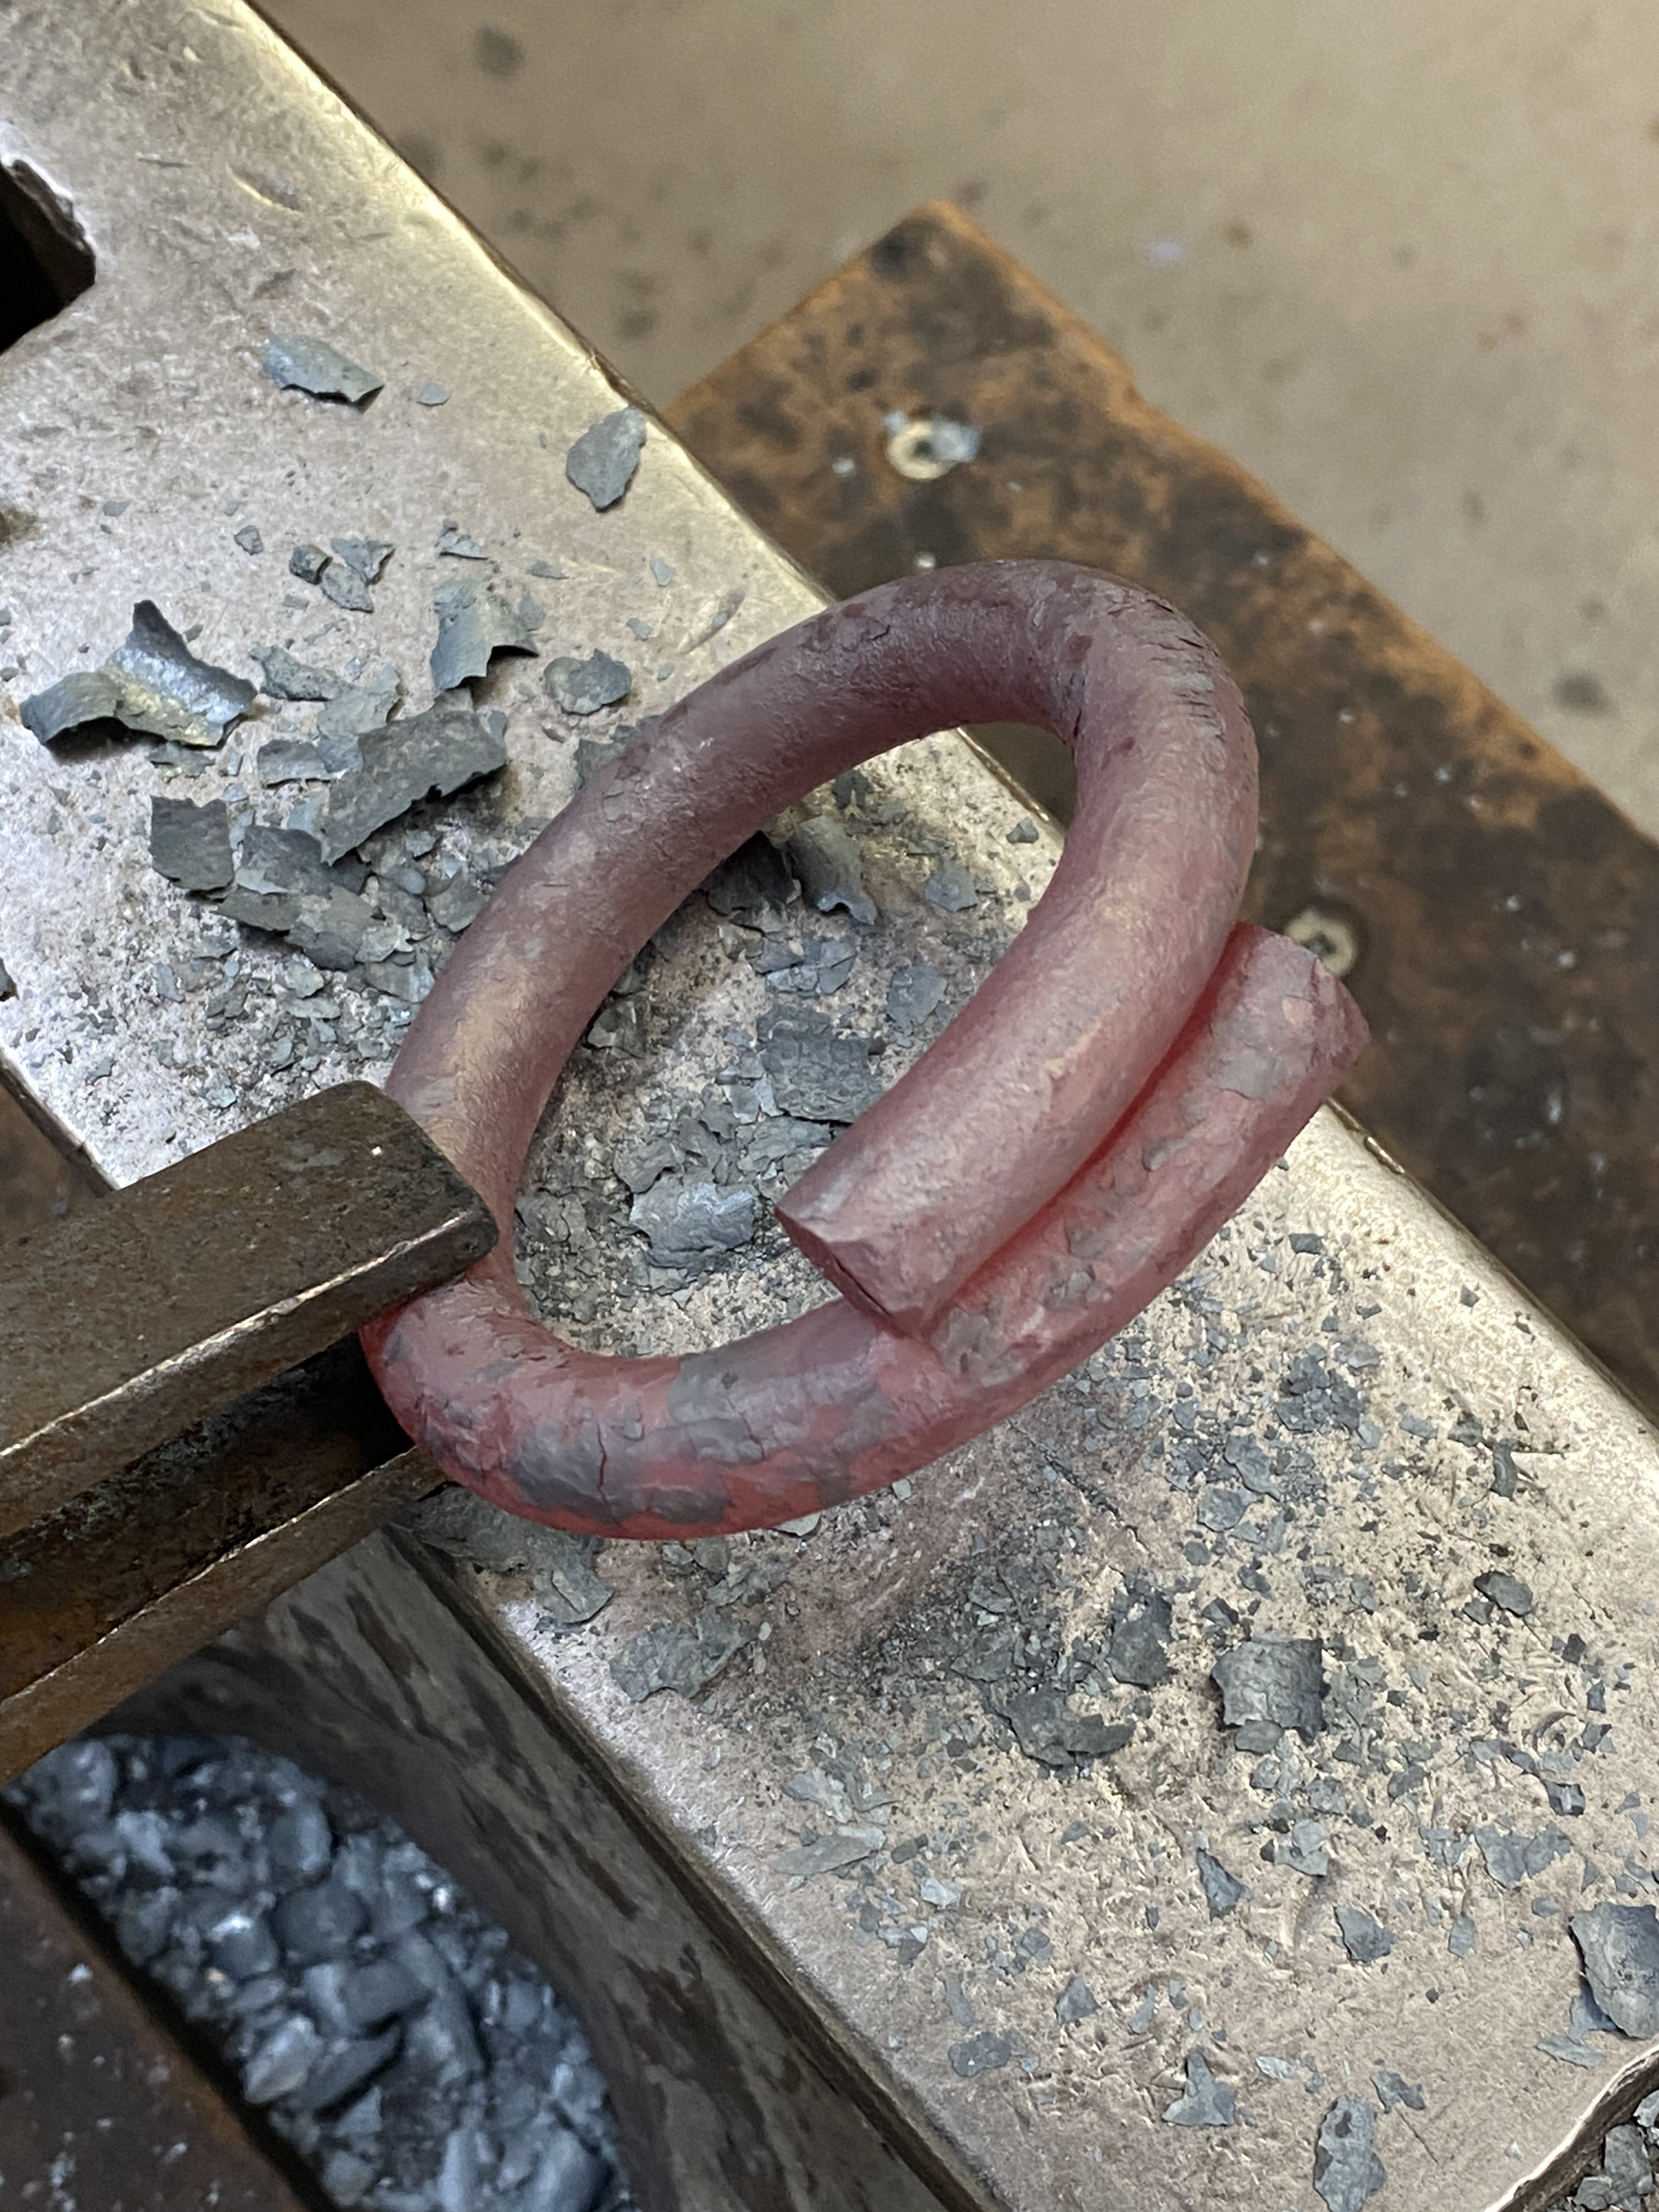
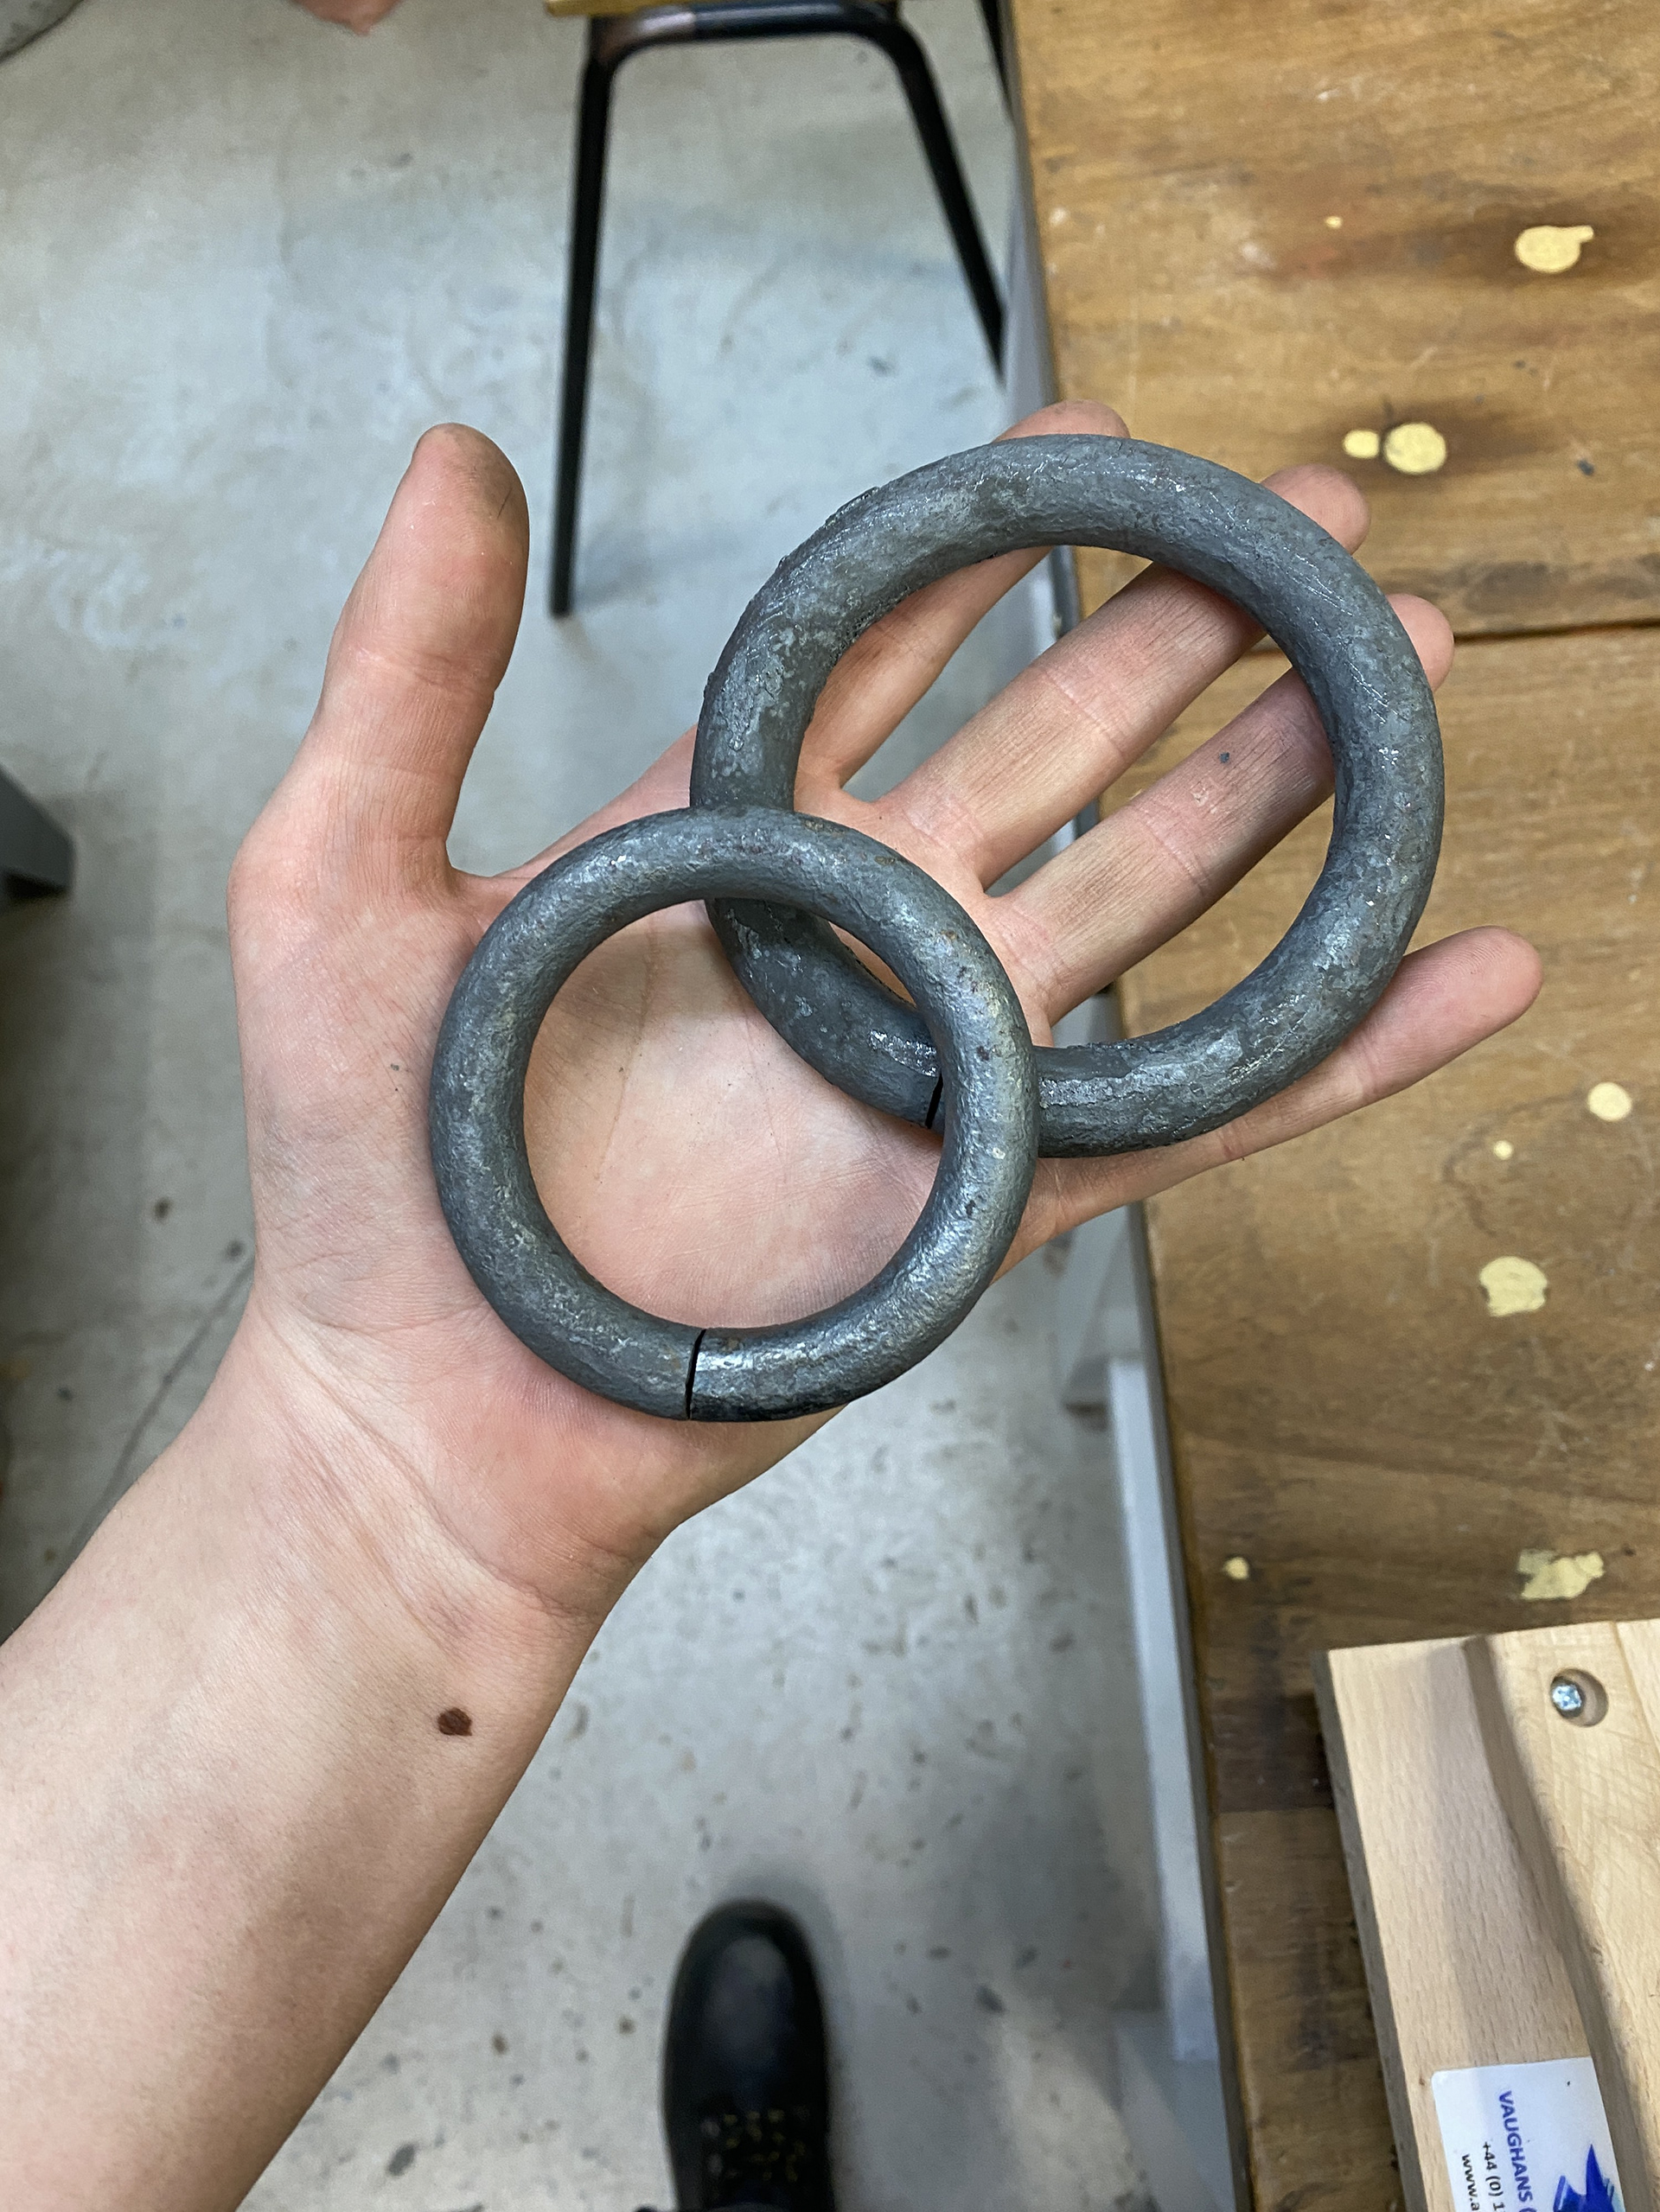
To produce the 12mm and 16mm links, I didn't have the correct diameter cylindrical stake. As a result, I had to form them around a tapered cone stake. The main challenge was that securing these cone stakes in the vices we own wasn’t possible. Additionally, they weren’t heavy enough to resist the pulling forces I typically apply when wrapping the rod around the stake to create the coils and links. Therefore, I had to freeform the rough shape of the link using the horn of the anvil before refining it on the cone stake.
My initial tests were unsuccessful for two reasons. First, I had calculated the exact length of material required to produce the link, which resulted in the ends of the rod not meeting flush. Second, I had never used 16mm steel stock before and selected what we believed to be mild steel. However, during forging, the material broke in half, revealing a rough, sponge like texture, likely due to its high carbon content.

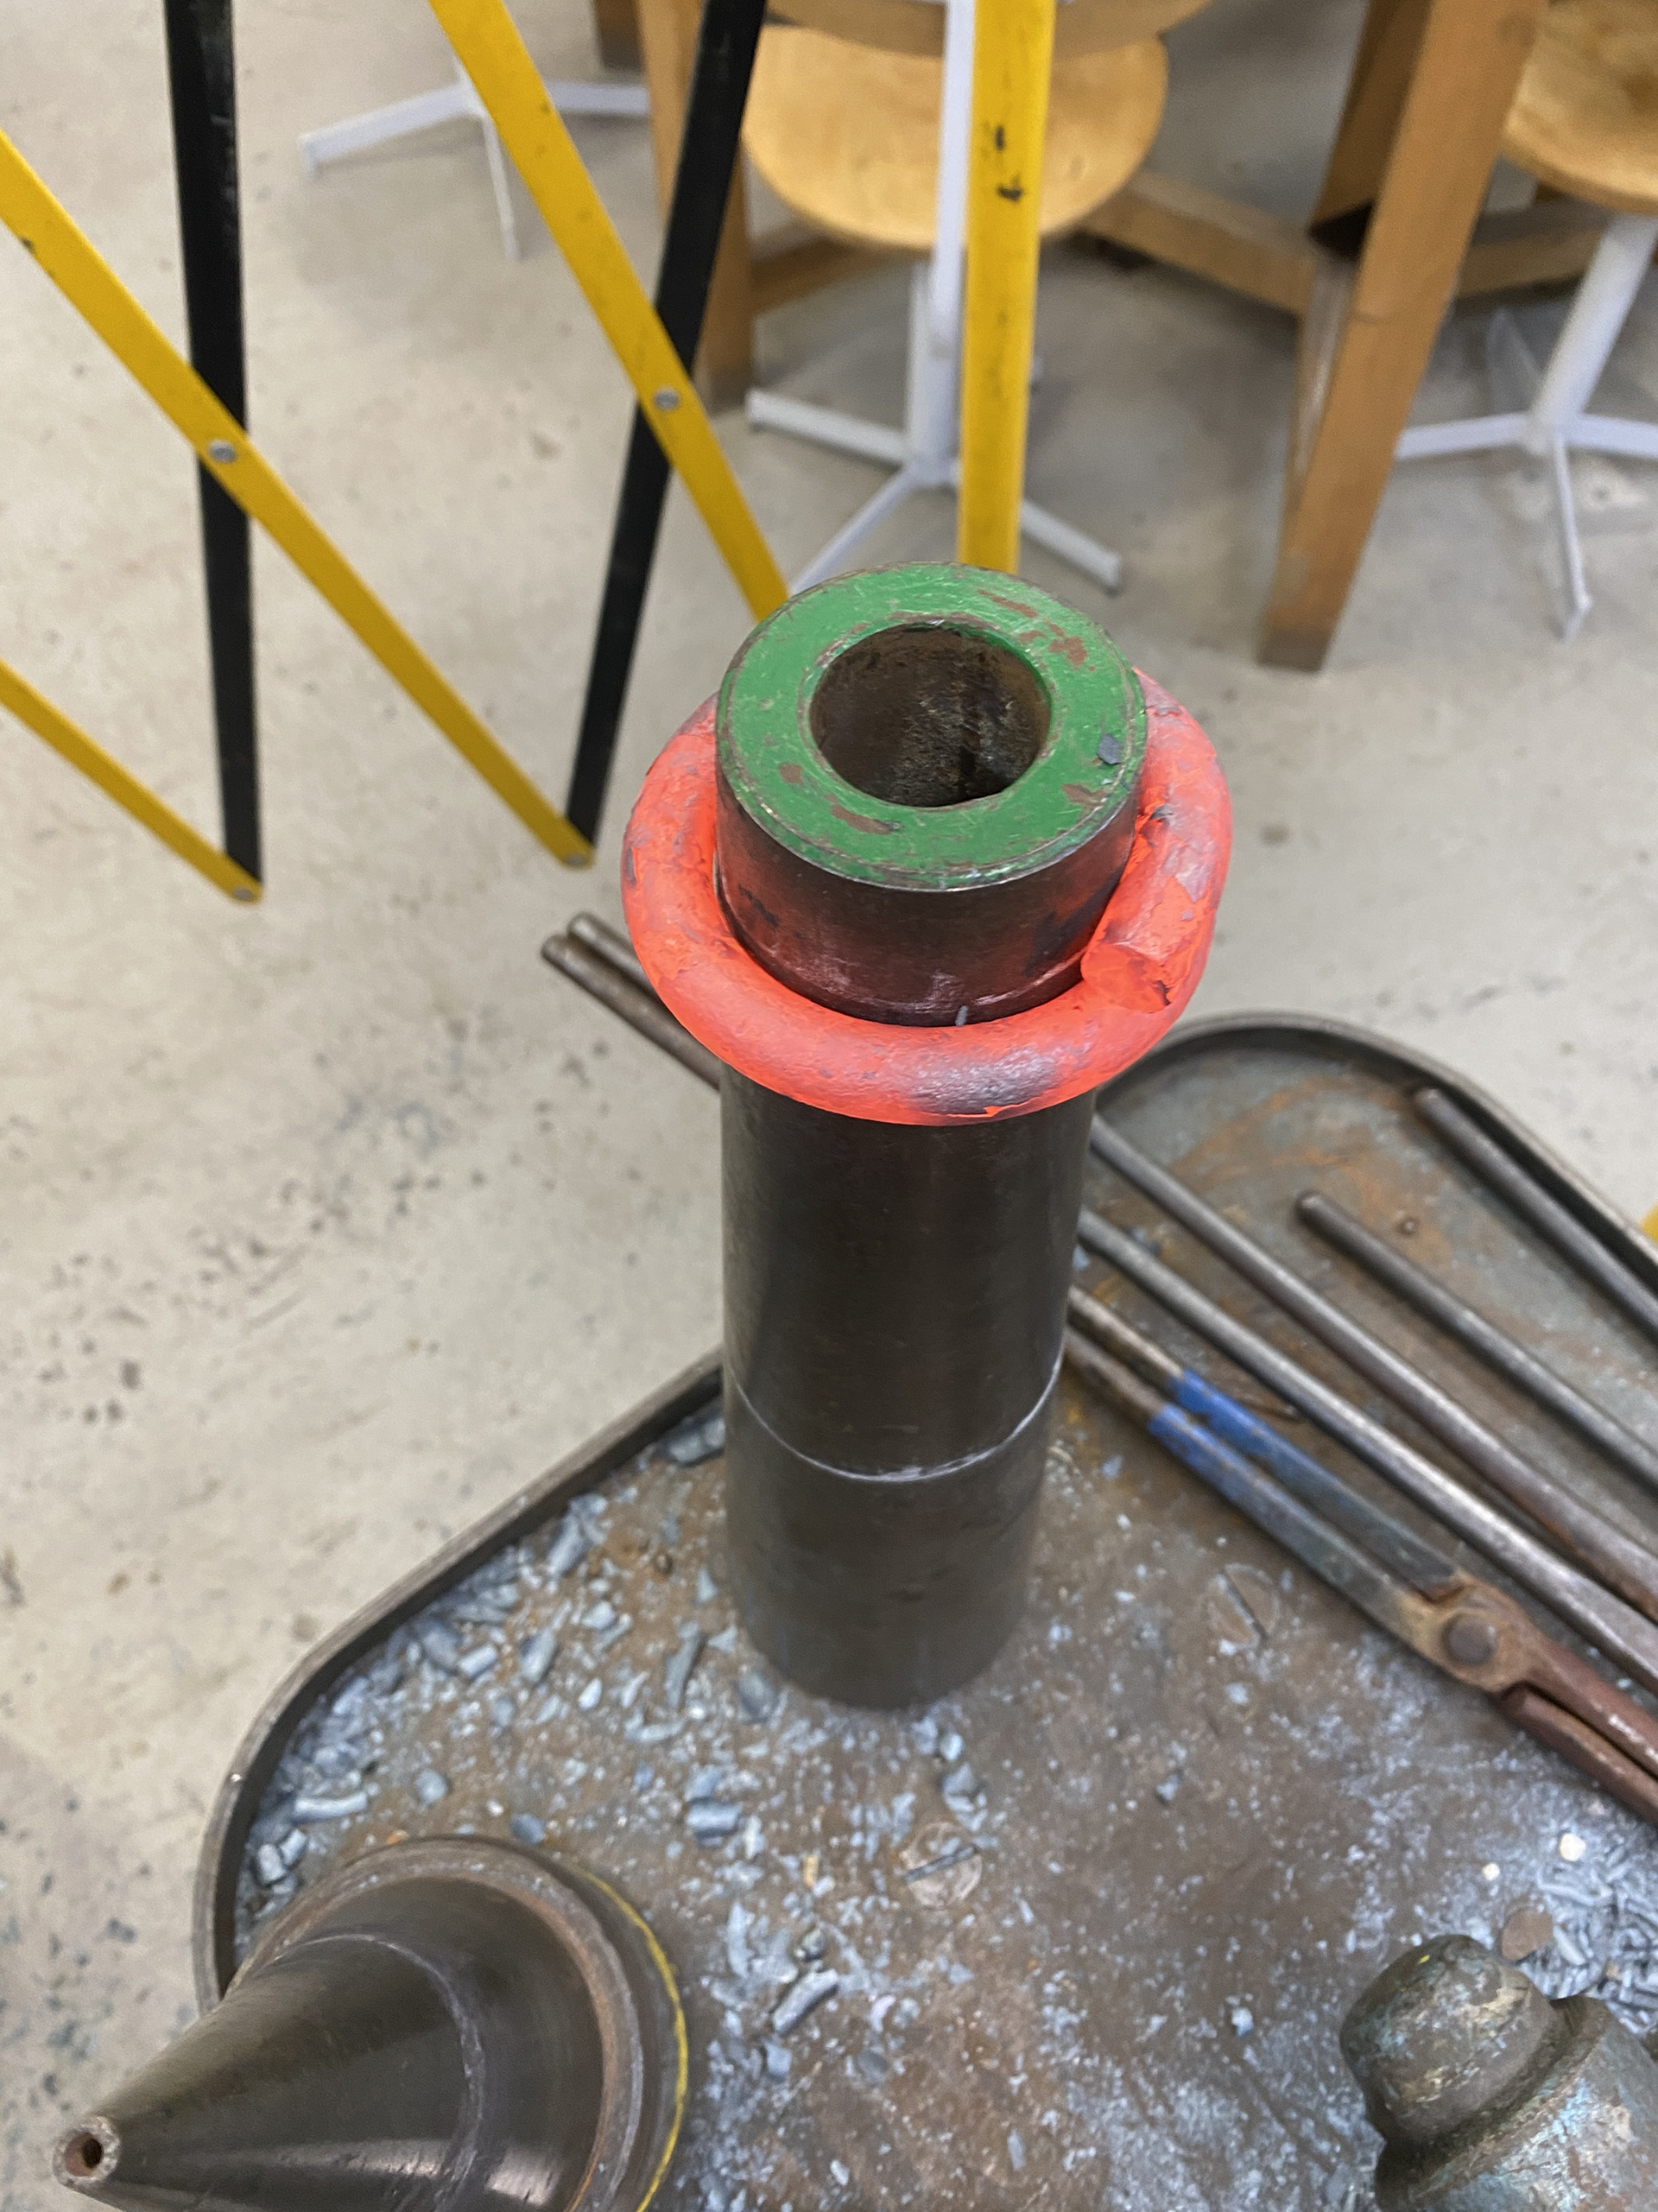
To fix the issue with the 12mm link, I added an extra 50mm of material to the overall length of the rod. This created an overlap similar to the rest of the coils I make, which could be cut off later. However, this method introduced a new challenge, the overlap significantly increased the depth of the coil. This became a problem because the tapered cone of the stake caused the top diameter of the link to be smaller than the bottom diameter.
I resolved this by marking a chalk line around the diameter of the stake that corresponded with the calculated link size. I ensured that the centre of the workpiece interacted with this reference and flipped the piece to make the necessary adjustments.
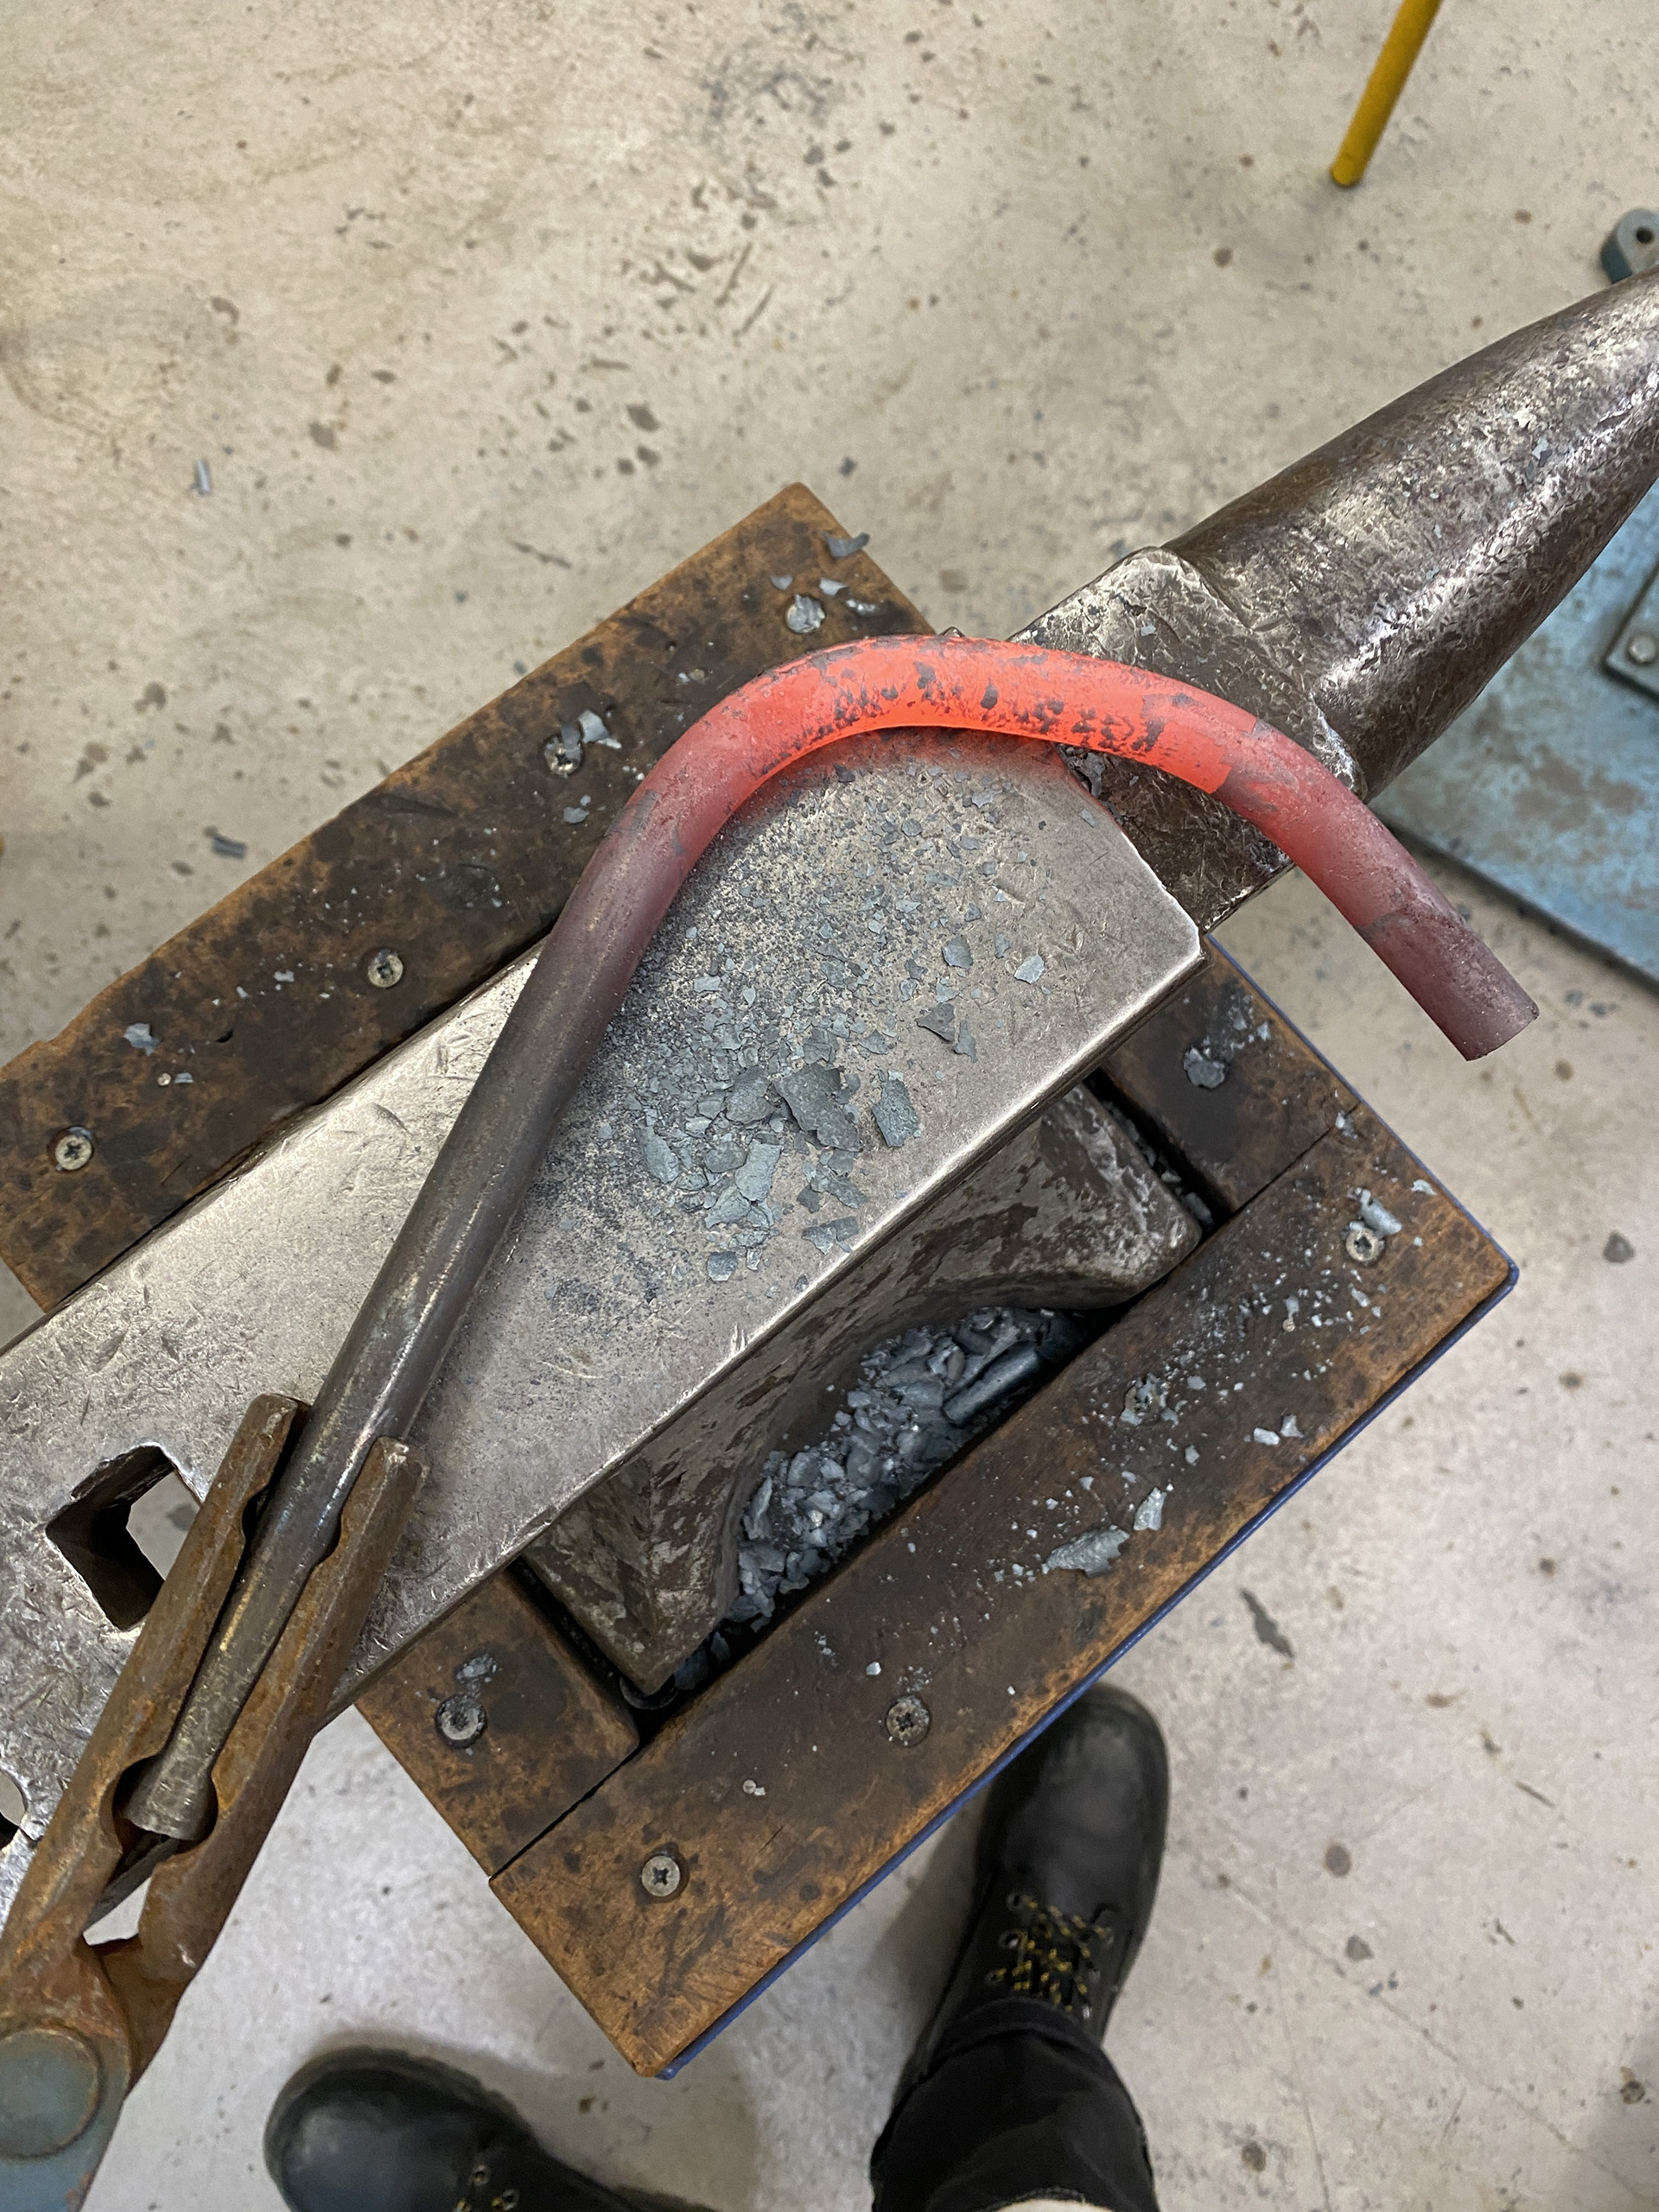
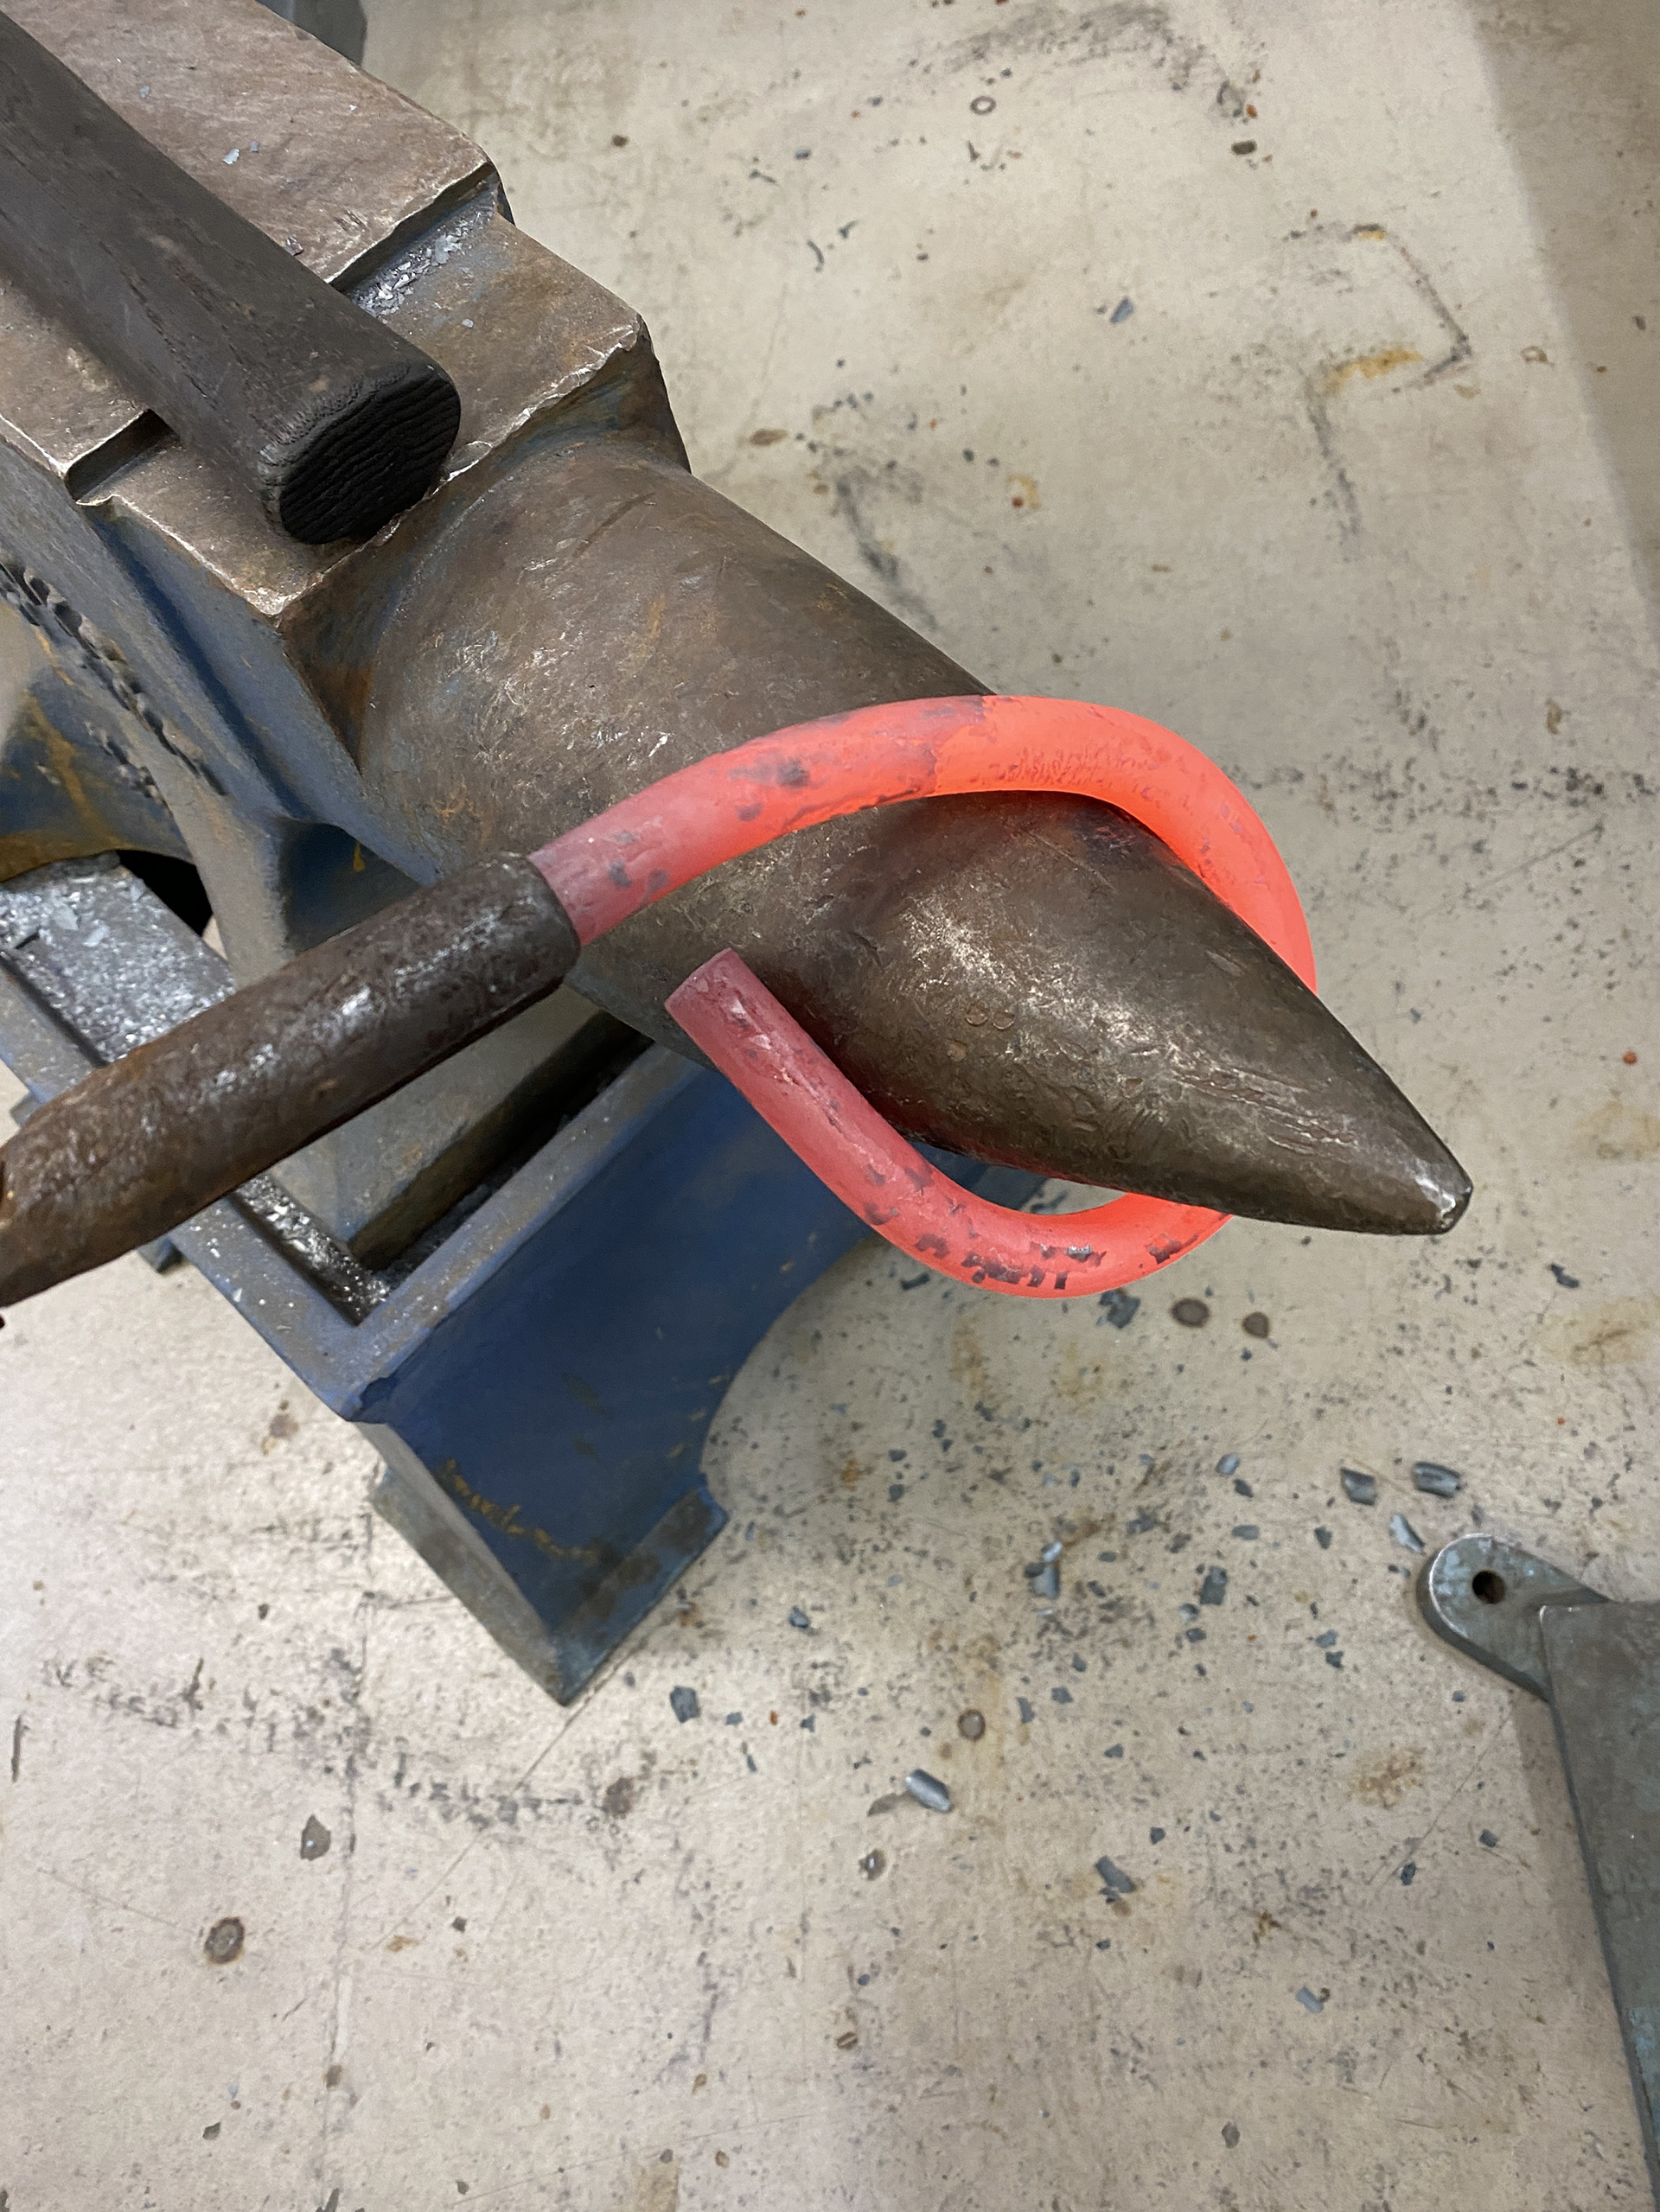
I followed the same workflow as I did for the 12mm link to create the 16mm link. This time, I ensured that I selected a piece of mild steel, which forged as expected, though it required more force to manipulate.
Another issue arose when working with this stock and link size. The horn of the small anvil I typically use had too narrow a circumference, resulting in a curve that was too tight during rough forging. I resolved this by sizing up to the larger anvil.

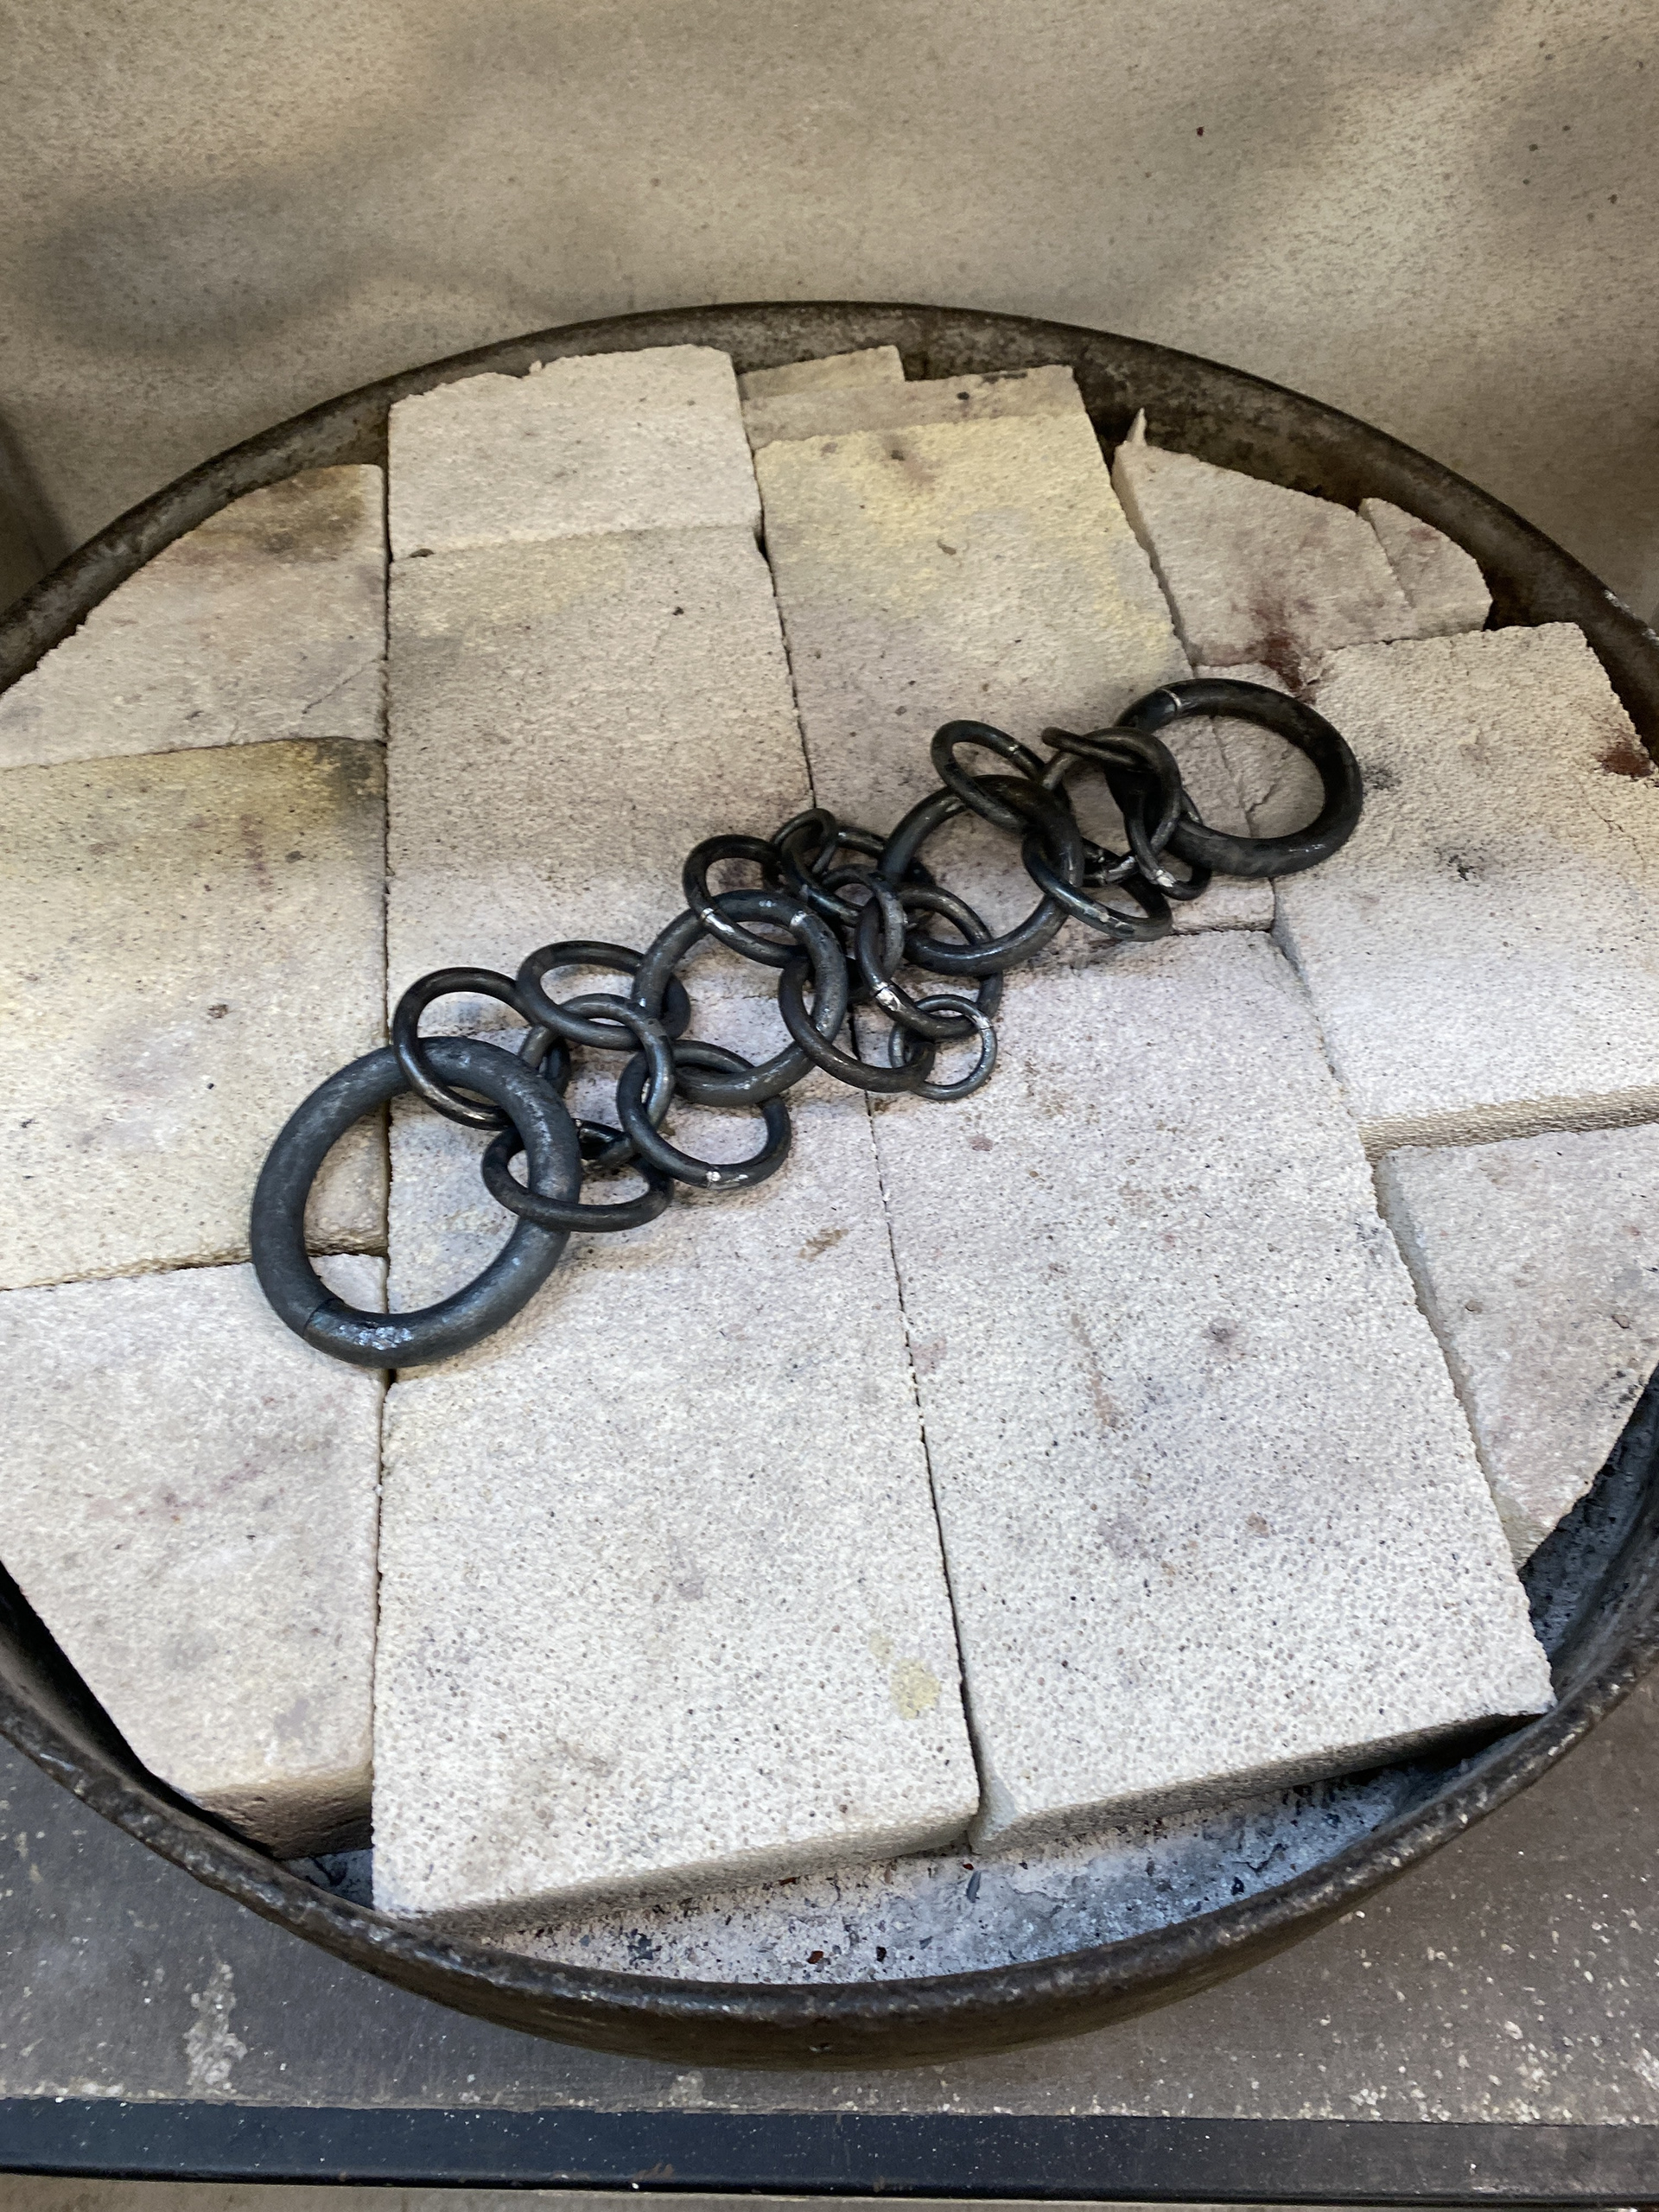
To finish making the large links I cut the excess off using a hacksaw to ensure a clean connection. I chose this over the angle grinder which I have used for the rest of the links as larger amount of material would show any slips or nicks produced when cutting. Finally, I placed the pieces back into the forge to close the links shut.
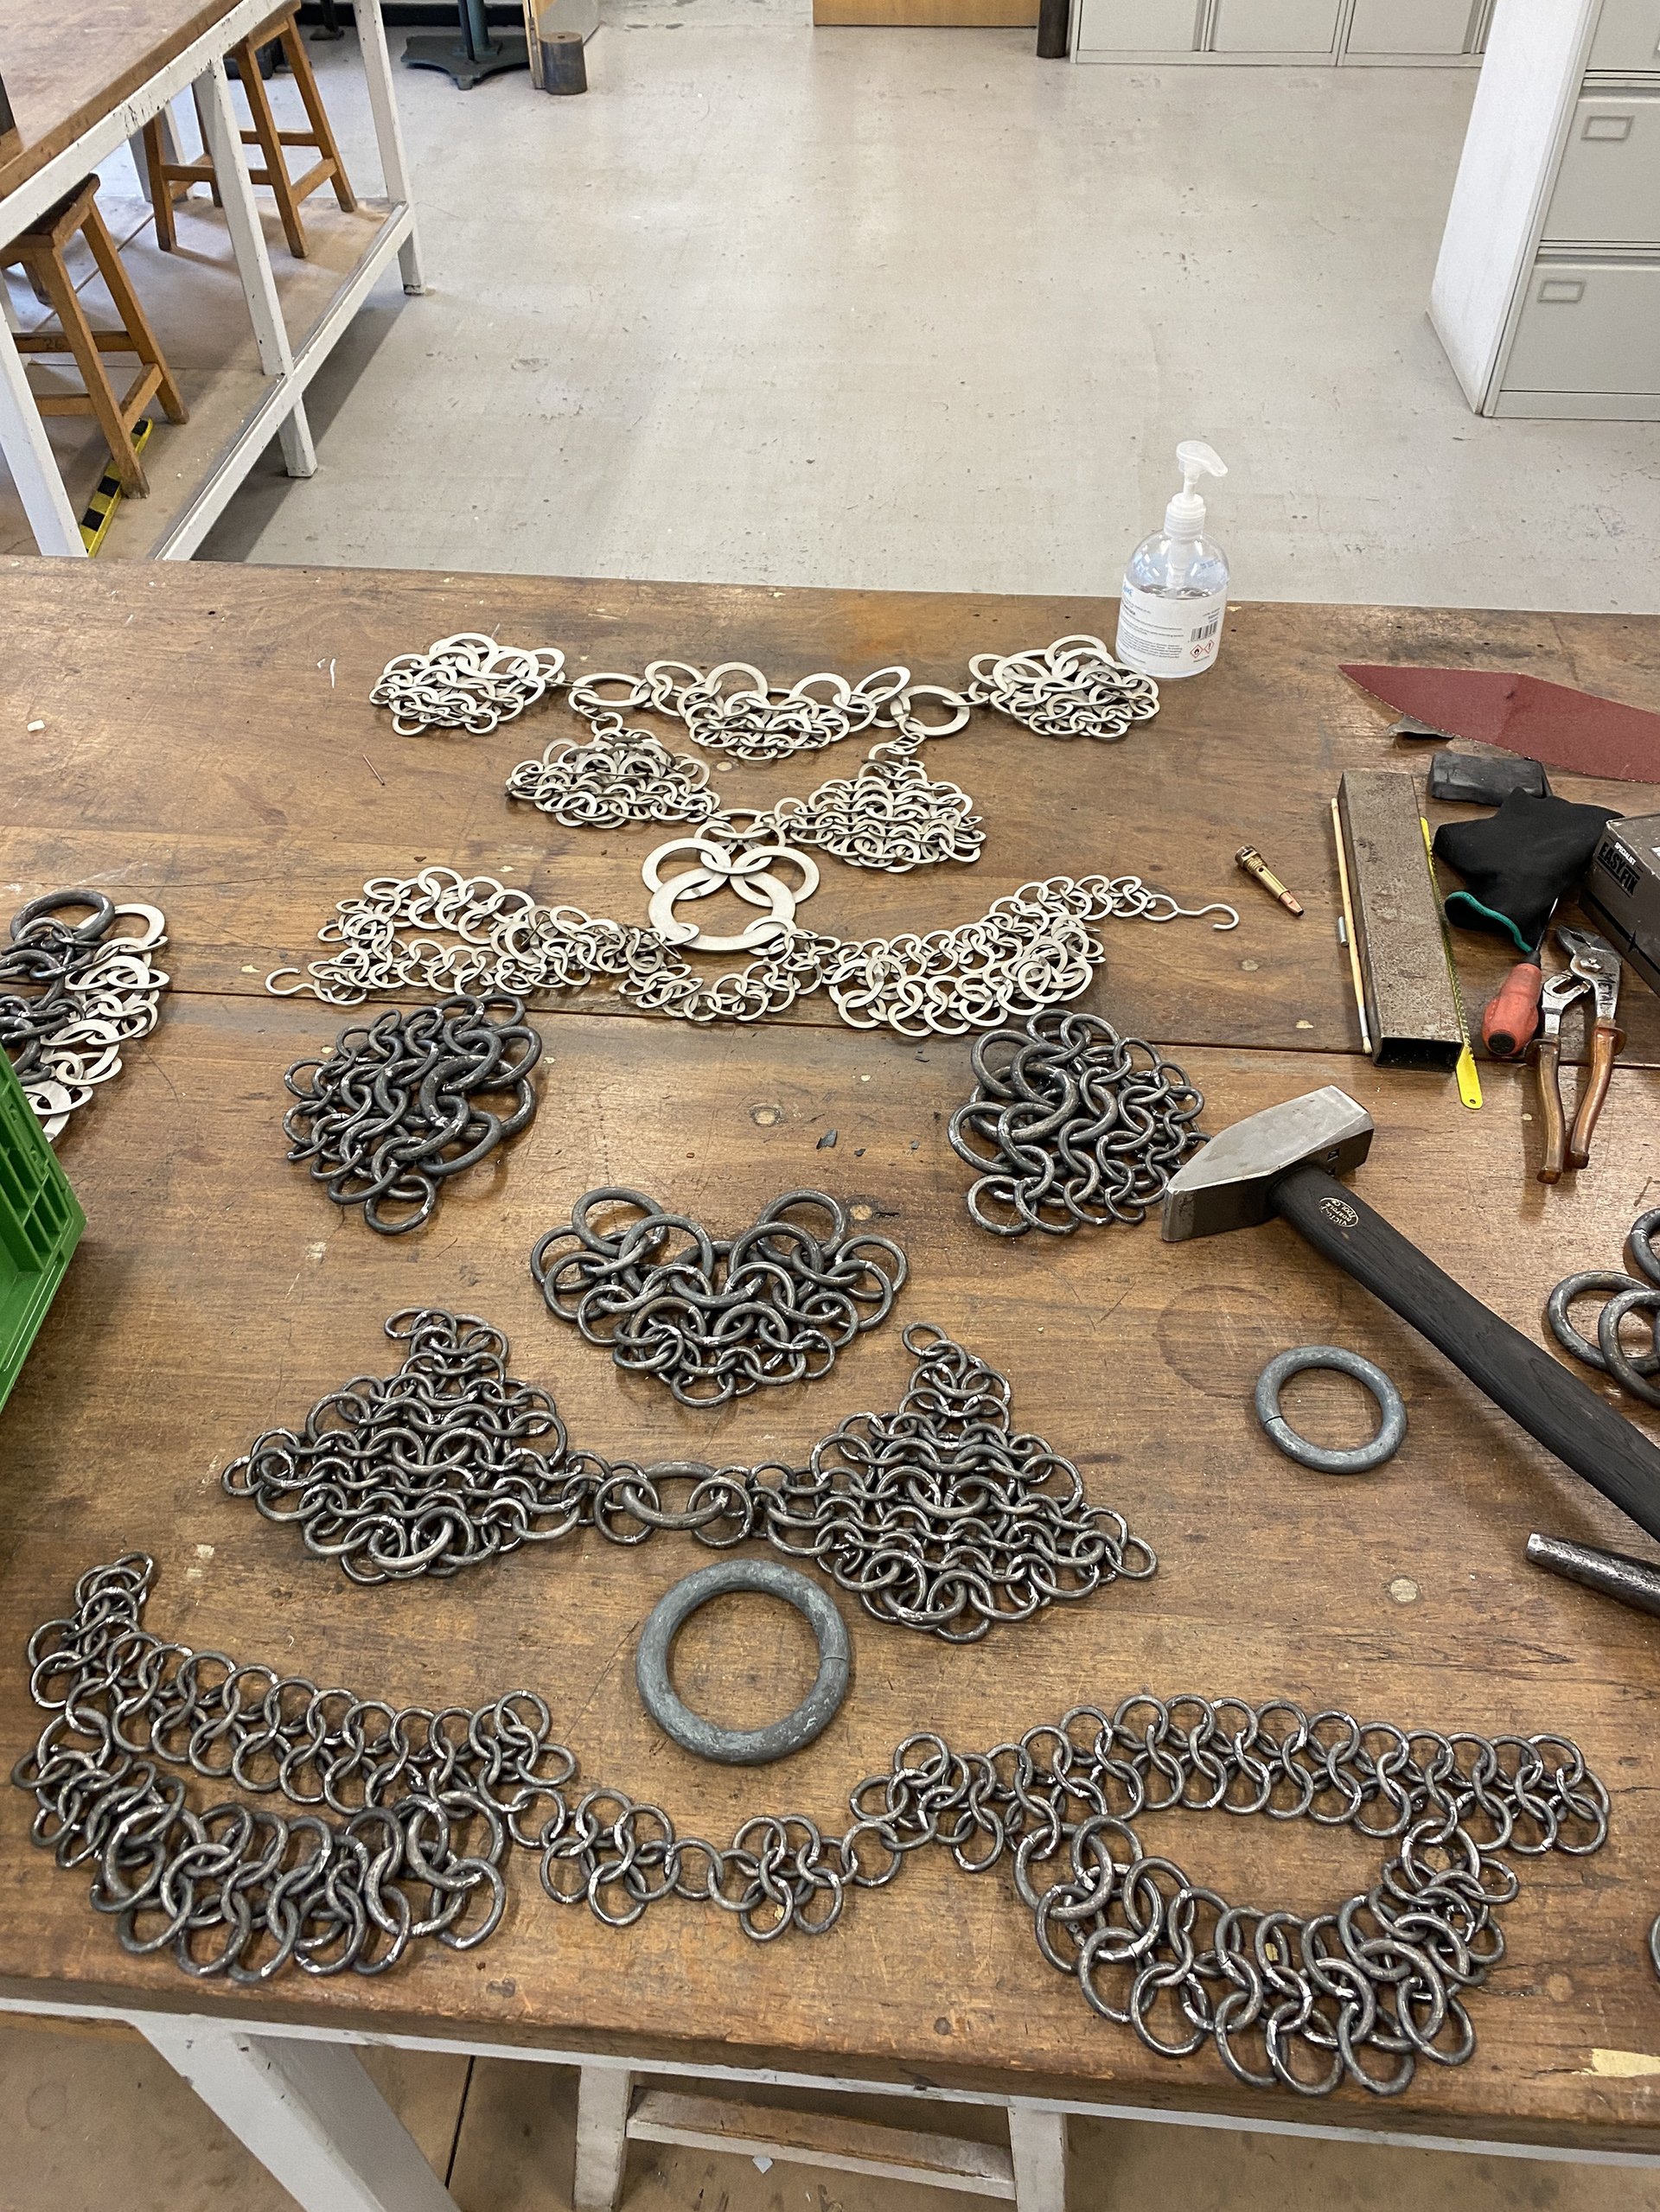
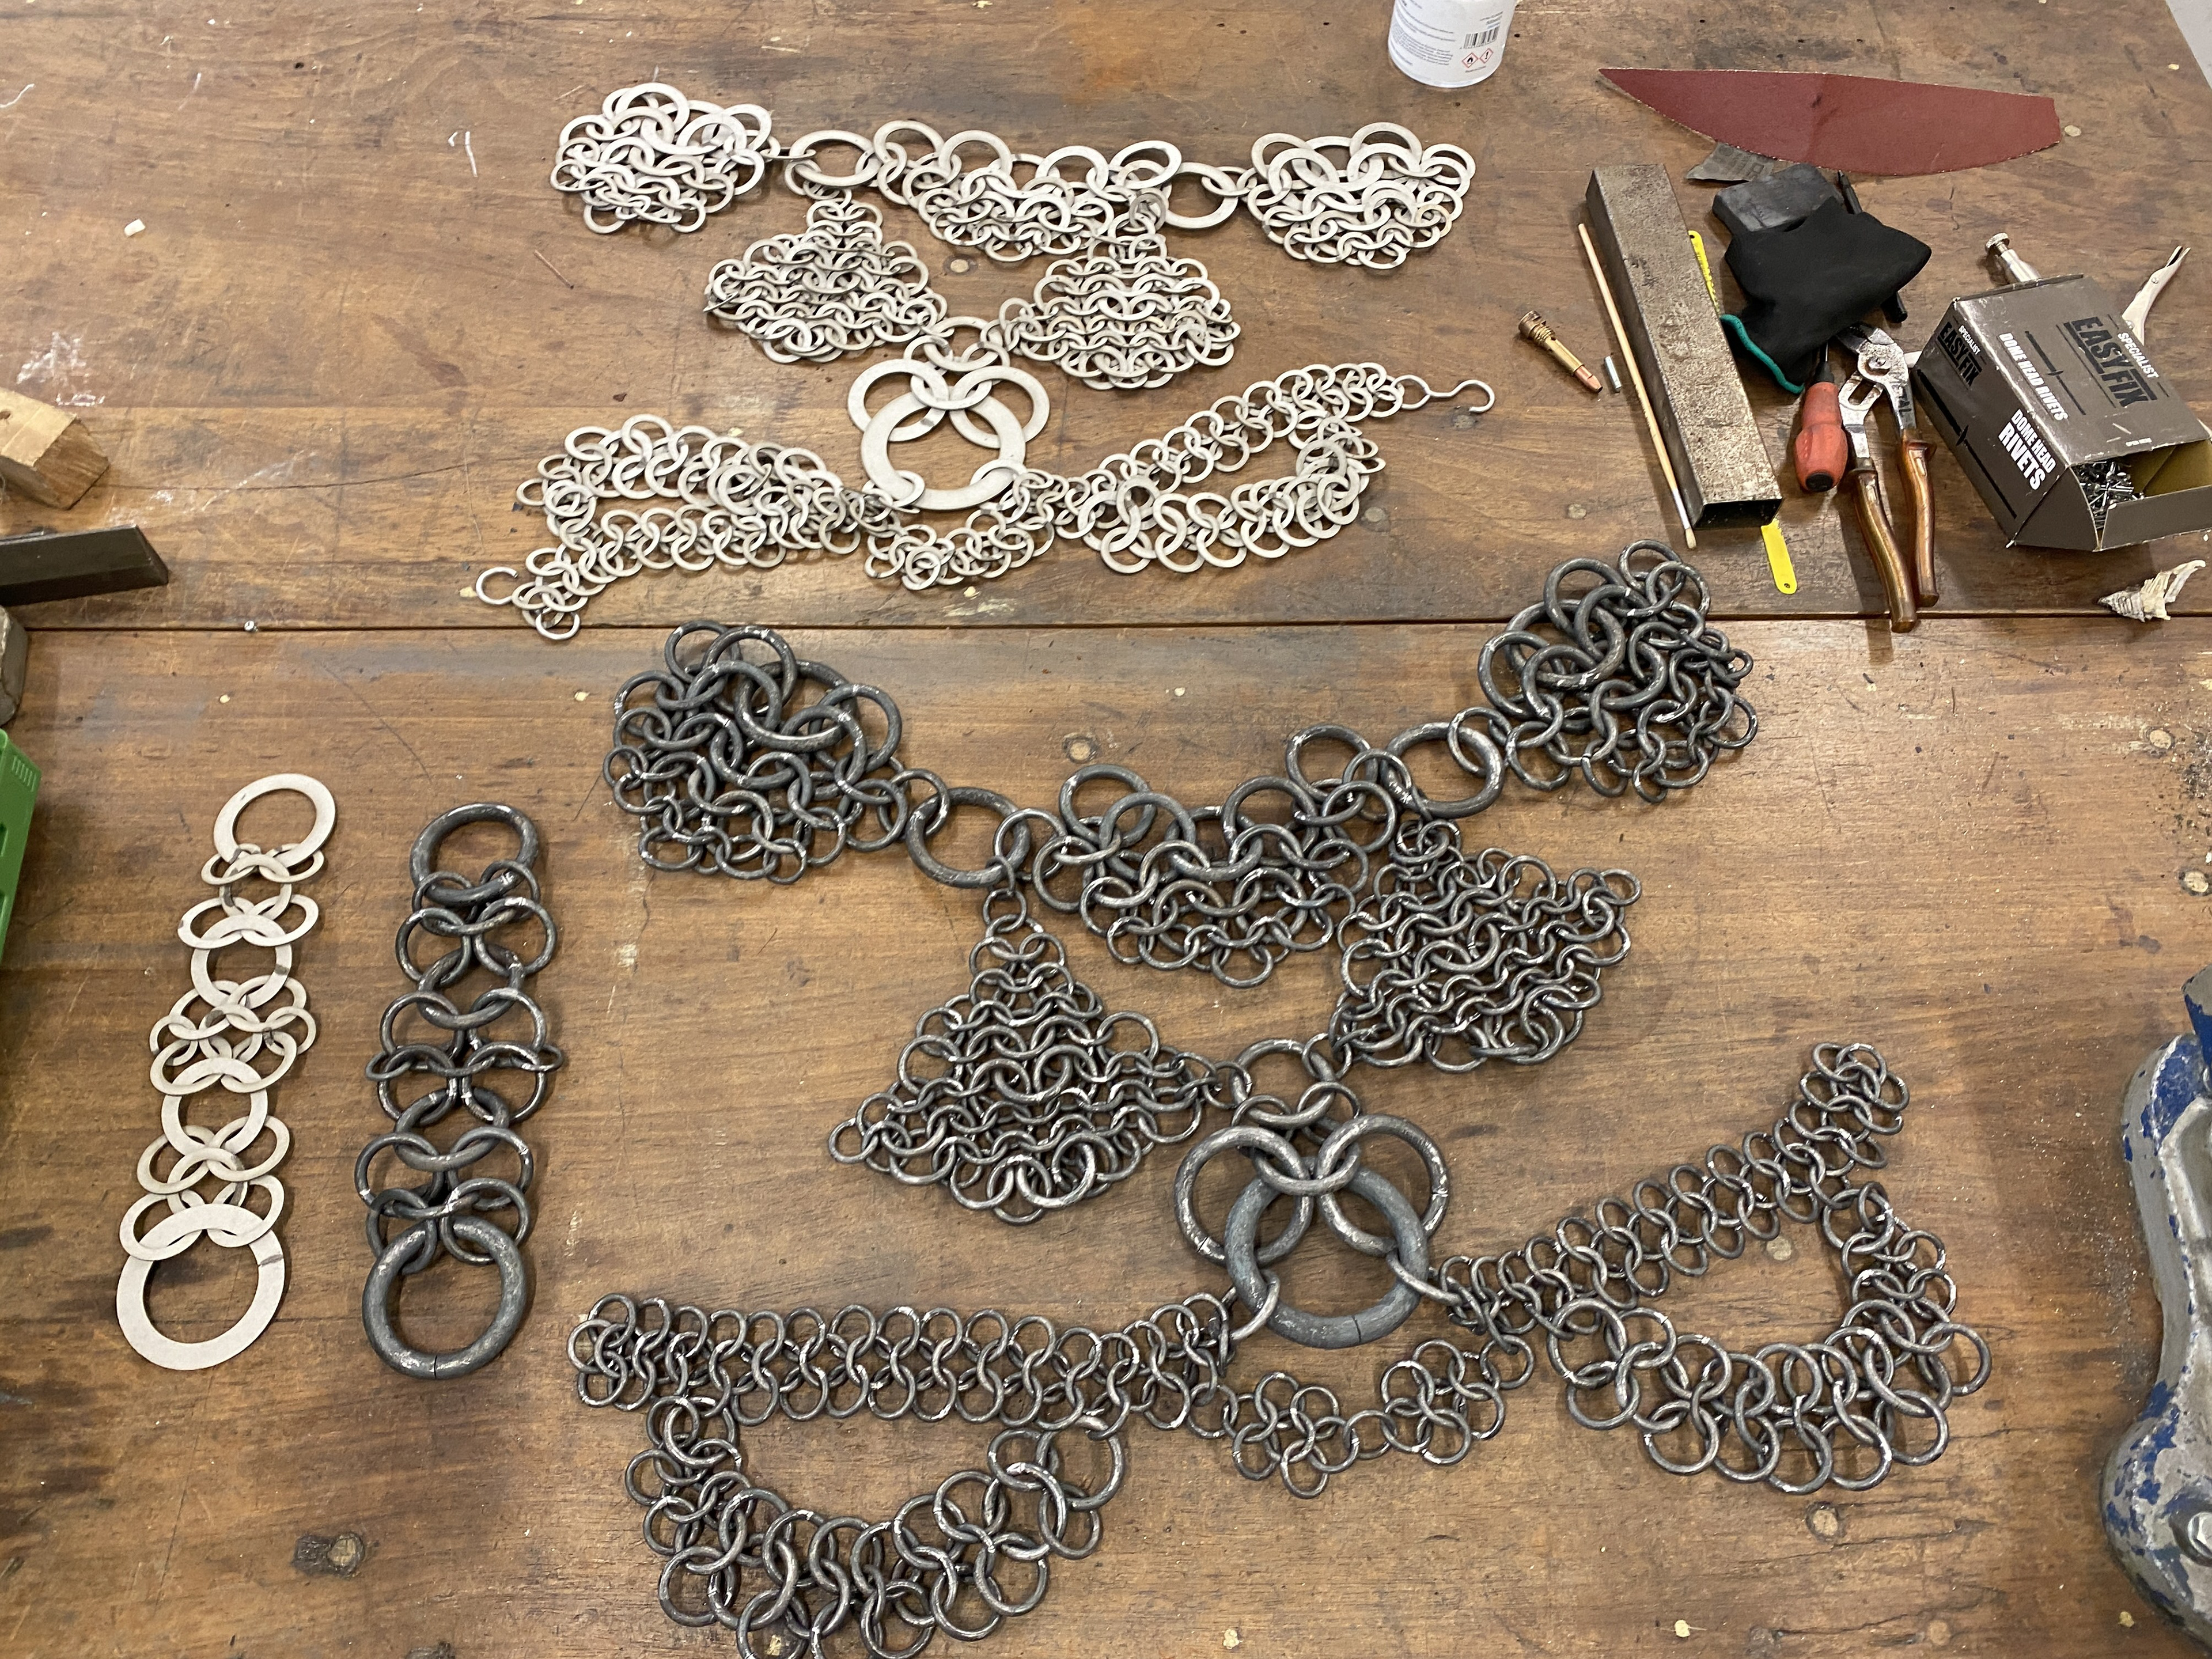
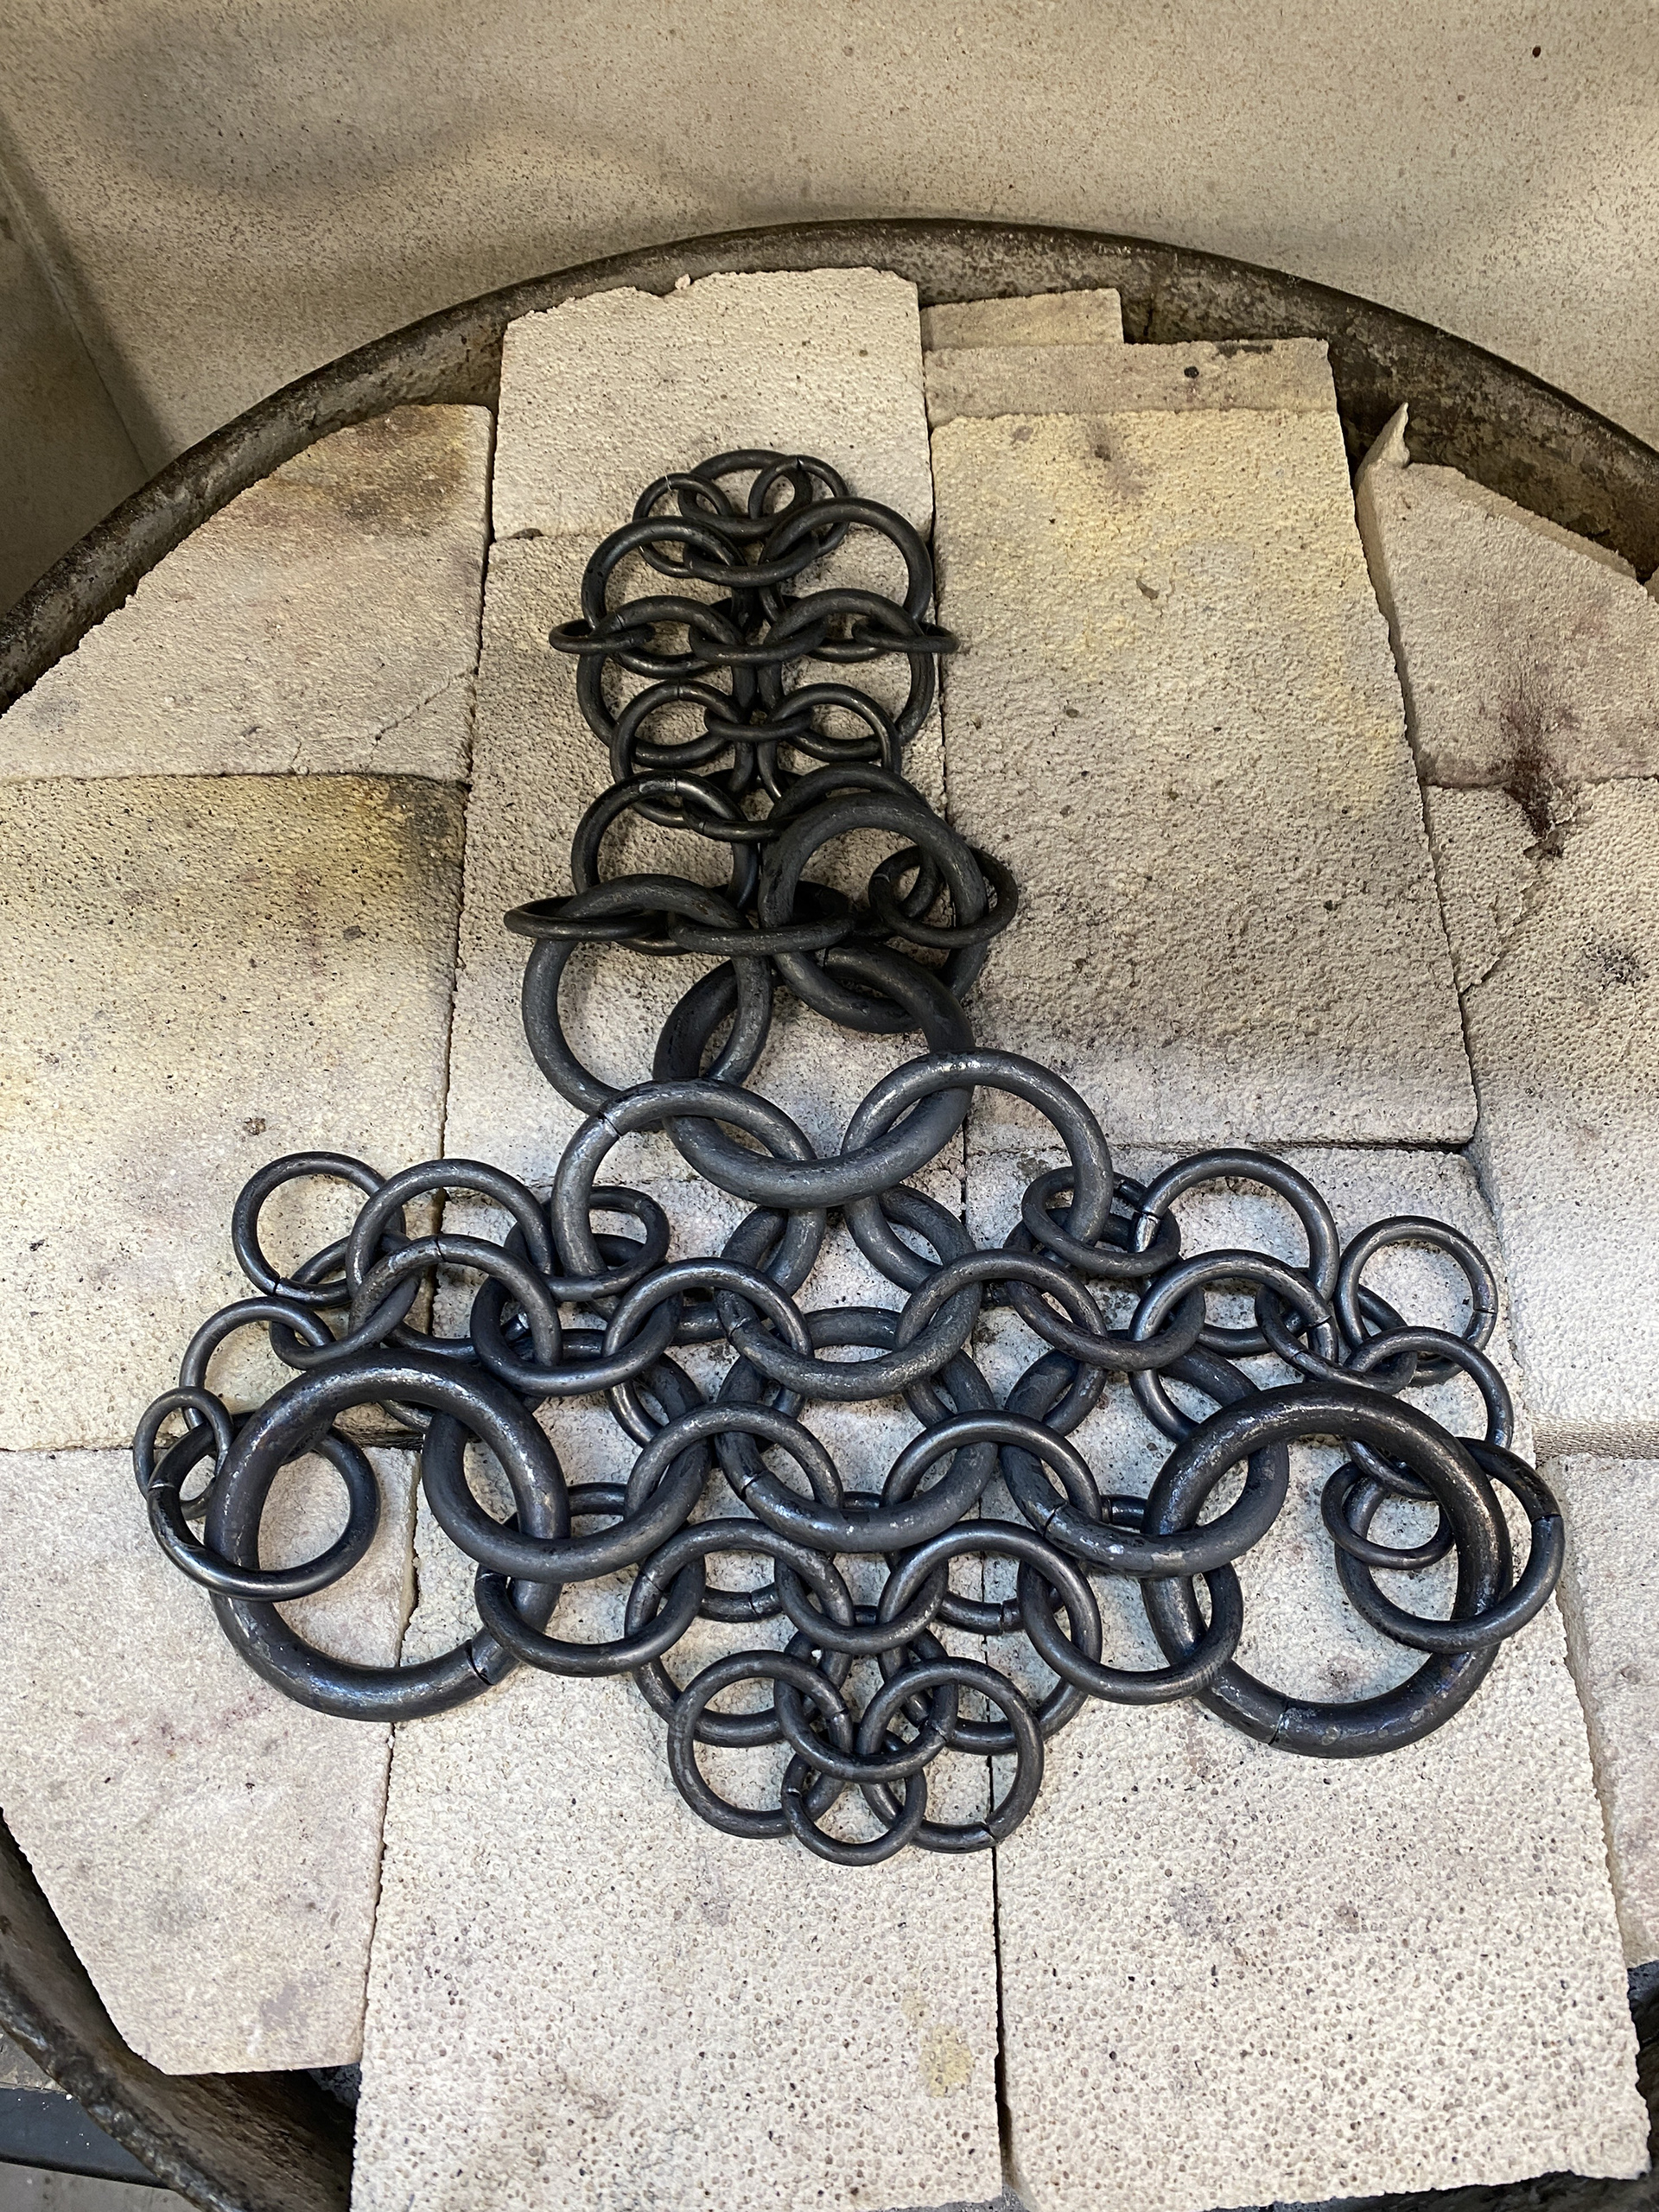
I took all the different components and weaved them together for a final assembly before blackening the piece with a torch.

To connect the belt elements to the back section I forged some hooks from 5mm steel. I repeated the previous manufacturing steps that I had developed from making these hooks for my collaboration with Todd Green Fashion.


During the modelling process, I realized that I couldn’t determine the exact method for connecting the shoulder areas to the back. This was due to the weight difference between the grey board and steel, as well as the slight size discrepancy between the model and the final piece. Therefore, I decided to resolve this element once the rest of the design was completed.
I placed the piece onto a mannequin and found that there wasn’t enough space to insert a pair of adjustable leather straps or hooks. However, there was sufficient room for a head hole, making a fixed chain connection between the back and front of the piece a viable solution. I opted for this approach and placed a short five link chain between the shoulder sections and the back.
Since this piece is designed for myself, I went through a series of fittings in the workshop, removing some links to achieve an exact fit. This ensured that all the elements sat correctly on the body, providing the necessary coverage.