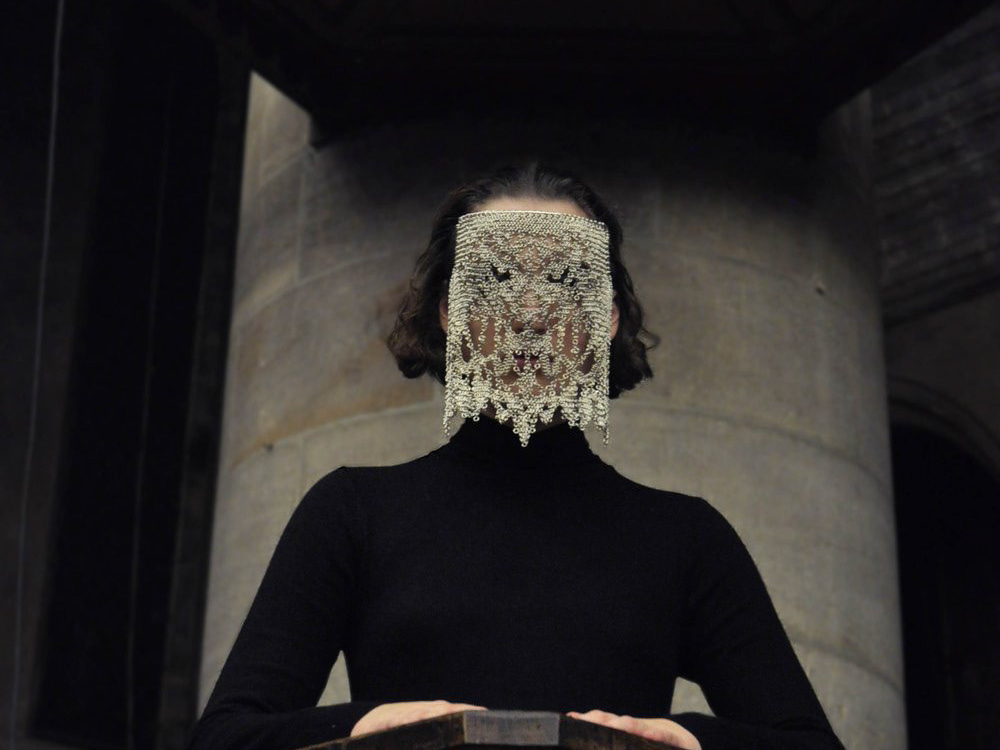
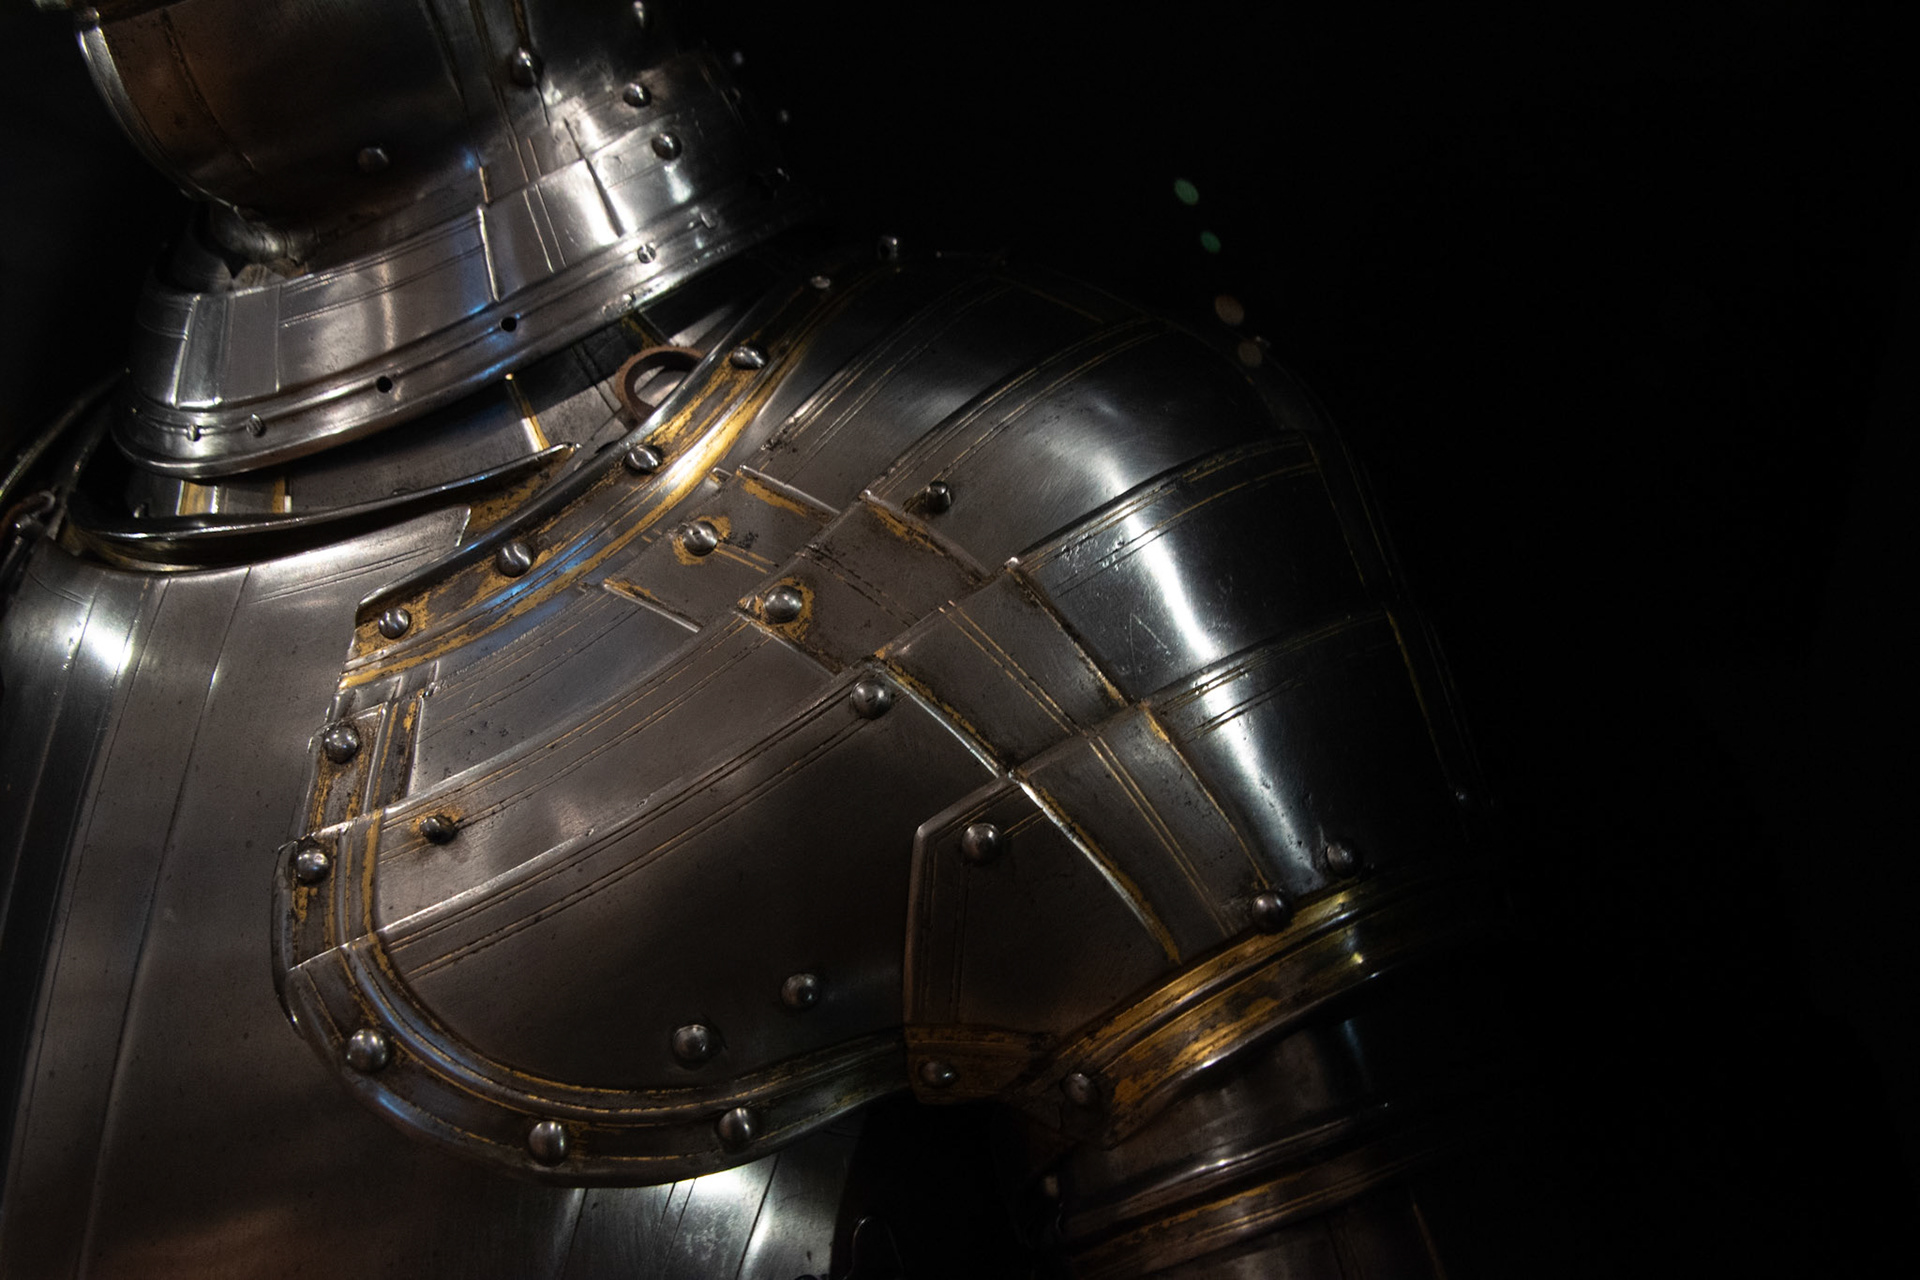
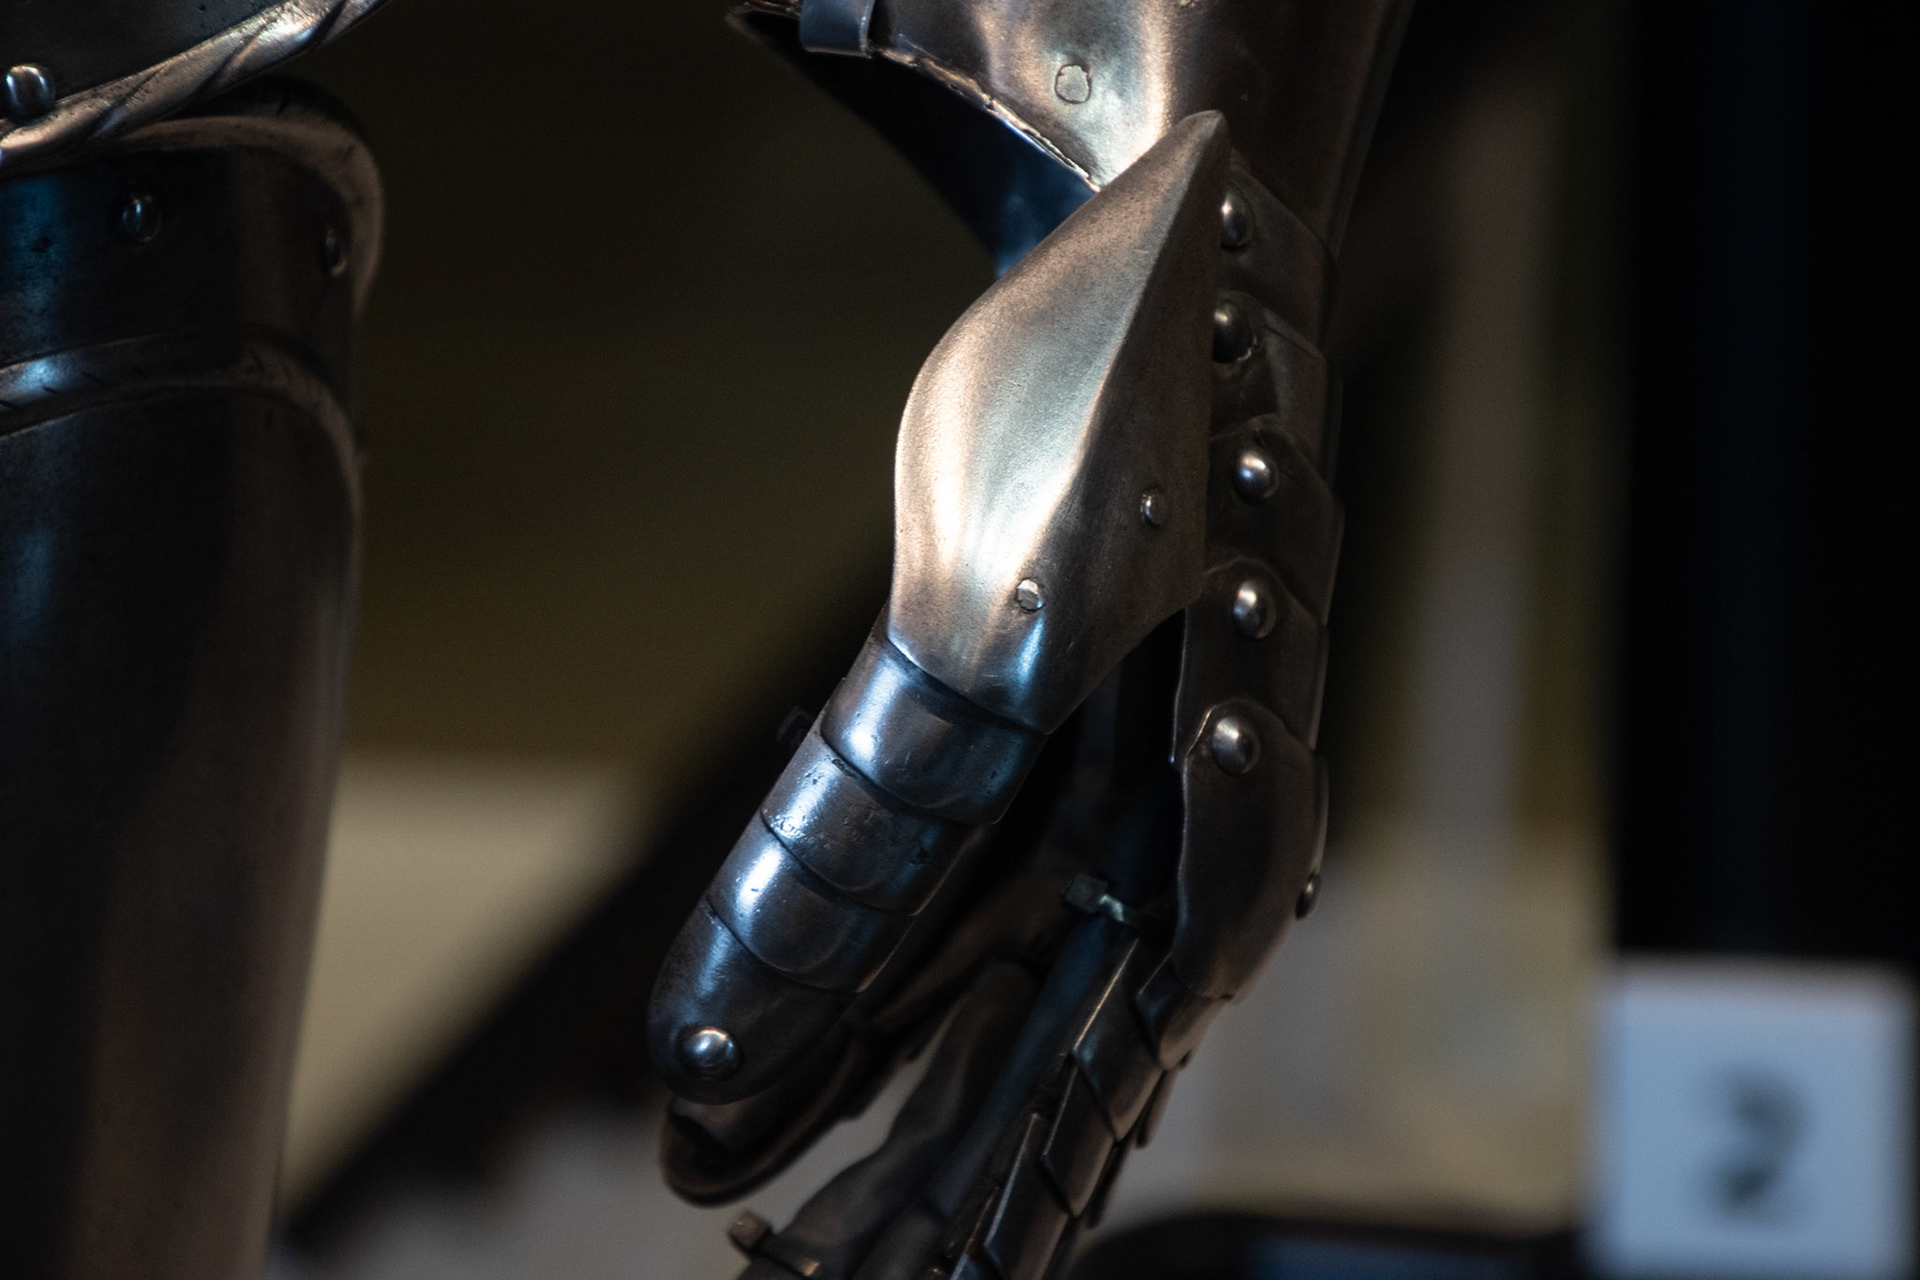
My aim for this body of work is to create jewellery or armour that protect the body. Key inspiration is taken from historical medieval armour, designed to protect the body from physical harm. When looking at this closer, it served two purposes to cover and conceal the body as well as redirect incoming blows. Armour was designed to fully encapsulate the wearer, leaving no weak spot exposed, but the form also sought to redirect the incoming blows away from the body and disperse the forces.
I wish to create wearables that simultaneously protect the wearer but also empower them, defending themselves against the struggles of living in everyday society. Additionally, I would like these pieces to empower the wearer through manipulating and enhancing the form of the feminine body.
I will investigate the preconceptions of armour, focusing on gender. I want to look at turning a wearable that is historically purely designed for war between men, into a piece that emphasises the female form. Reflecting on my own relationship with gender and the body gives me personal reasons for protecting and emphasising certain areas.
I have chosen to work around the chest and torso, an area that often determines society’s view of a person’s gender. I will investigate how I can cover certain areas and emphasise others, such as creating the illusion of an hourglass figure.
Testing European 4 in 1 mail
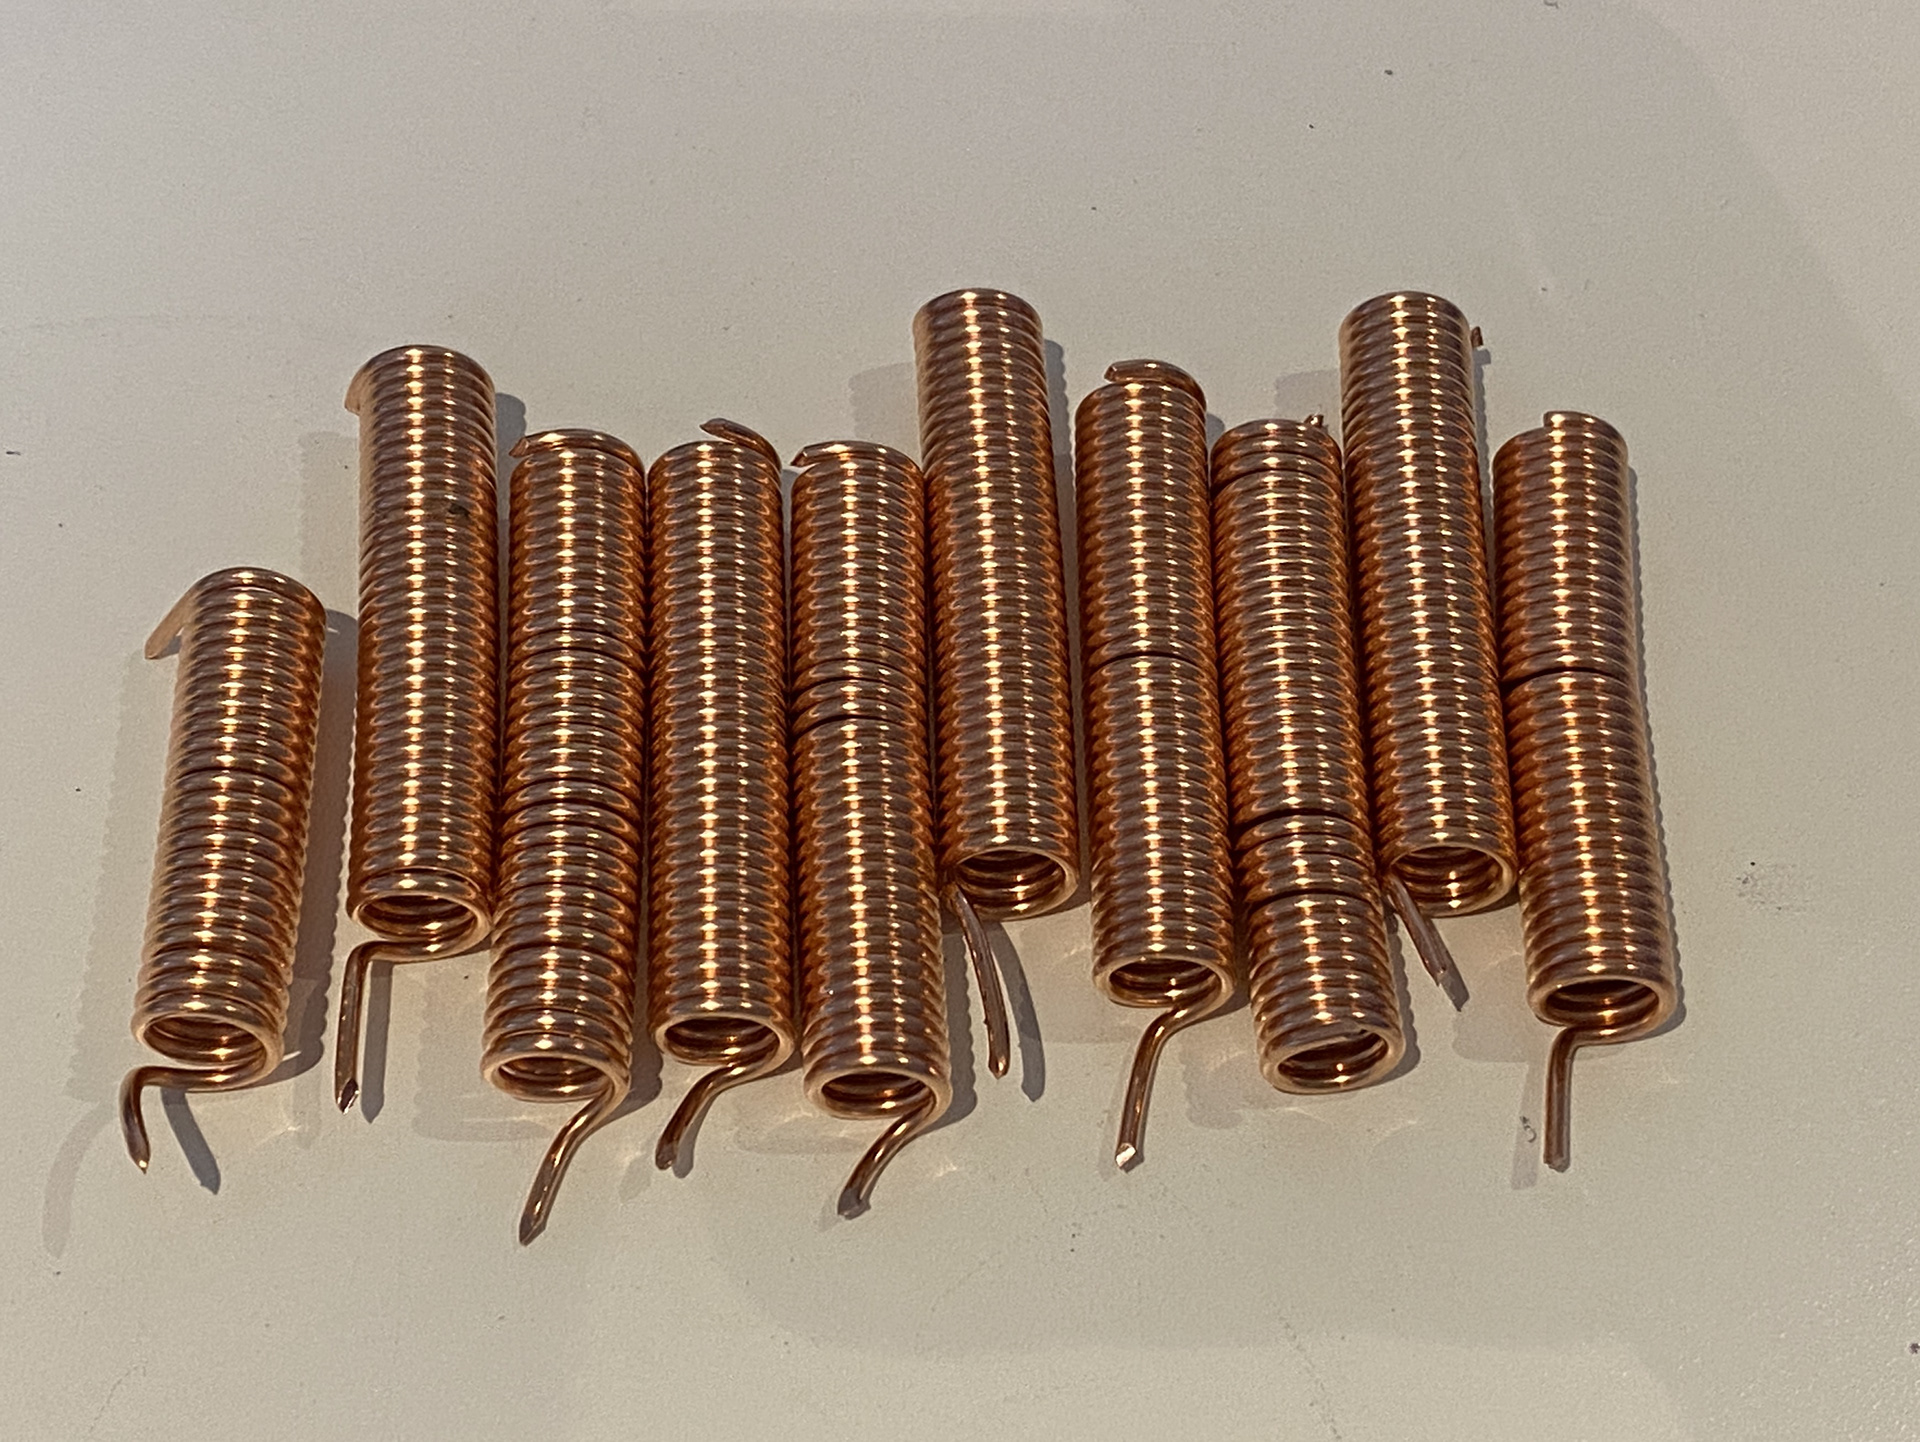
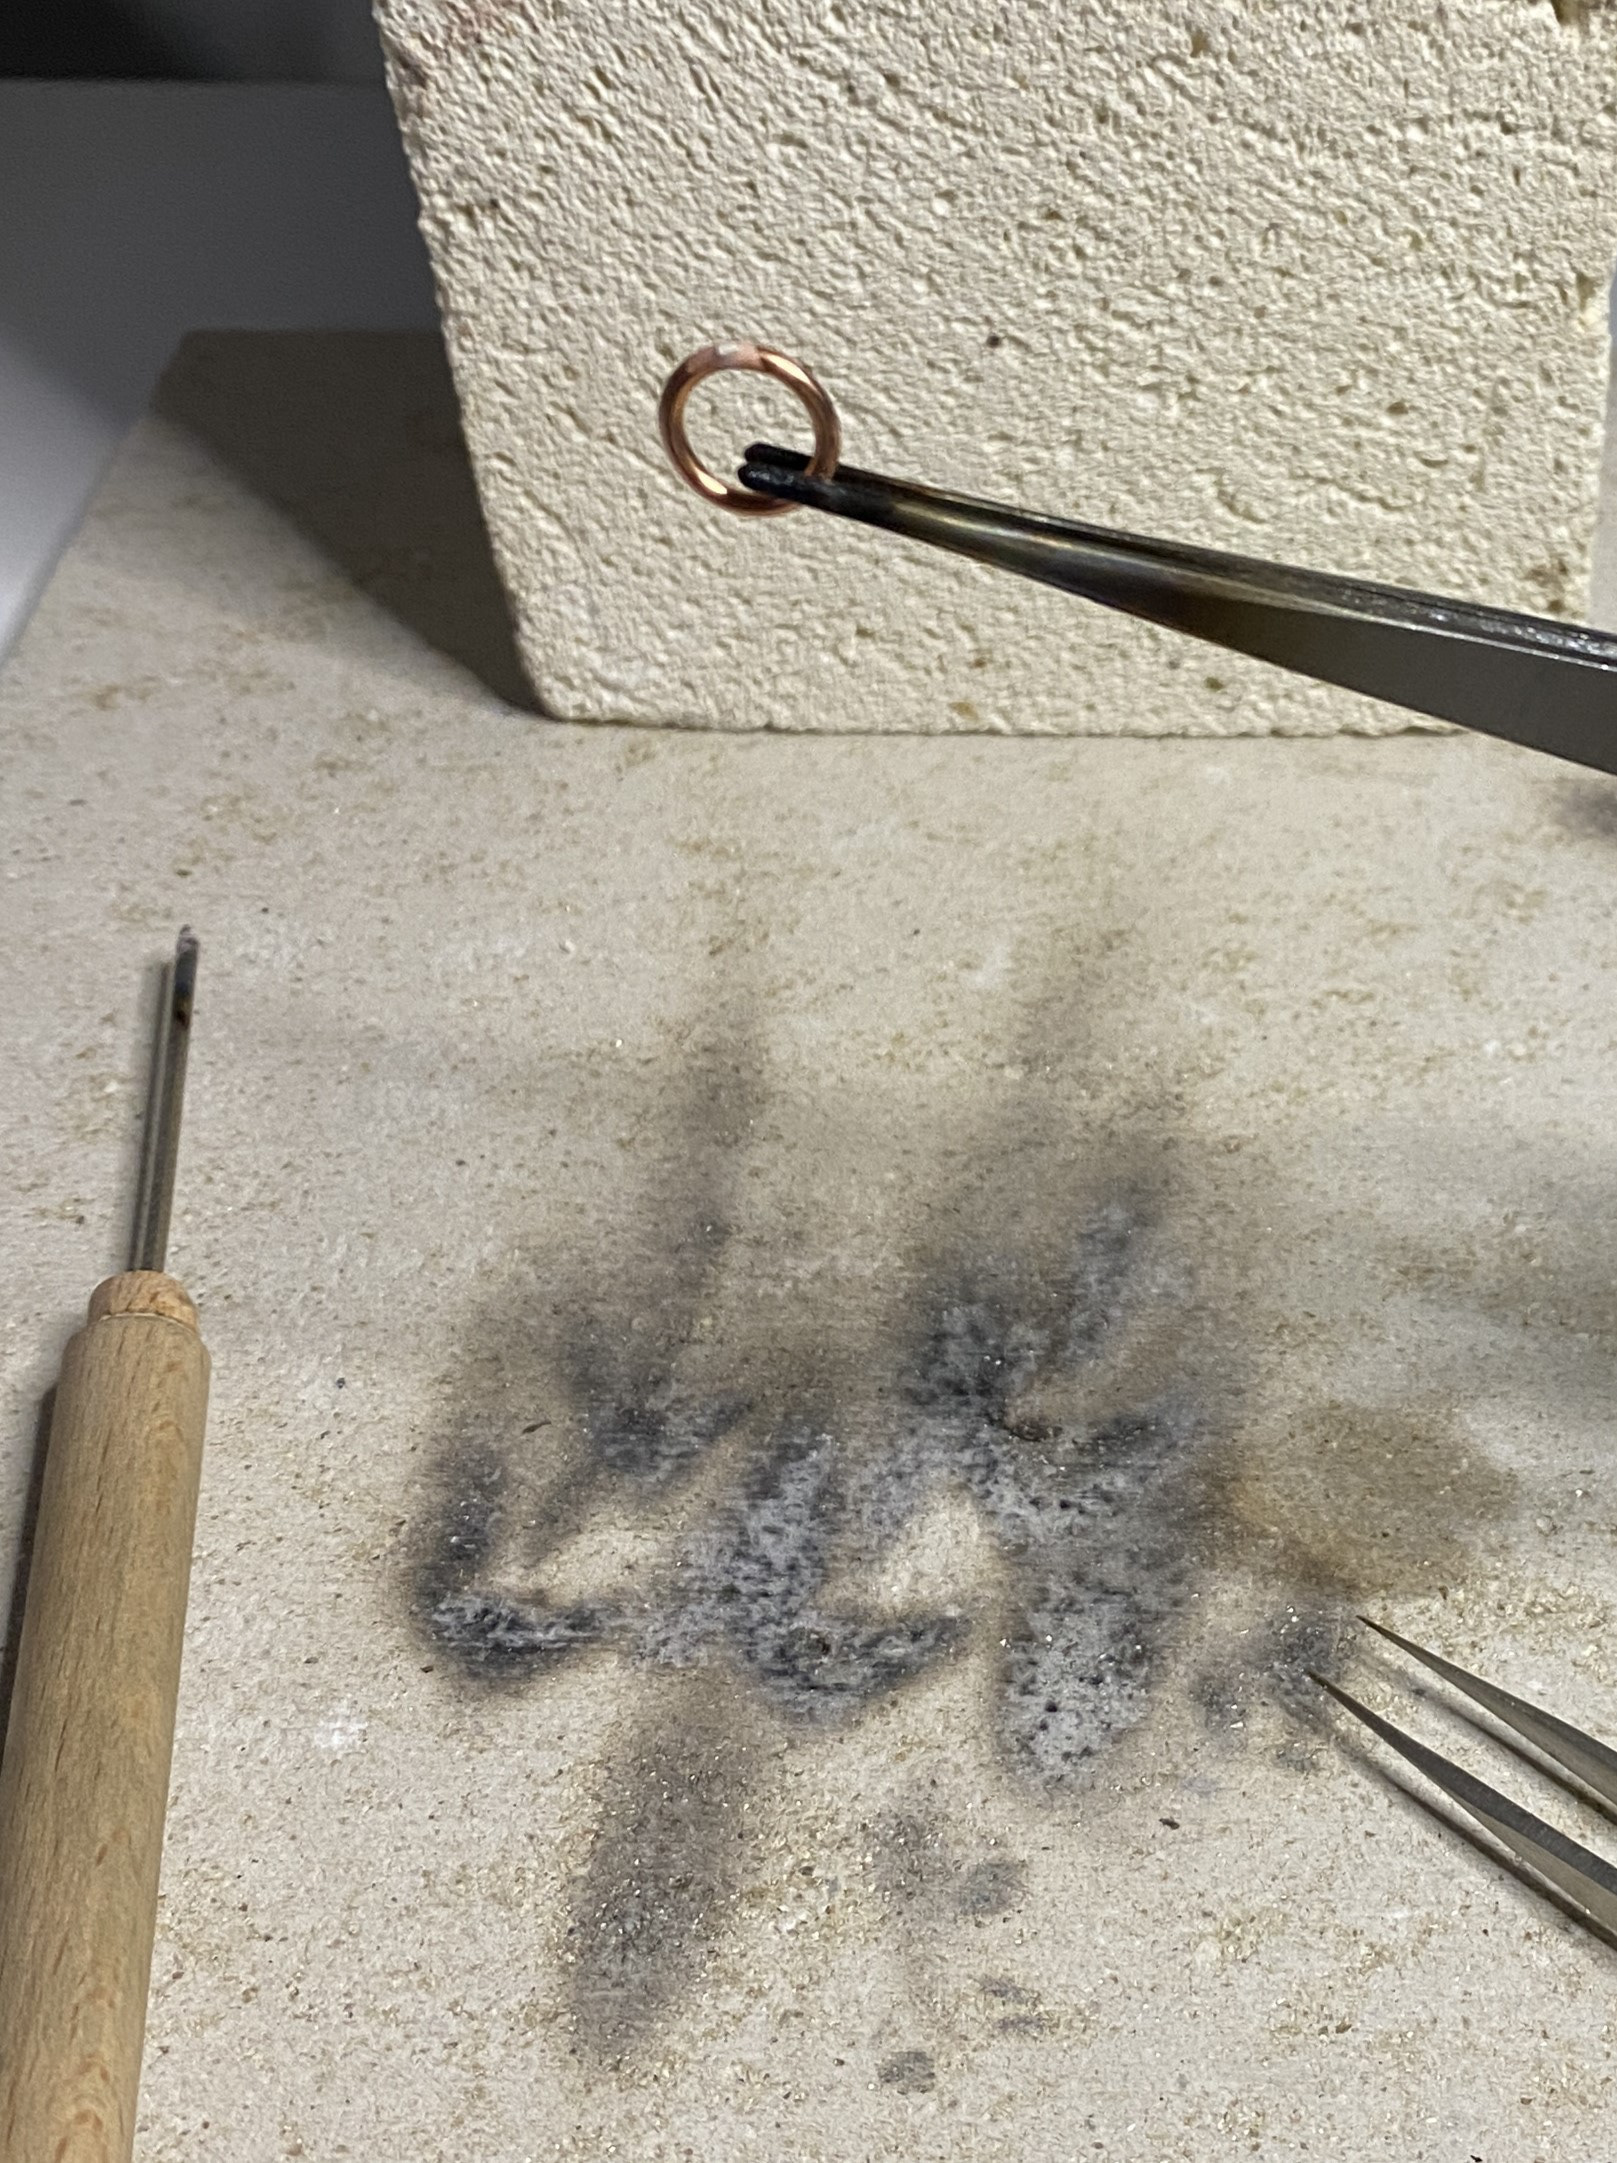
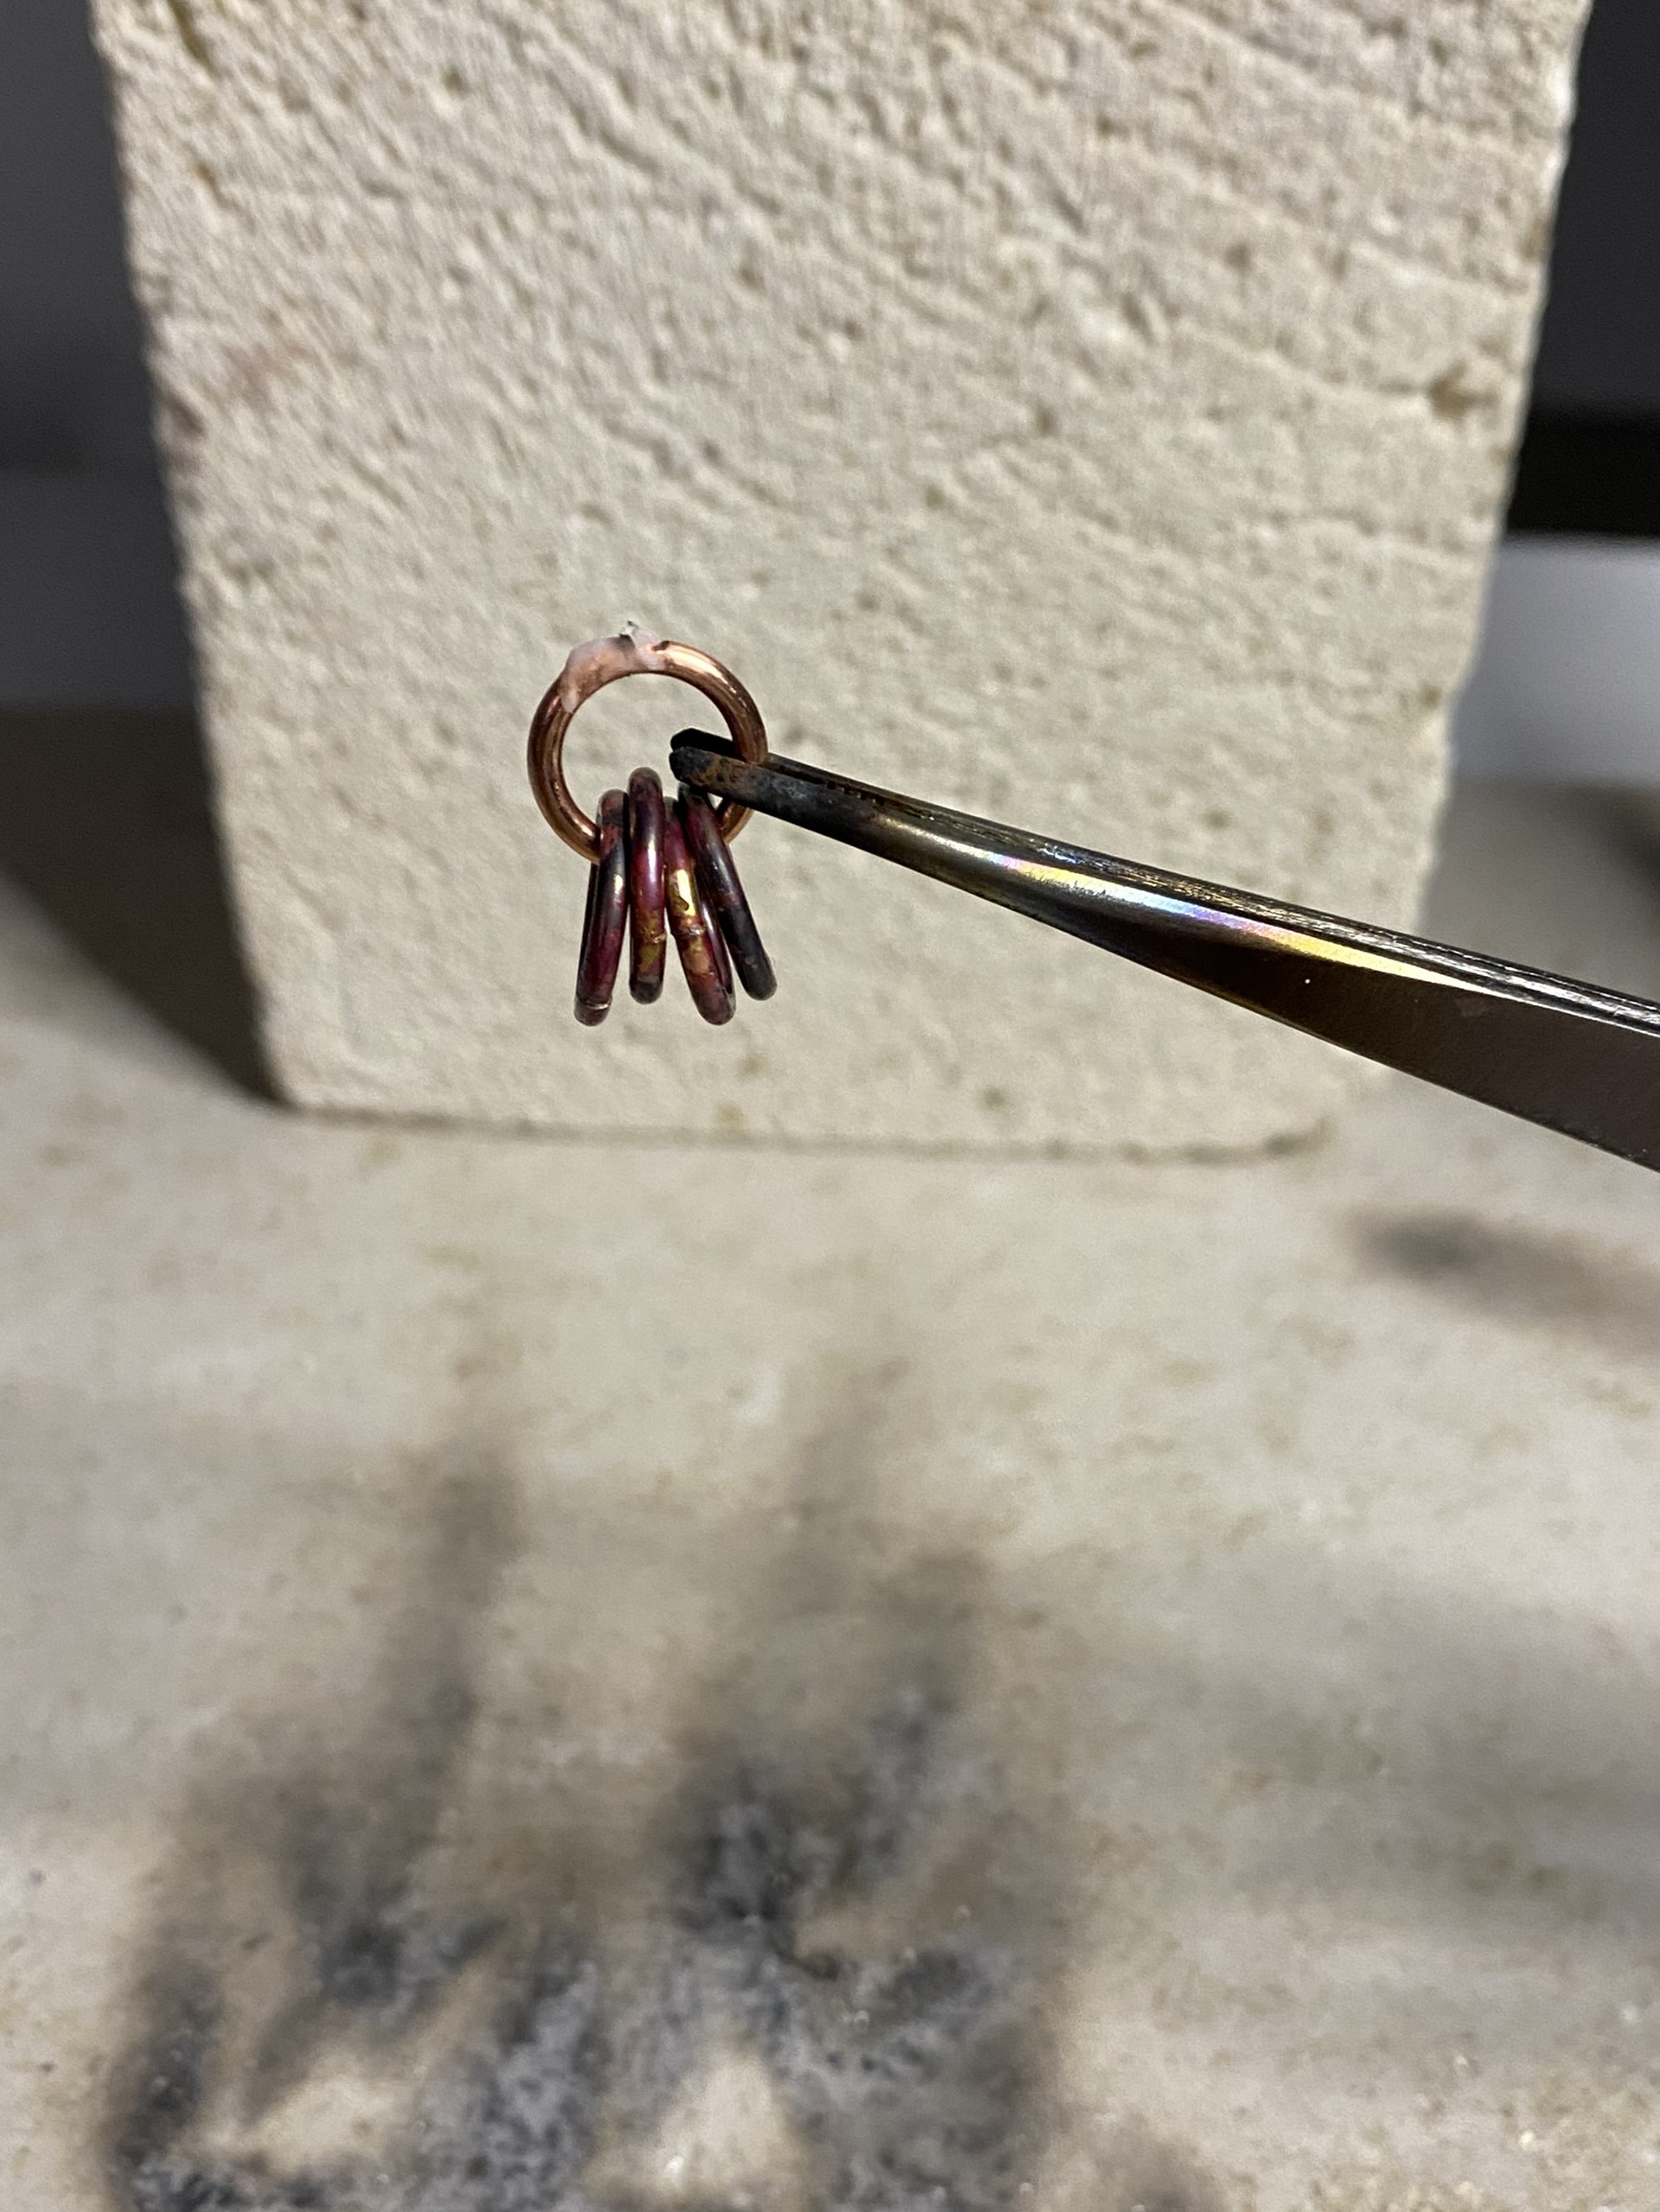
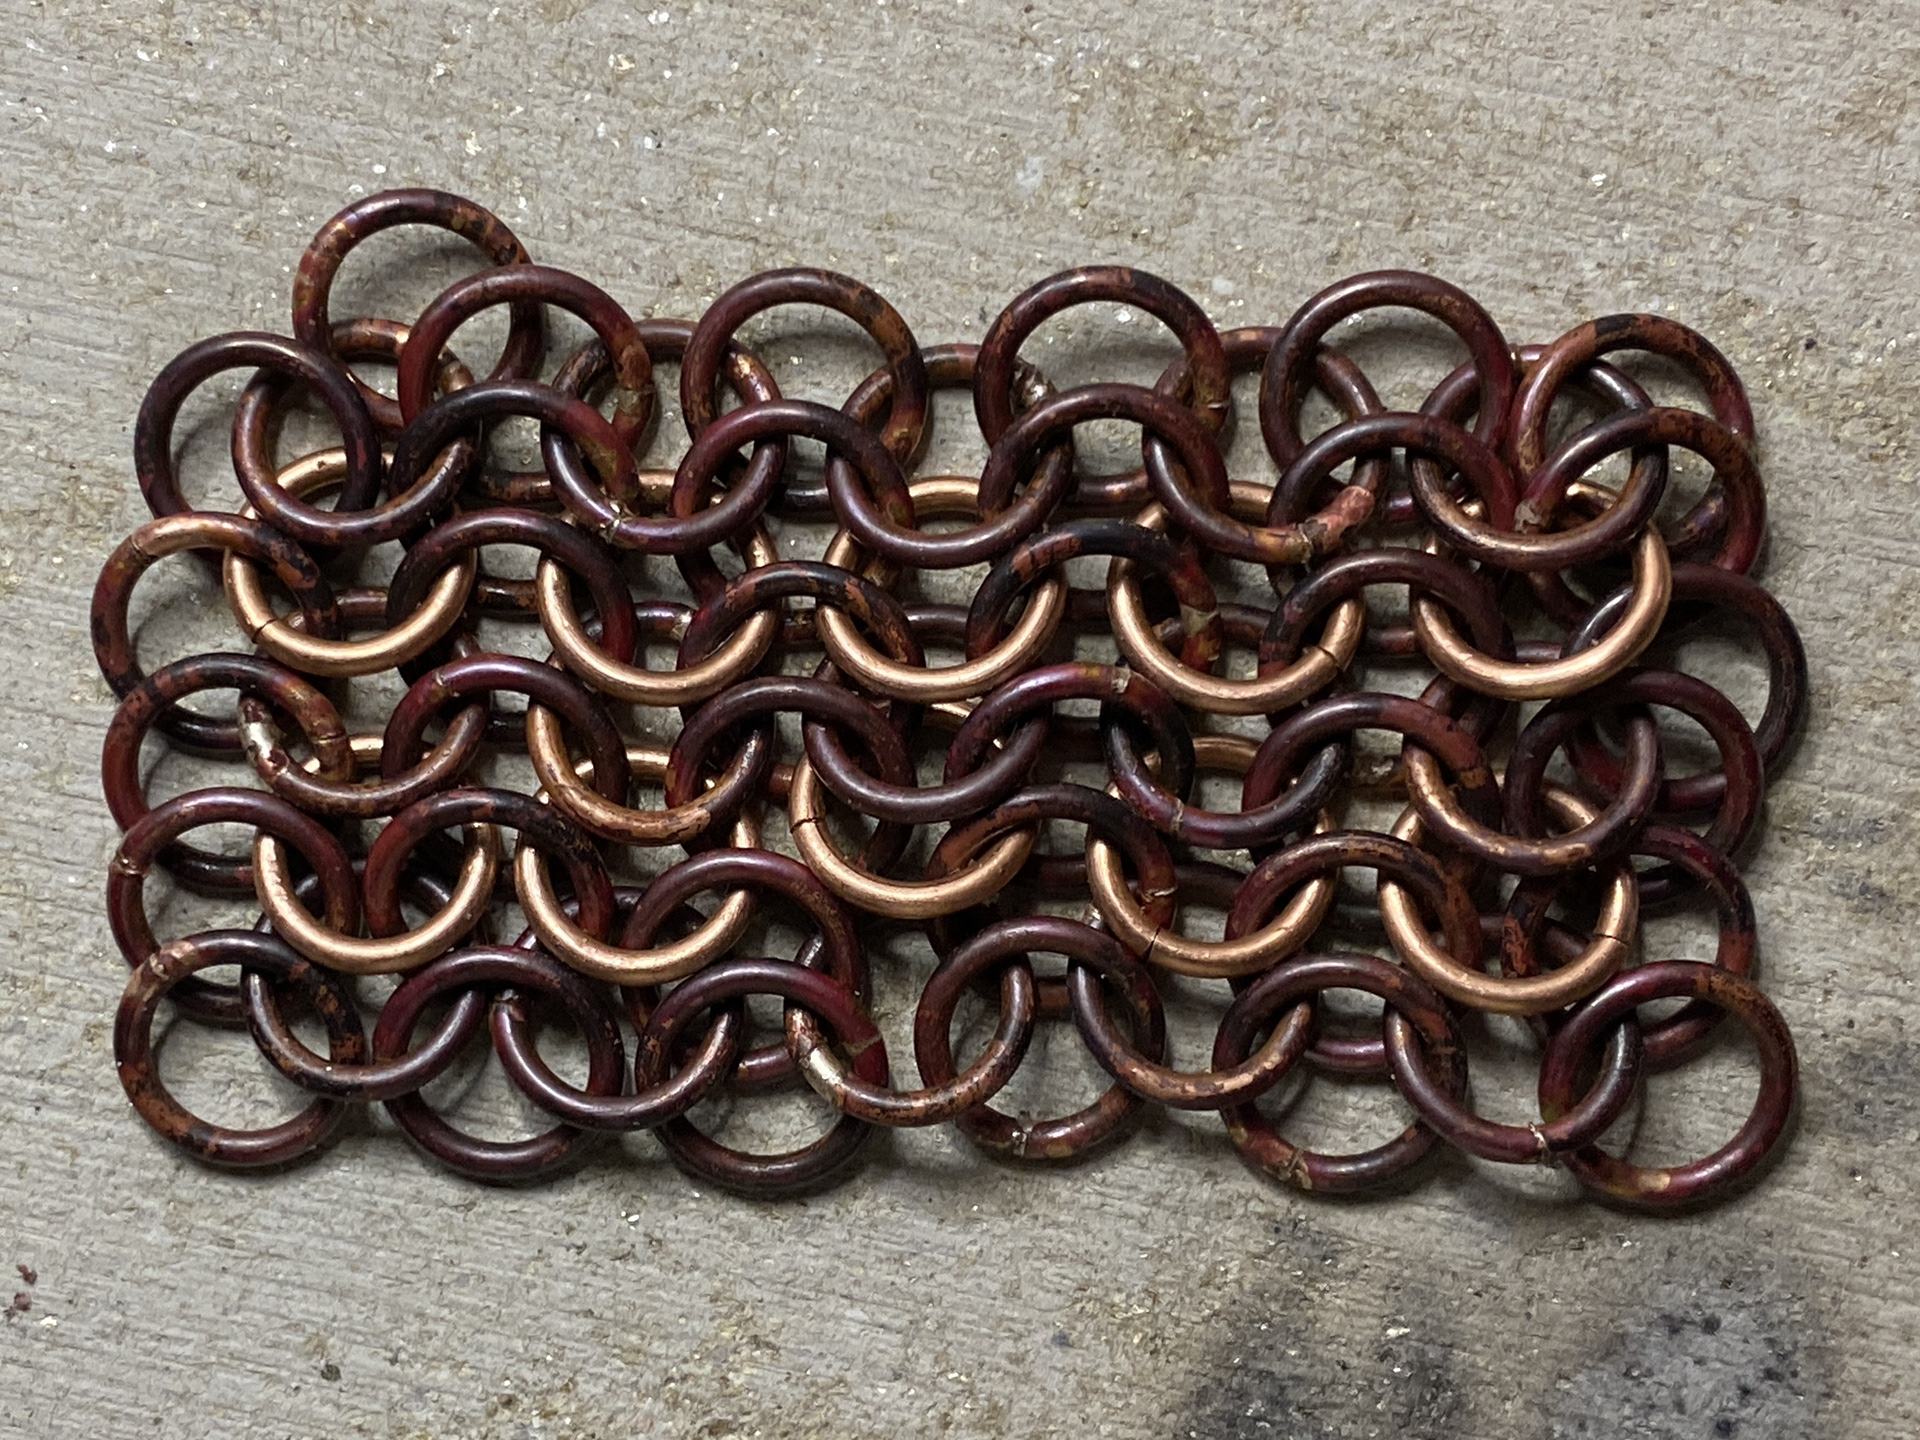
To test making chain mail I initially started using 1.6mm copper wire because this is a material I have experience working with previously to make cable chain. I wound the wire around an 8mm mandrel and cut it into links with a piercing saw. I then soldered them together into a 4 in 1 European style mail. I couldn’t solder some of the final links together as my blowtorch couldn't heat the large mass of copper to a high enough temperature to melt the solder.
In this experiment I applied a chain making soldering process to a traditional mail weave. I did this to get an understanding of the pattern as well as test if soldering would be a possible way to permanently connect the links.

Using the leftover copper links, I tested a 6 in 1 mail pattern. I found this a similar process as the 4 in 1 but due to the increased number of links it took longer to produce, and I feel it gives a similar outcome. Moreover, the examples I recorded in my gallery visits didn't use this style.
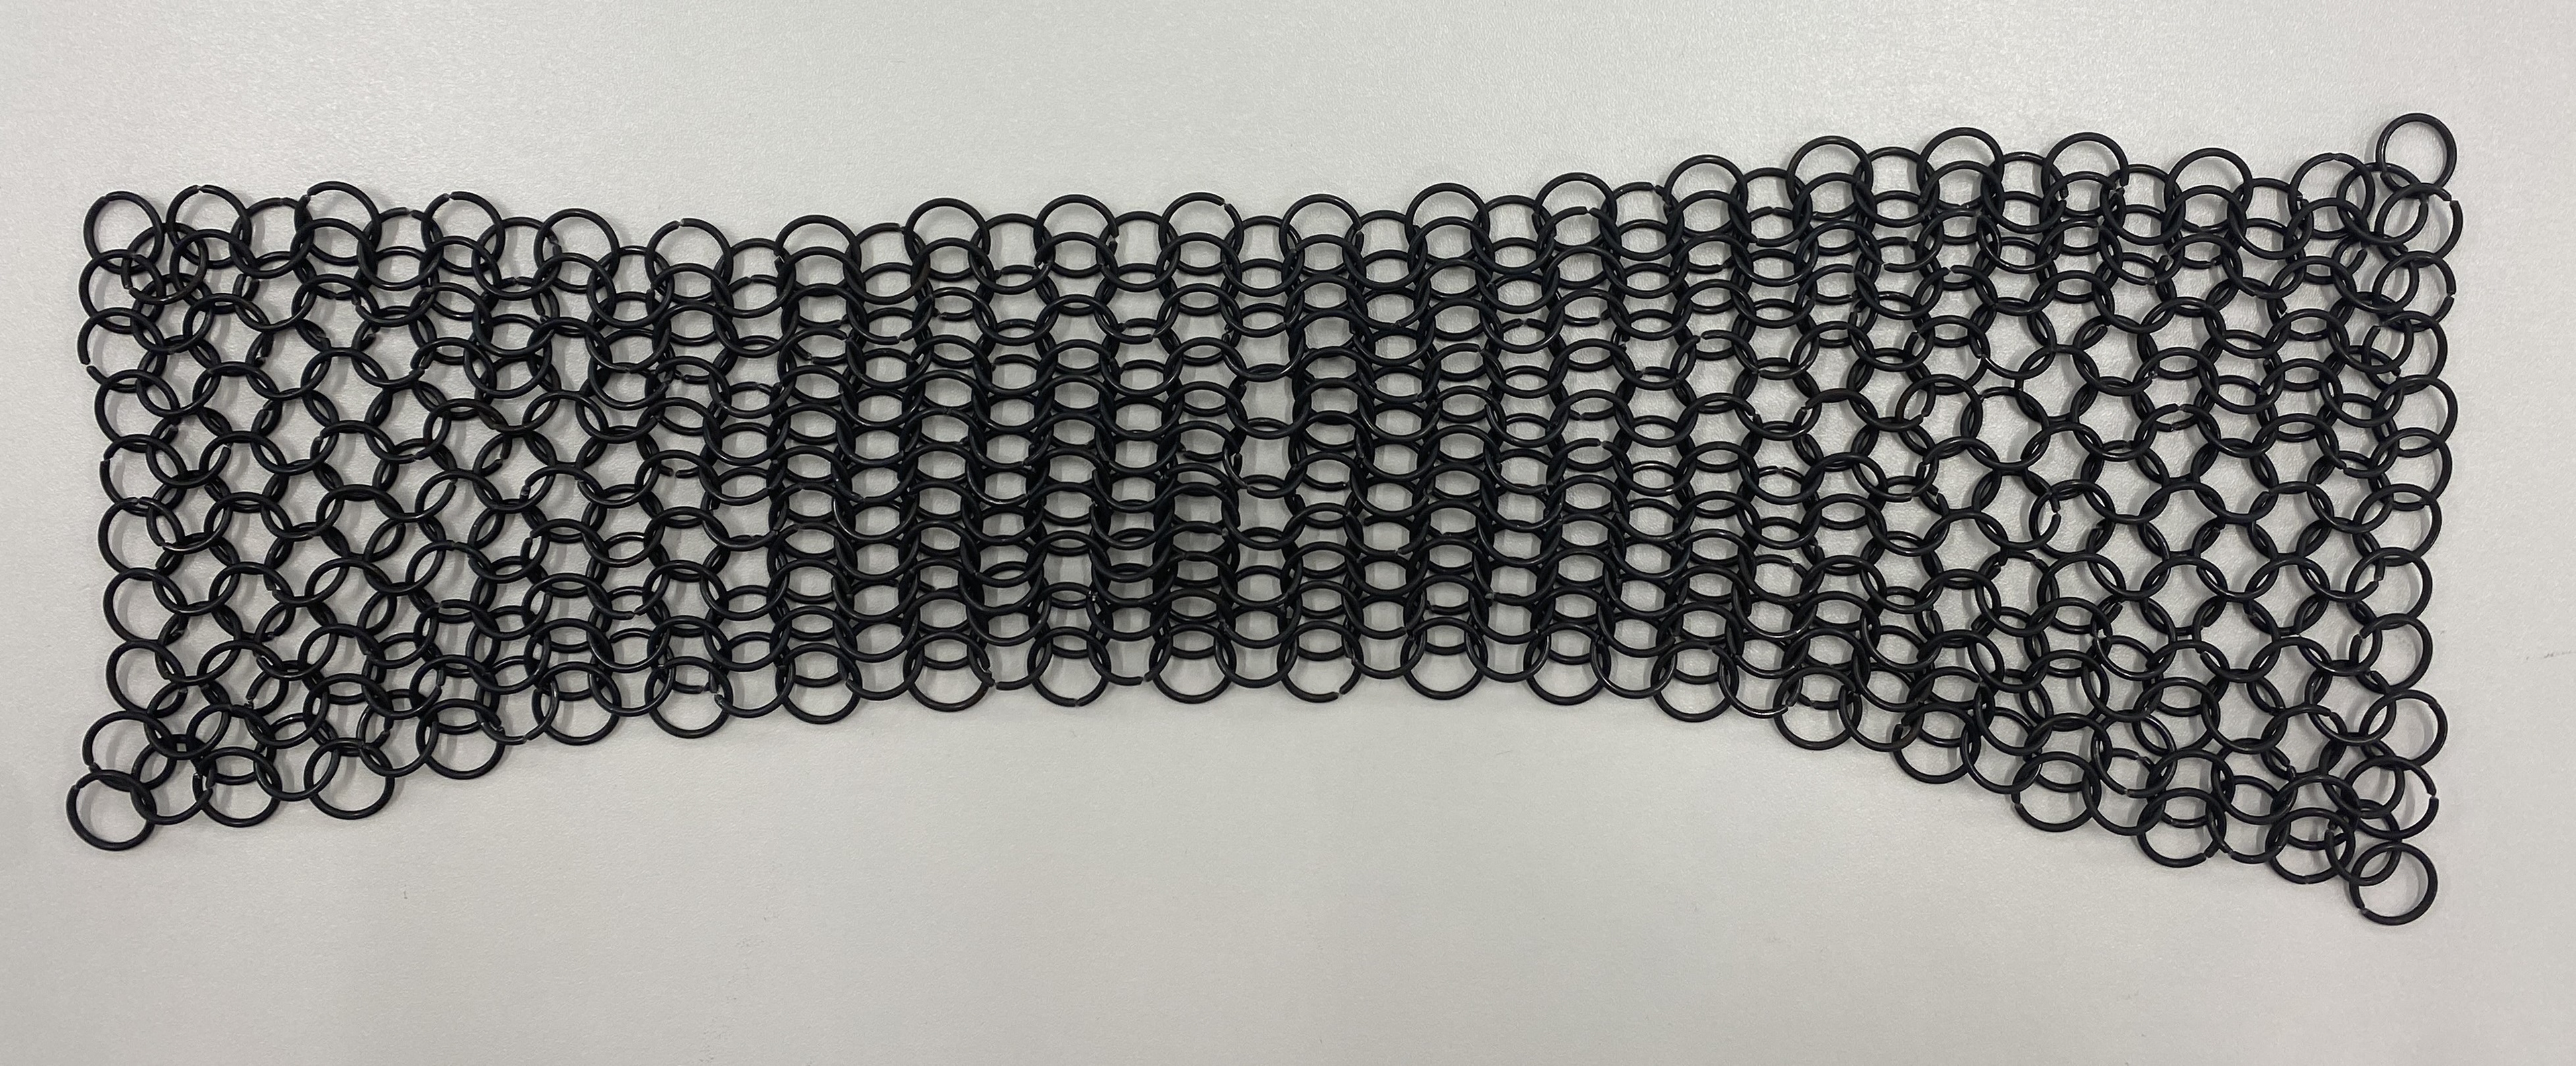
I then tested the 4 in 1 butted link using iron wire. I scaled up the links to have a 12mm internal diameter in order to decrease the time it takes to make a larger piece. I like the way that the material expands and contracts which I feel is something I can explore in more depth by controlling the internal diameter of the links. Additionally, I like the traditional material due to its weight and how it shifts as you move the sheet around.
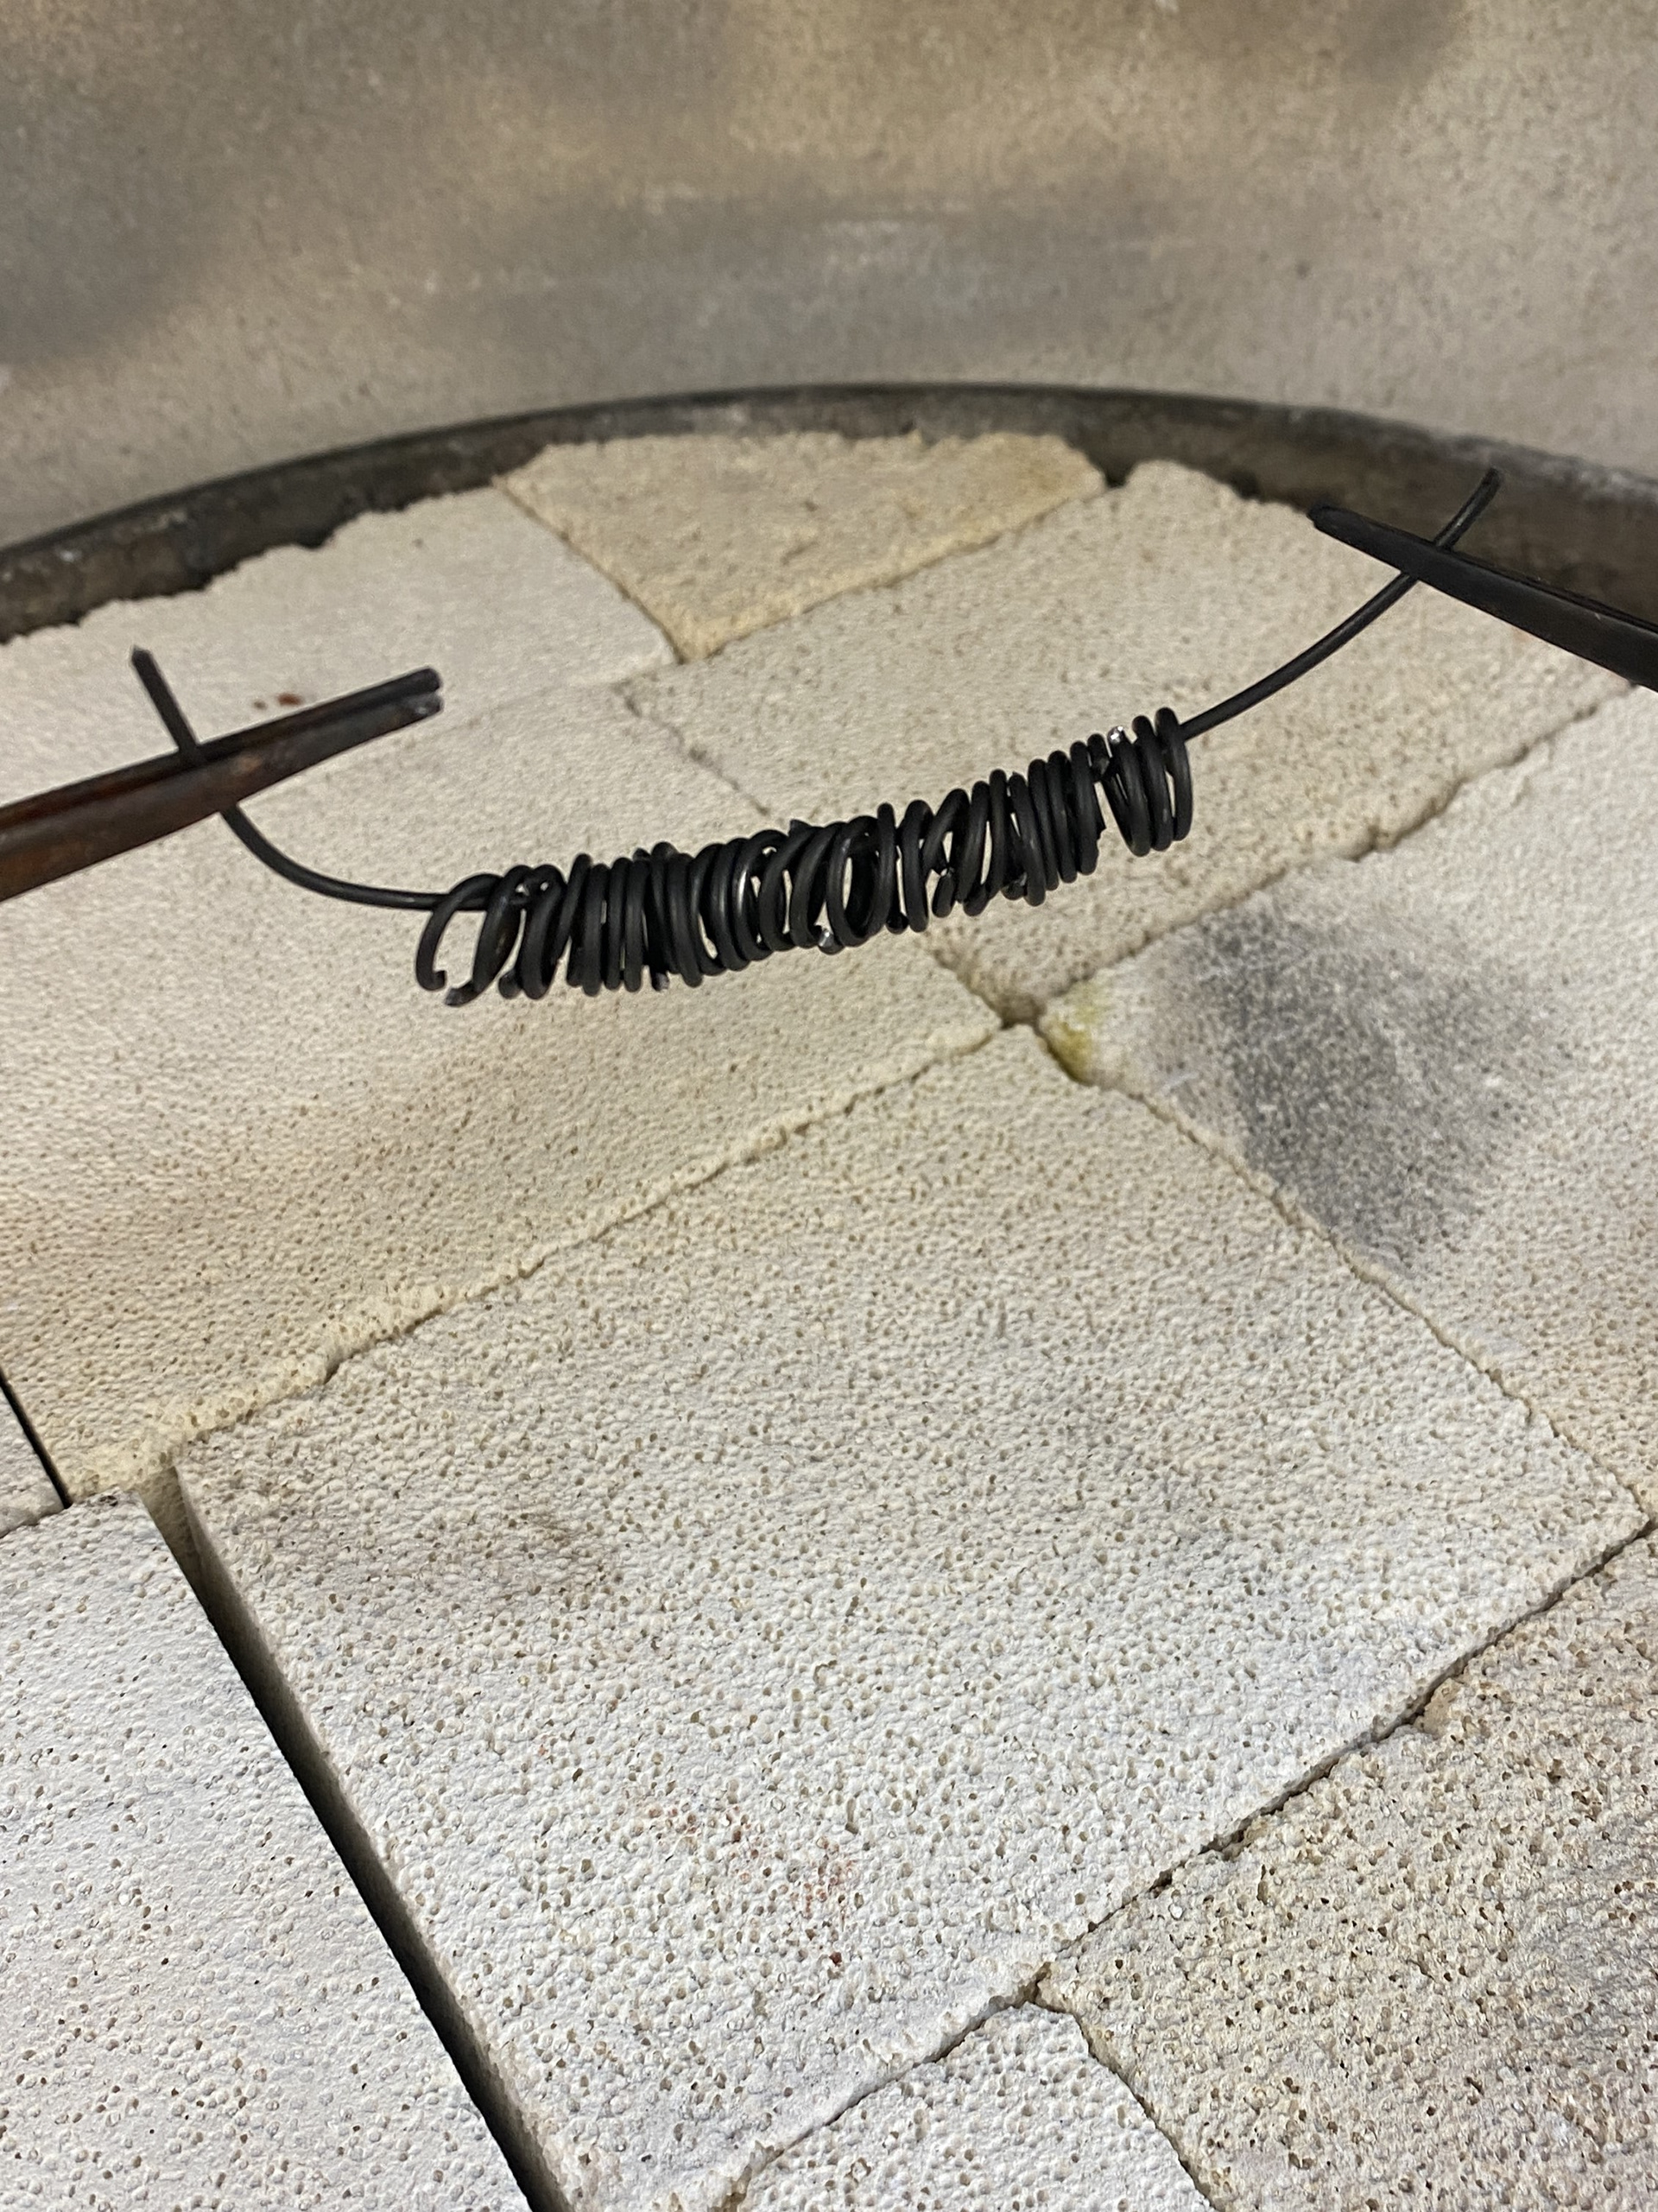

Using black iron wire, I experimented with different thicknesses (1.25mm and 1.6mm) with an internal diameter of 8mm. I wound the links as usual but cut them with an overlap, which meant once annealed, I could hammer them flat using the traditional technique. The next step would be to punch a small hole in the overlap and rivet it together. However, I wanted to test the process and scales before committing major additional time.
I prefer the flattened aesthetic to the butted mail. However, the I believe the 1.25mm wire test would have been too difficult for me to punch the holes for the rivets, due to my lack of experience and tooling.
Testing riveted mail
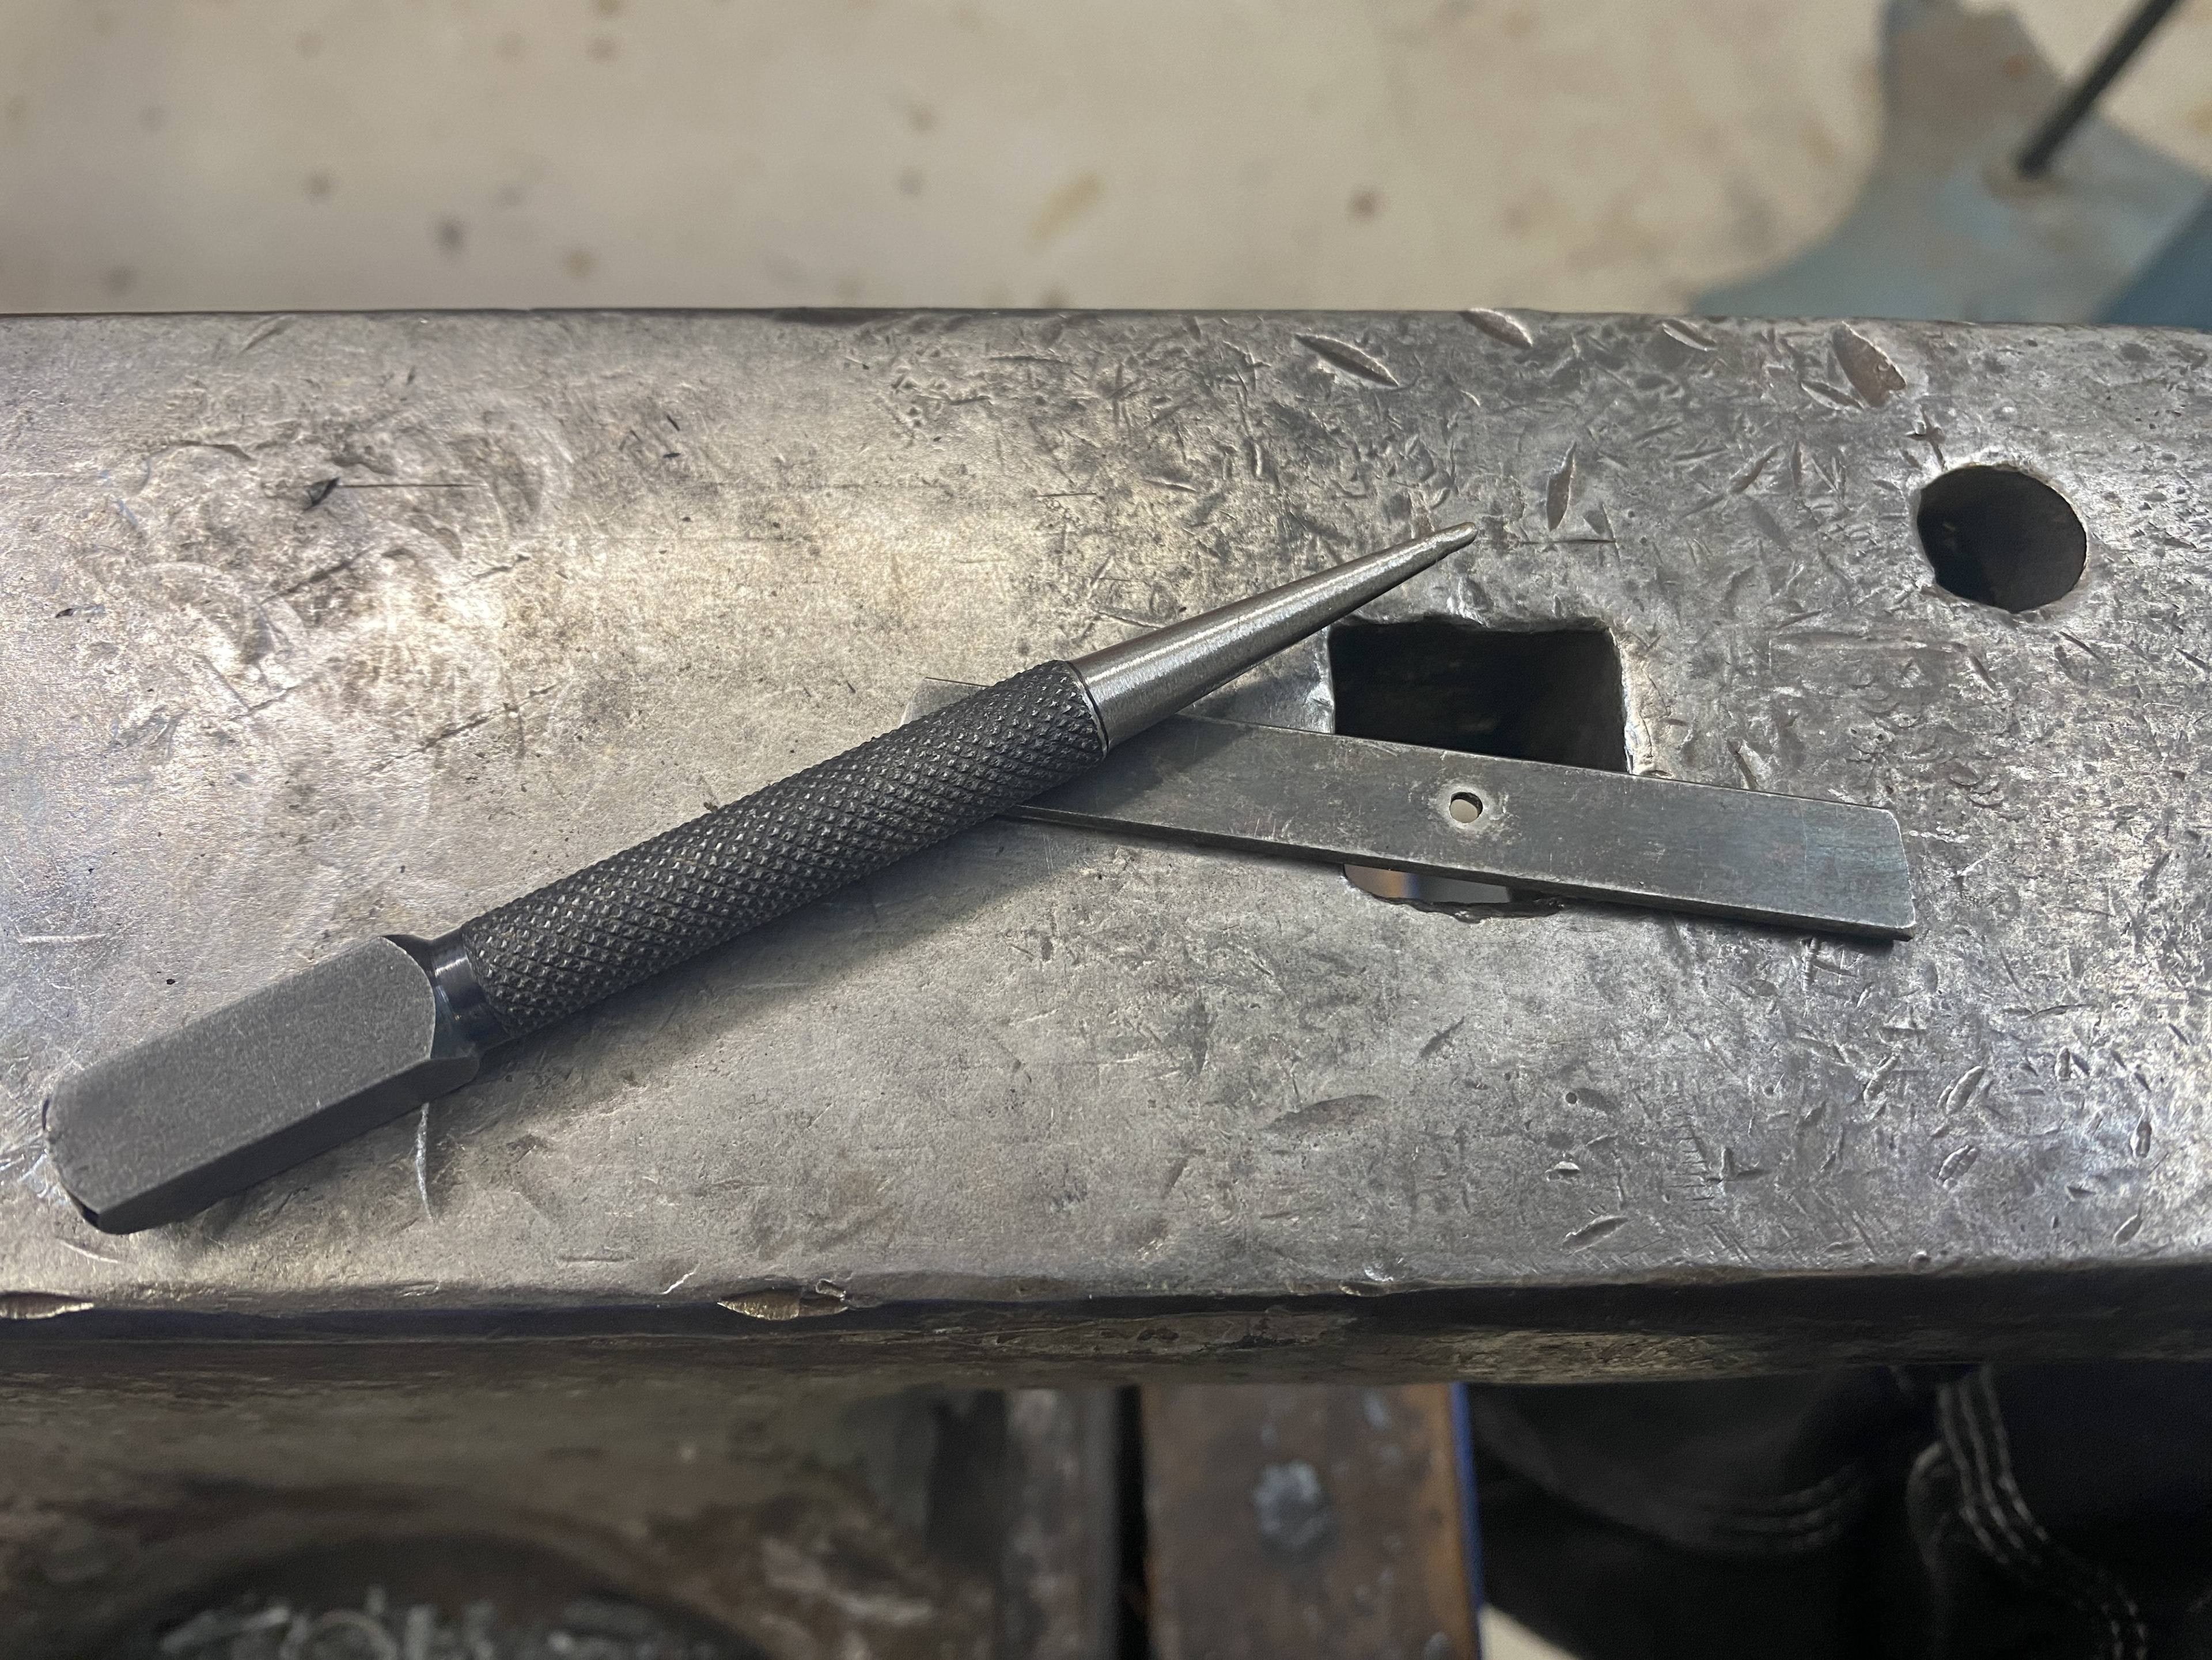


To create the riveted mail, I needed to create some tooling. Firstly, I needed to cut the links with an overlap so that there was room for the rivet. I modified some wire snips by filing into them using diamond files. The slit was place so that when the coils are placed in the snips there is a gap which skips the first link and snips the second in the line.
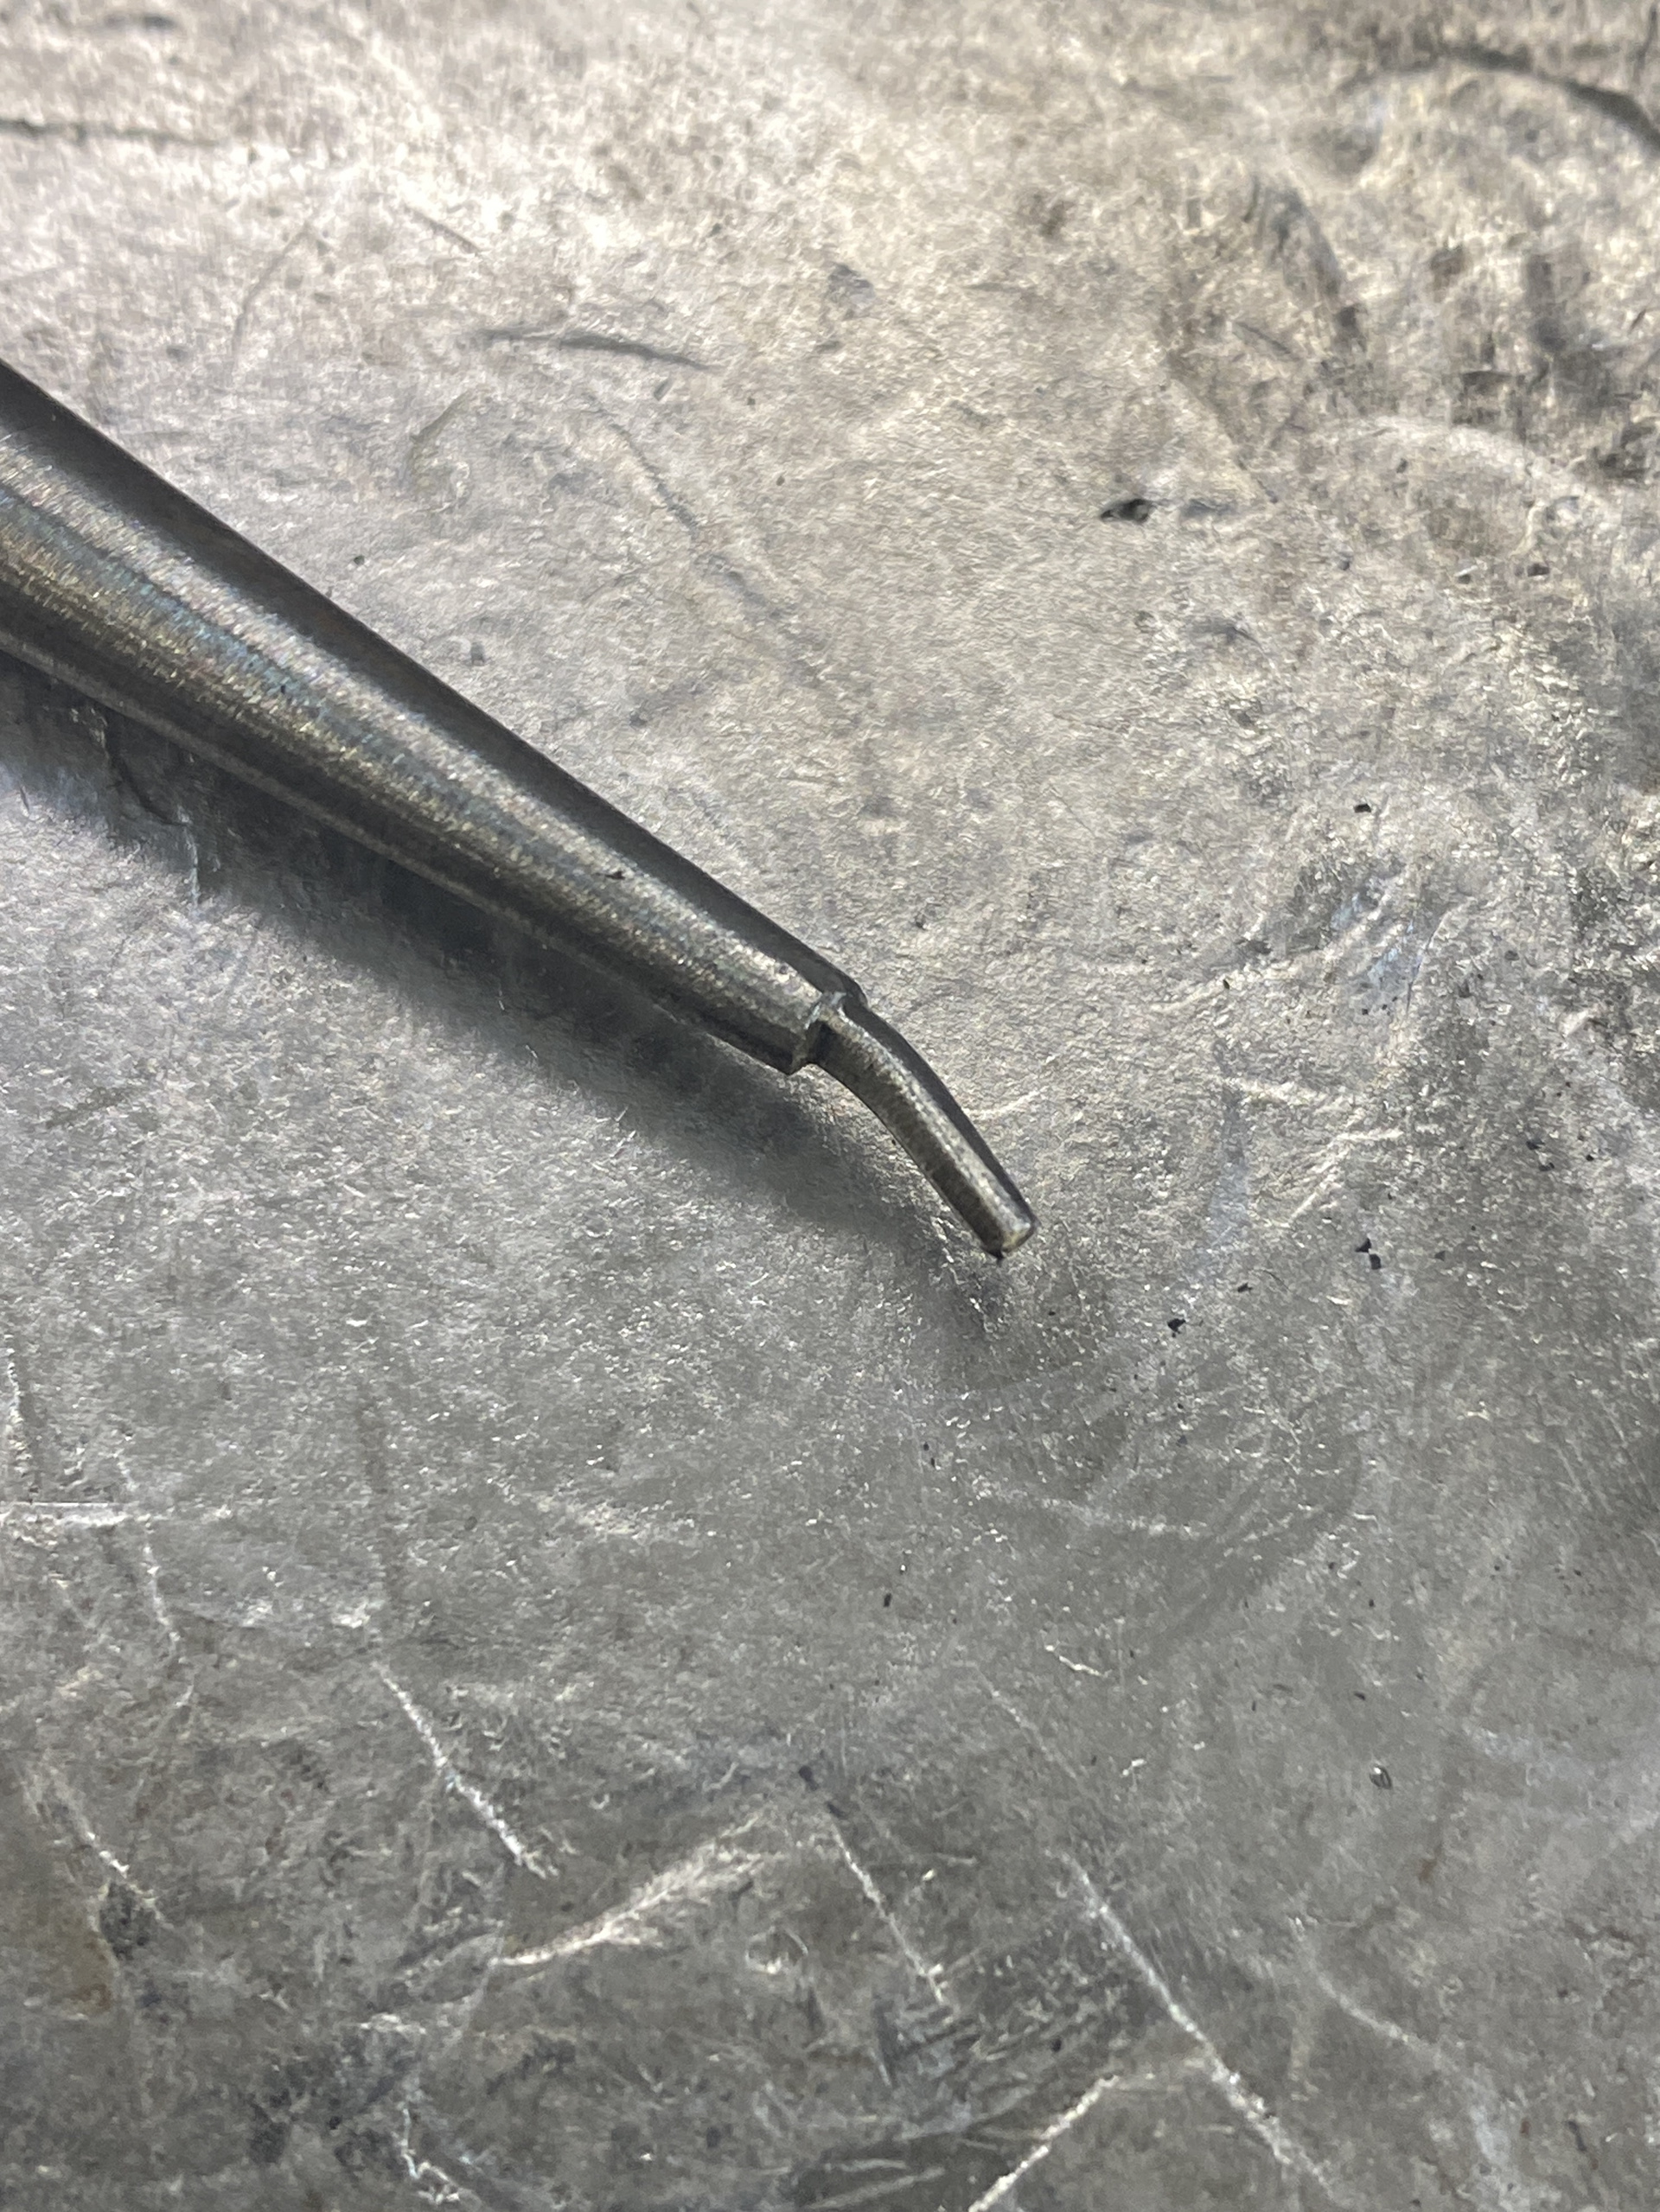
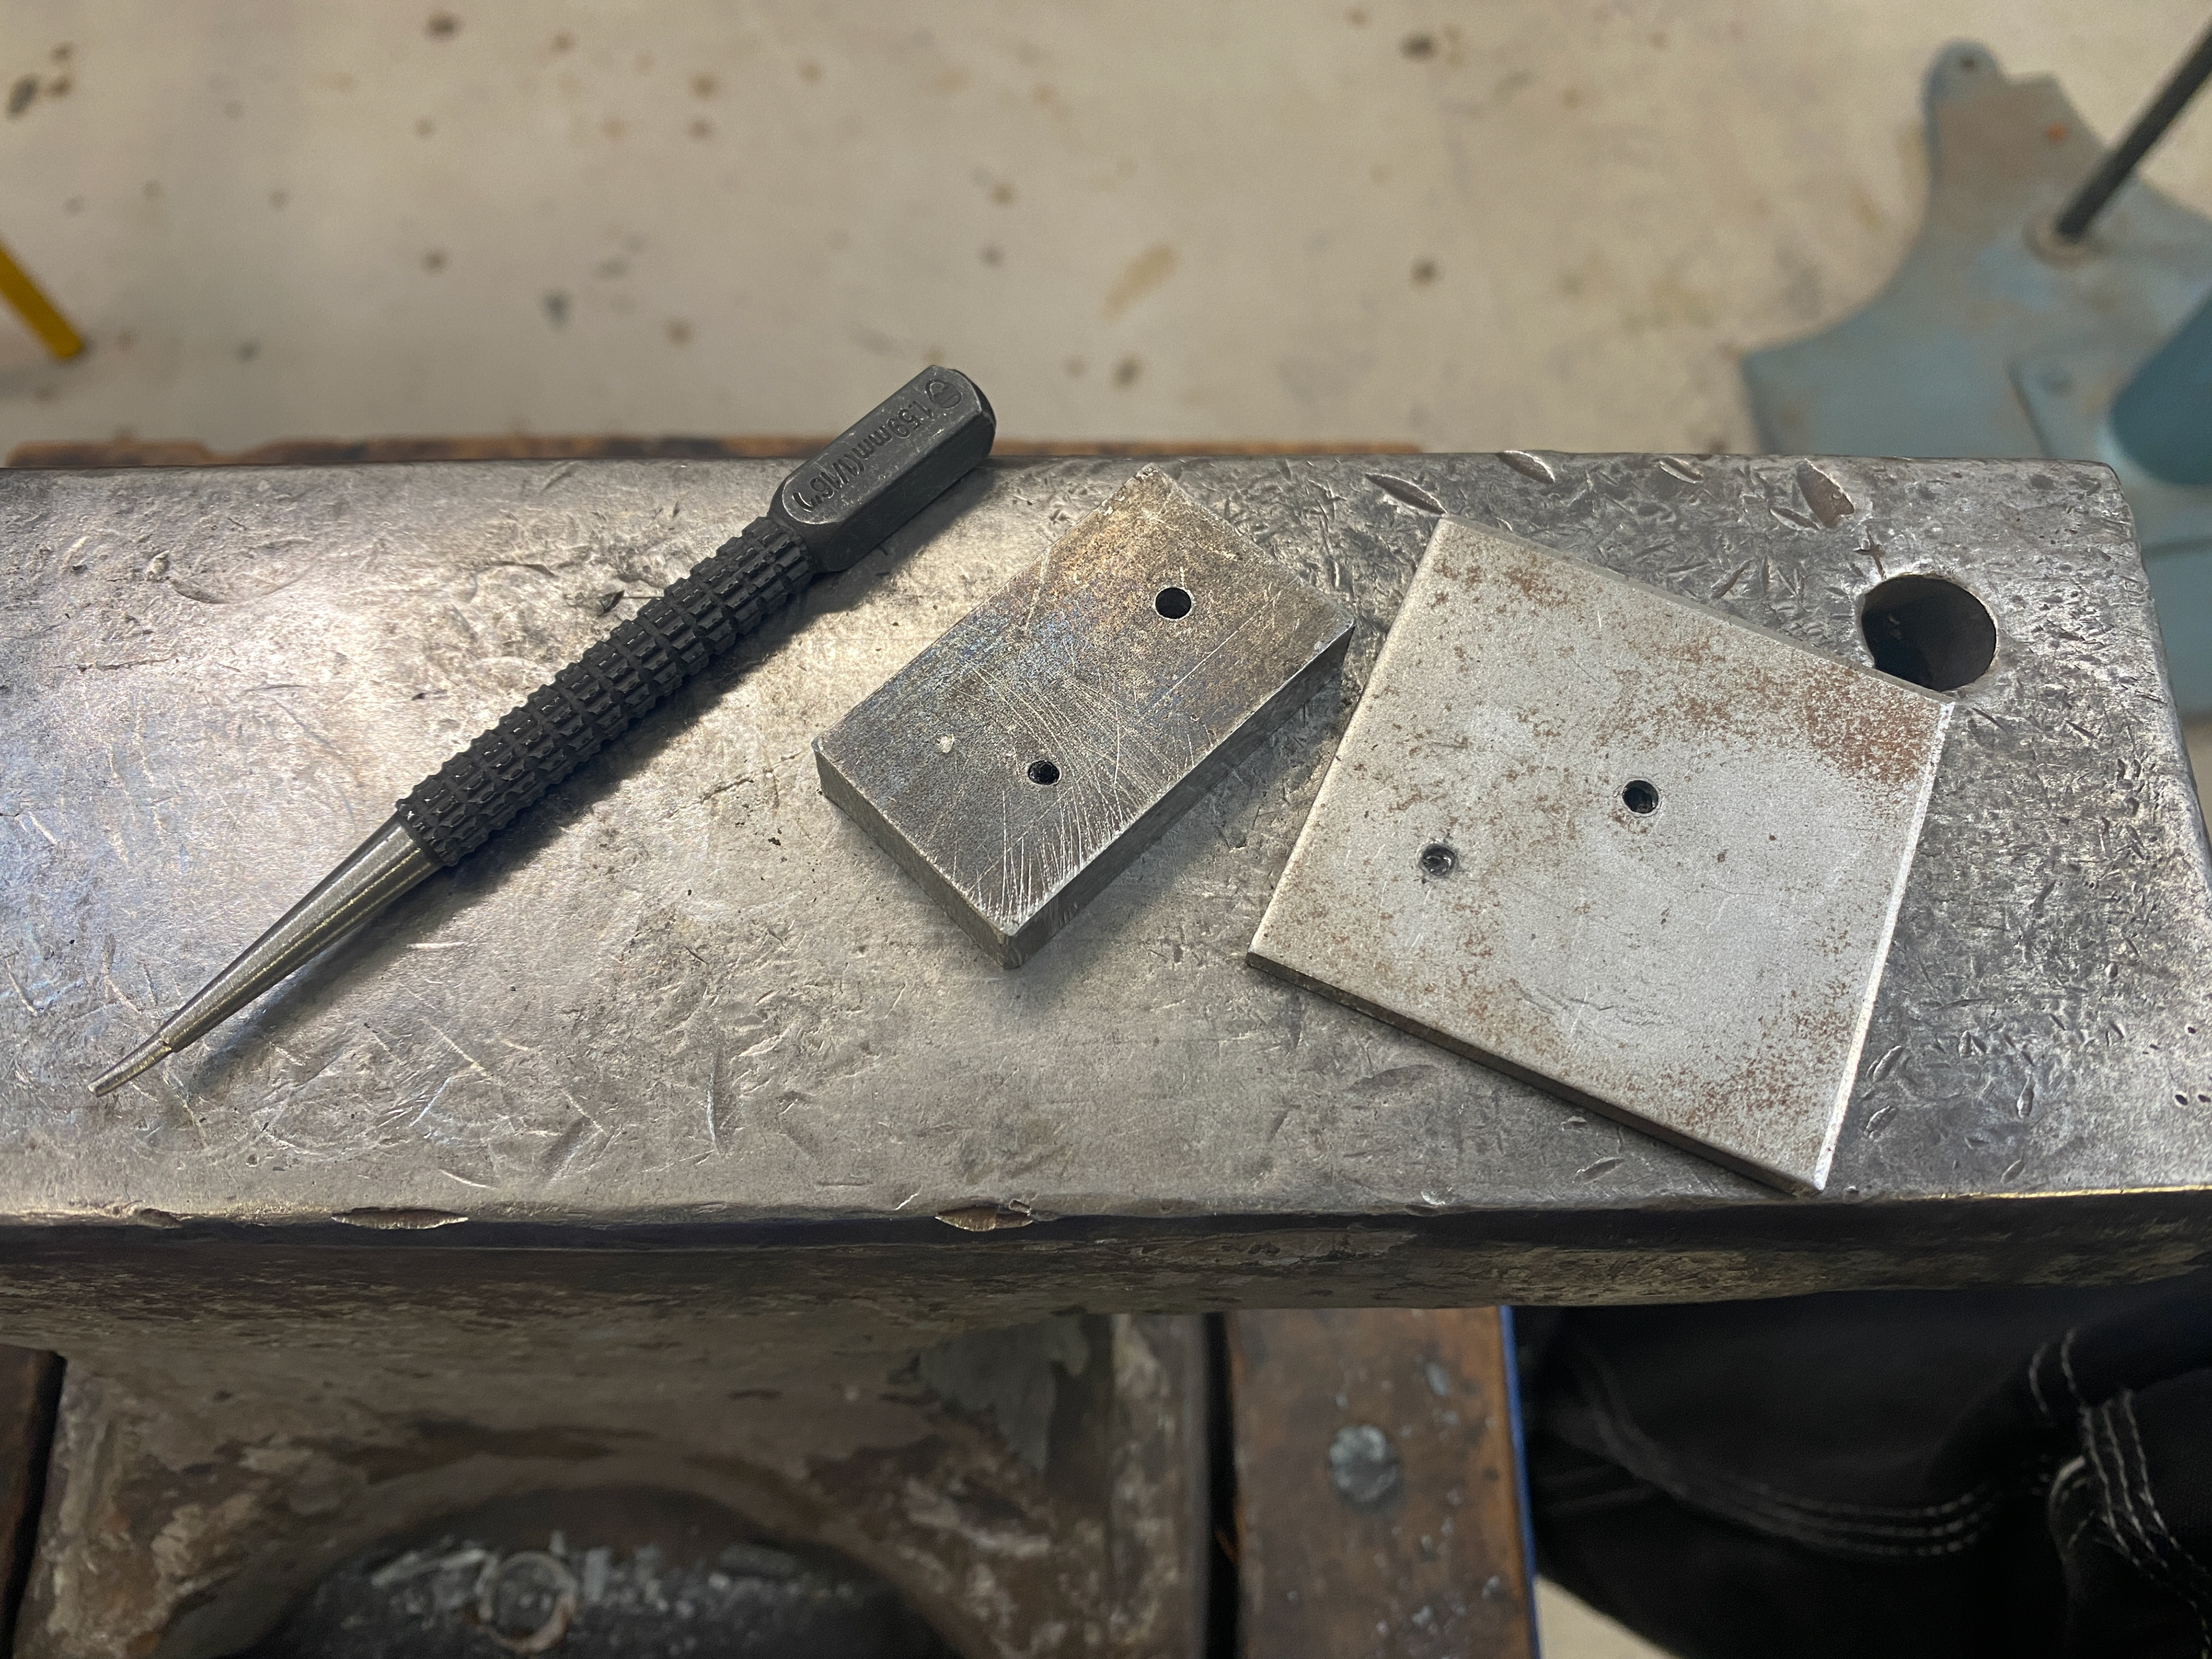
Secondly, I needed to punch a hole in the rings for the rivet. I ground down the tip of a centre punch to 1.7mm using the linisher. My initial attempt bent over when I hammered it at slightly the wrong angle as the length of the punch was too long compared to its width. Therefore, I ground a new one ensuring there was enough material that it wouldn't bend or snap.
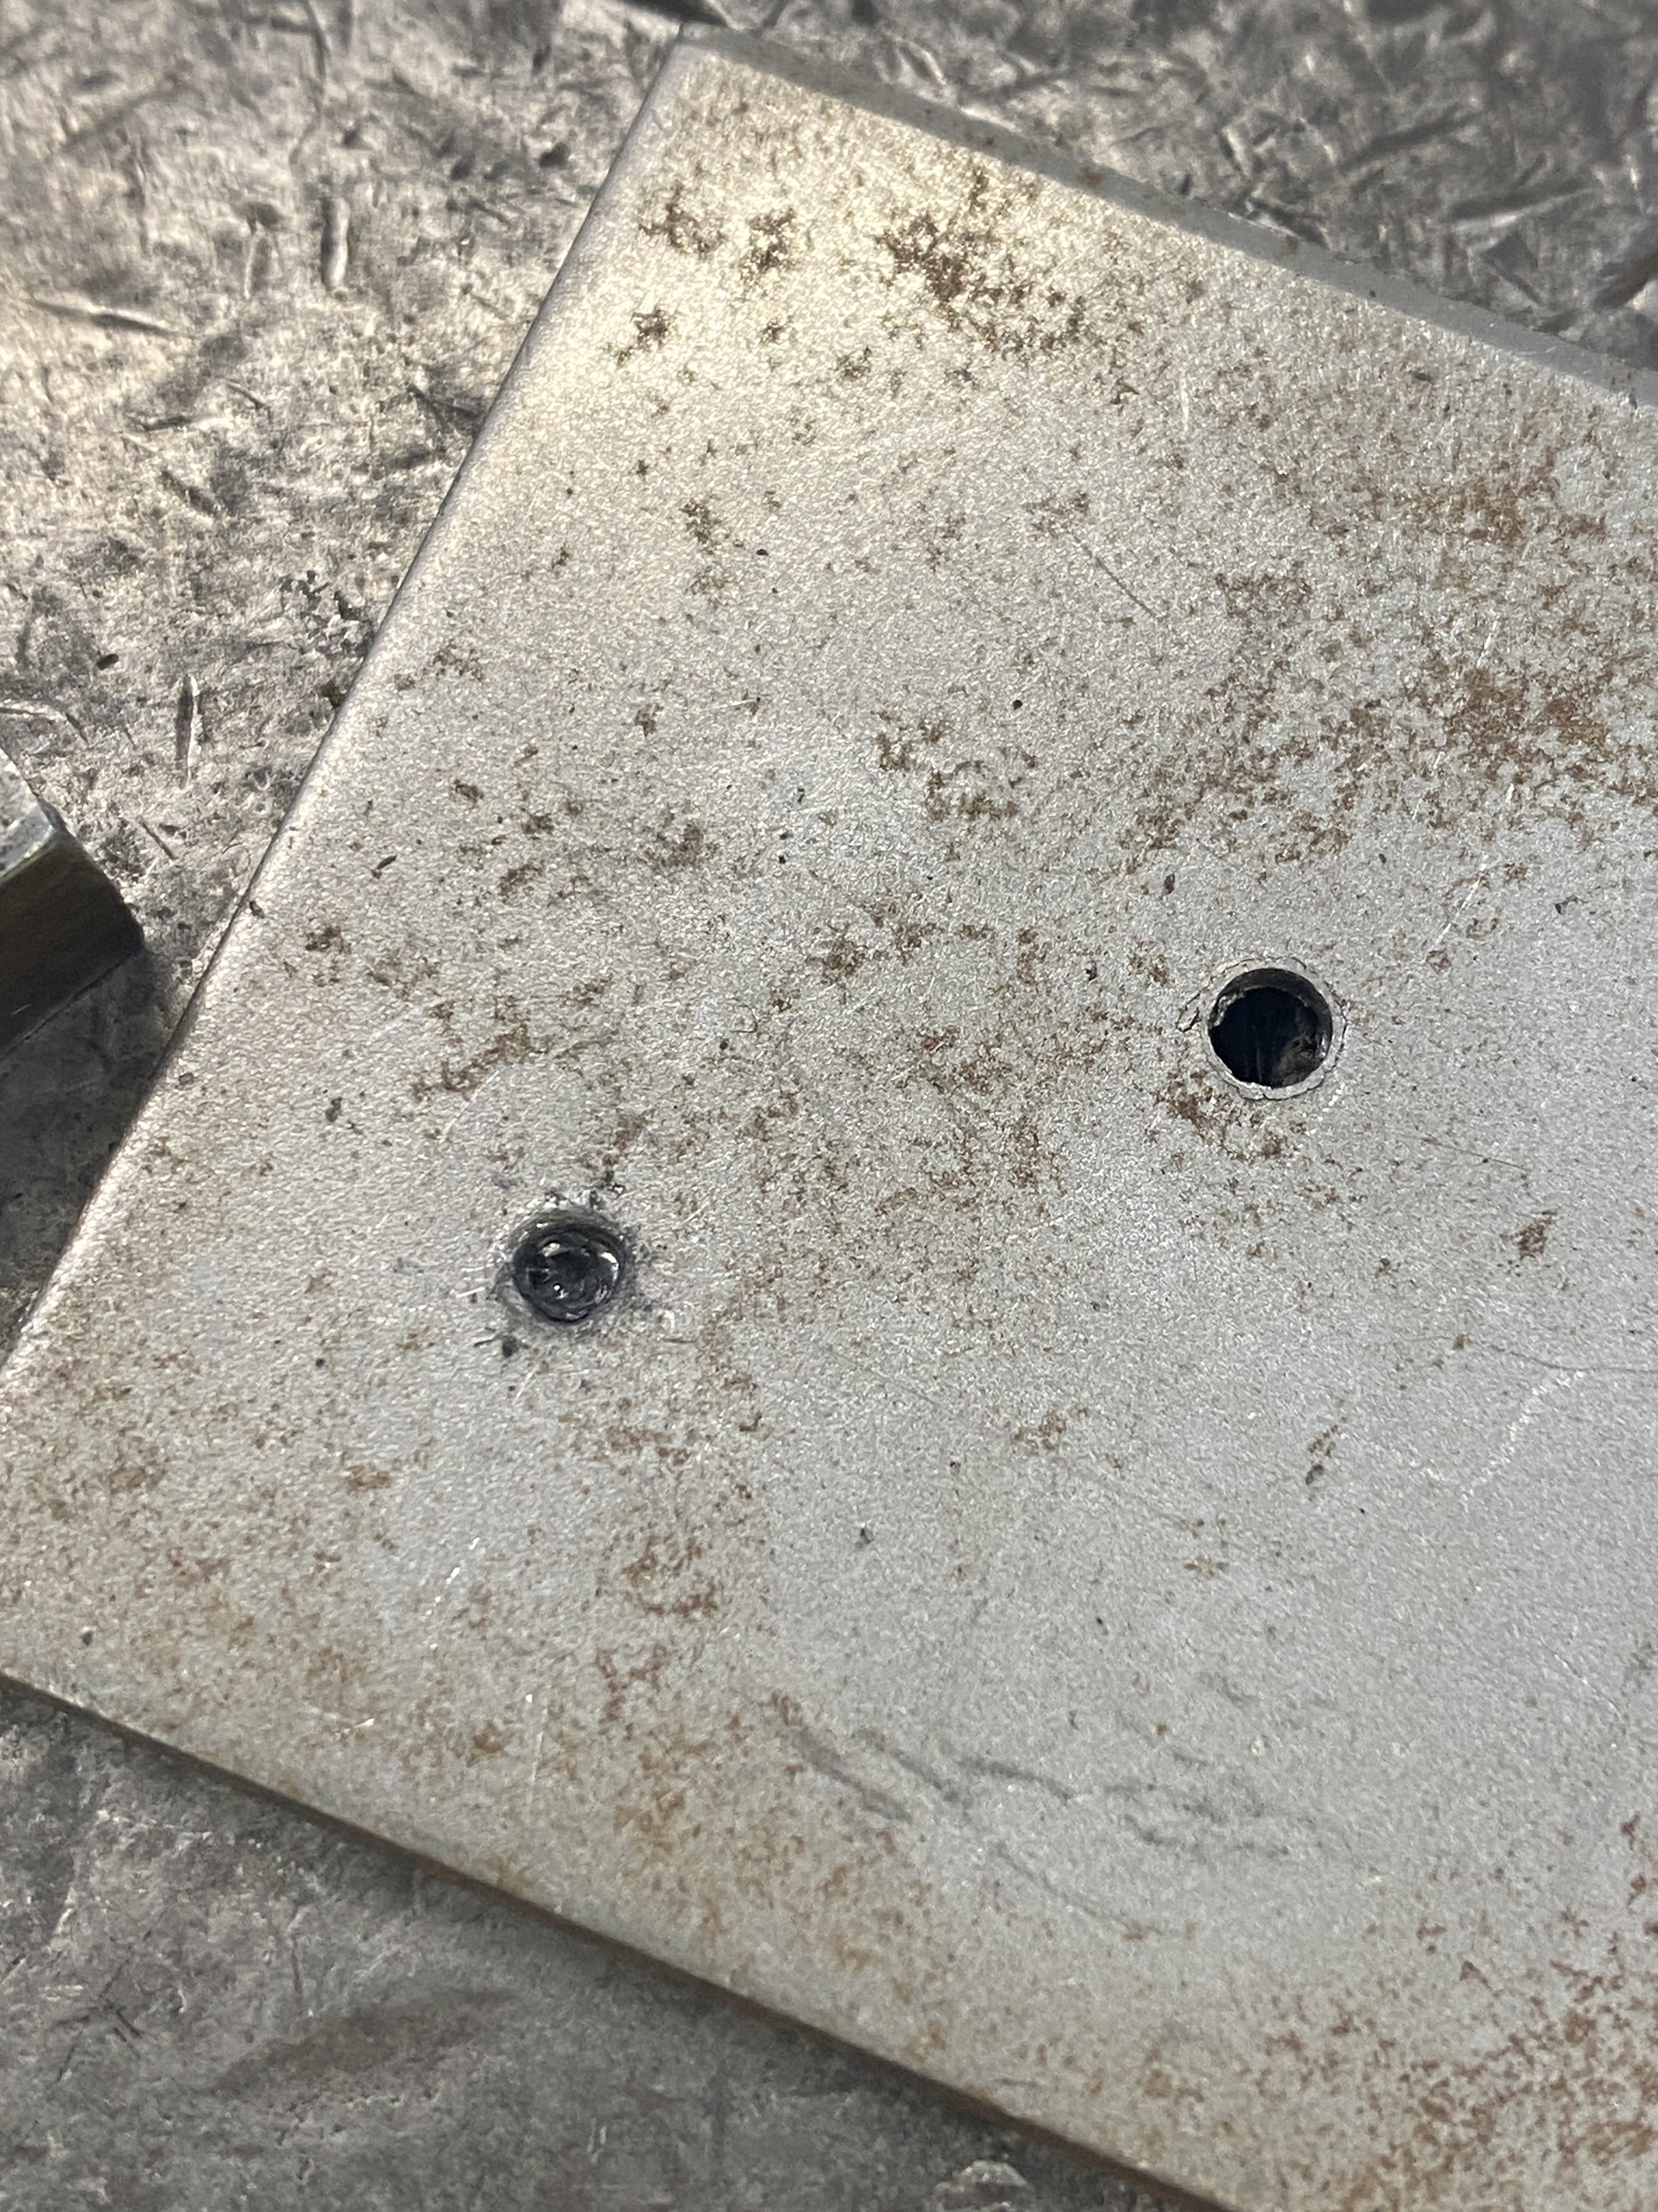
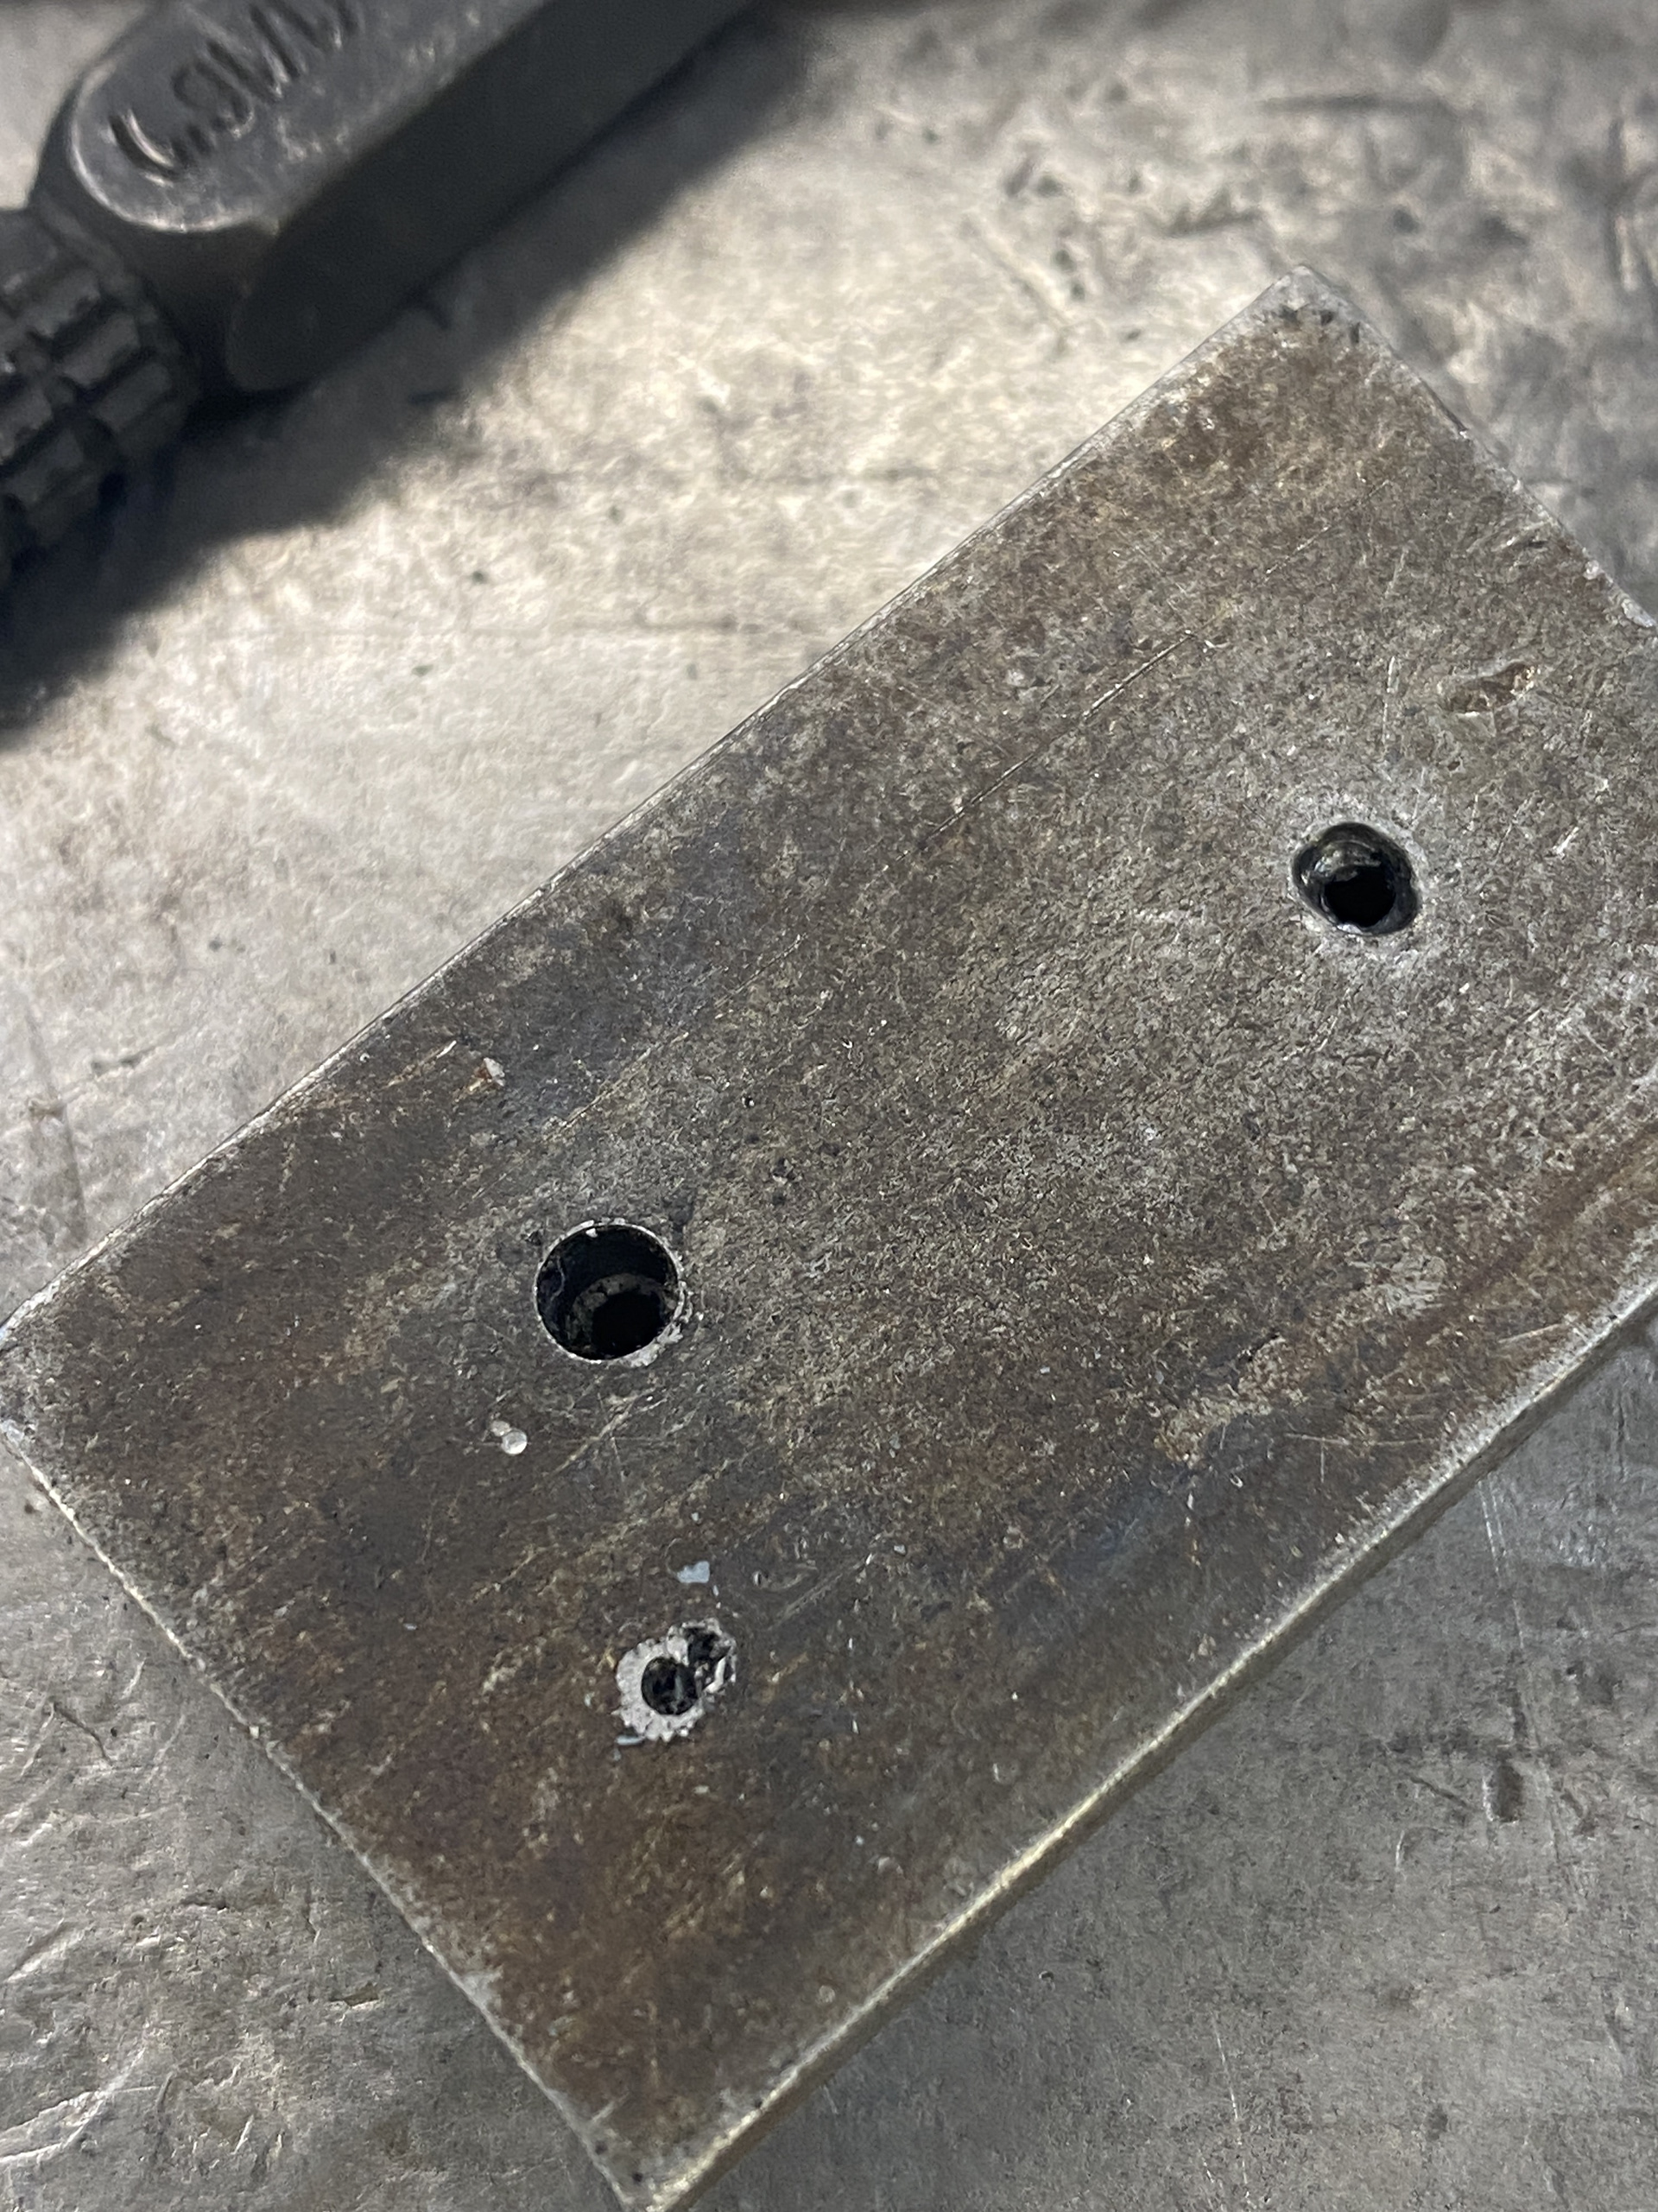
I then needed to create a die for the punch to drift through. I drilled a 1.8mm hole into 3mm sheet steel. This worked for the first few links but then the hole begun widening and misshaping during repetitive use. I then tried again with a thicker section of bar and drilled a larger hole in the back for the punched-out disk to fall through. Unfortunately, once again this was a failure as the mild steel kept misshaping. I then tried using some sprung steel which was a lot harder and less prone to misshaping.
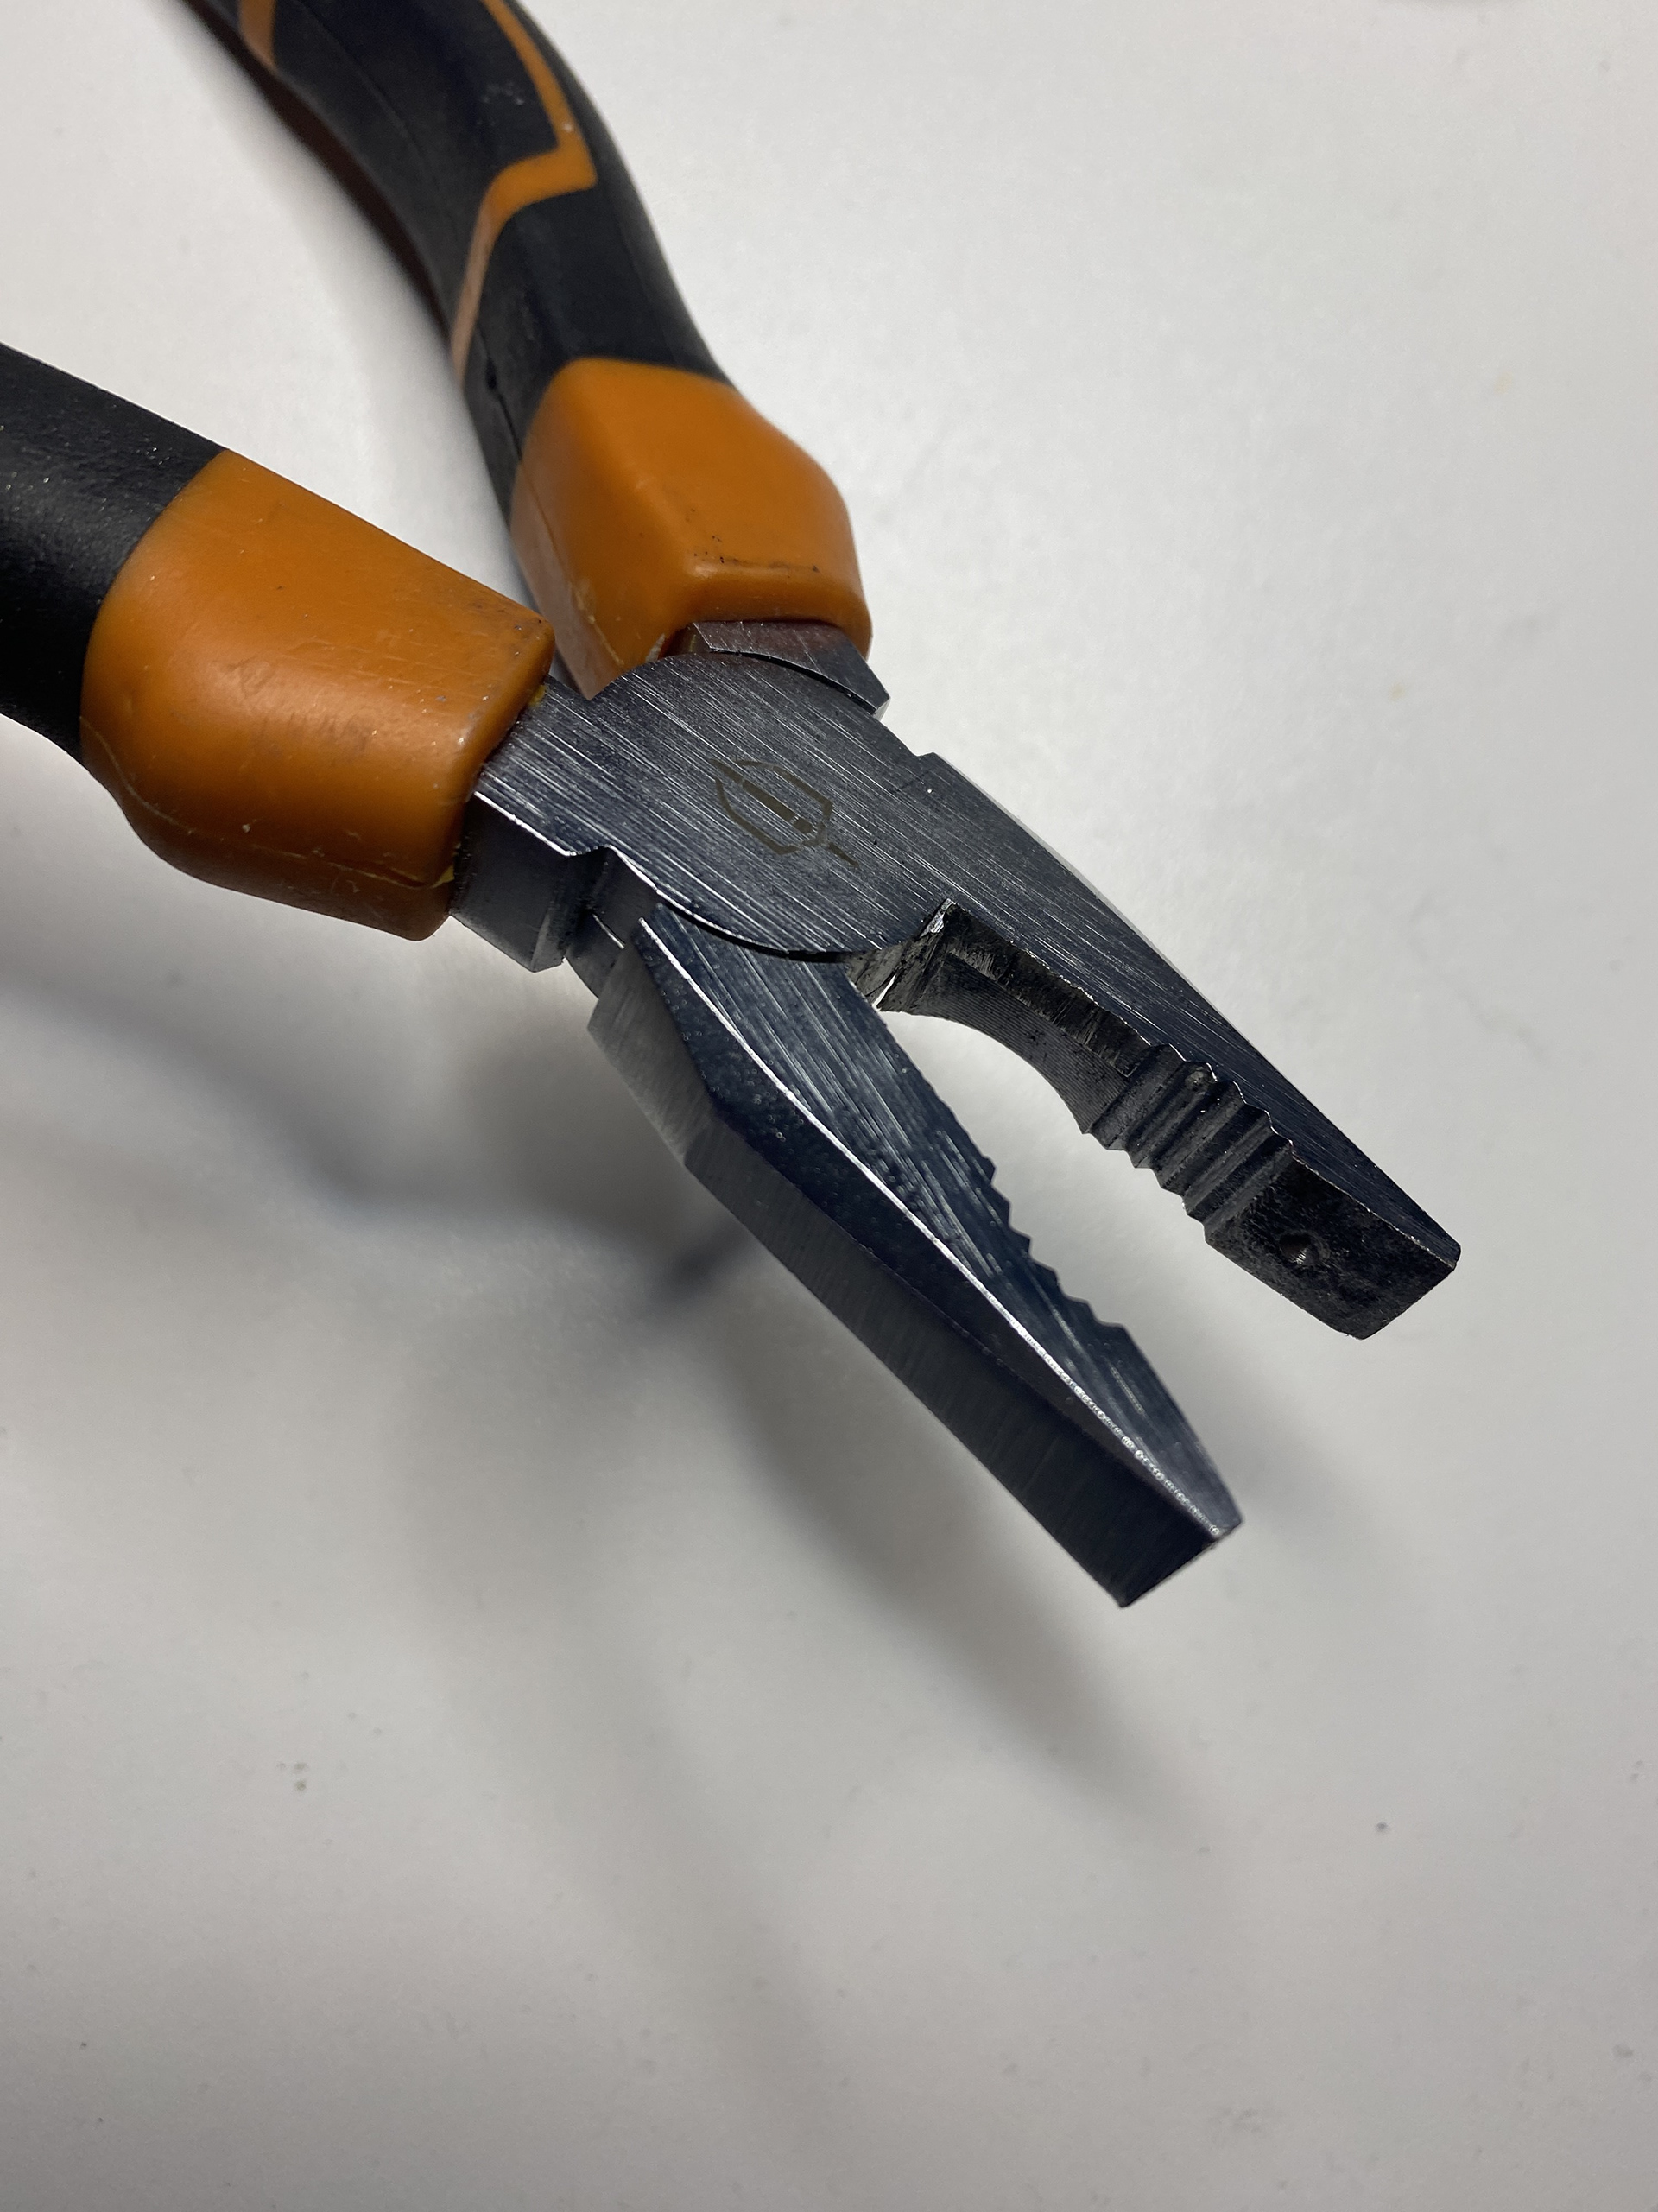
Finaly, I needed to round over the wire to form the rivets. I tried to modify a pair of pliers by grinding the faces flat and drilling a small recess. However, the pliers didn't give me enough leverage to press the wire. Therefore, I ordered a specialist chainmail riveting tool that is made for the exact purpose.
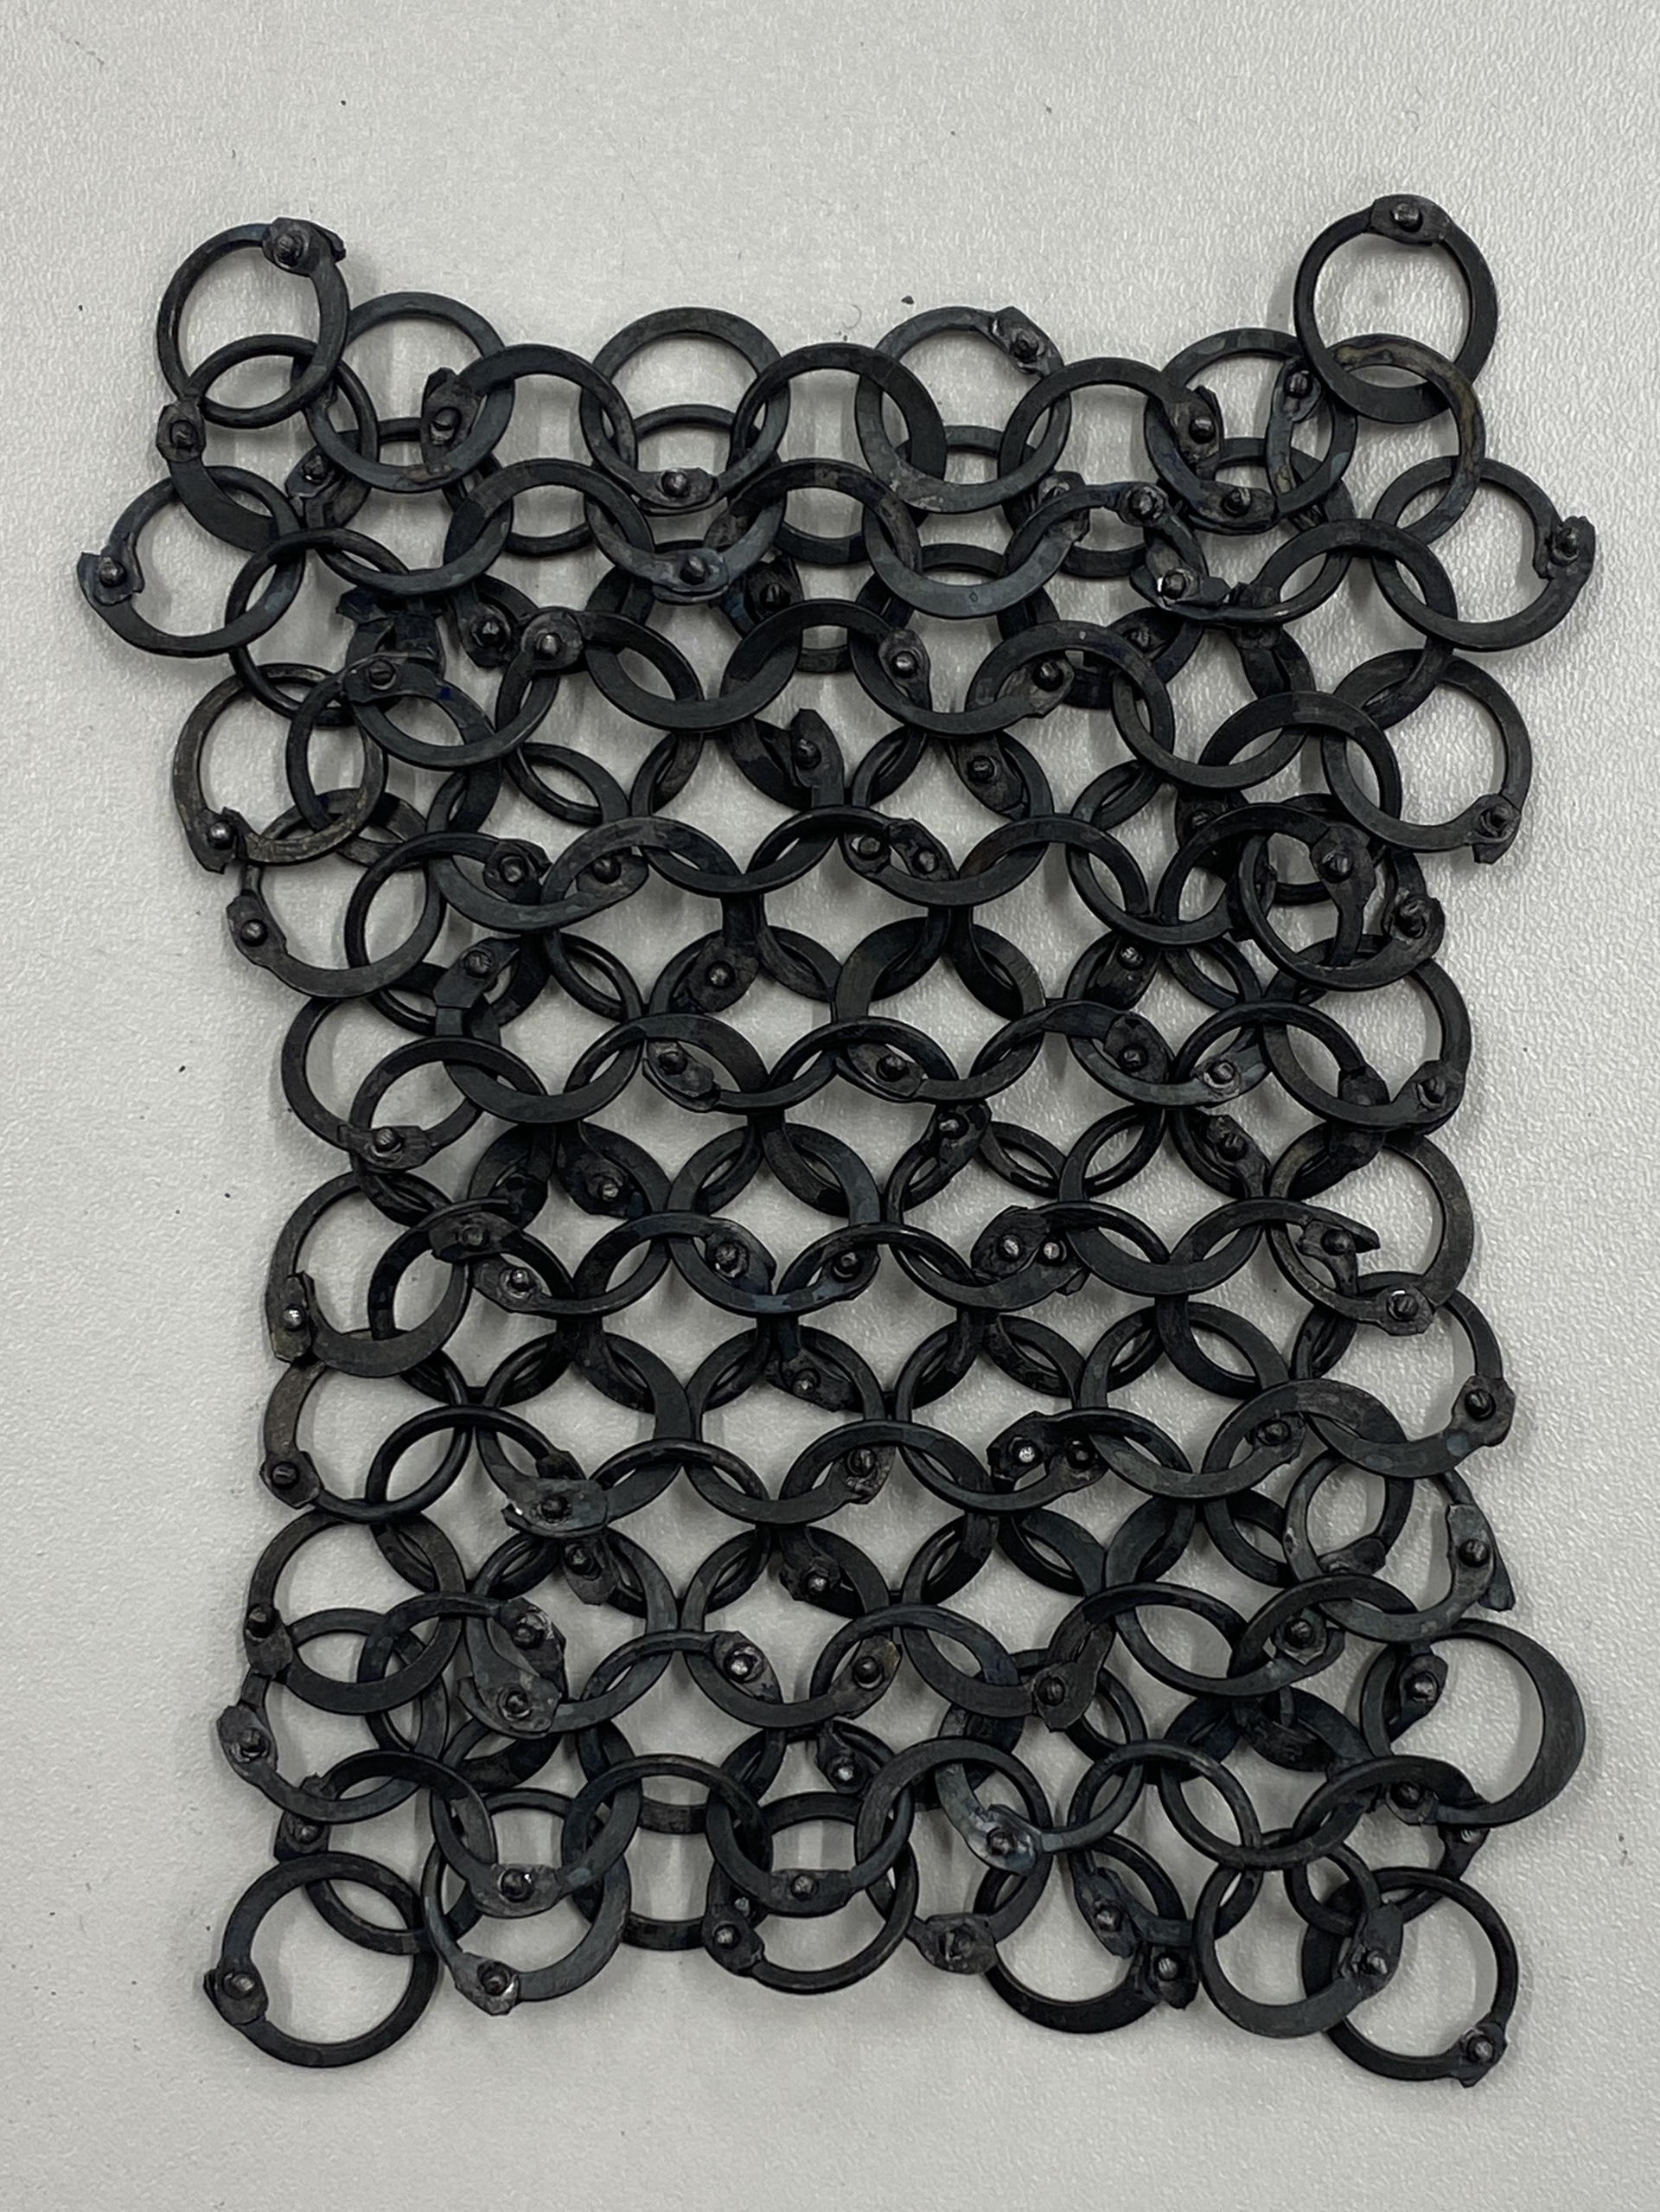
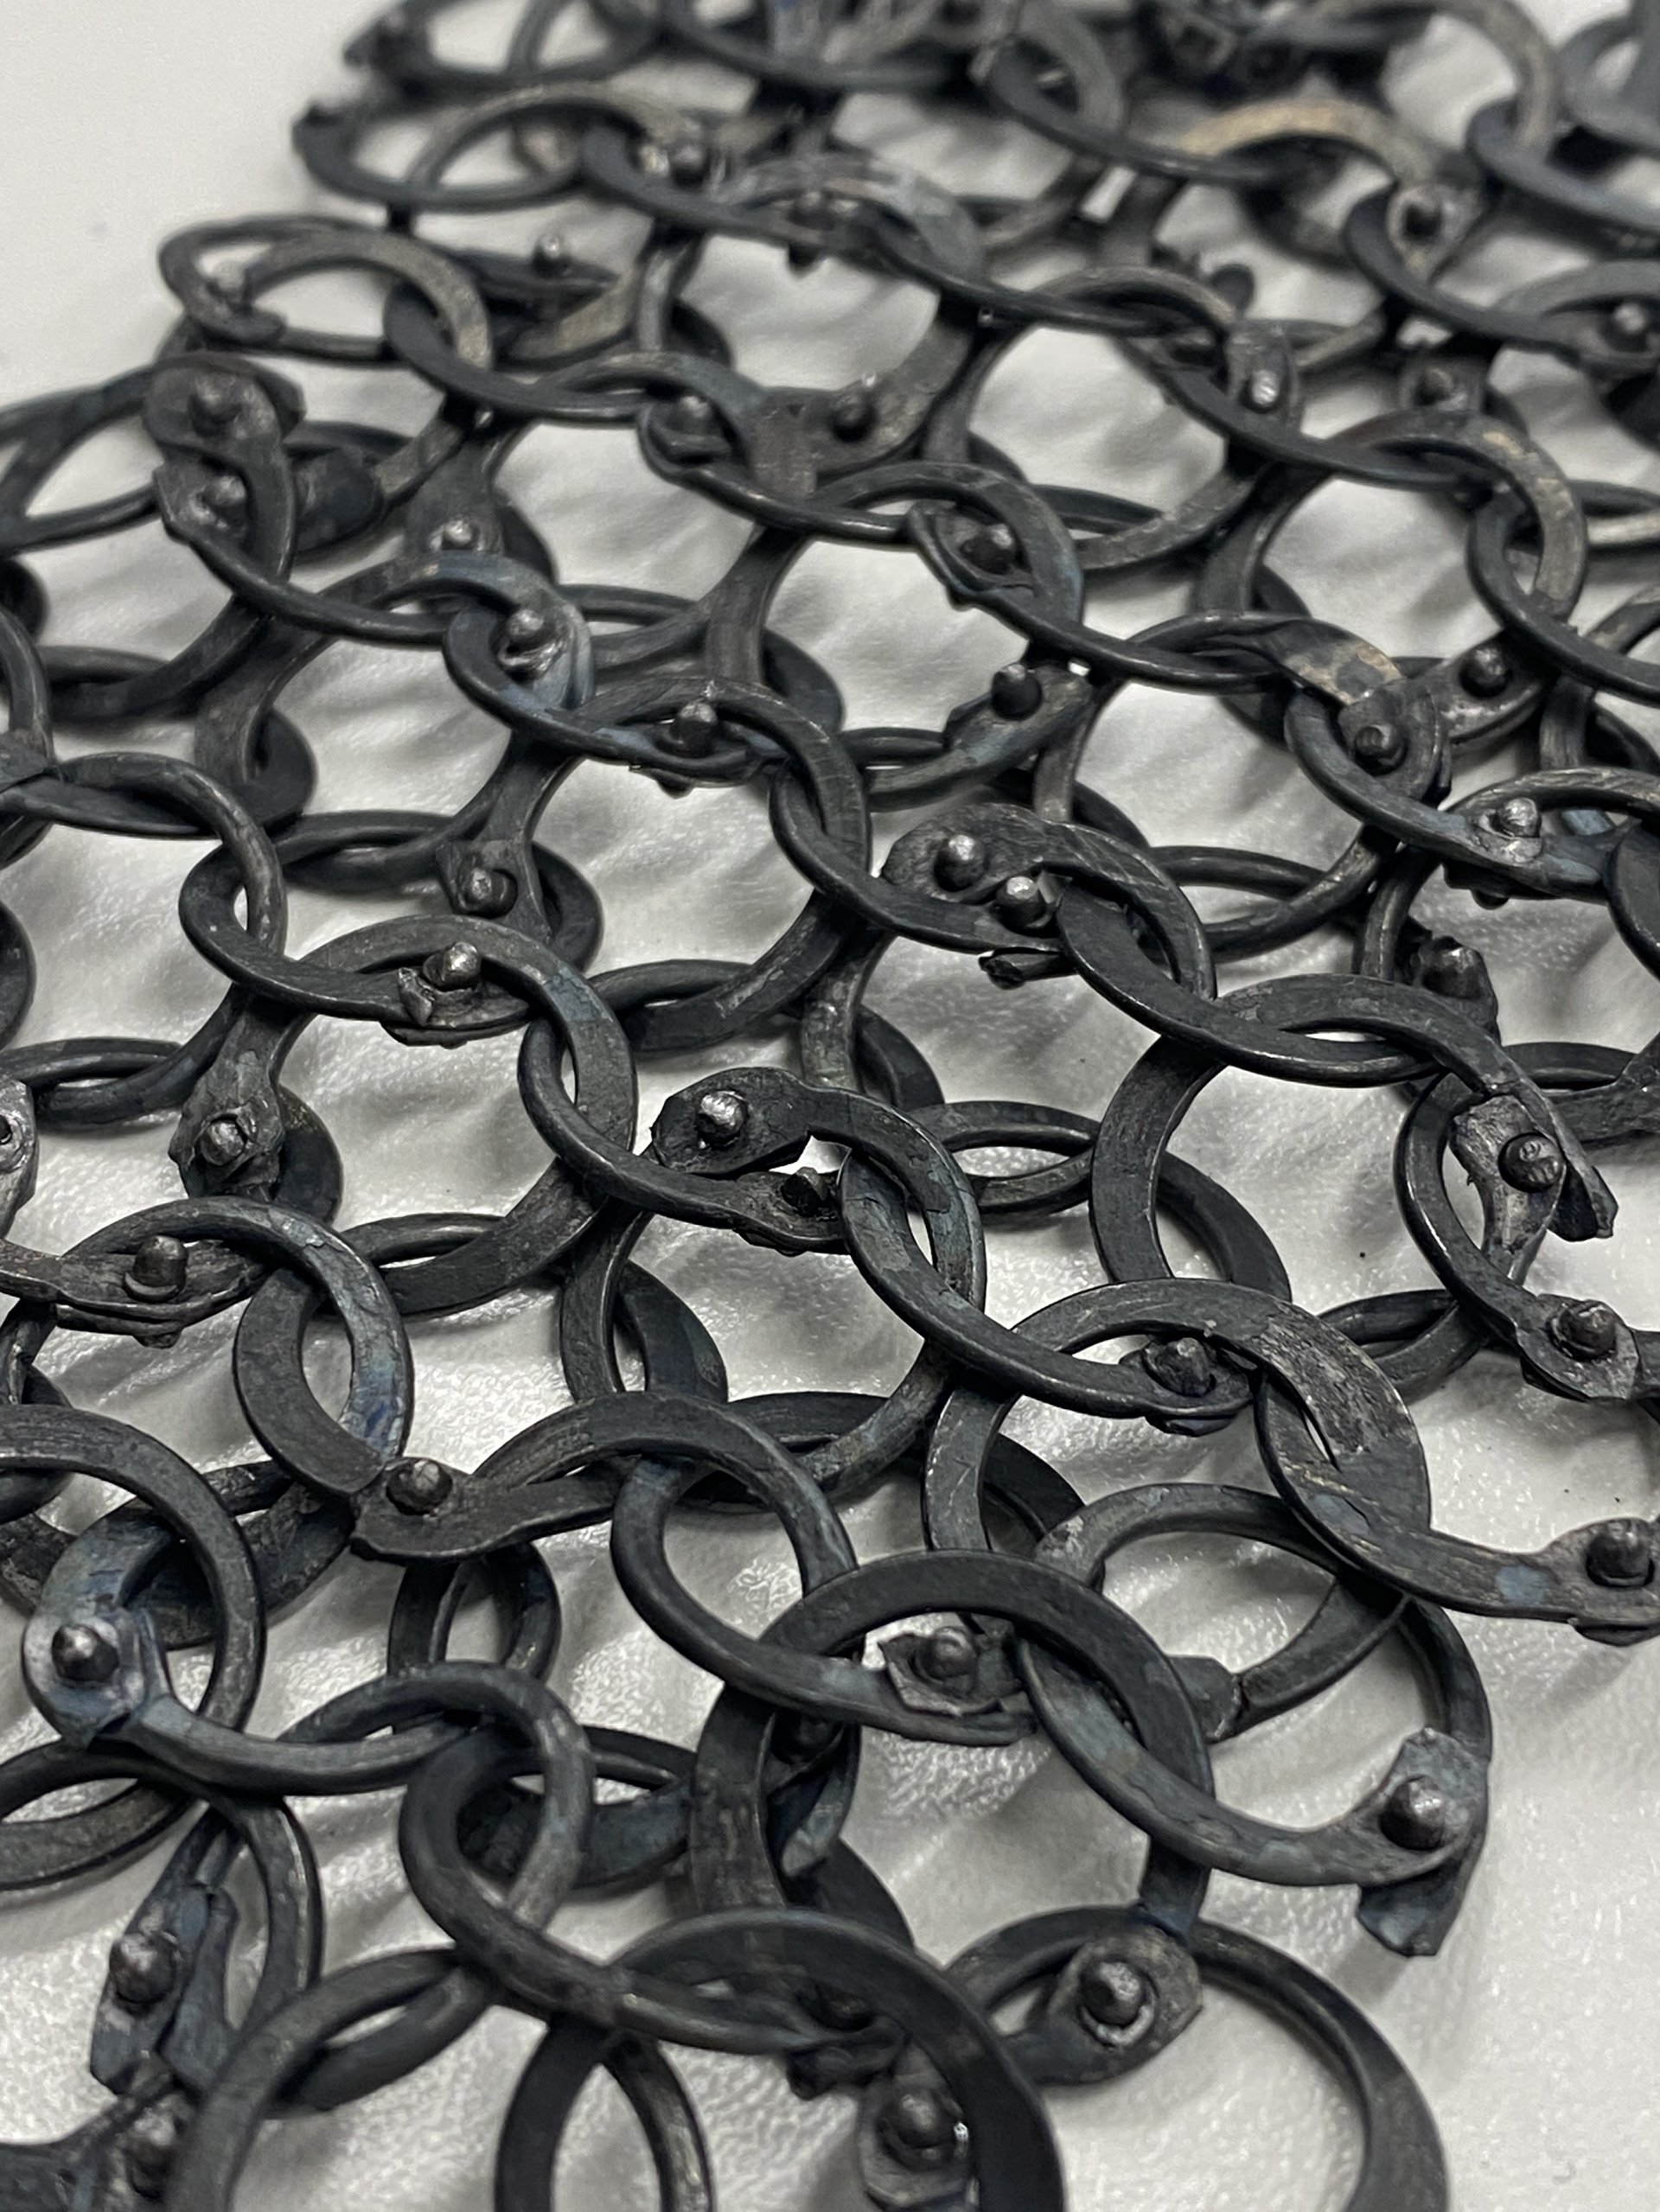
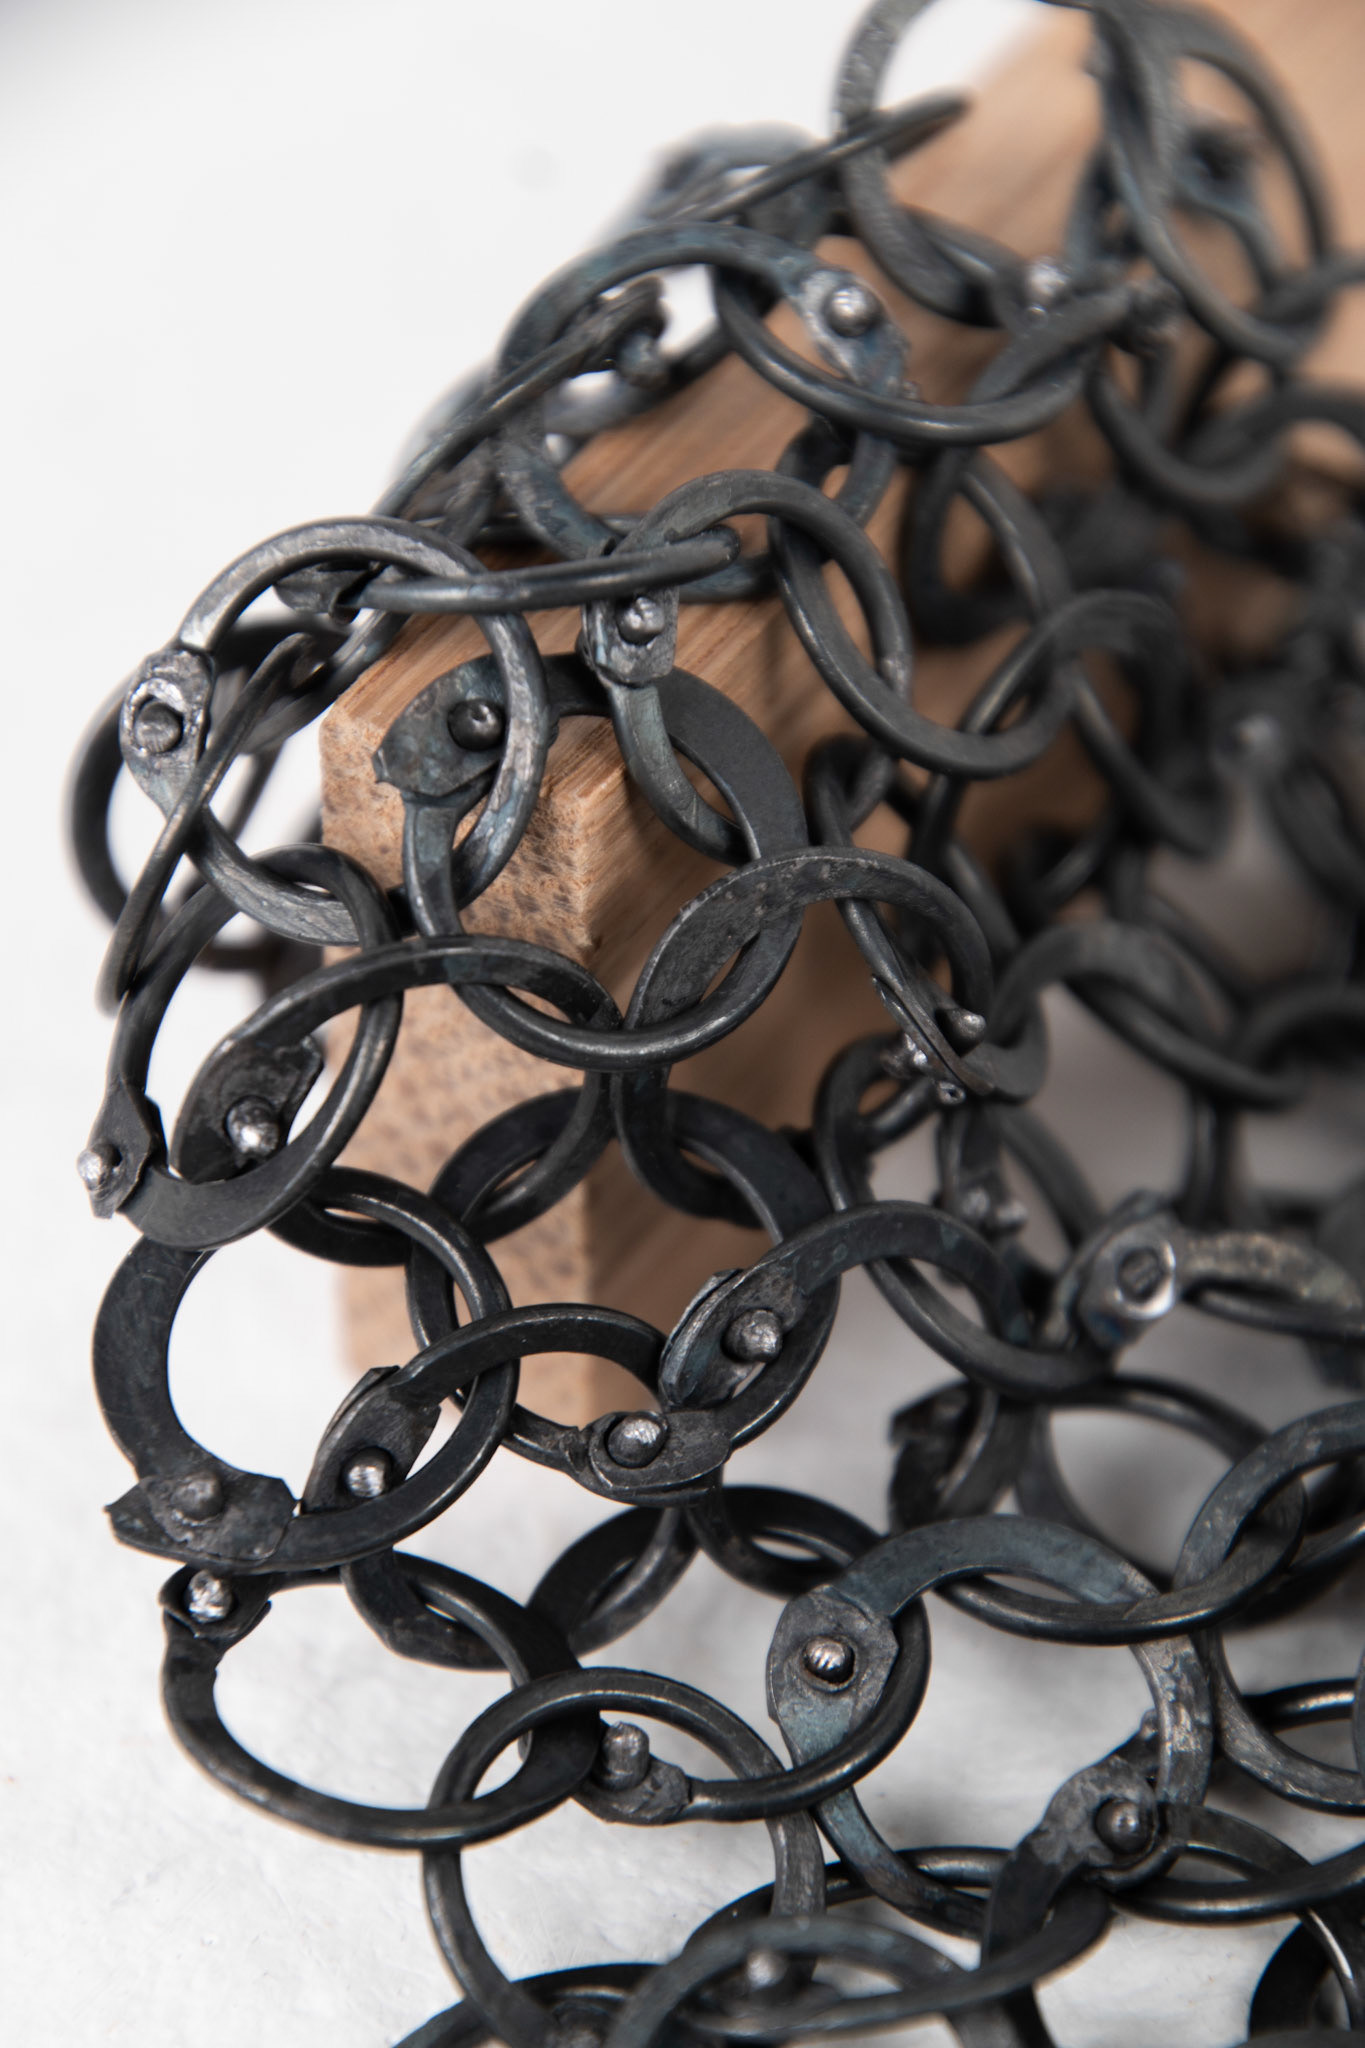
I experimented with creating the larger 12mm internal diameter, 1.6mm wire thickness weave and riveting each link to form a sheet of traditional flattened European 4 in 1 mail. This process is similar to the steps I previously stated above; I wrapped the wire around the mandrel and used some modified snips to cut overlapping links, which I then annealed and hammered flat. I then annealed them again and used a modified centerpunch to punch out a 1.7mm hole in each link at the overlapping section. I then riveted these together in the European 4 in 1 weave using specialist riveting pliers.
I think that this experiment provides many different and unique qualities compared to the butted mail that I have previously made. Despite all the links starting off identical, all the processes from snipping and hammering slightly adjust and manipulate the final form. Once the viewer begins to inspect the mail closer only then can they distinguish between every link and read the story of production.
Additionally, I think that the rivets change the feel of the mail in the hand. I believe that the butted and thus smooth texture creates a gentle and fabric like material. Whereas the riveted mail catches and pulls at the skin when you run your hands along it, suggesting a rough and raw structure.
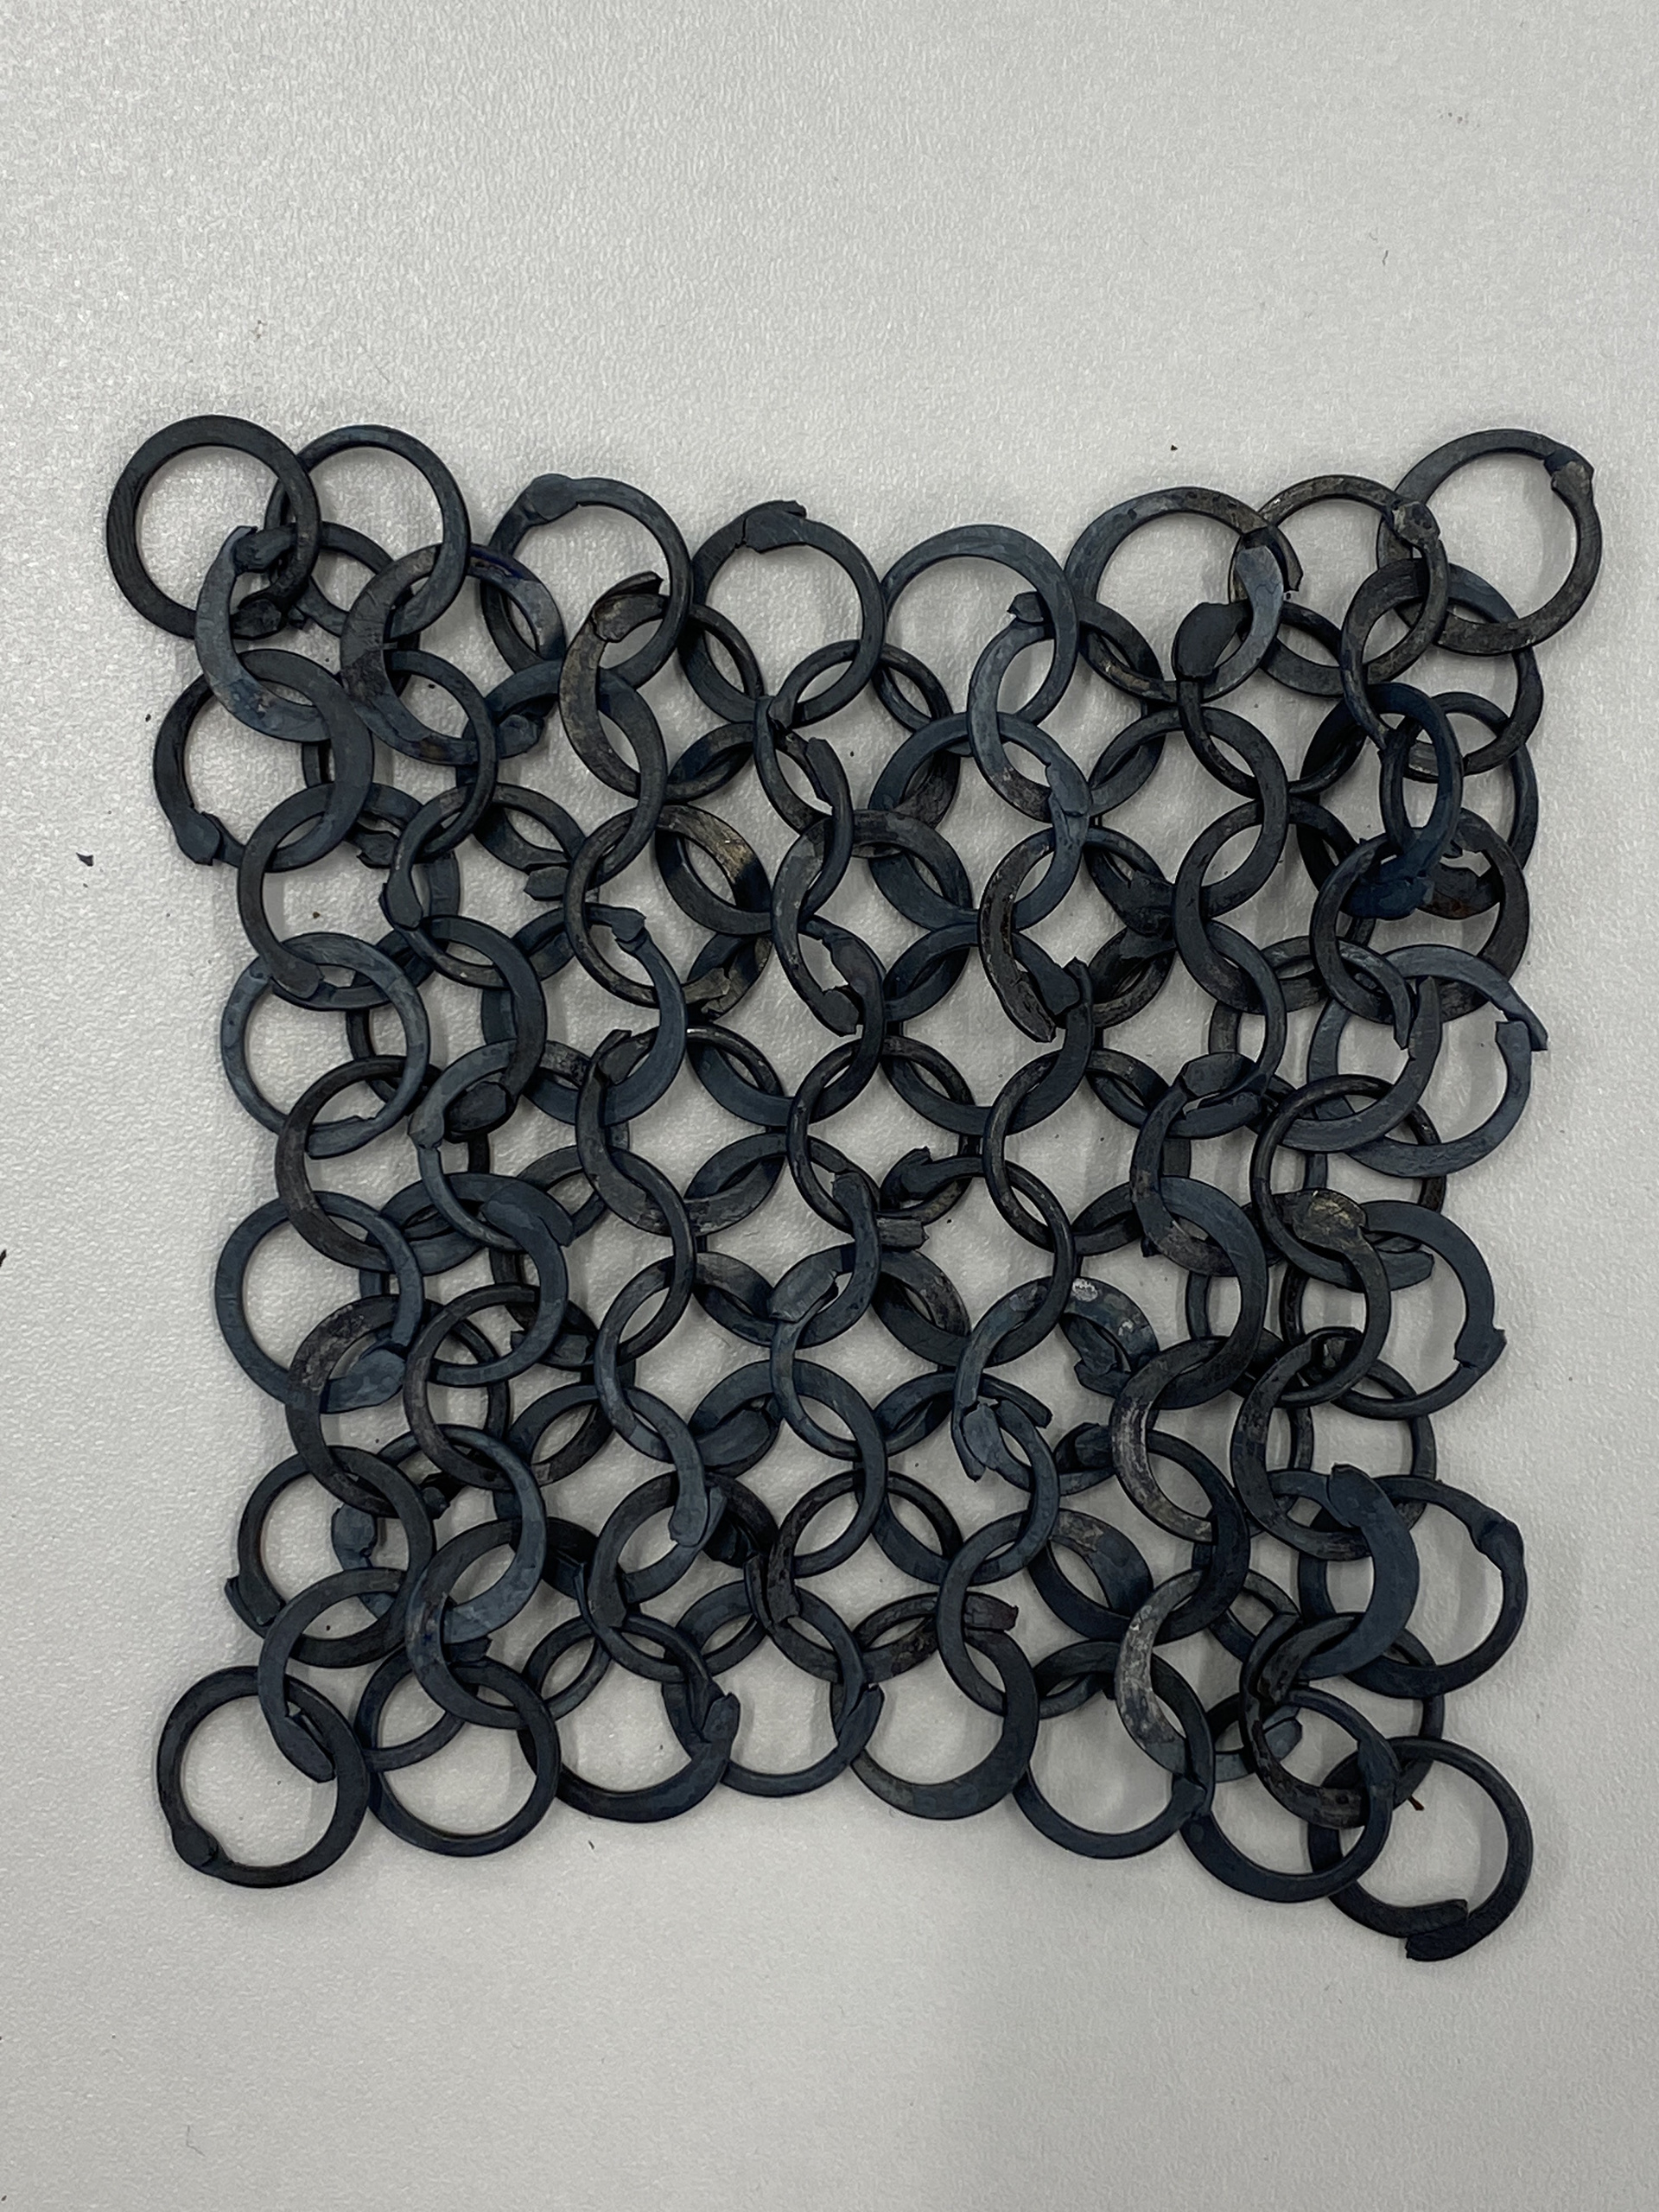

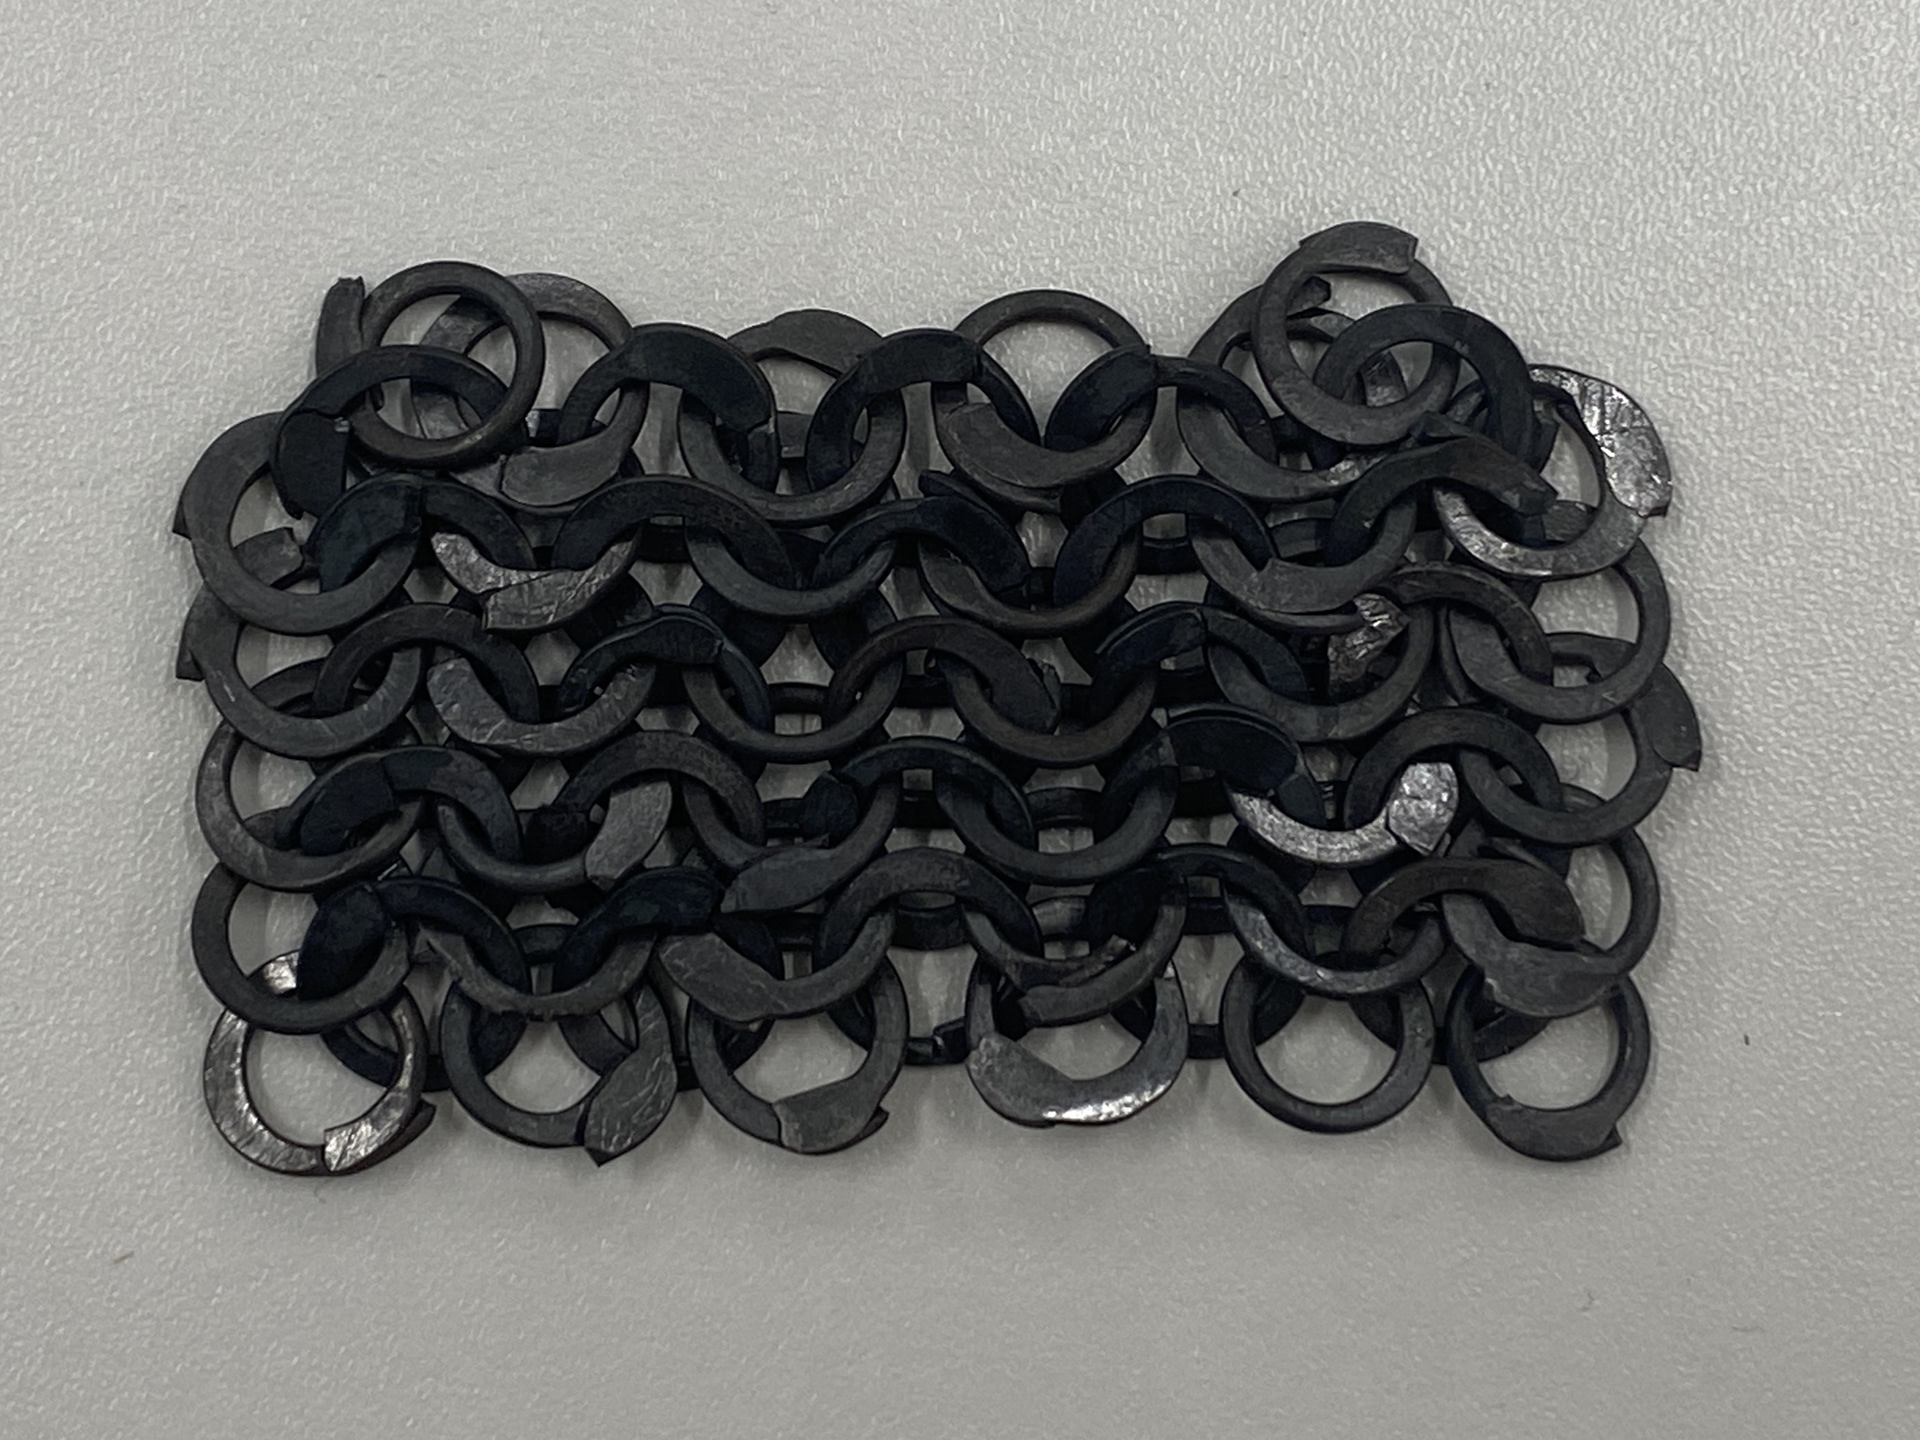
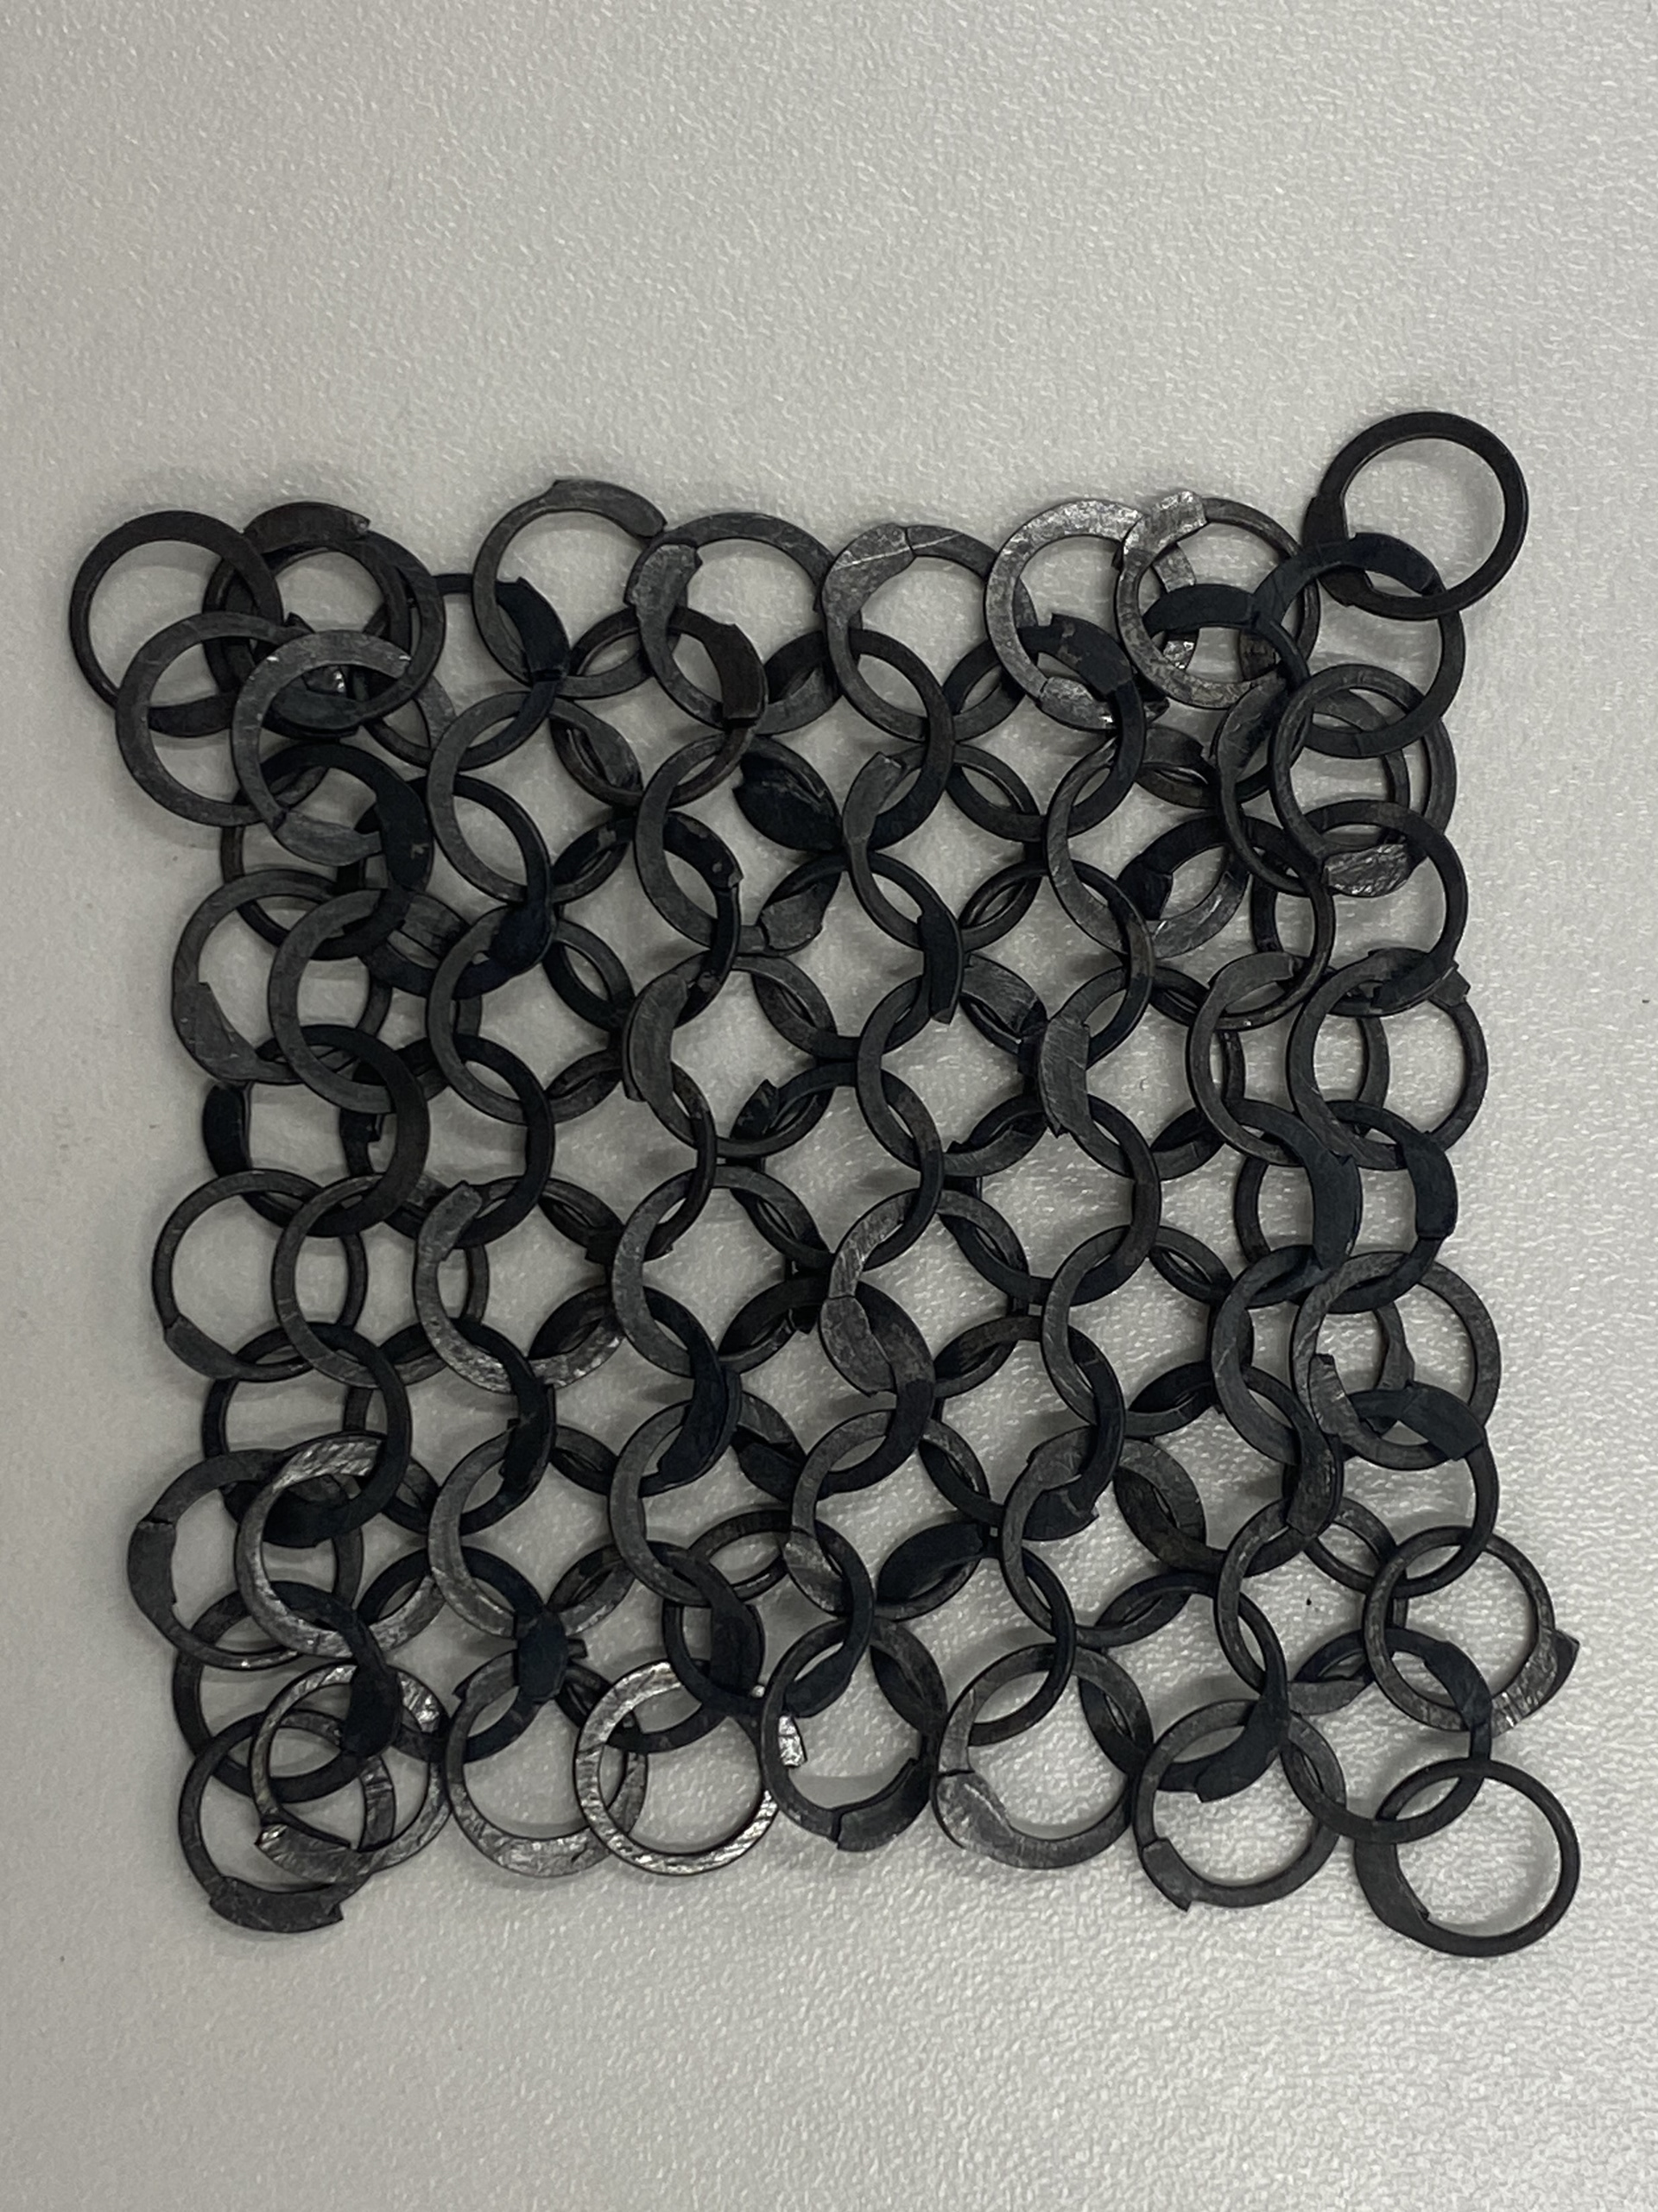
Whilst creating the riveted piece of mail, there were many links which weren't usable as the overlap was too small or the ends of the link had shifted apart from each other. This was due to either not leaving enough overlap when snipping the coil into link or uneven annealing. From these unusable links I created a piece of mail to explore imperfections and waste from my manufacturing processes.
My intention was to highlight imperfections and the unique individual links. However, I think this is a failure as the piece looks overly messy. Rather than is being unique, I feel that it is simply poorly made mail.
Testing plate mail
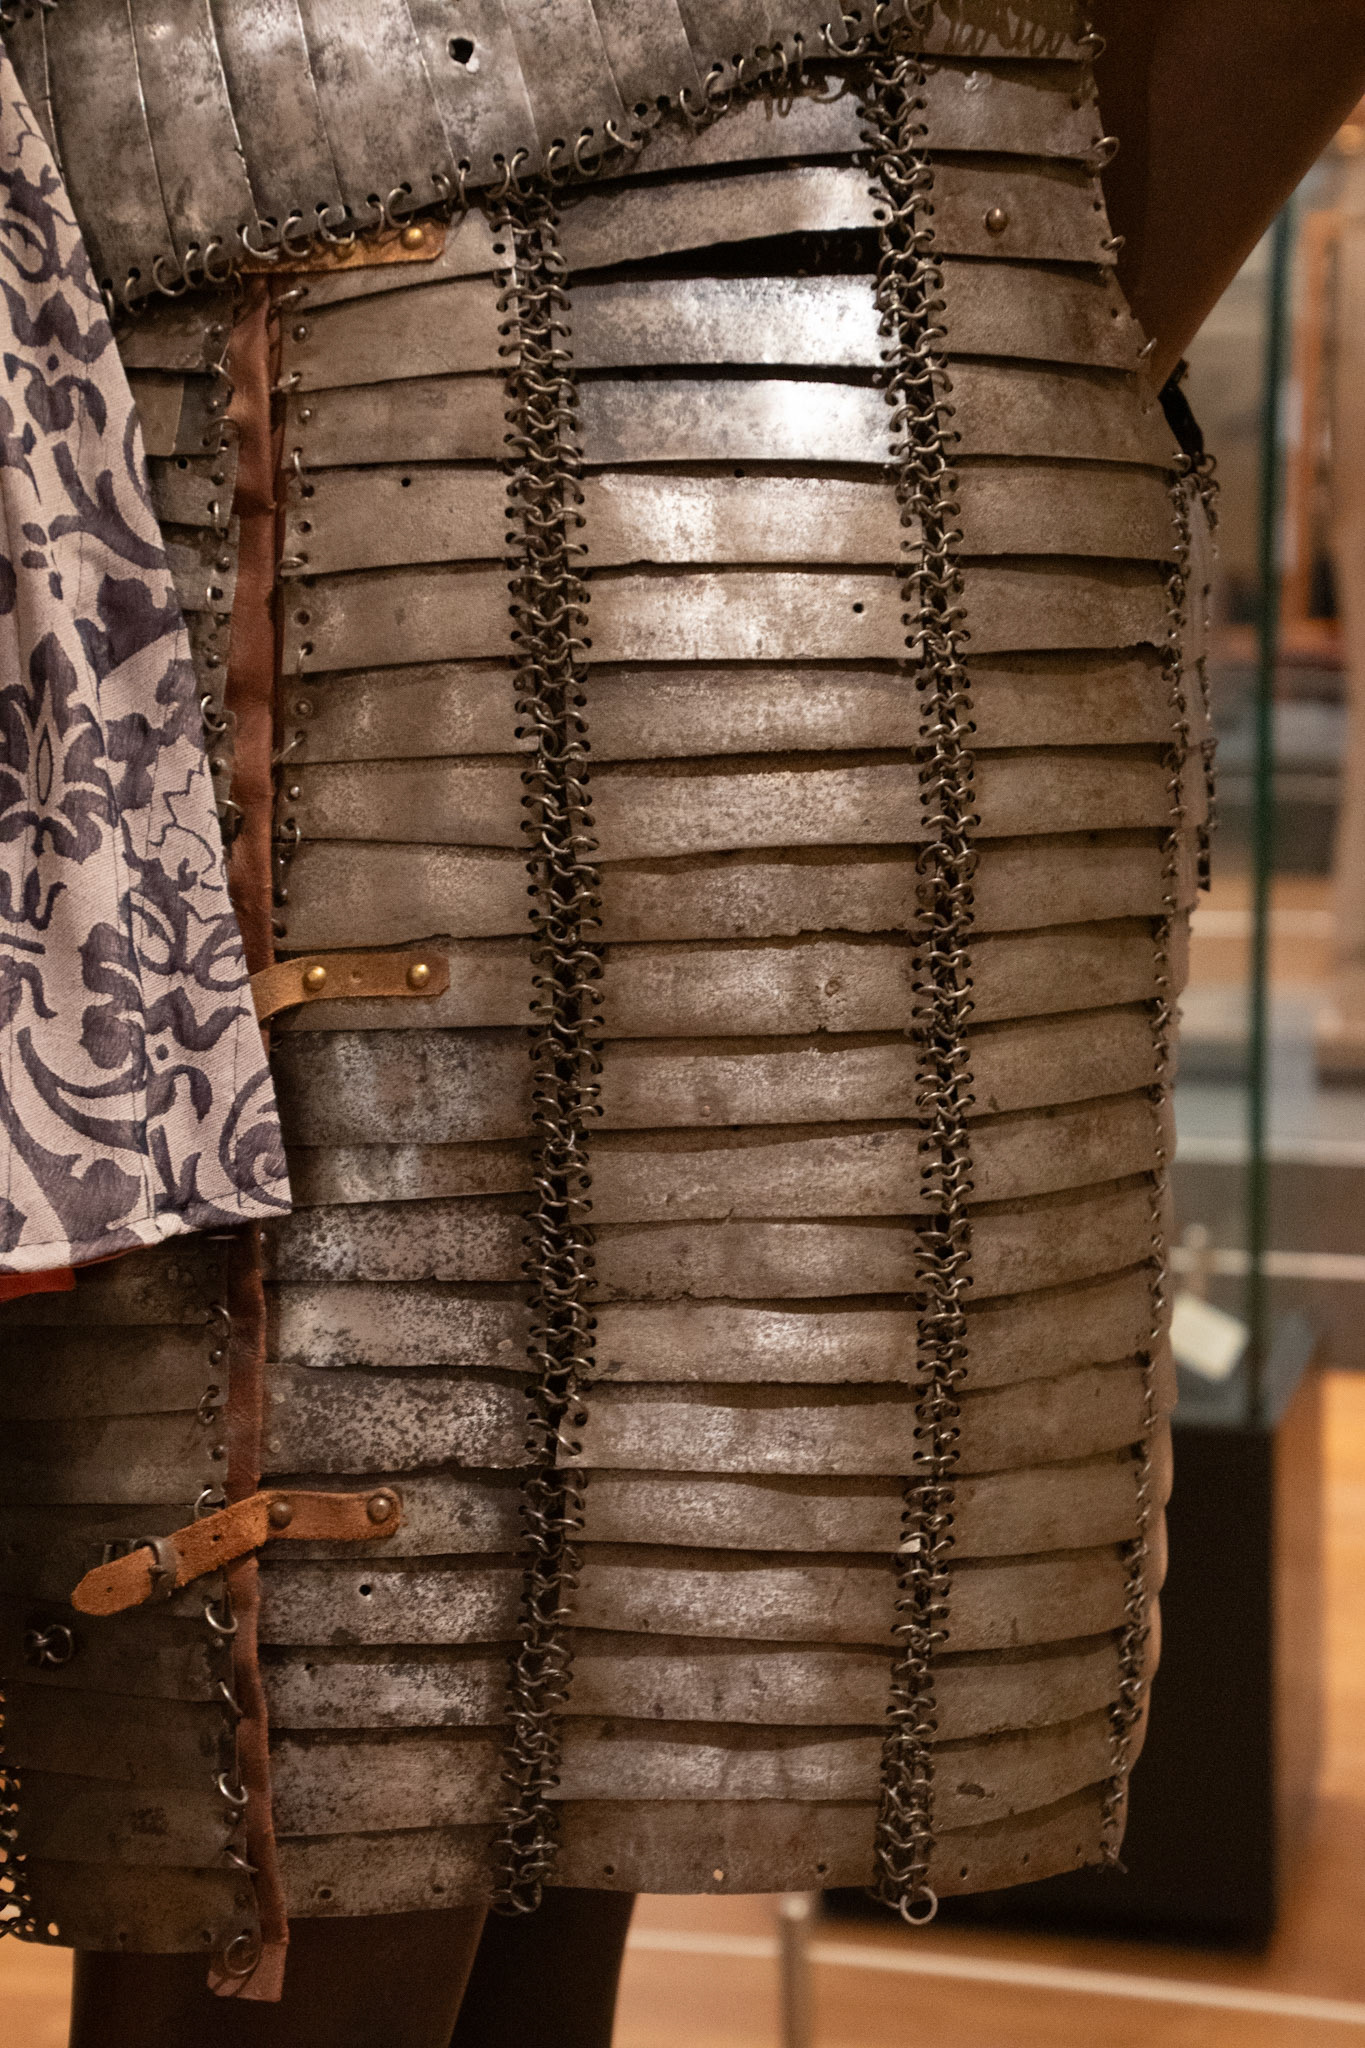
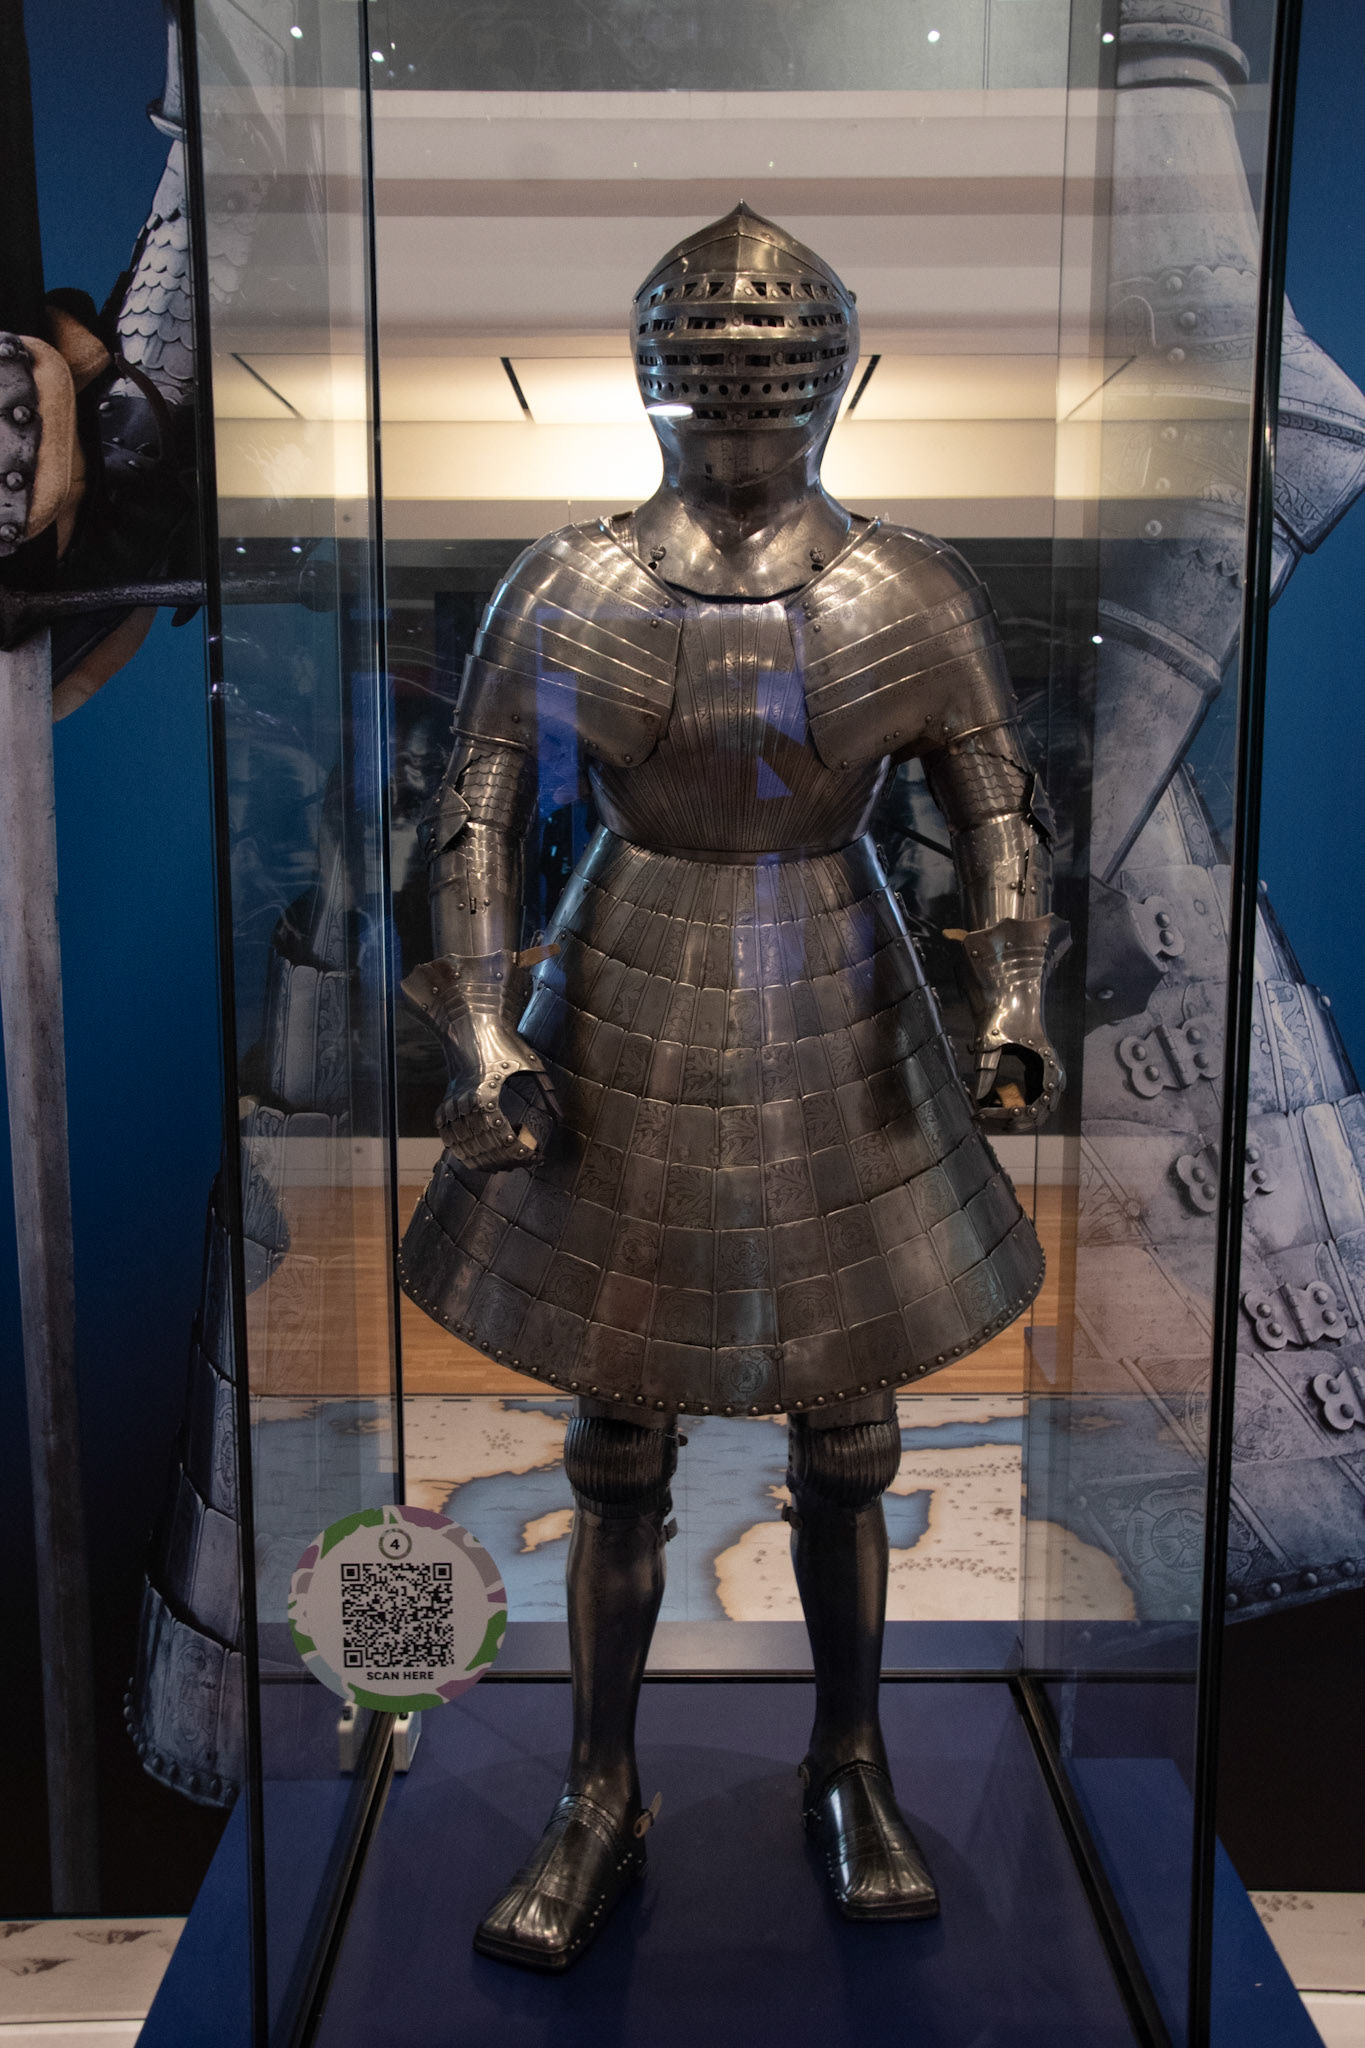
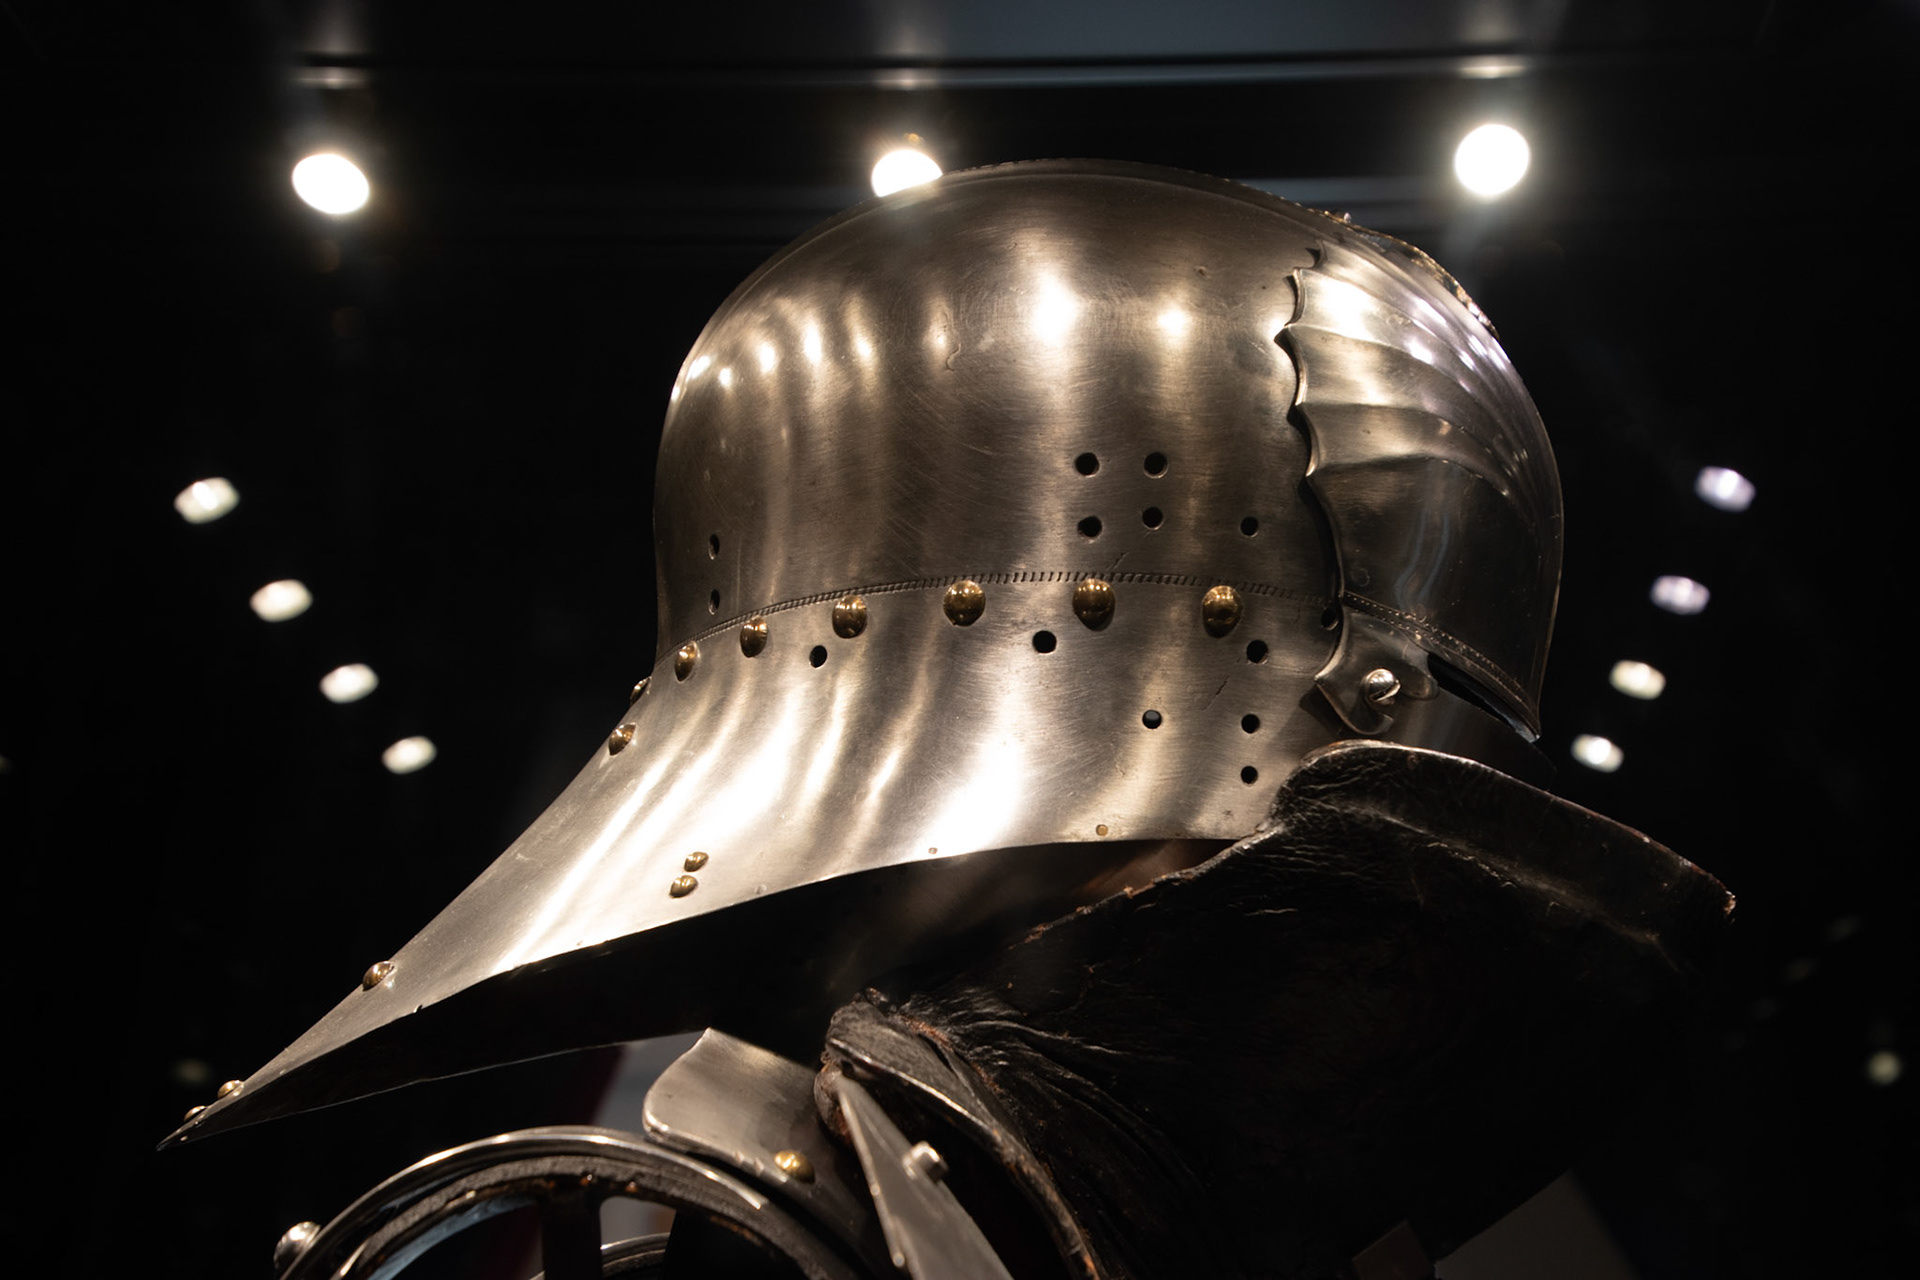
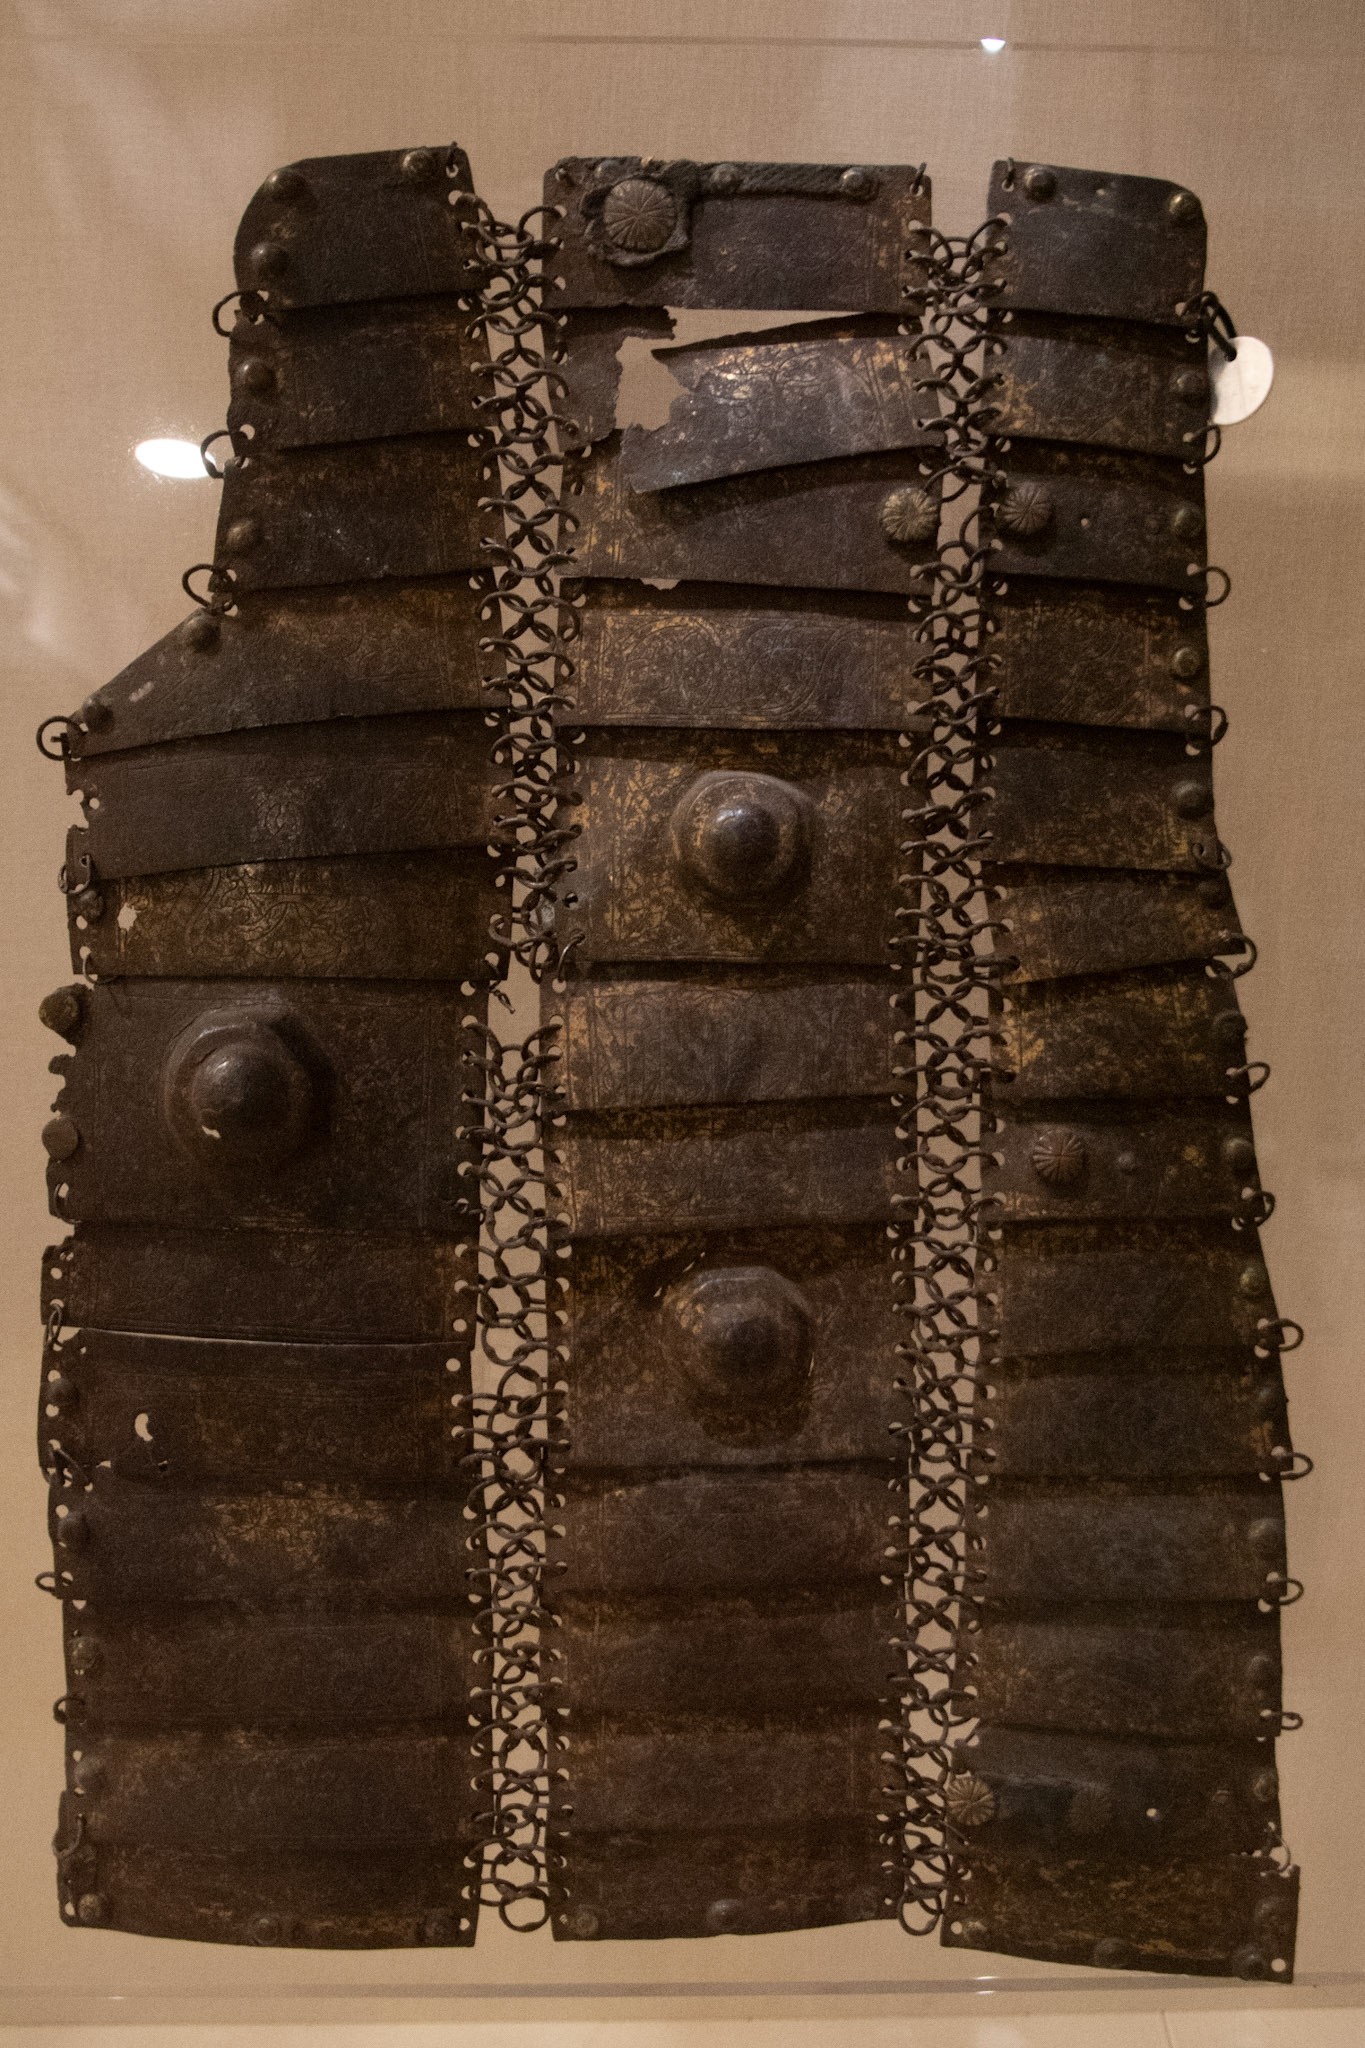
Indian, 15-18th century
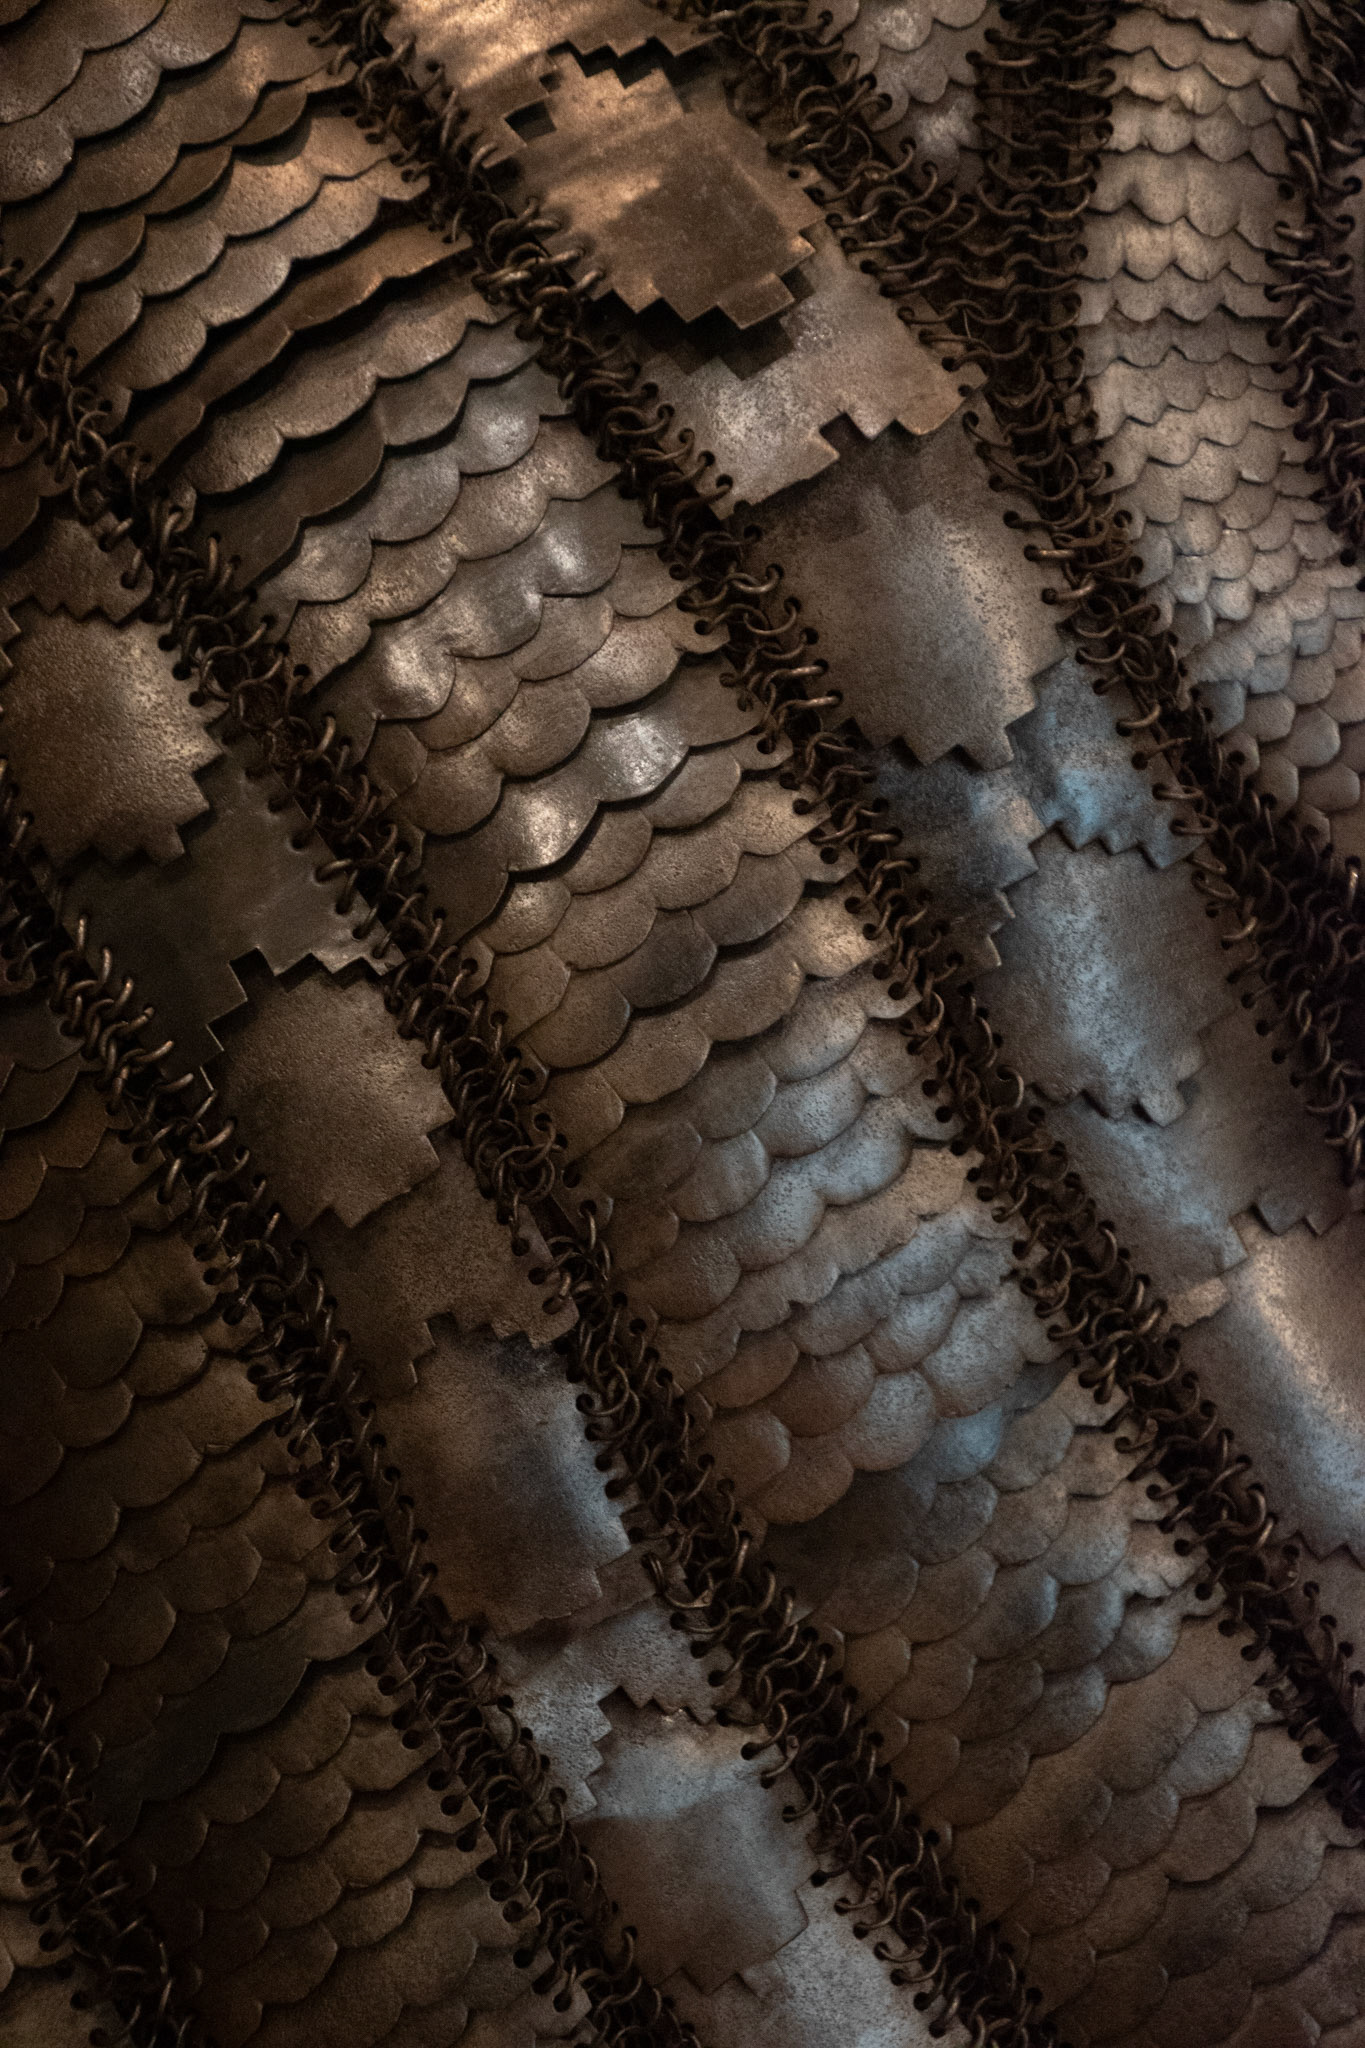
Indian, 15-18th century
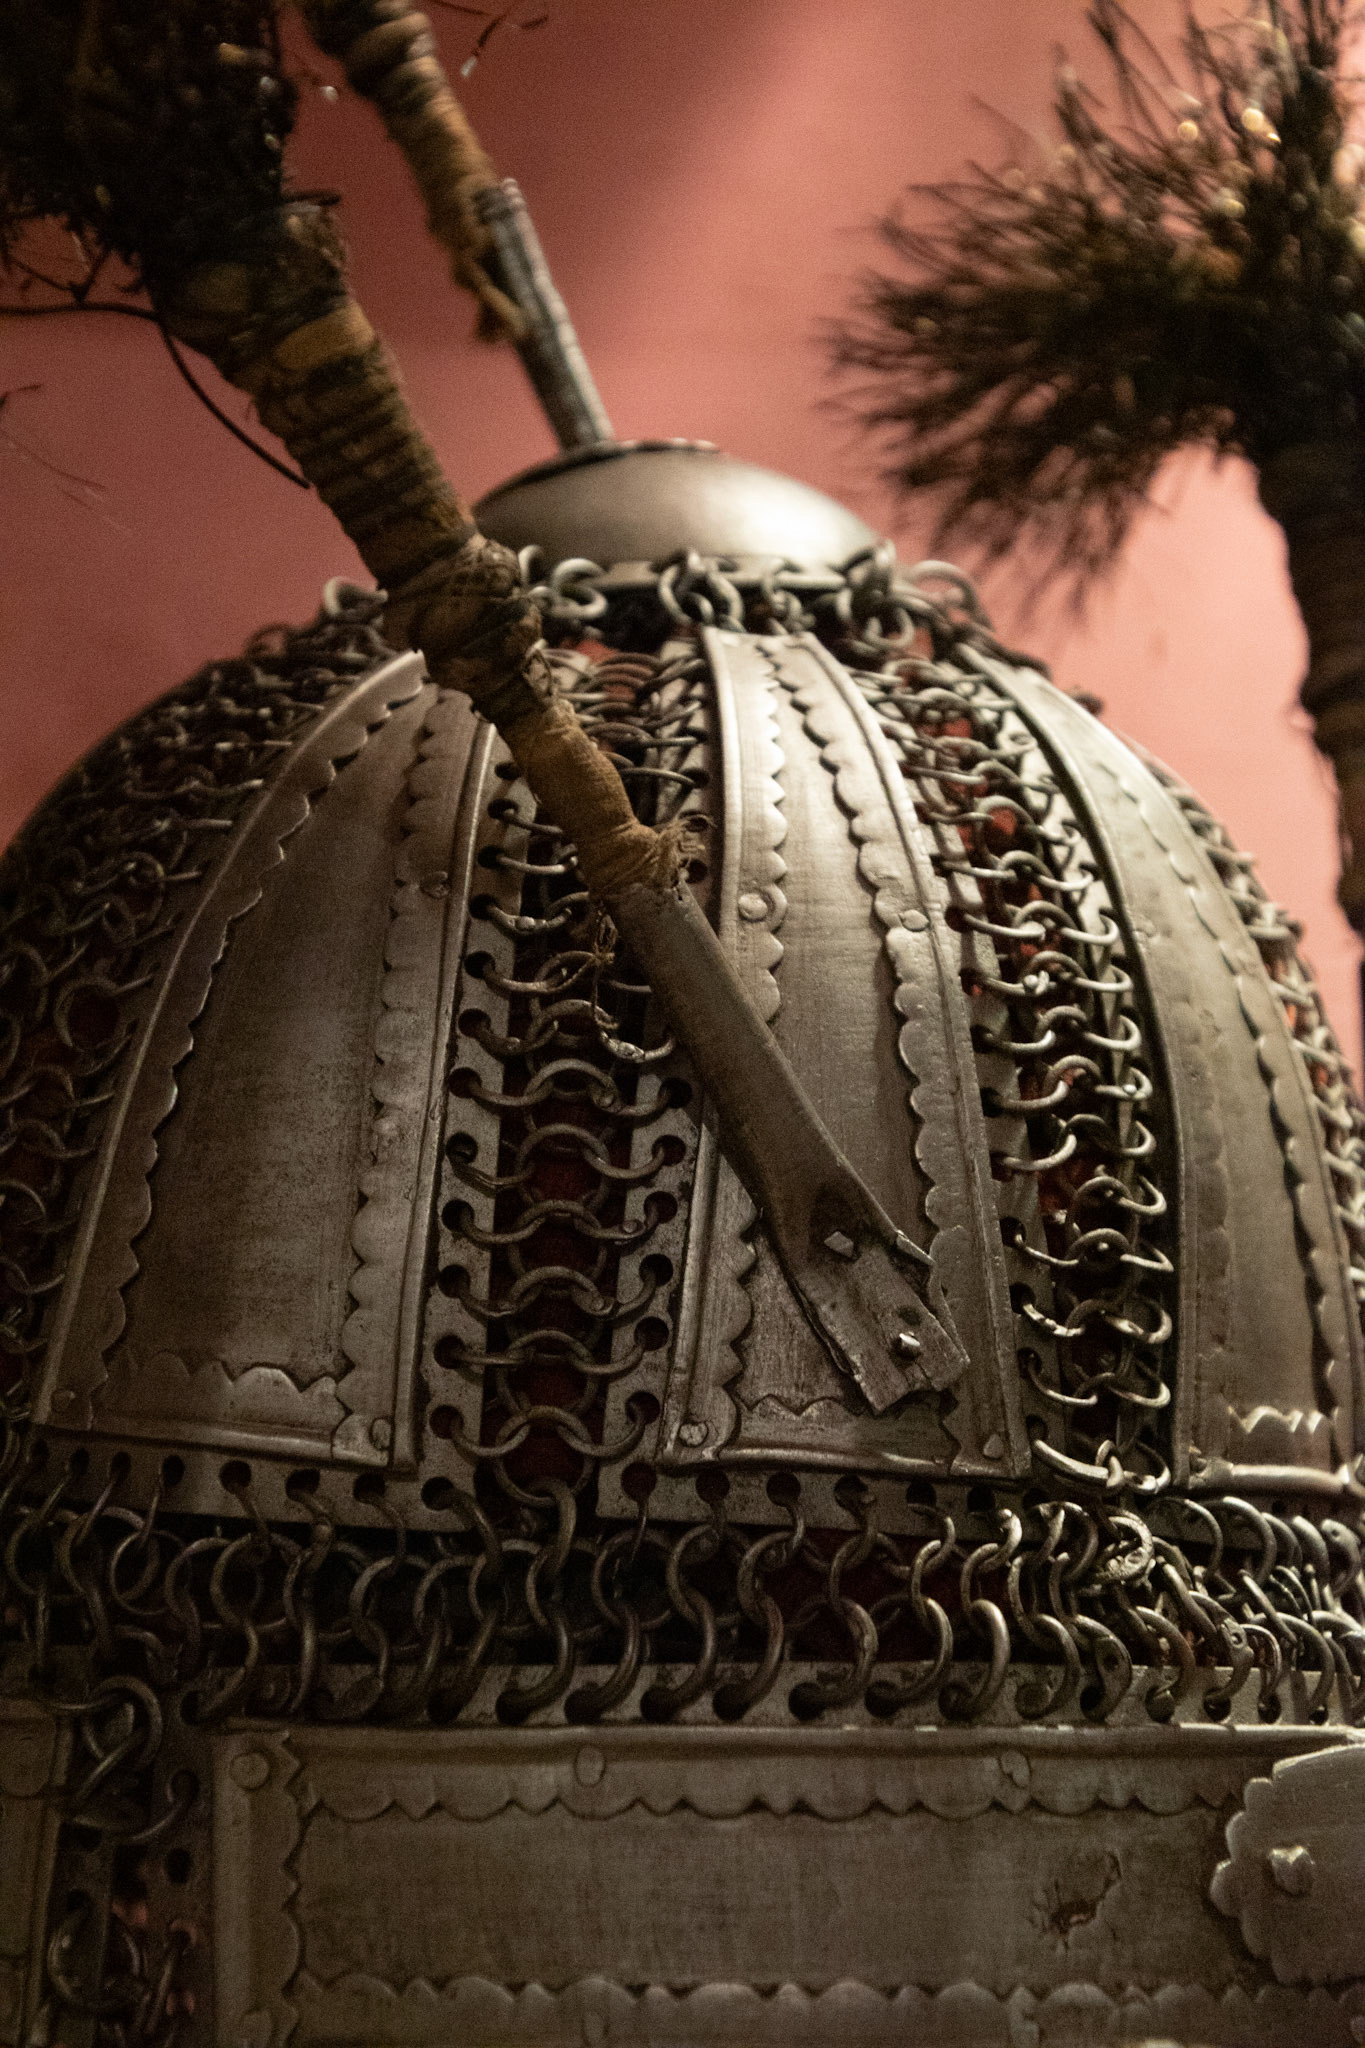
Indian, Mughal, early 17th century
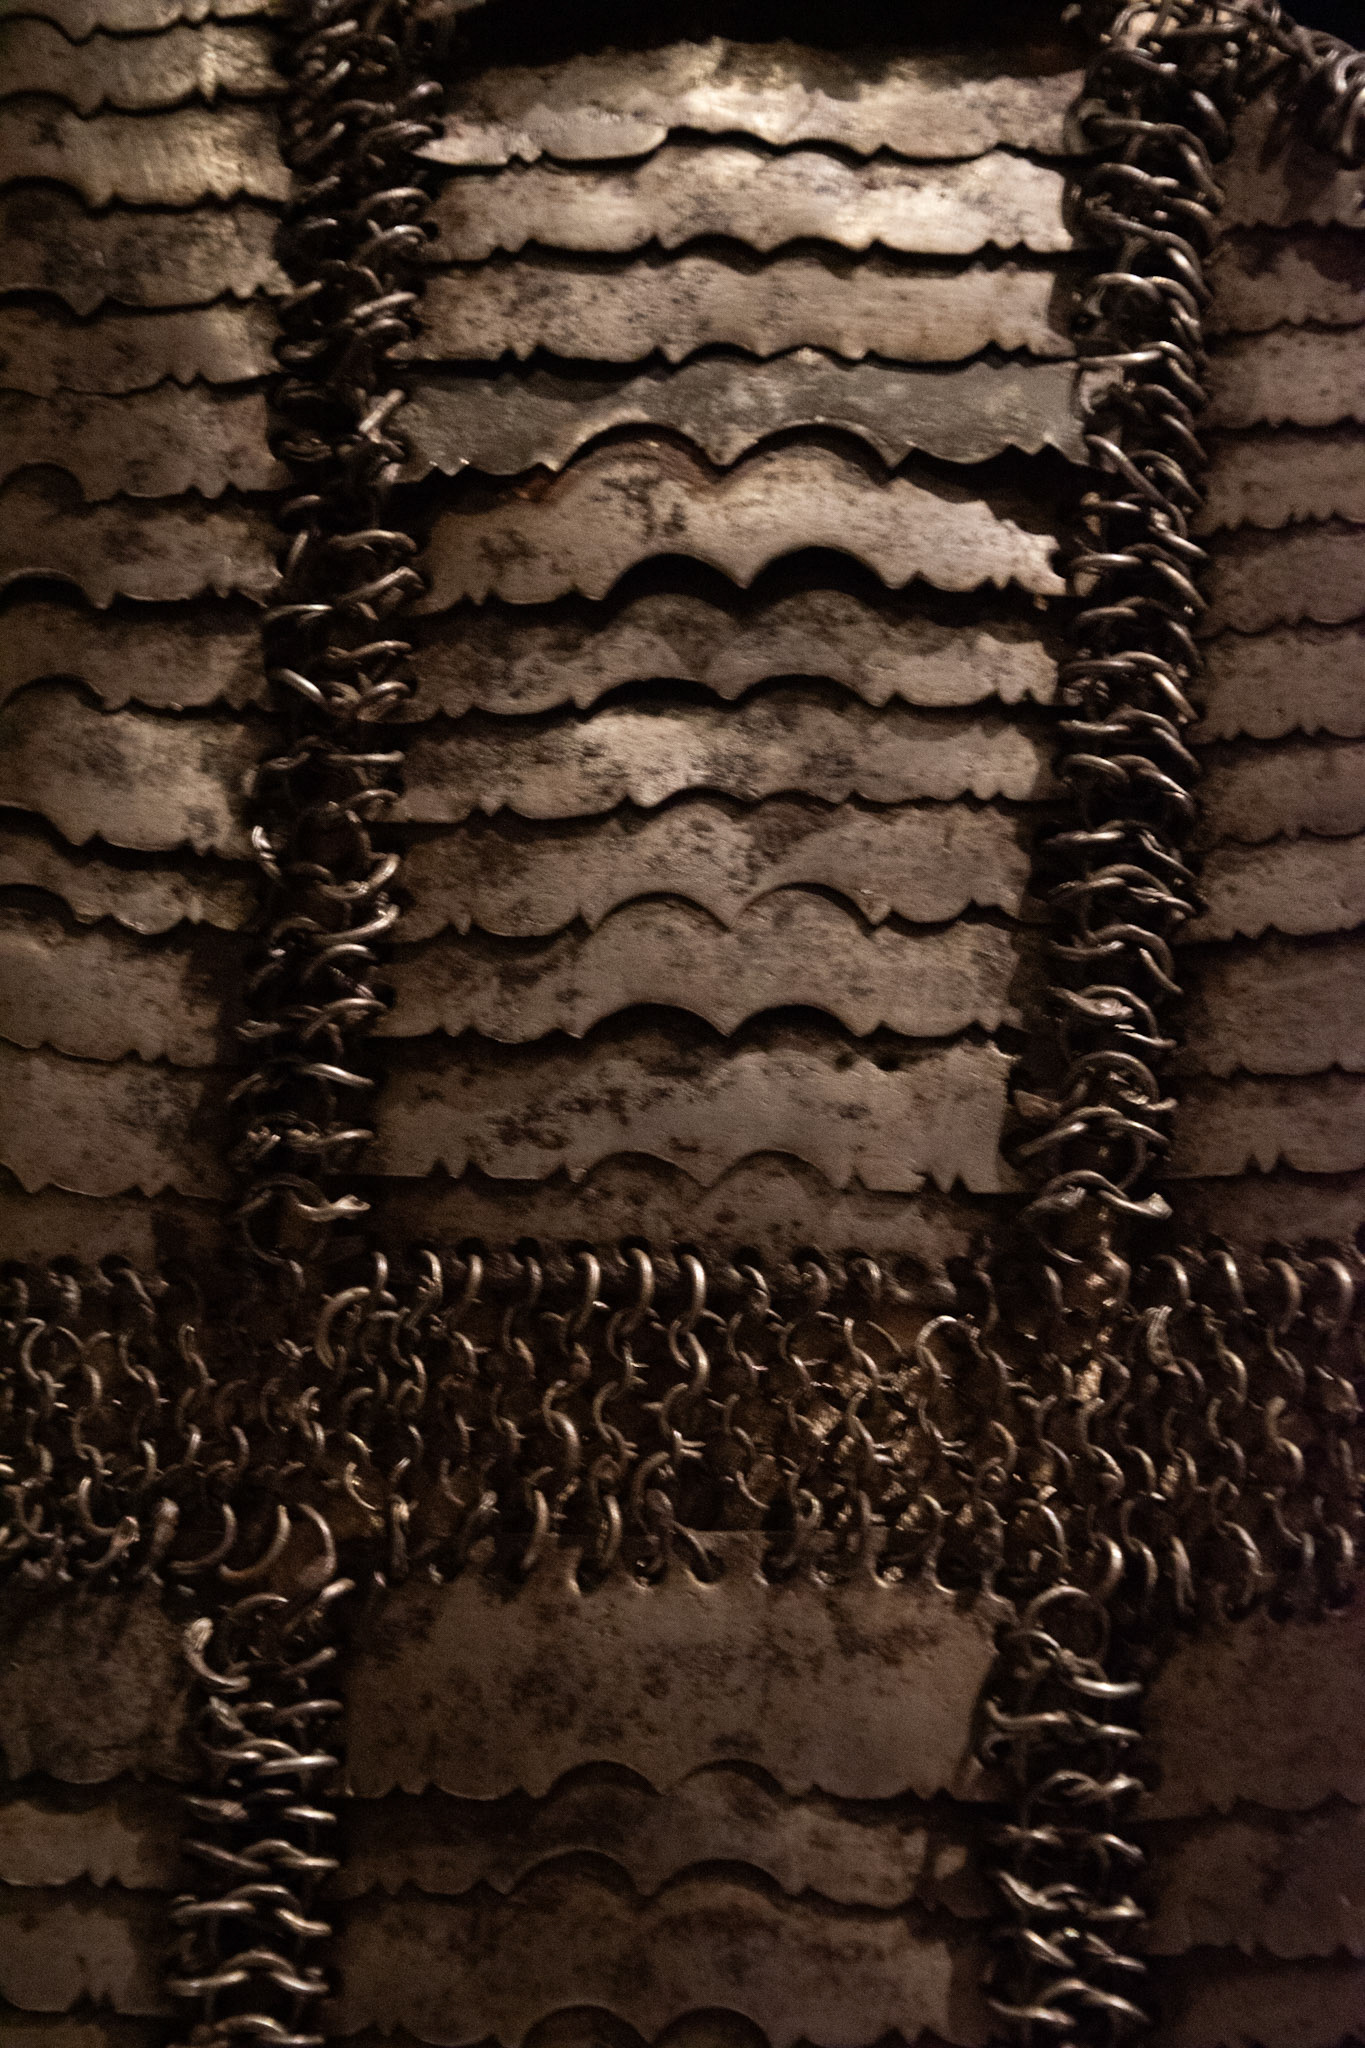
Indian, 16-17th century
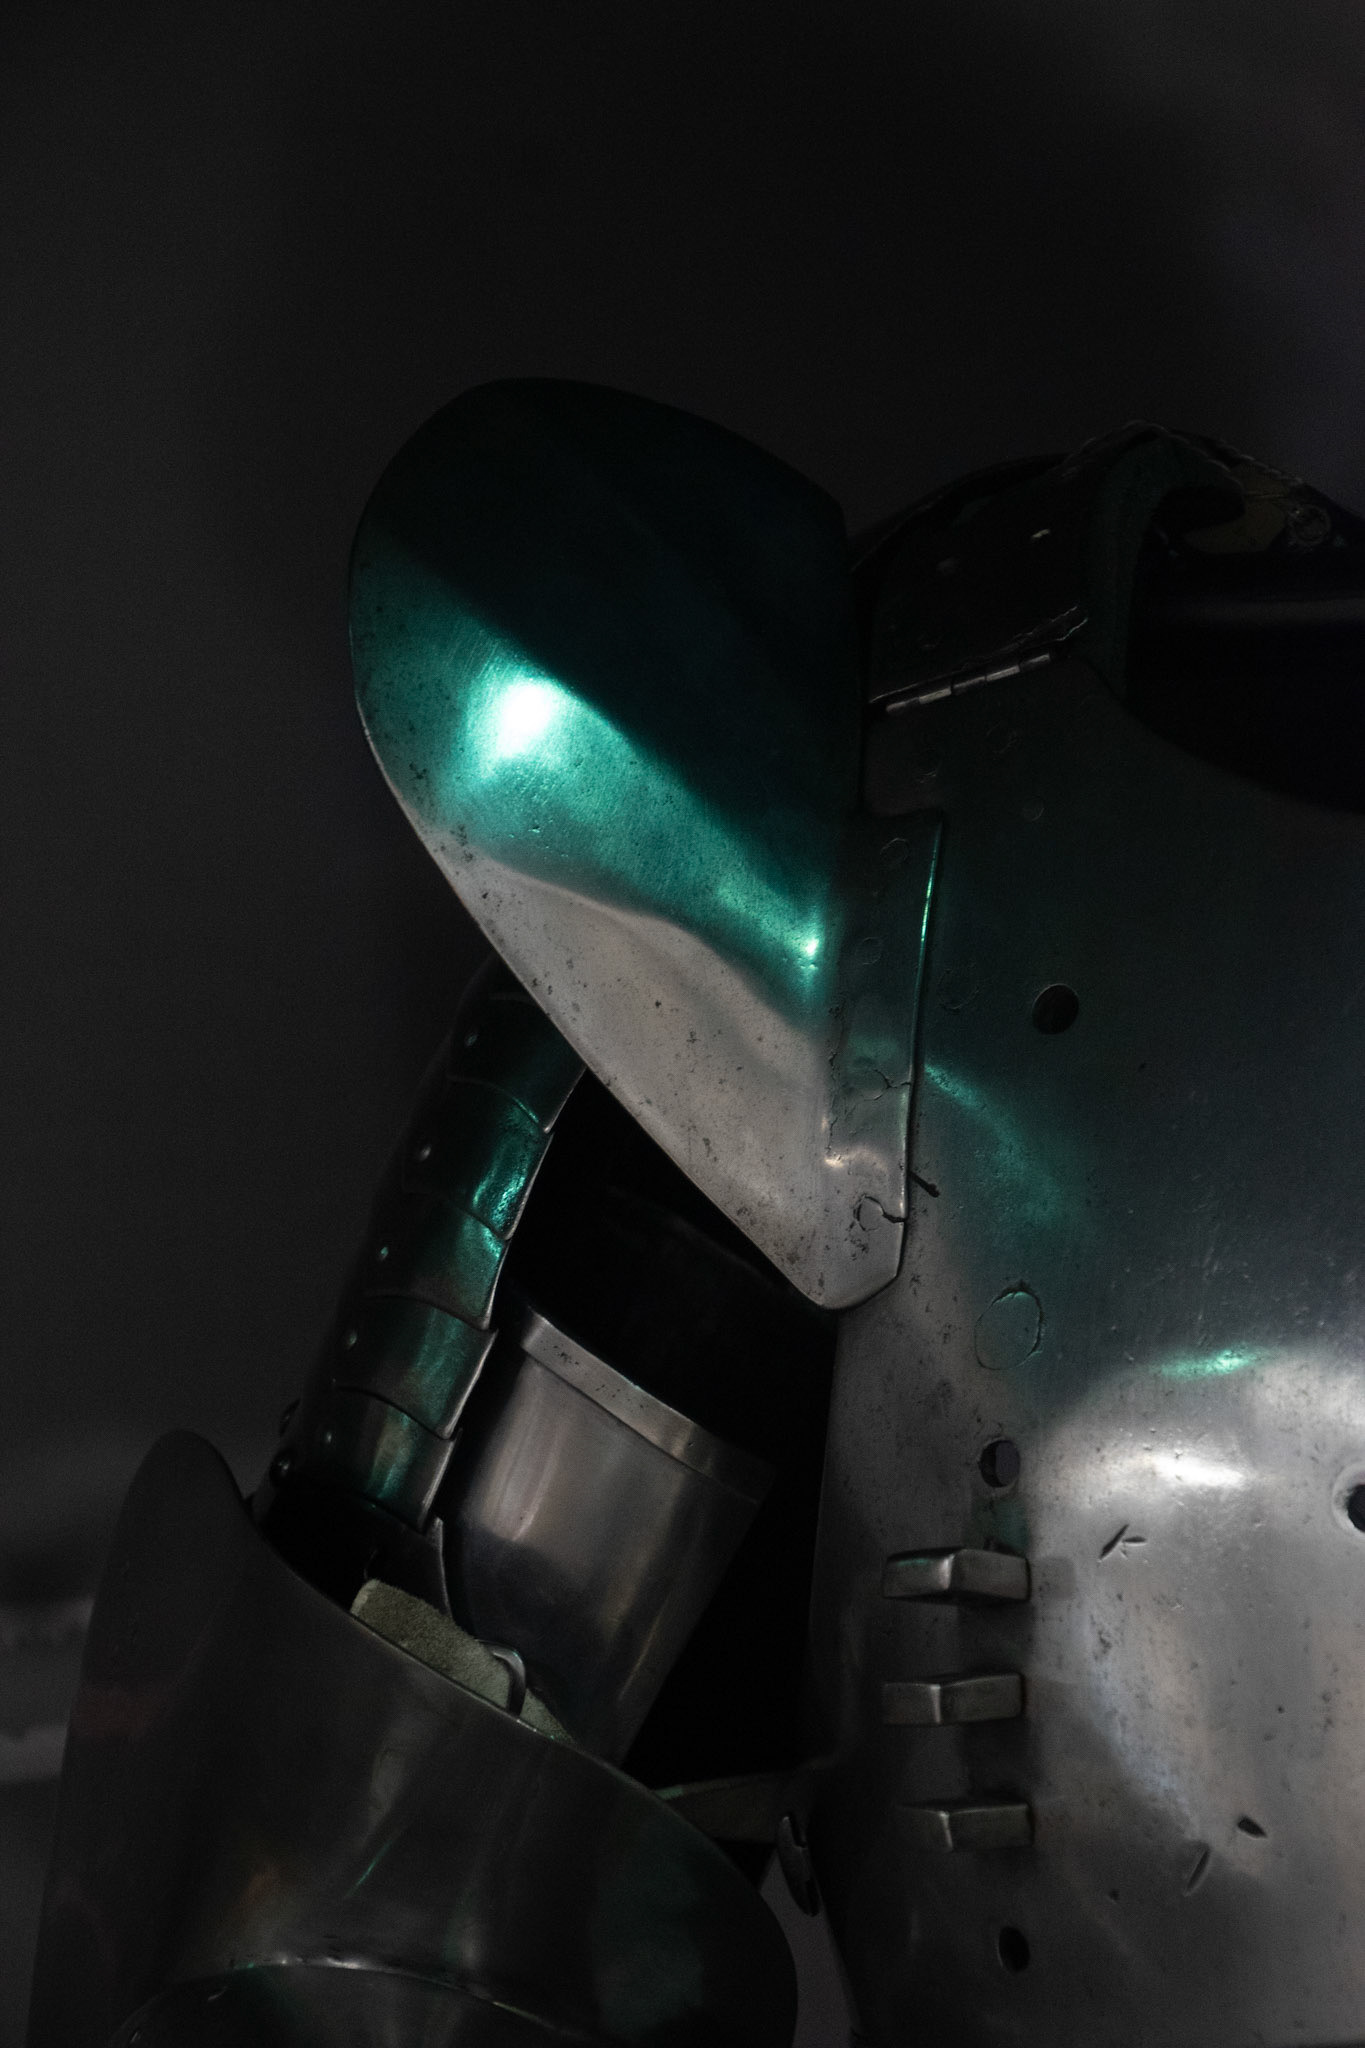
I wanted to explore the possibilities of mail looking past the simple sheets and tailoring. I looked at my reference photos from Royal Armoires Leeds to study how other cultures incorporated plate into mail. I think this is a good way to incorporate my sheet working skills and add details and pattern into the mail. Additionally, if I want to explore larger designs in the future it will be a quicker way to cover a greater surface area.
I tested this technique using greyboard and the 12mm butted links.
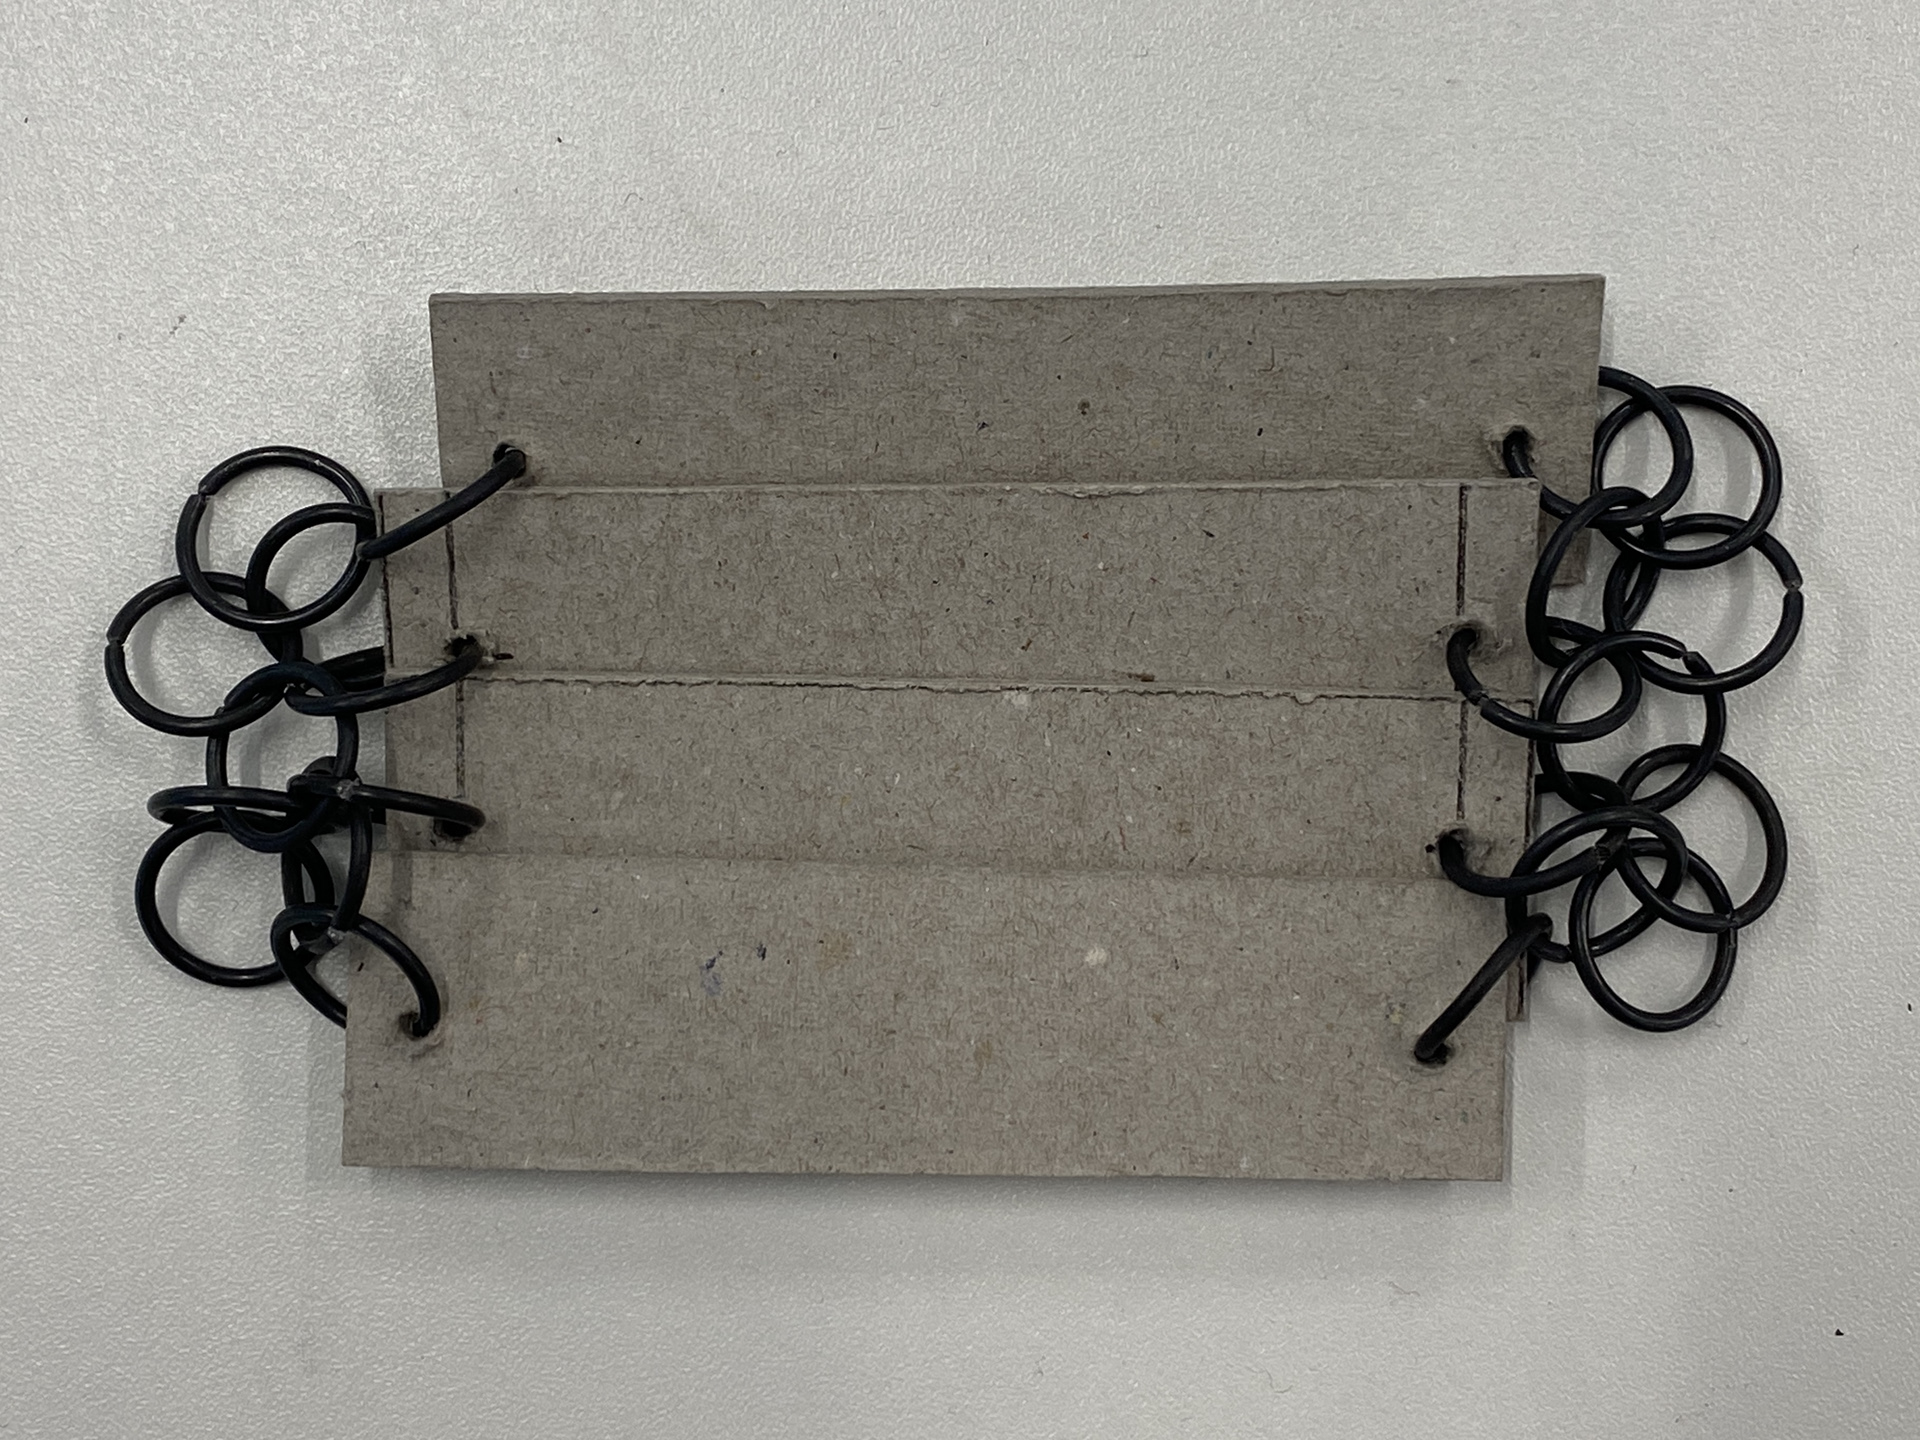
My first test was using 25mm sheets with a hole drilled 5mm into the plate along the horizontal centre. This didn’t produce the desired result of a flexible structure as there was too large a gap between each sheet and they tended to stack in the wrong order.
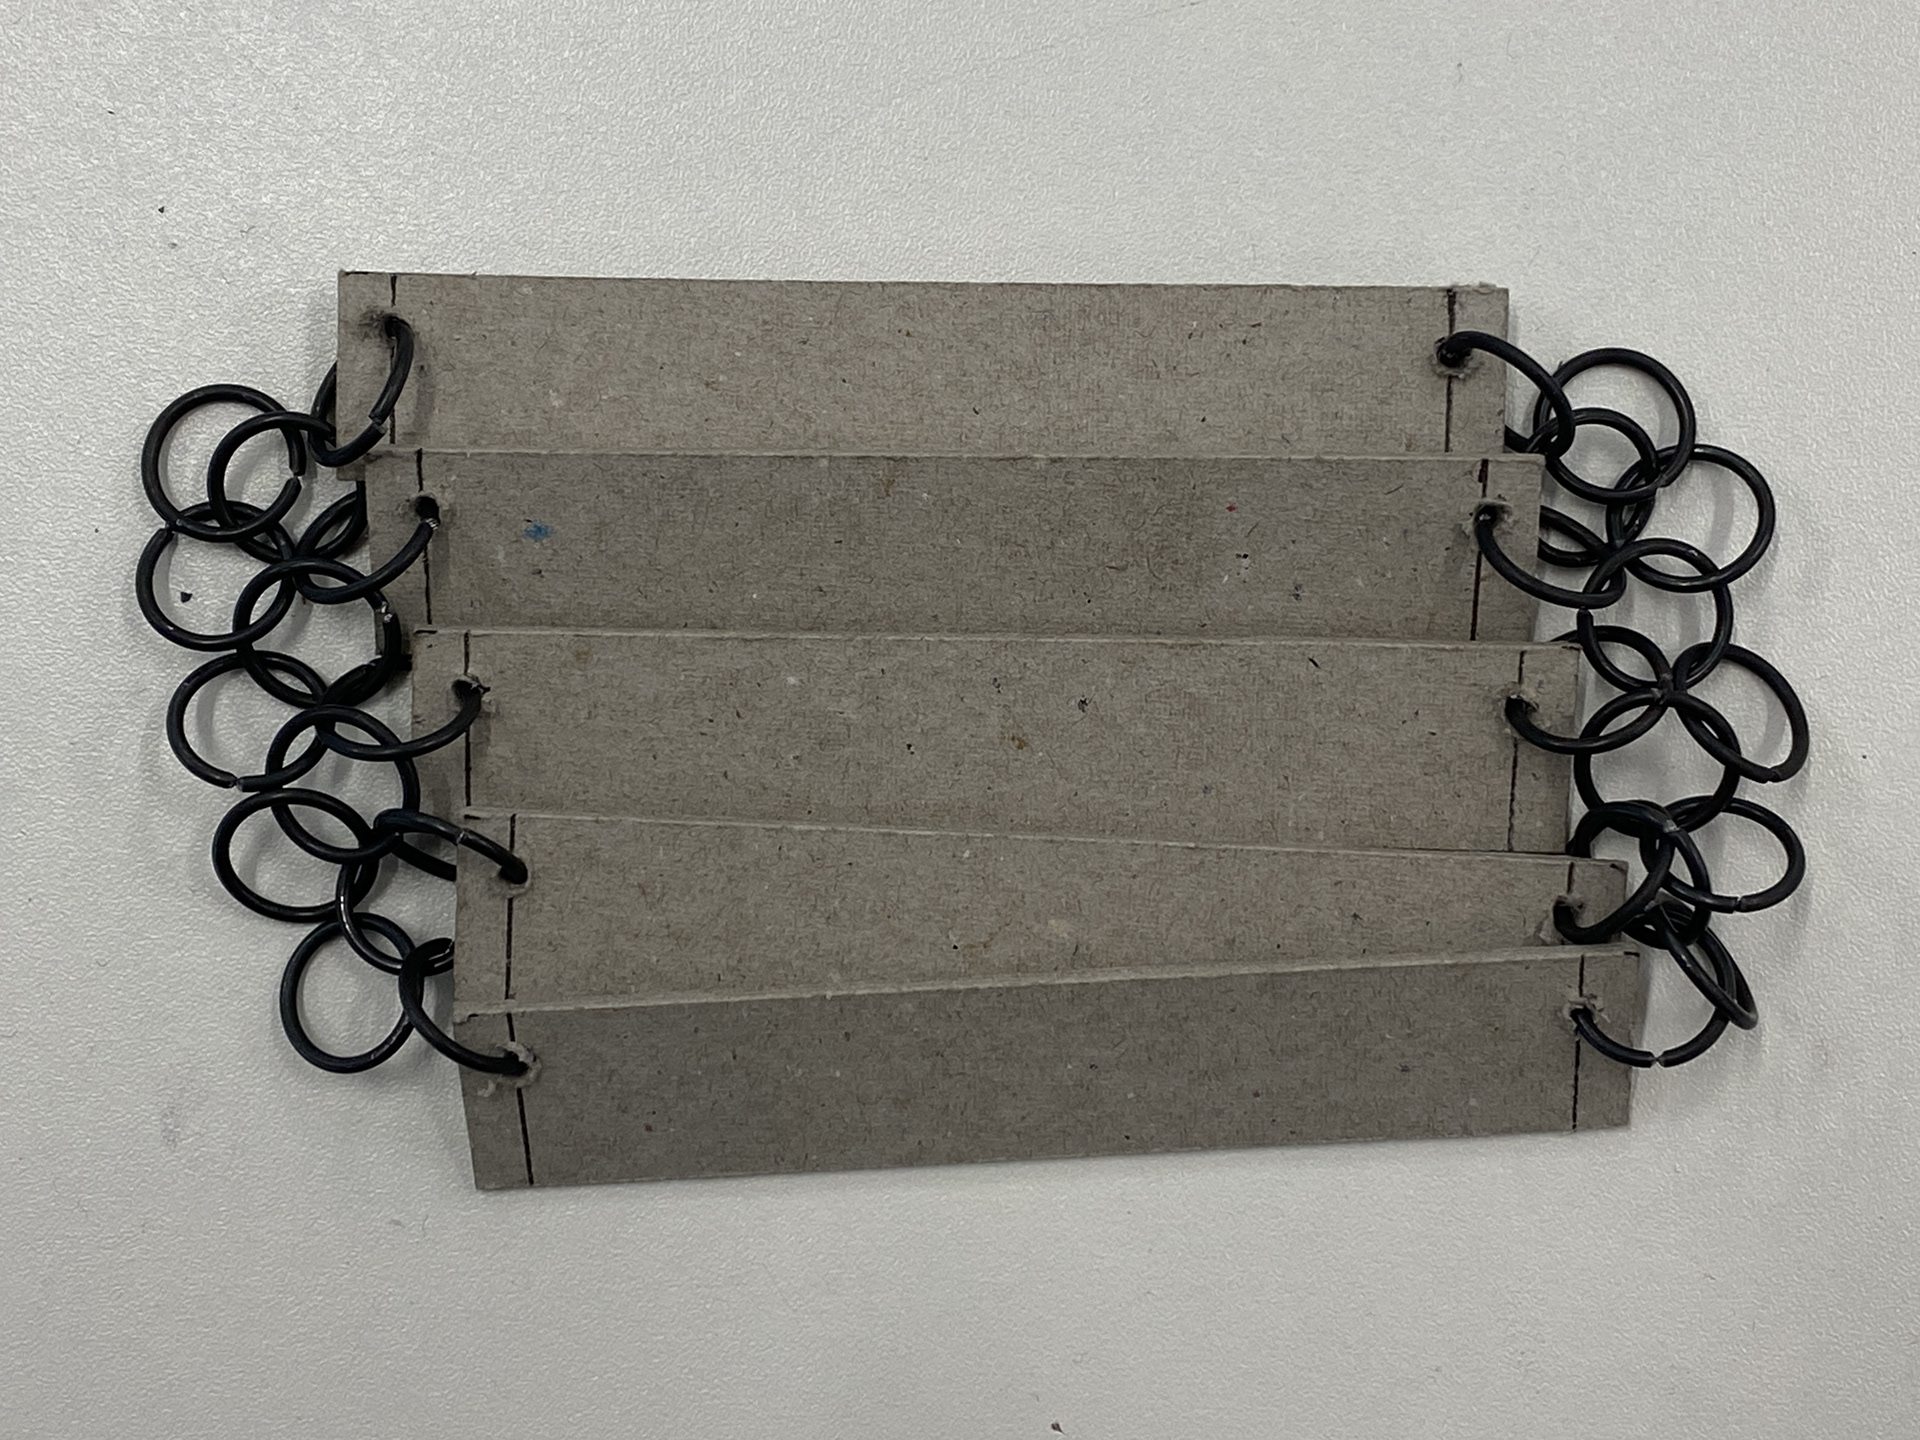
I then tested placing the hole in the top corner, 5mm in from the edge. I also used a 20mm wide sheet to test if a plate close to the size of a link would work well. The placement of the hole improved the structure, but the plate was too small, so the miss stacking was still present.
I tested using a larger plate (35mm) to reduce the air gaps that formed when moving the structure. However, this created a too rigid a sheet and the mail on the edges began pulling together so much that adding multiple of these in a larger sheet wouldn't be possible.
I returned to the 25mm plates with the holes place in the corner and found this worked much better. However, when the sheet was moved, lots the plates’ corners would sometimes get stuck in the links of mail.
I then tested the 25mm plates and rounded the edges which helped stop them getting trapped in the links. However, when connecting two rows together, I found that the mail in the centre was distorted.
I finally tested placing two holes in each sheet, inspired by my gallery visit. I found that this worked well and varying the size of the sheet simply increases or decreases the flexibility of the structure.
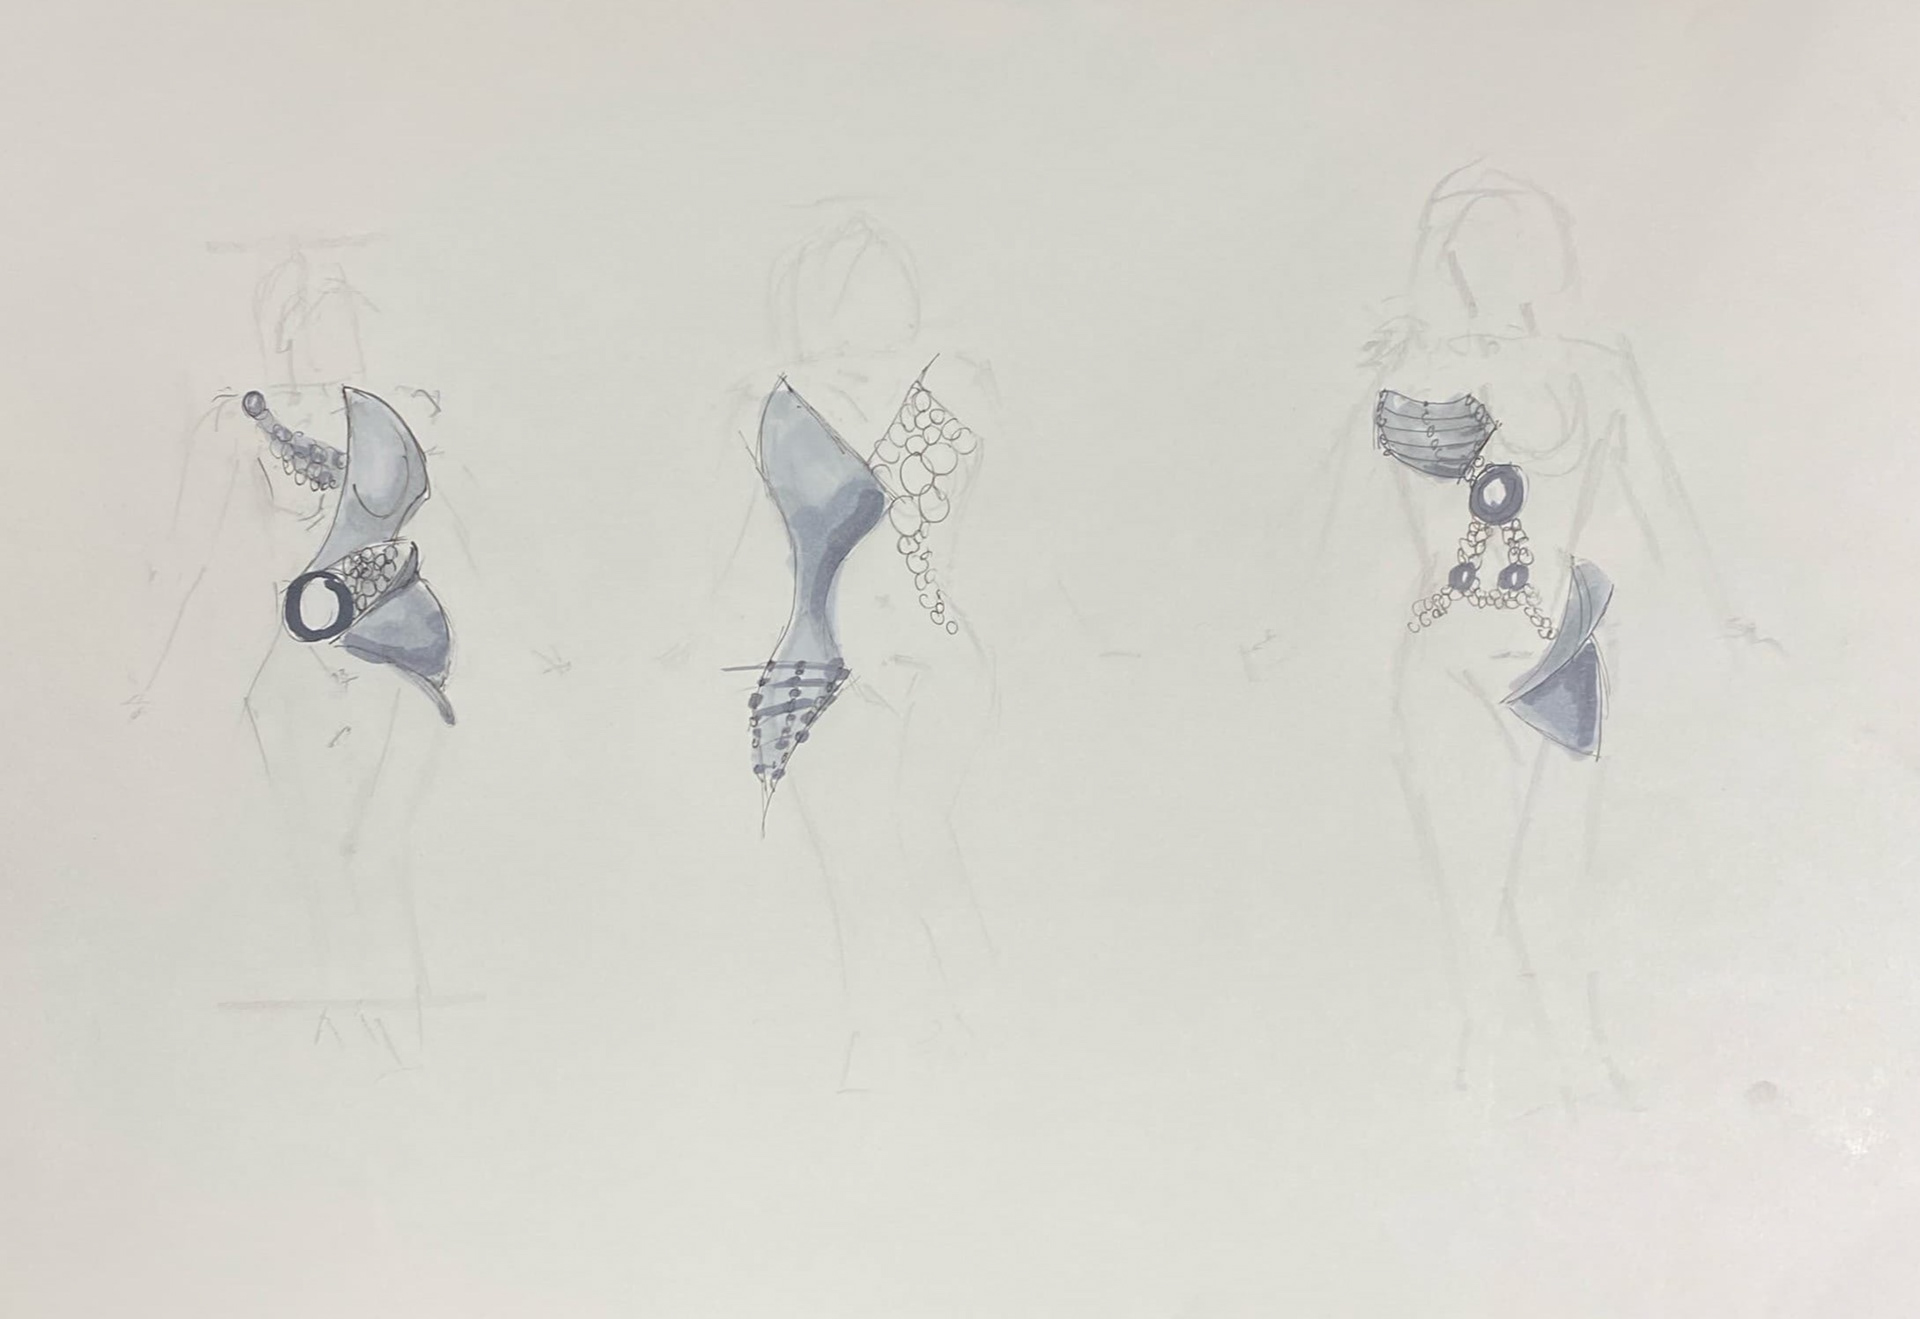
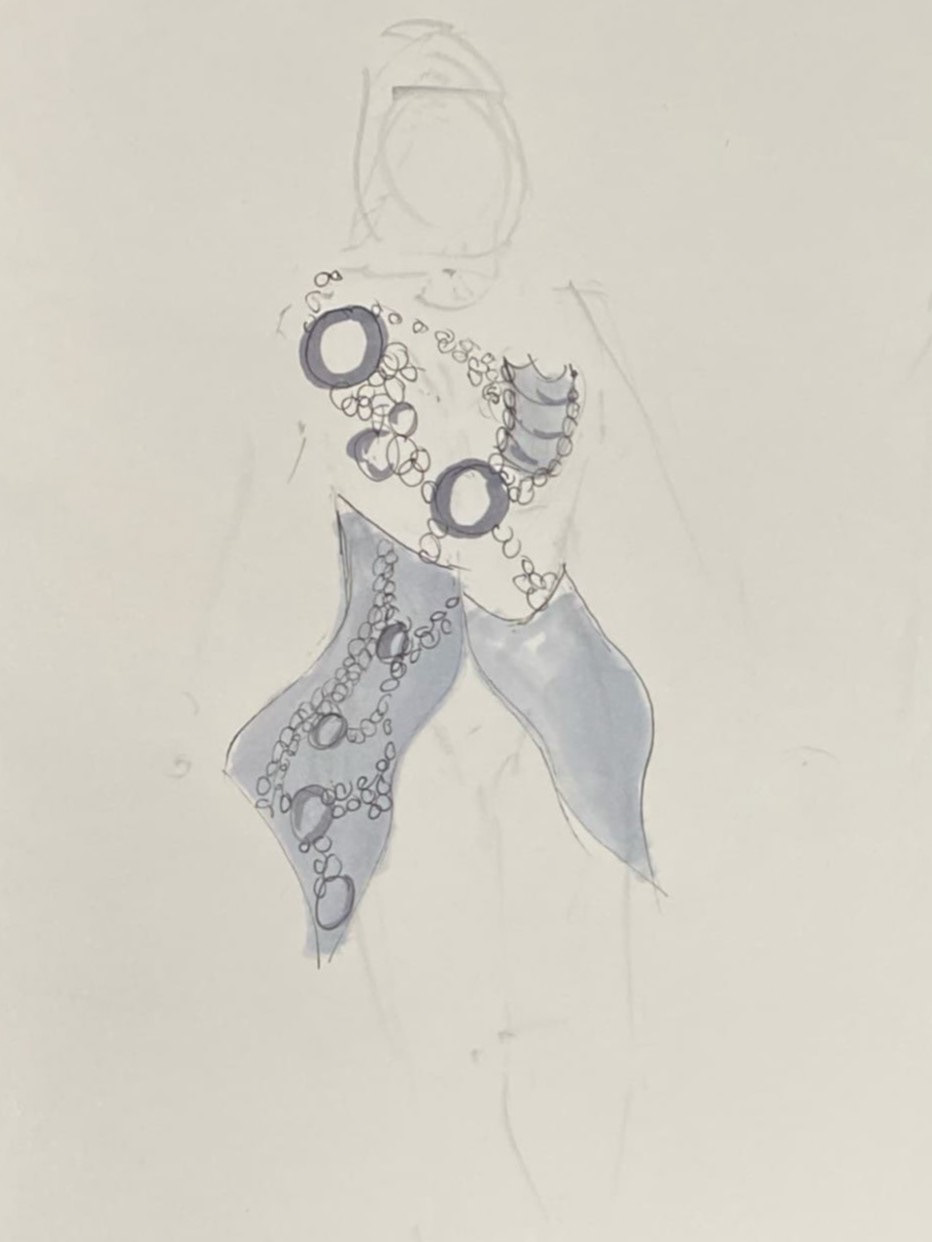
Initial sketches inspired by Gallery visit
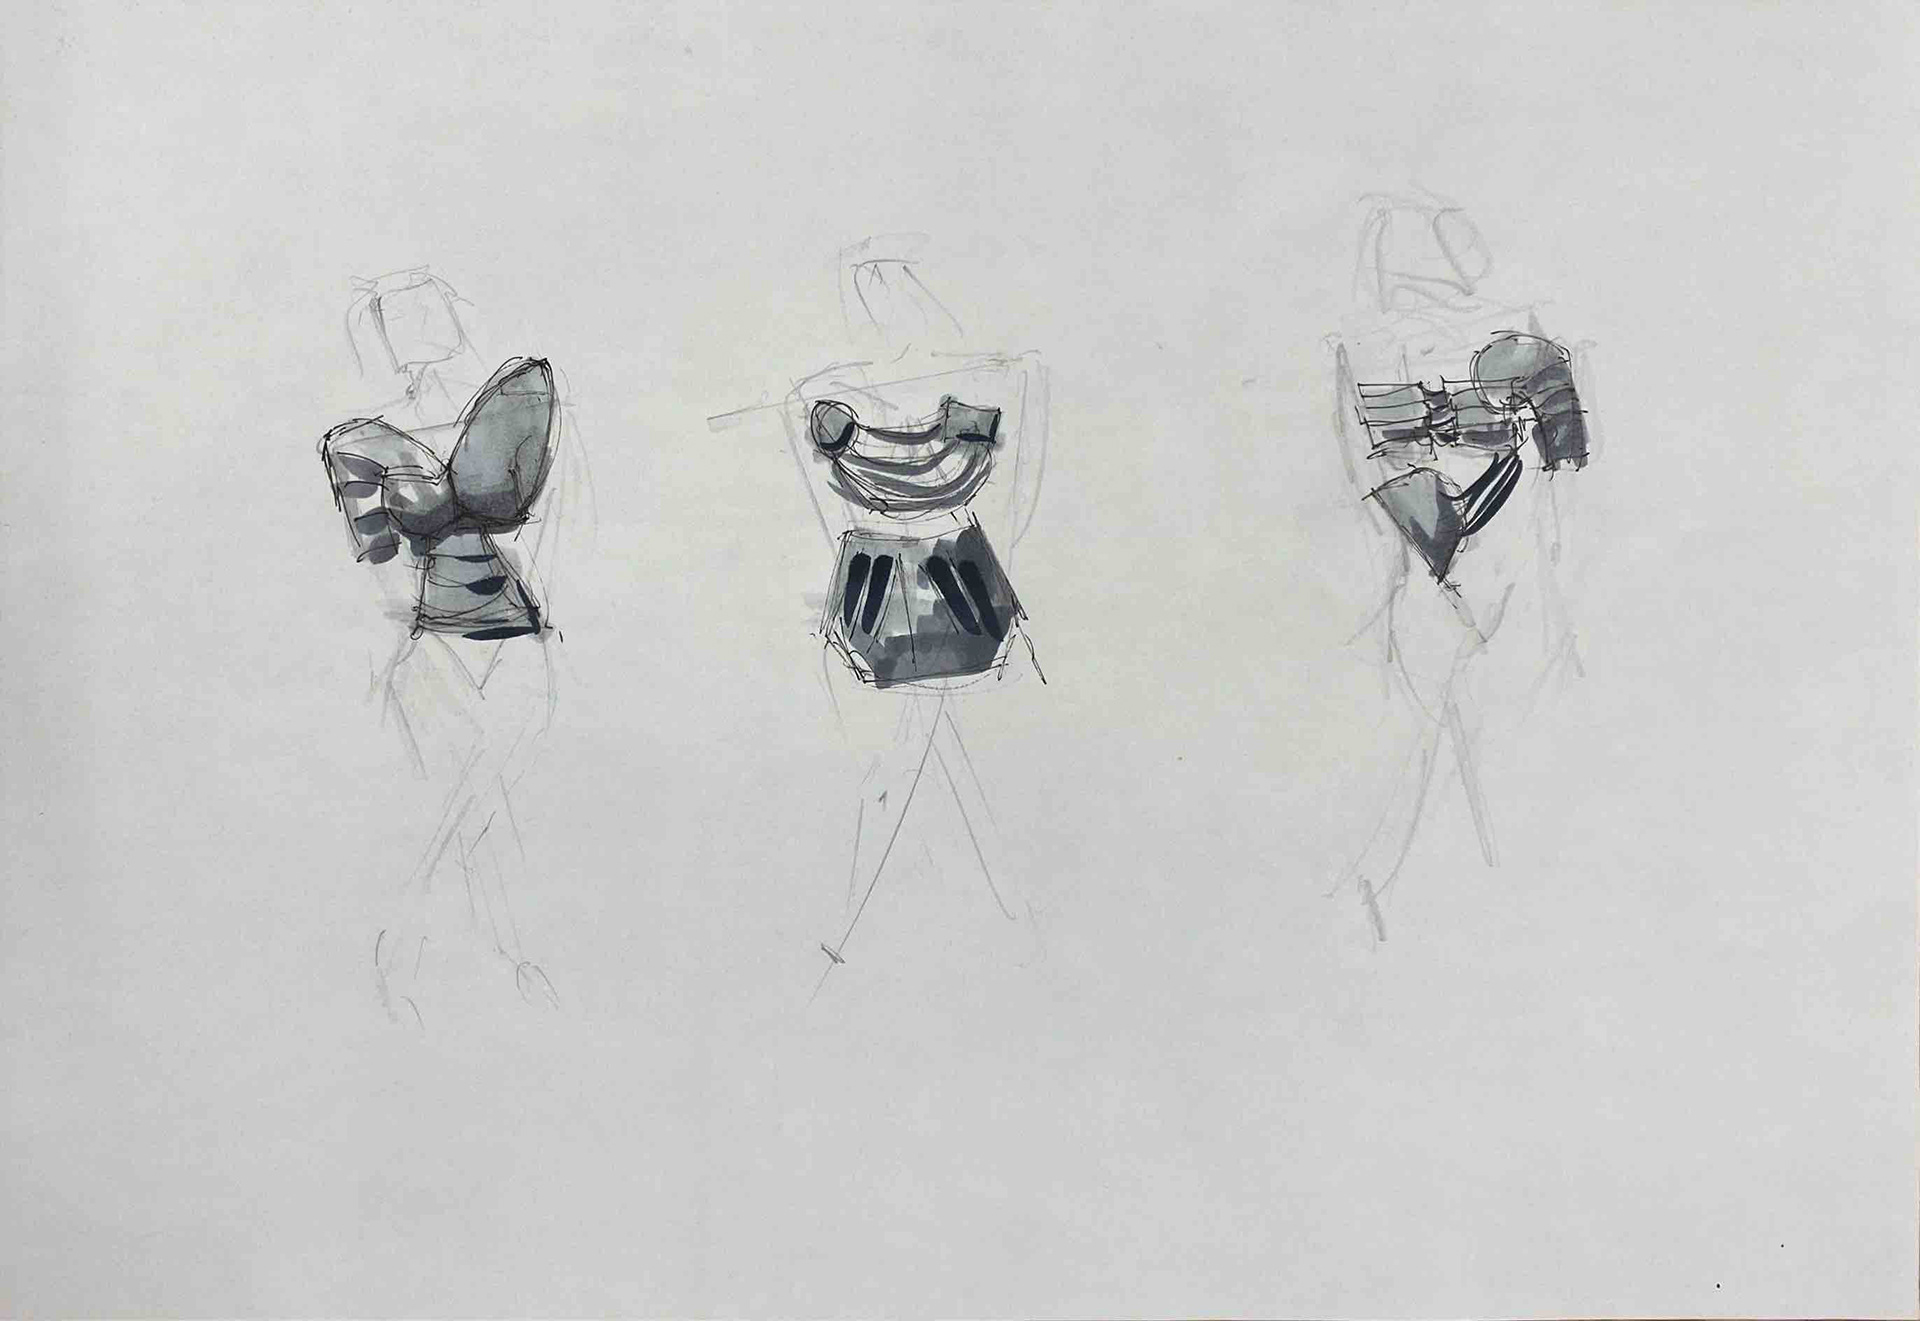
These were a series of very quick sketches looking at concealing and emphasising the shape of the body. I looked at taking forms and repetitions from the historical armour I recorded during my gallery visits. These sketches are only ideas, which I will reference when starting to make designs in the future.
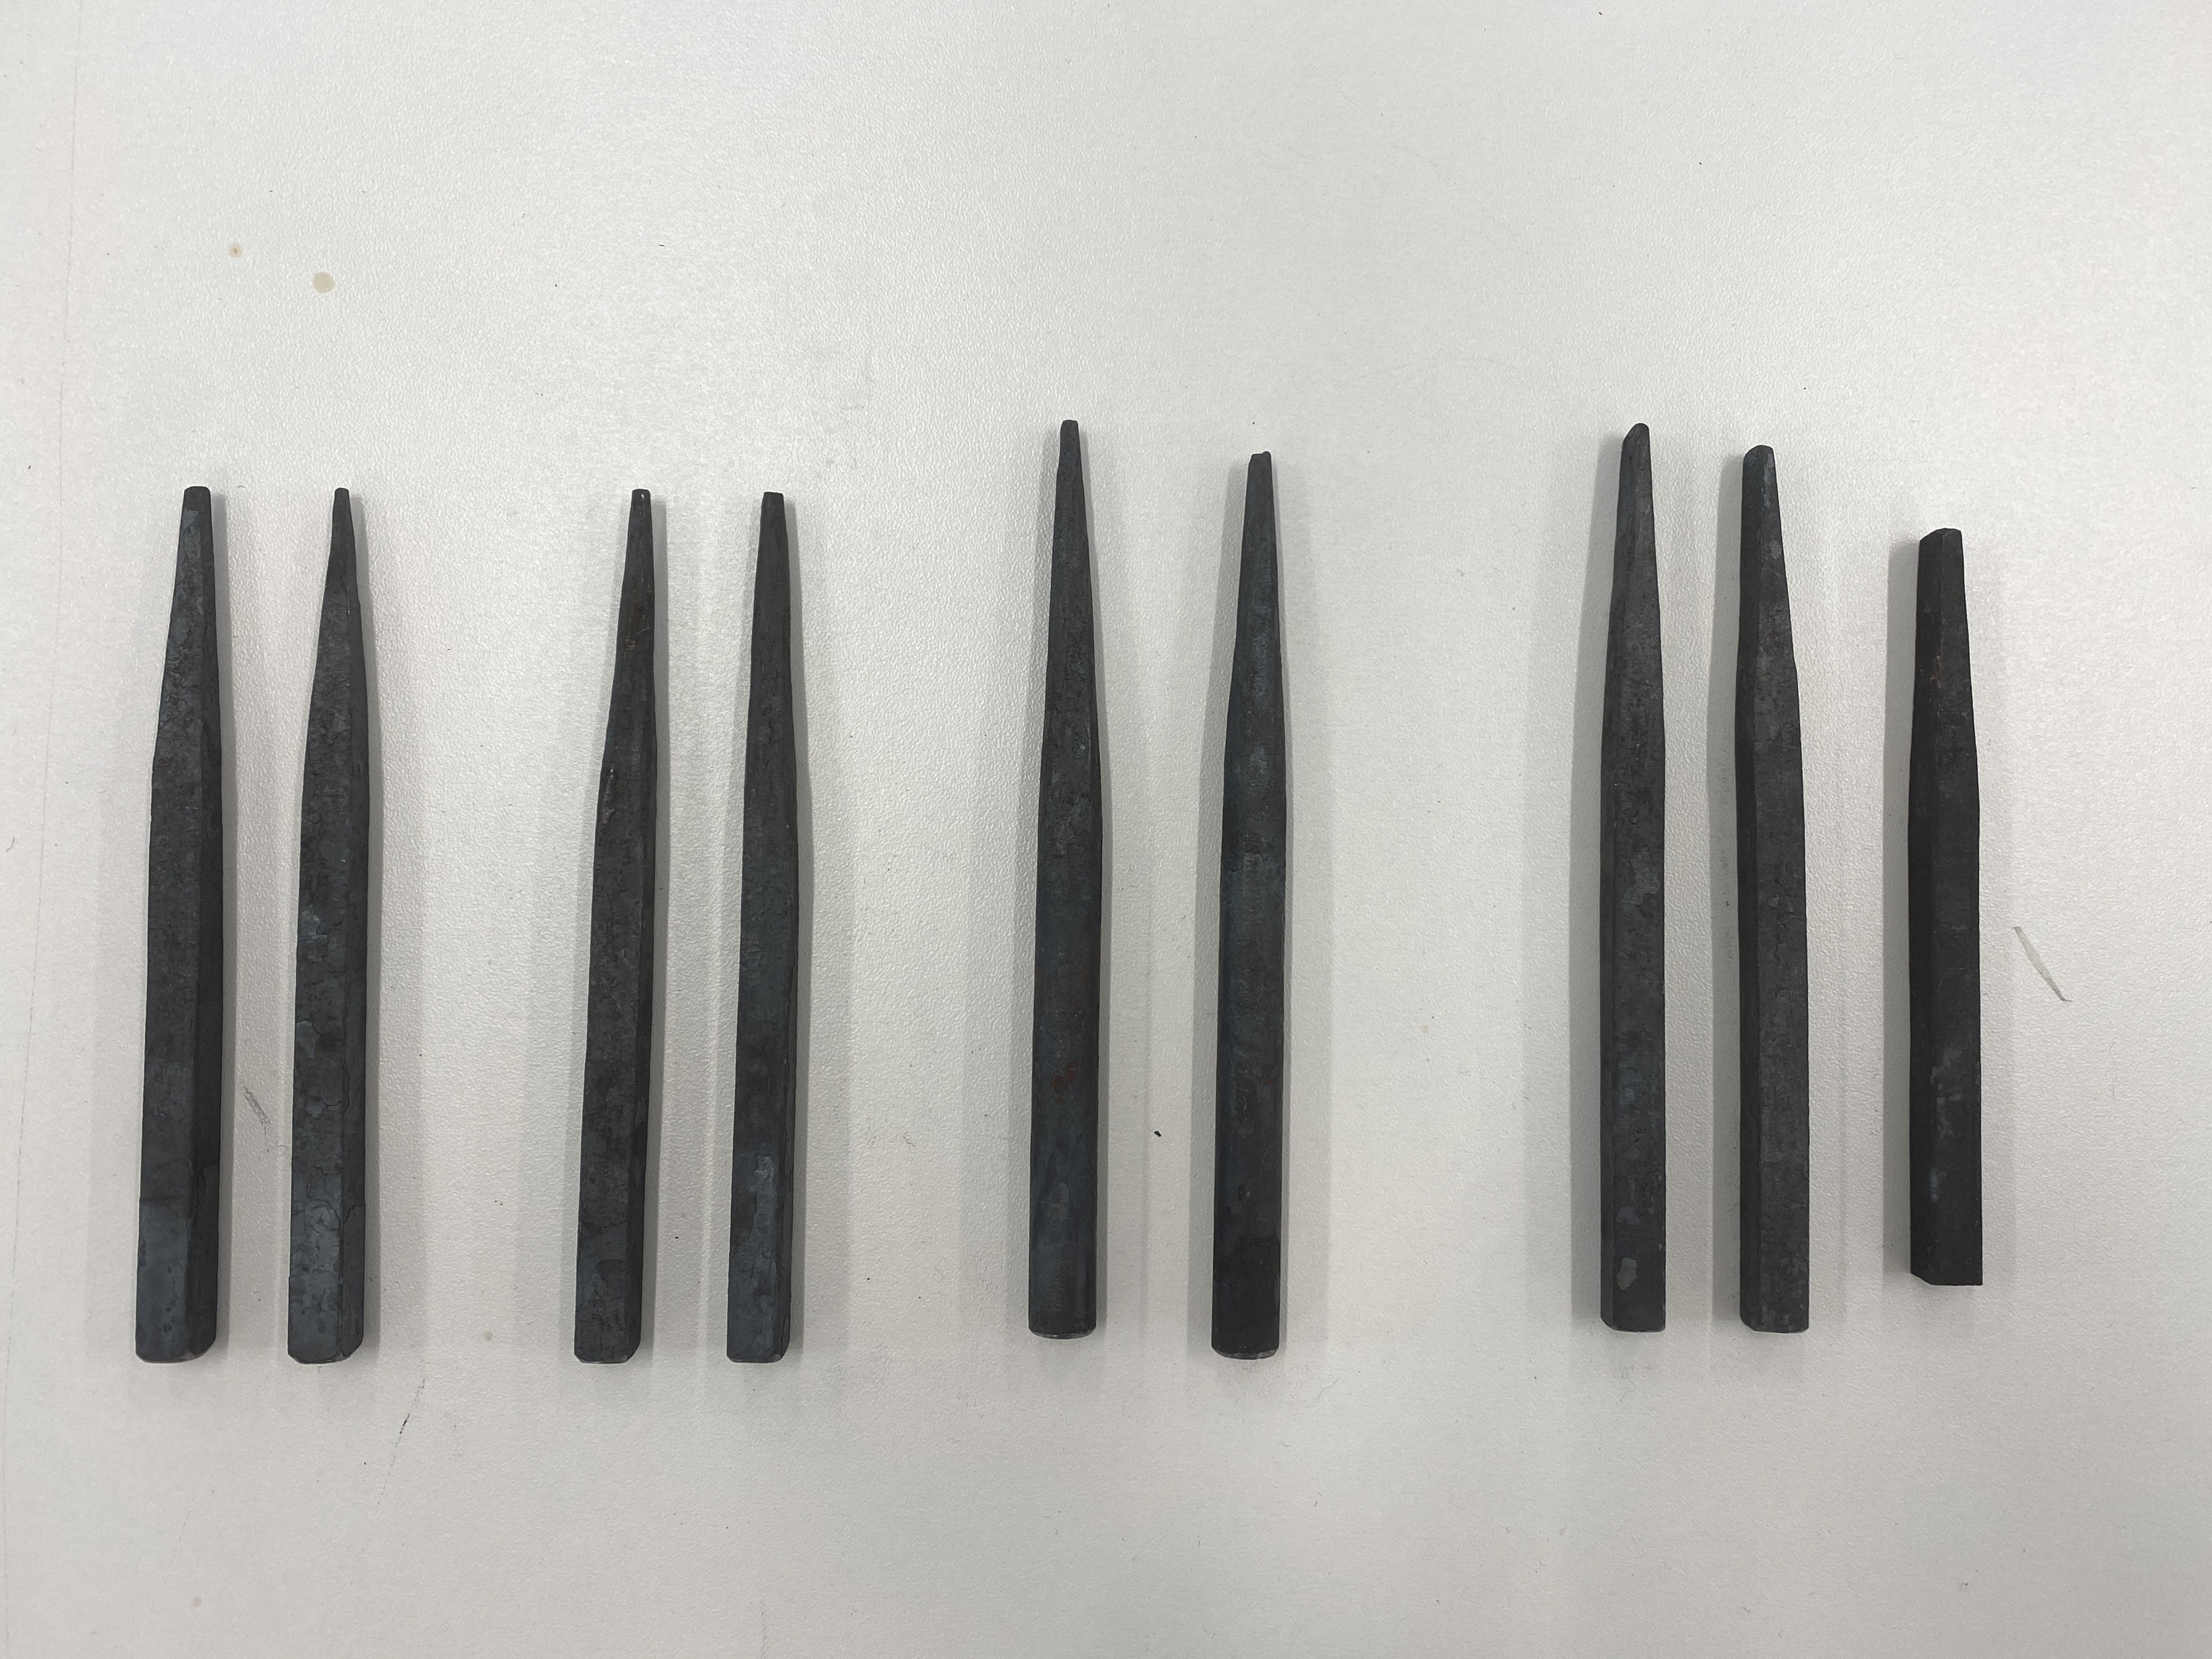
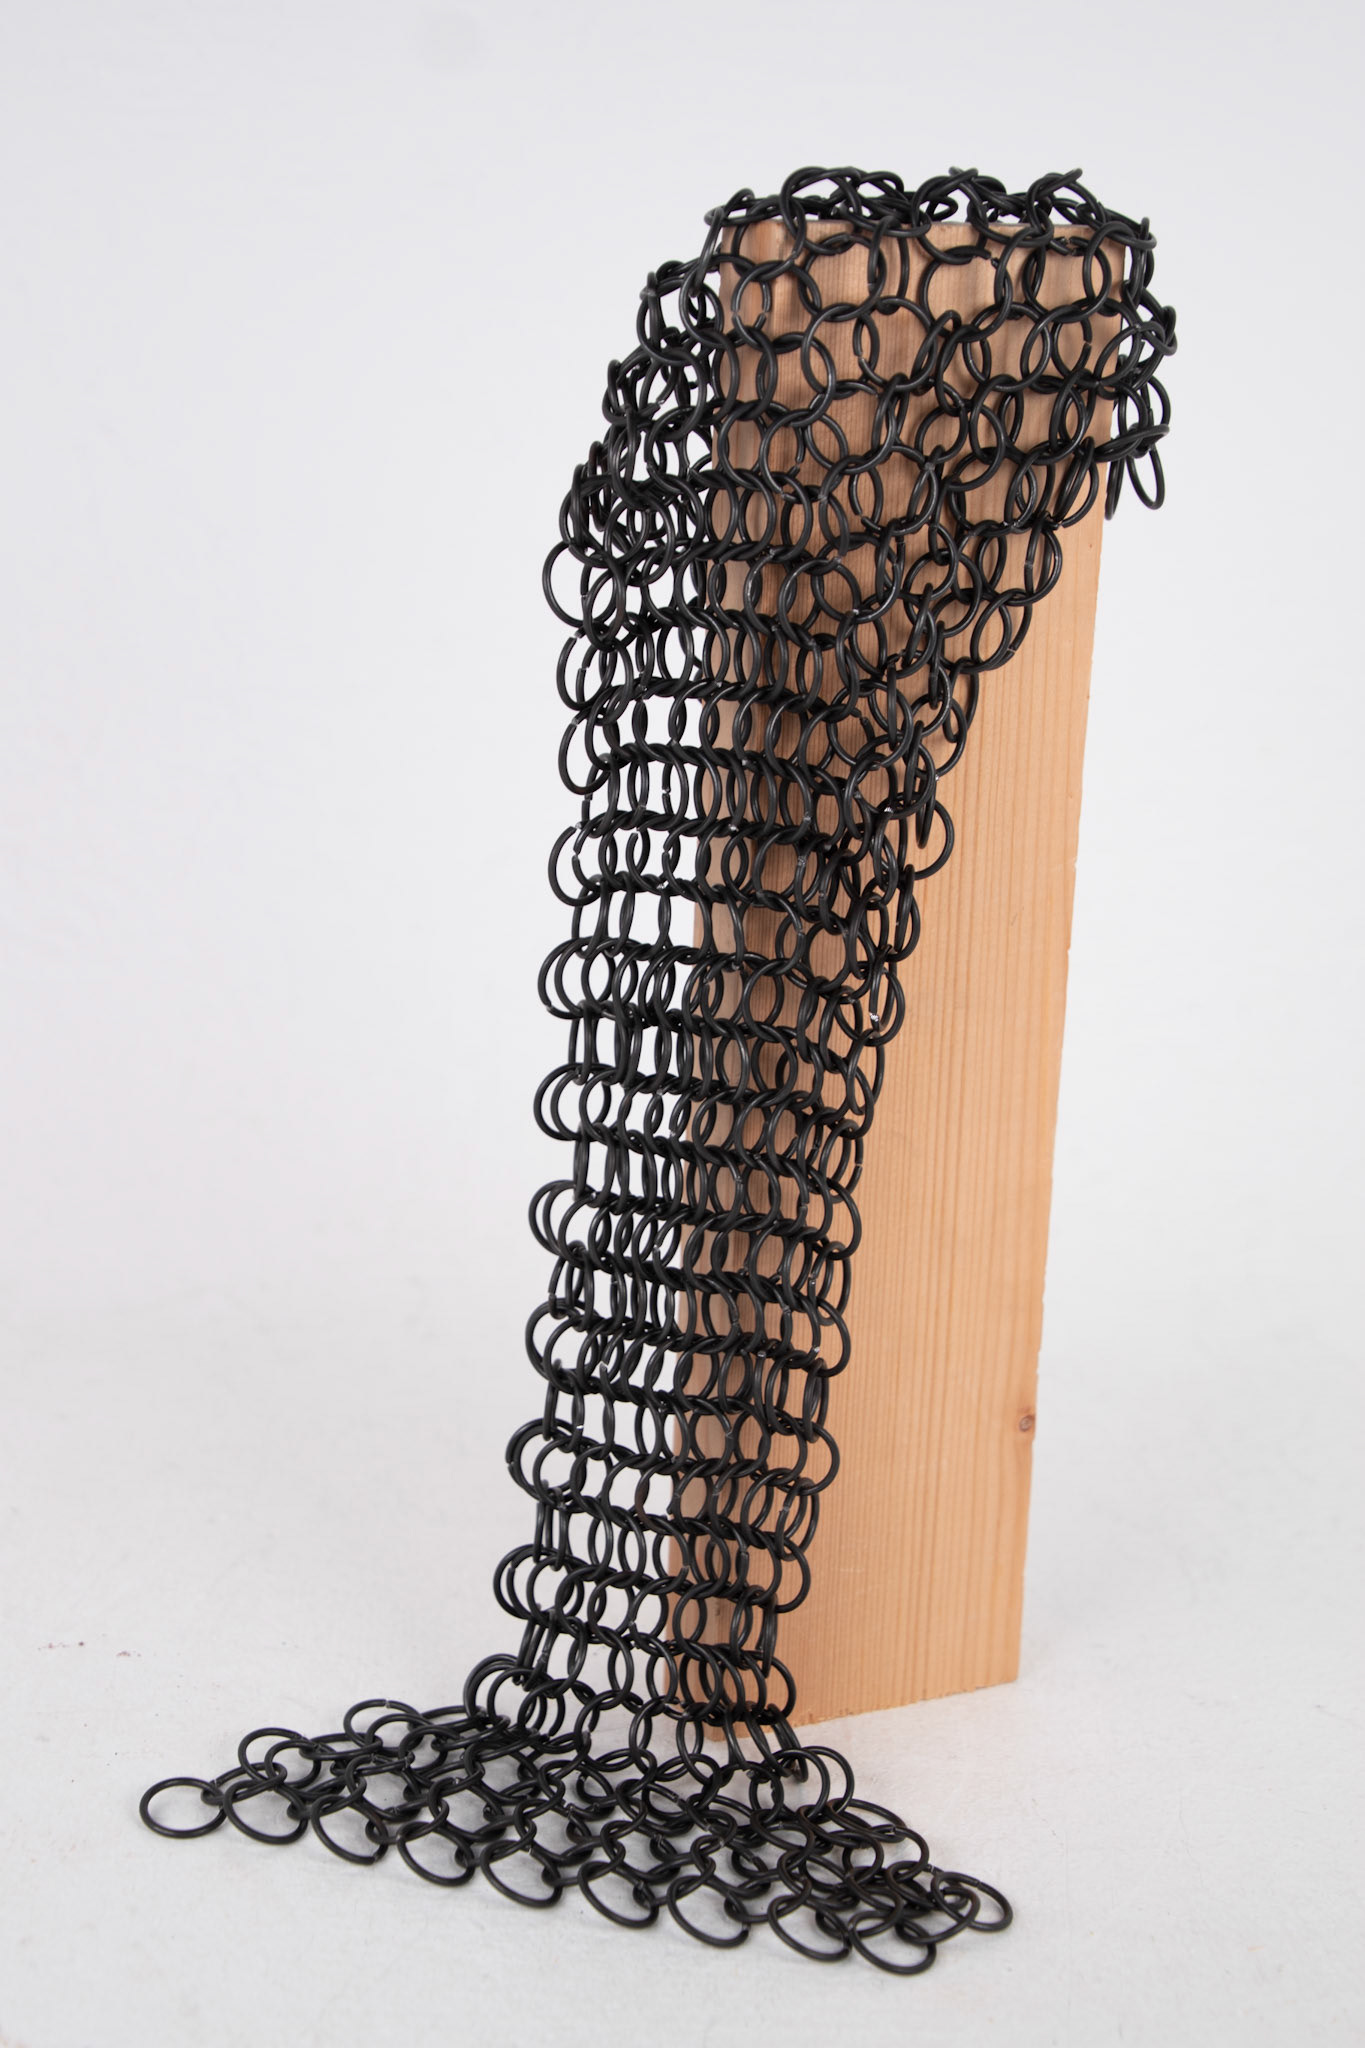
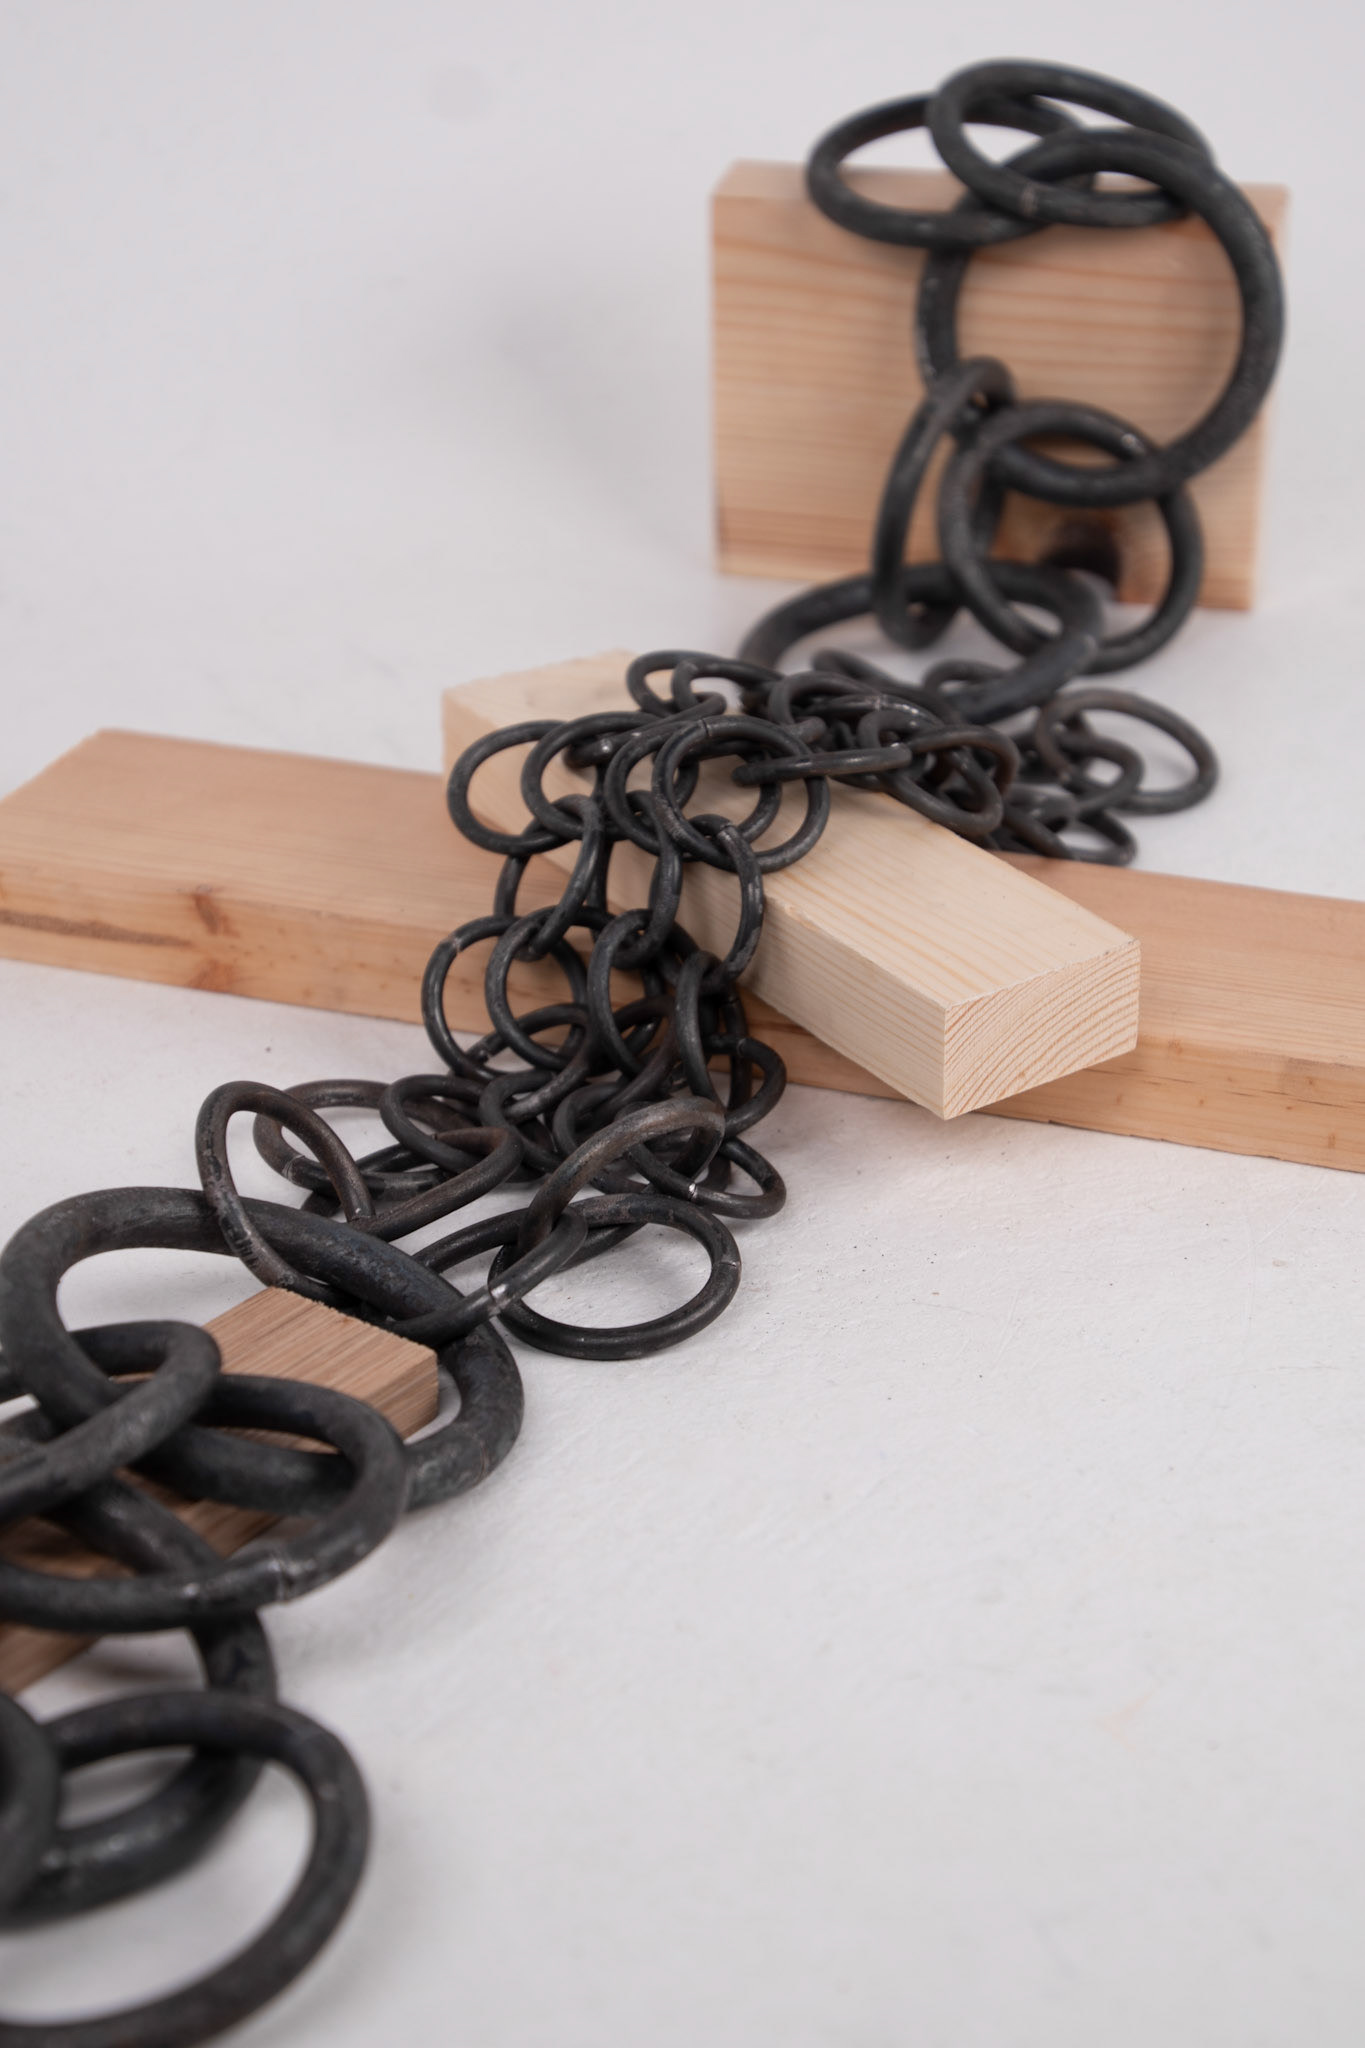
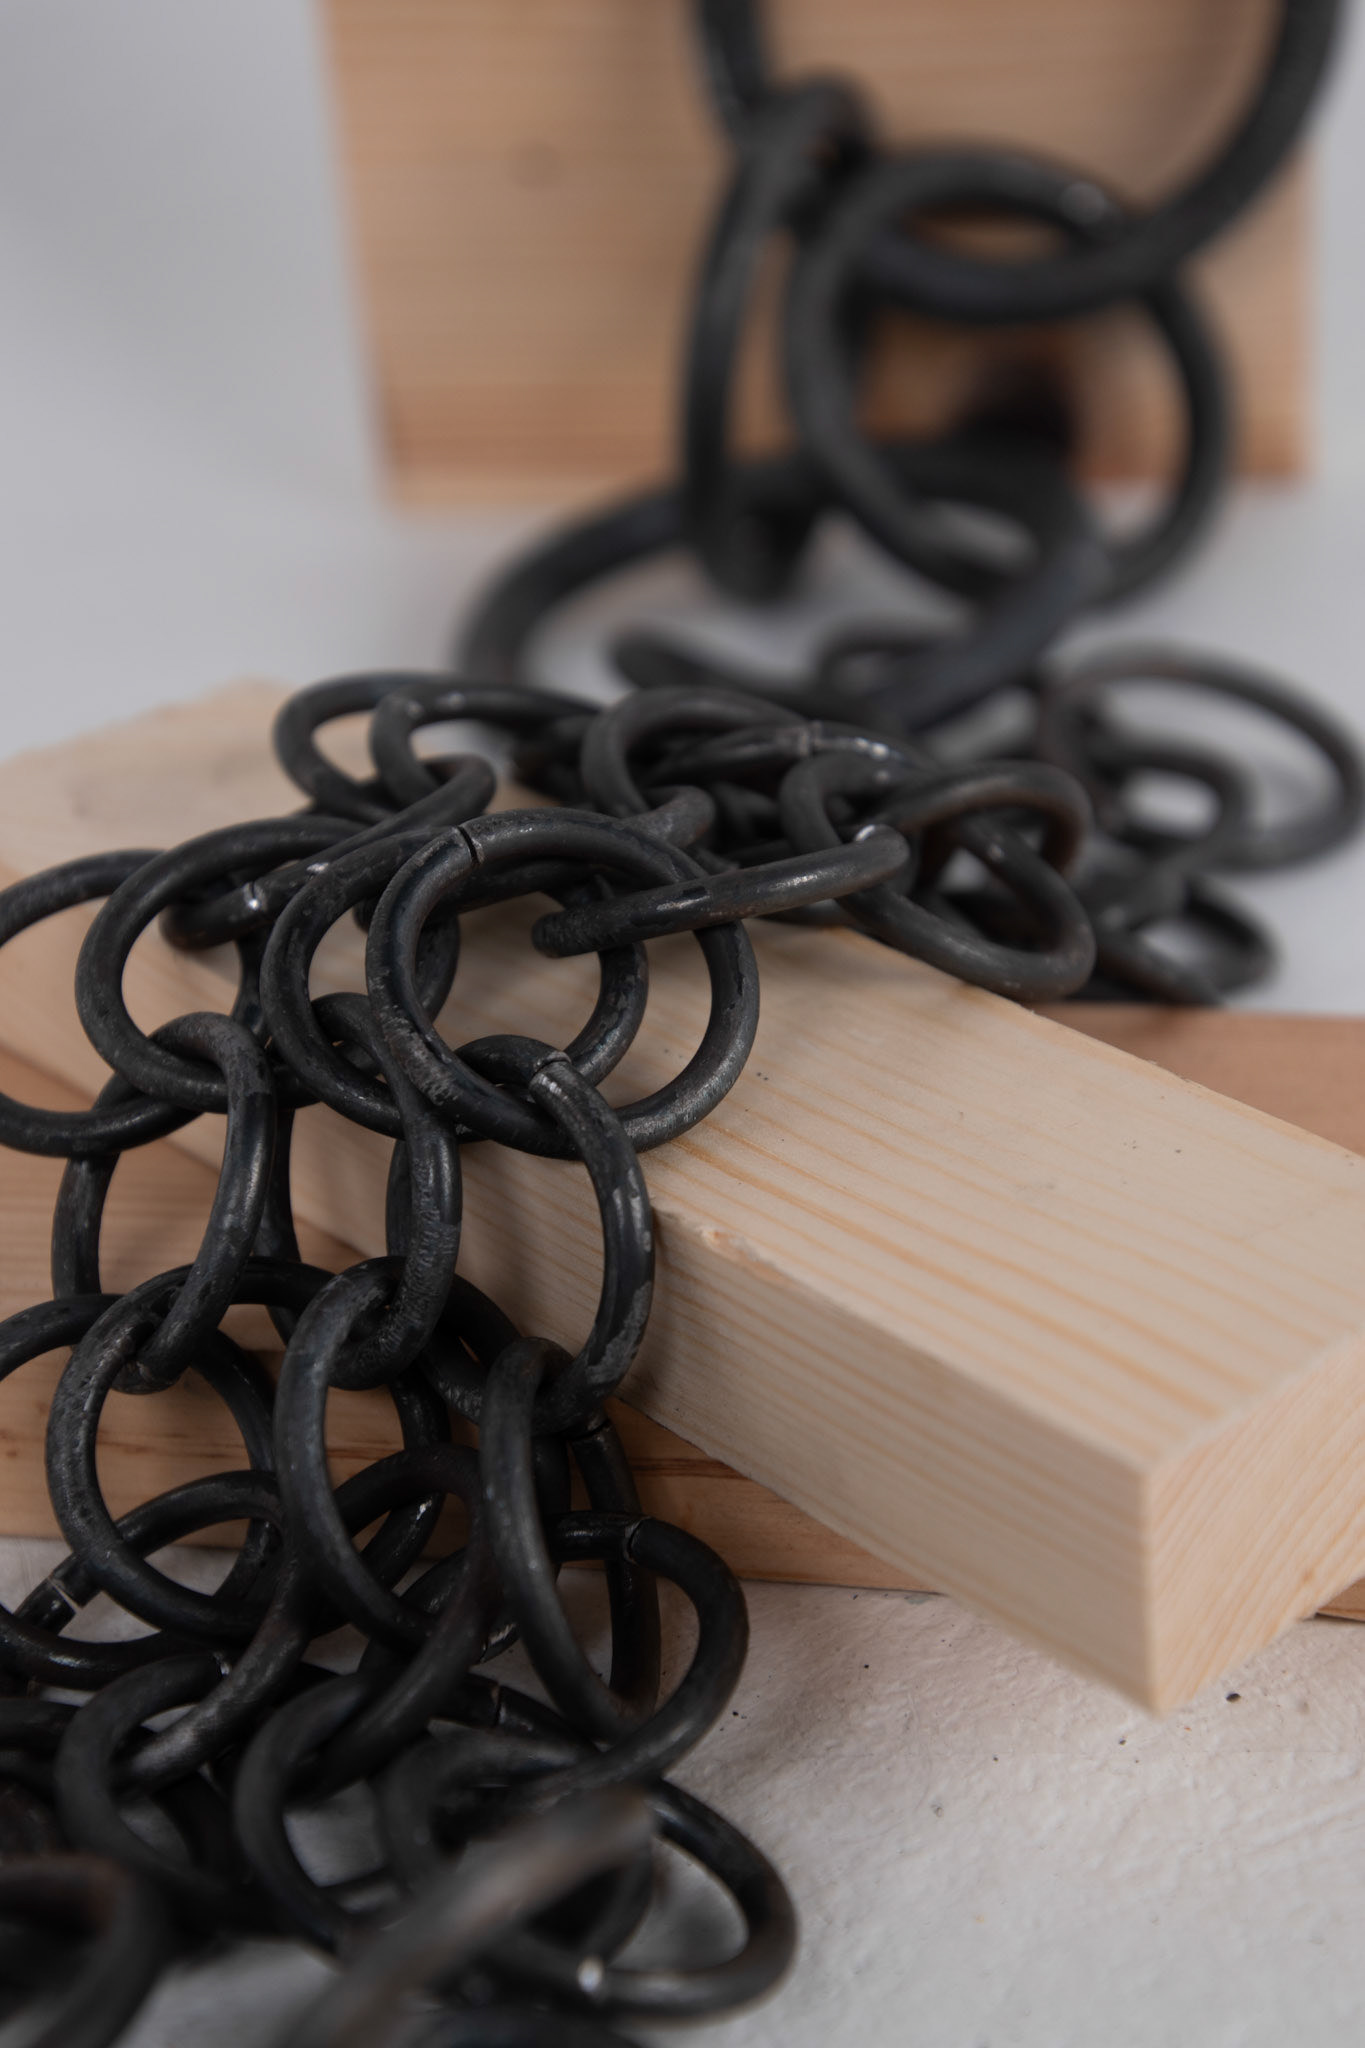
Scaling up links by forging
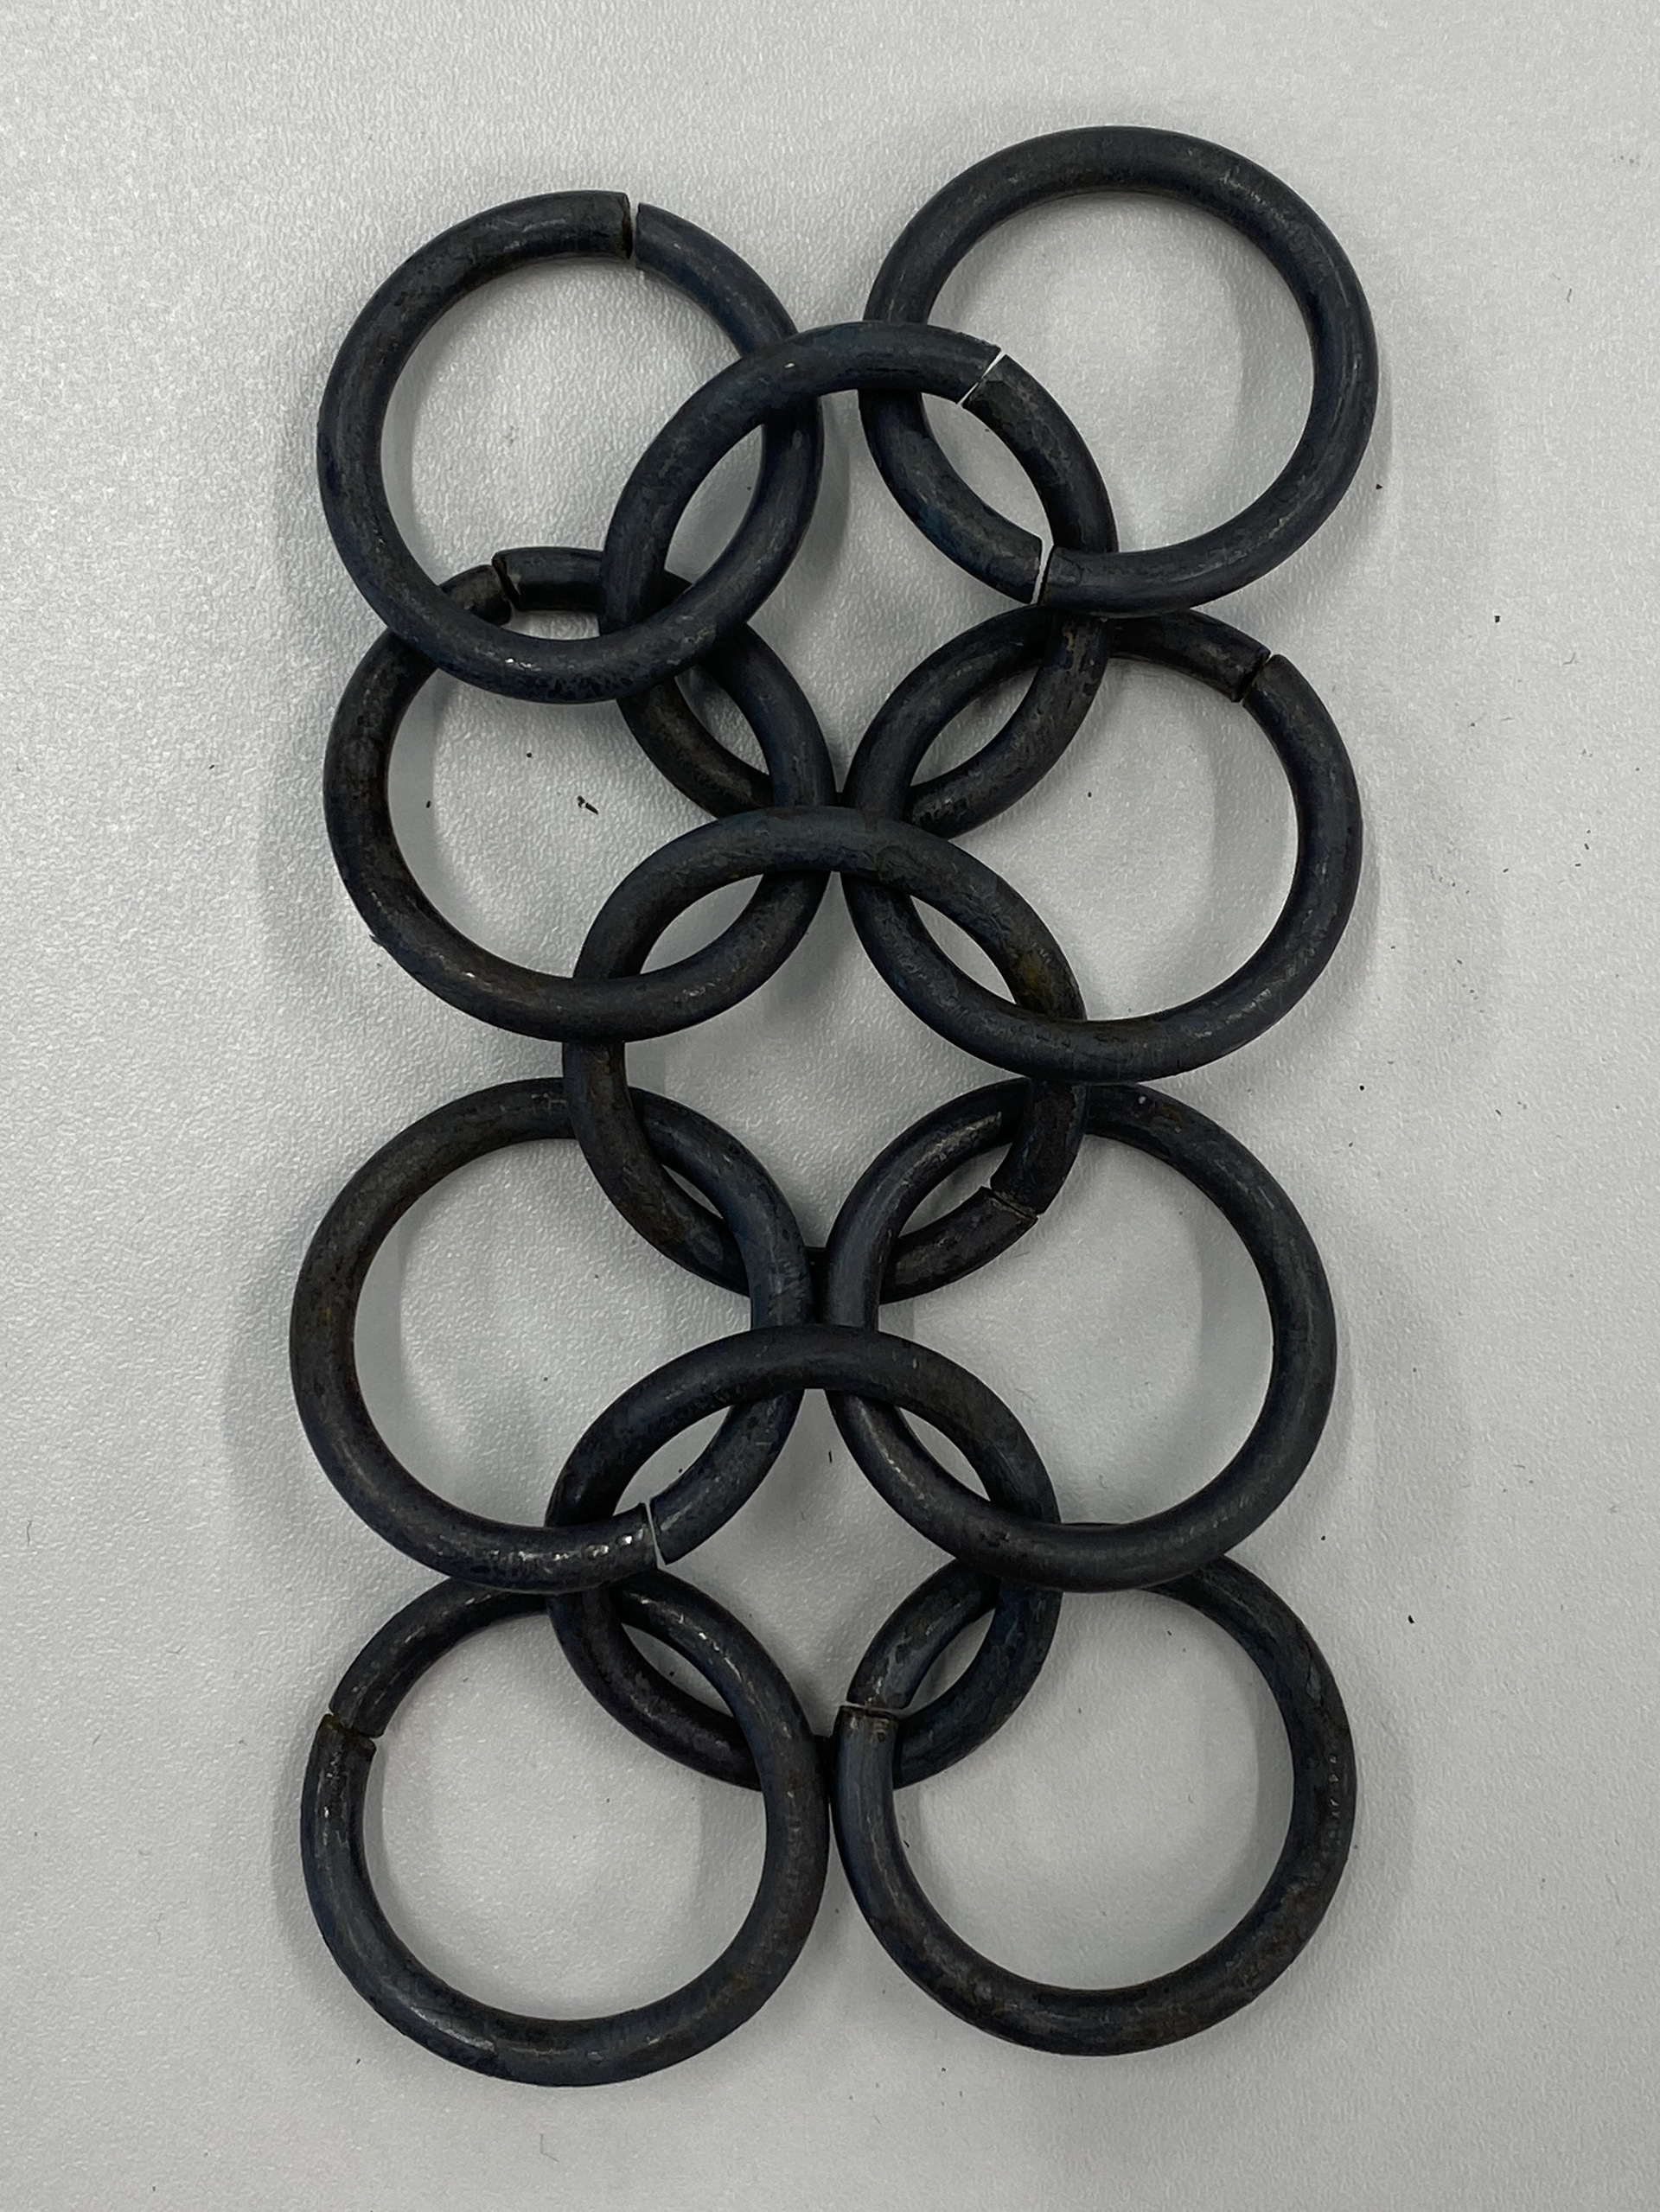
Having explored some smaller traditional mail making techniques, I wanted to investigate scale. I hot bent different thickness steel round bar (5mm, 6mm and 10mm) around a 30mm stake to form coils. I then used an angle grinder to cut it into links. The 5mm and 6mm links could be bent cold allowing me to weave the pattern using a hammer and vice. However, the 10mm needed to be worked hot. The only challenge that came from this was the tight fit between each link due to ratio between wire thickness and internal diameter. This is an area where I need to do further testing and research to determine what the best choice of ratio is for my desired application.
One area that I need to consider using this technique for a body sculpture is the weight and wearability.
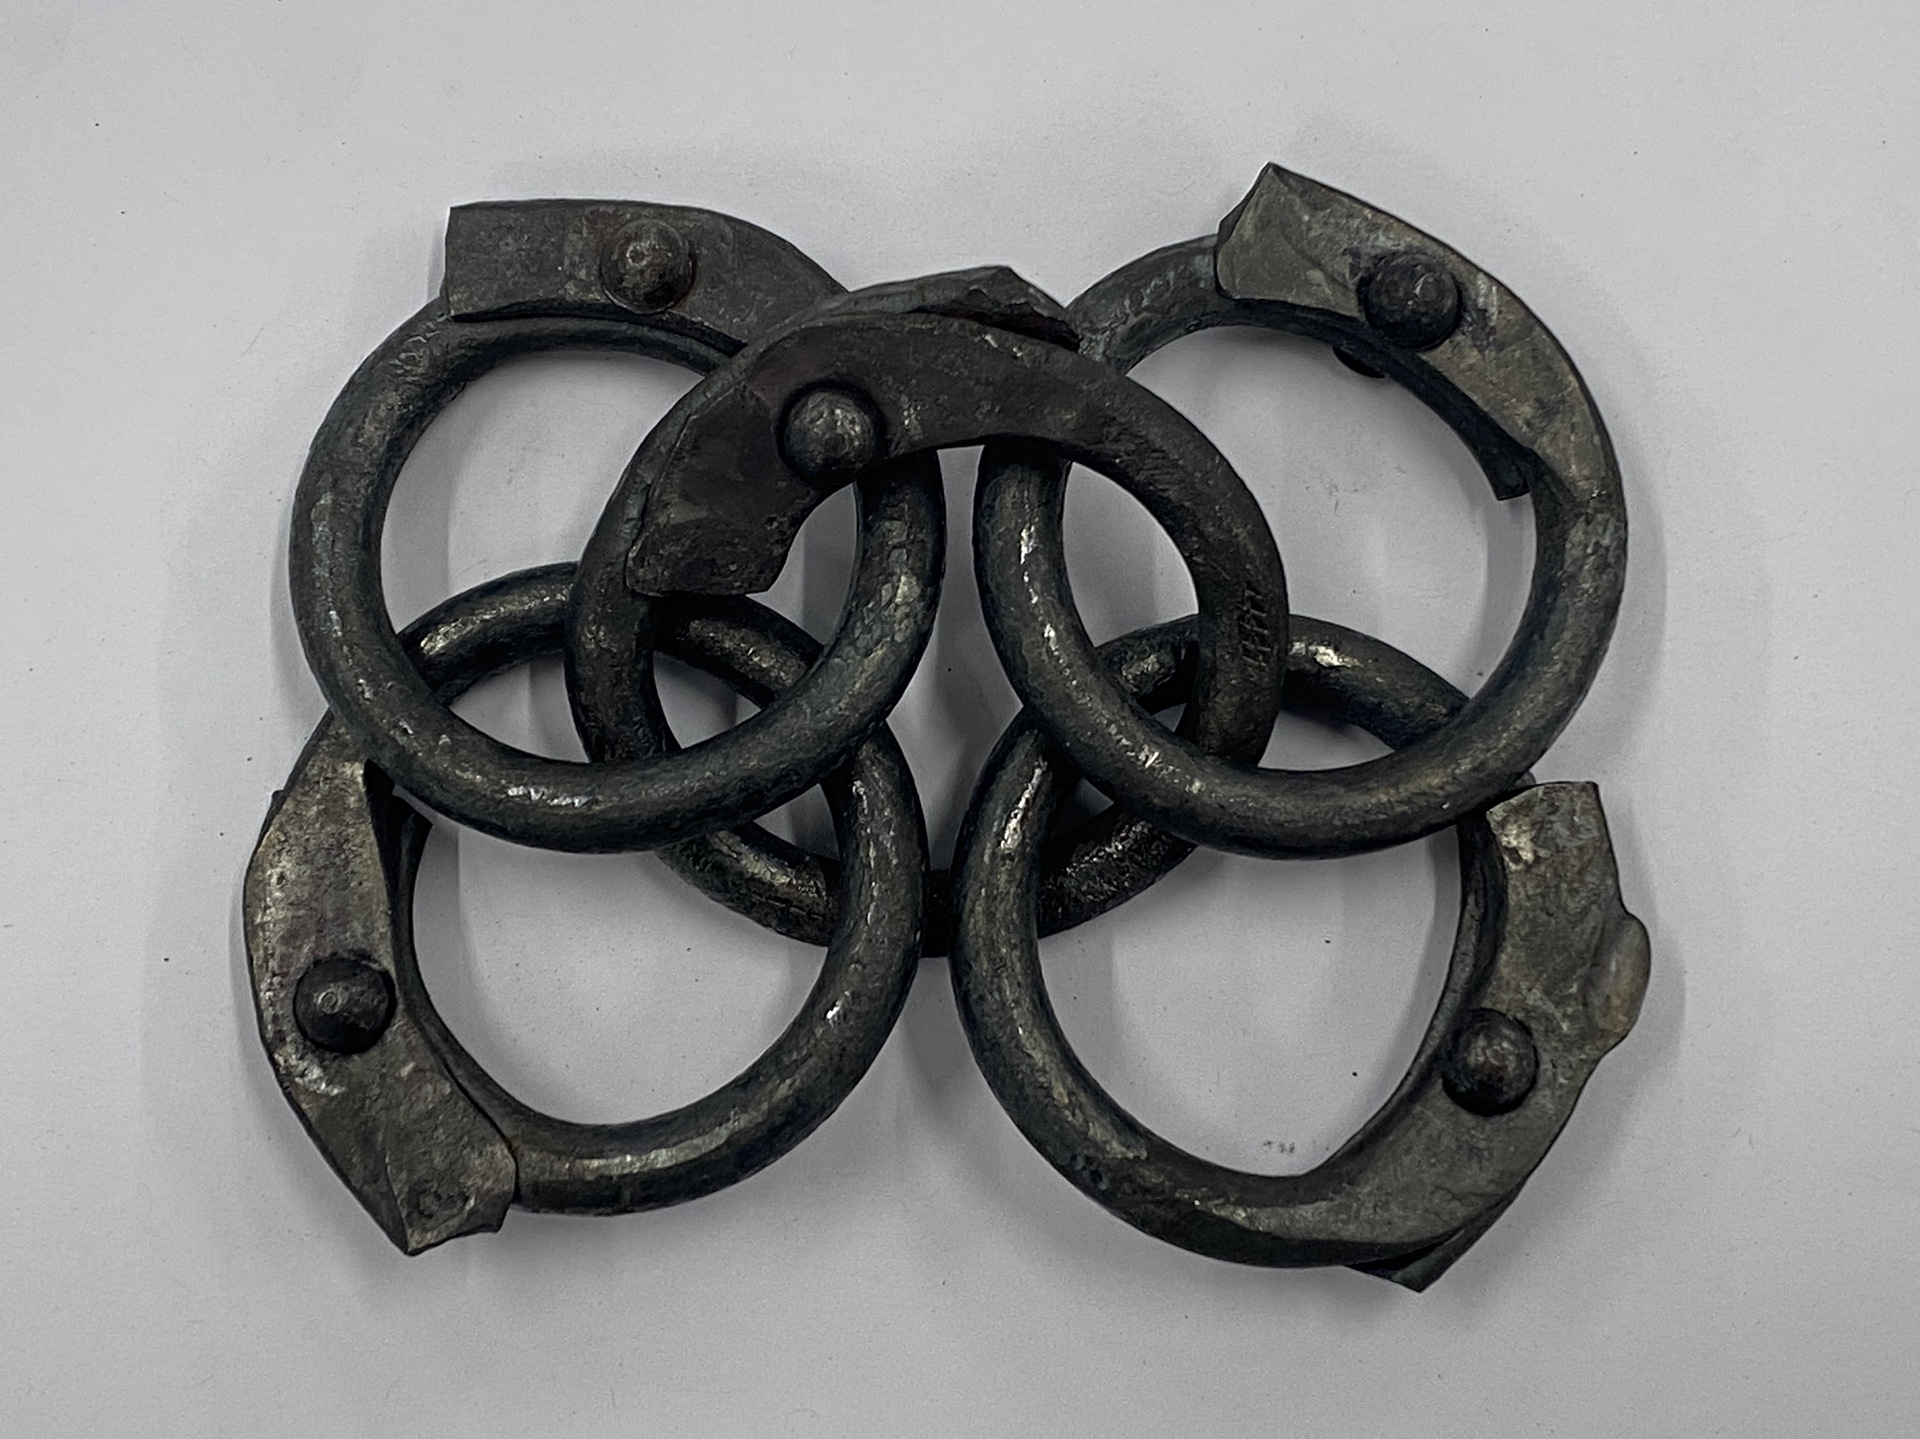
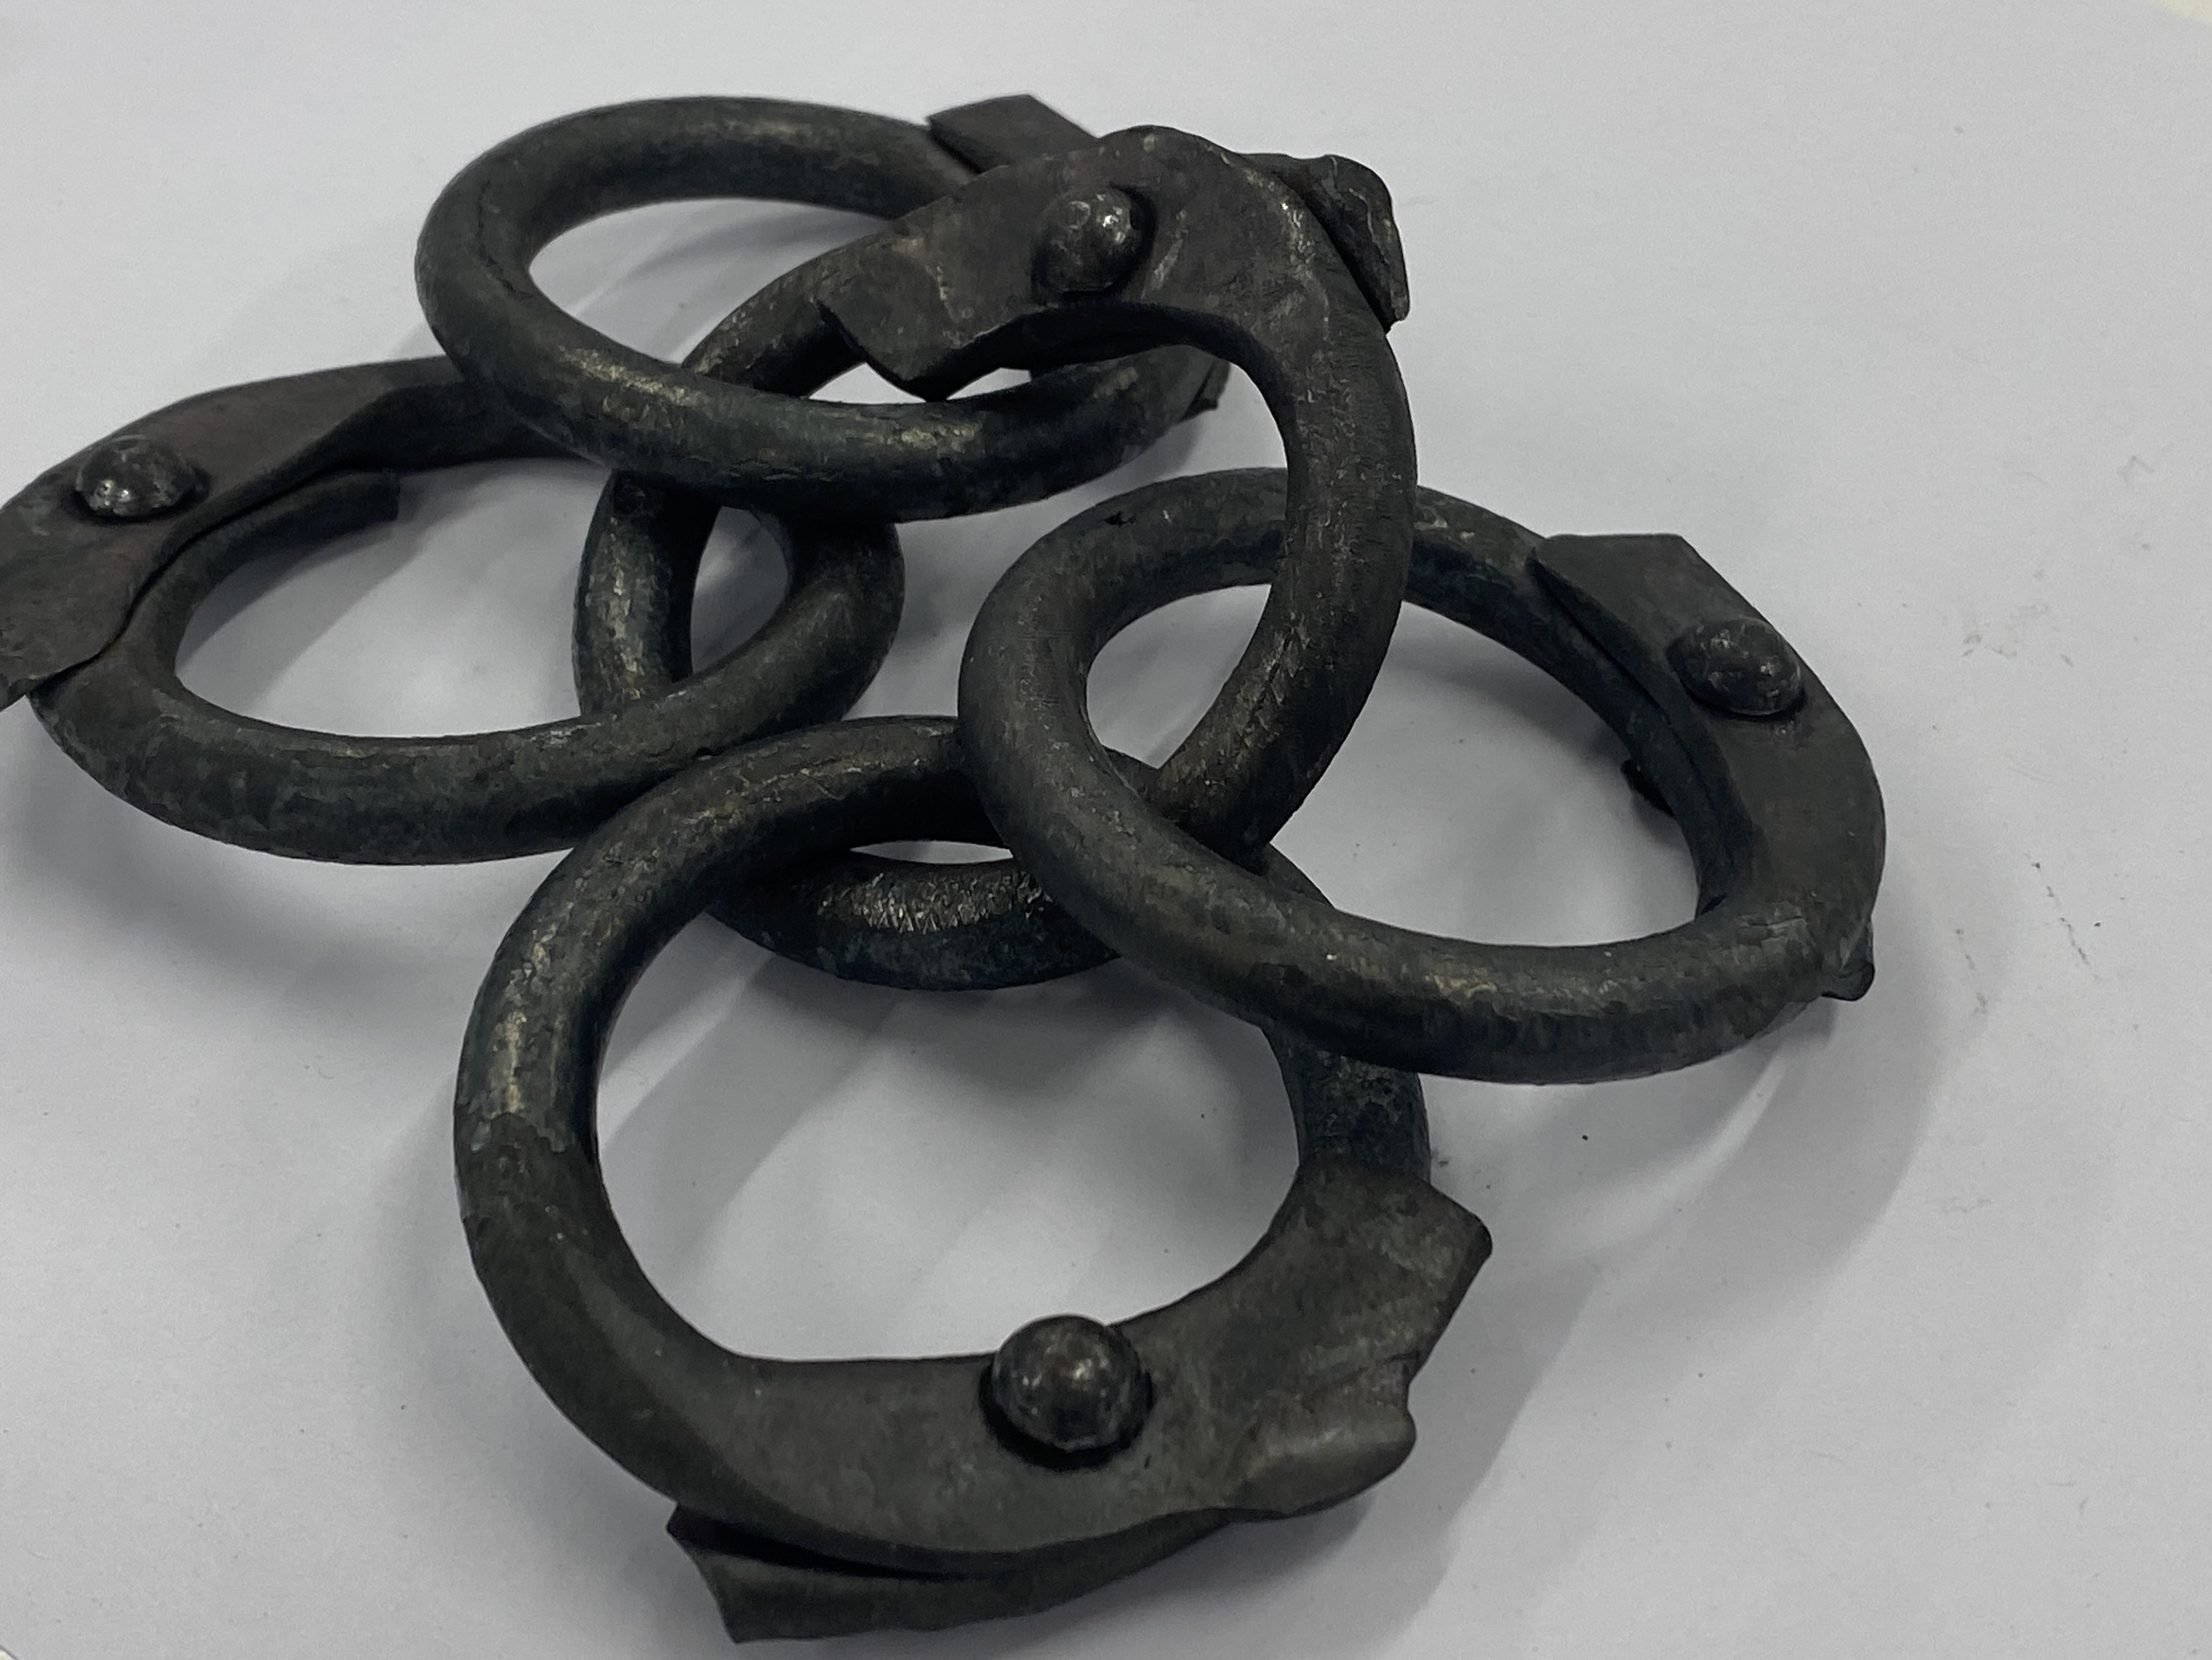
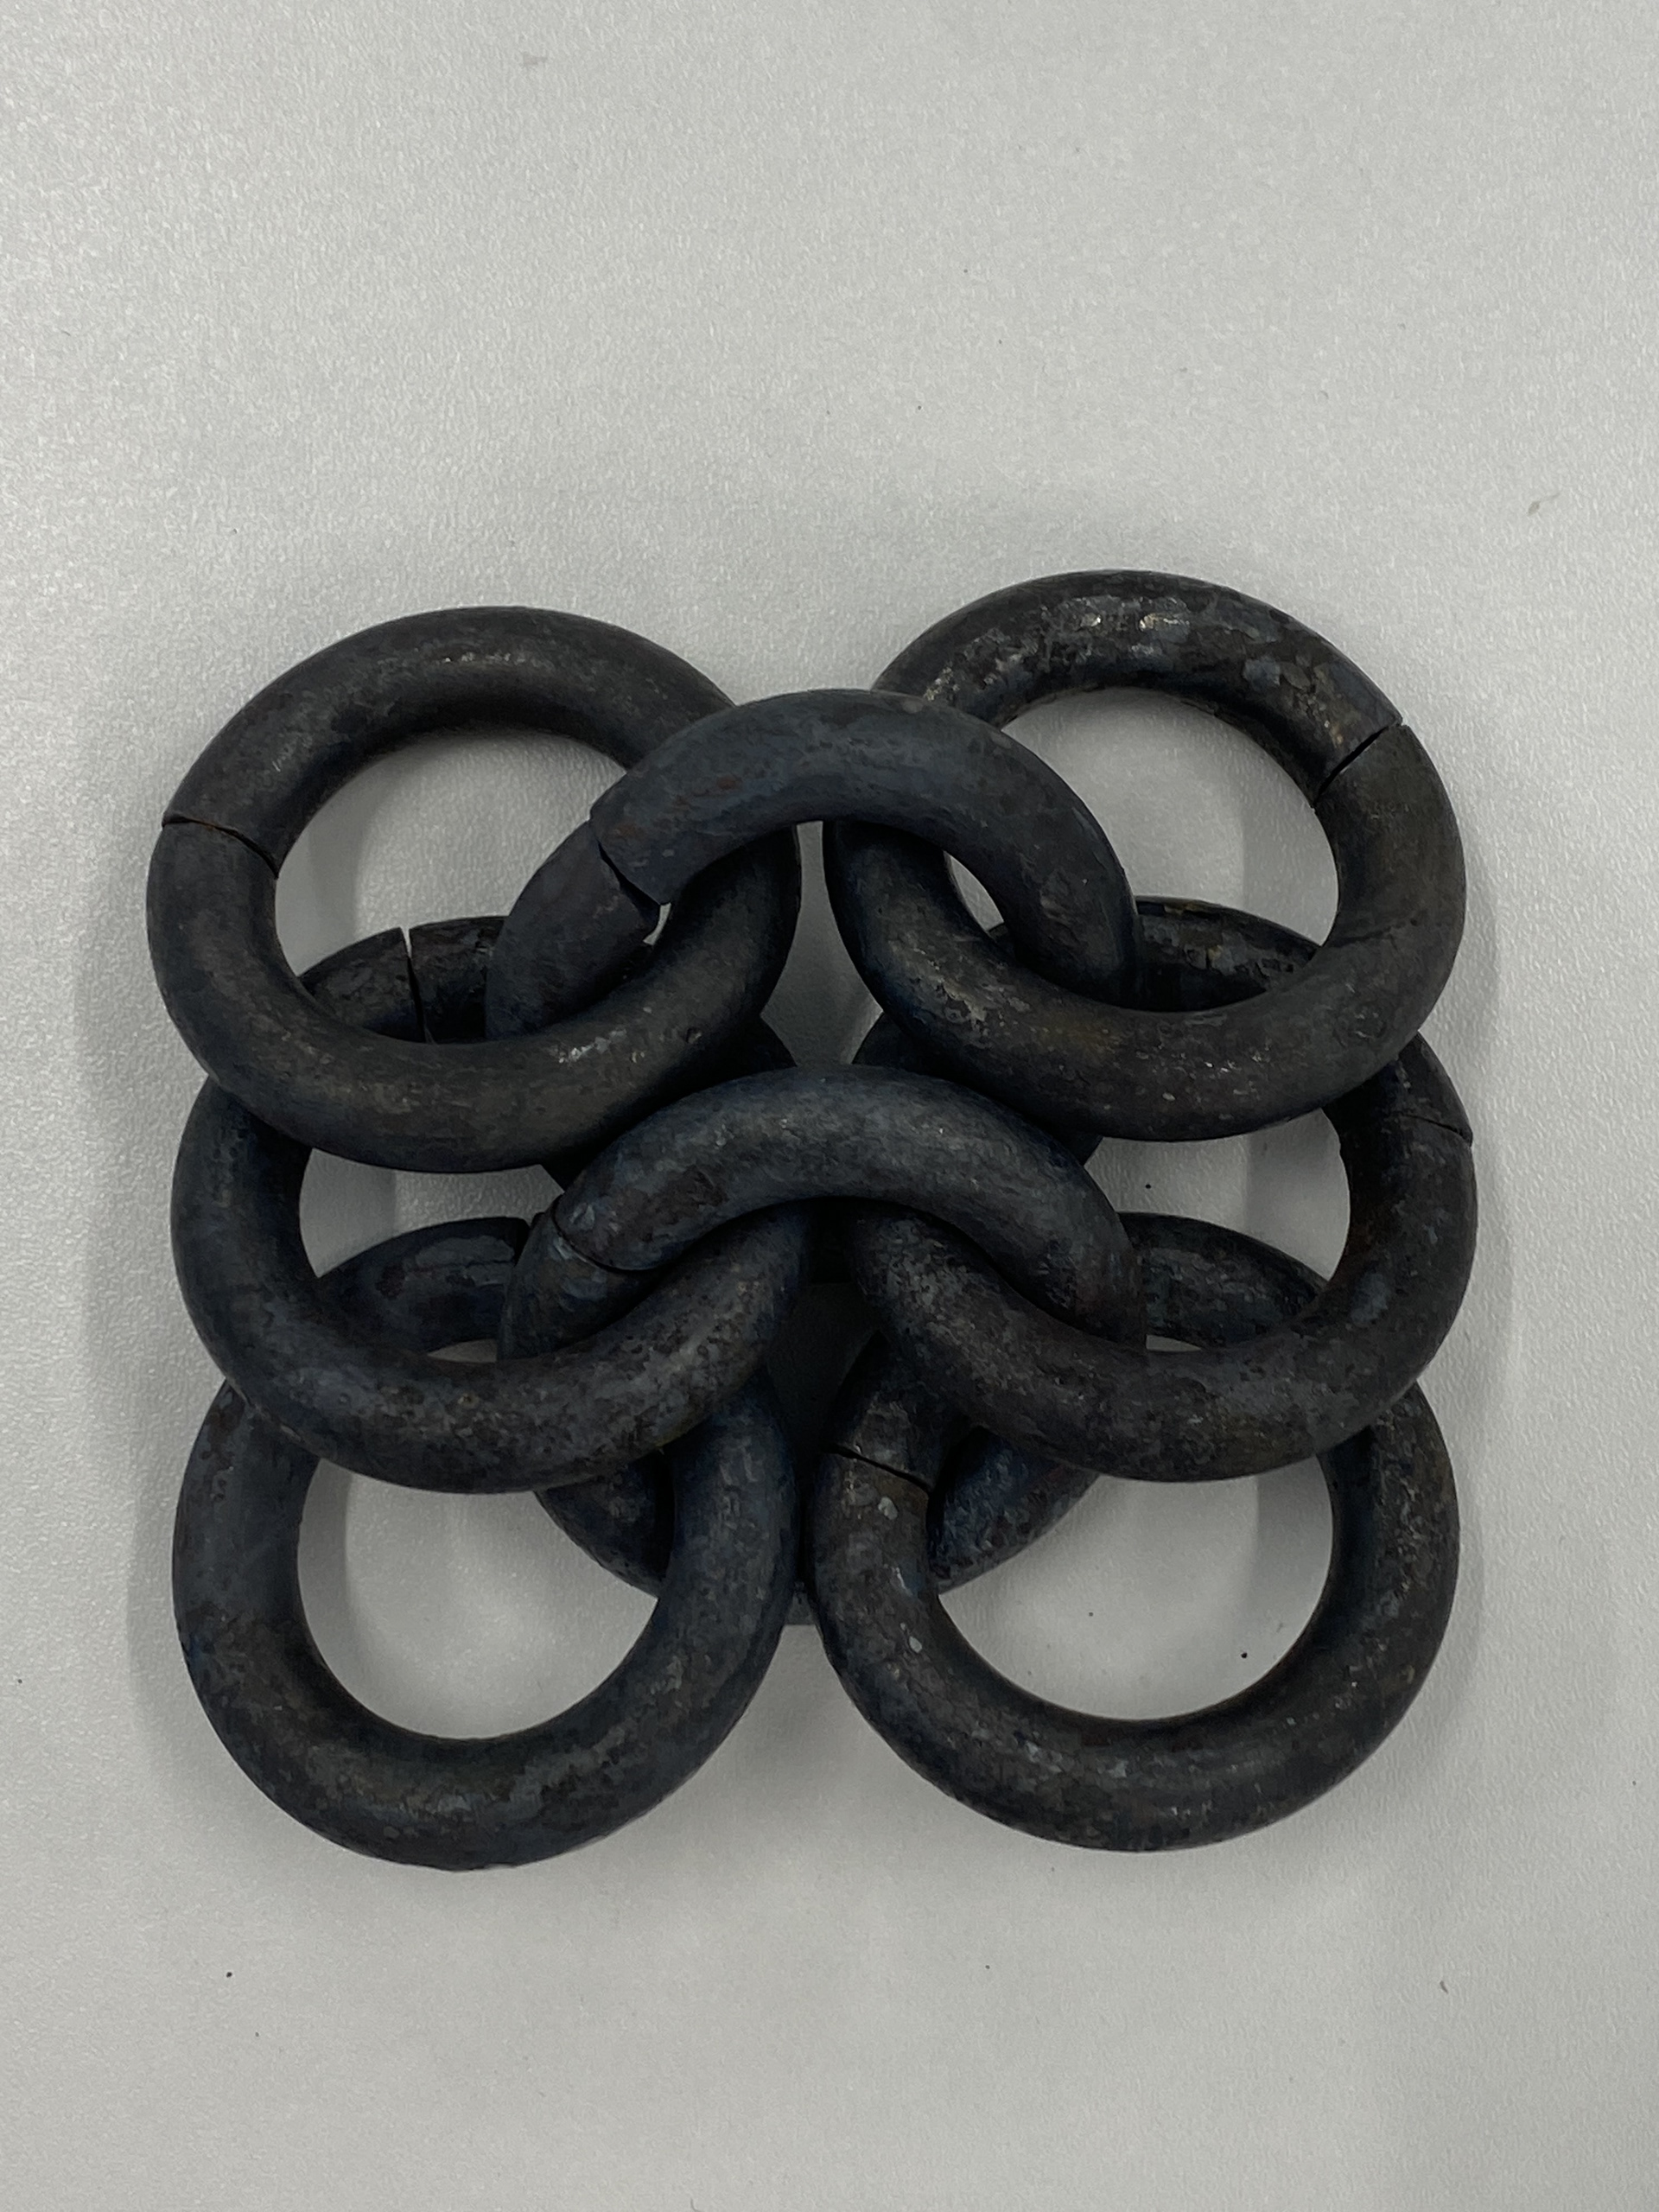
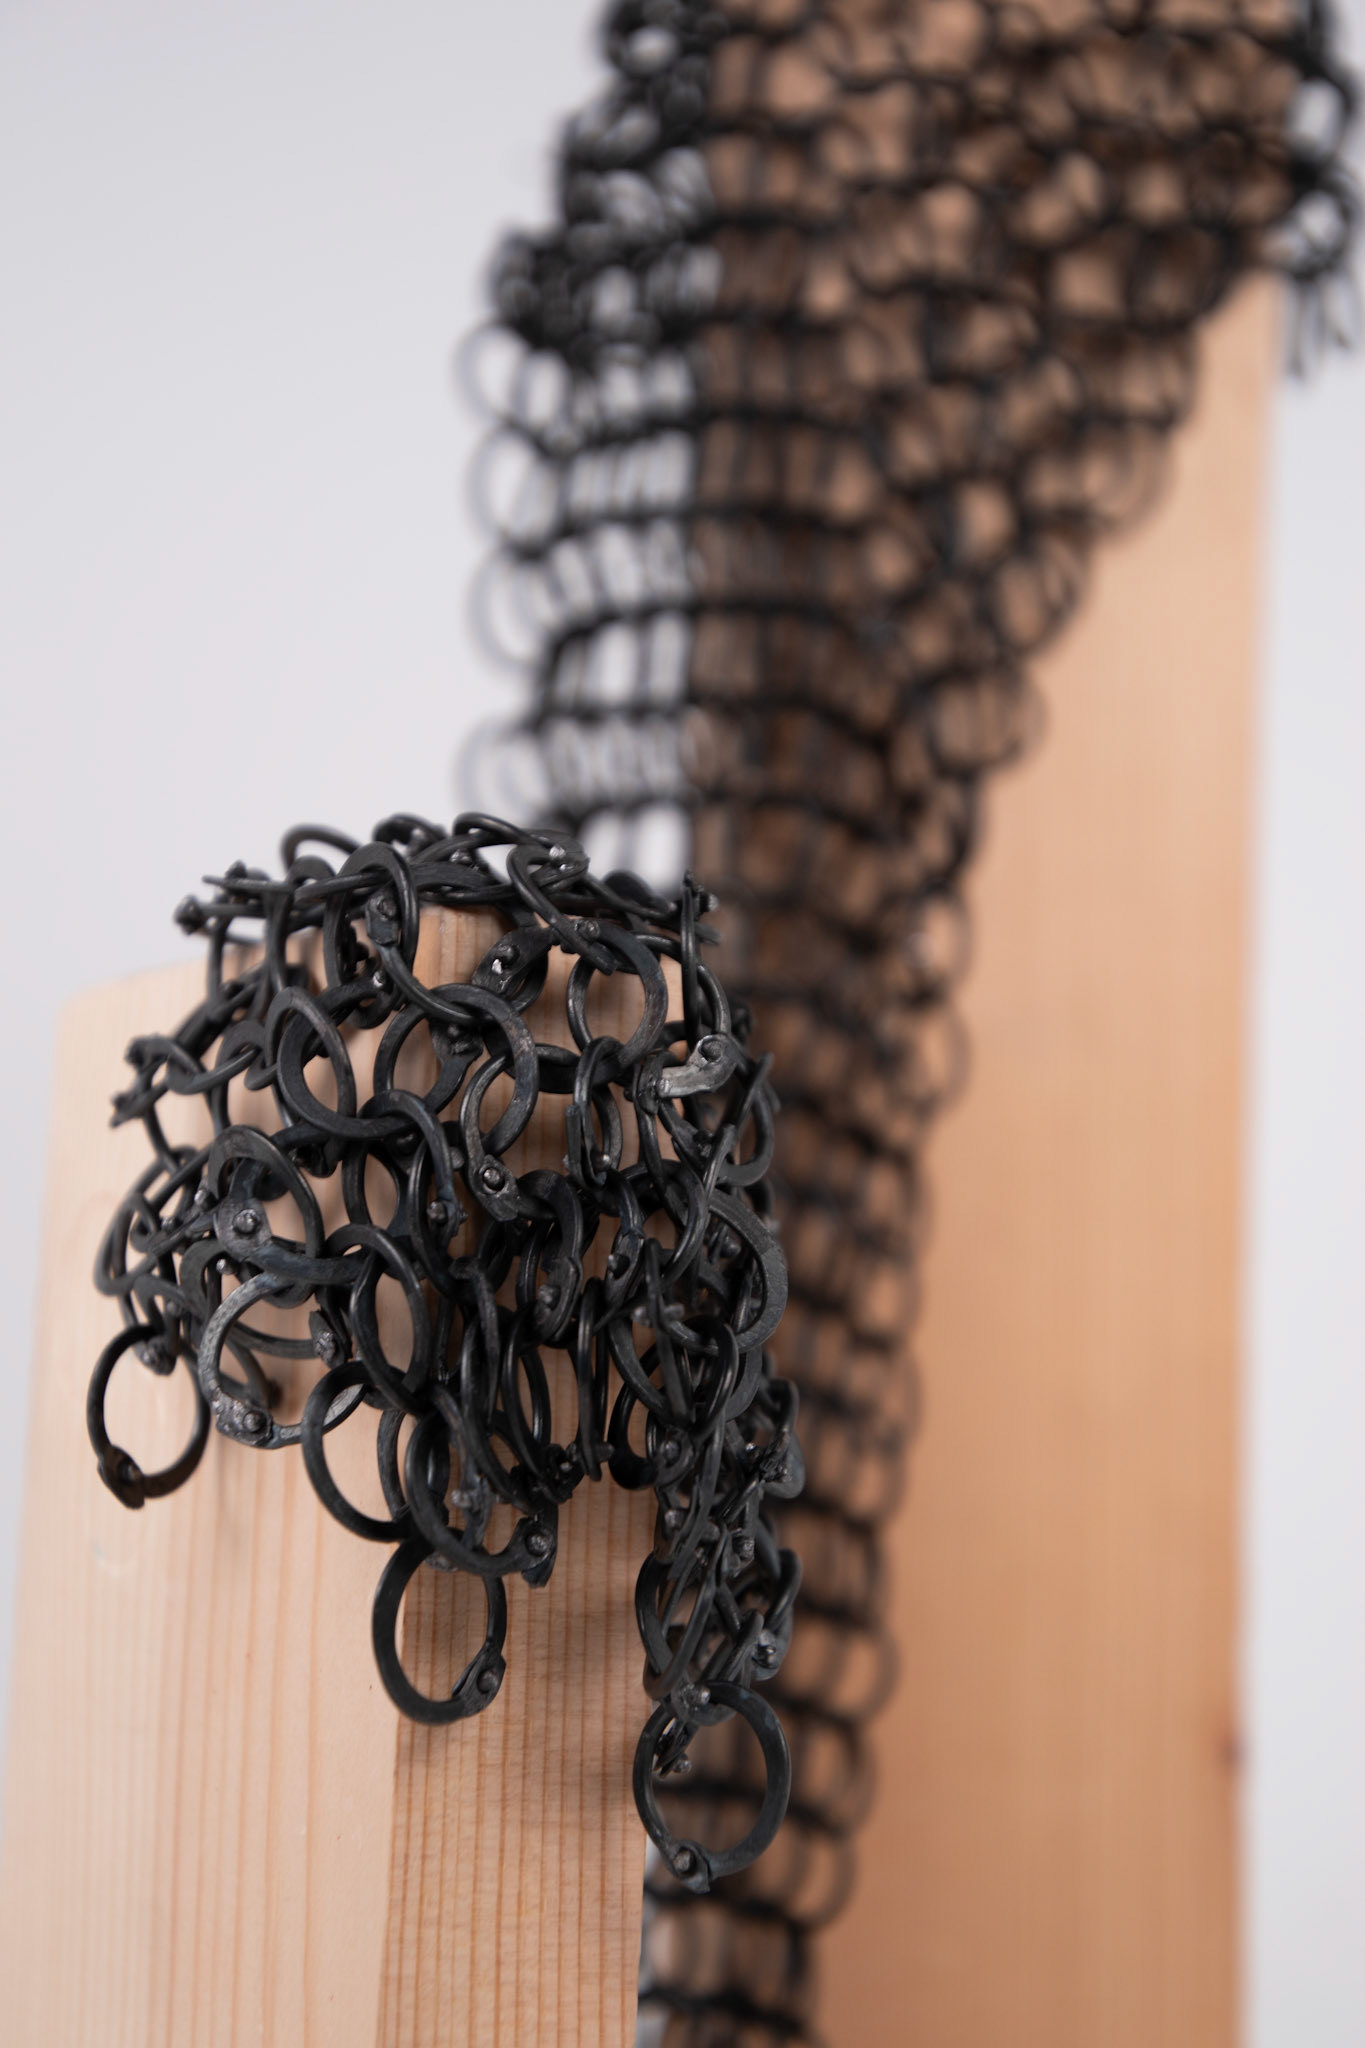
Having scaled up the butted chainmail, I wanted to explore what a riveted link would look like. I forged the links in the same way as before, and once I had chopped the coil with the angle grinder, I placed them back into the forge. I reduced the internal diameter around a smaller stake so that there was an overlap, replicating the overlapping links I snip when making mail from wire. I then hammered them flat trying to increase the width enough for a rivet. Finally, I drilled a whole and used preformed rivets to join the links together.
Reflecting on the outcome, I don't think that this was a success. I feel that due to the thickness of the steel used, the rivet looks out of place and unnecessary. Additionally, I prefer the cleaner look of the butted links.
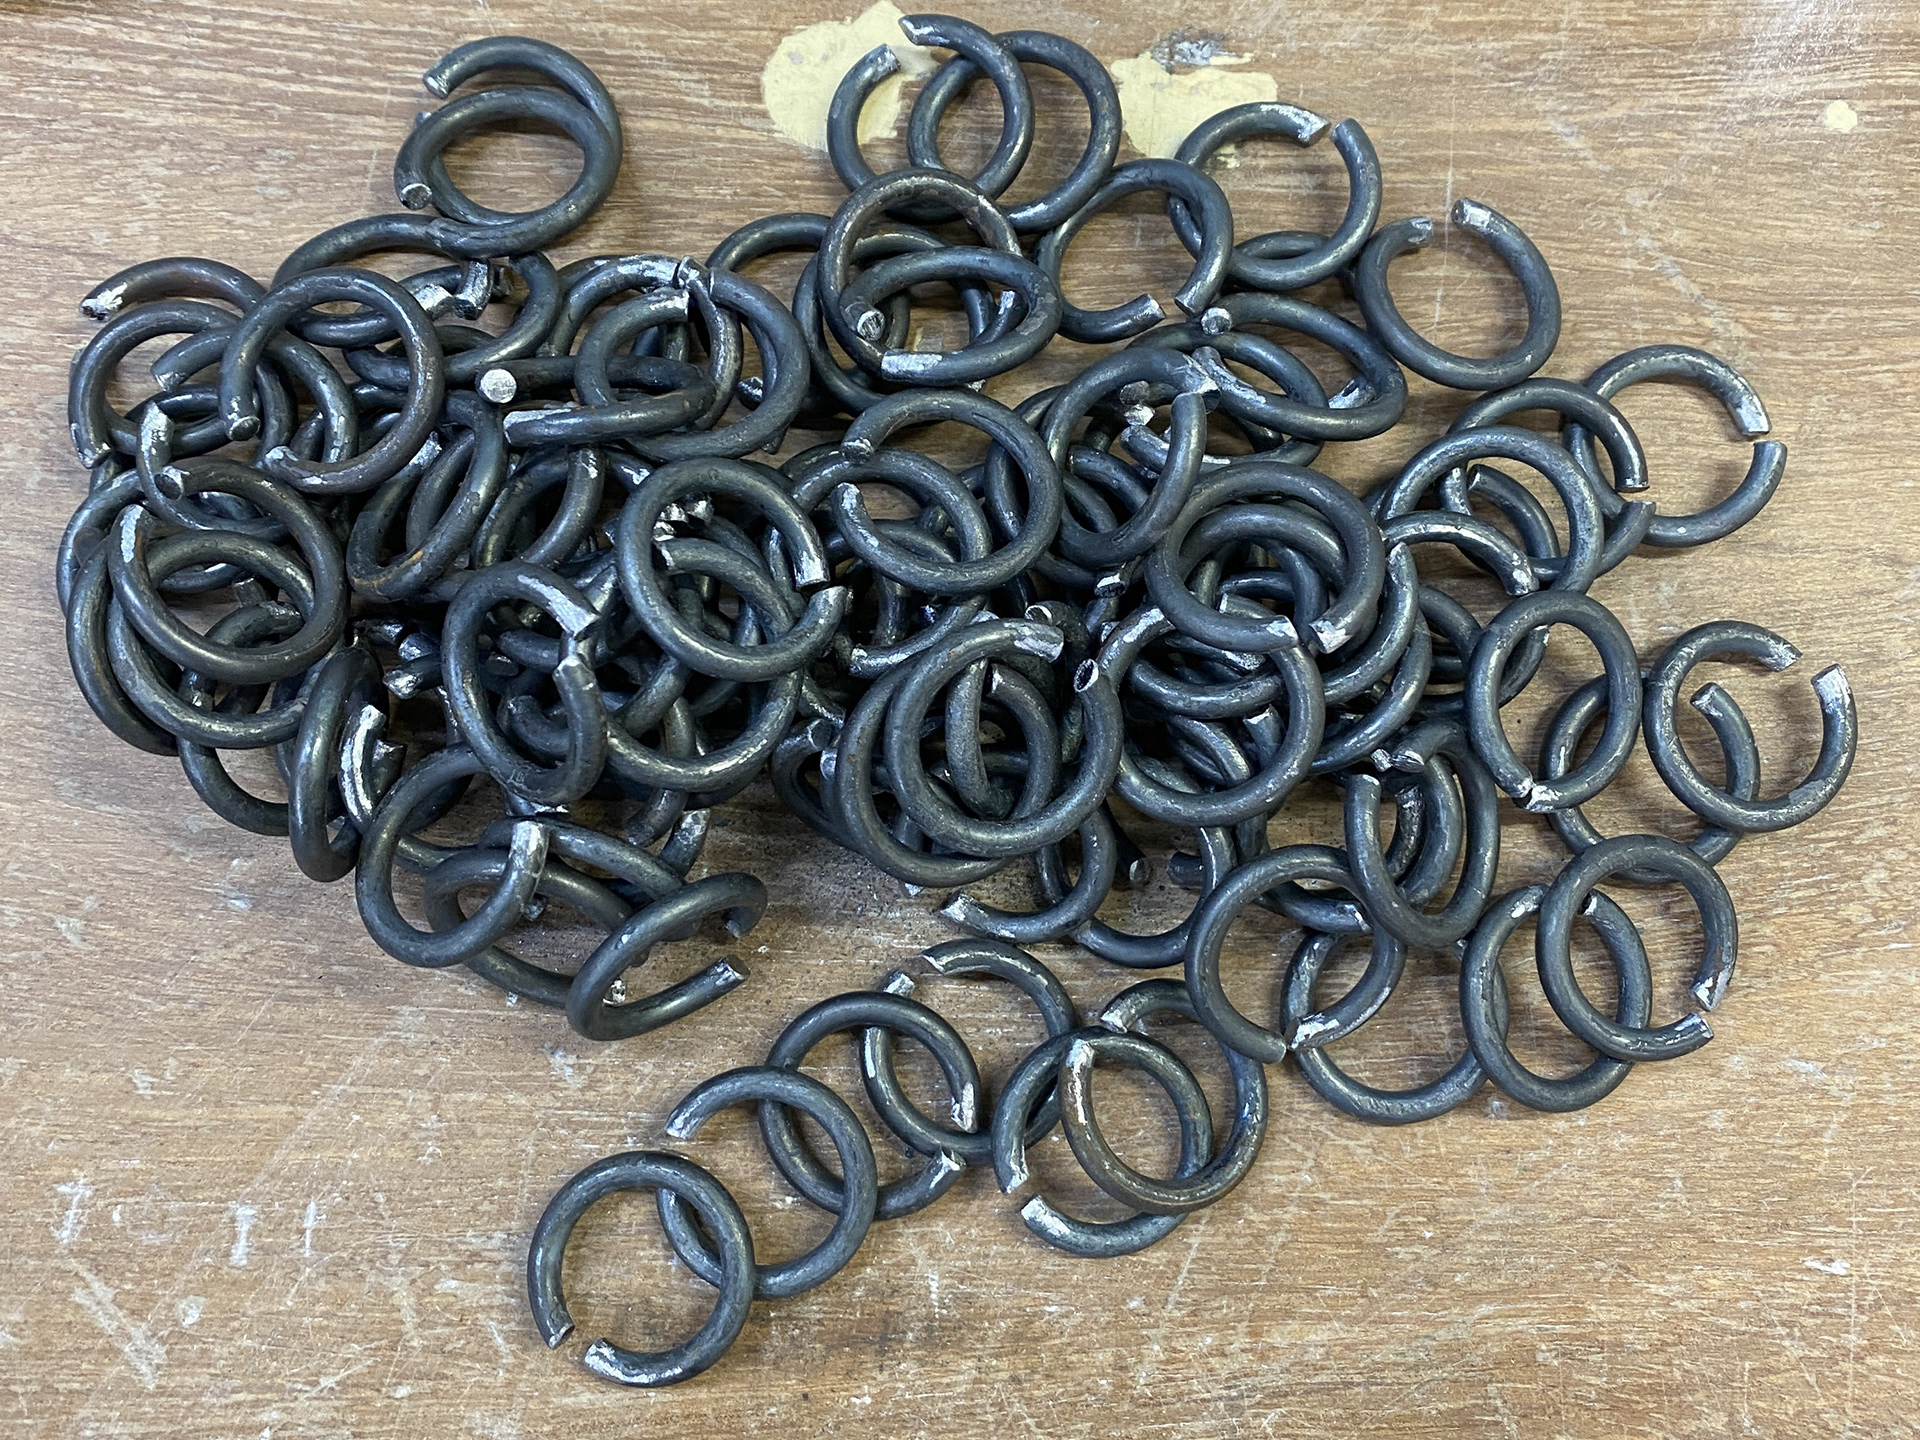
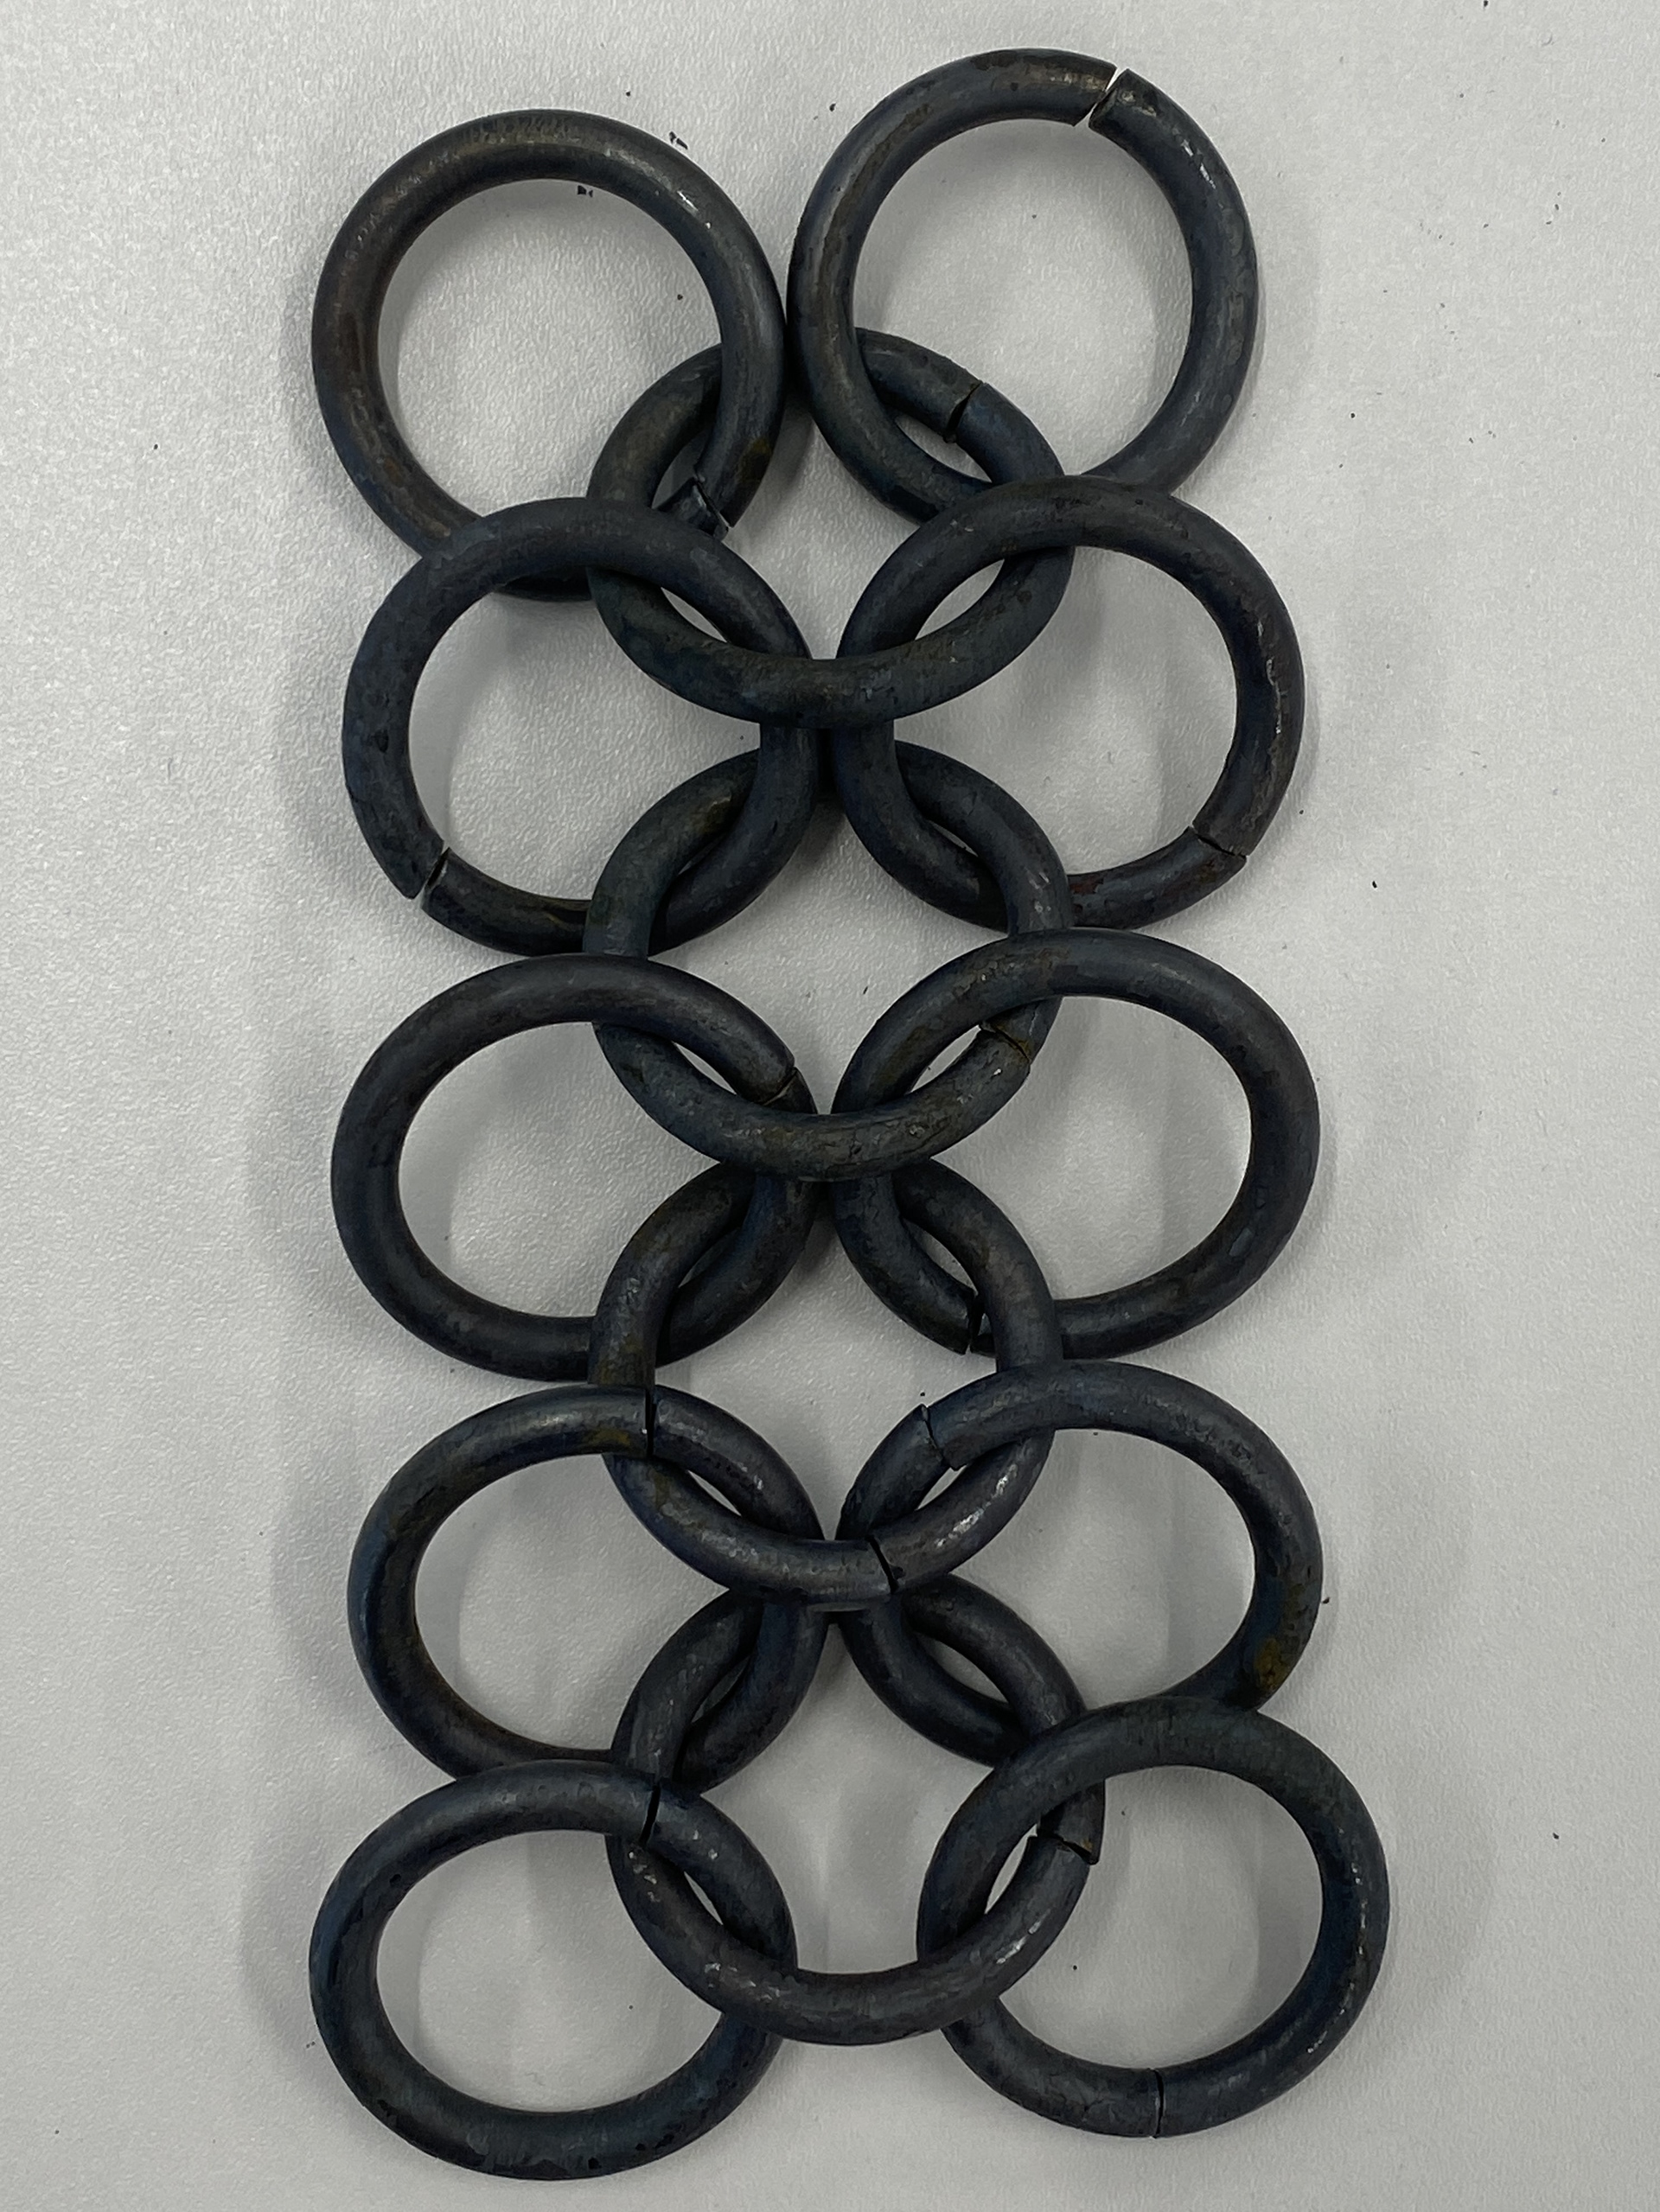
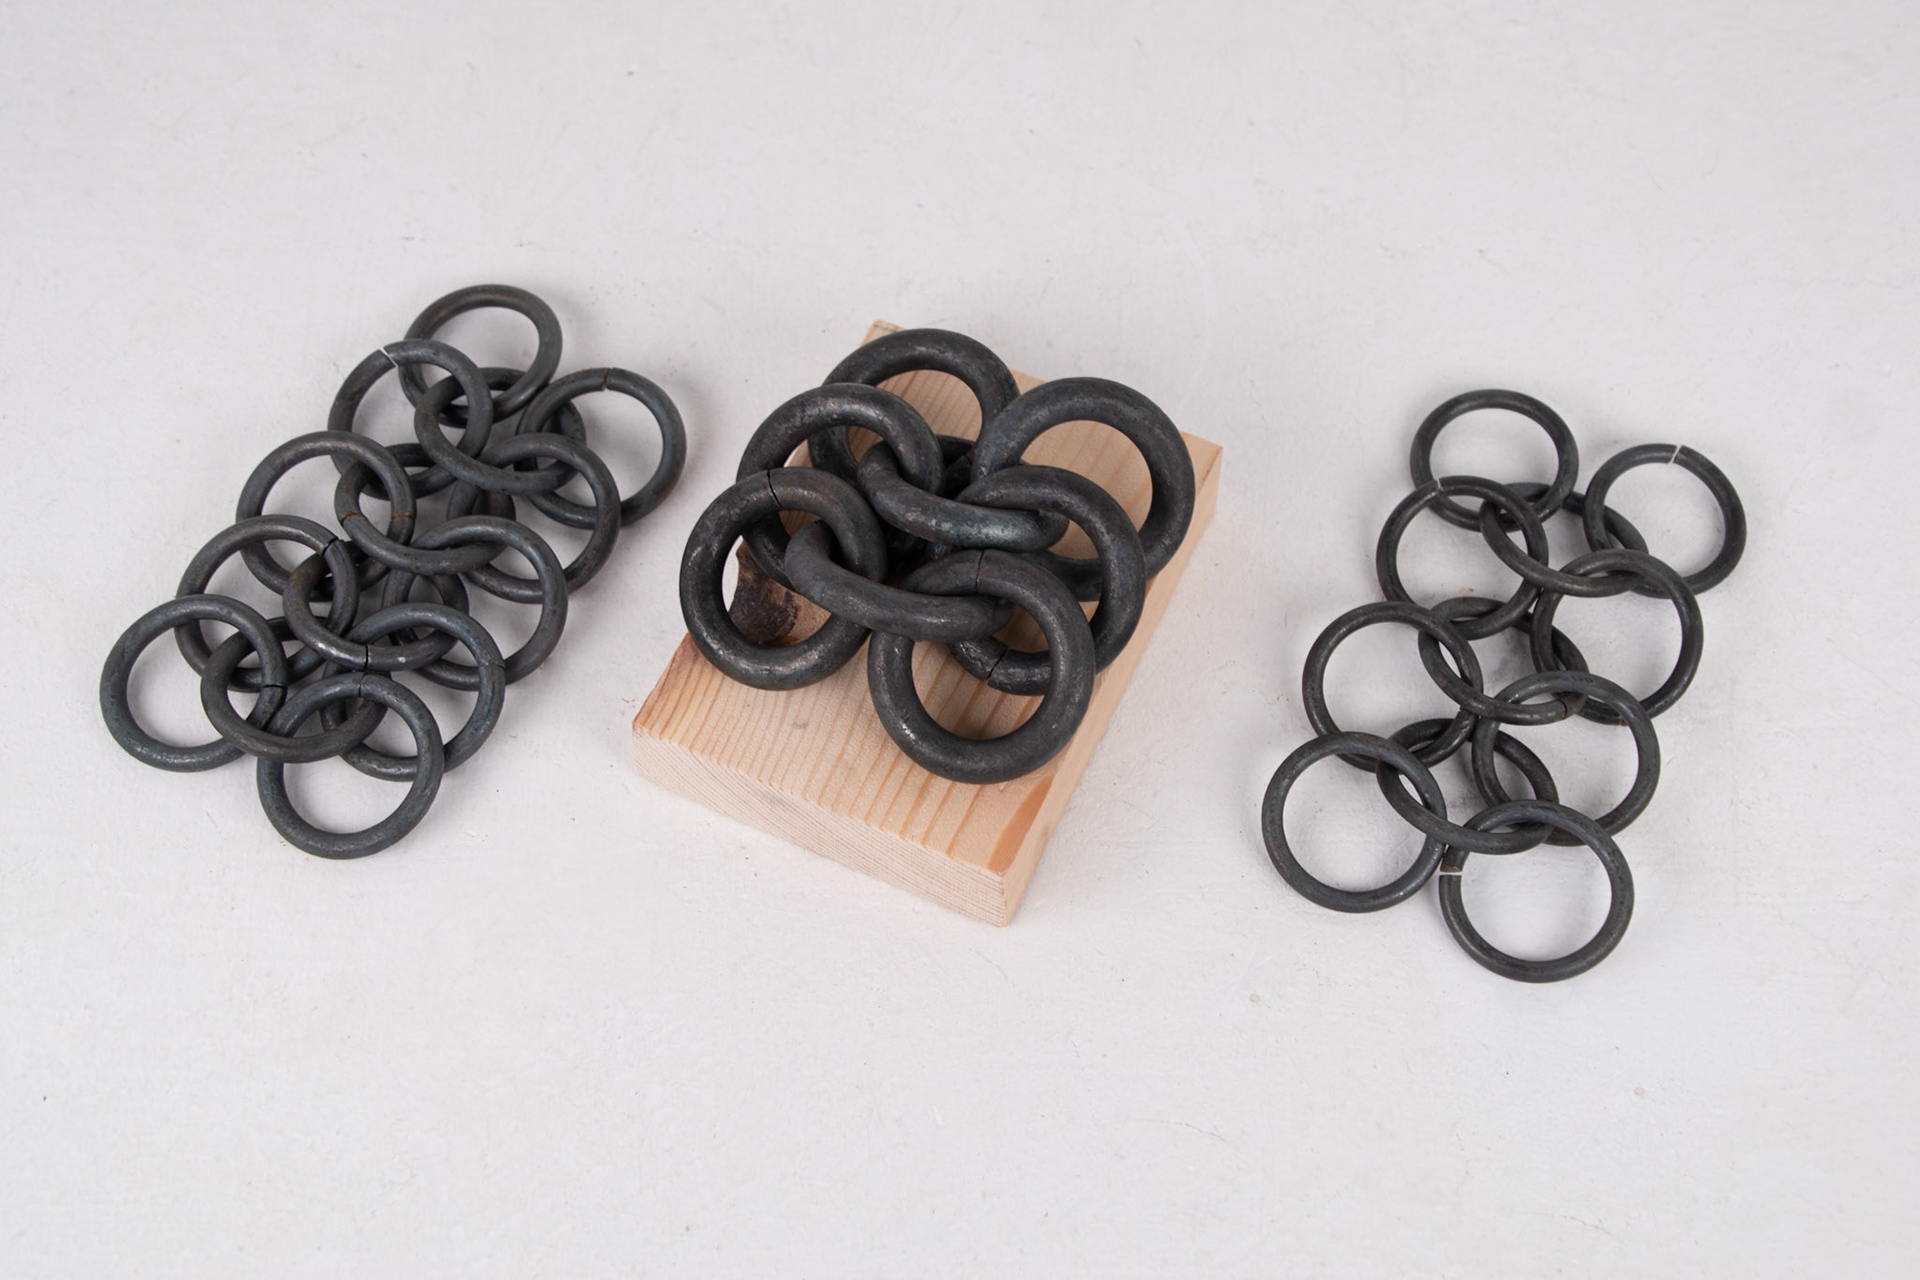
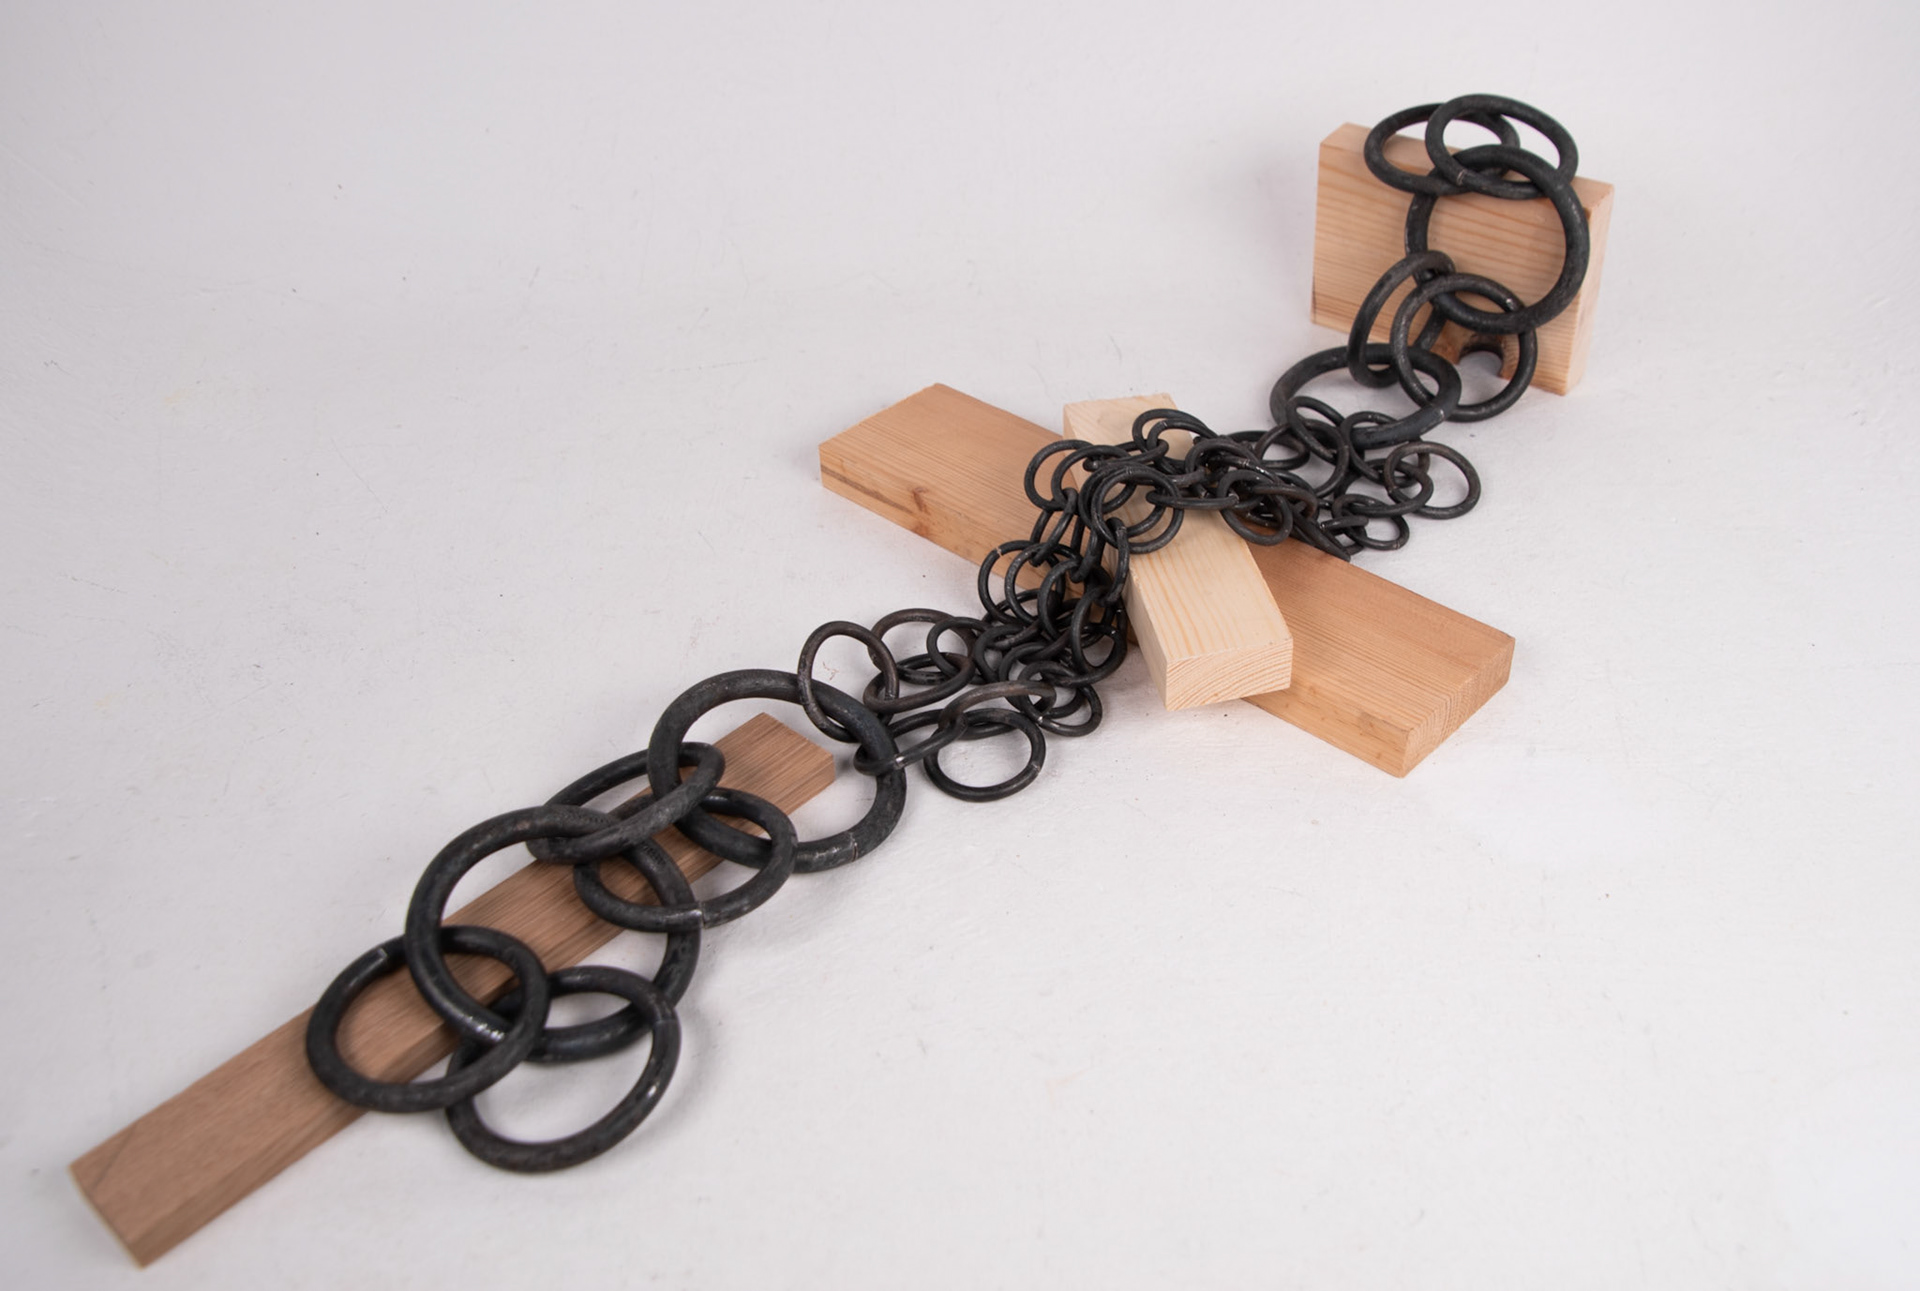
After reflecting on using different thickness steel rod around the same stake, I researched chainmail aspect ratios. I learned that a traditional and recommended ratio was around 6:1 (Internal Diameter ID and the Wire Diameter / Thickness WD).
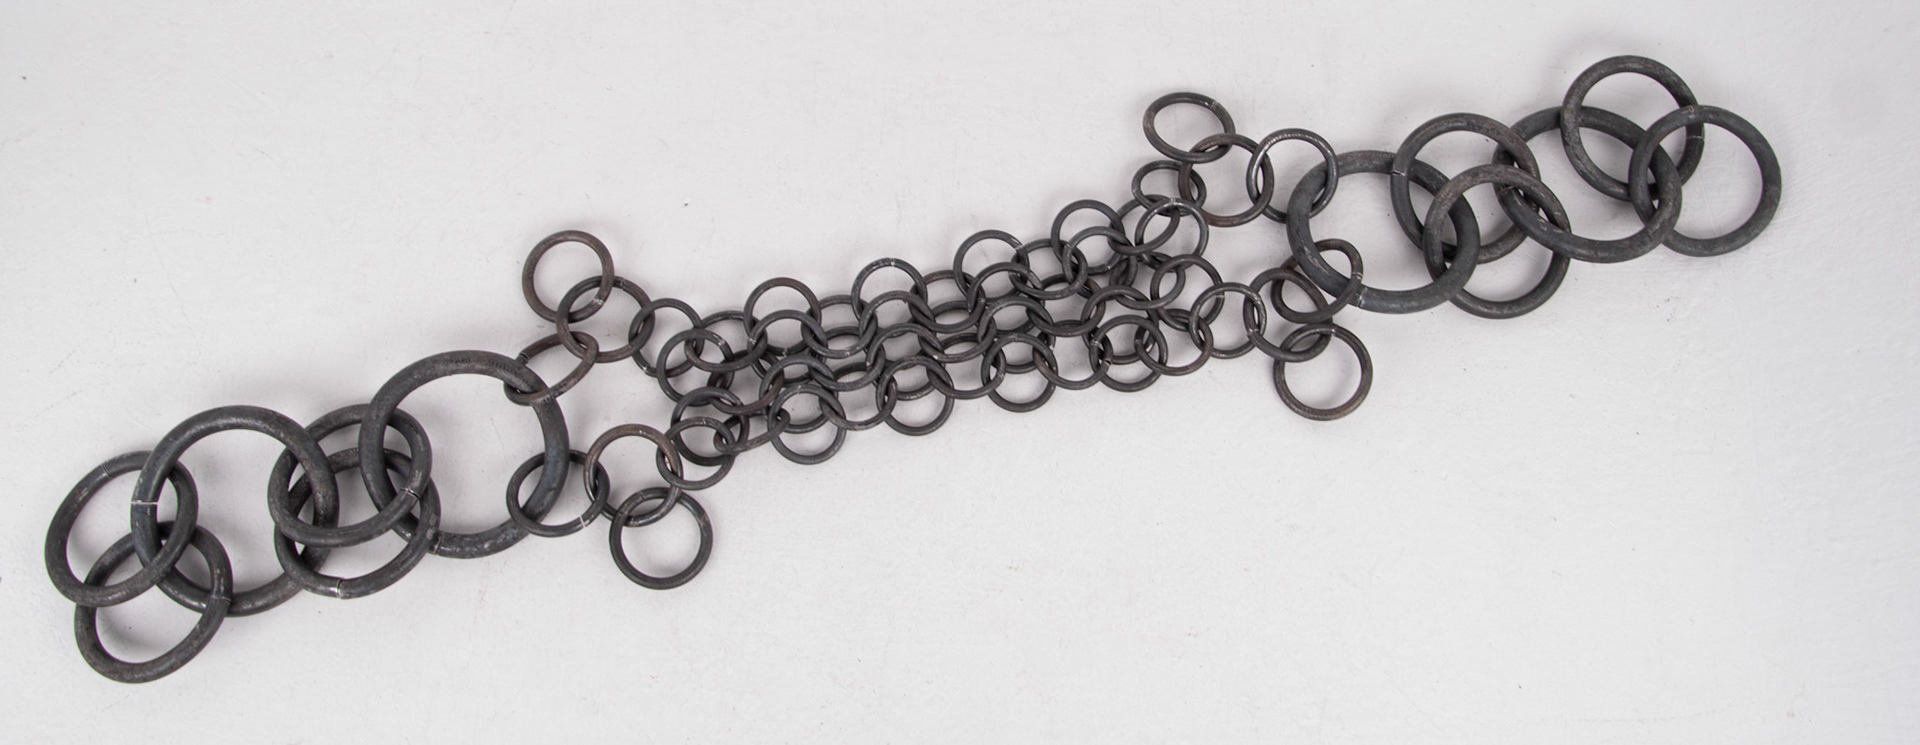
I found a variety of cylindrical stakes which increase in diameter (25,30,50,65mm) and the relevant WD thickness for an AR of 6 (4,5,8,10mm). I then forged these into rings using the same technique as above. Weaving a sheet, I started with the smallest and as I constructed horizontally, increased the link size.
I think that there is a lot of room to experiment with varying the size of the rings and exploring the connections between them.
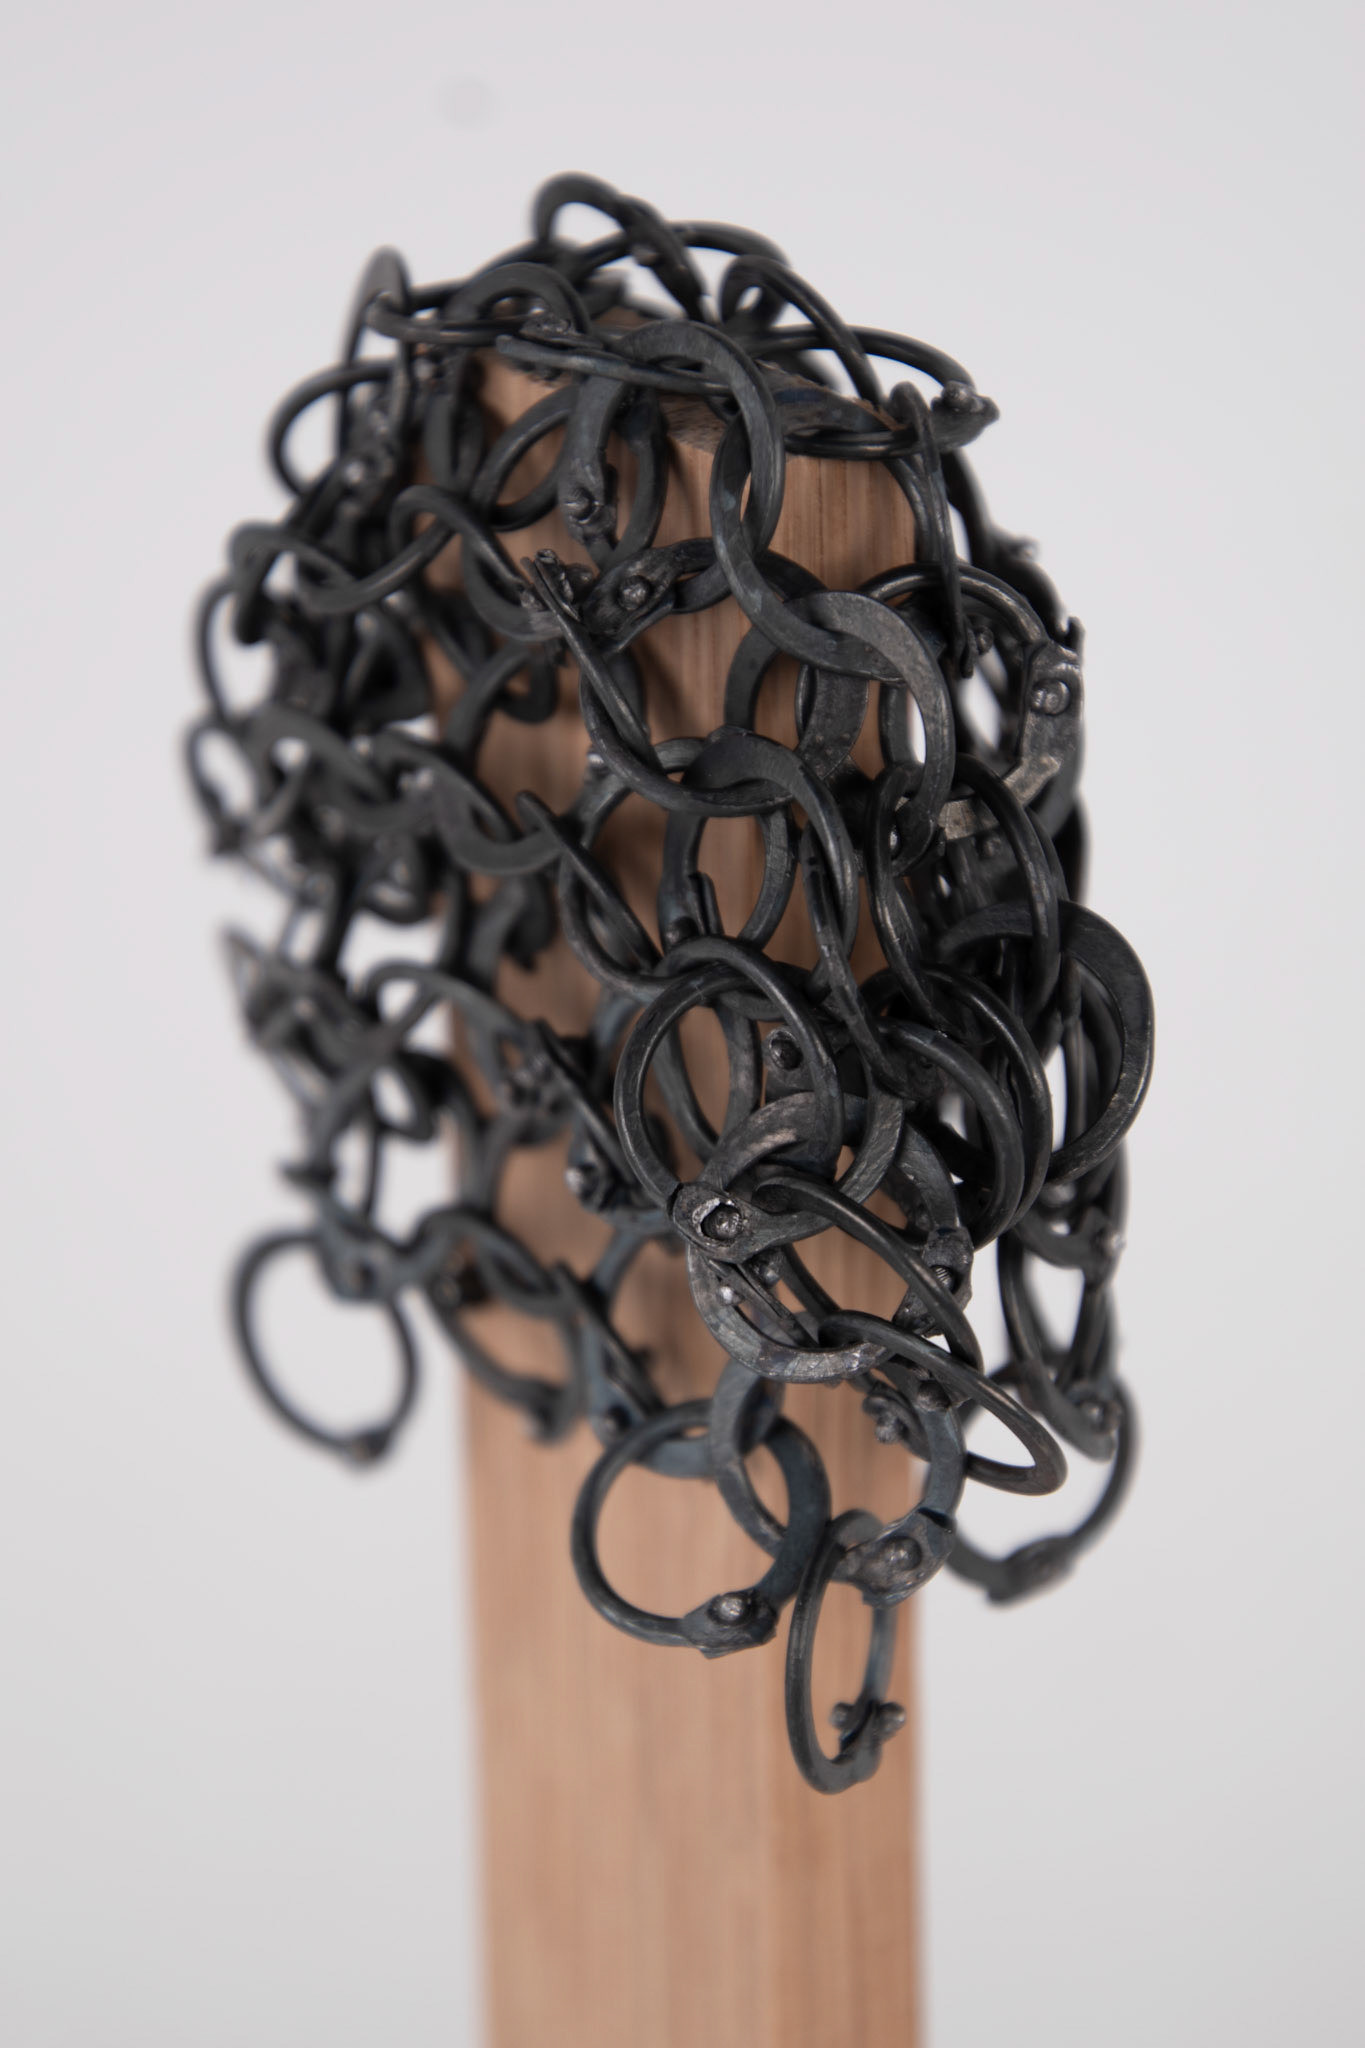
This sample was built on the table and has no relationship with the body, only serving as a test to explore link sizes. As a result, the piece is too big horizontally to be placed on the body. Additionally, I didn't consider the effects of gravity which shifts the links, compressing them and distorting the intended composition. Therefore, moving forward I will need to focus on how gravity and the body affect the drape of the piece.
This piece is much heavier than the others and is more likely the size of mail that I would want to use in my designs. As a result, I need to keep in mind the weight of the garment. However, I believe that the material choice of thick, heavy steel improves the narrative of protection.
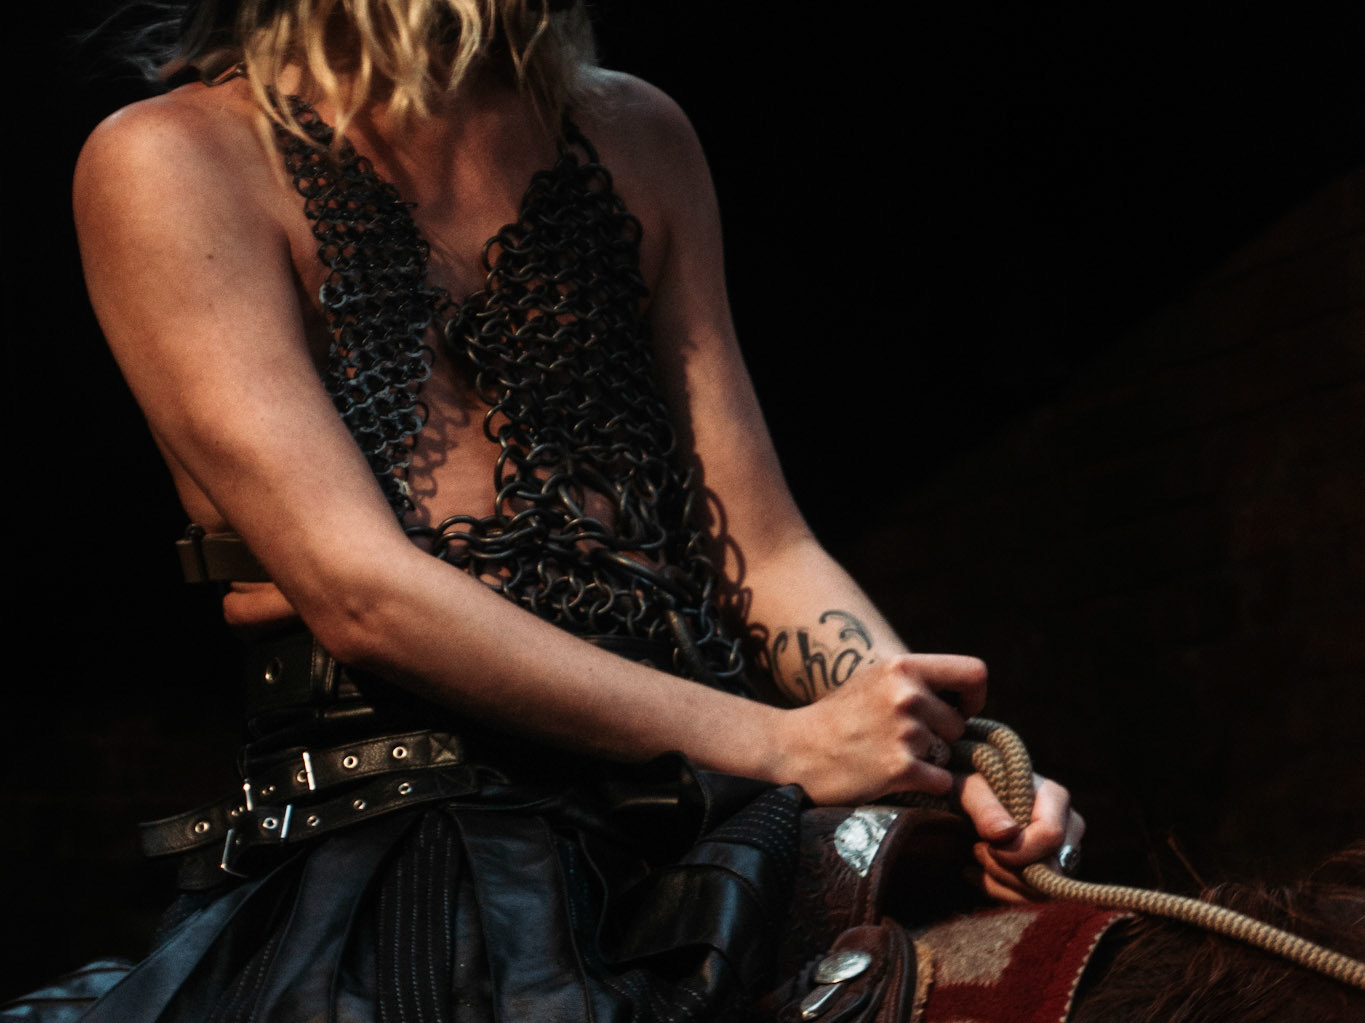
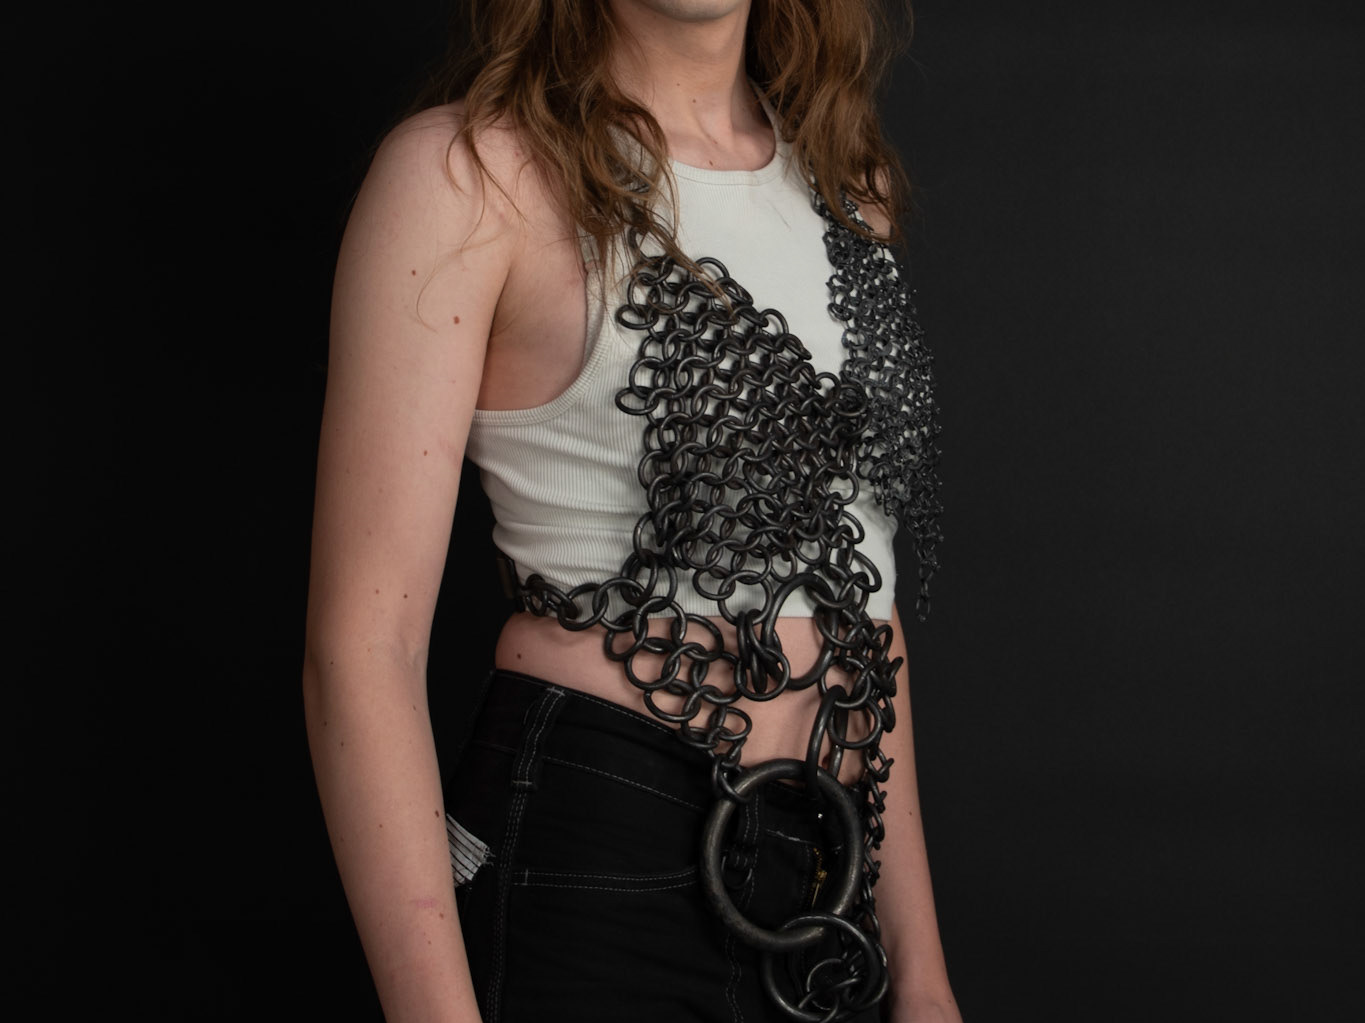
Daylight studio photography


I took this series of photos for my Instagram in the lead up to GNCCF to showcase my work. However, I used this time to reflect and experiment with the different pieces. I am happy with the craftsmanship of the pieces and when you look up close, the details of the rivets and butted connections are done to a high standard.
These pieces work well as a sheet on a horizontal plane, although when elevated and manipulated are much more interesting. The drape is a key element of this, it distorts the sheet, compressing and stretching it around the object beneath. Additionally, the increase in shadows and depth brings contrast and interest to a simple sheet. However, these pieces are not intended to be draped in this way and thus I have no control over how the pieces fall. This is an area that needs addressing in my future sample.
Testing Aspect Ratio
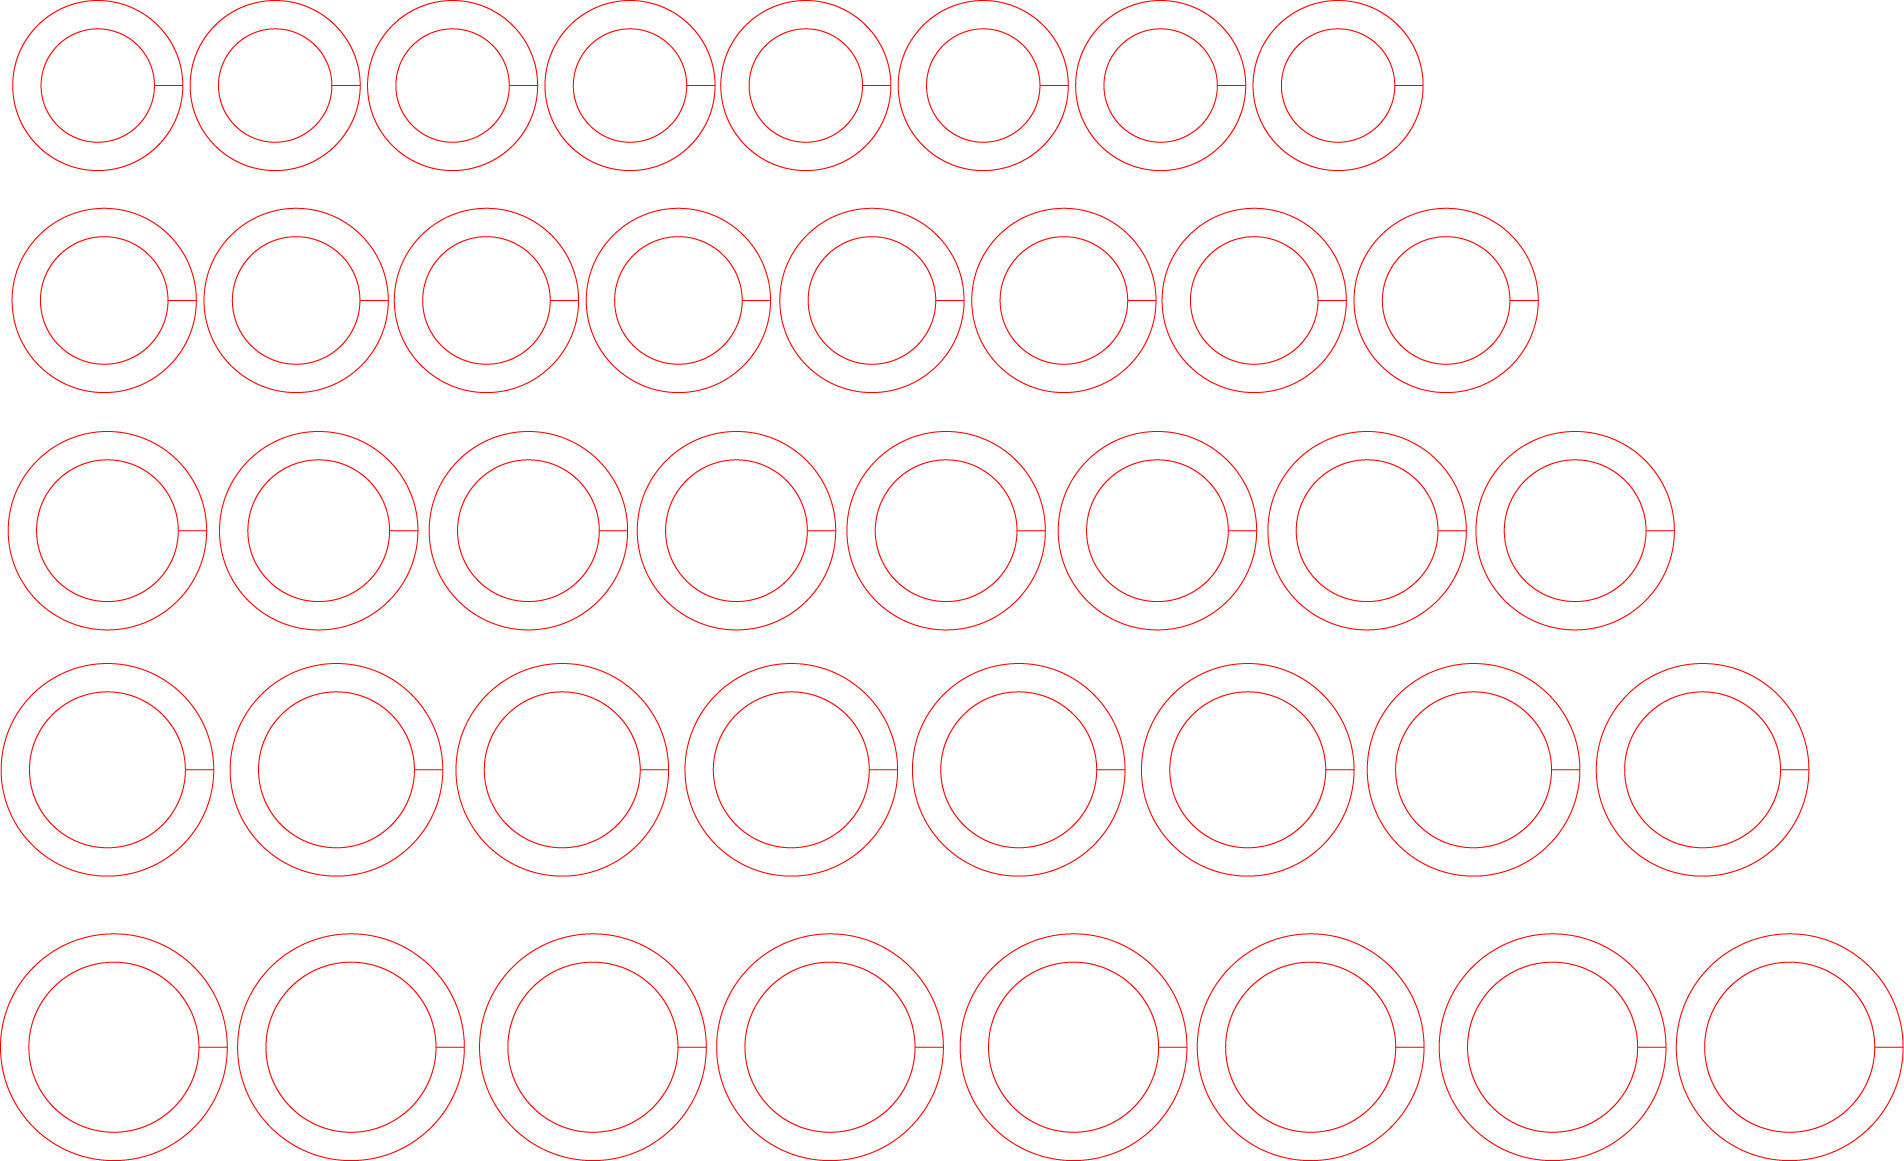
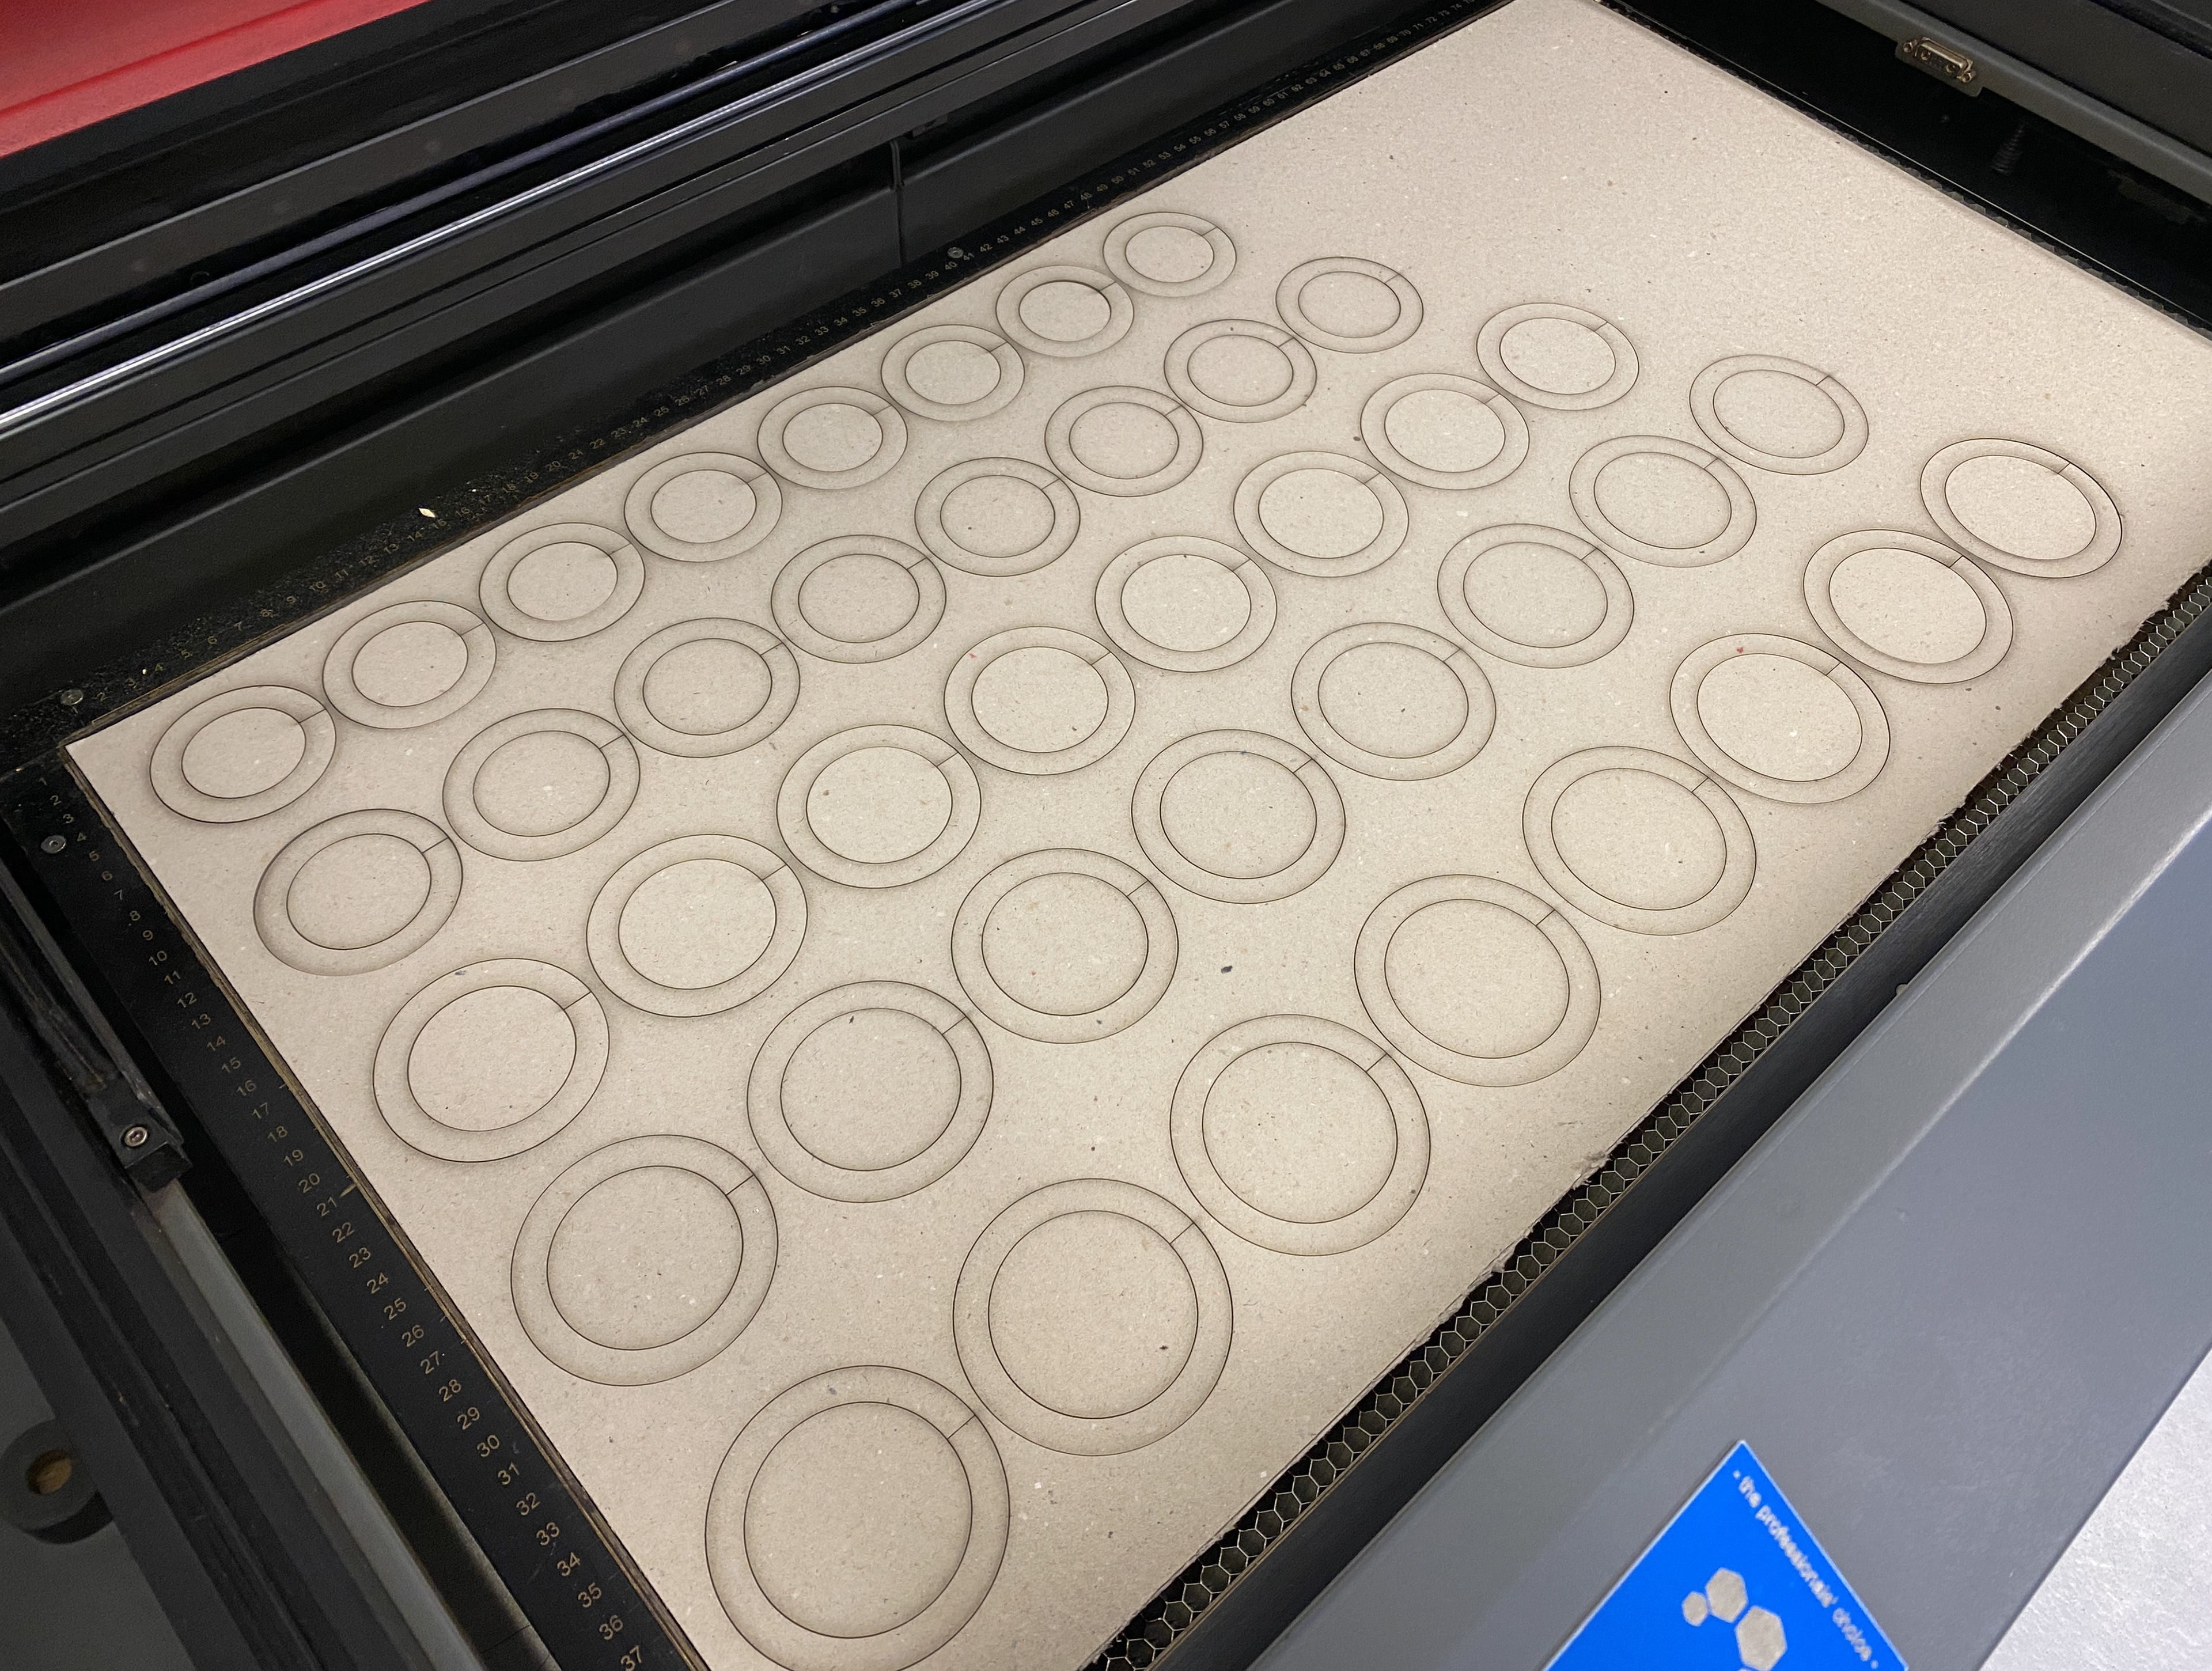
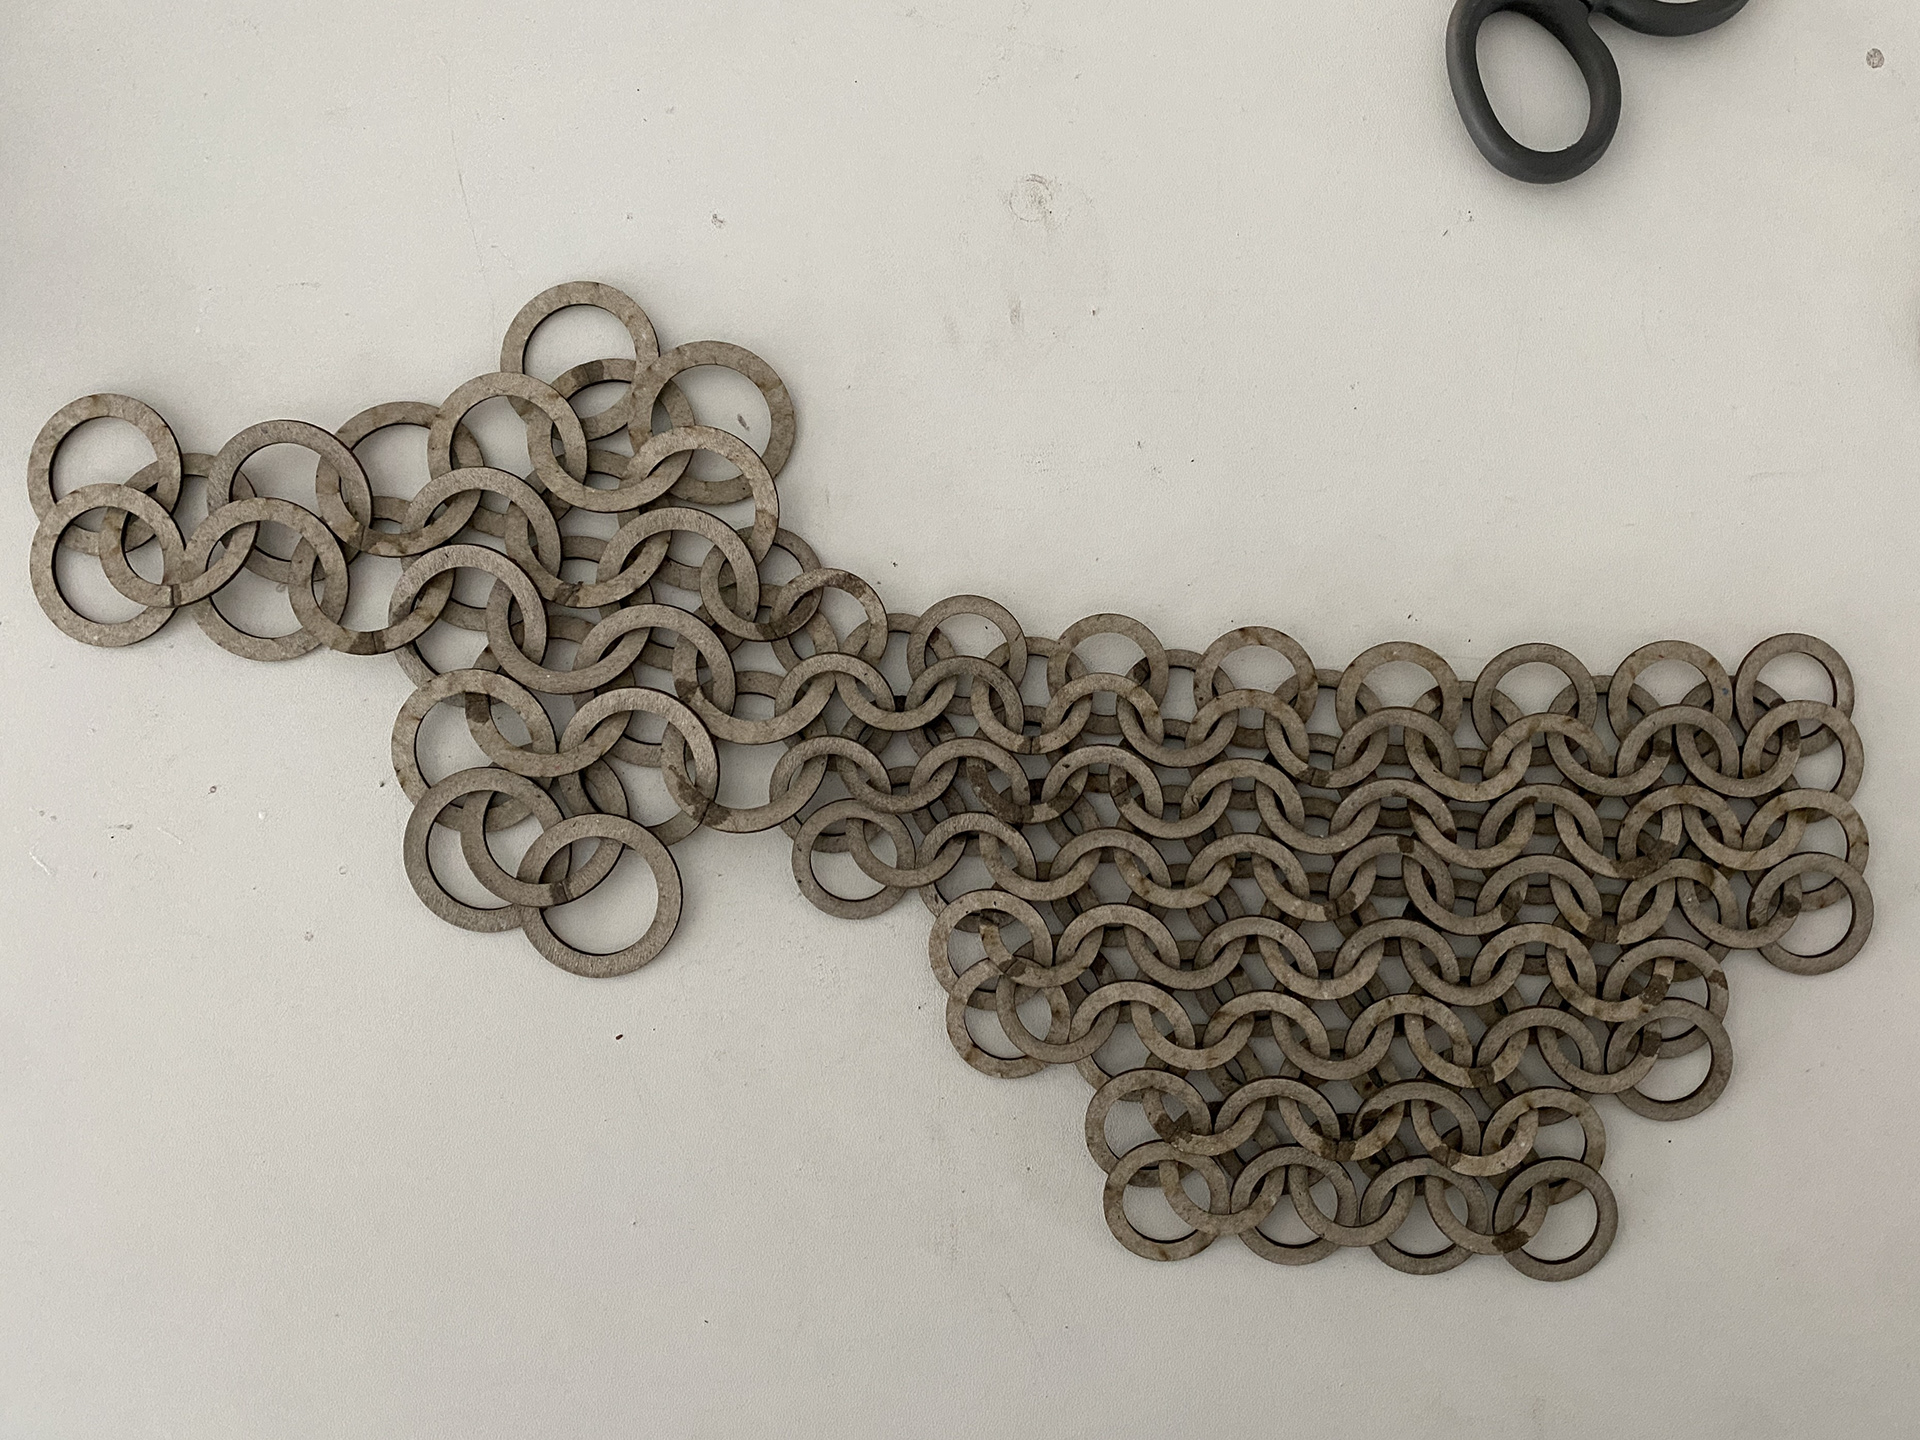
To experiment with aspect ratios I created 10mm links with increasing AR (4,4.5,5,5.5,6,6.6,7) using laser cut grey board.


I wove the different ratios into a sheet to experiment with the negative space. Additionally, I looked at how these were affected by gravity and the support of the body, and the impact on the drape of the pieces. With such a large link I believe that the larger AR is best as the pattern is clearer, and when considering the weight of the sheet in 10mm steel, it would be excessive. However, I do like the tight weave (lower AR) on the table and think that testing this with smaller links would provide greater protection as well as concealing the body. Therefore, I want to experiment with varying the AR, with the smaller WD (wire diameter) having an AR of 4.5 and the larger WD having an AR of 7.
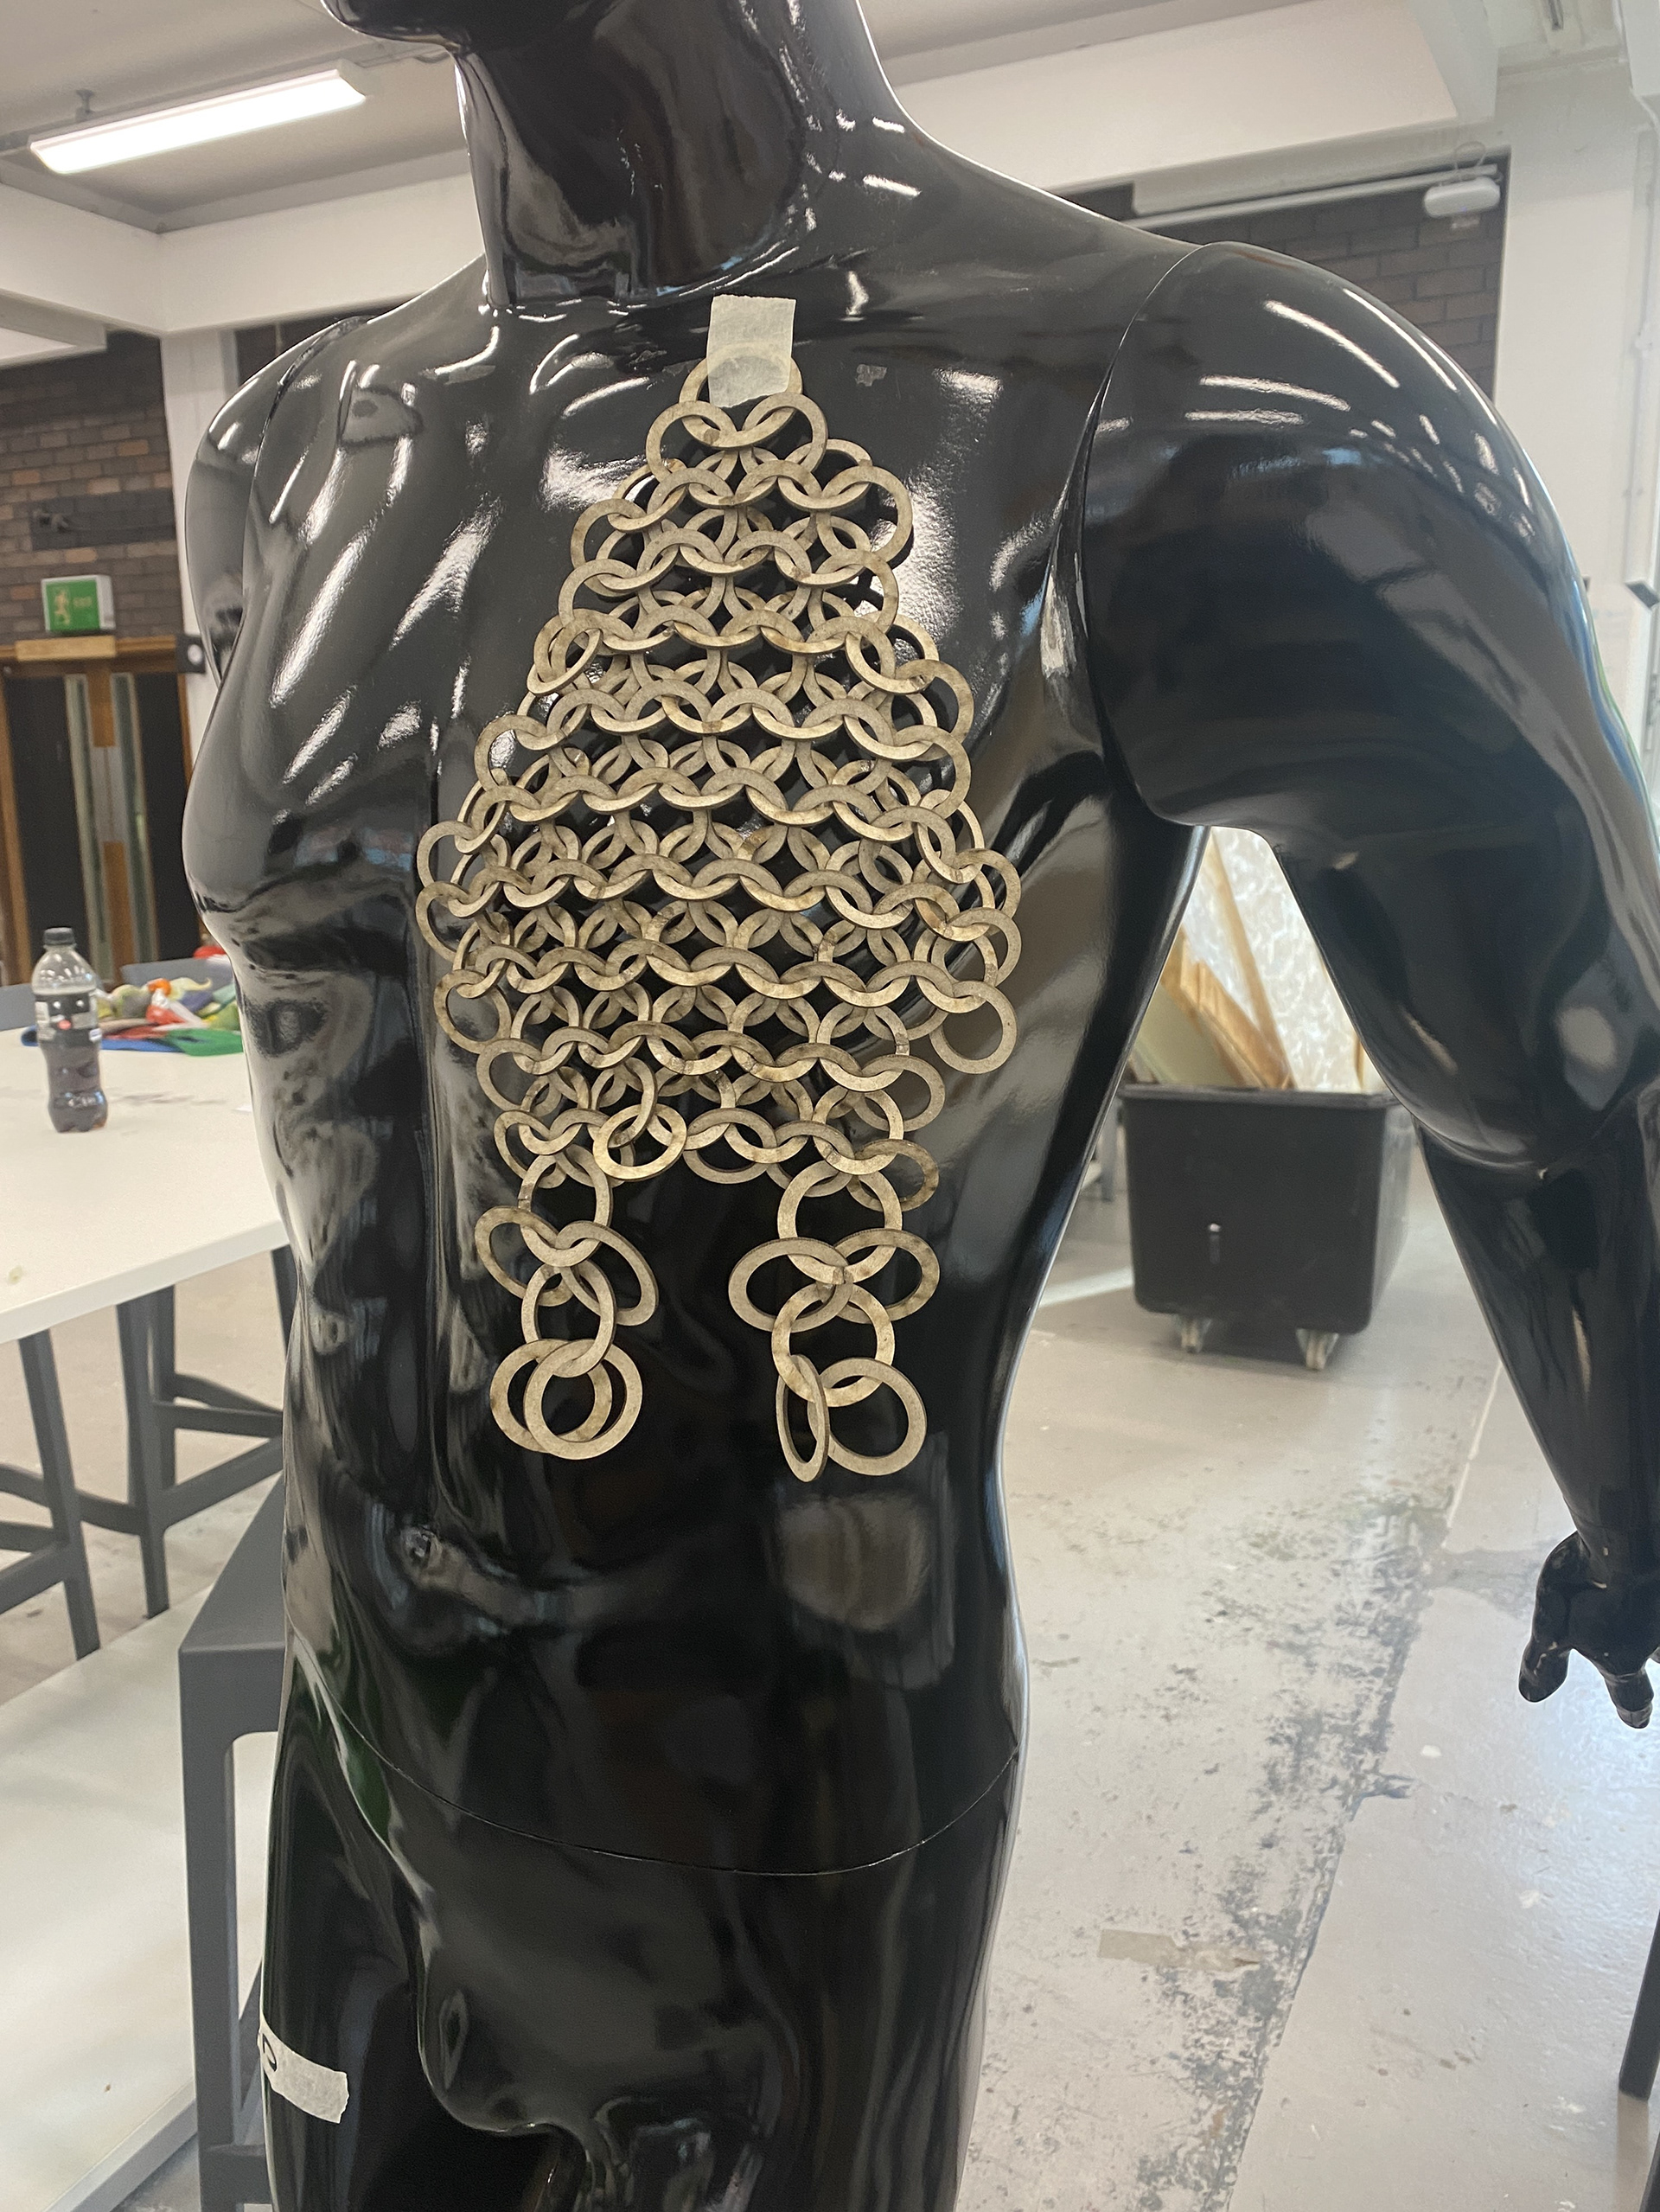
Designing mail patterns
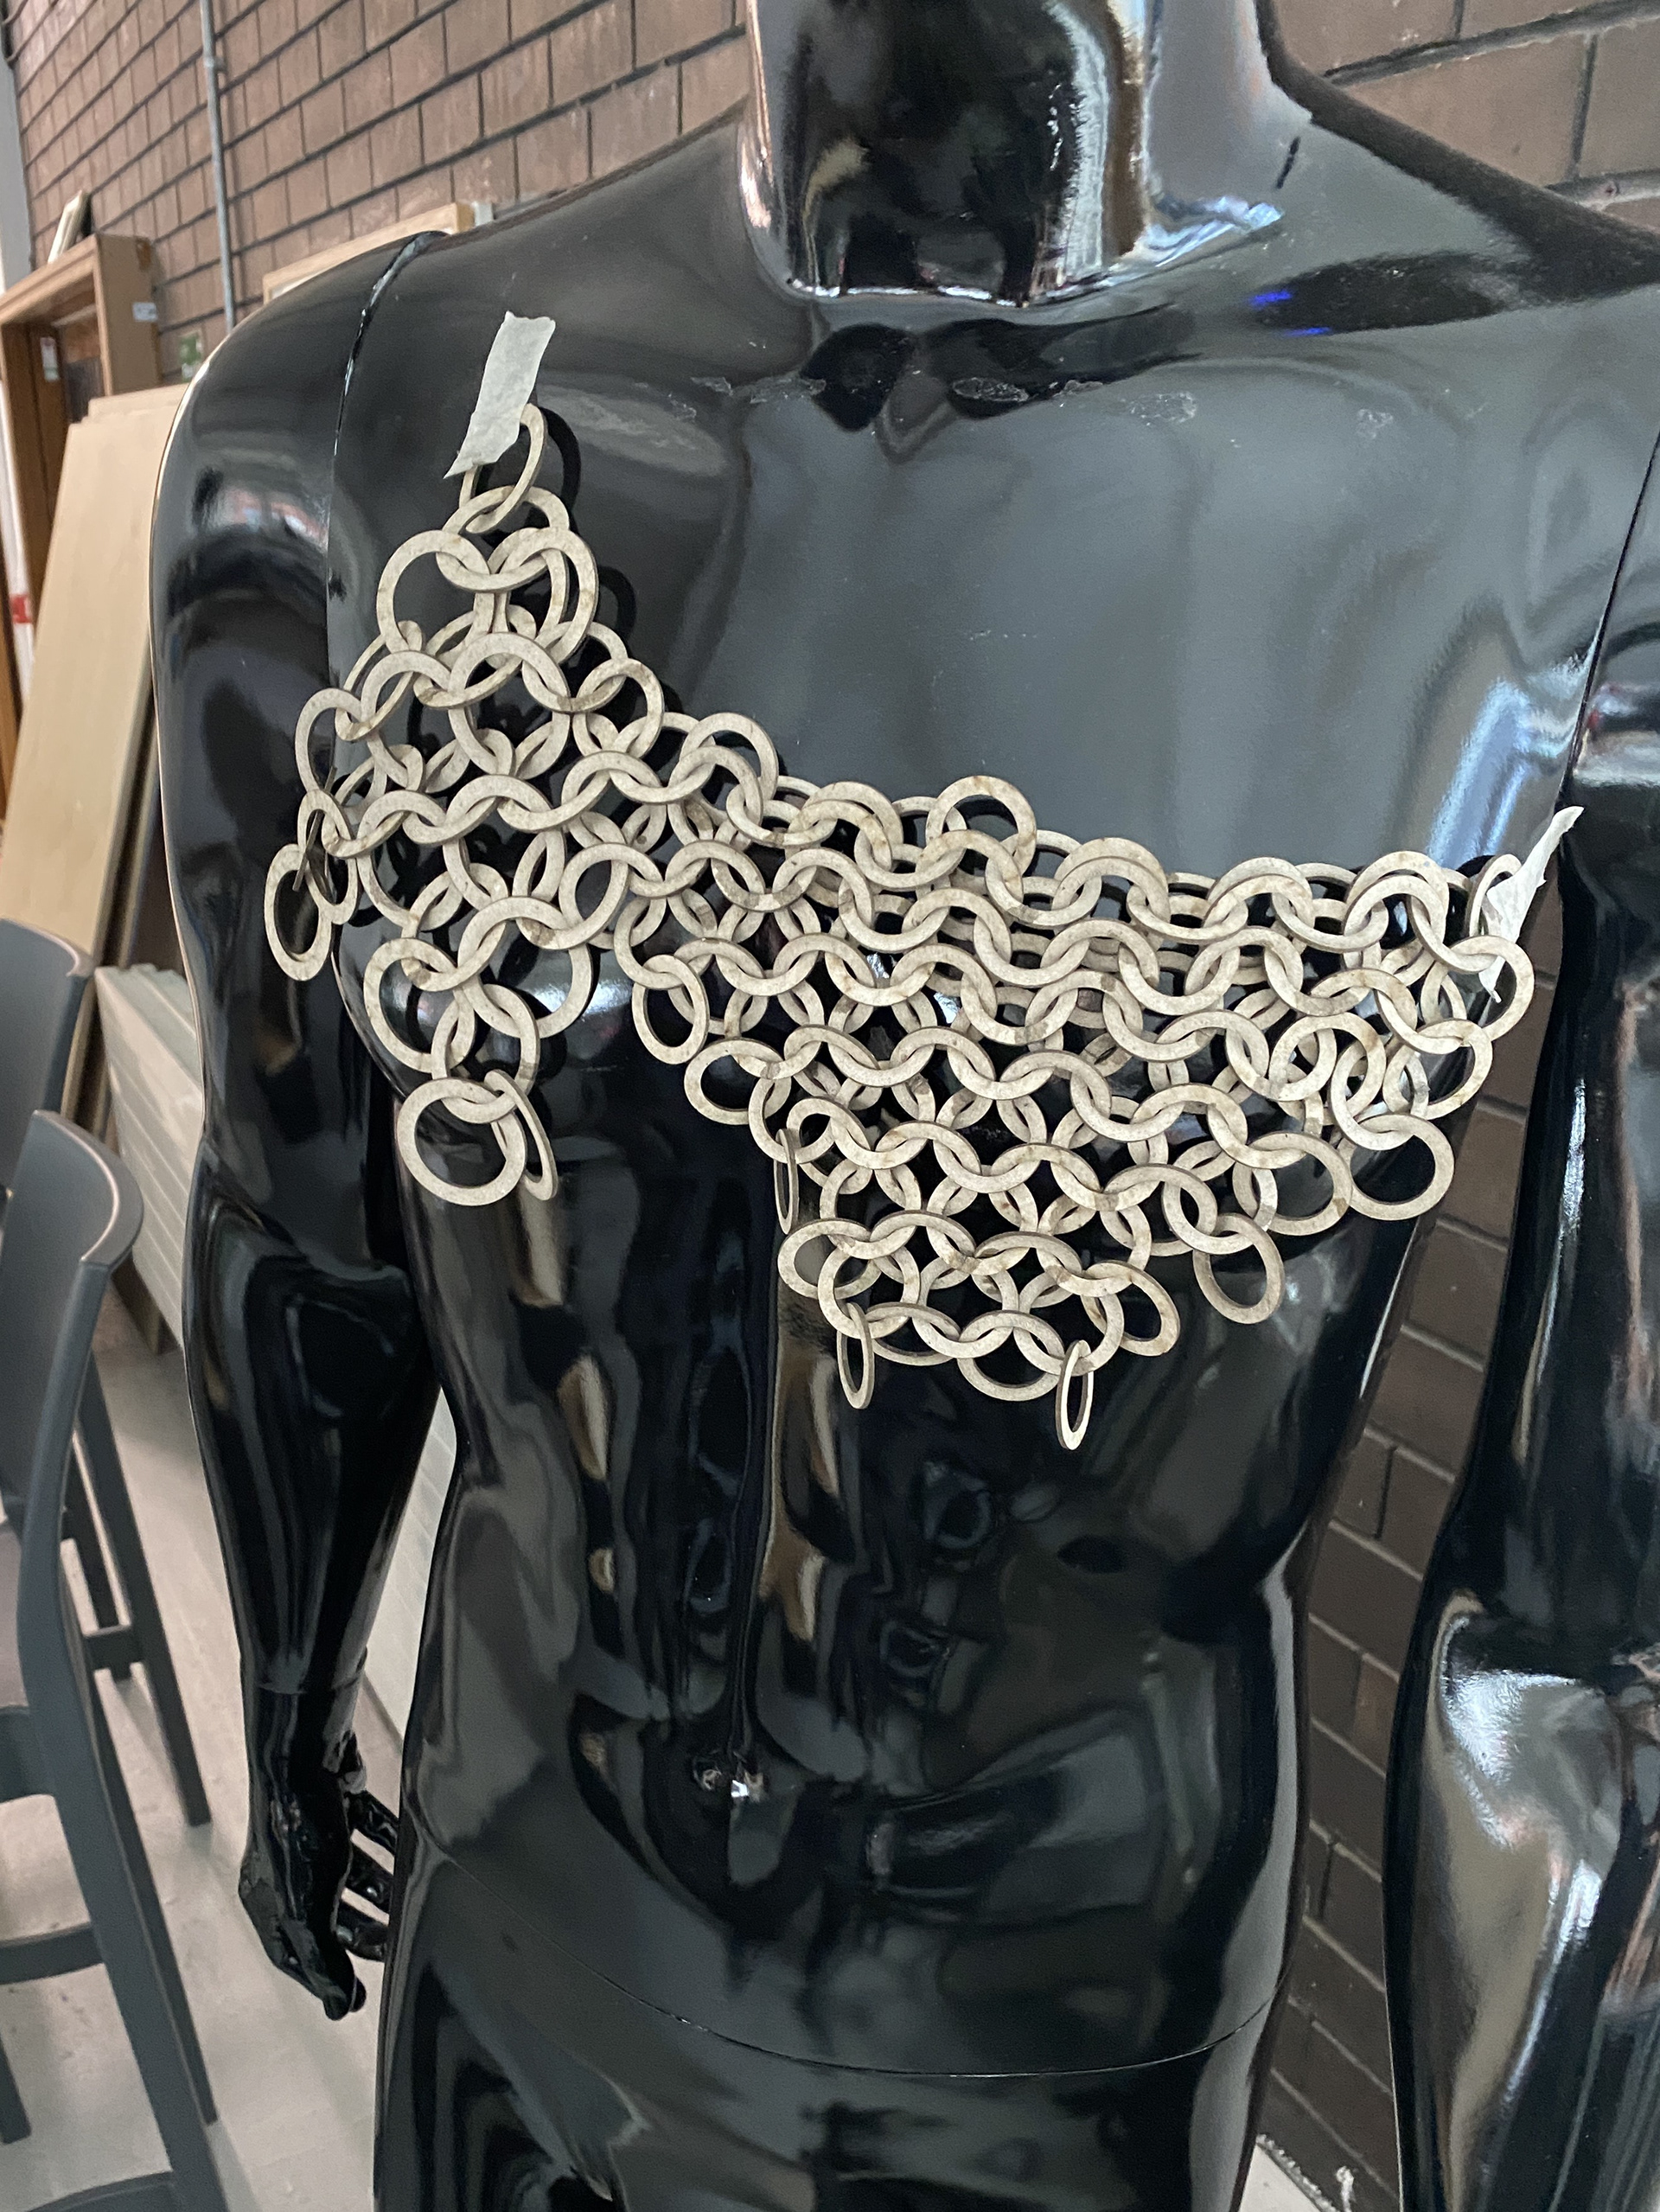

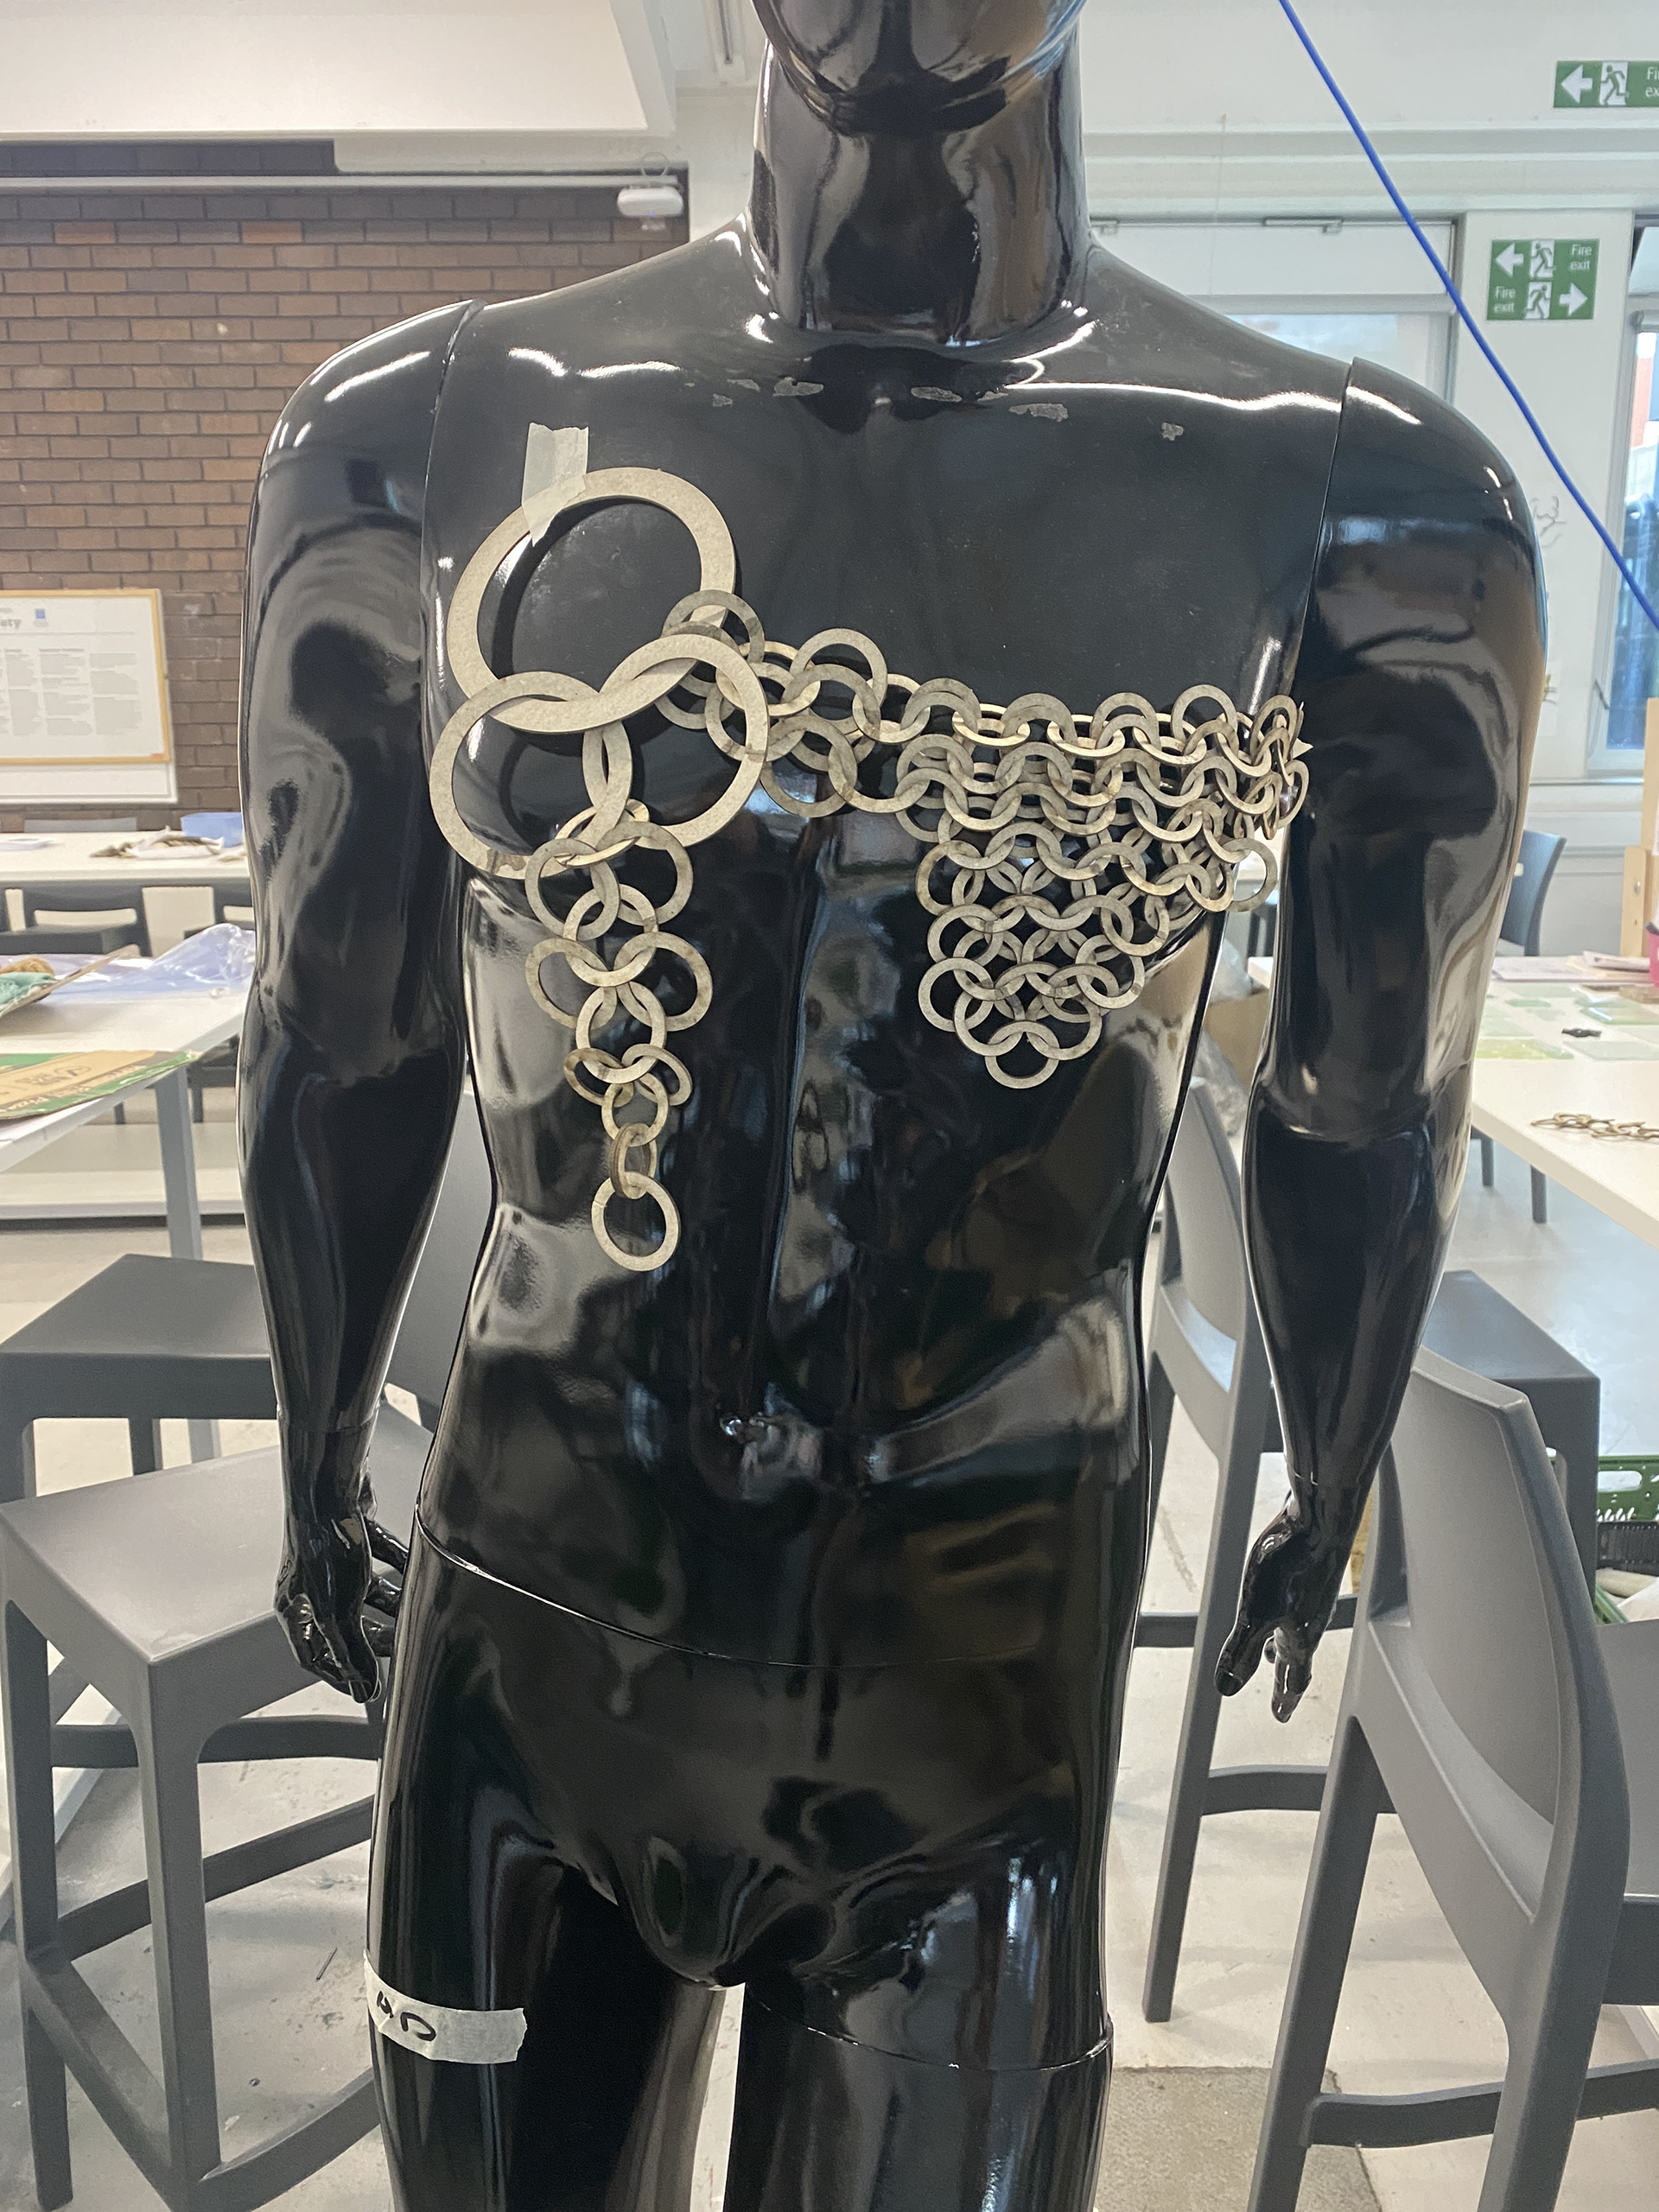
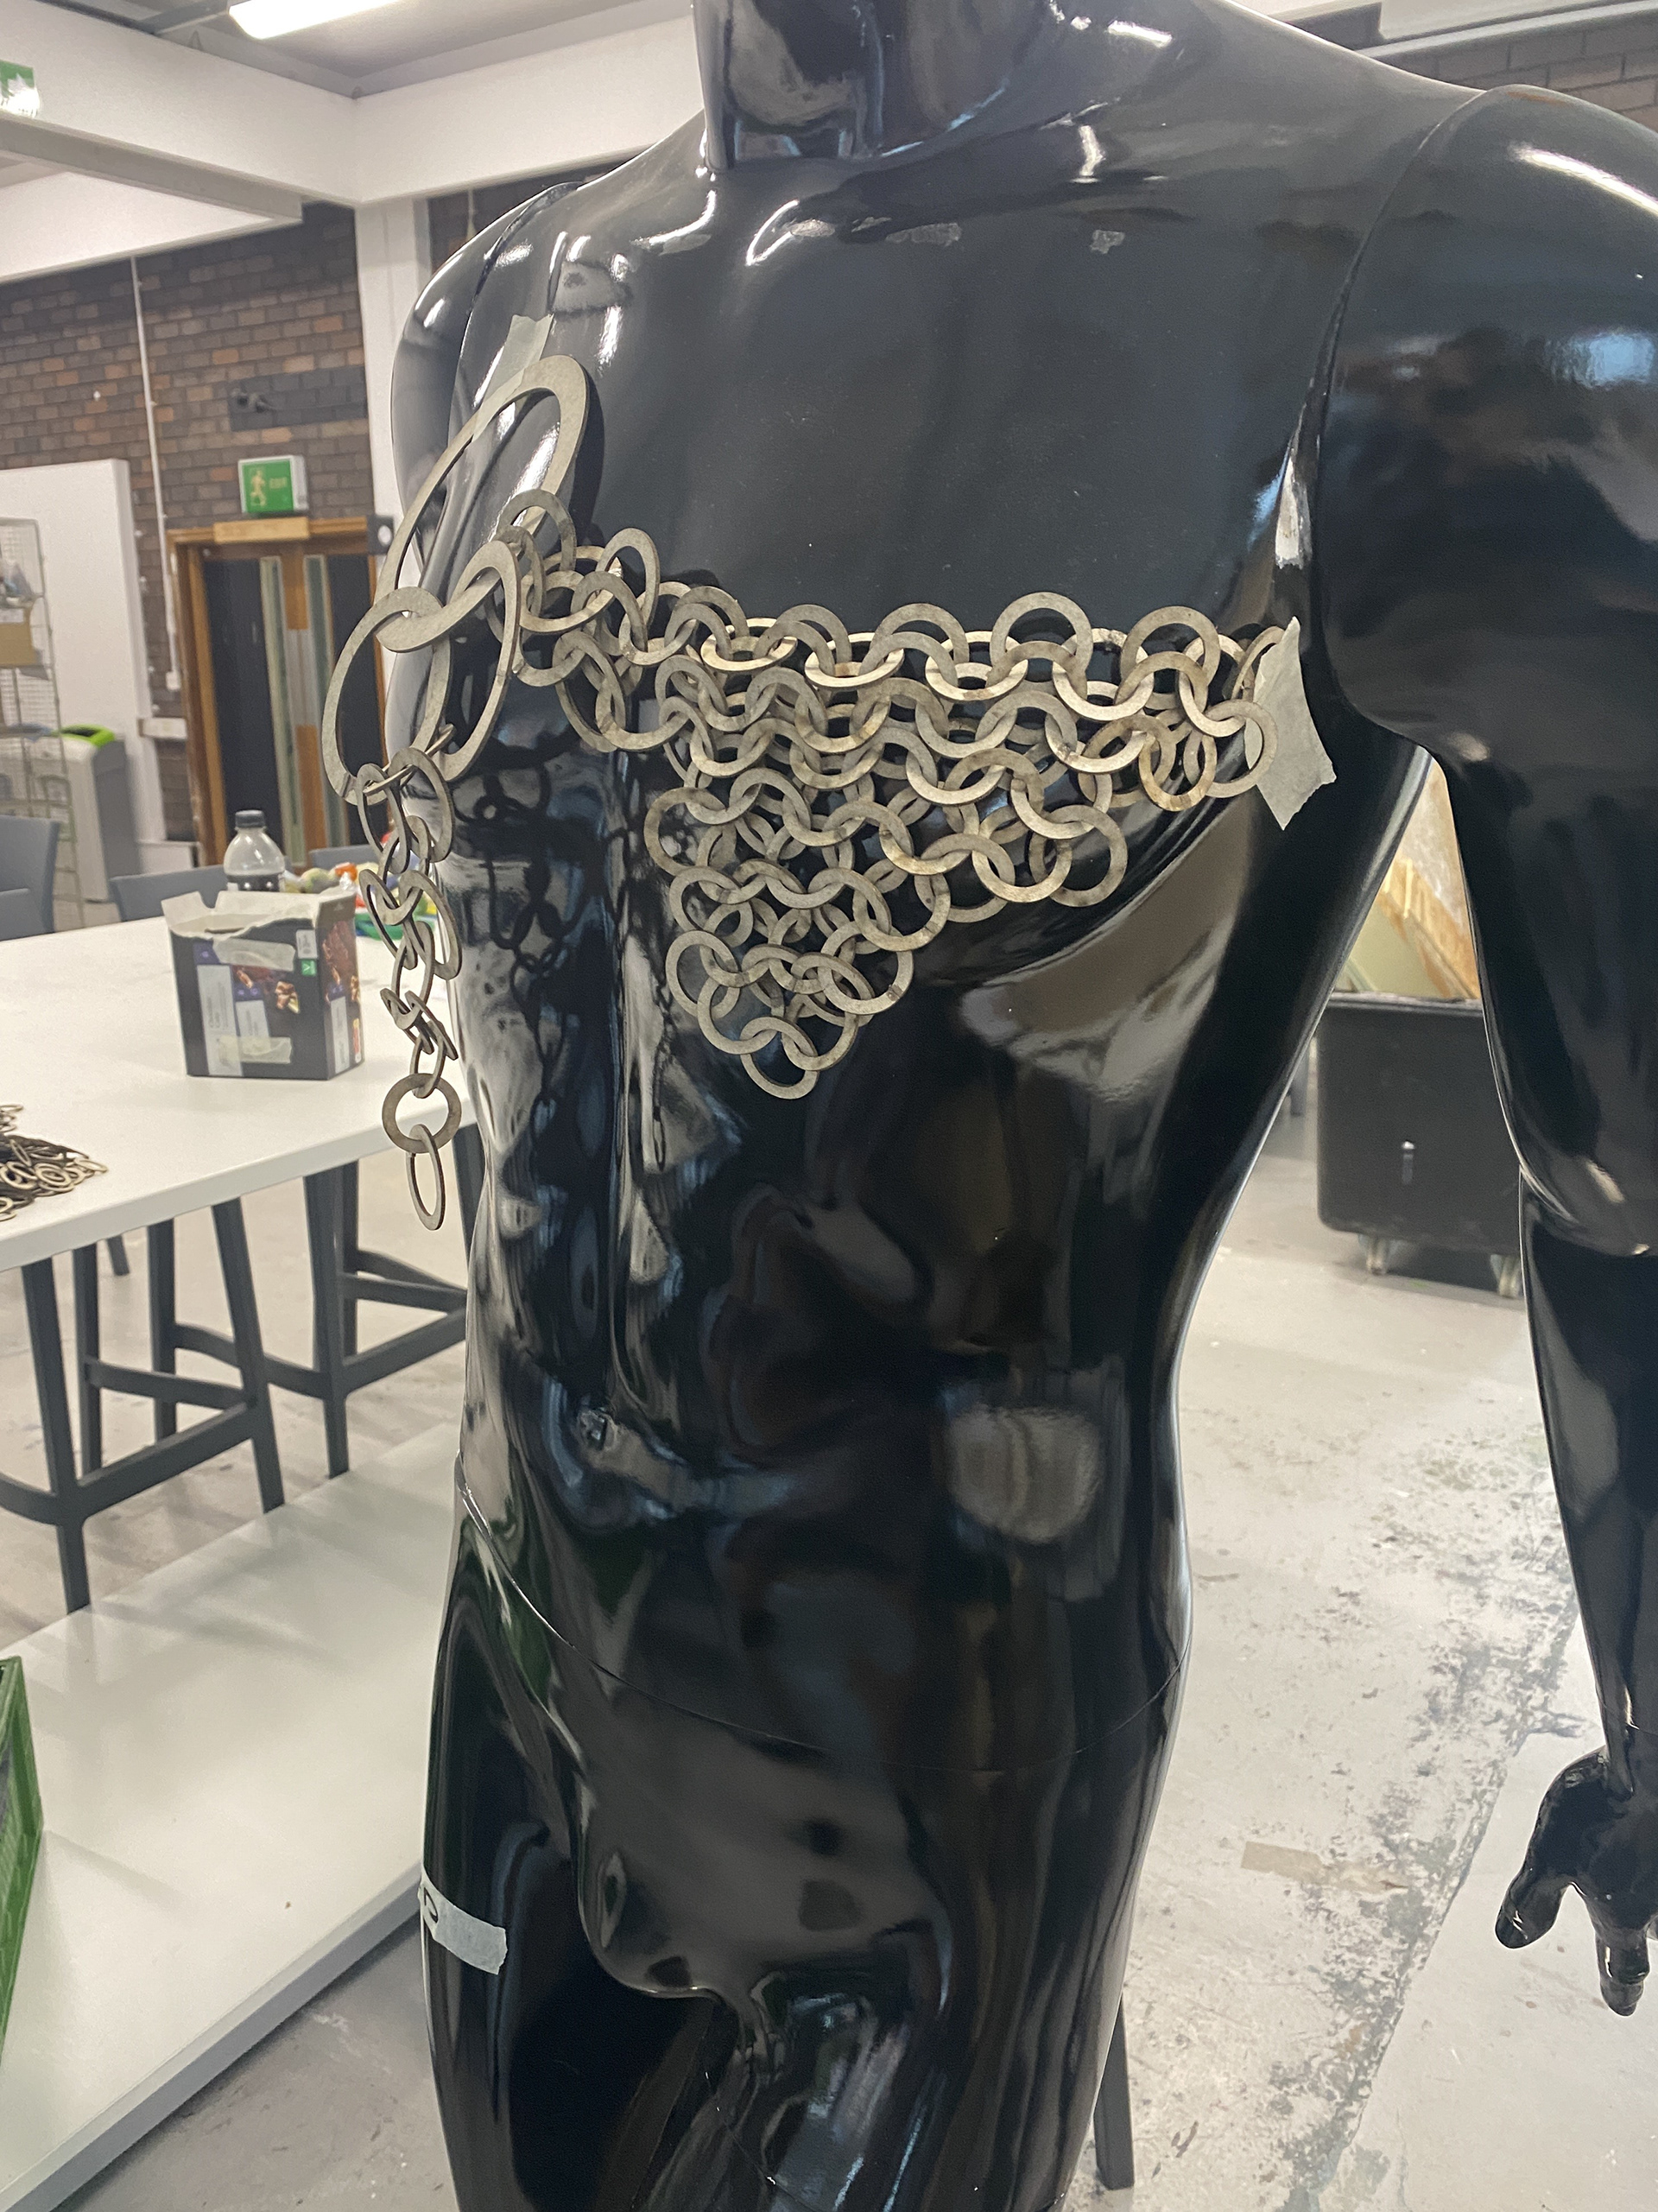
This was my first attempt at making a pattern of mail on both the horizontal plane and on the body, working continuously by moving back and forth. I started with a simple tapering design using the smallest links and then began to expand the piece, looking at varying the sizes of the links. Additionally, I wanted to look at covering the chest area with a dense structure and then expand outwards, up and down the body to draw the eyes away.
I like the outcome of this experiment but feel that I was lacking a connection to the historical influences and the piece had simply become a contemporary interpretation of mail. I want to bring through the forms and styles (repetition and symmetry) from my research from my gallery visits.
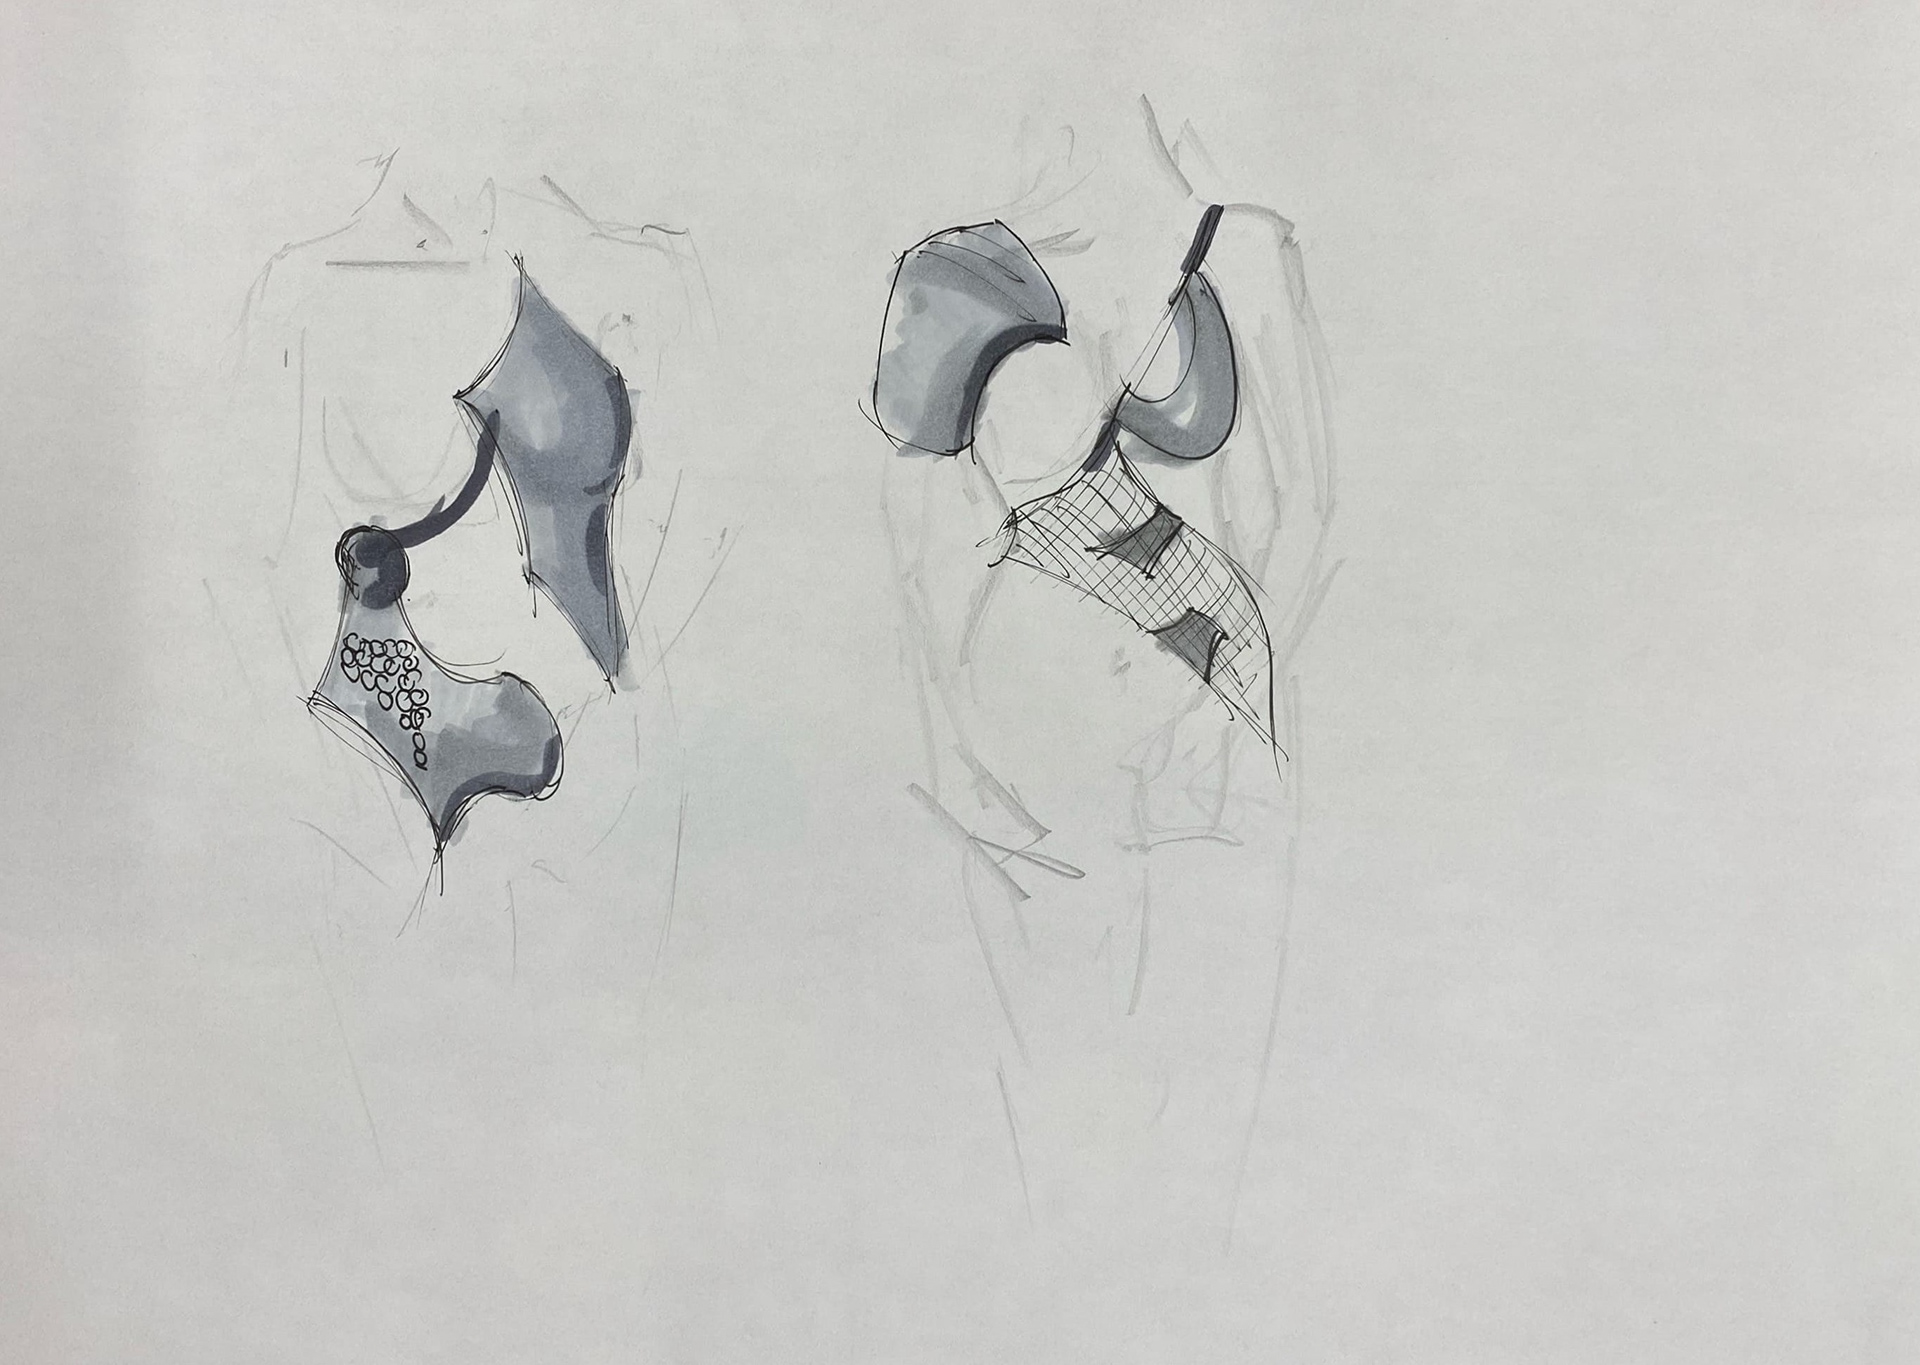
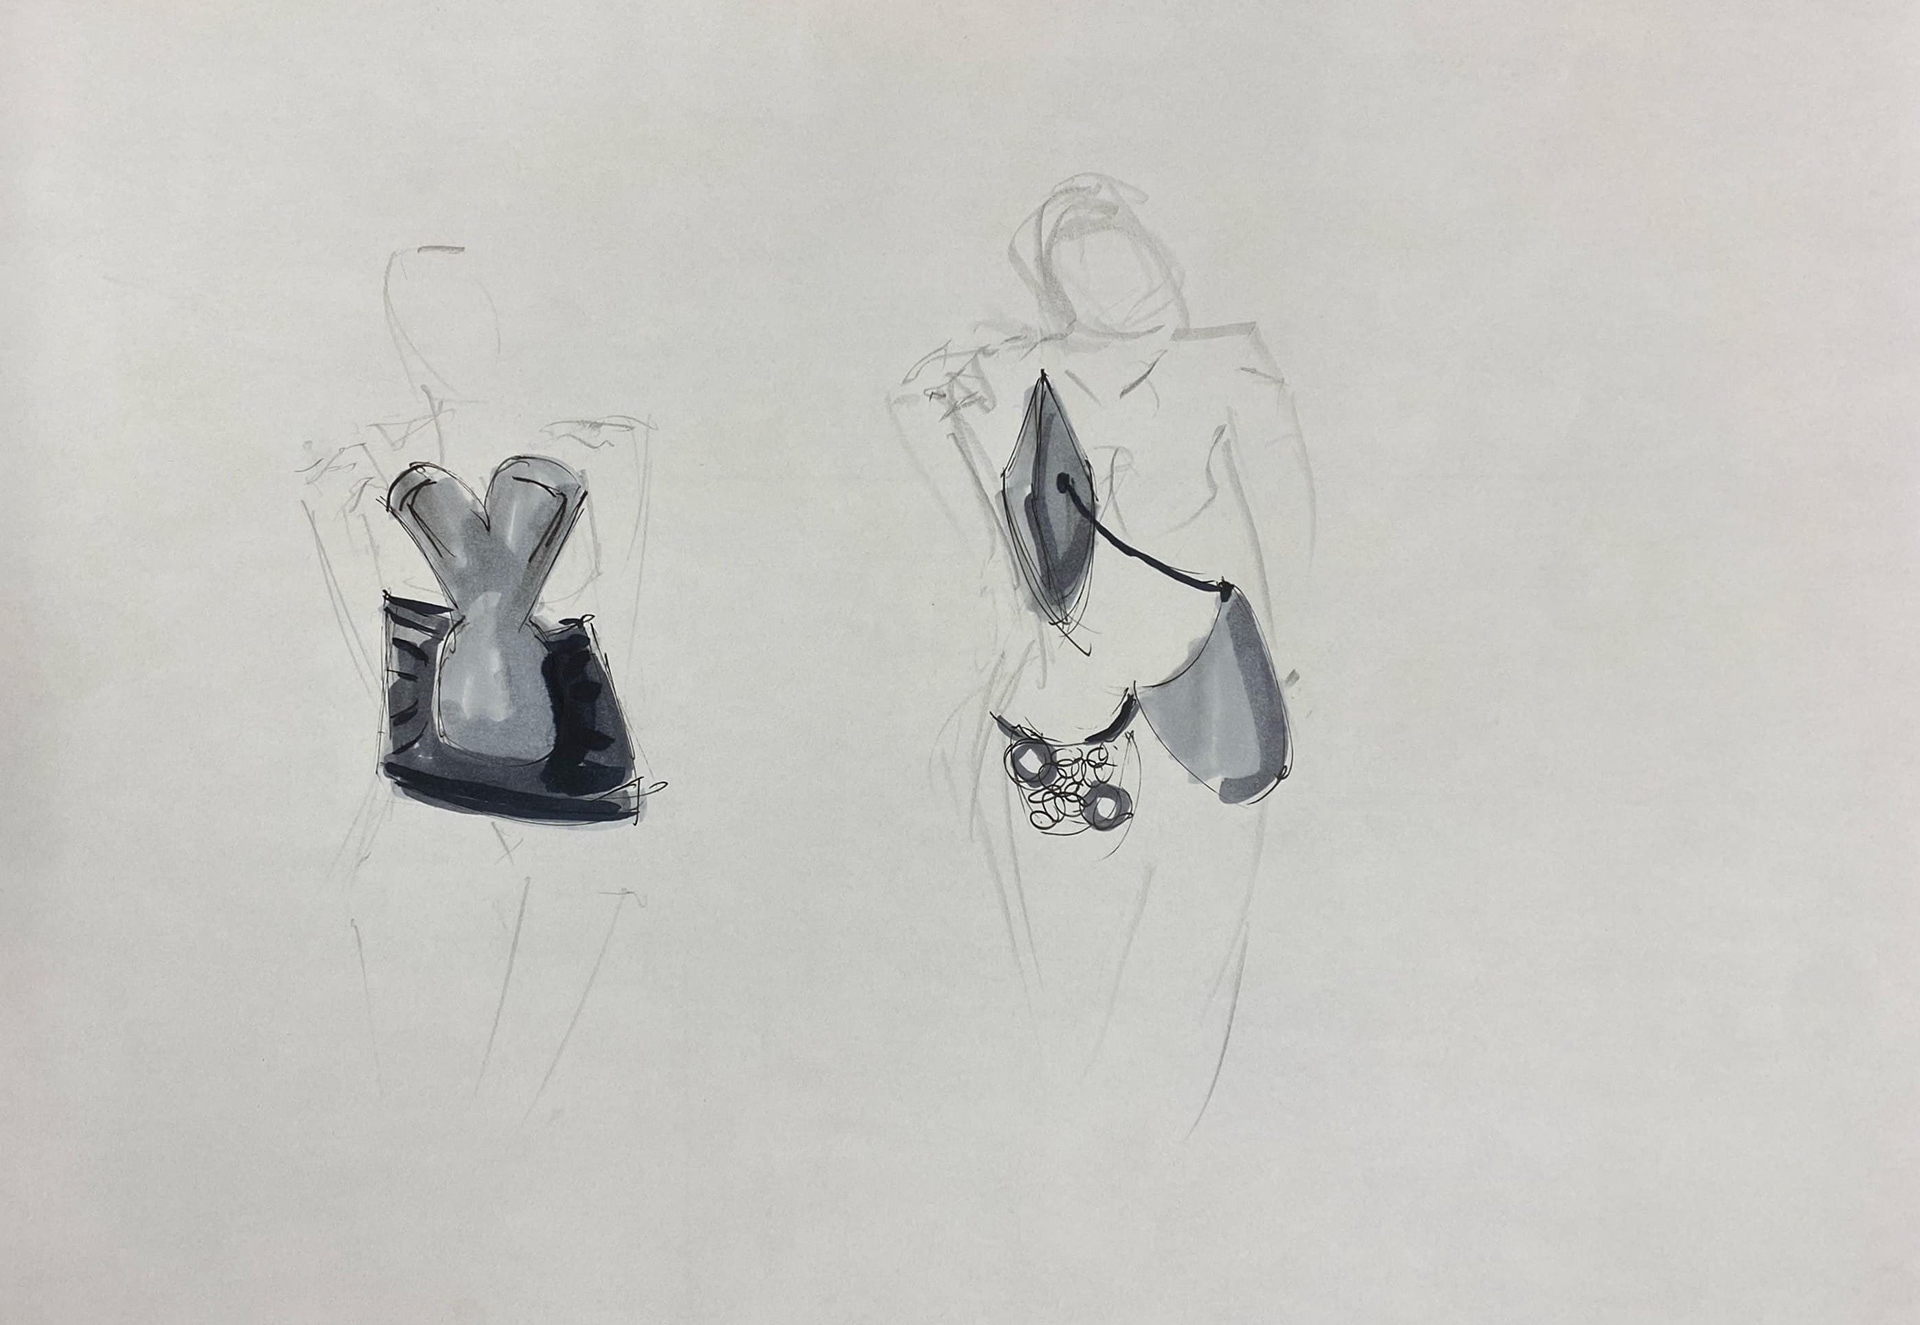
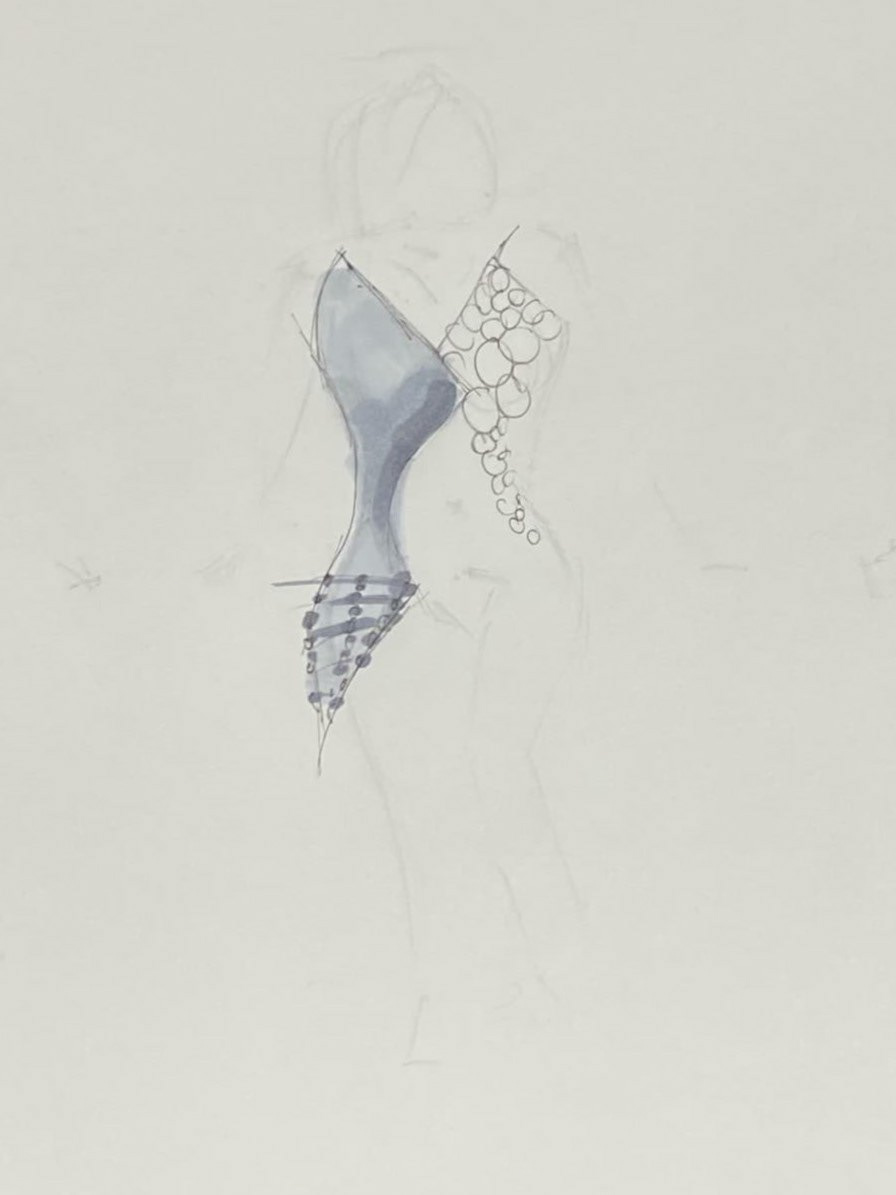
Sketches in response to testing

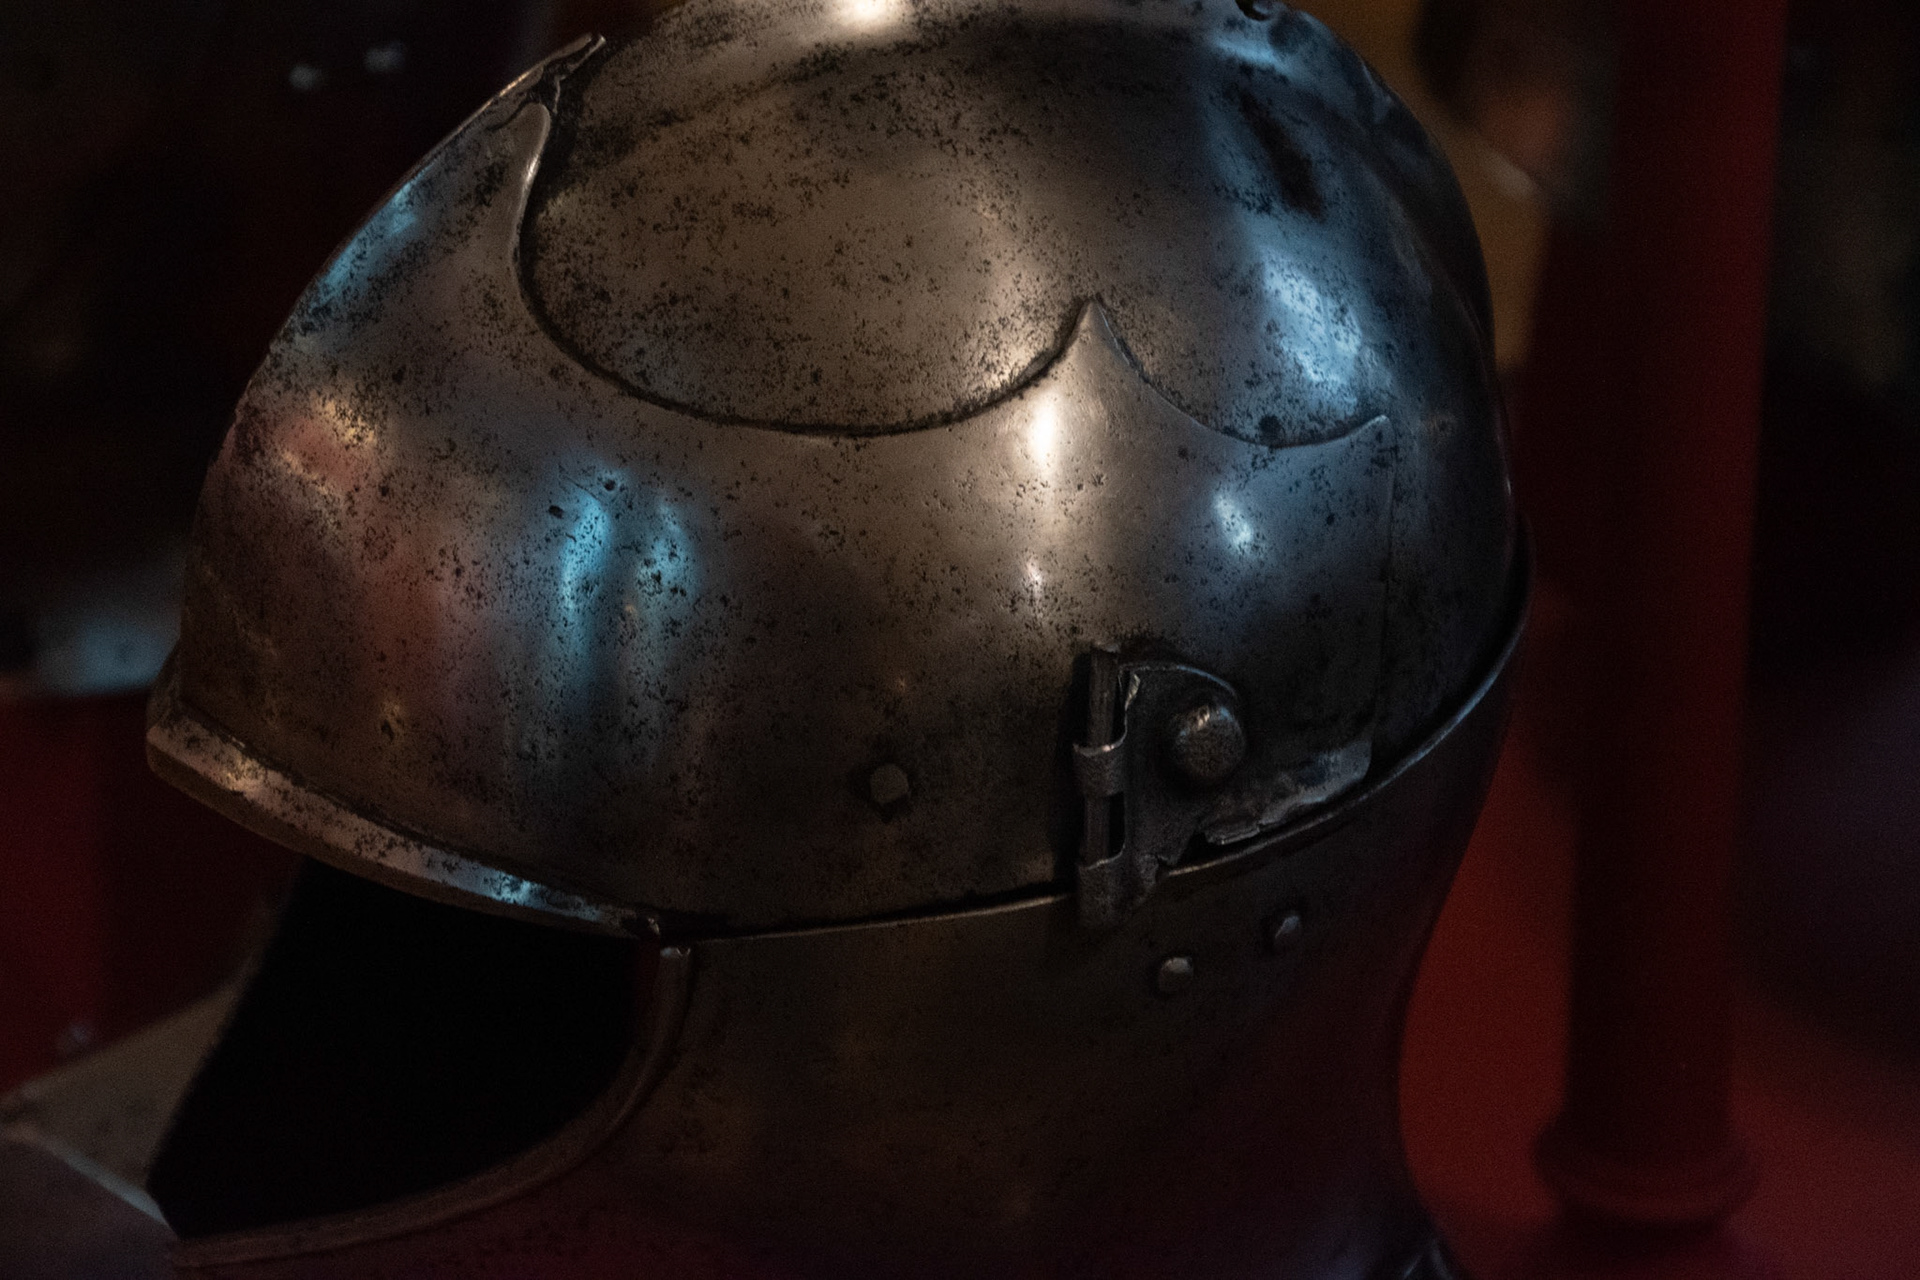
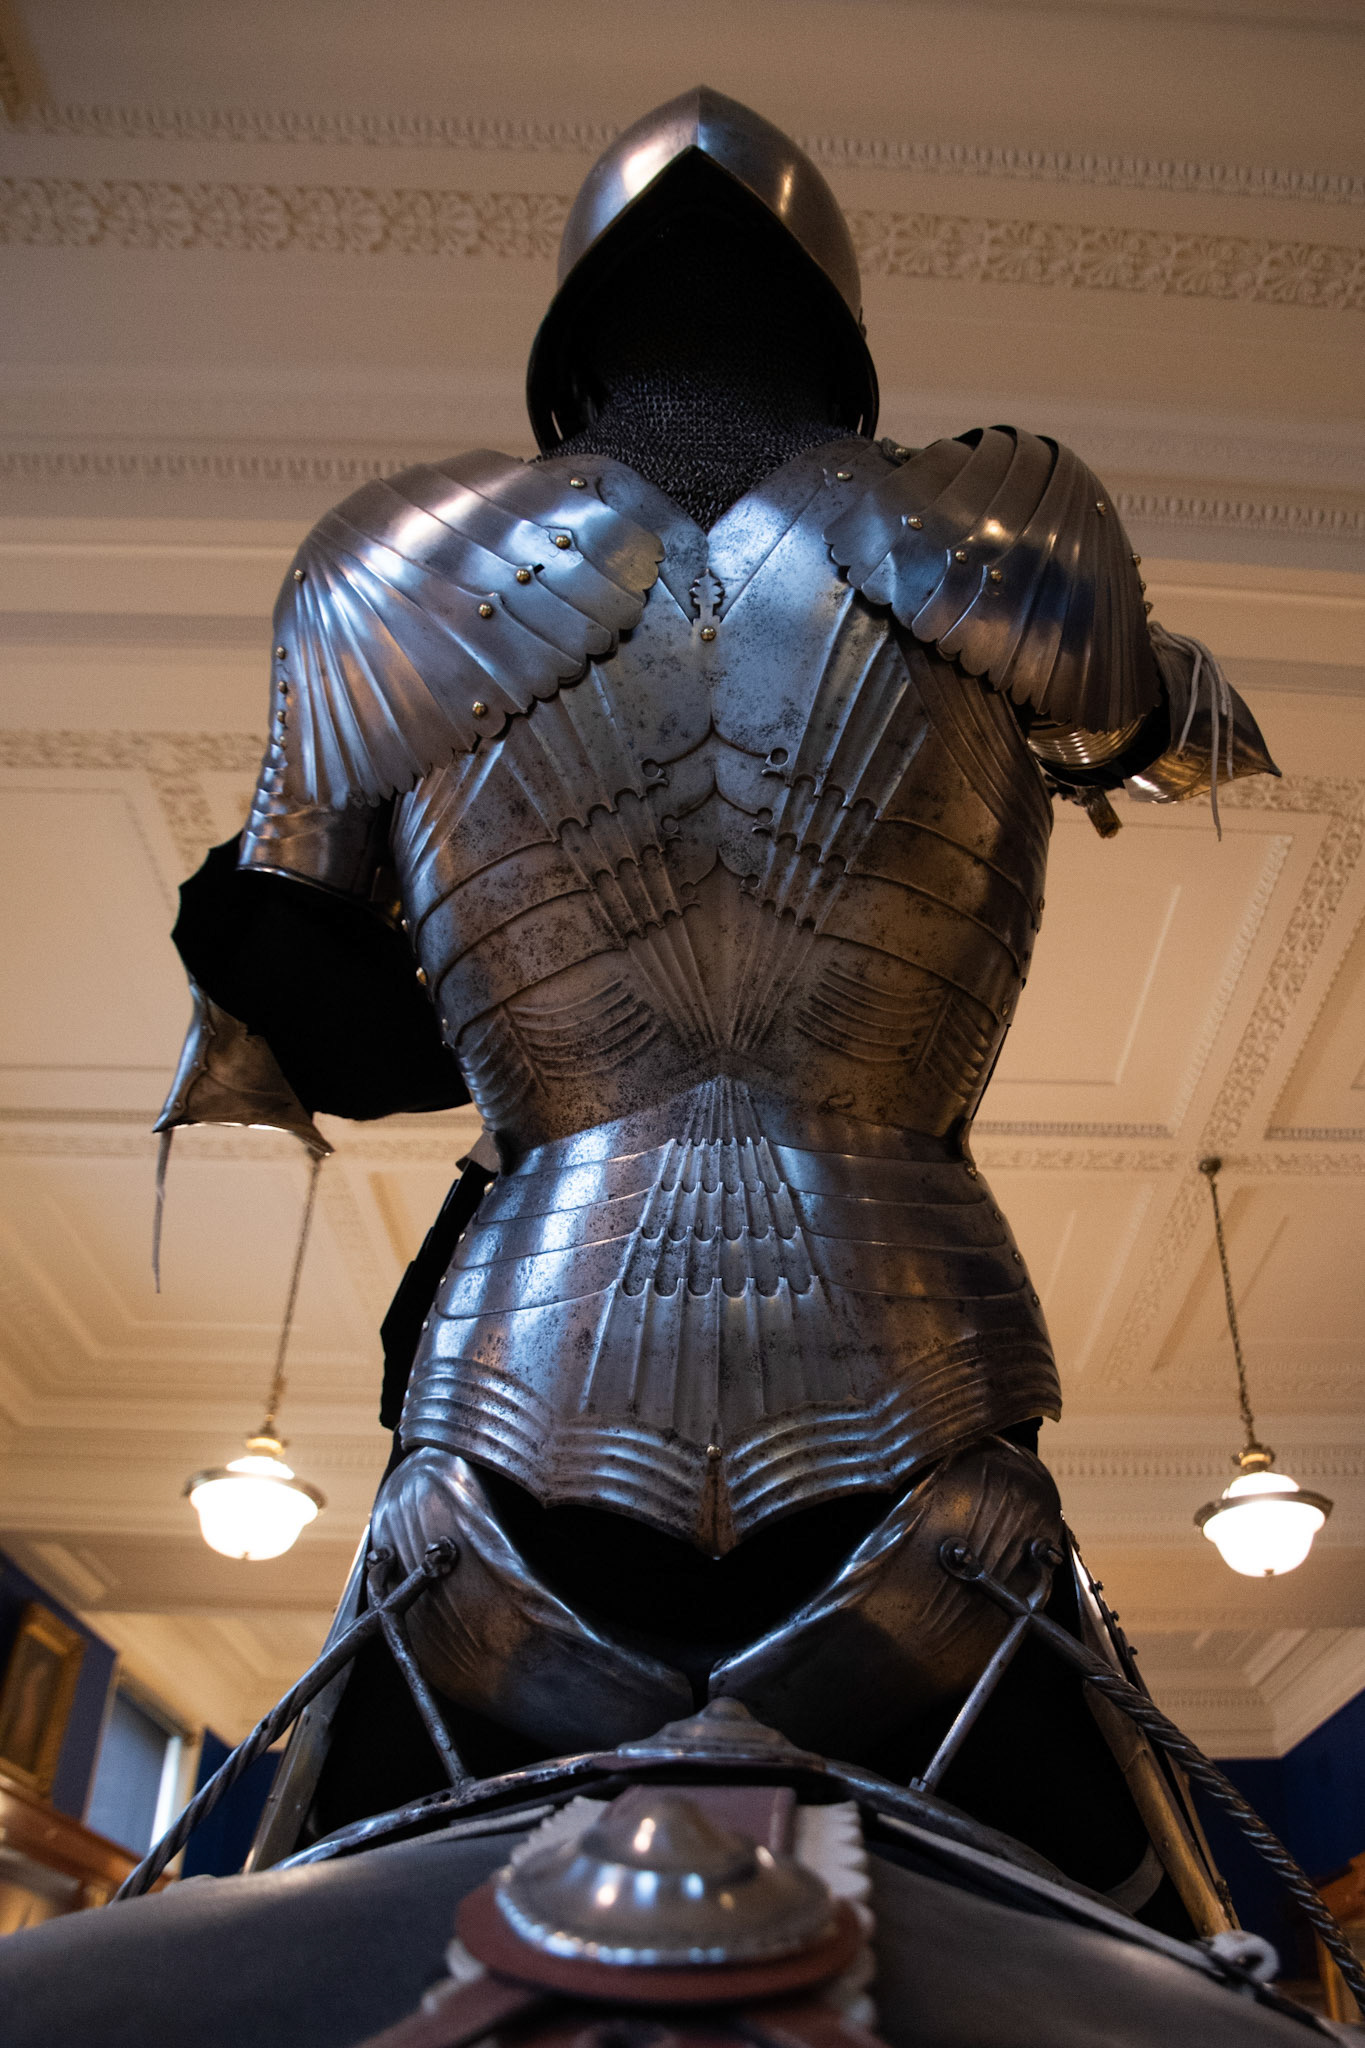
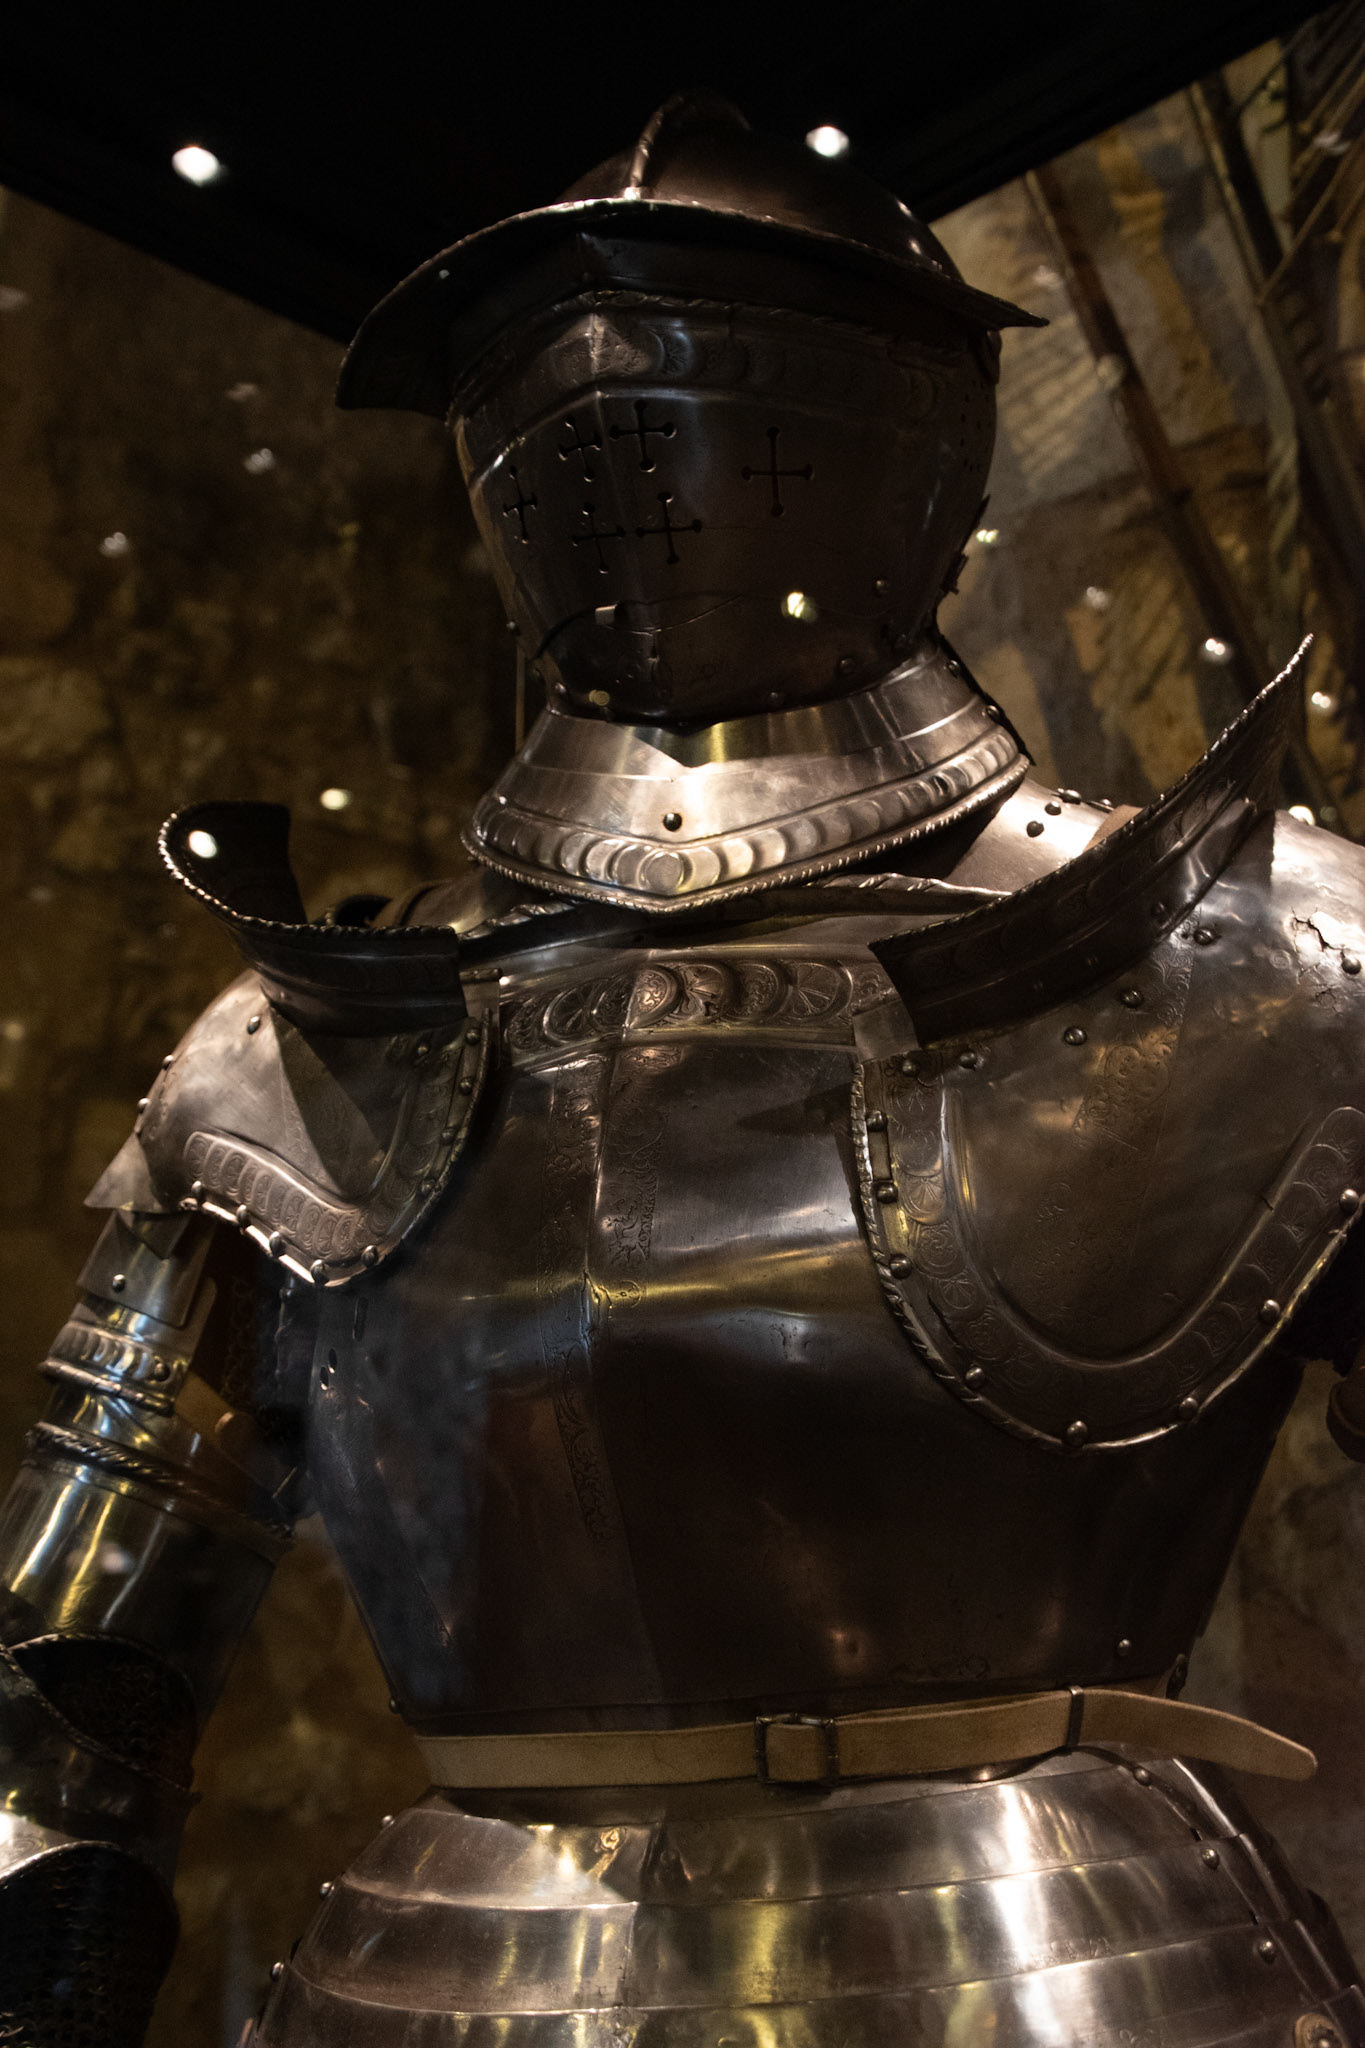
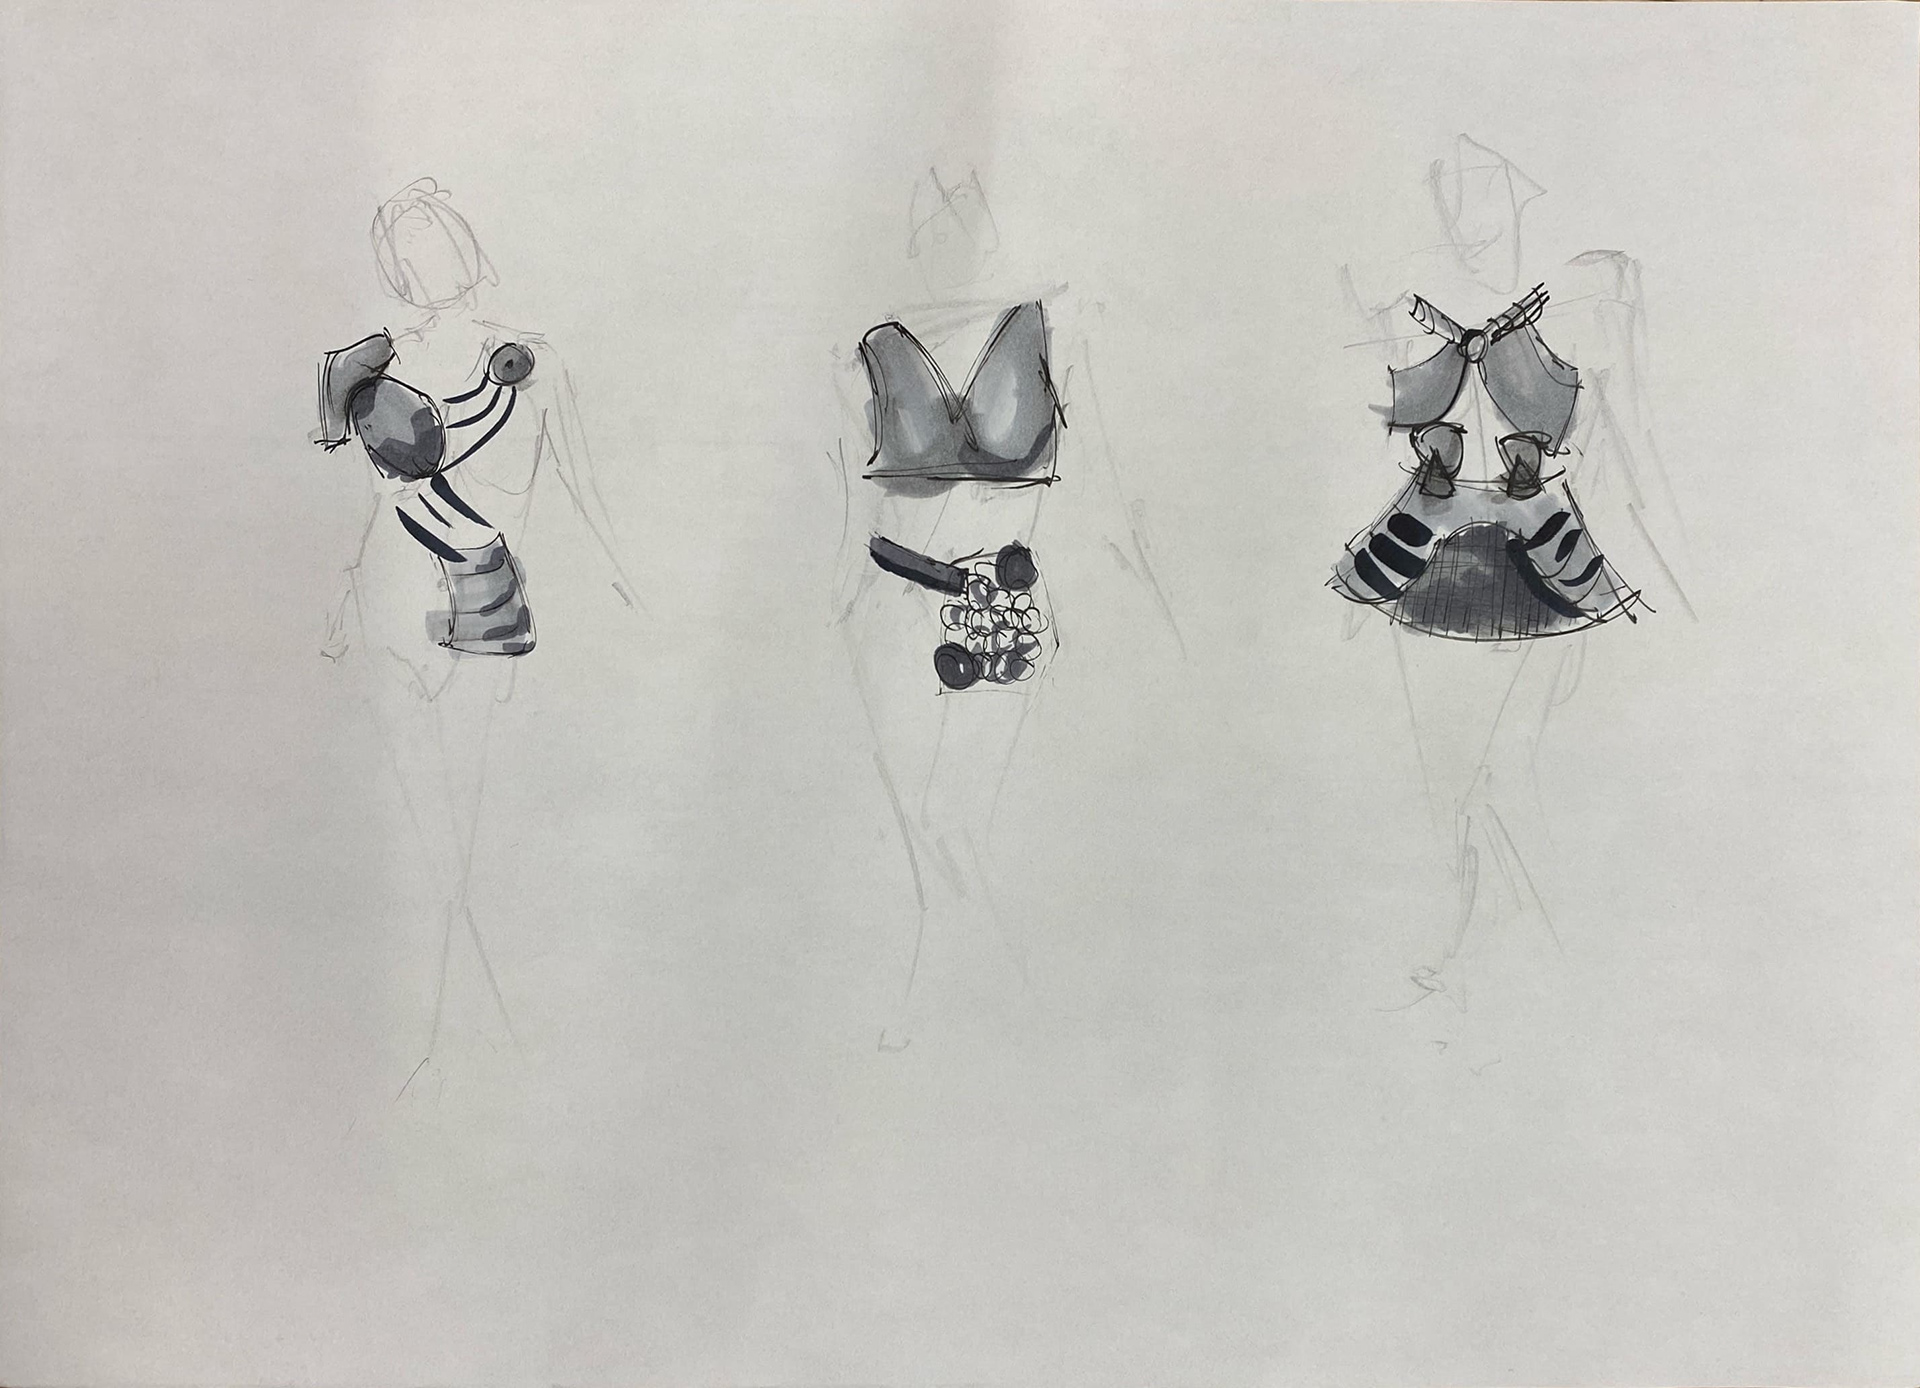
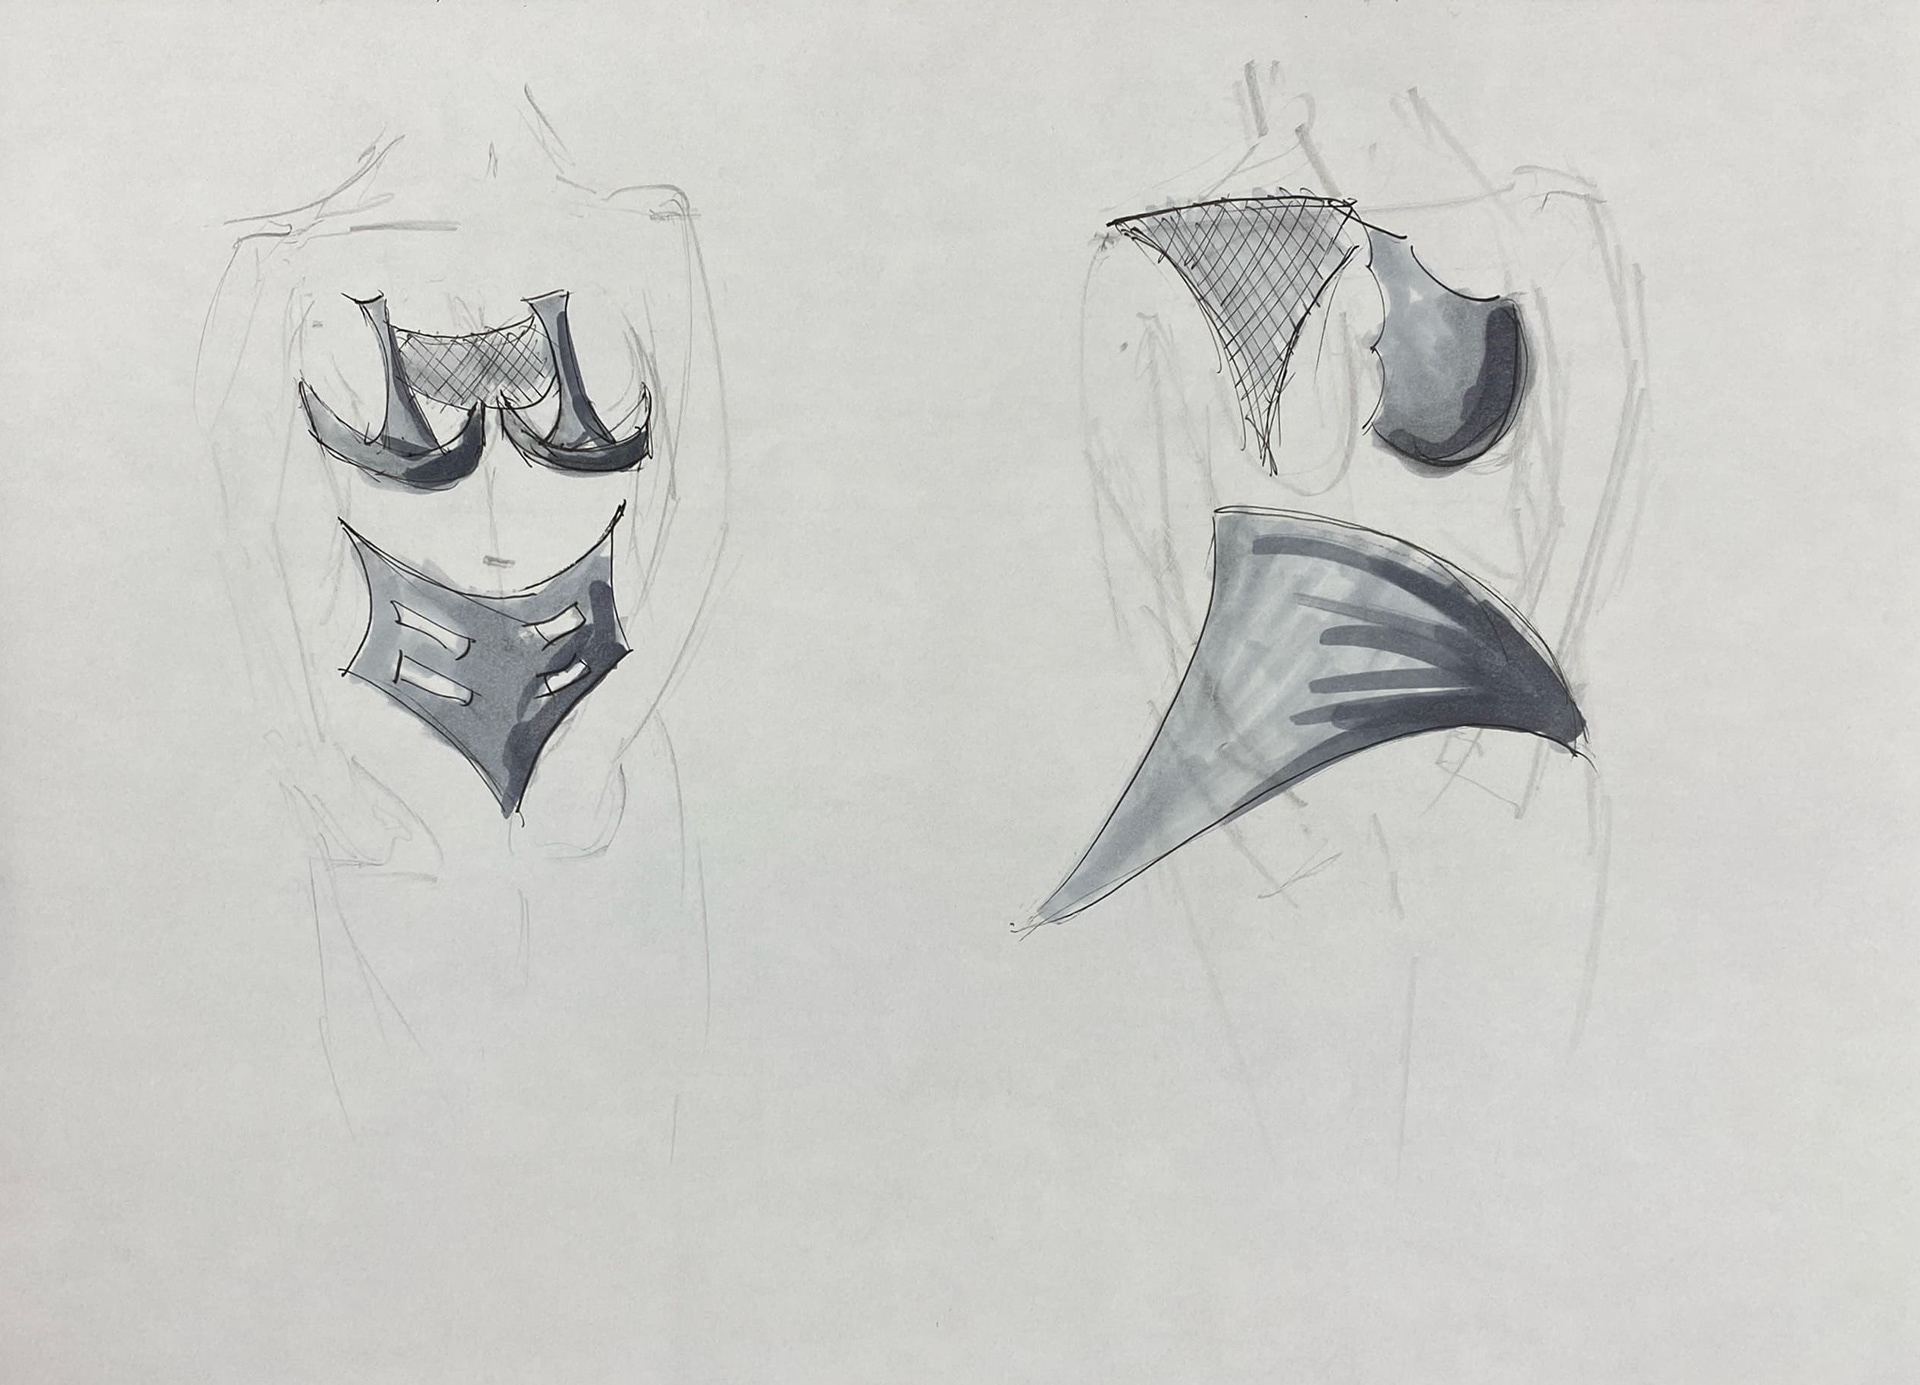
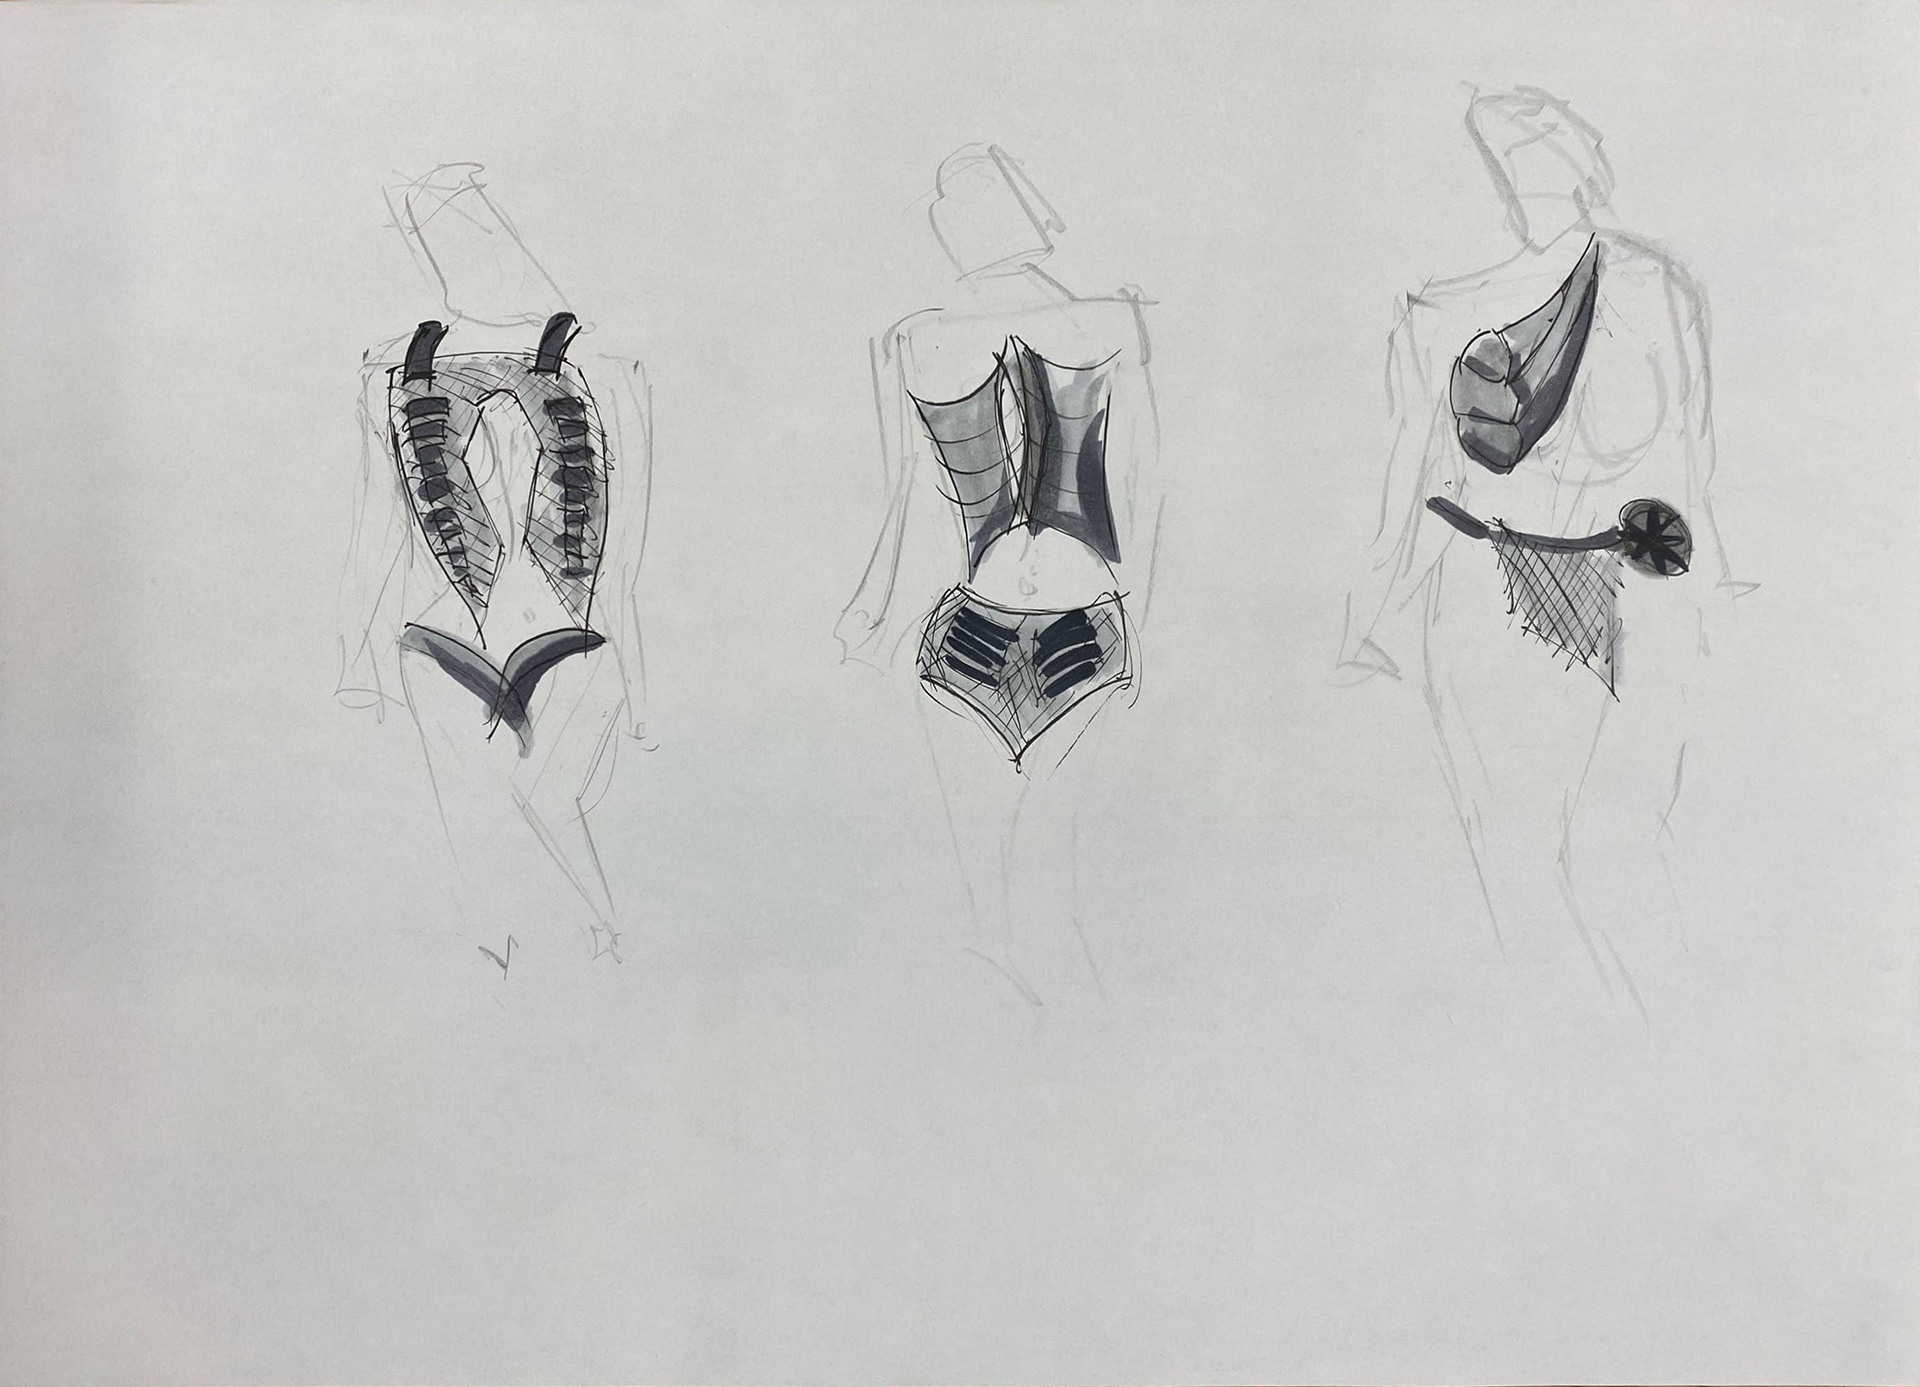
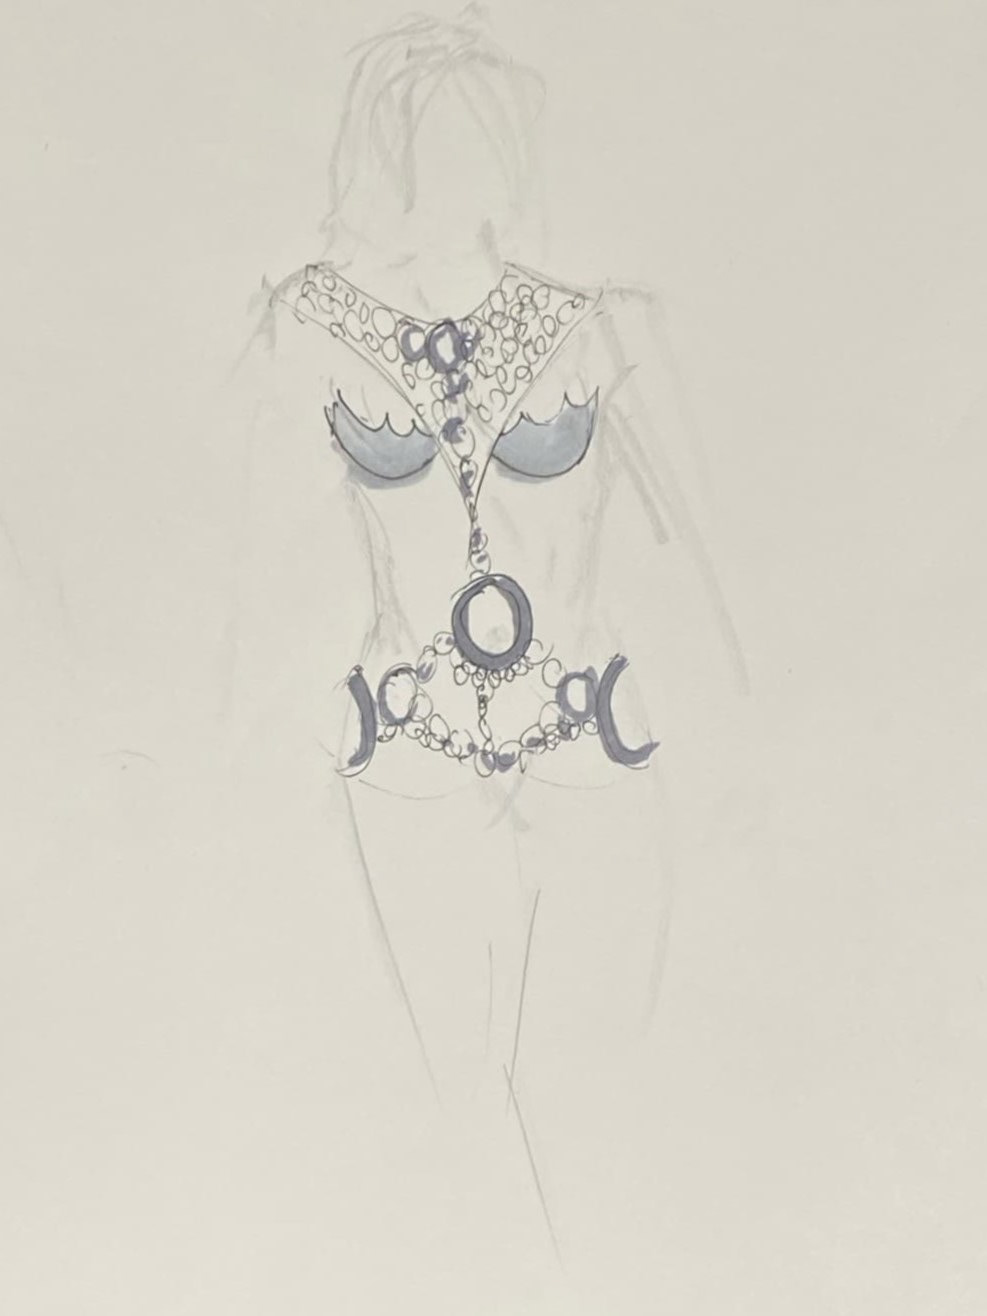
Main design inspirations from my gallery visits
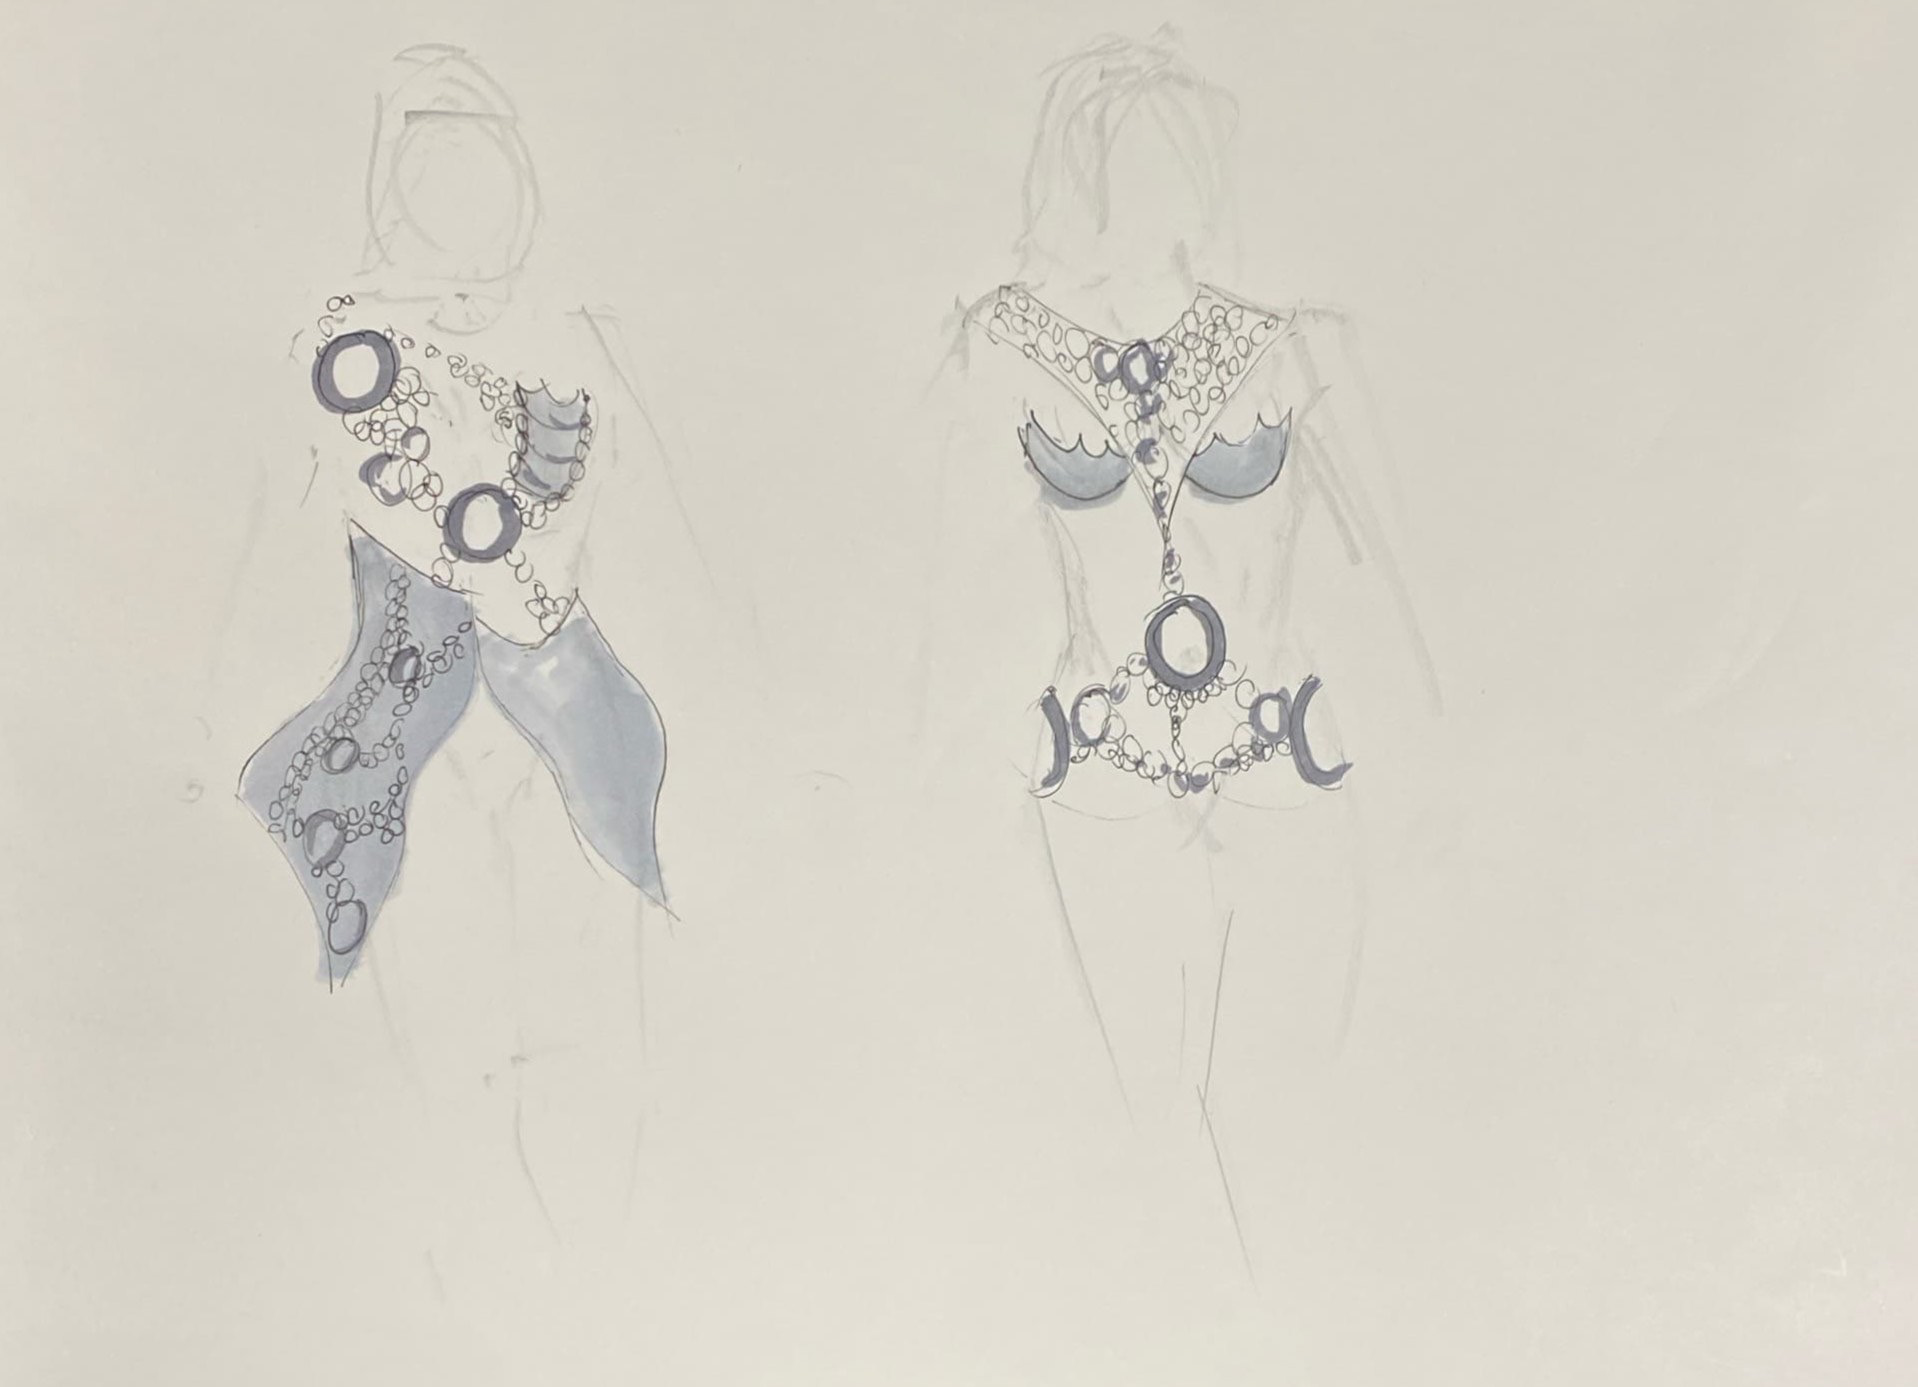
After designing my first mail pattern on the mannequin, I realised I needed to create a series of sketches which took inspirations from the historical armour I studied. These sketches are some initial ideas of combining the techniques I have developed using chain and plate mail with the forms and styles of historical armour. My aim was to cover the chest with a thick layer of defence and explore emphasising the hips.
These sketches serve as an initial starting point from which I can model and experiment with forms directly on the body.
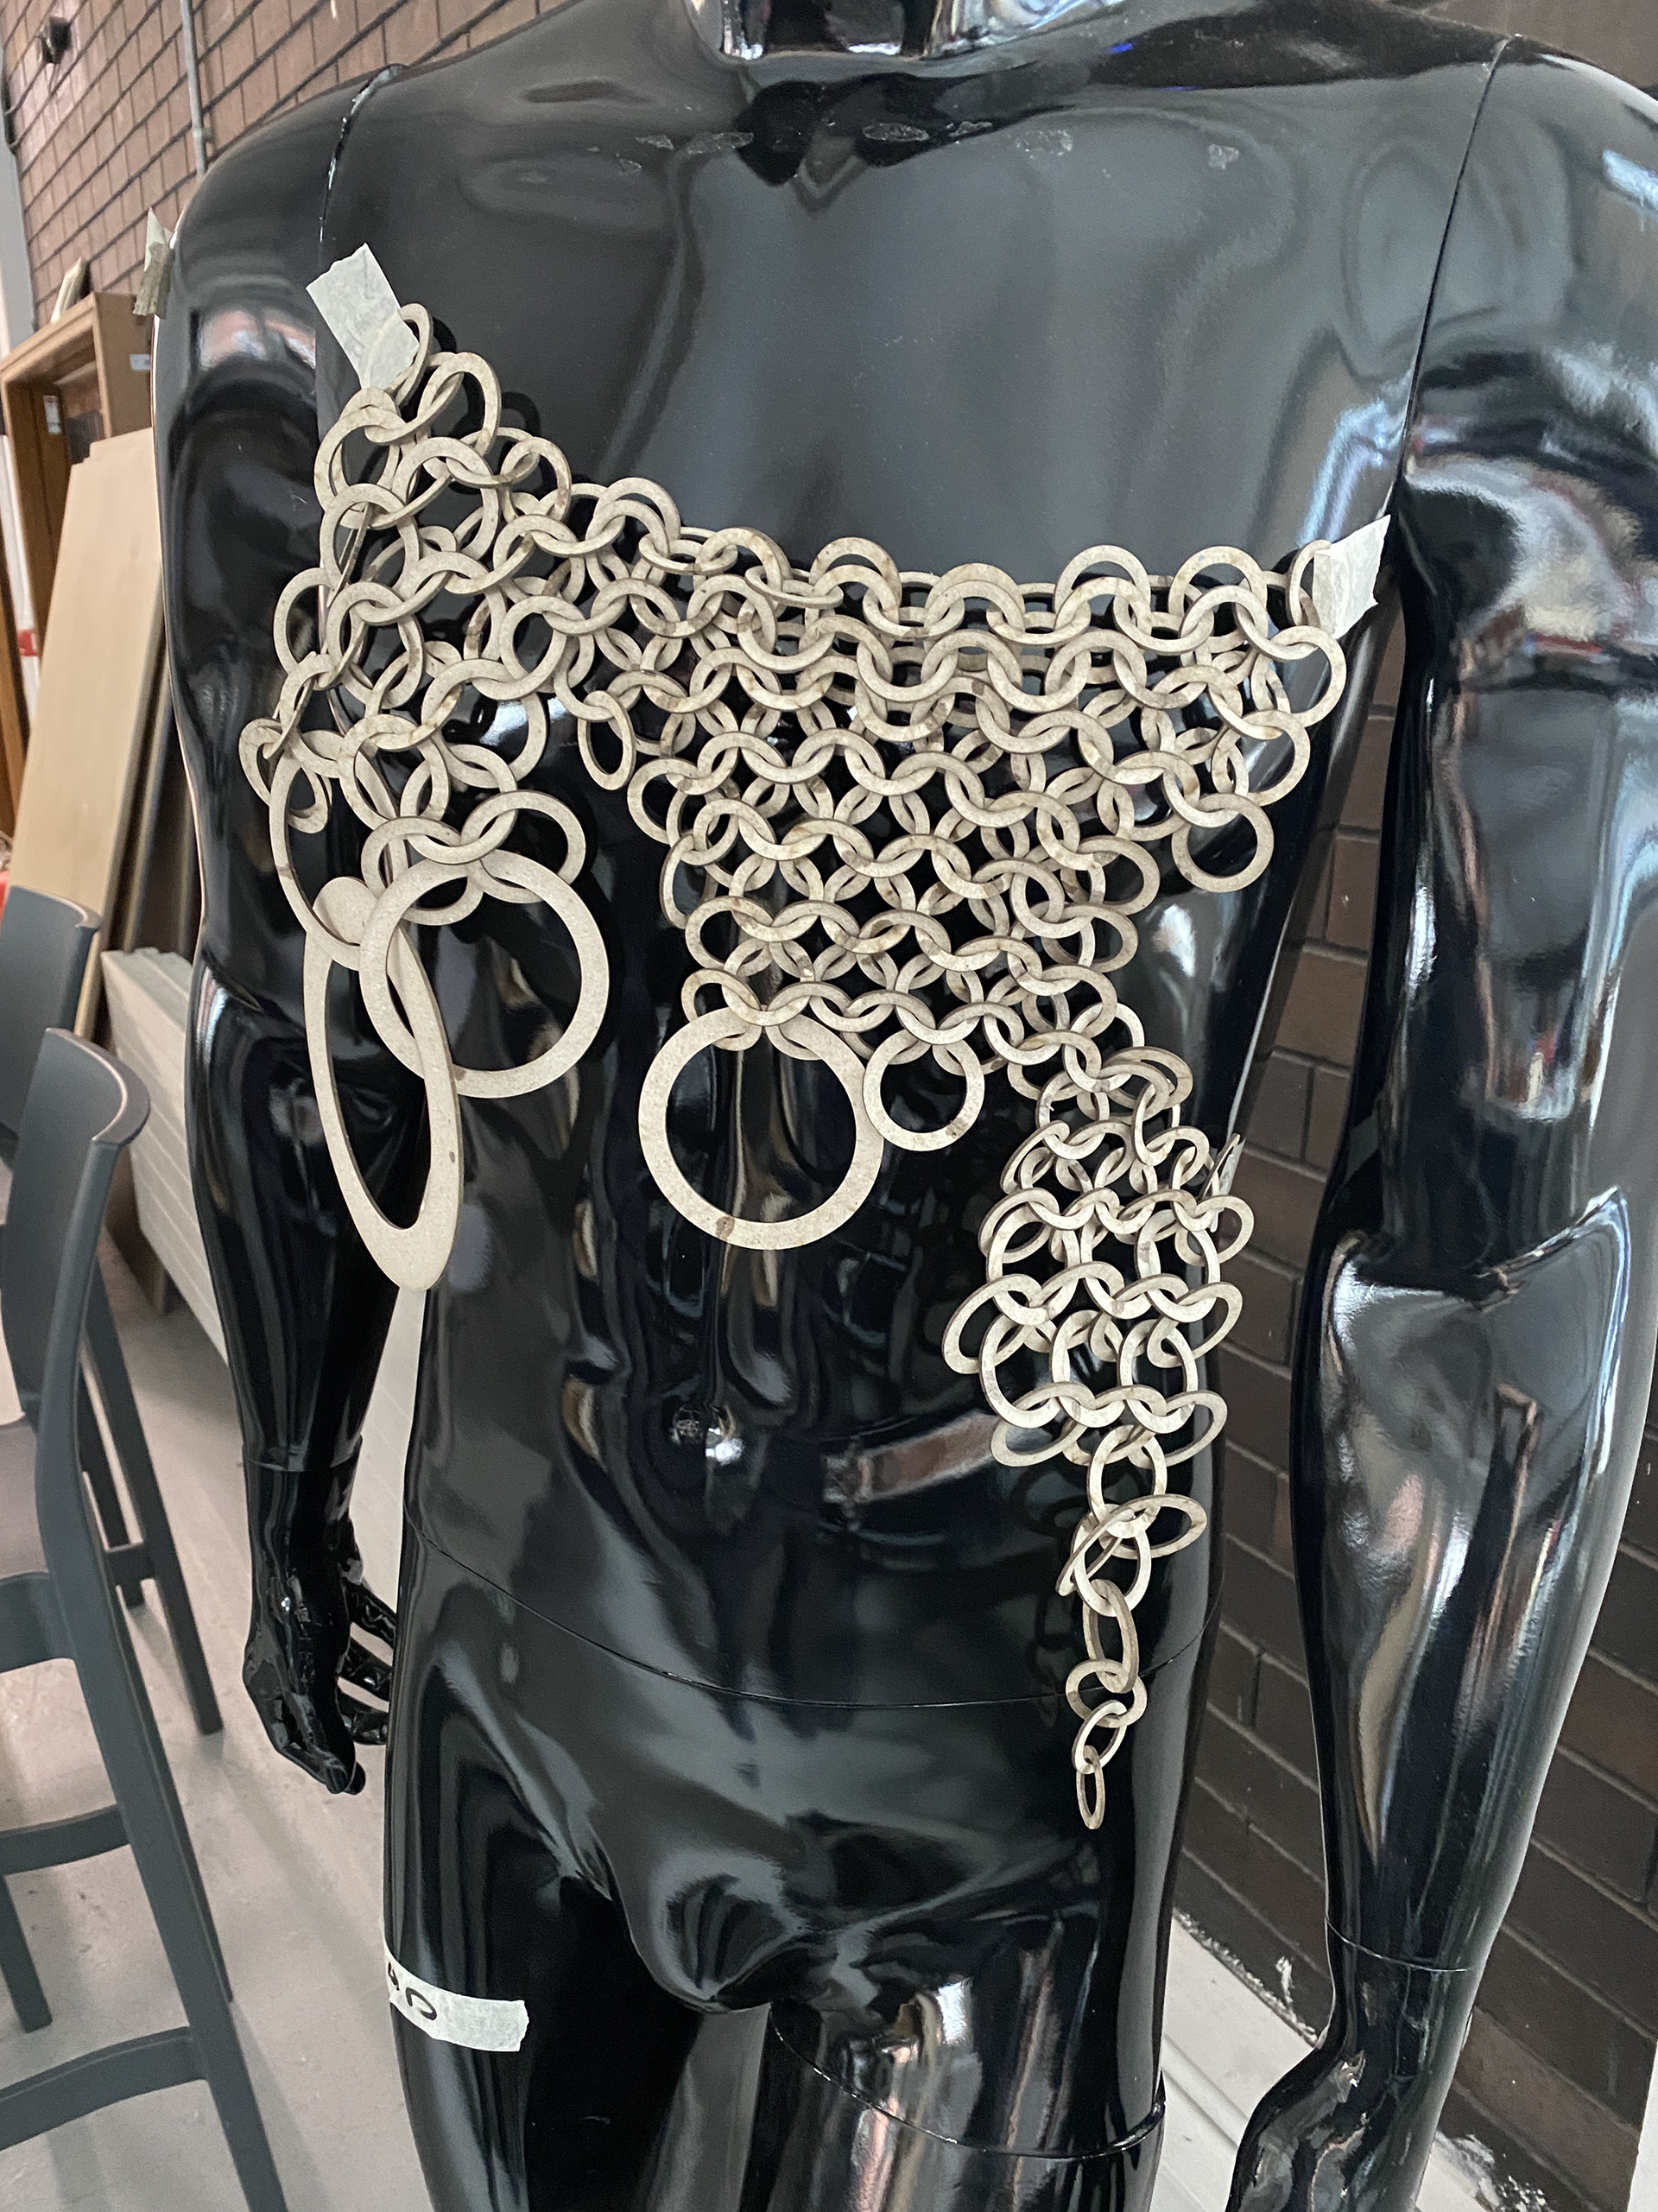
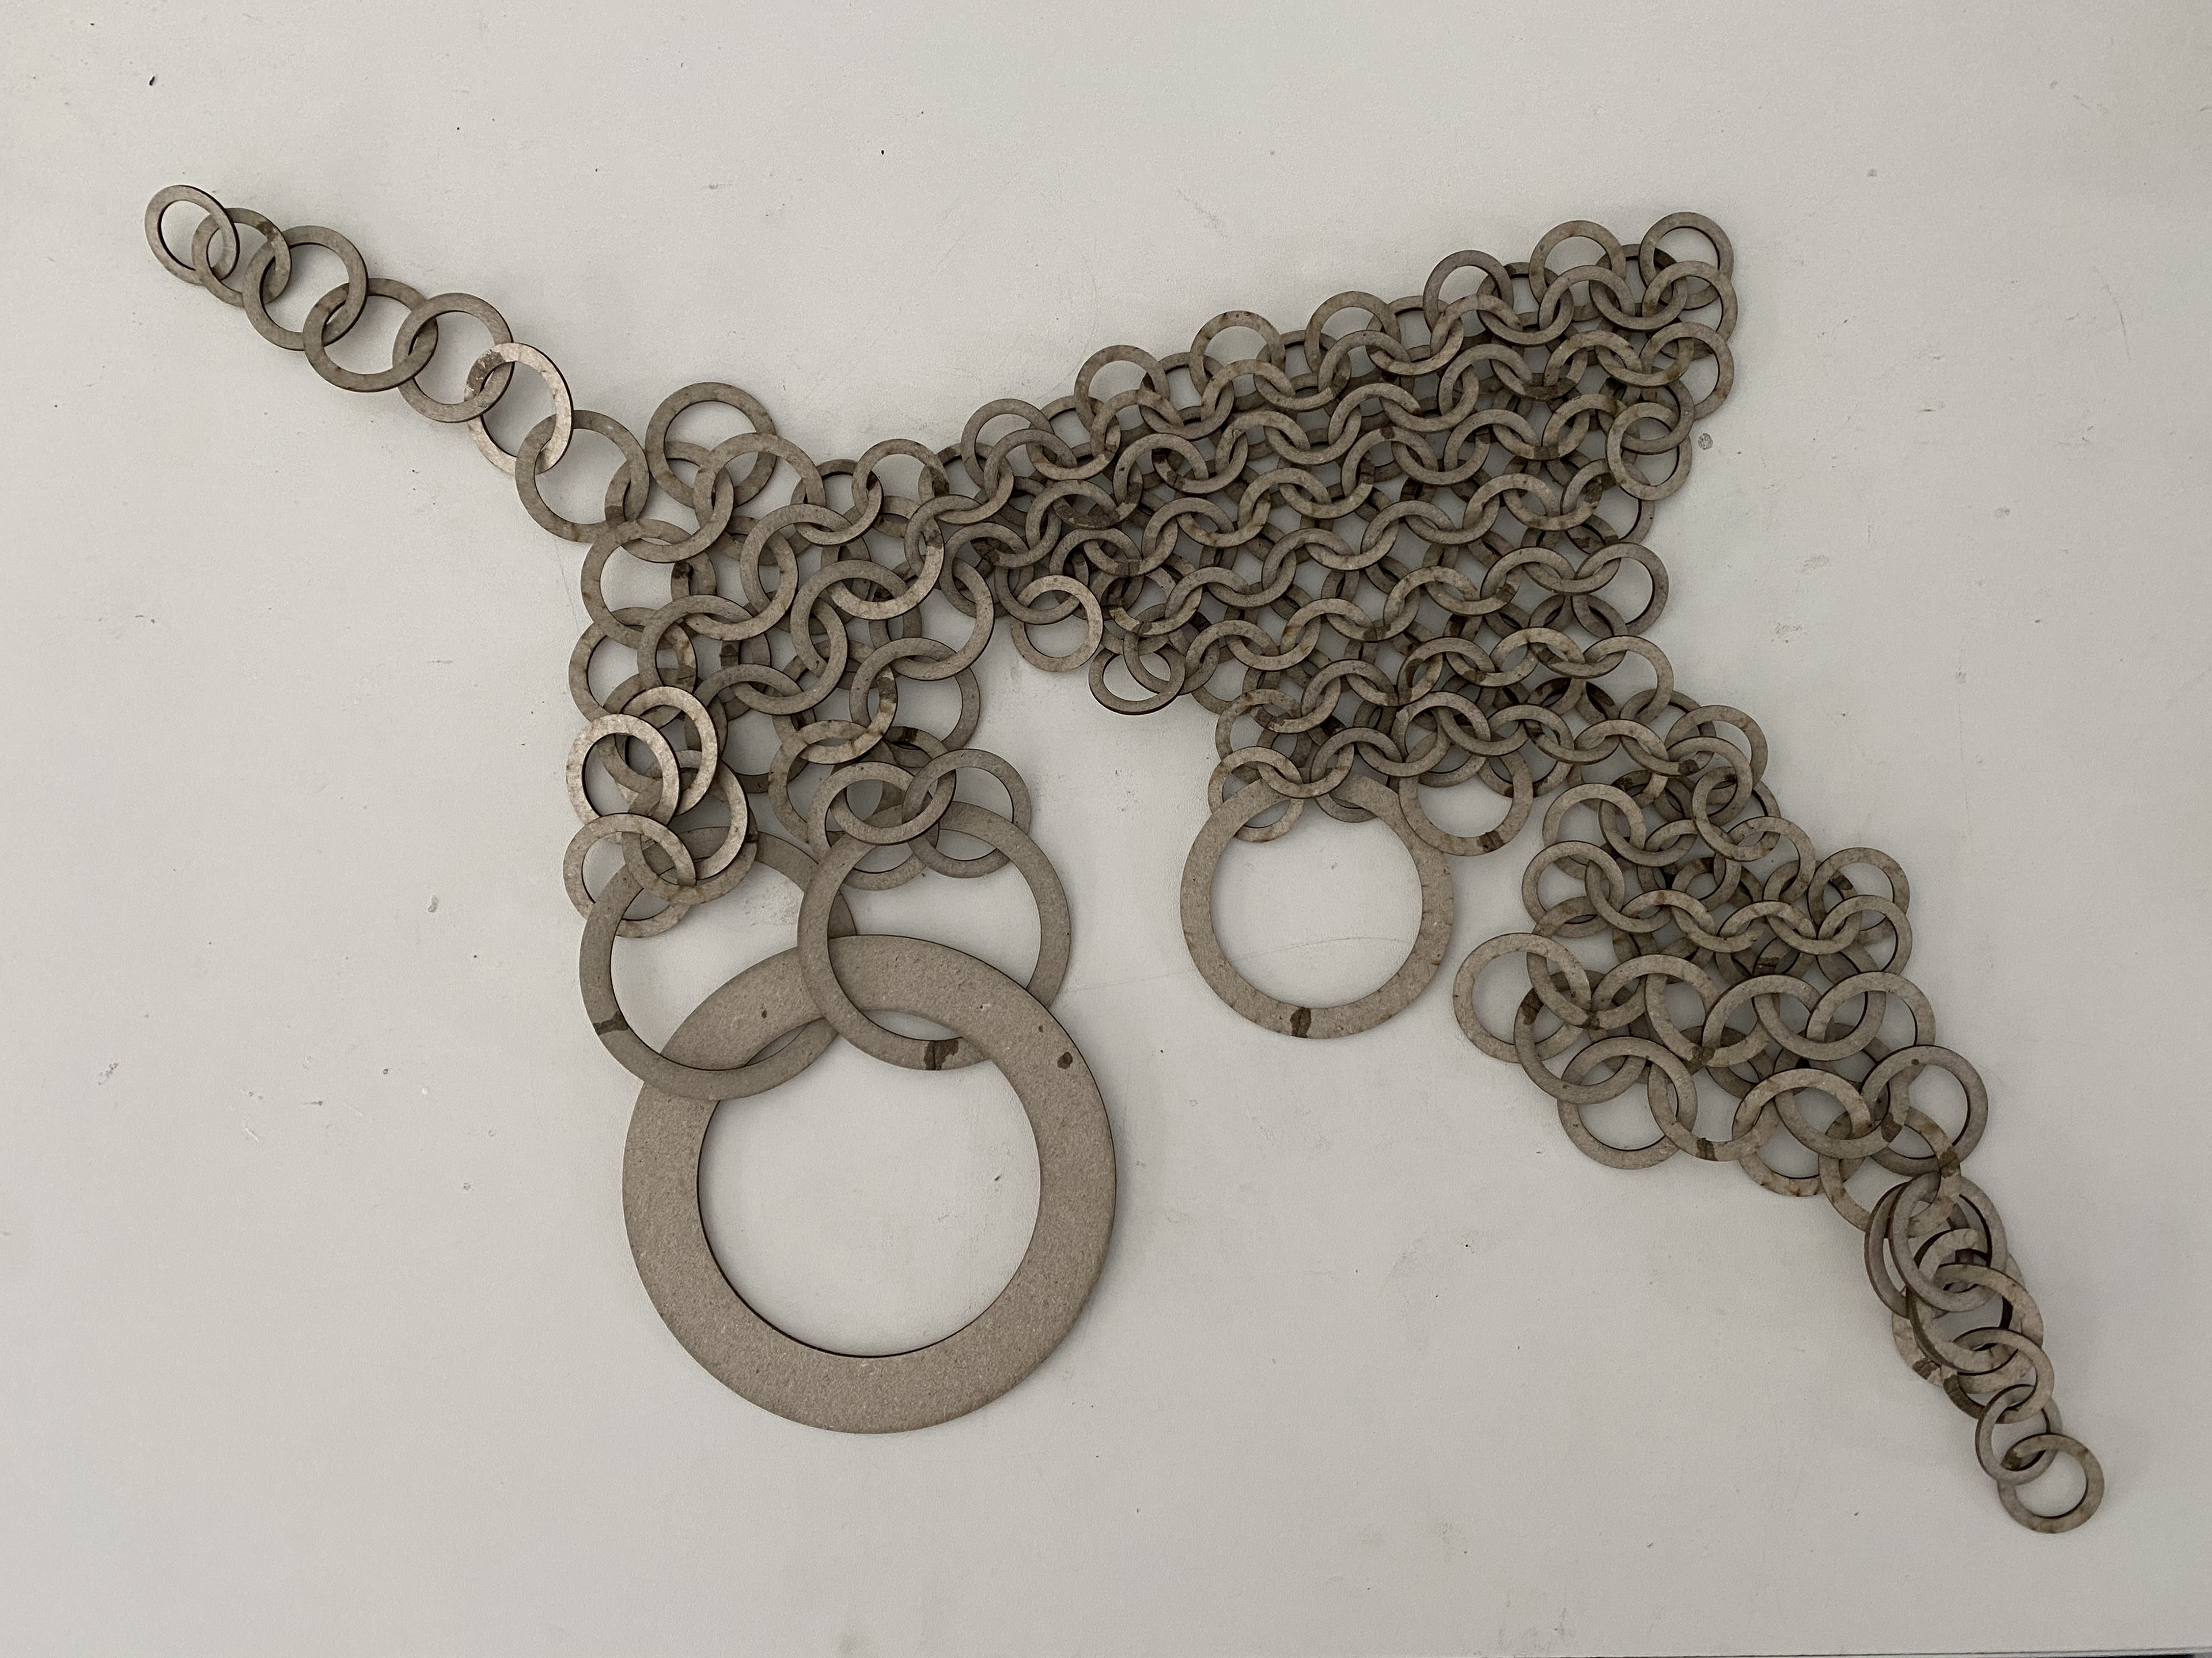
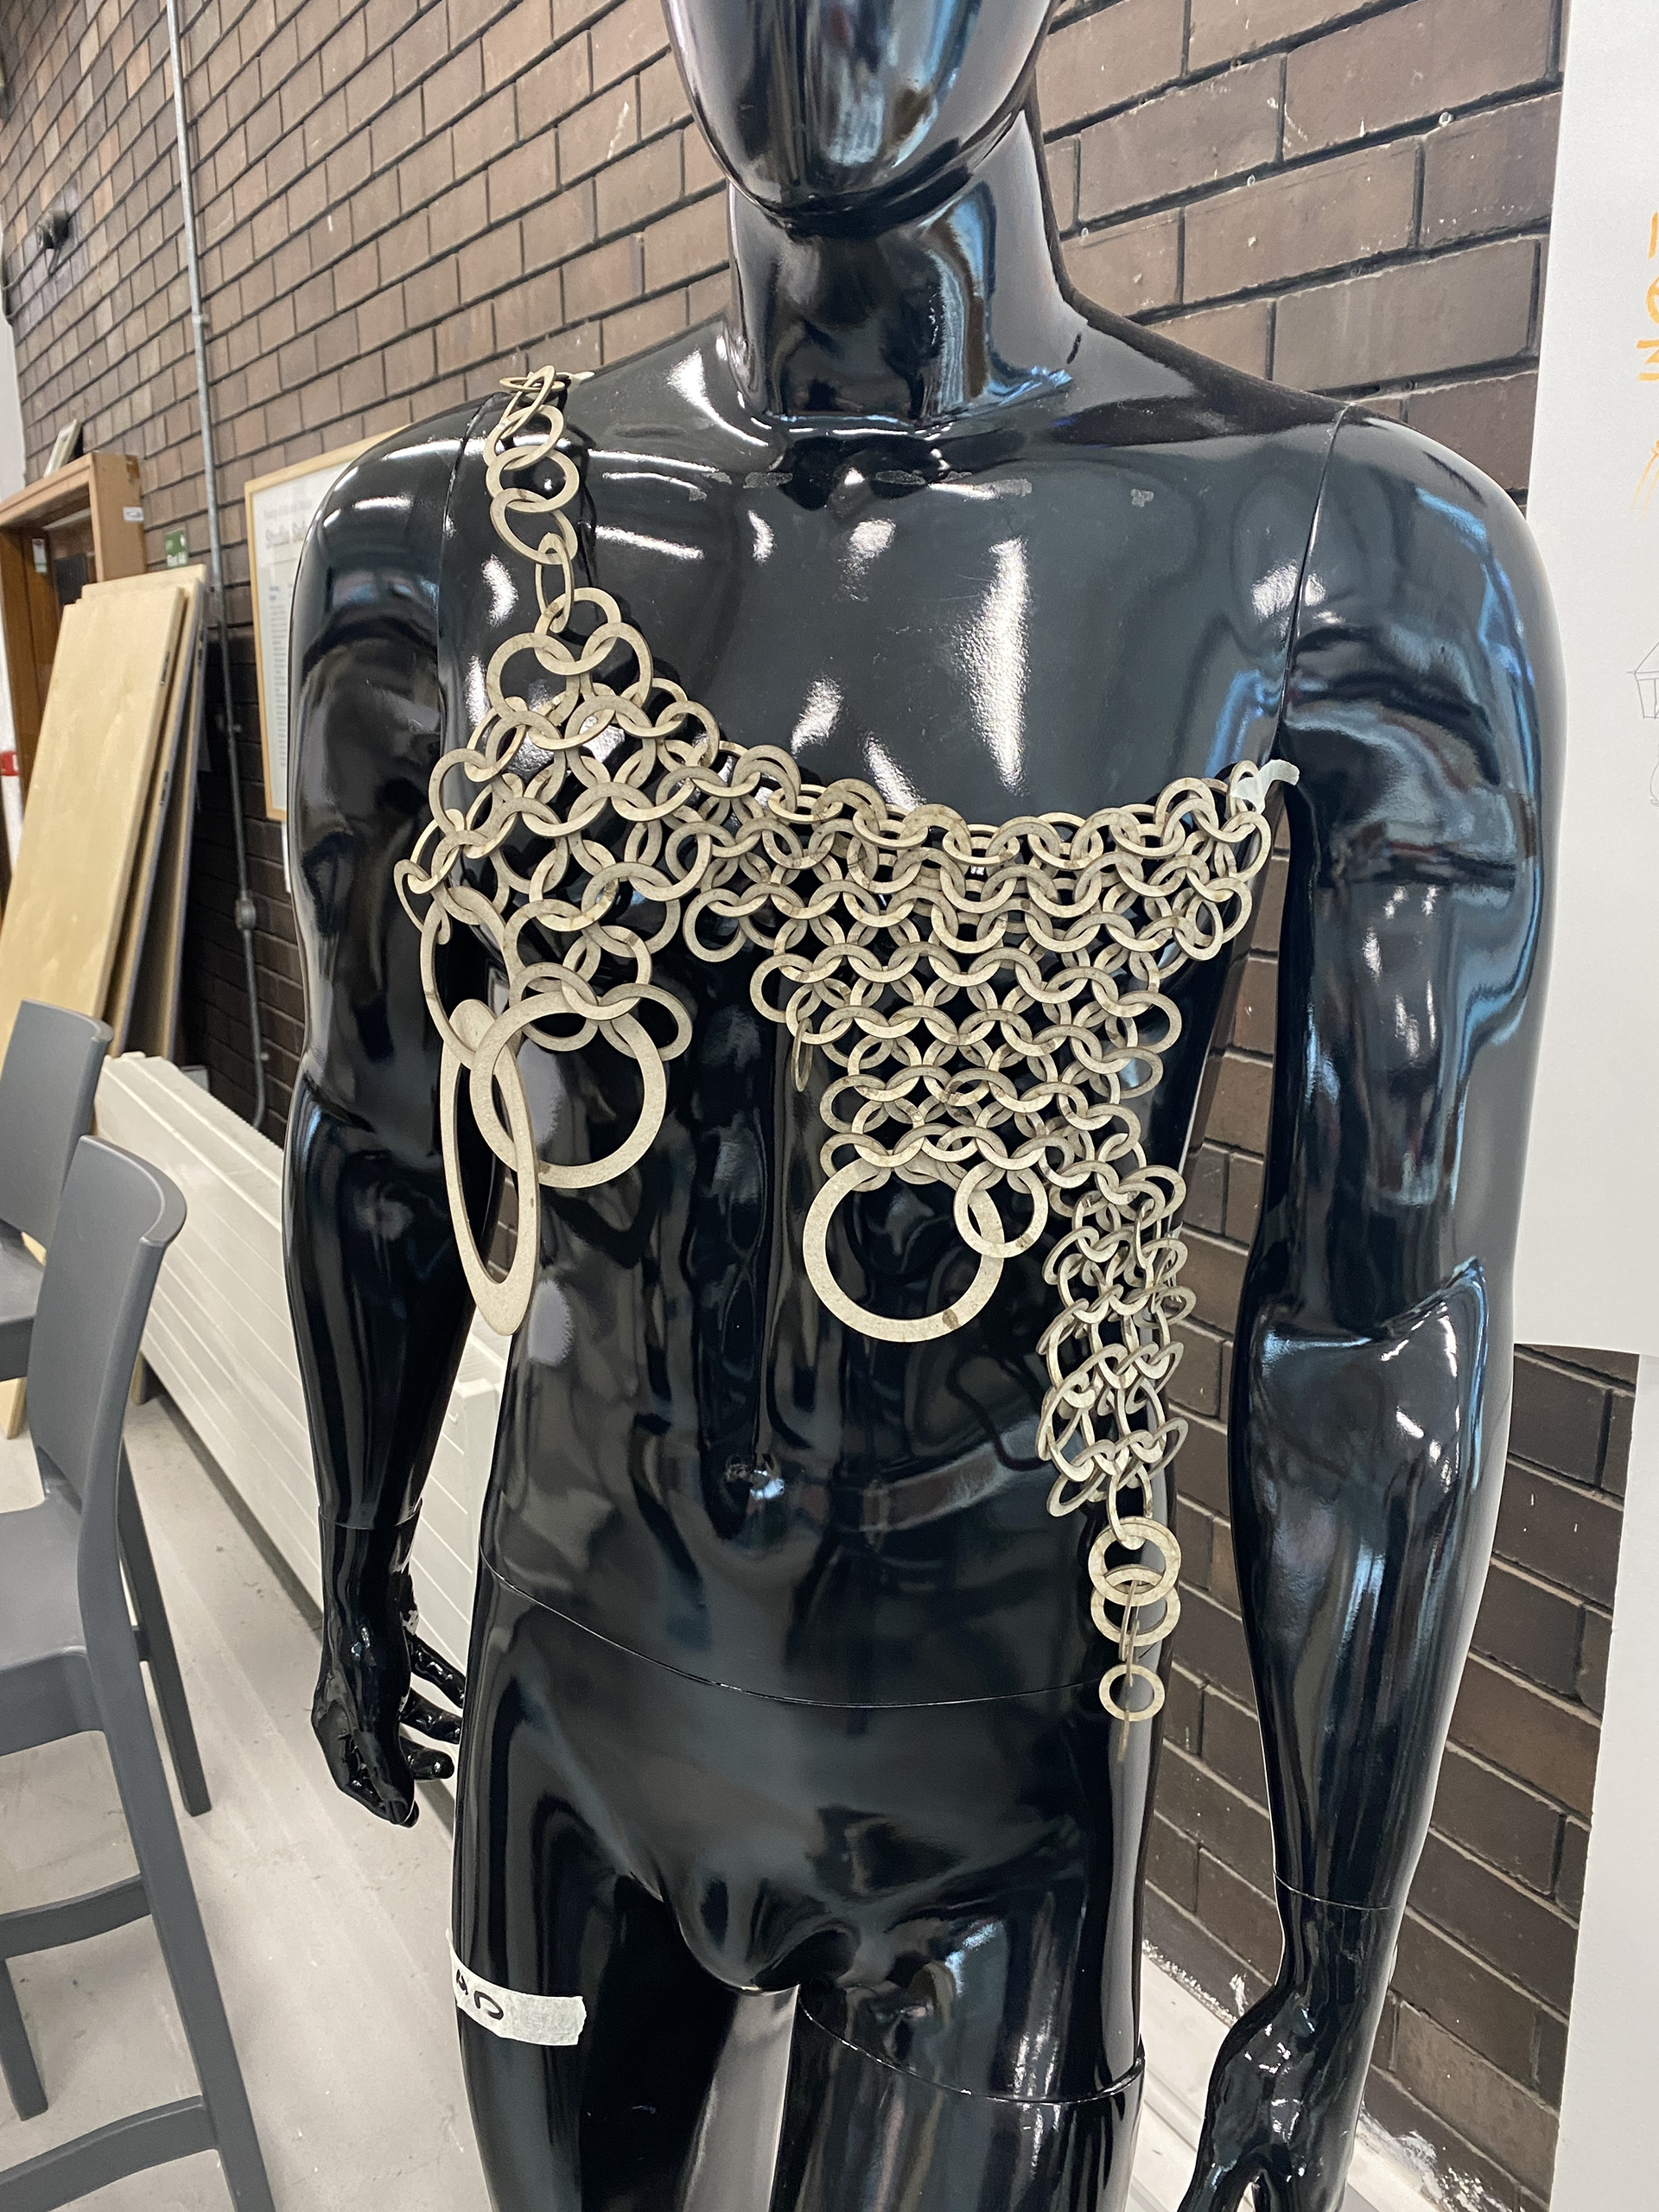
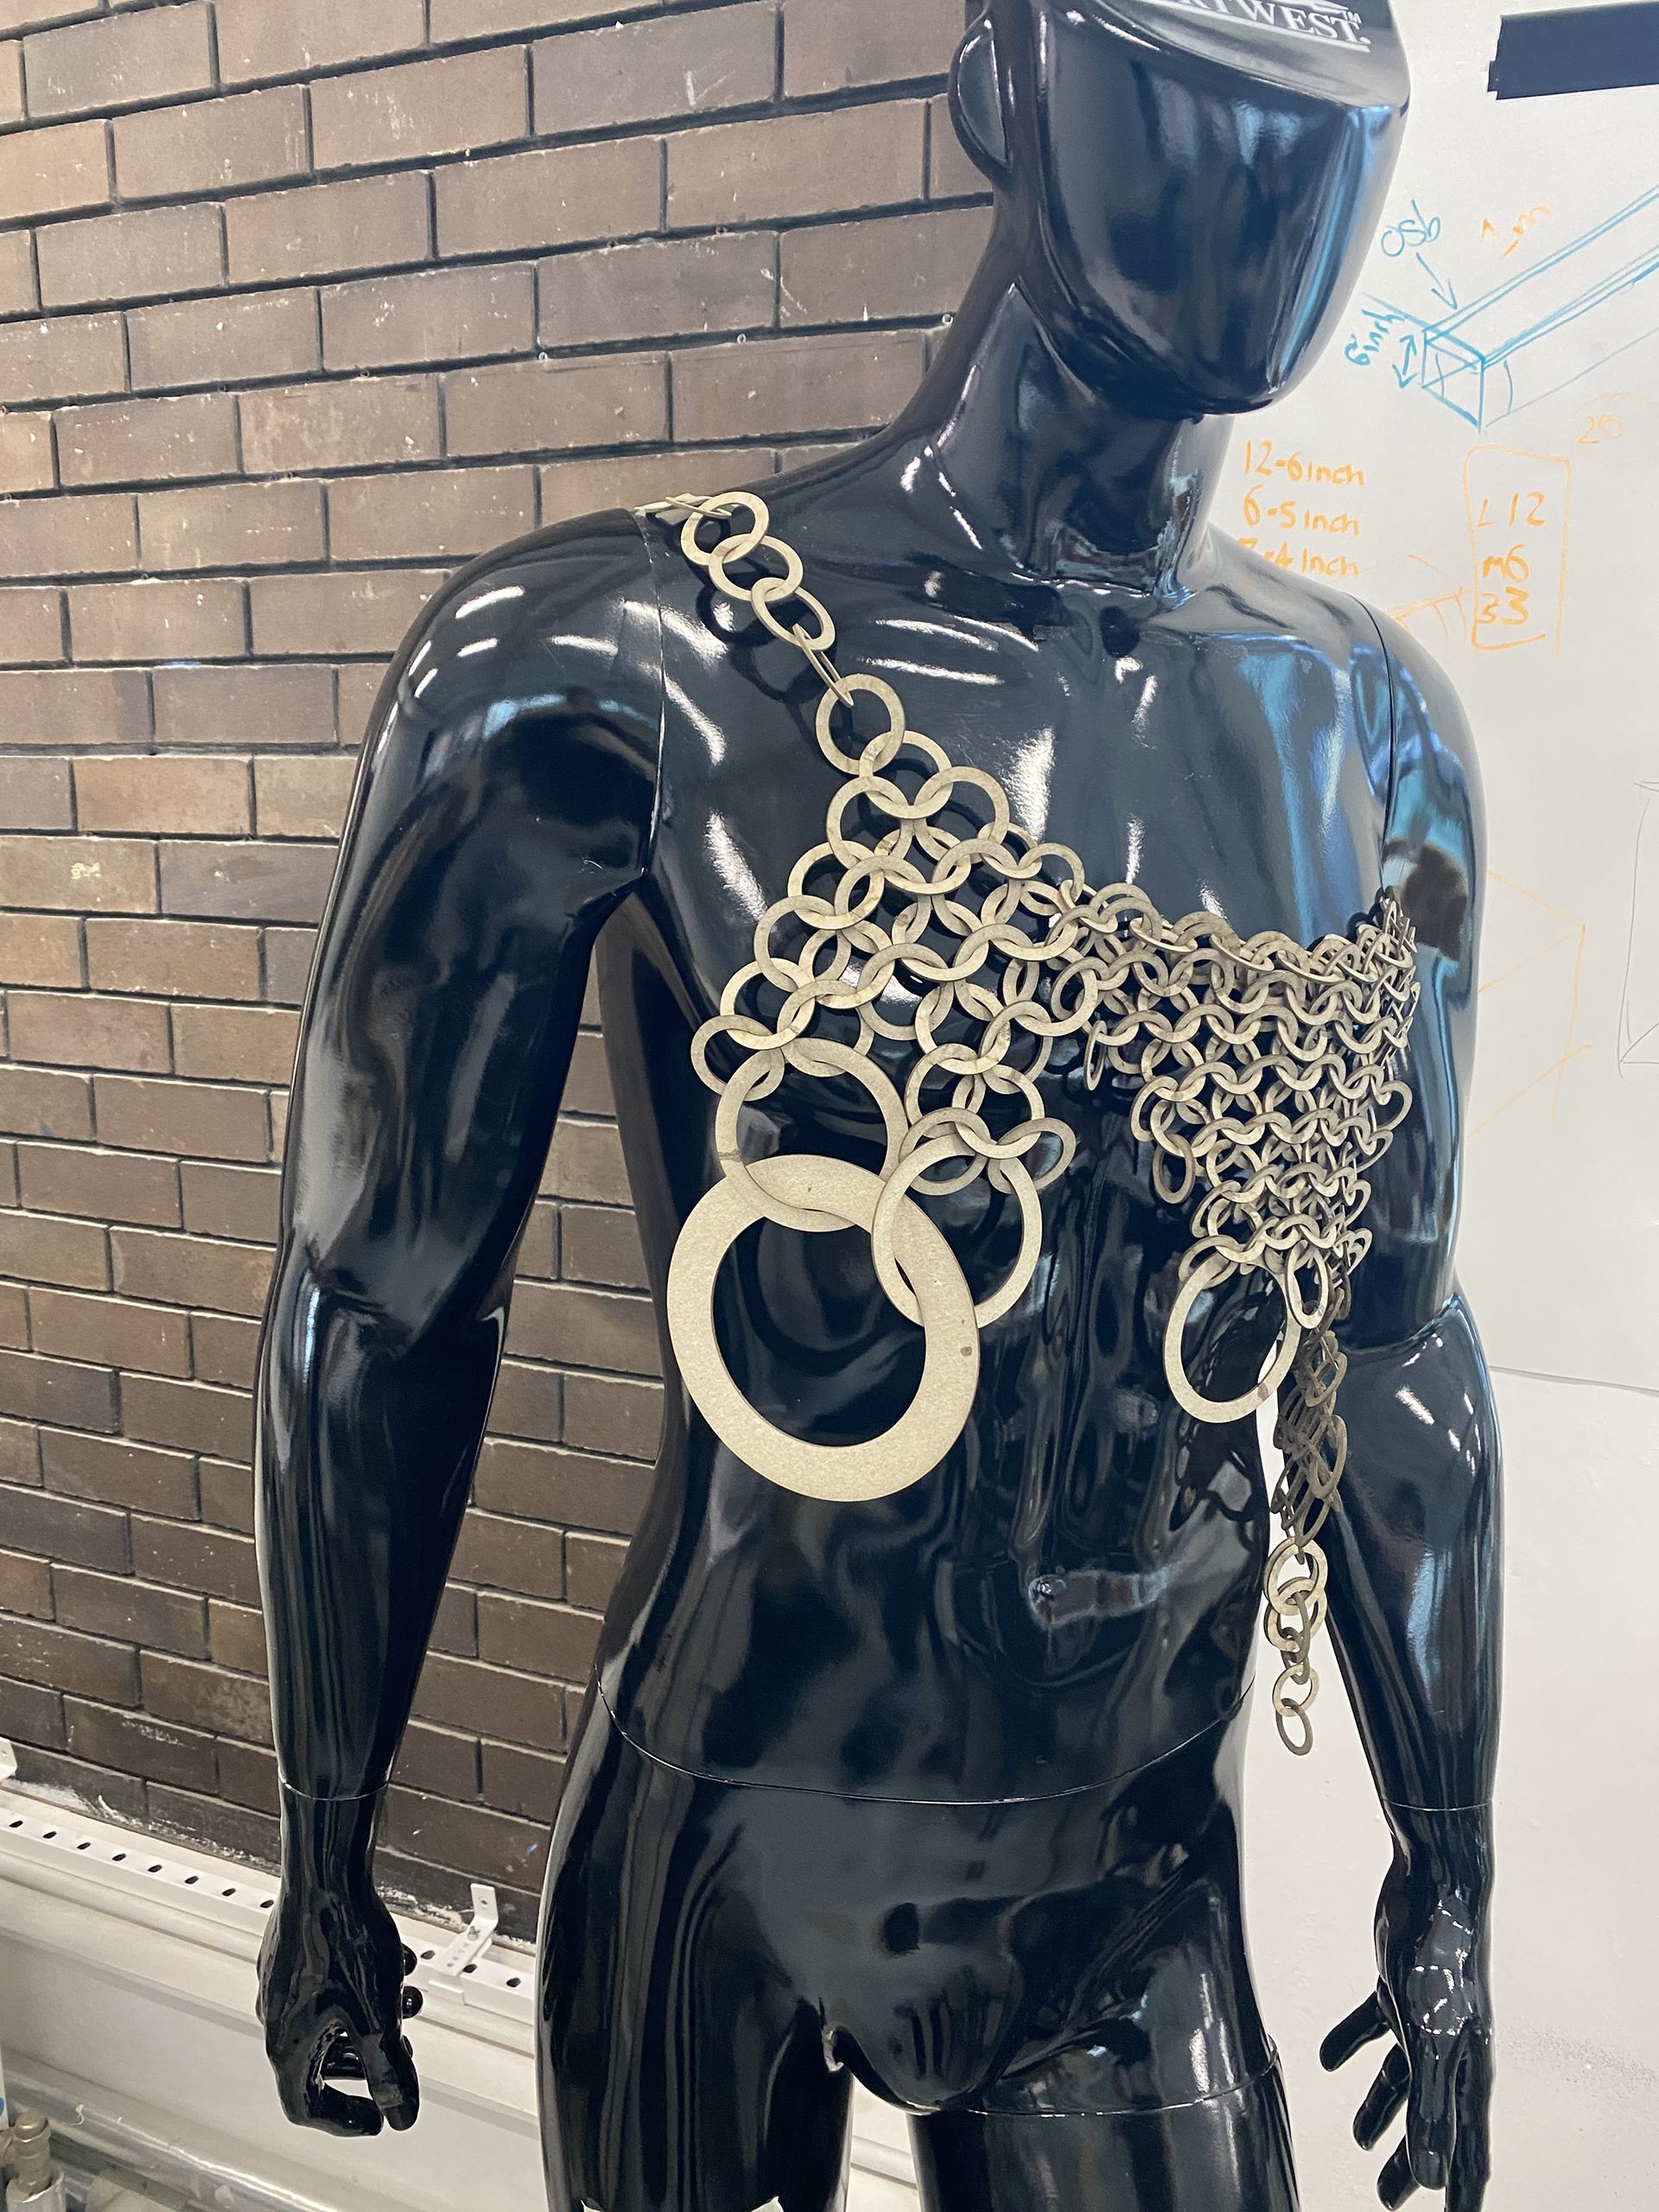
Designing through modelling

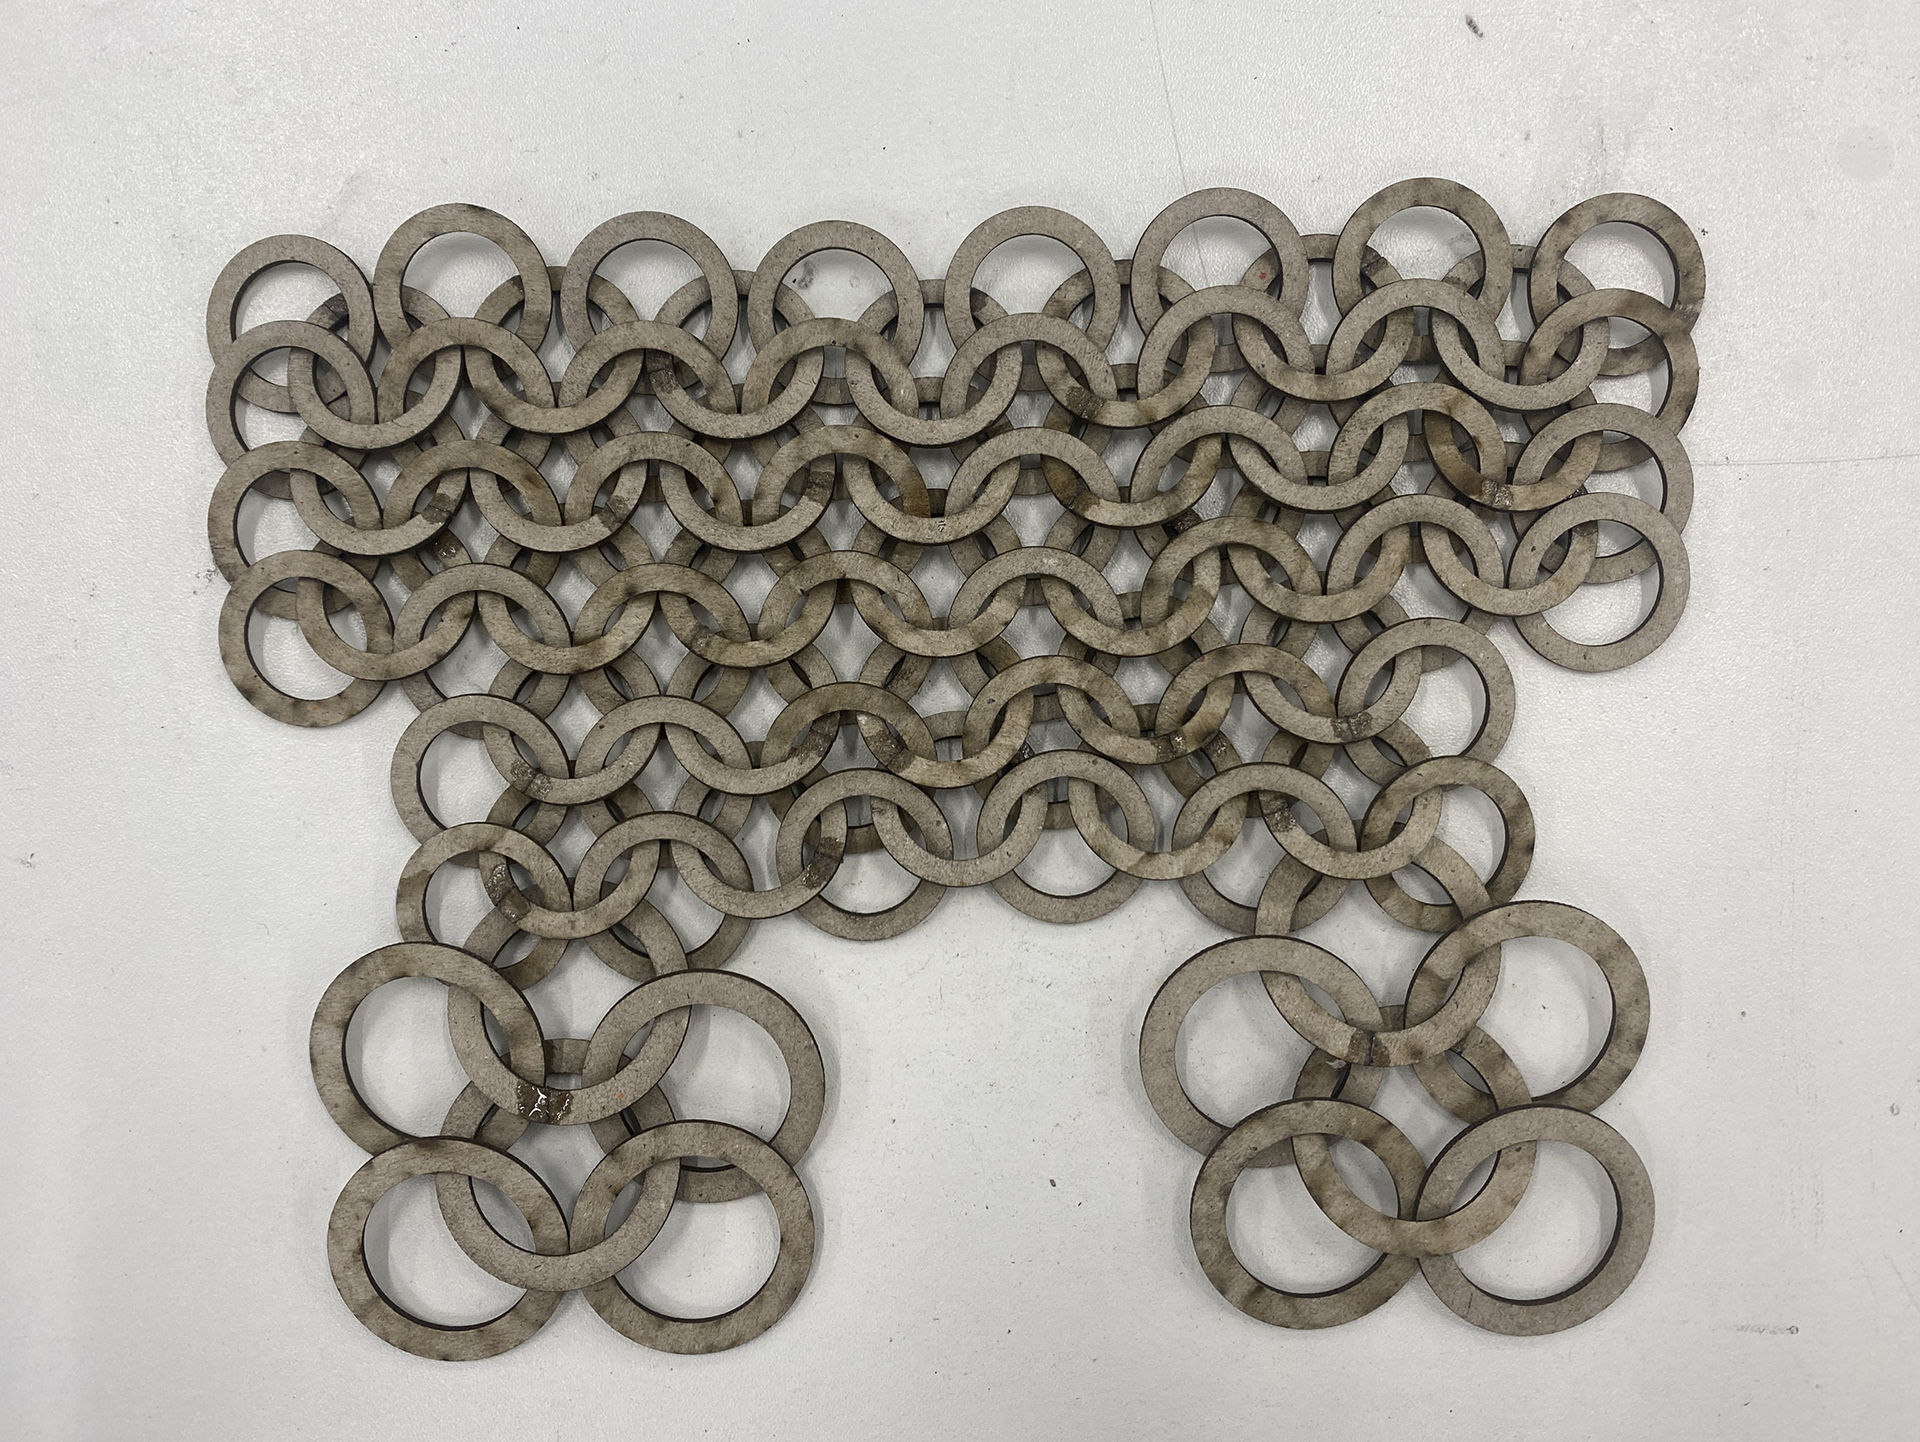

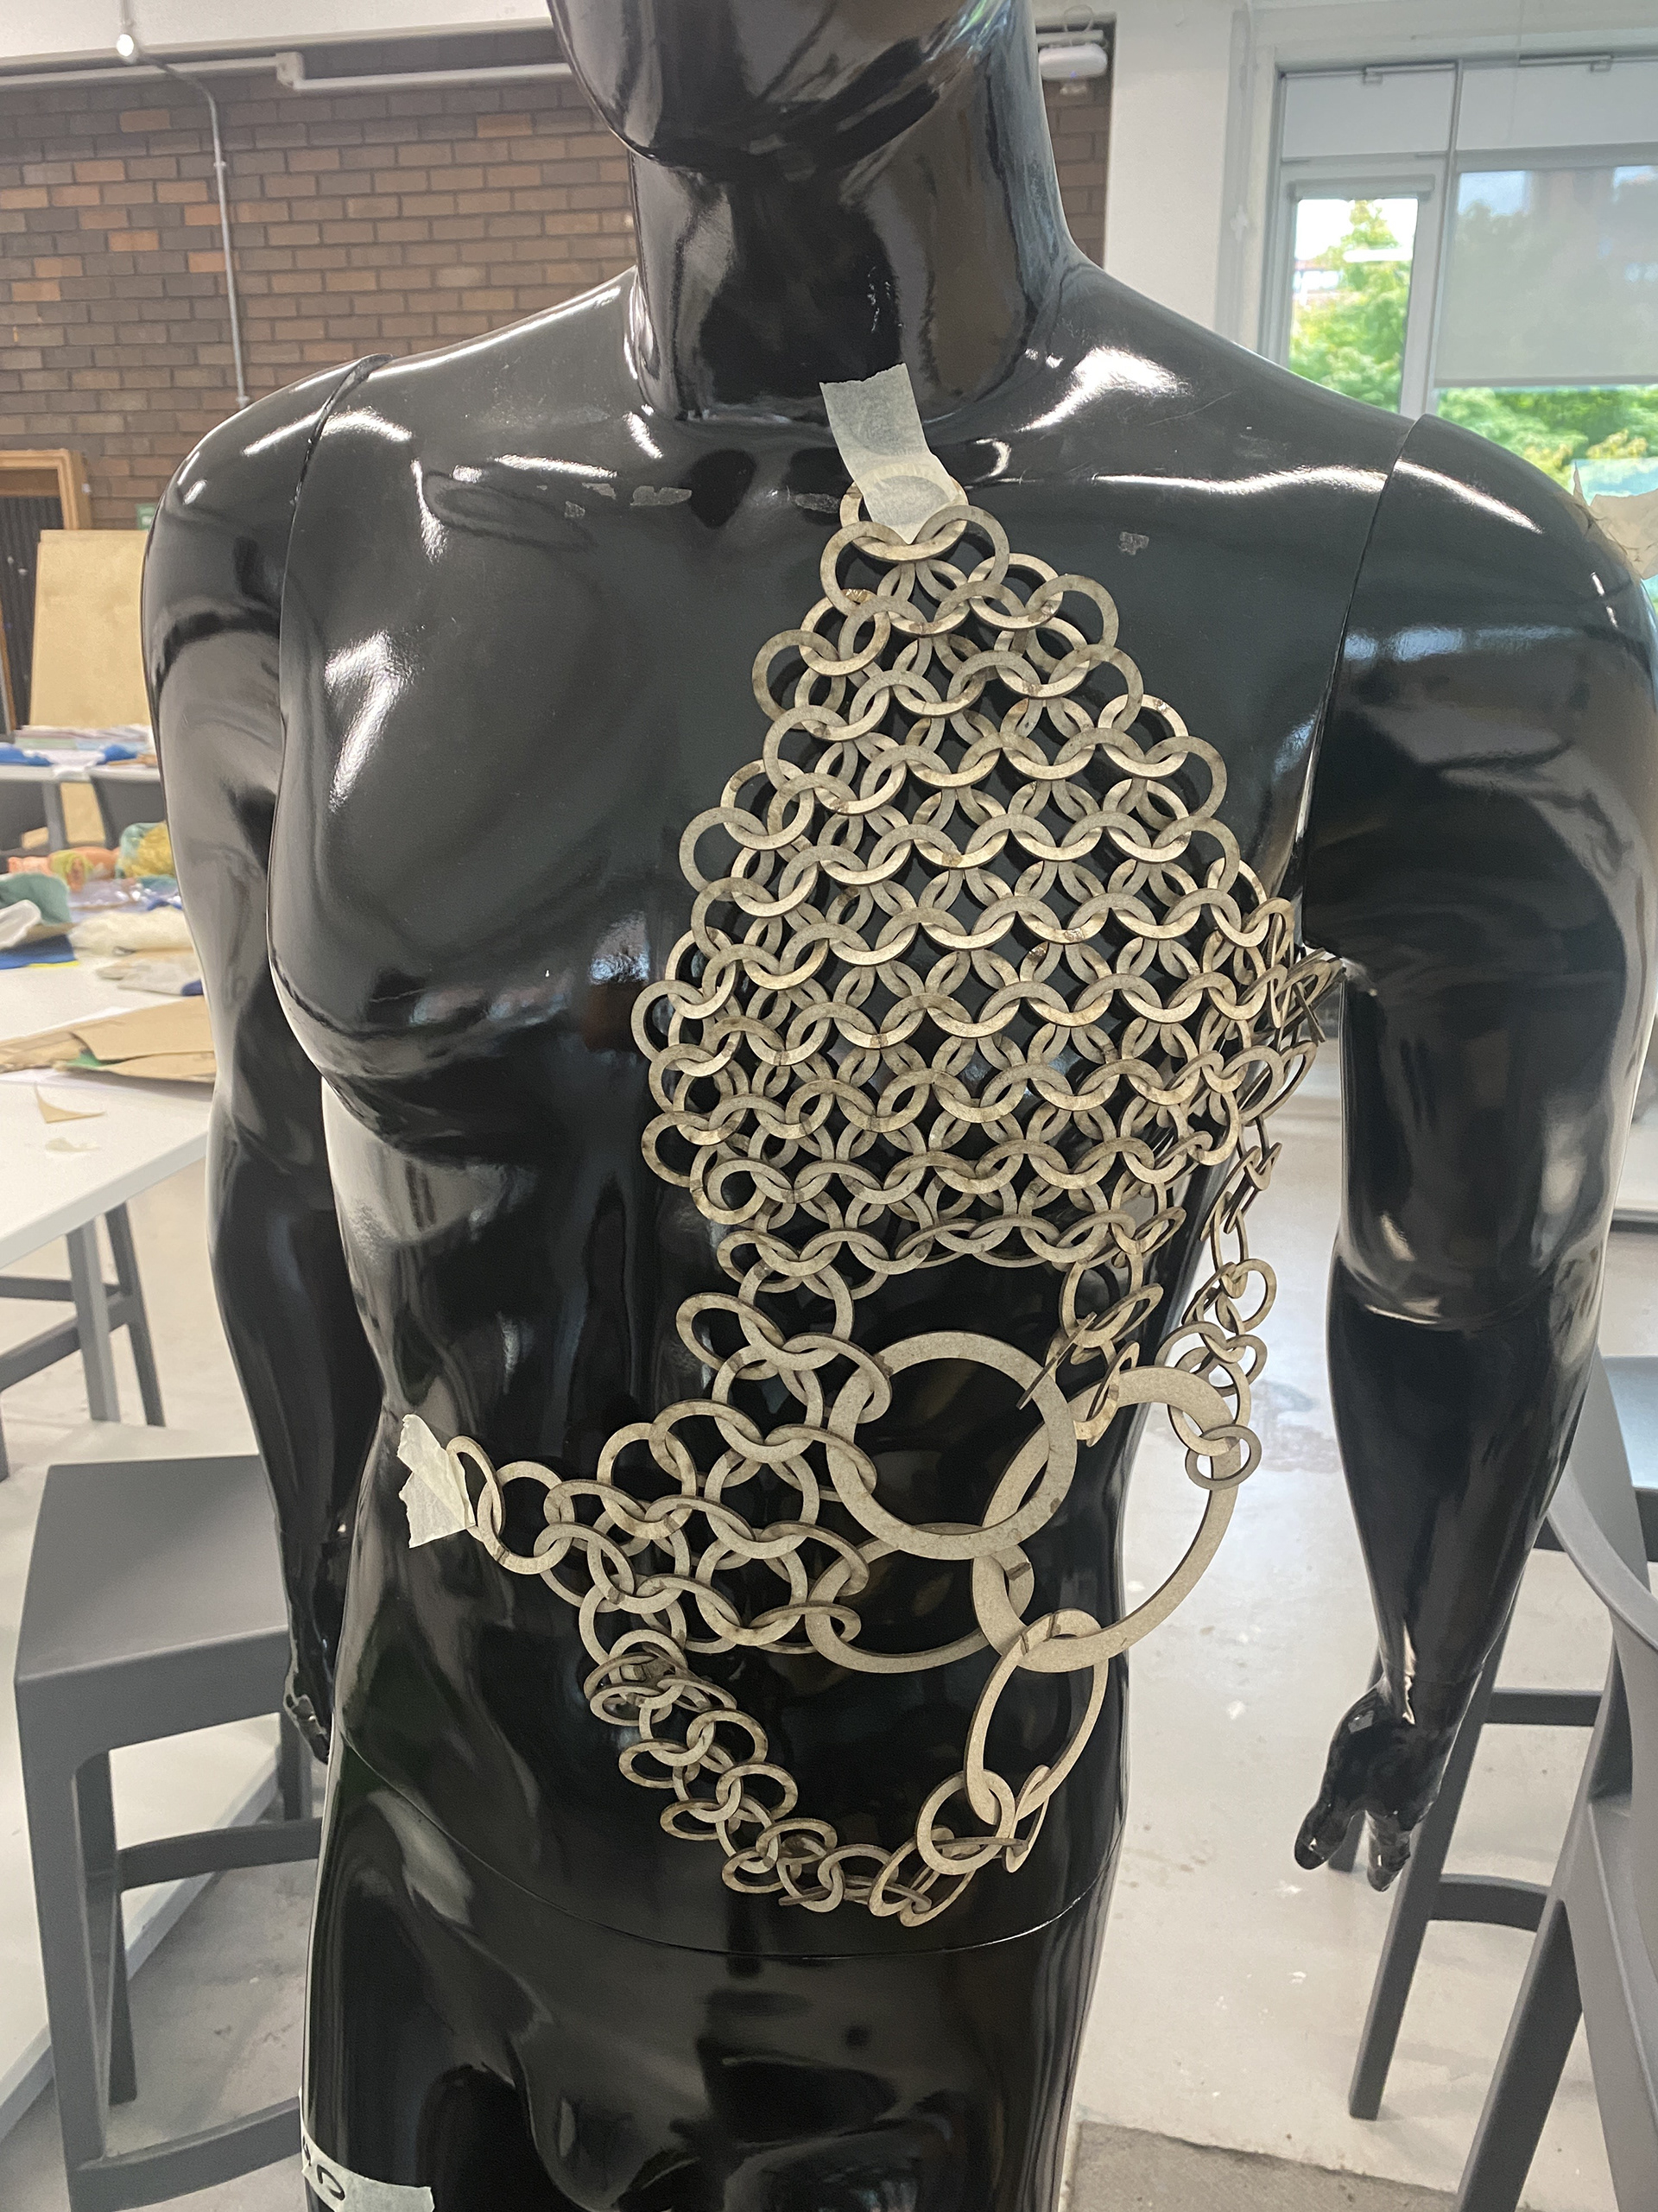
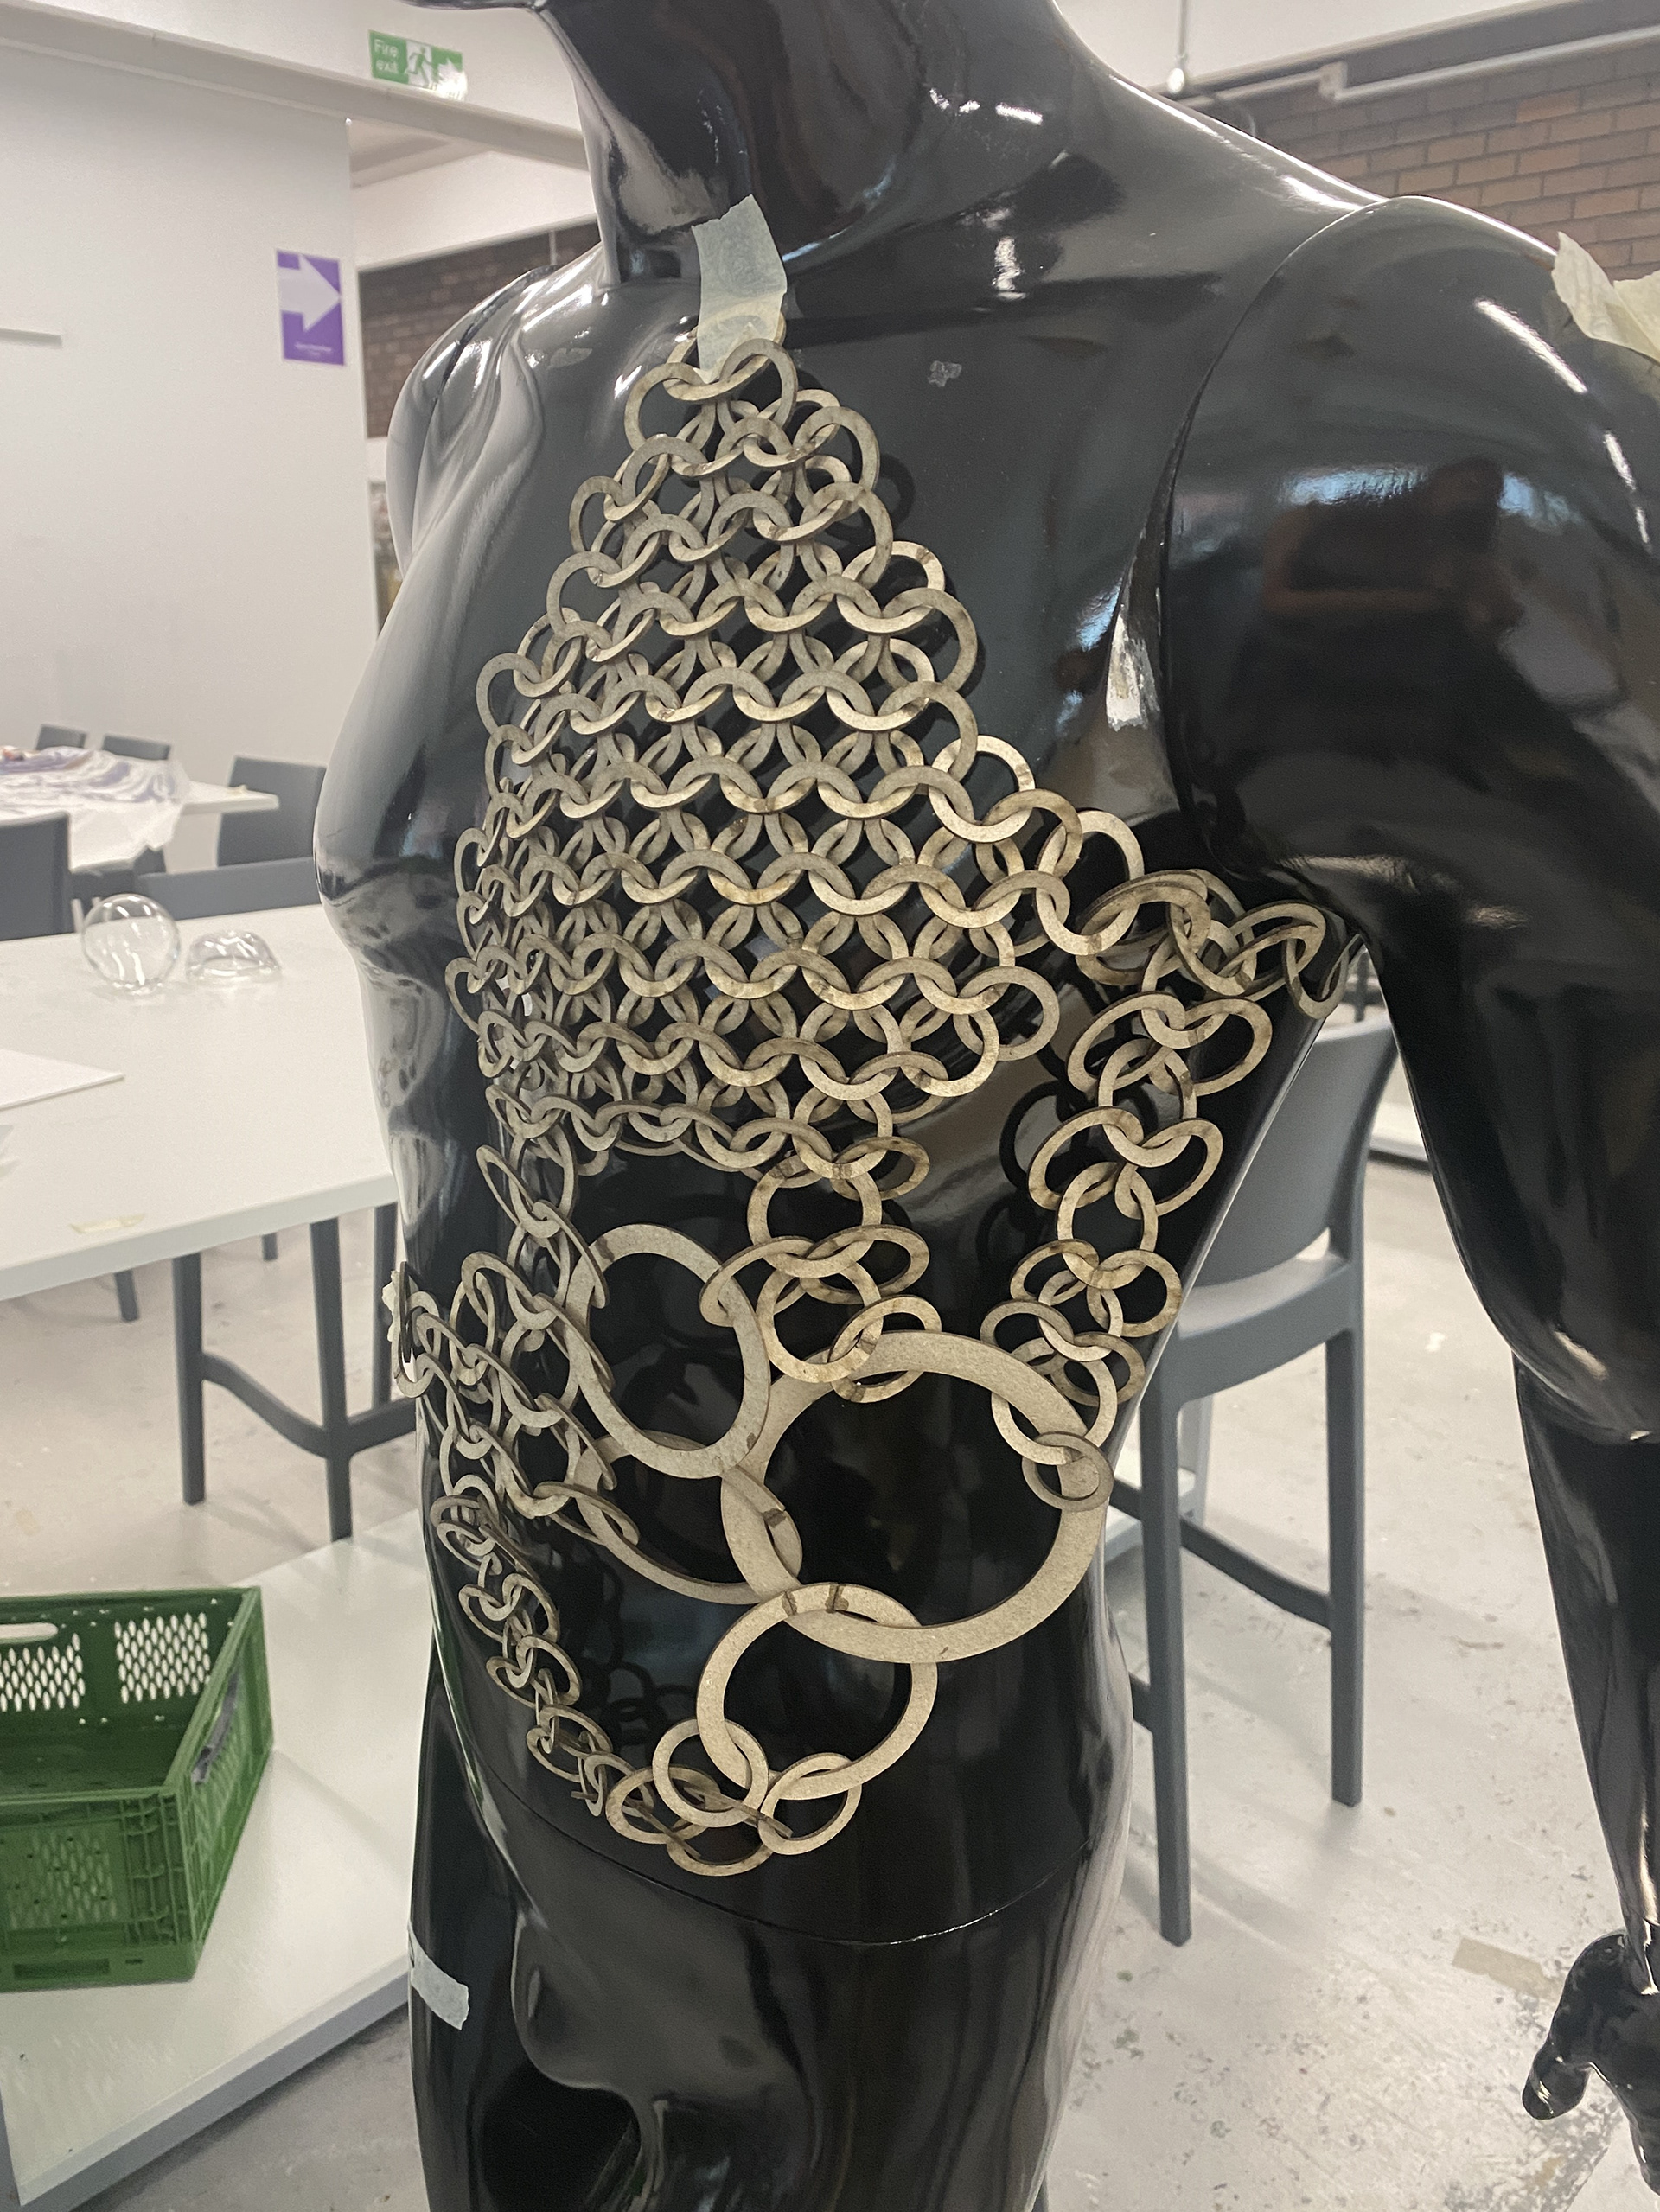

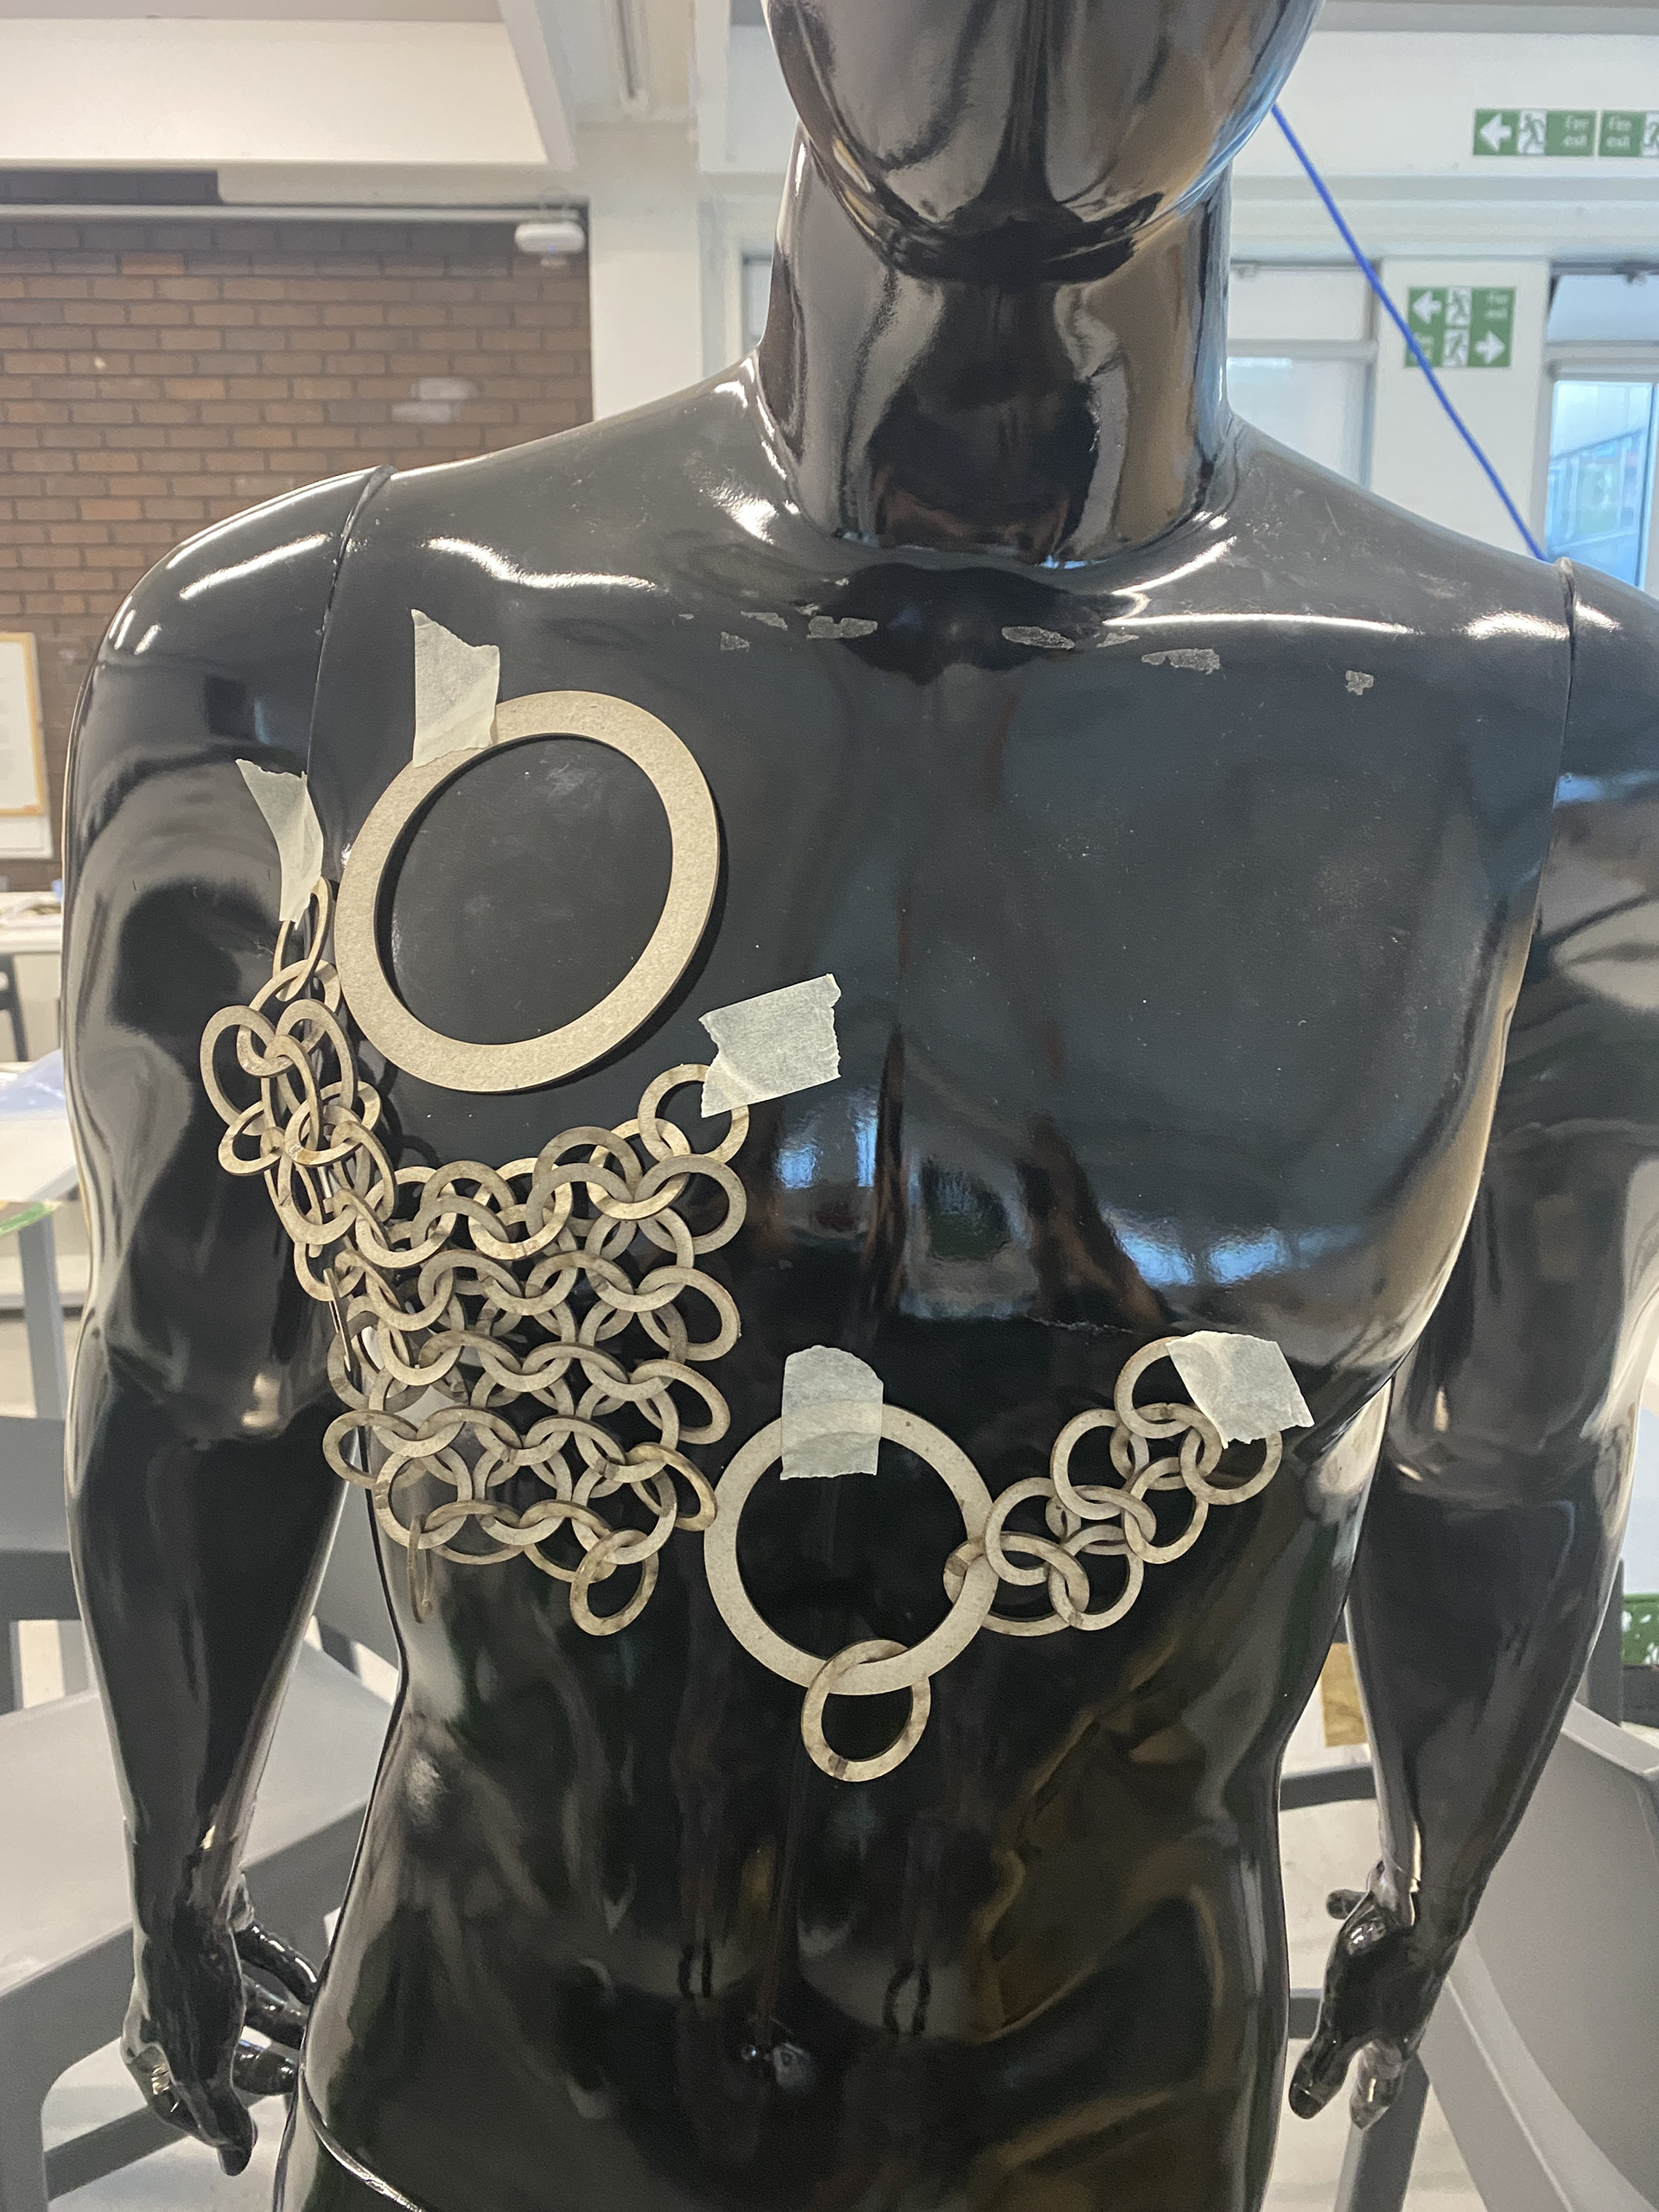
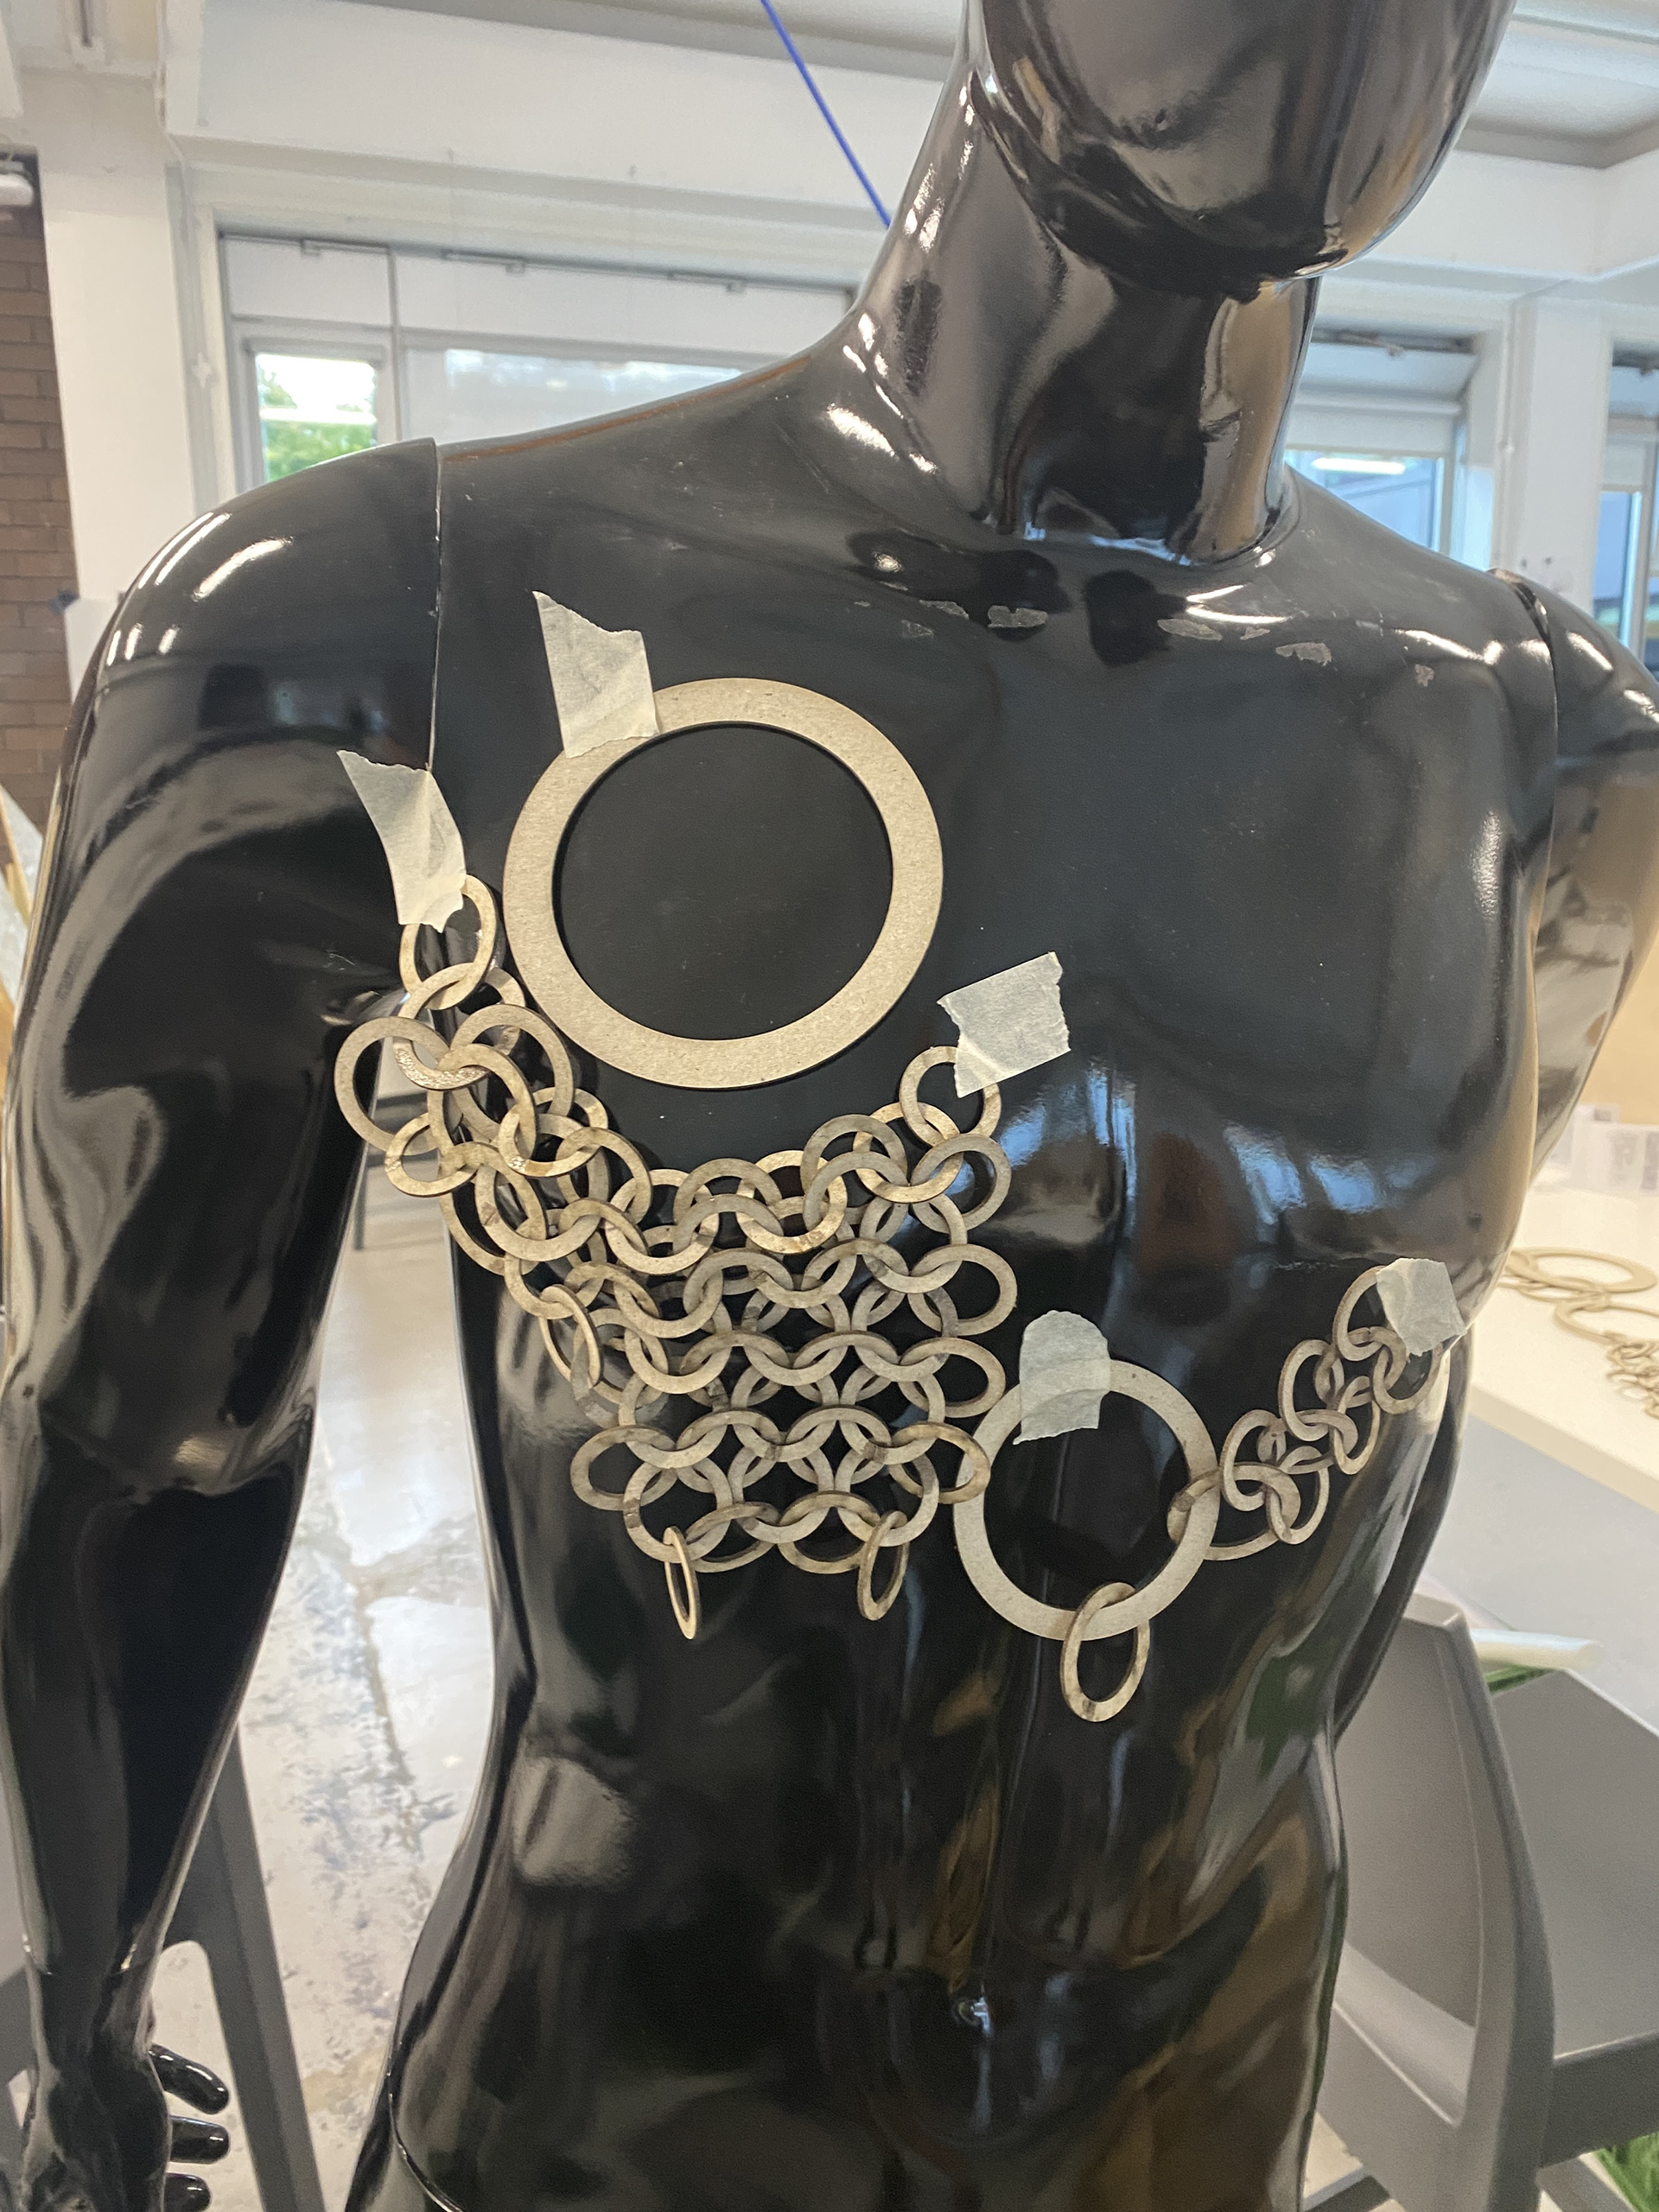
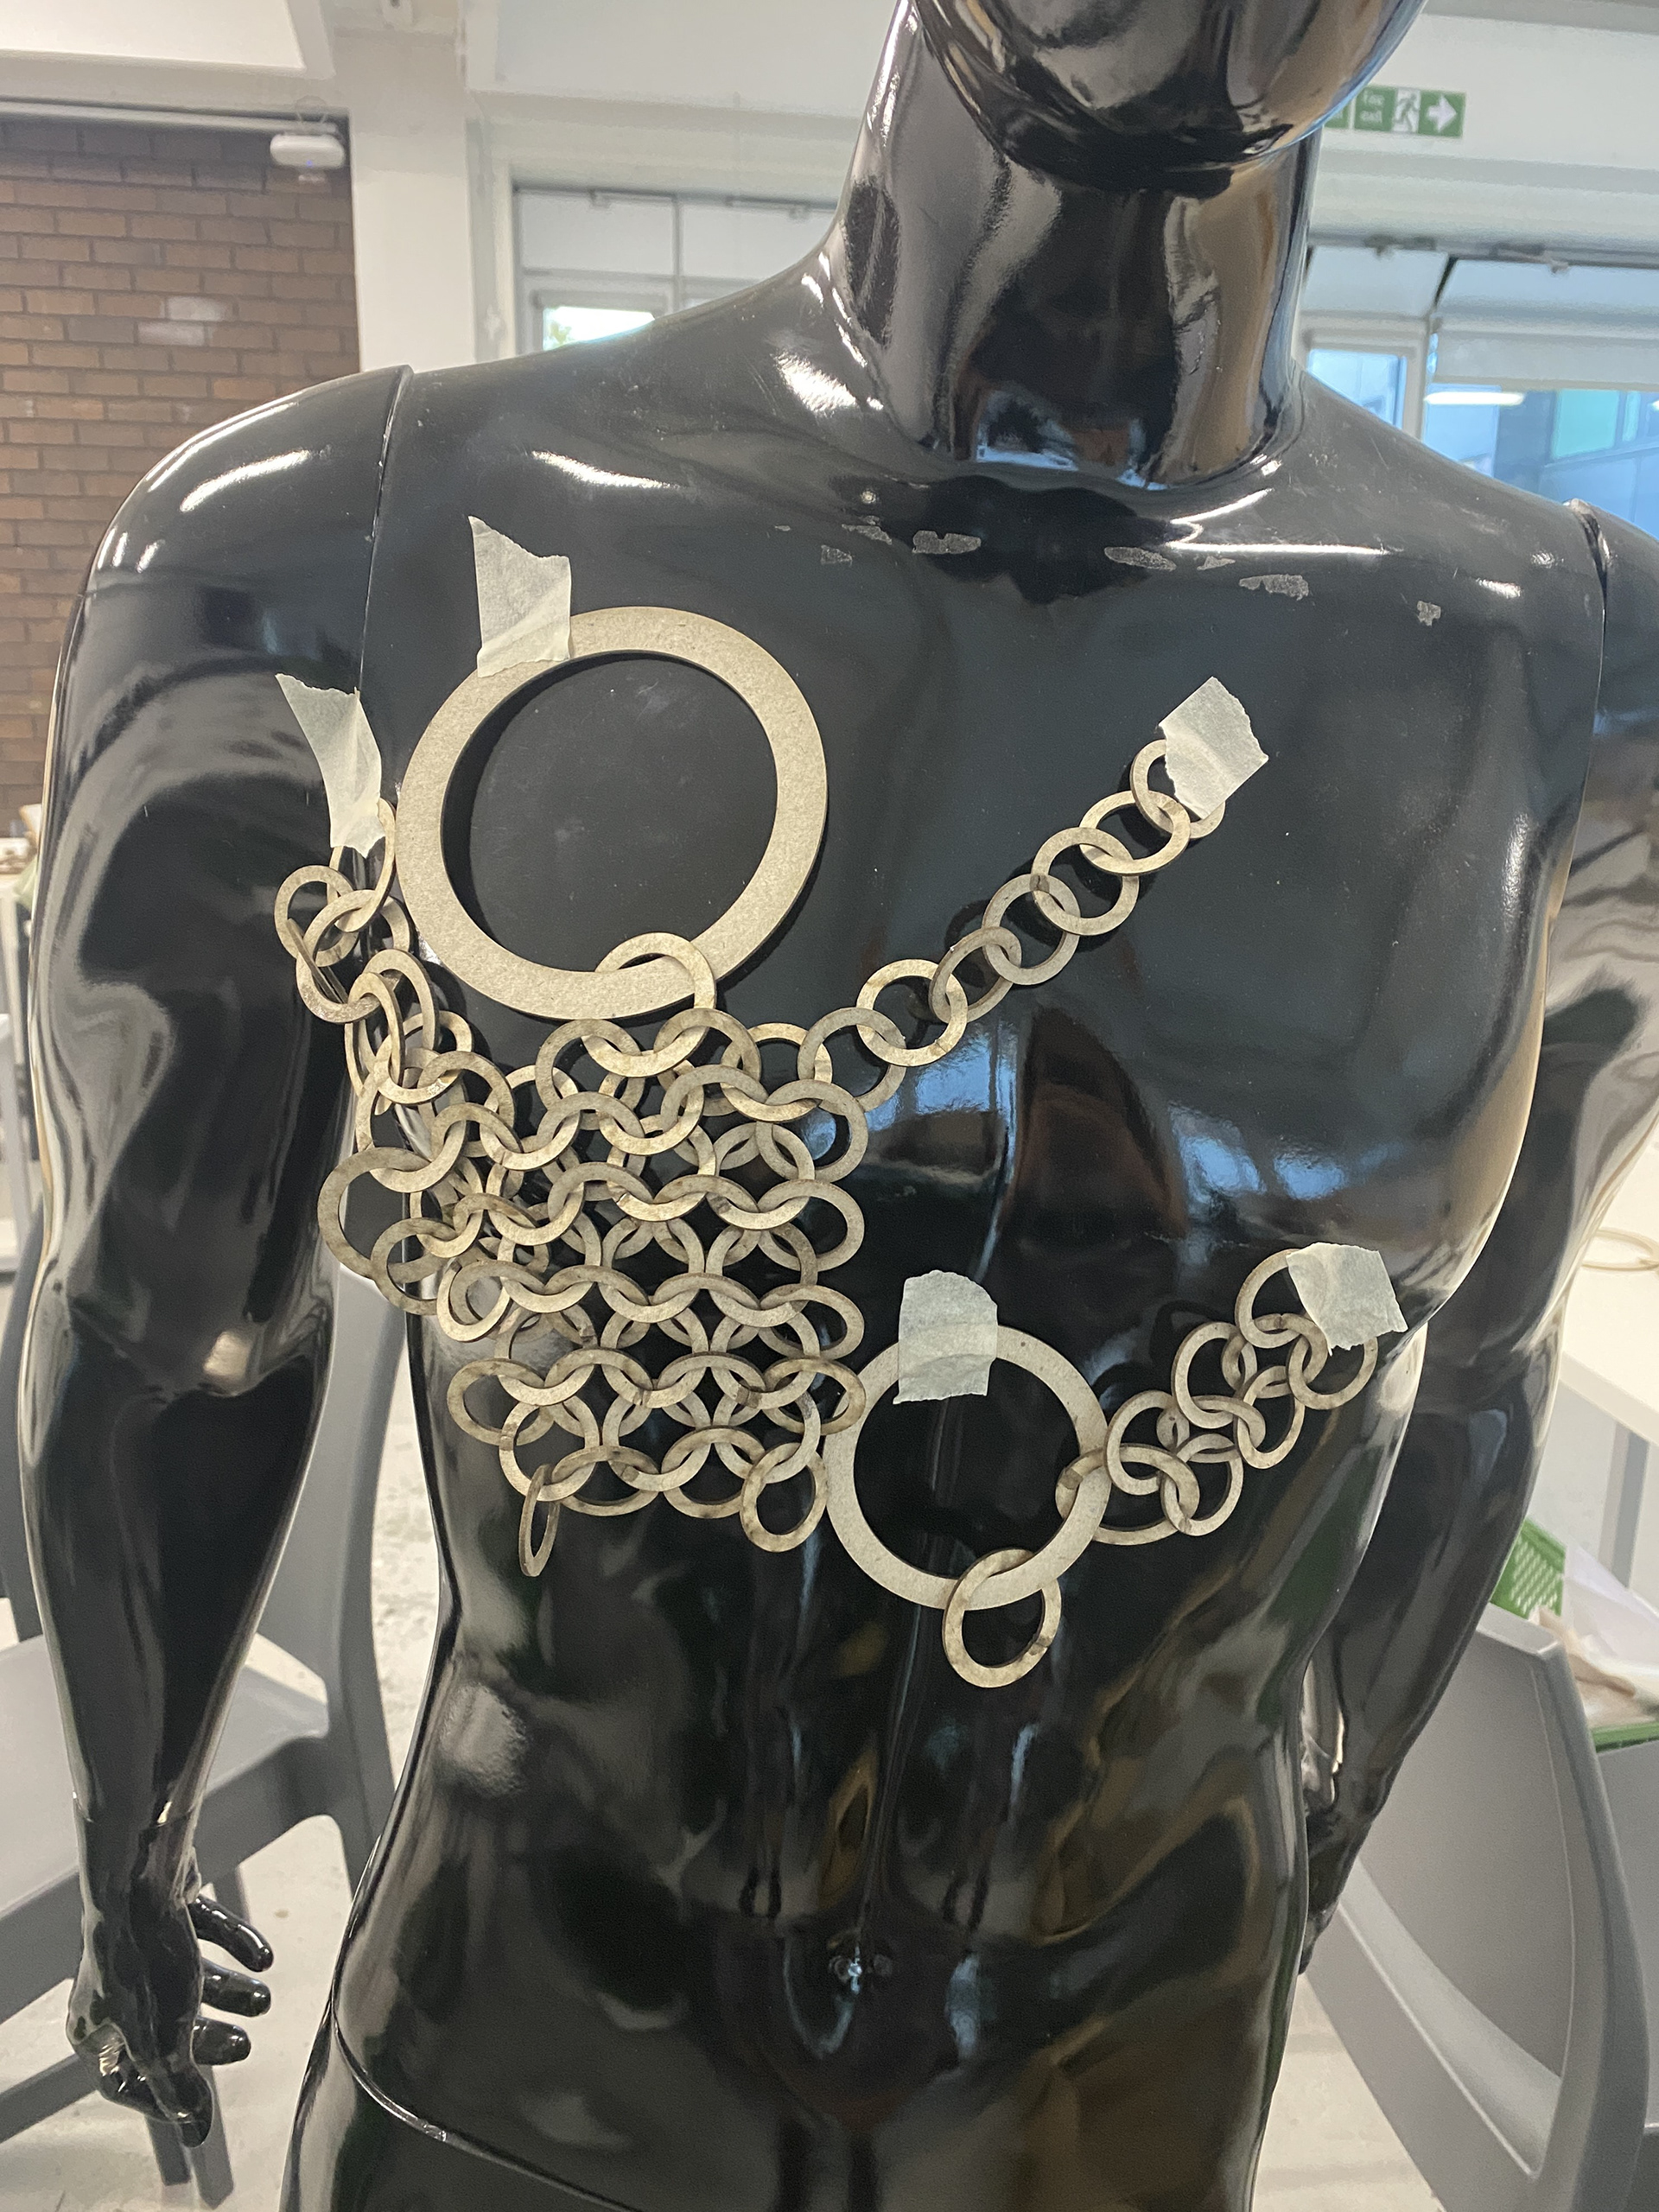
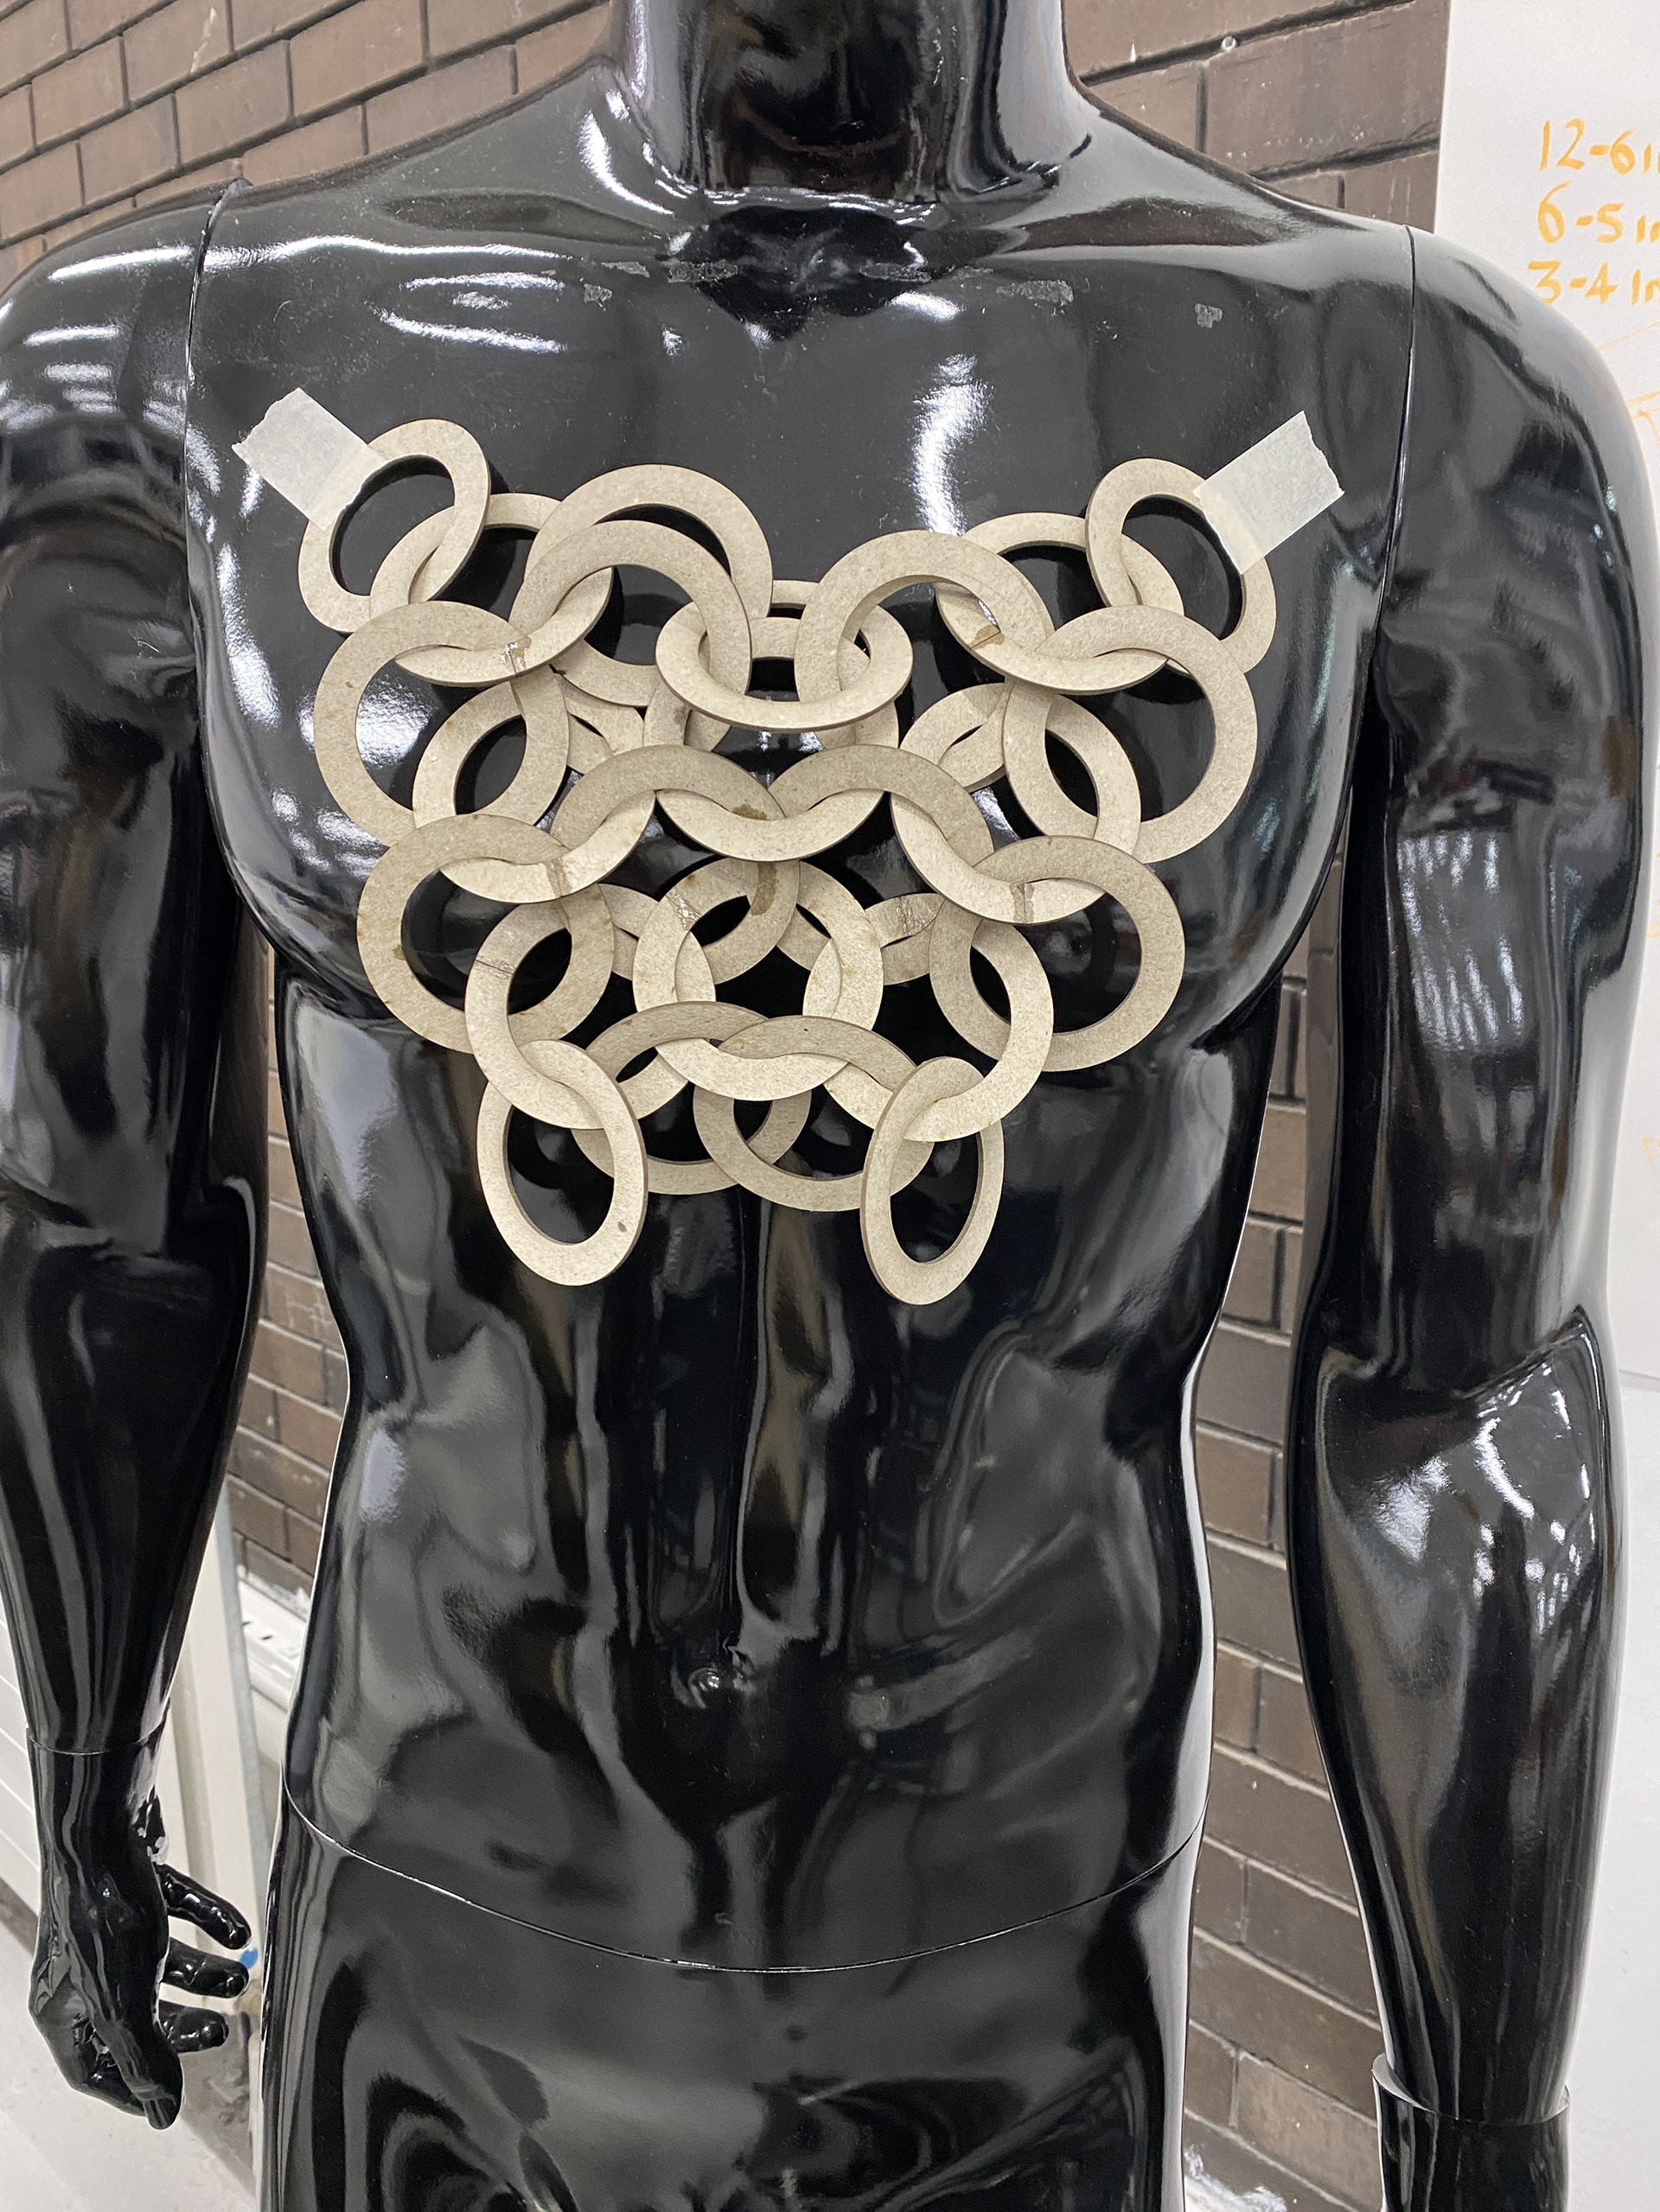
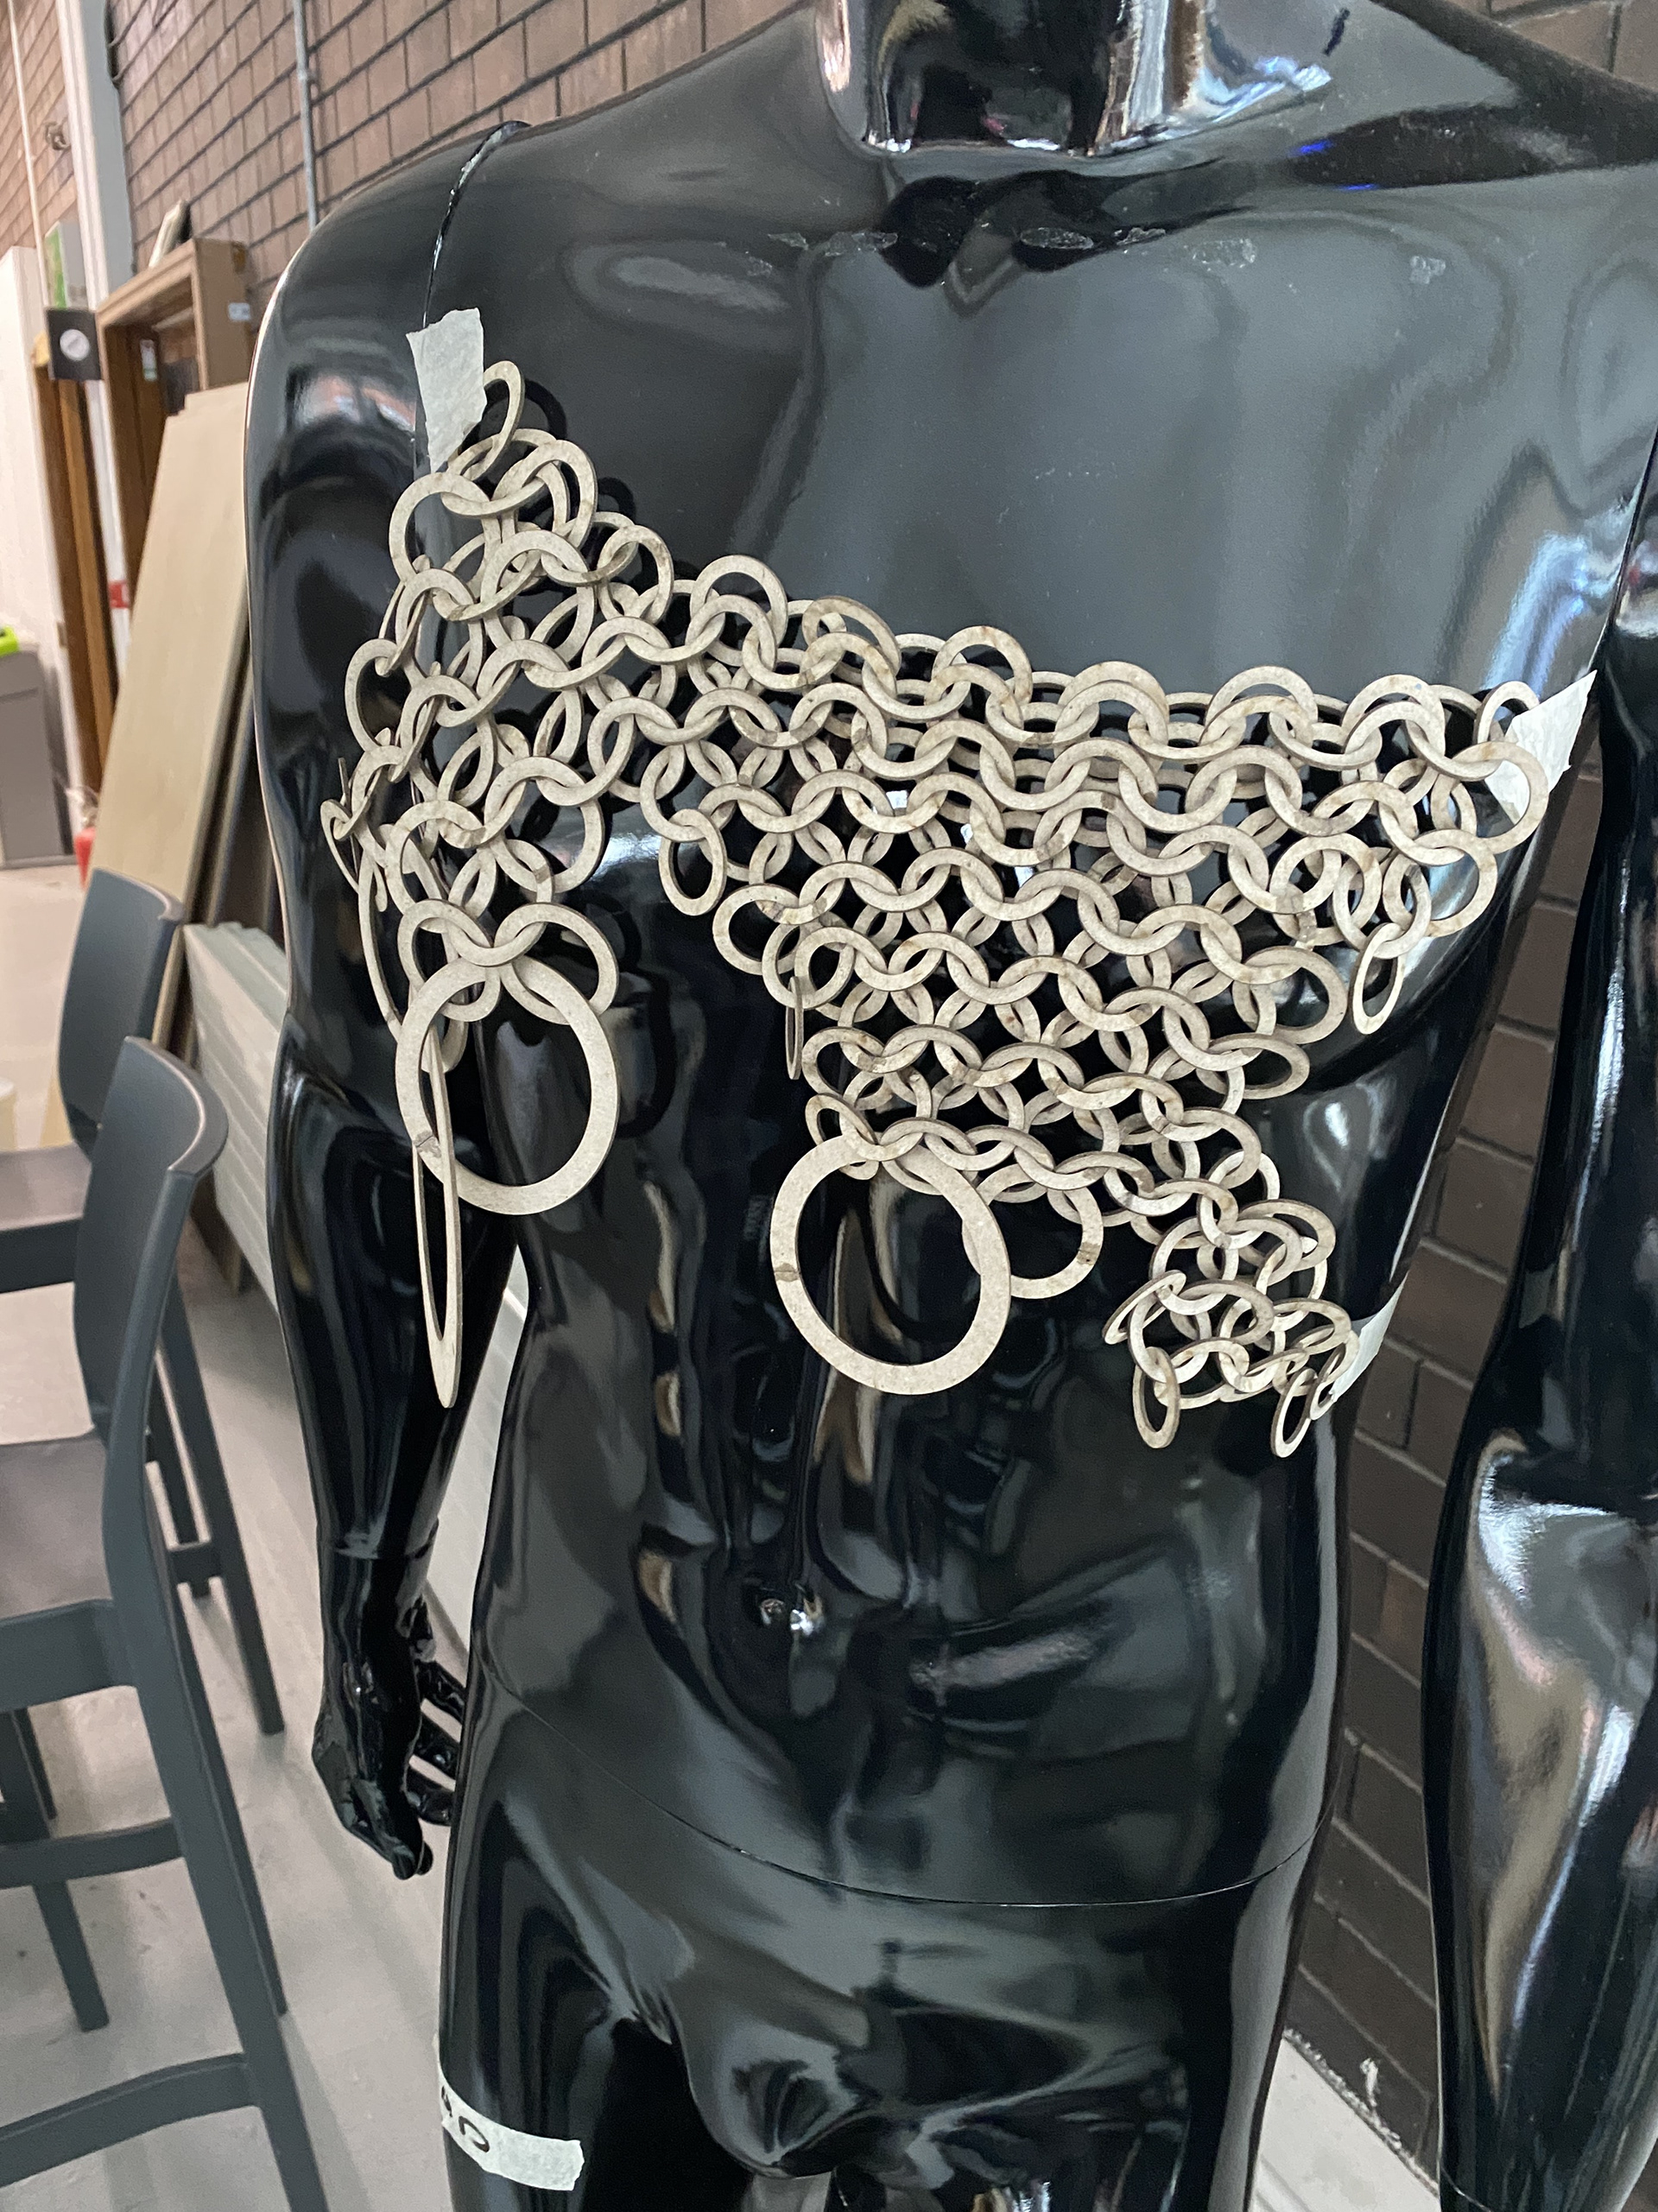
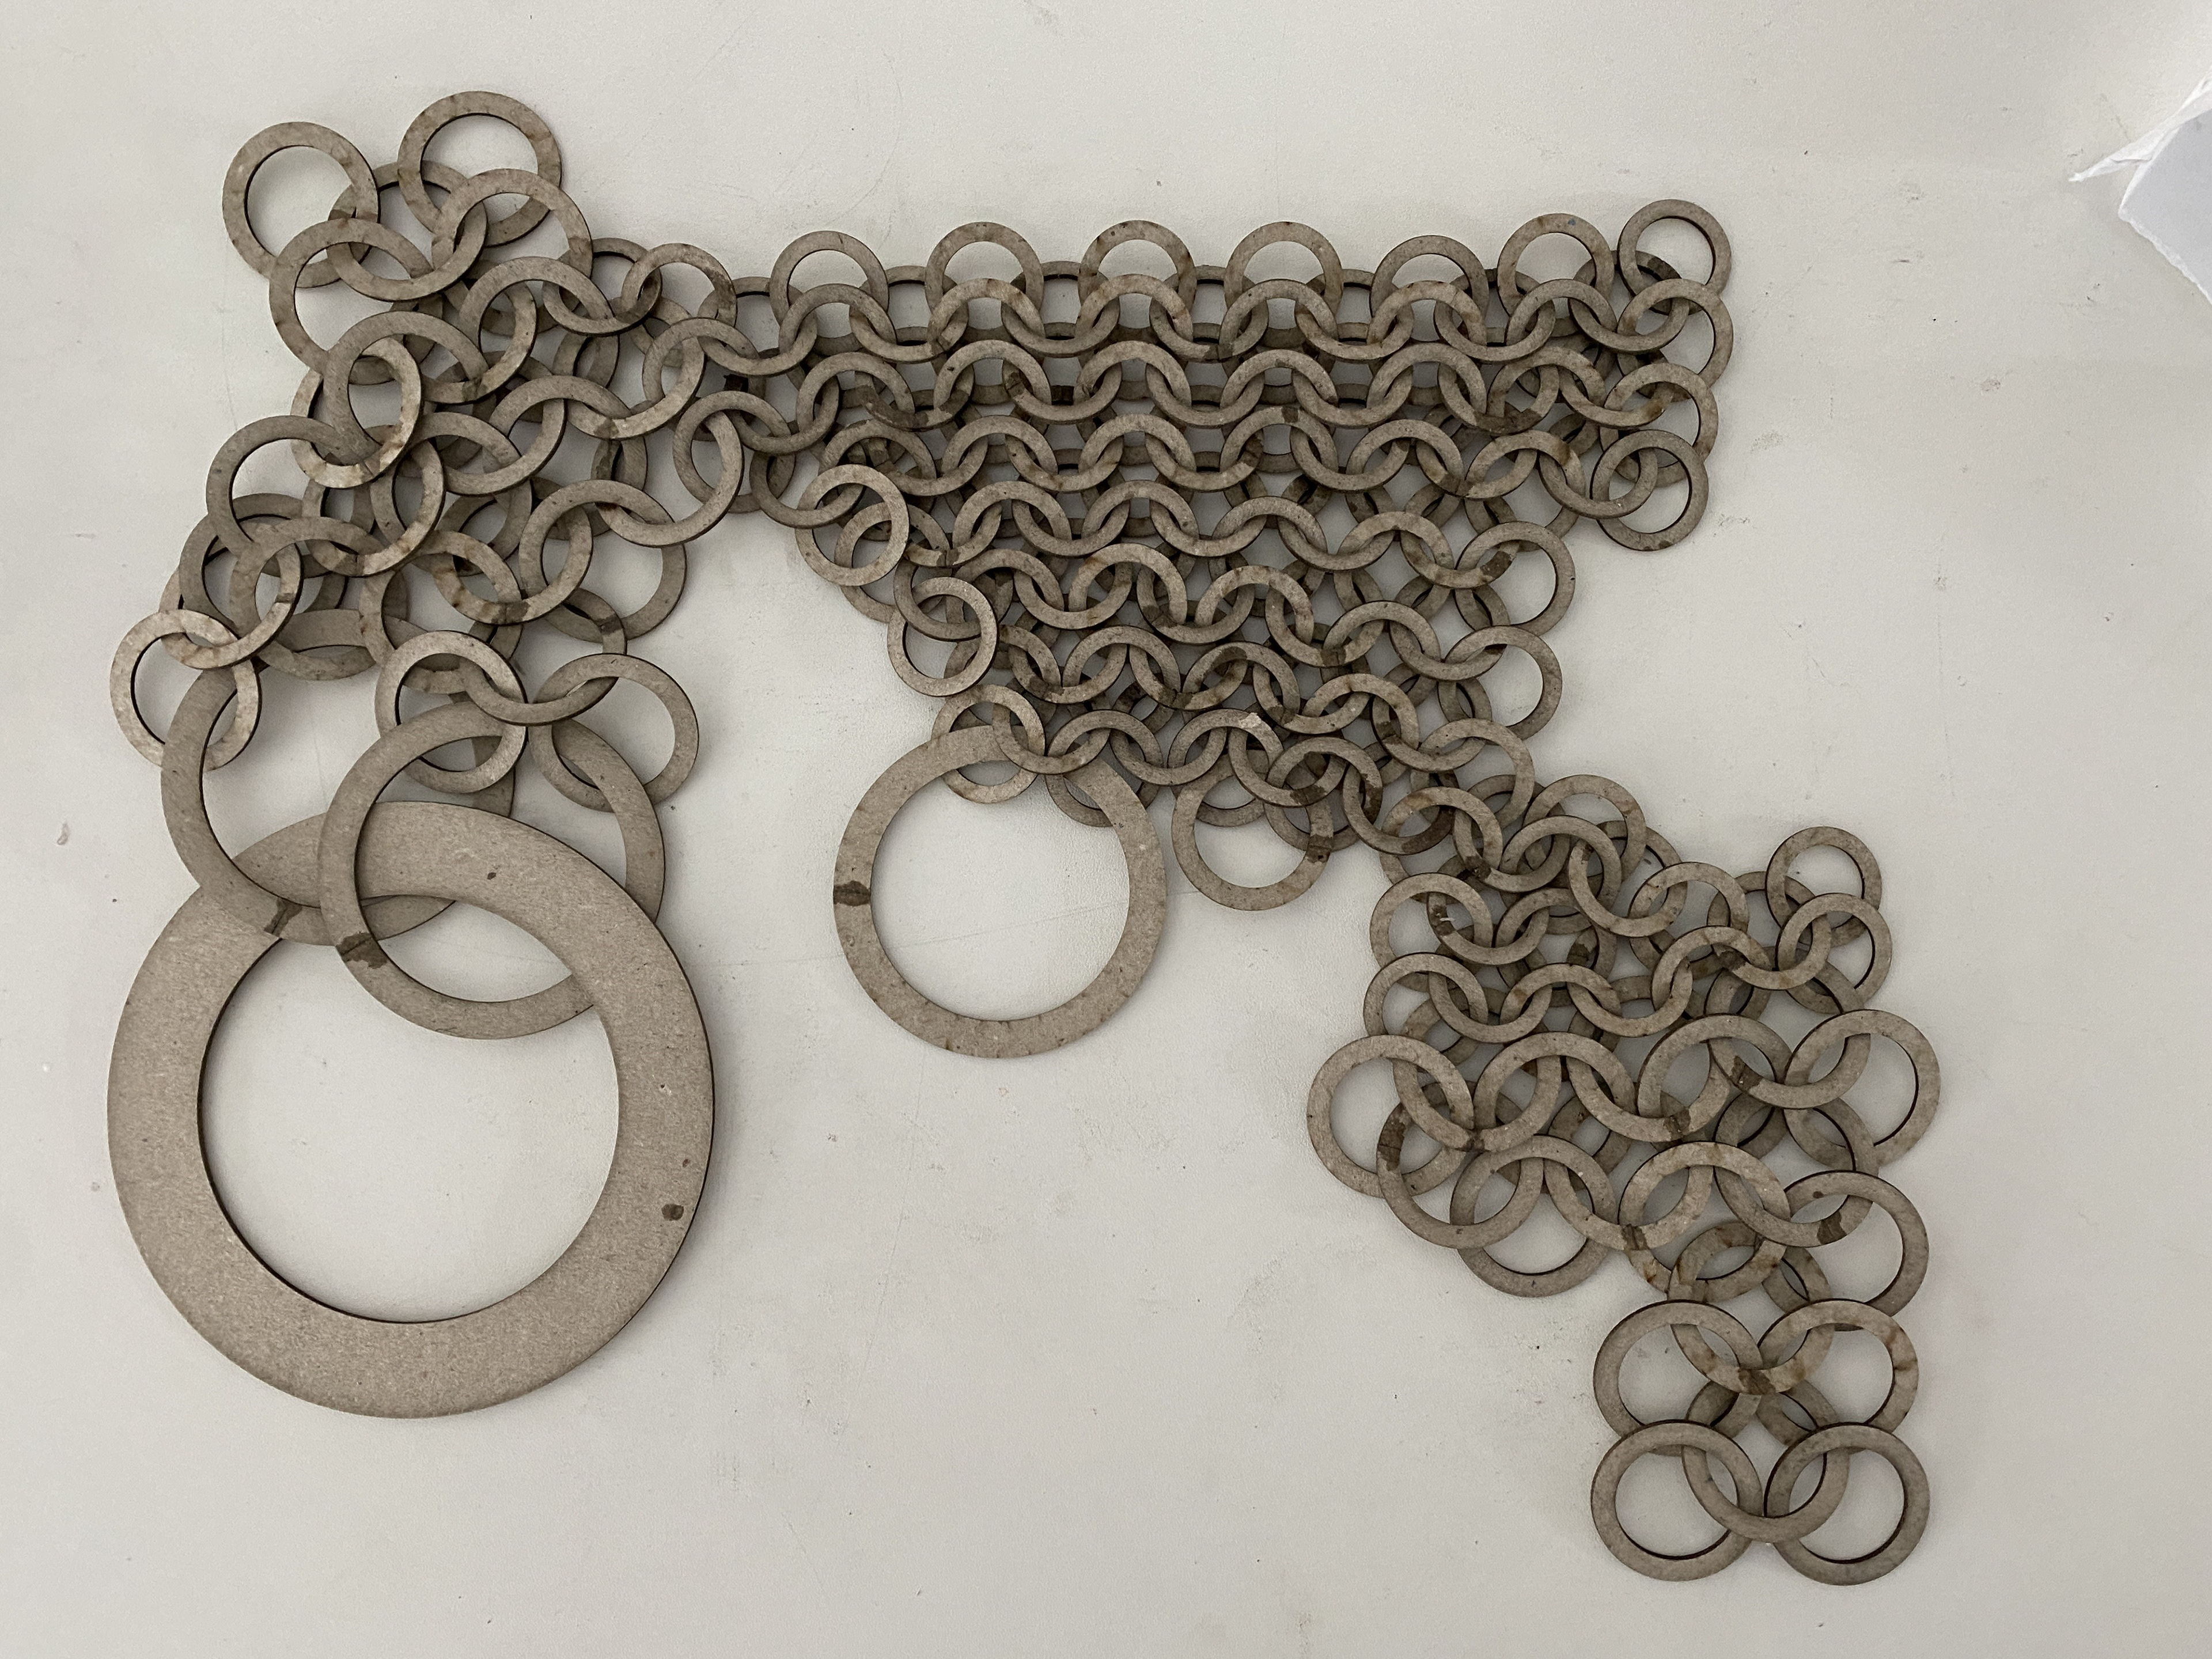
I took my sketches into modelling using the laser cut links as a quick way to develop the patterns and explore the drape of the pieces. I worked by placing the larger links first and built the structure, connecting and naturally spanning across the body. I left spaces for the plate and plate mail section.
I think that these designs are successful but there is still work to be done to figure out how they will be connected and held onto the body. Additionally, the plate section needs to be designed and experimented with. The connection between mail and plate is another area that I need to explore so that there is consideration over the natural versus harsh transition between the type of armour.
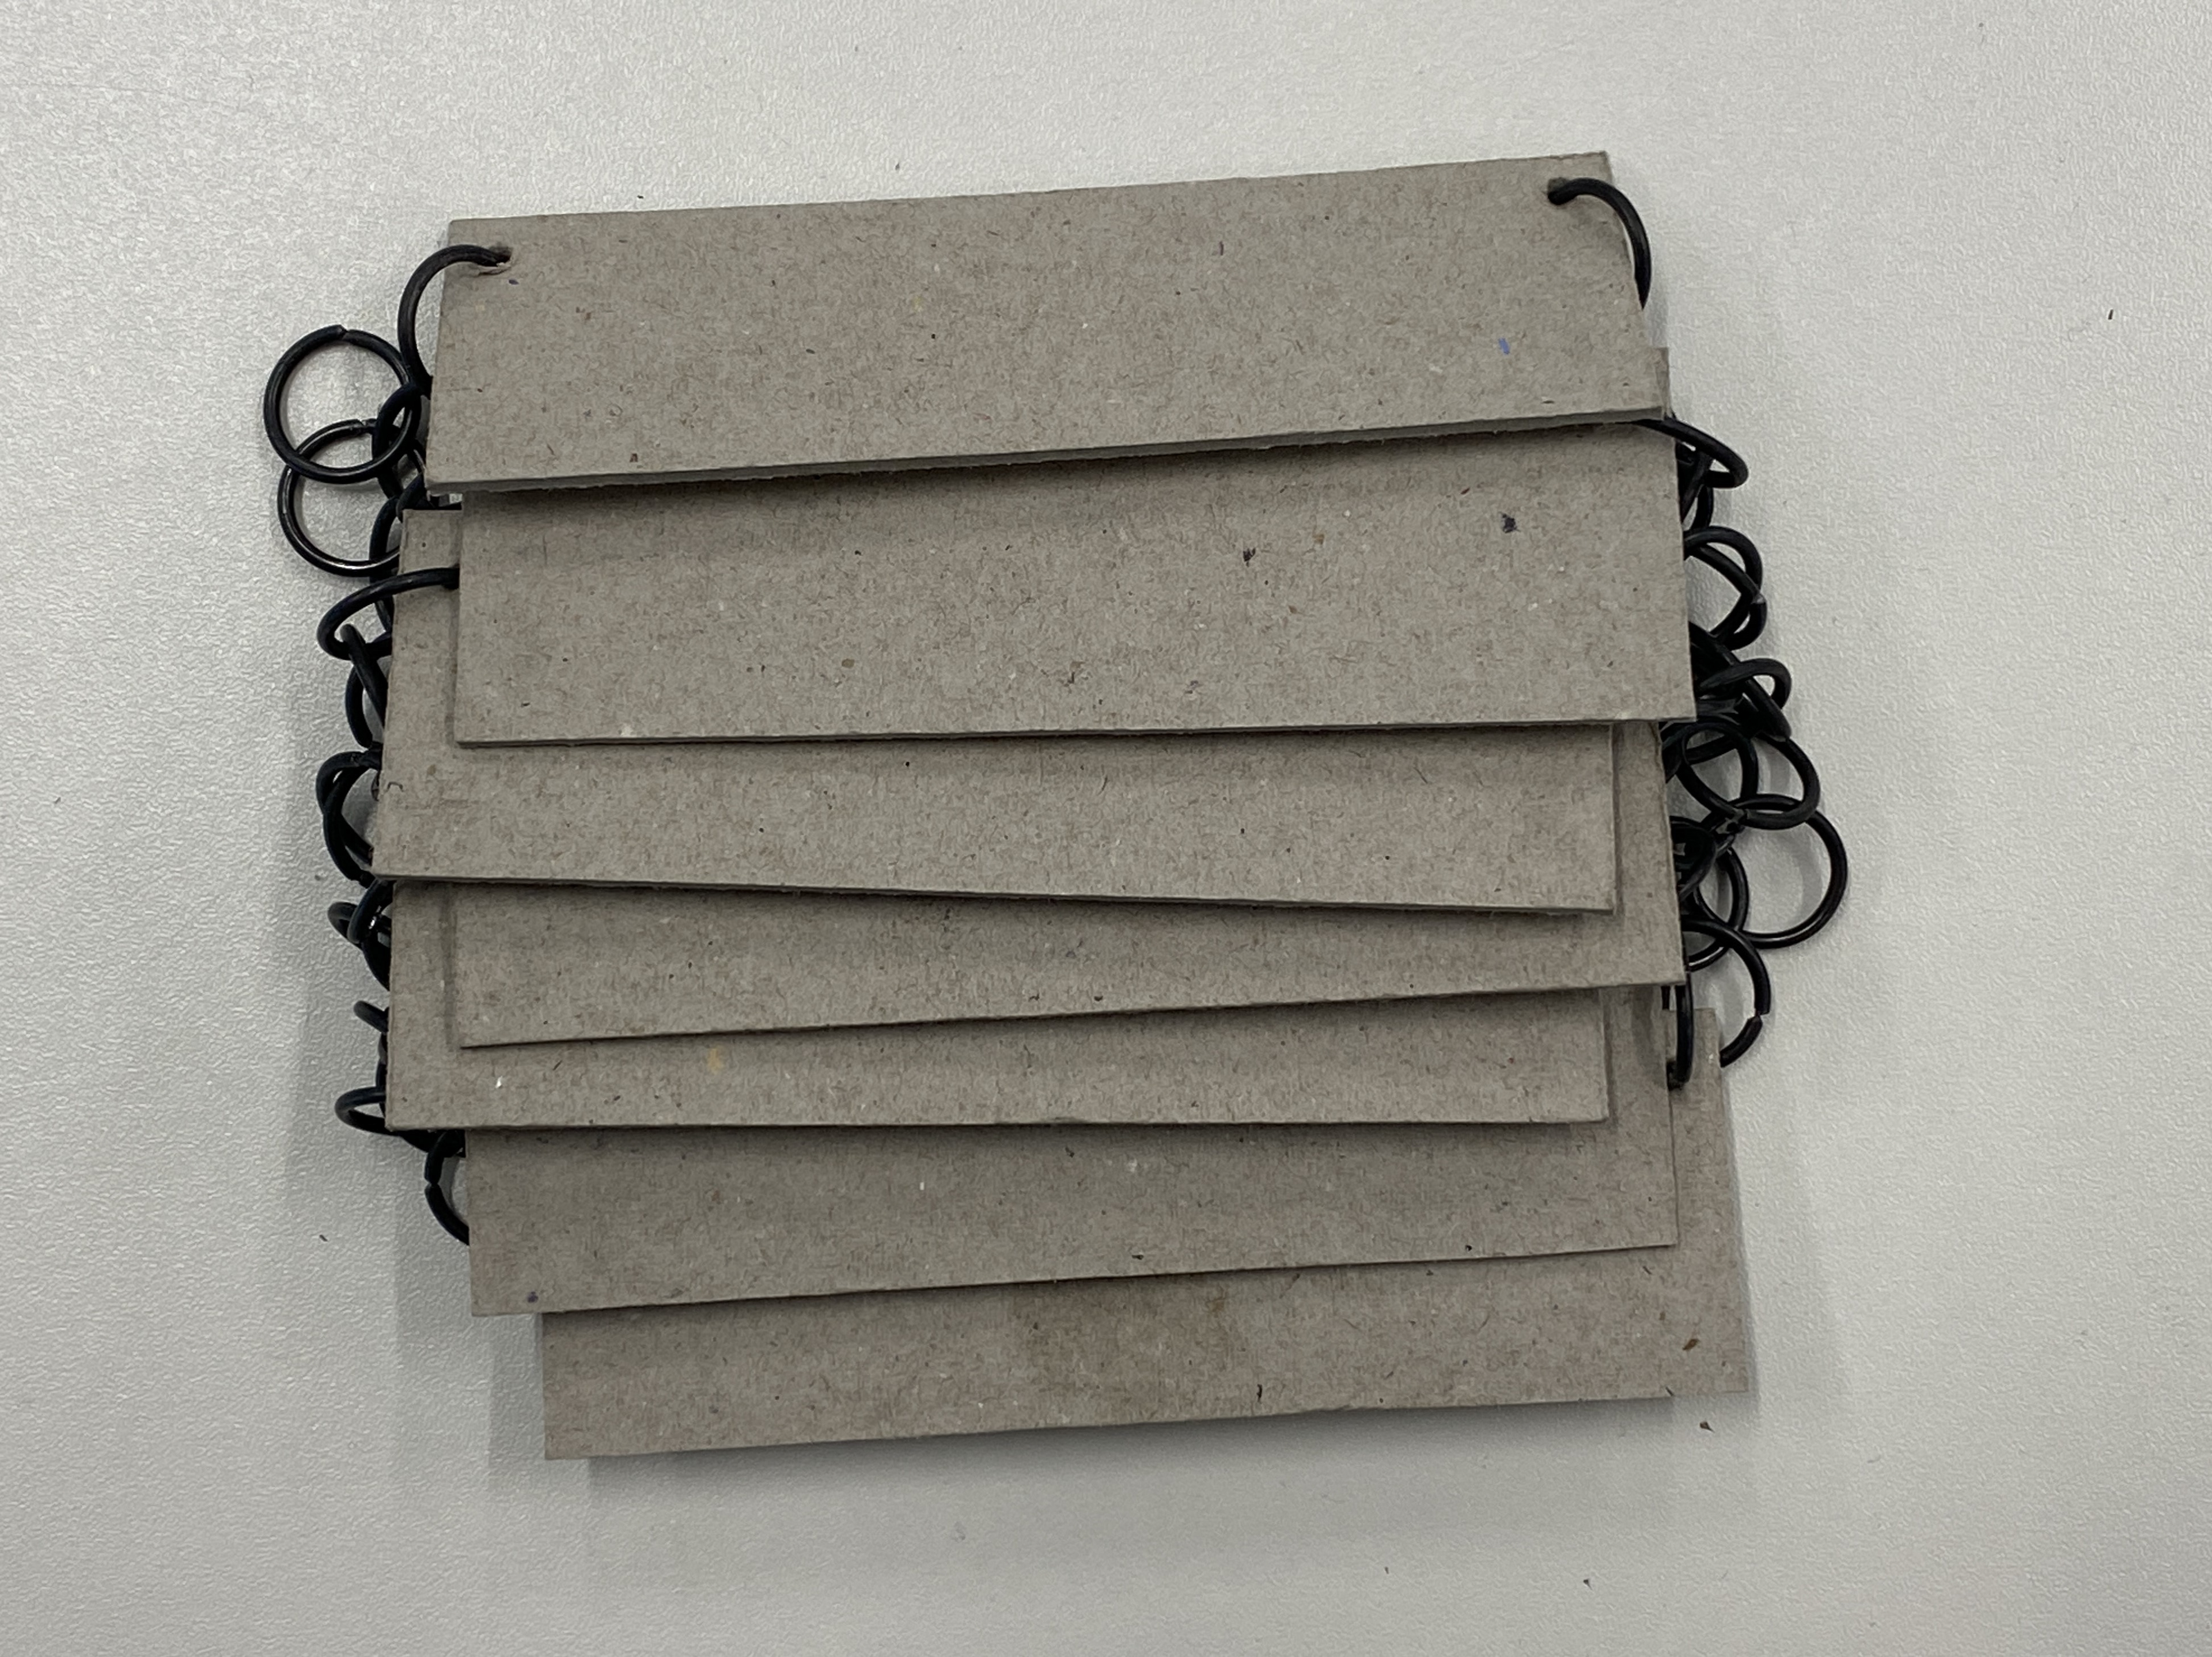
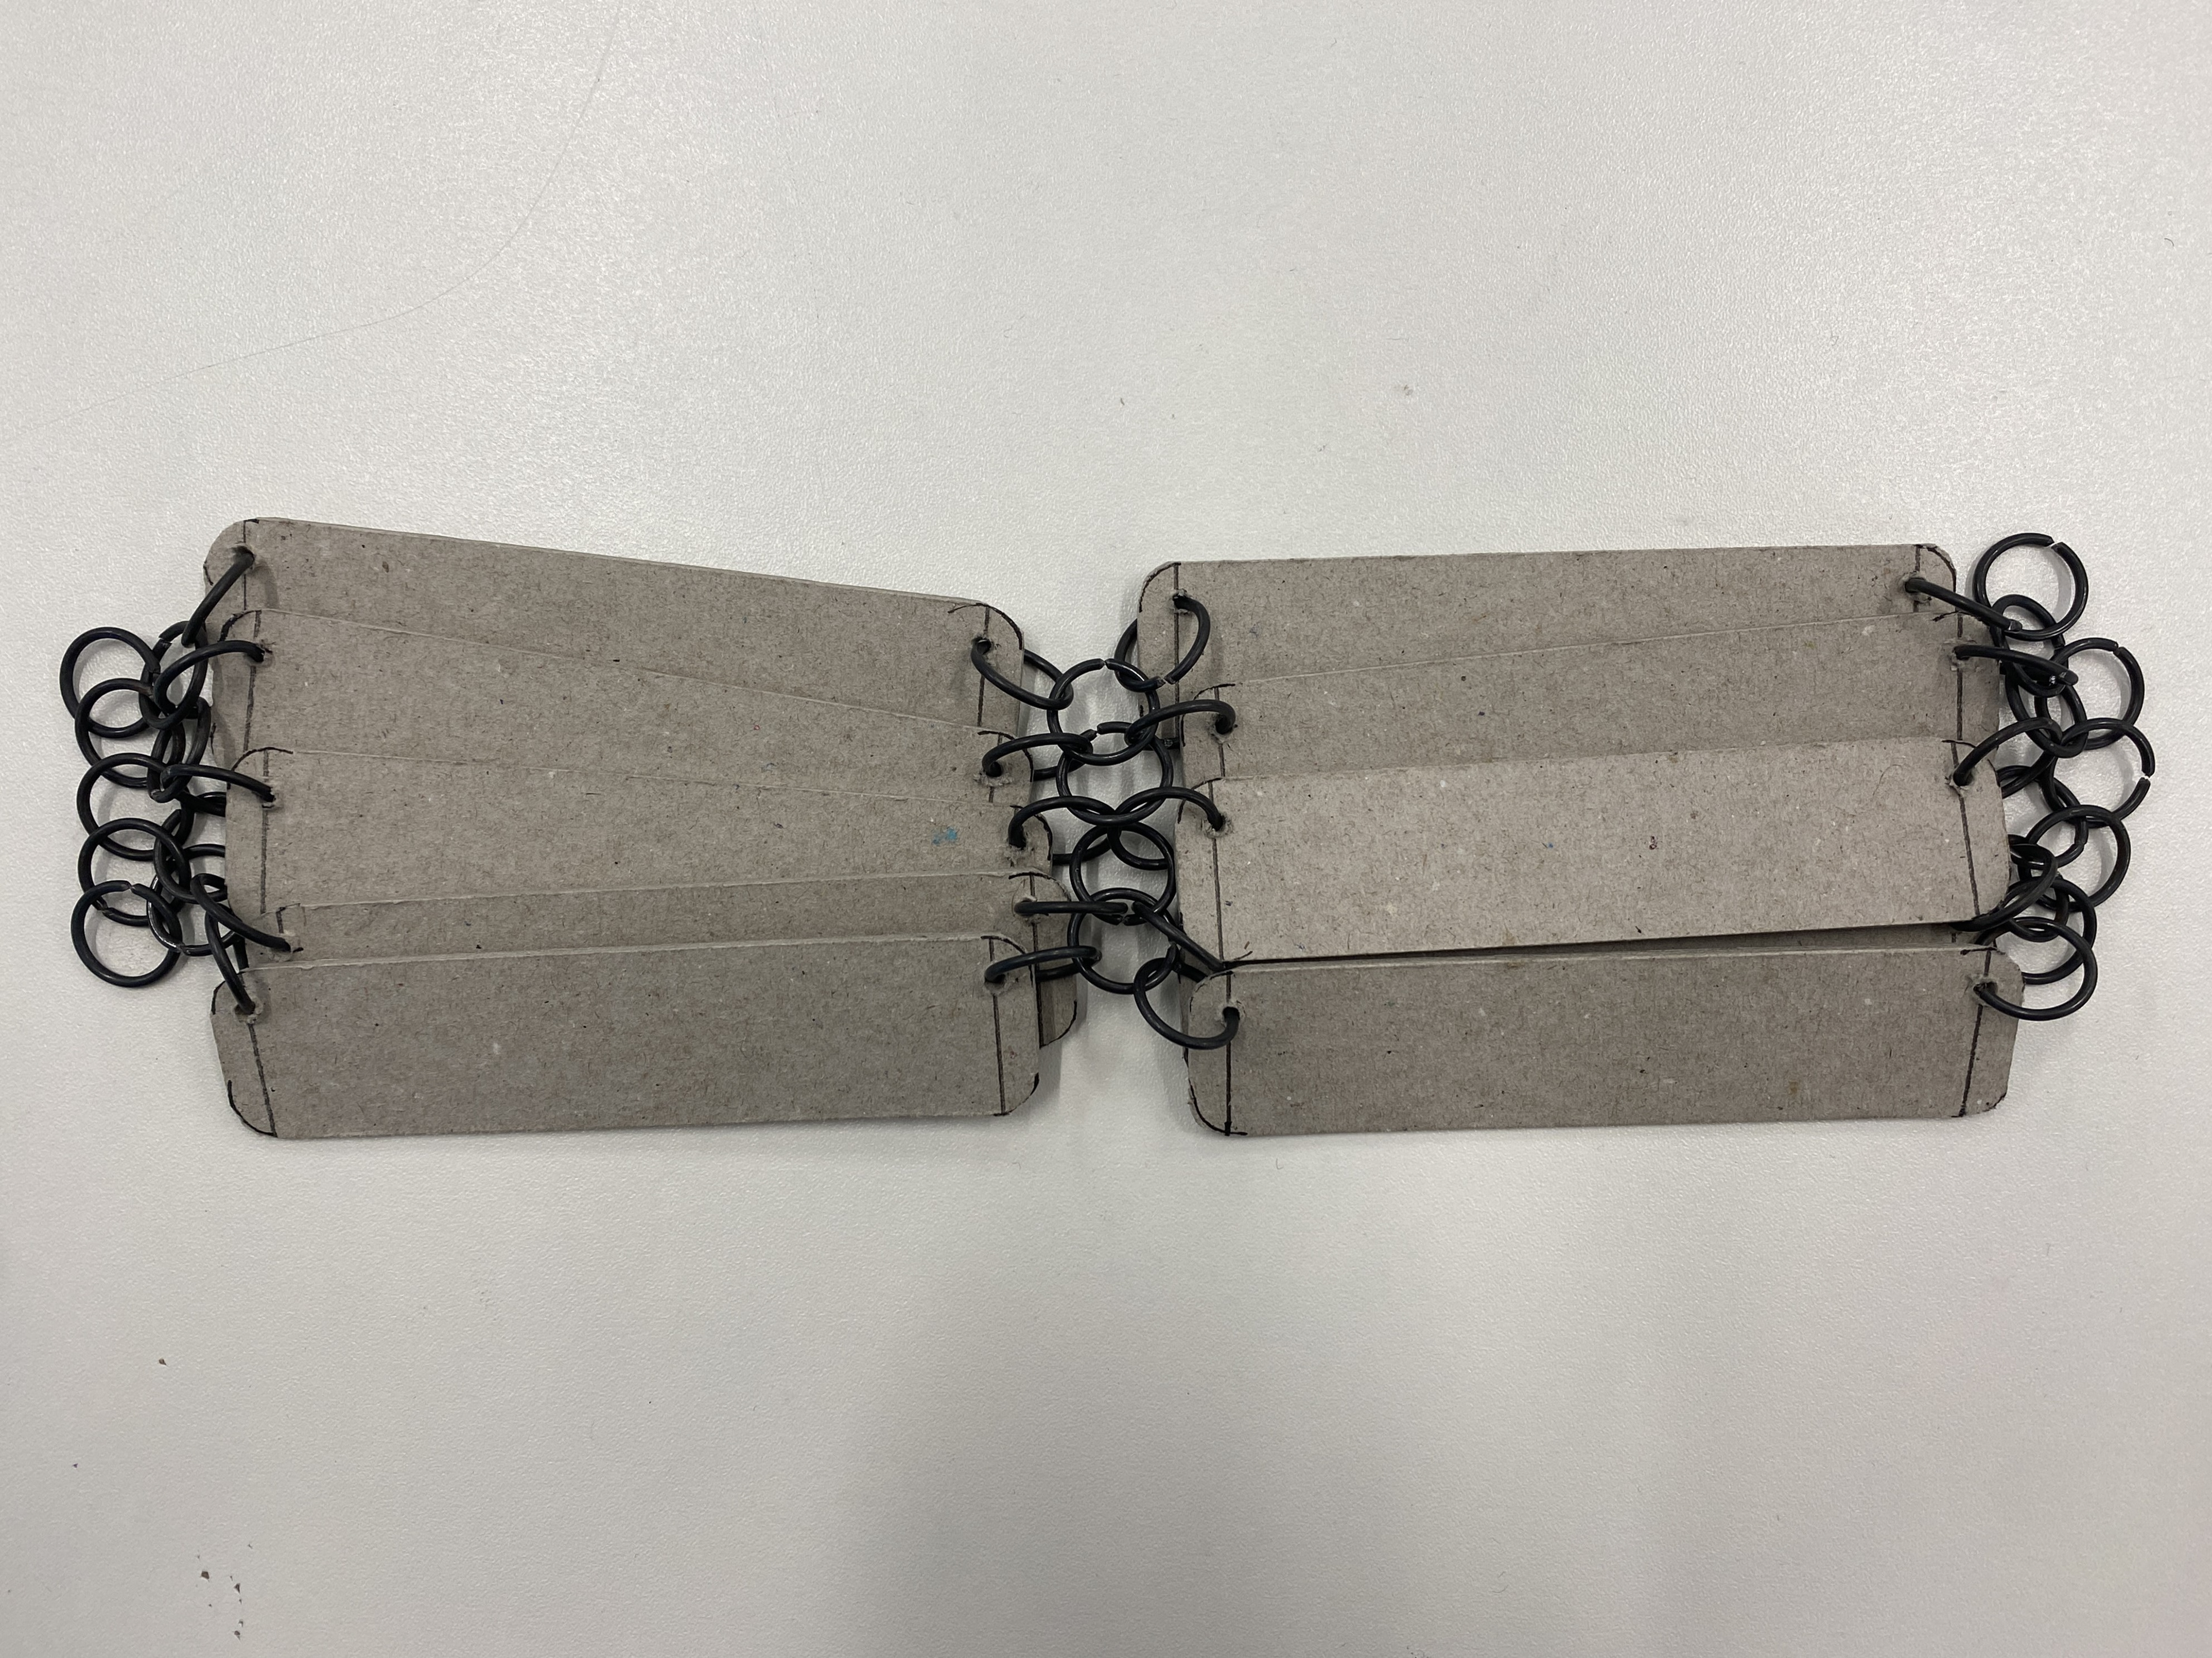
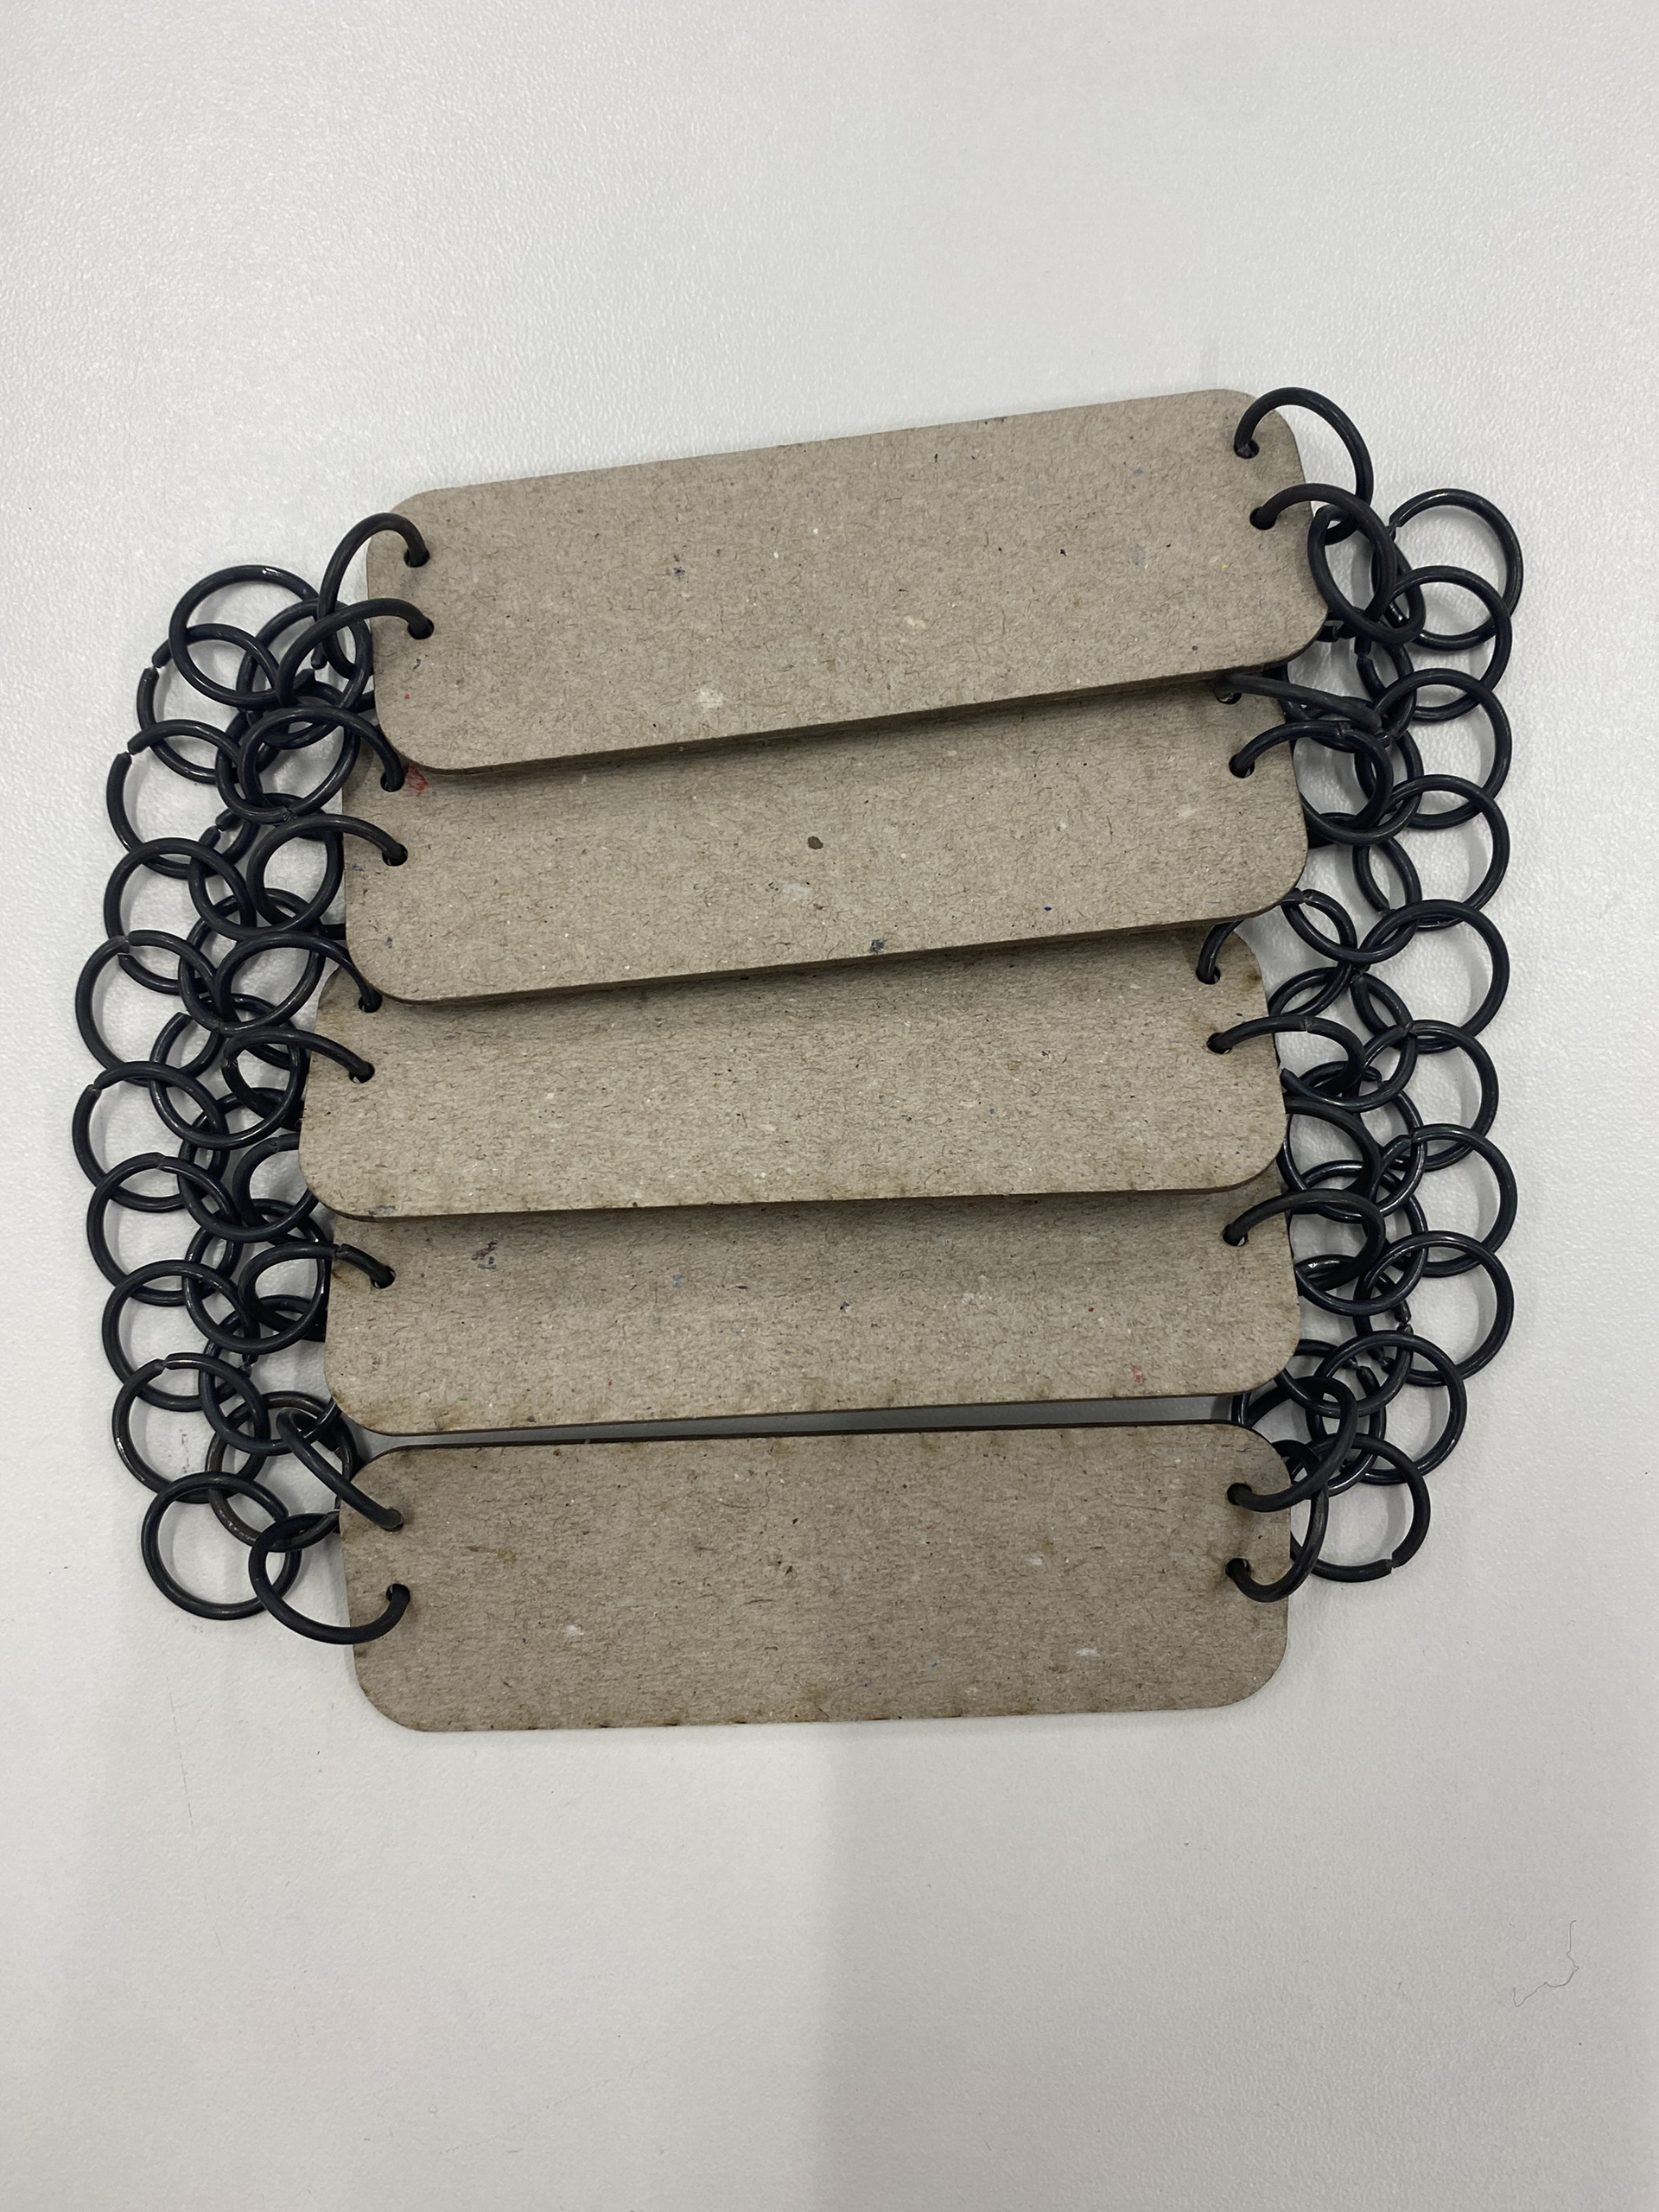
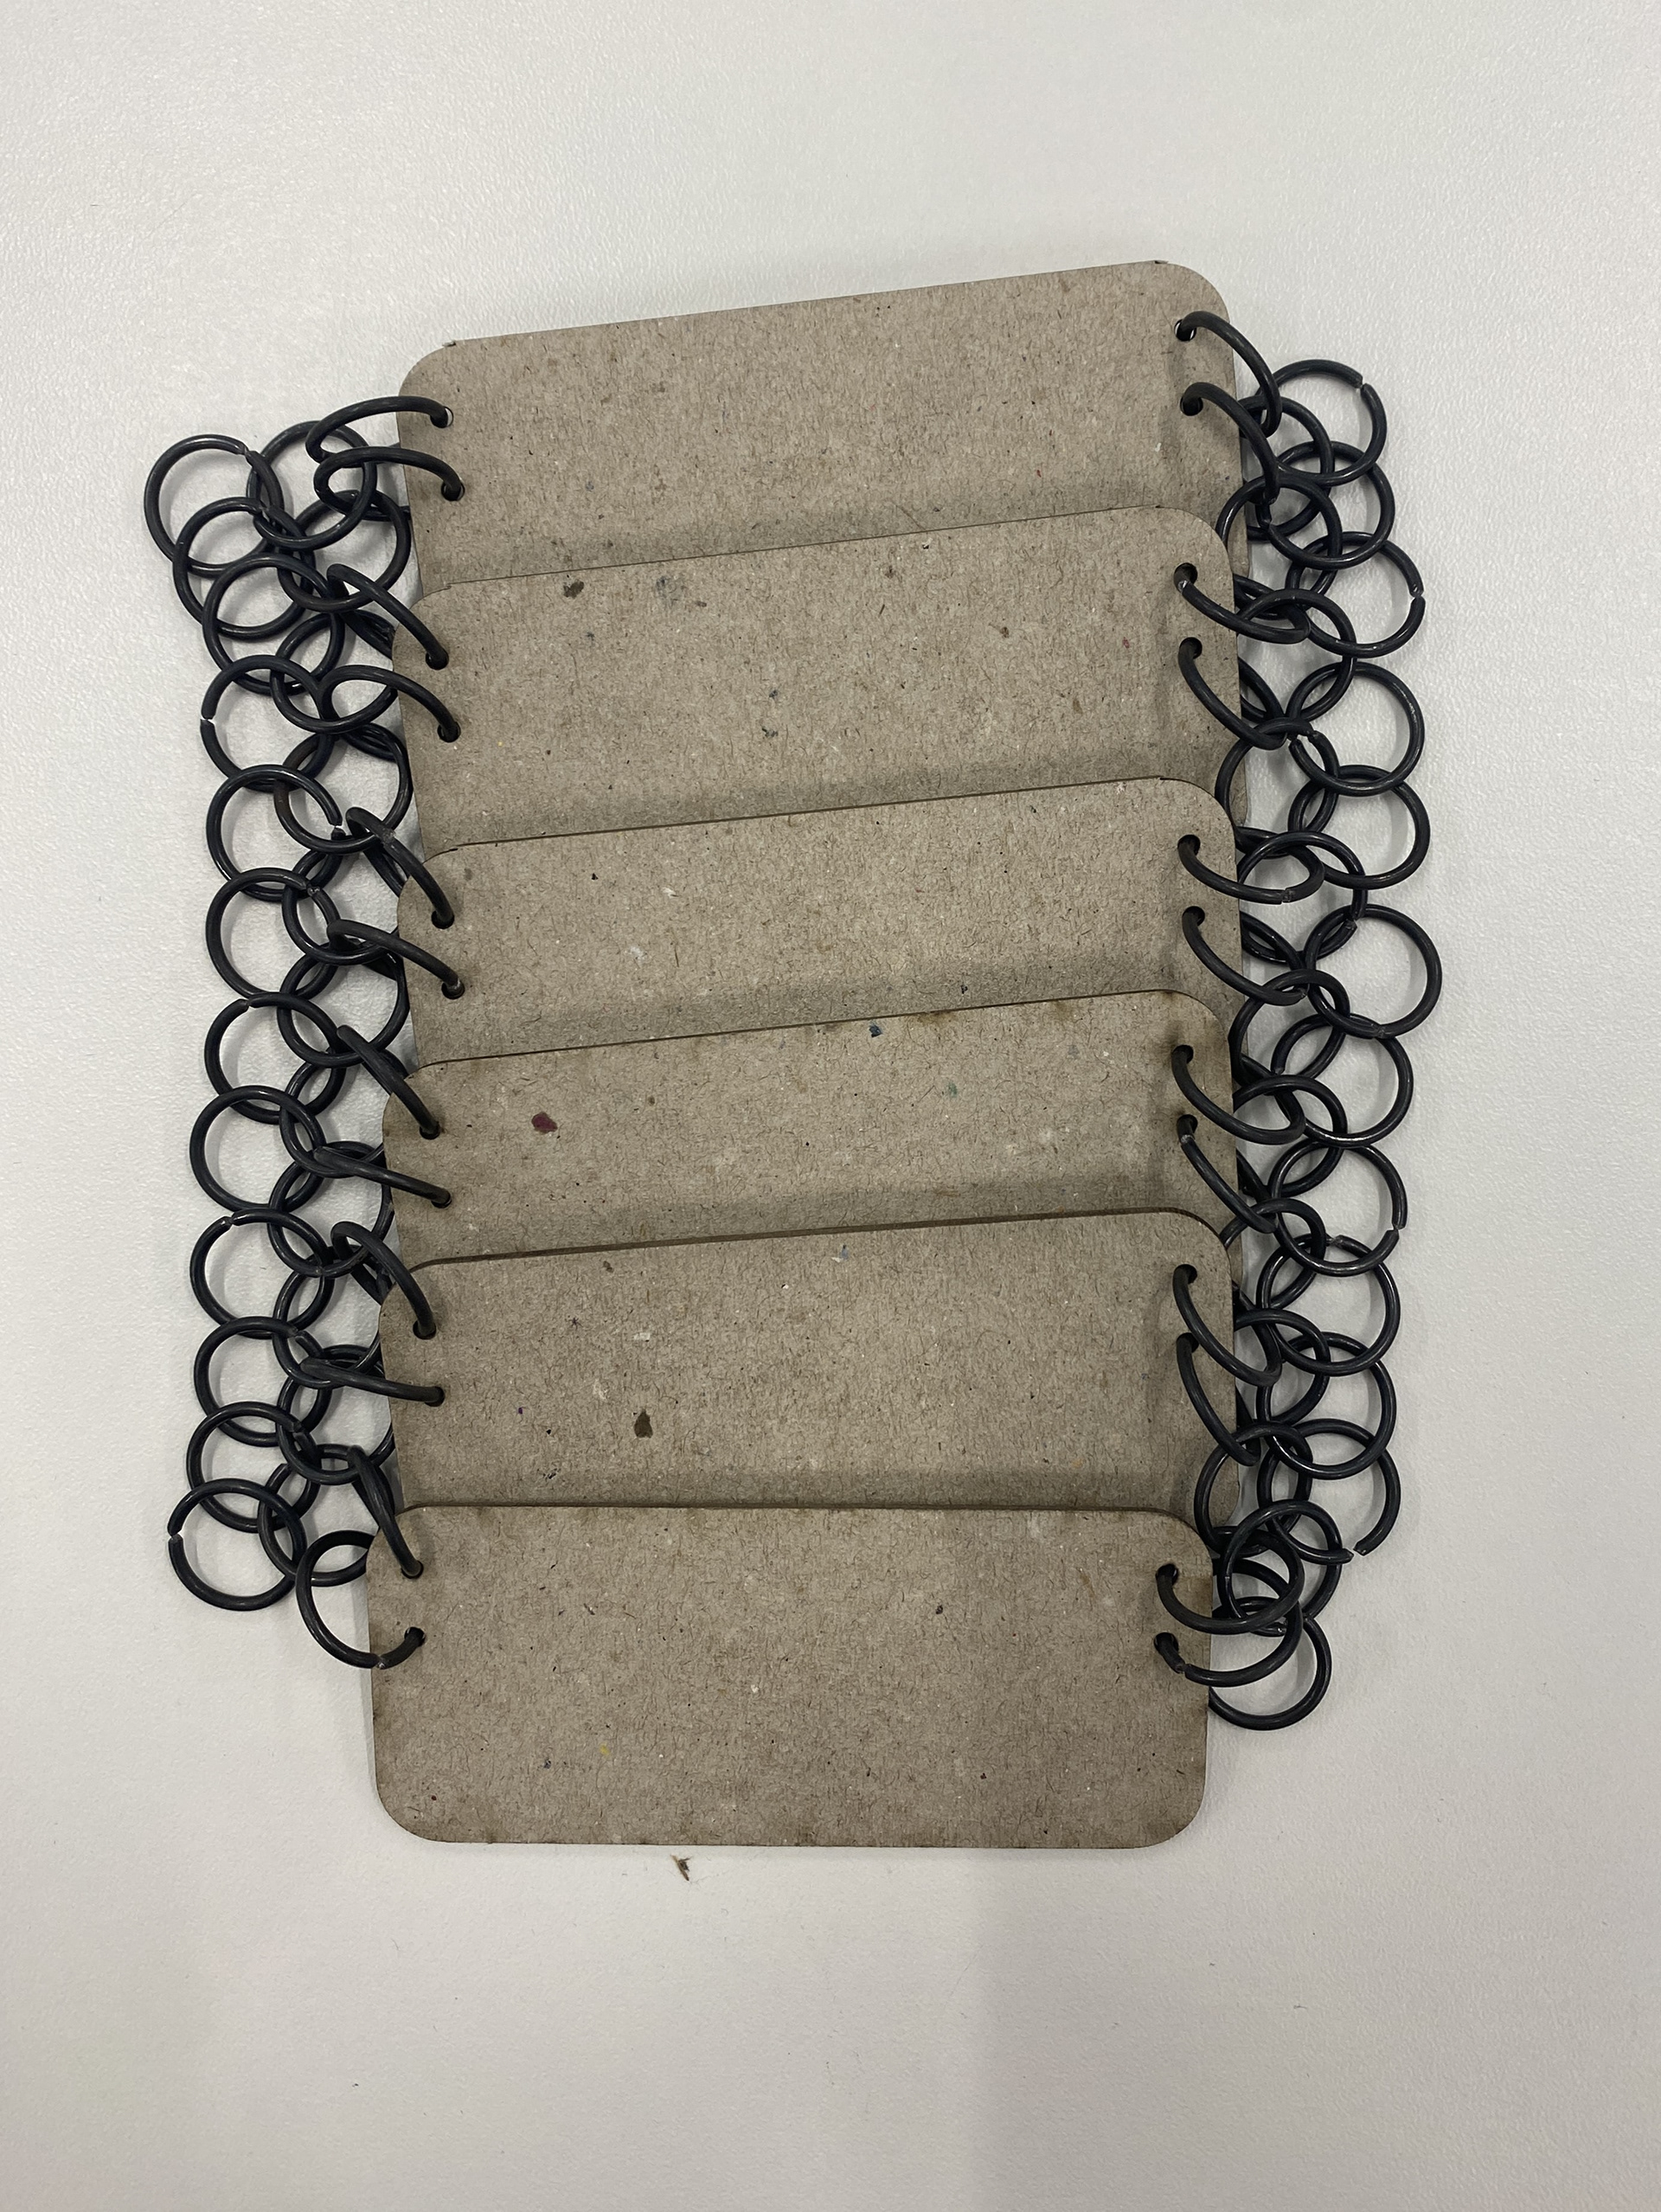
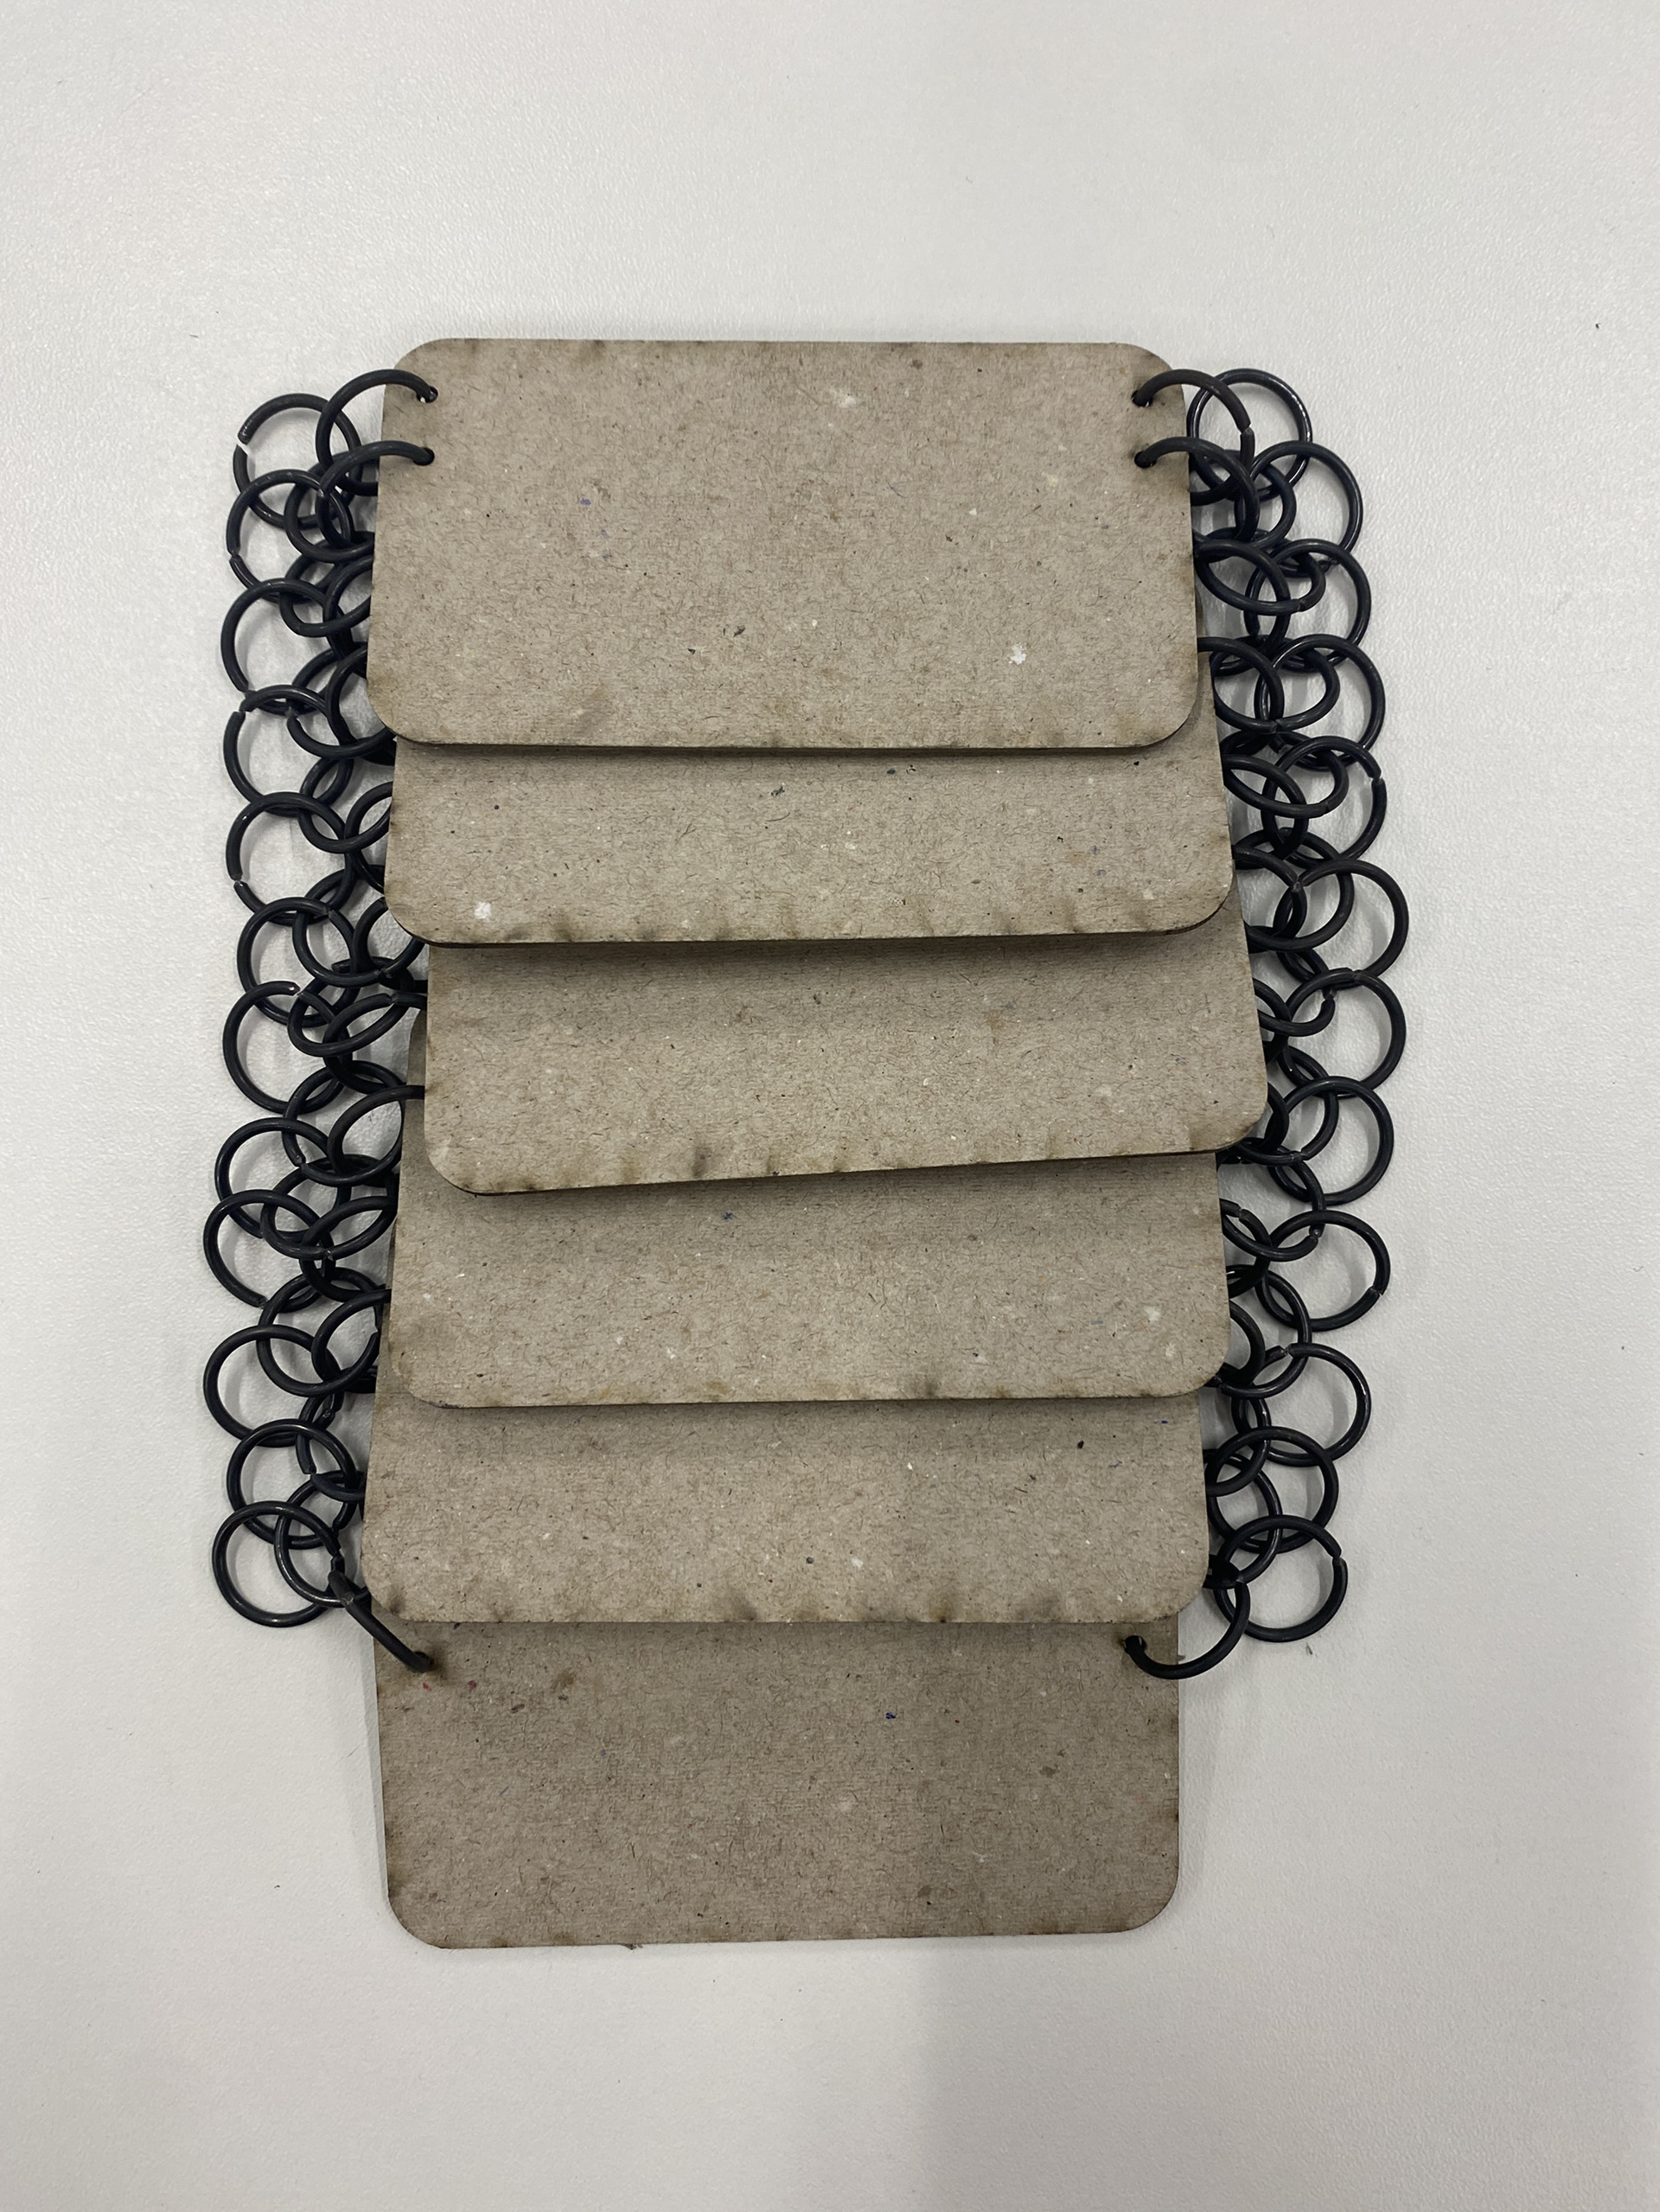
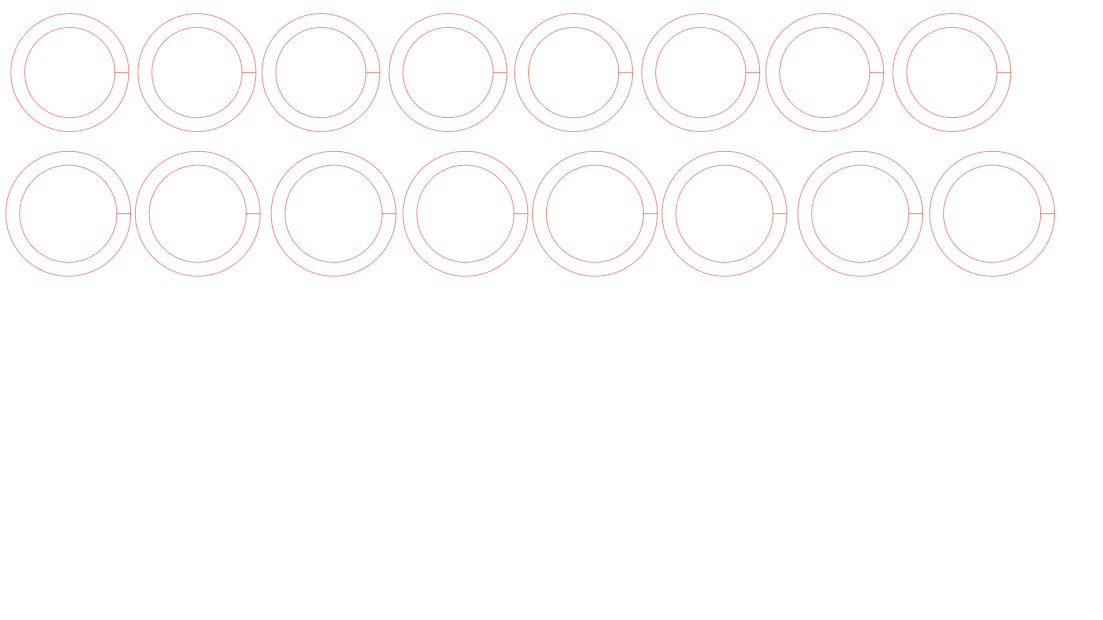
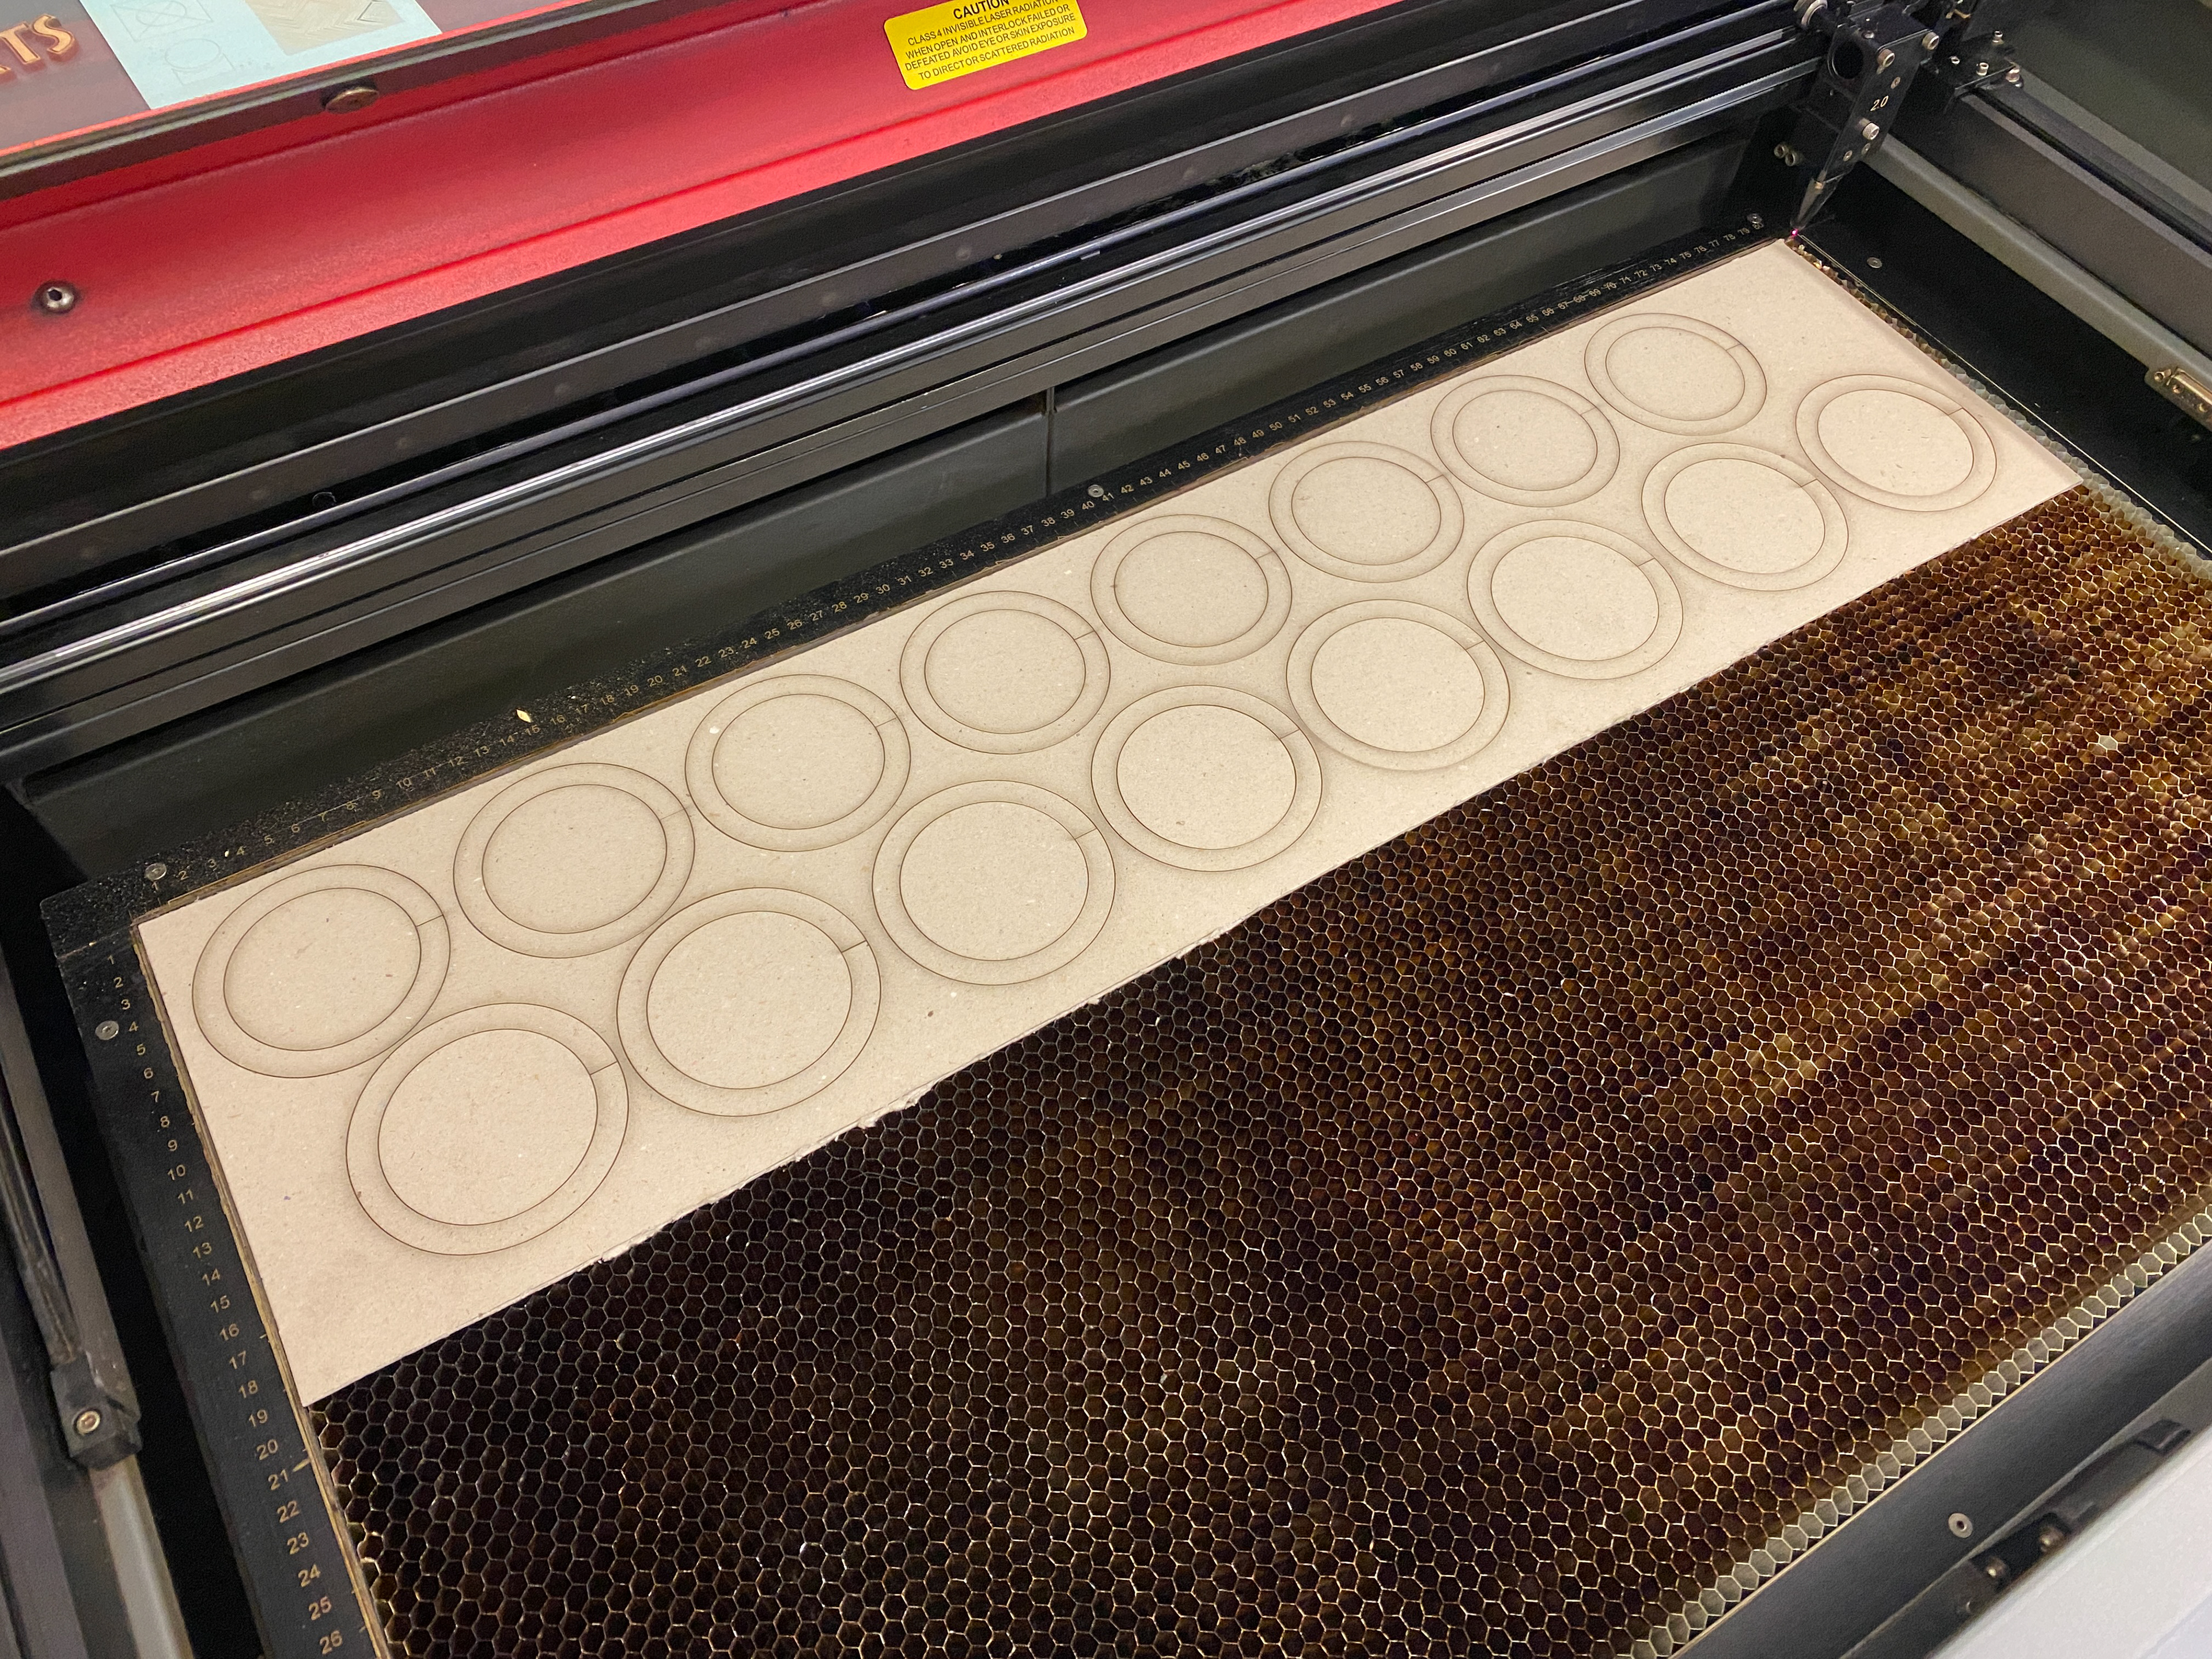
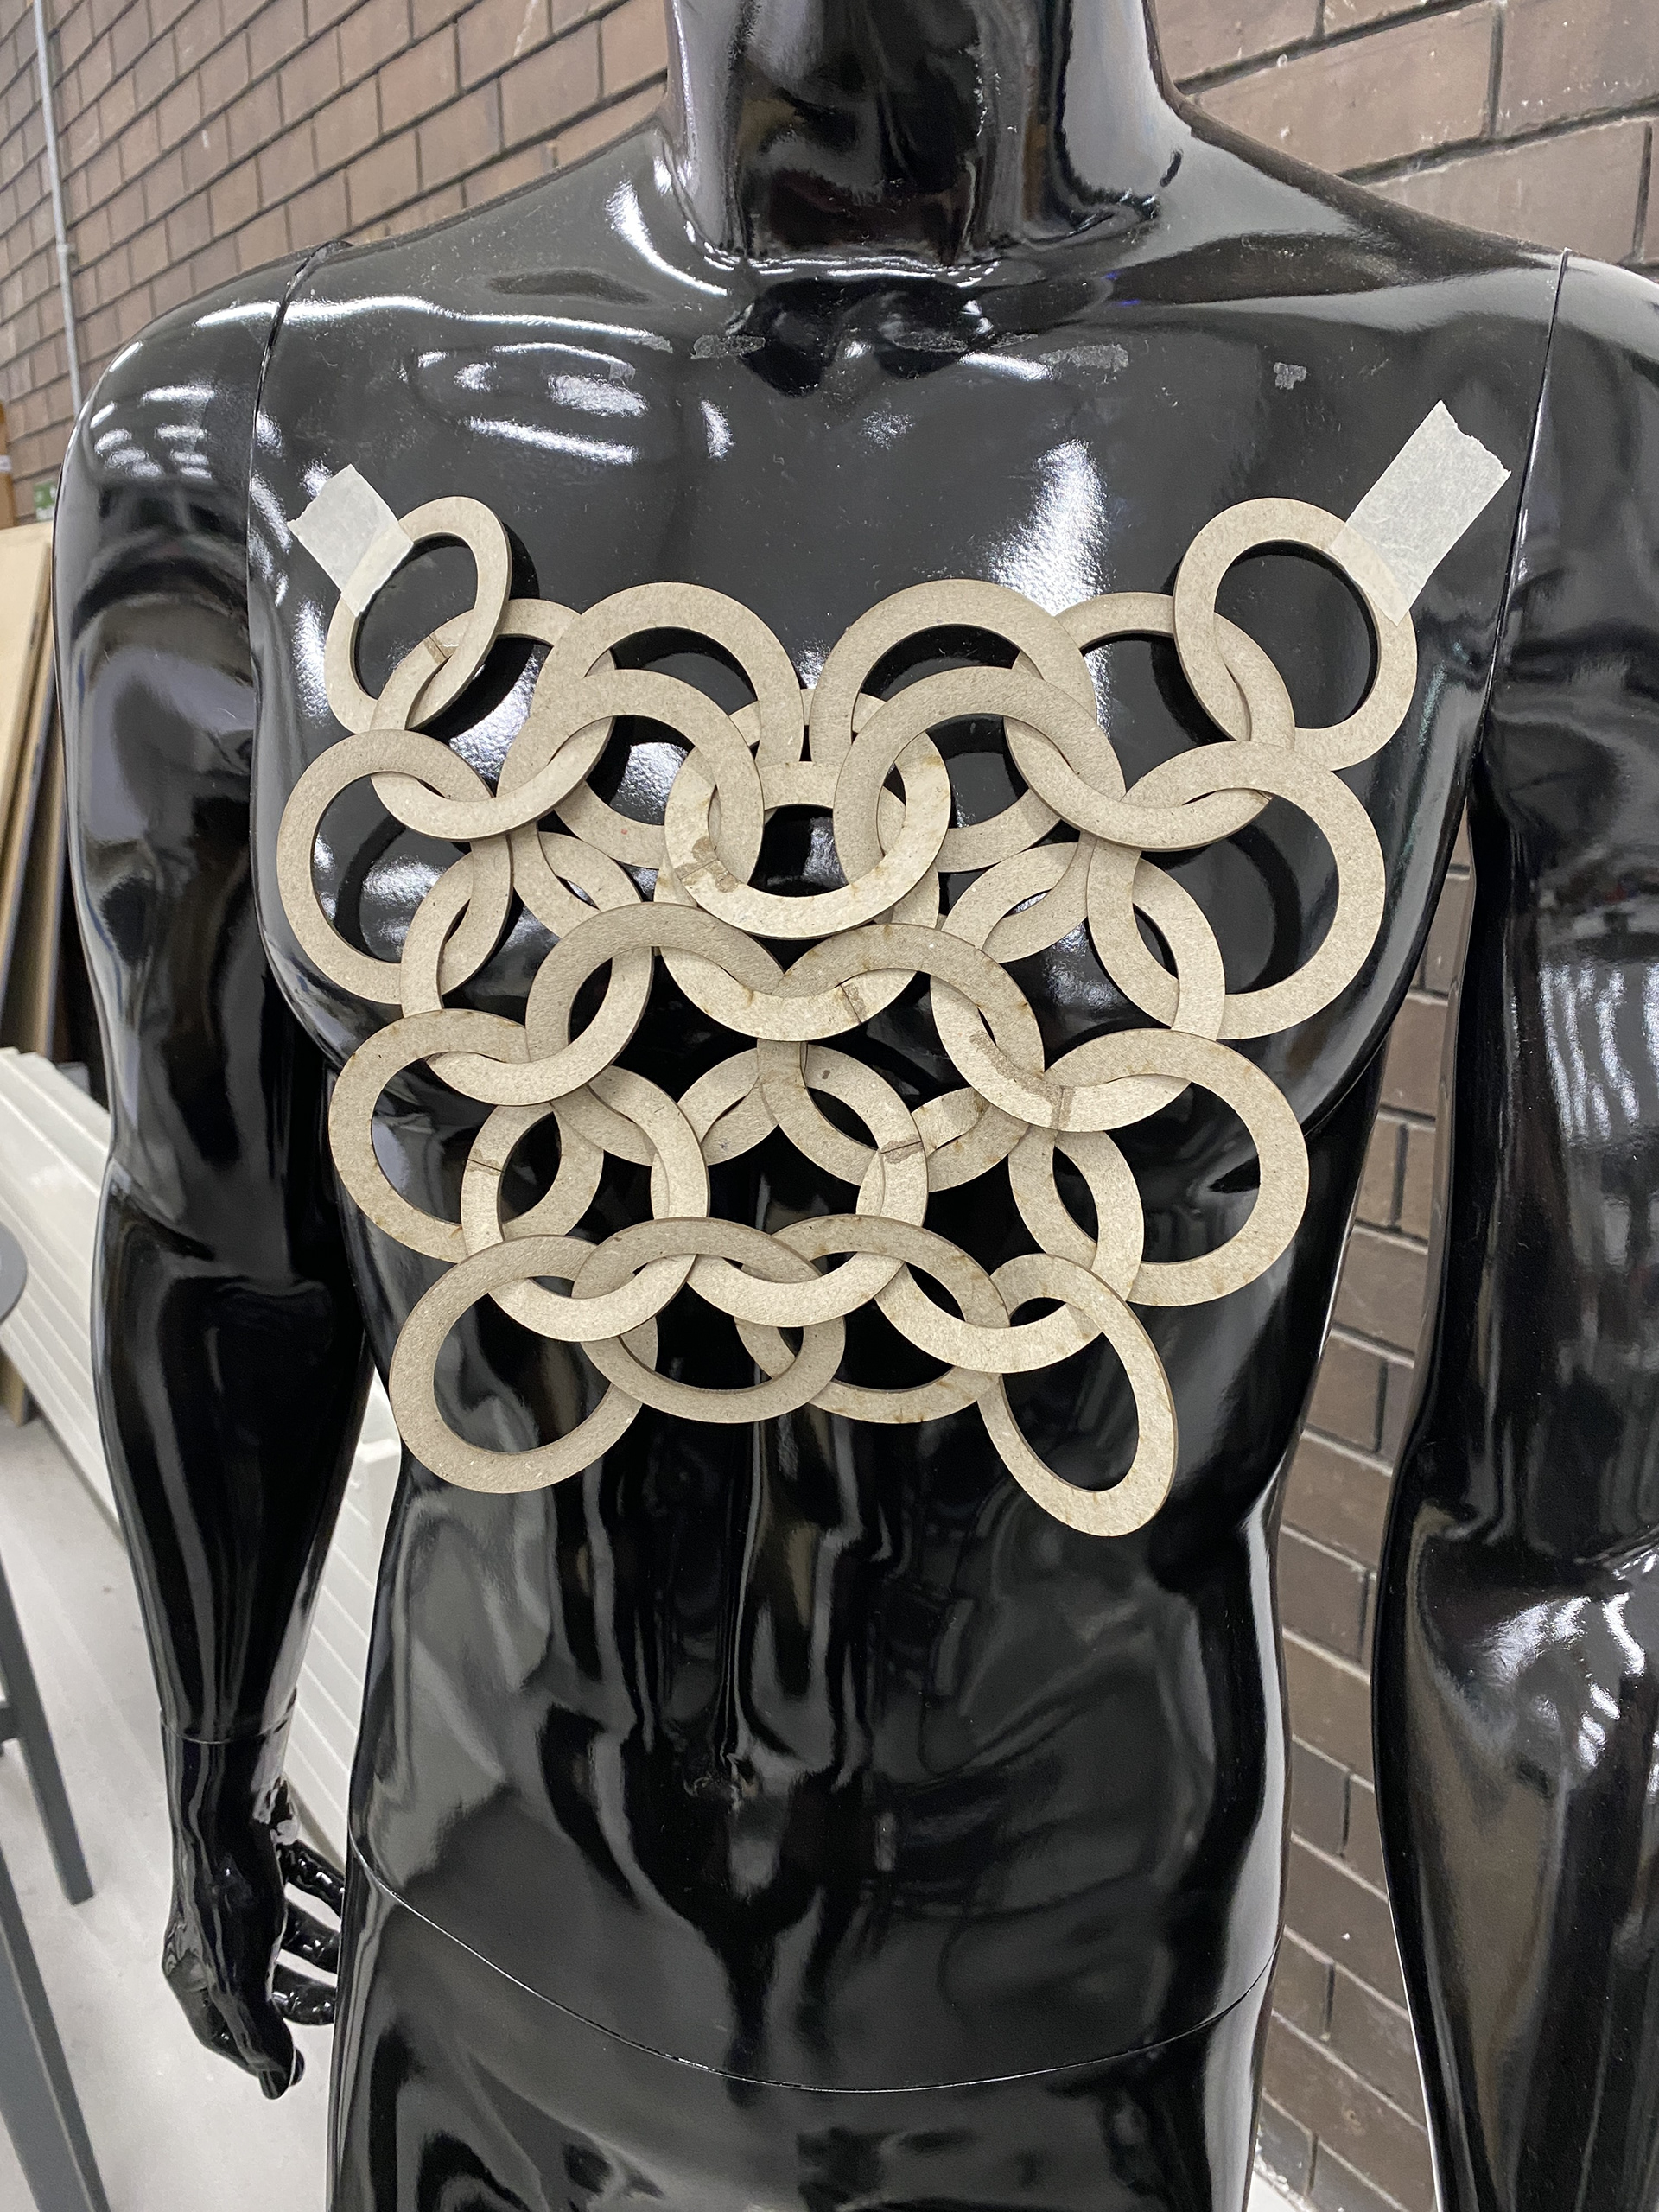
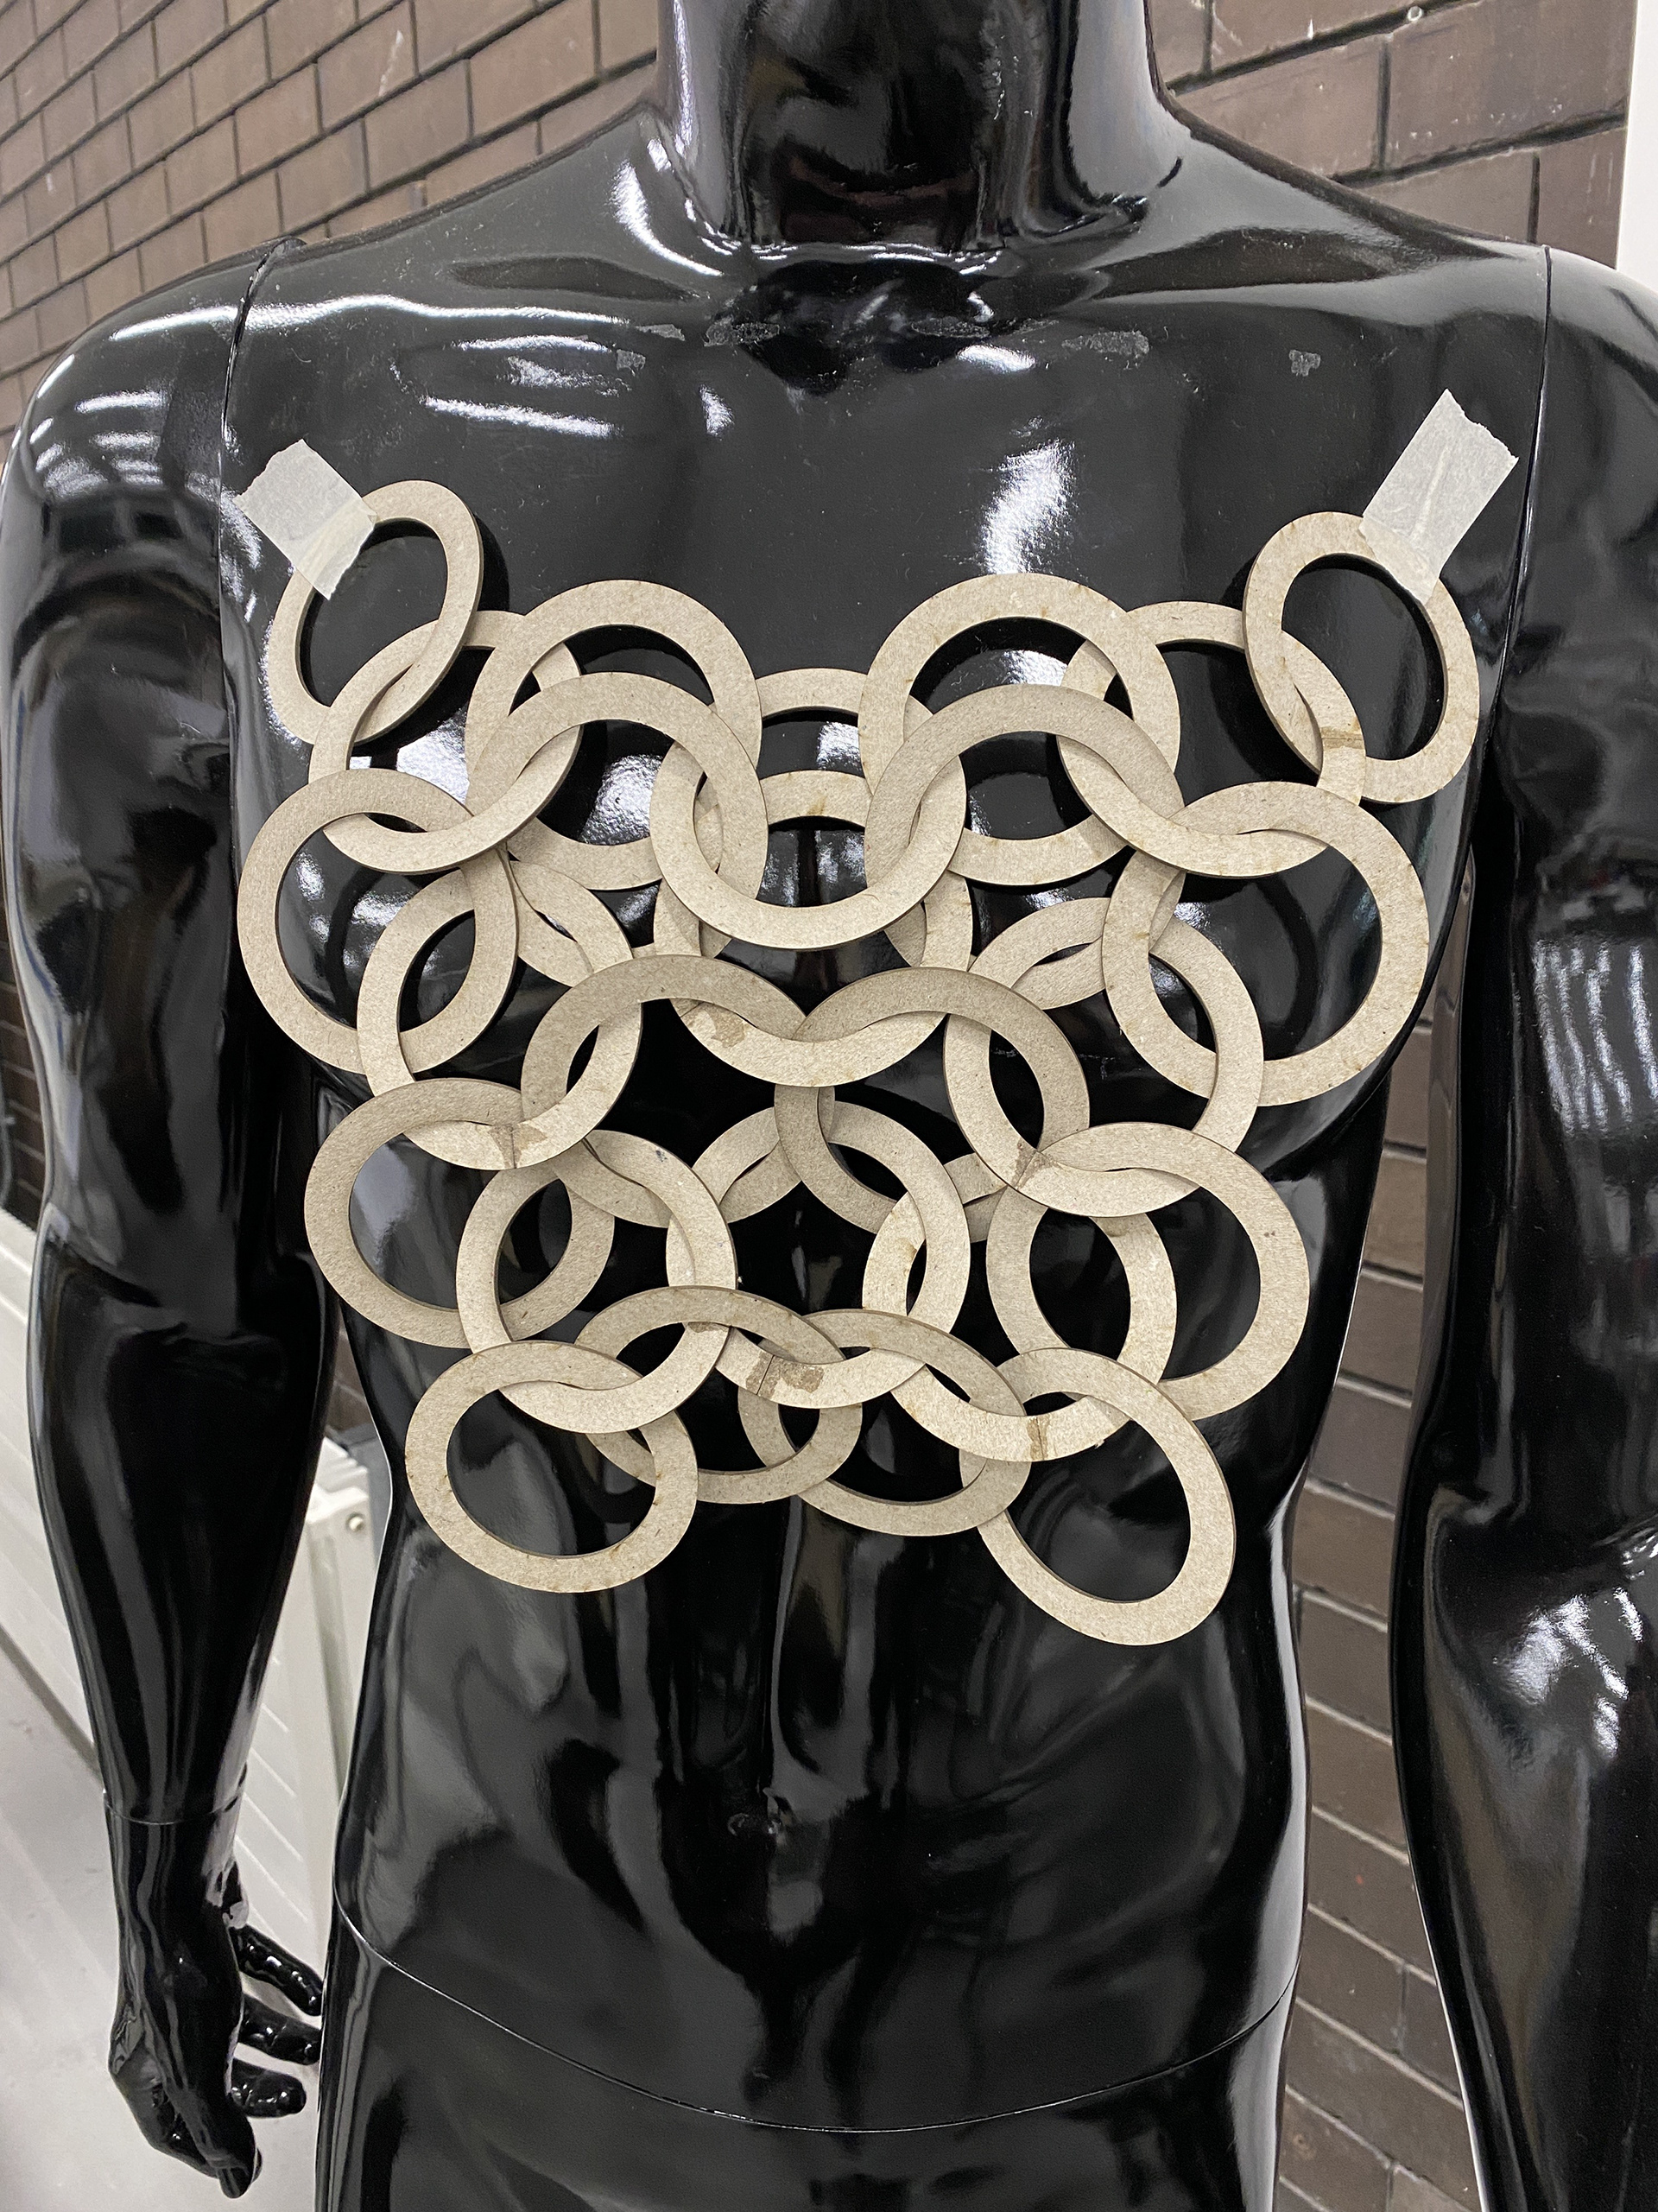
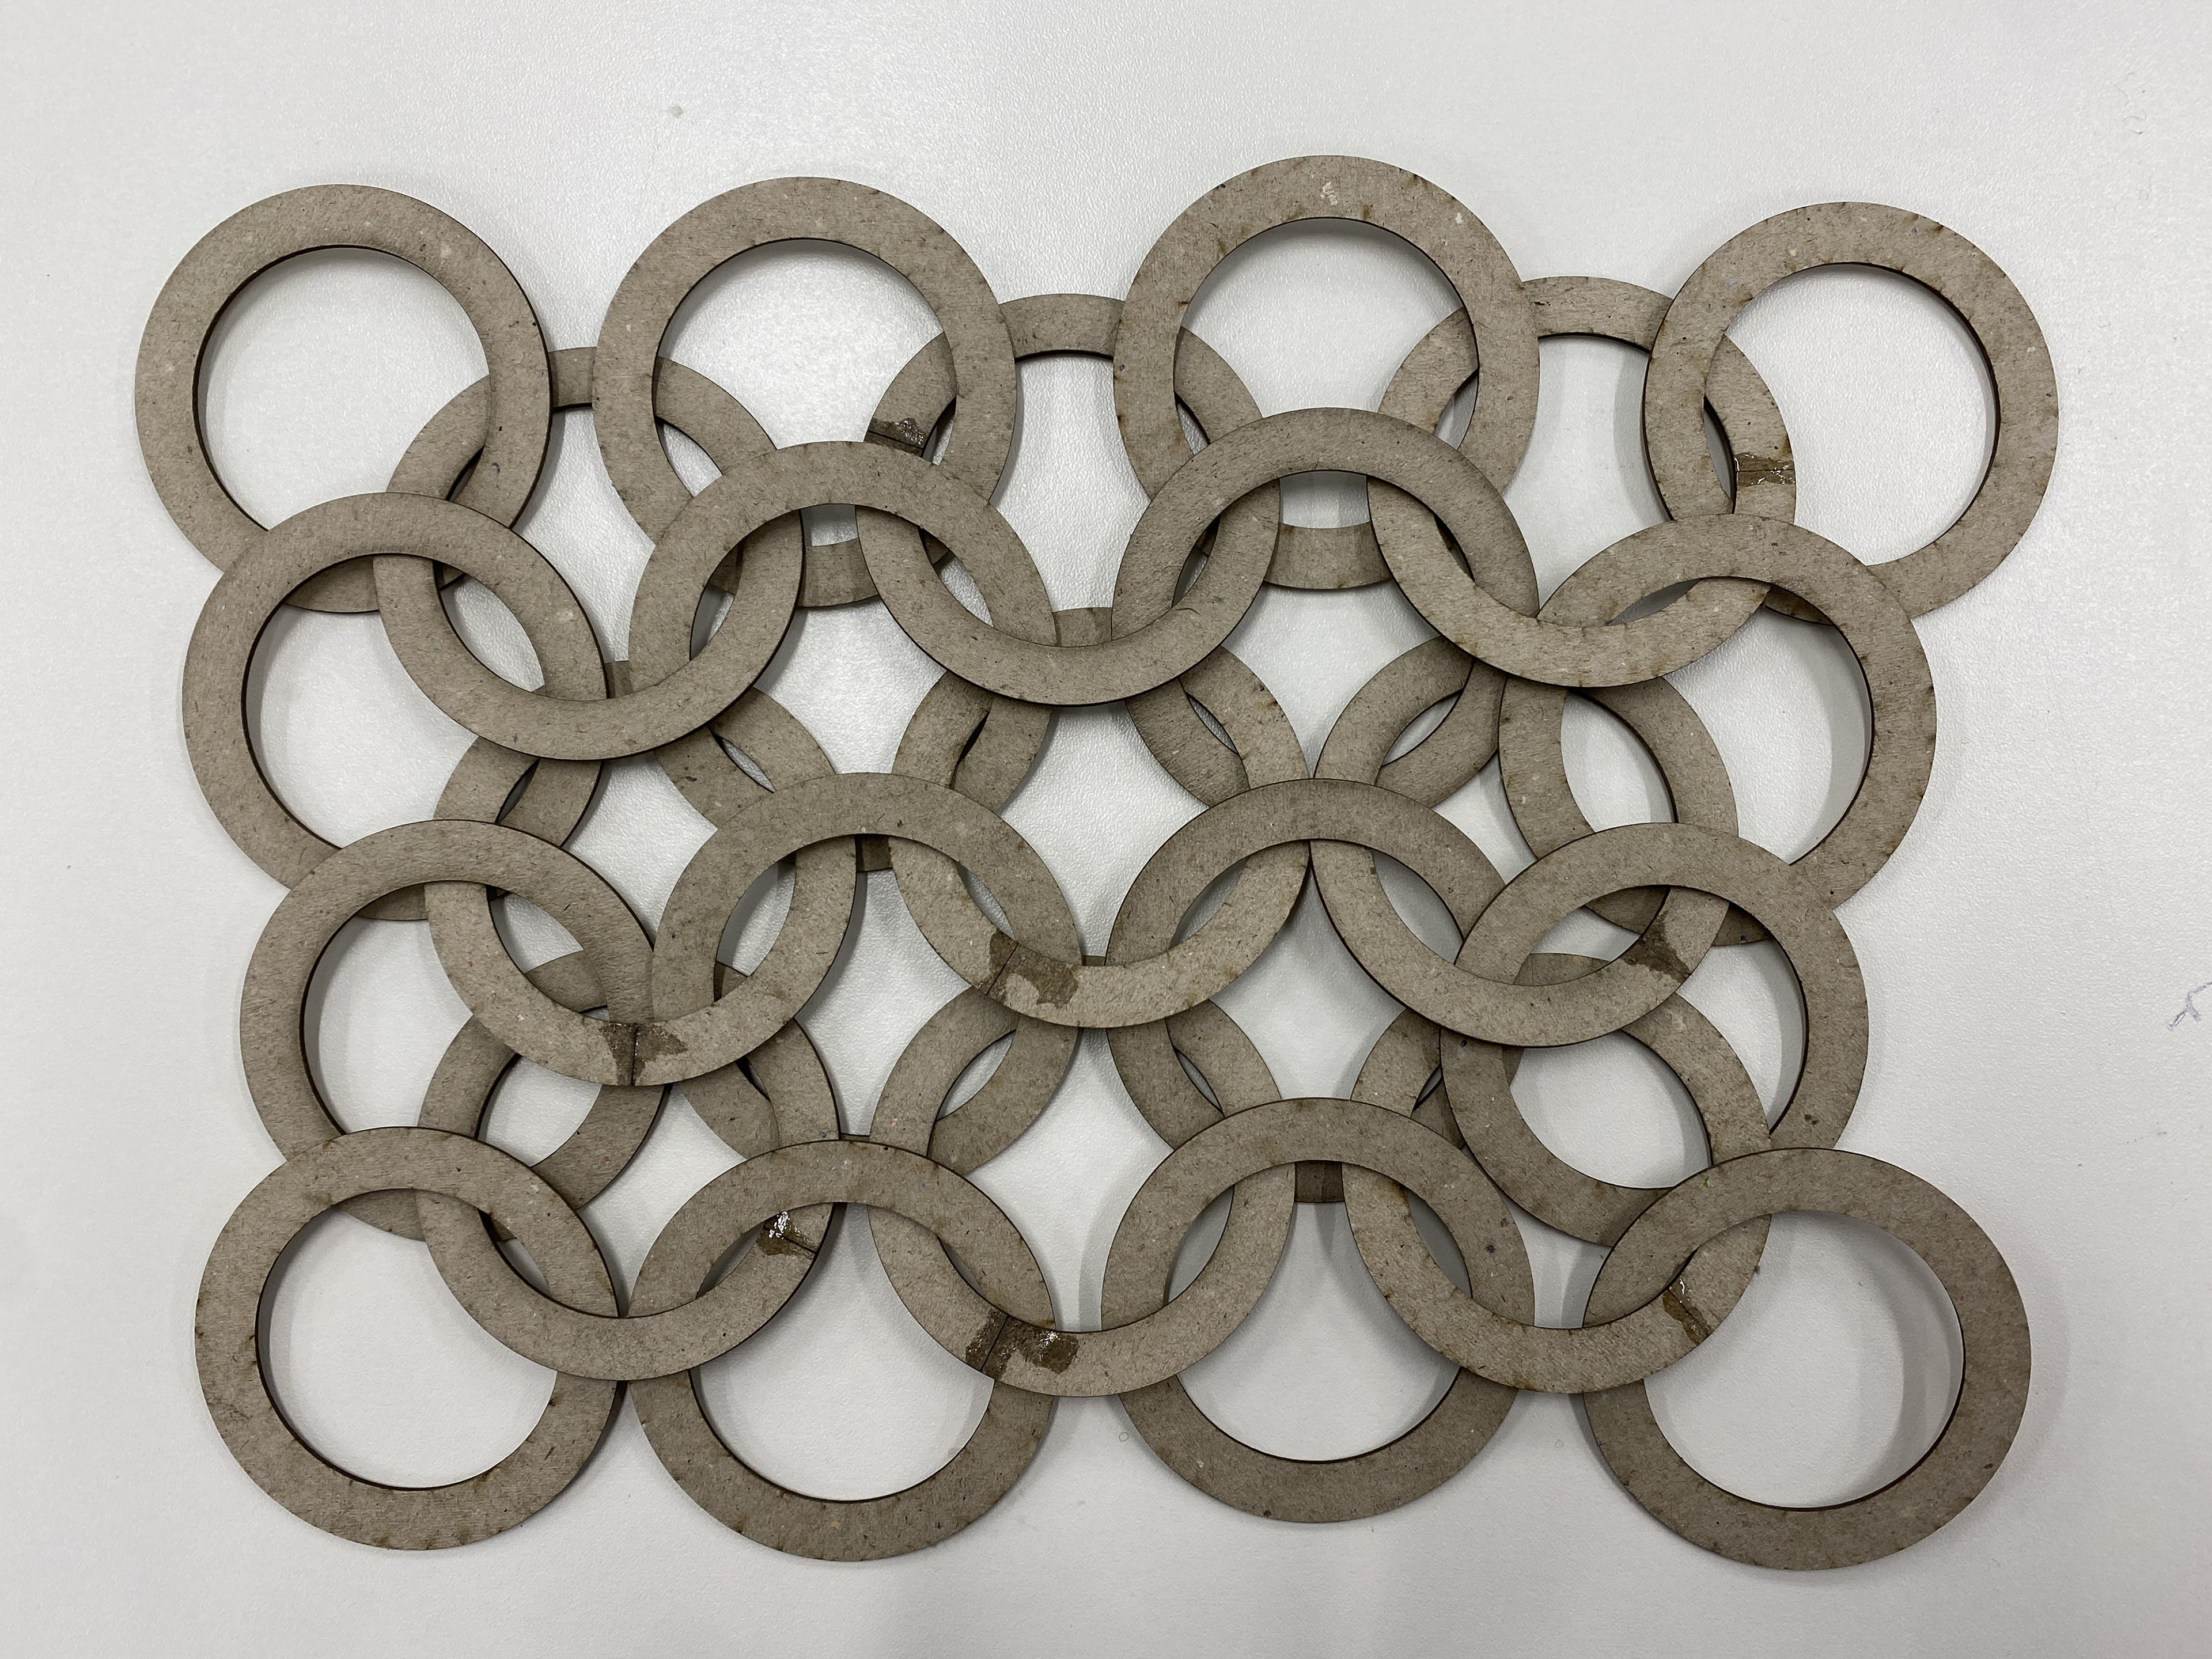
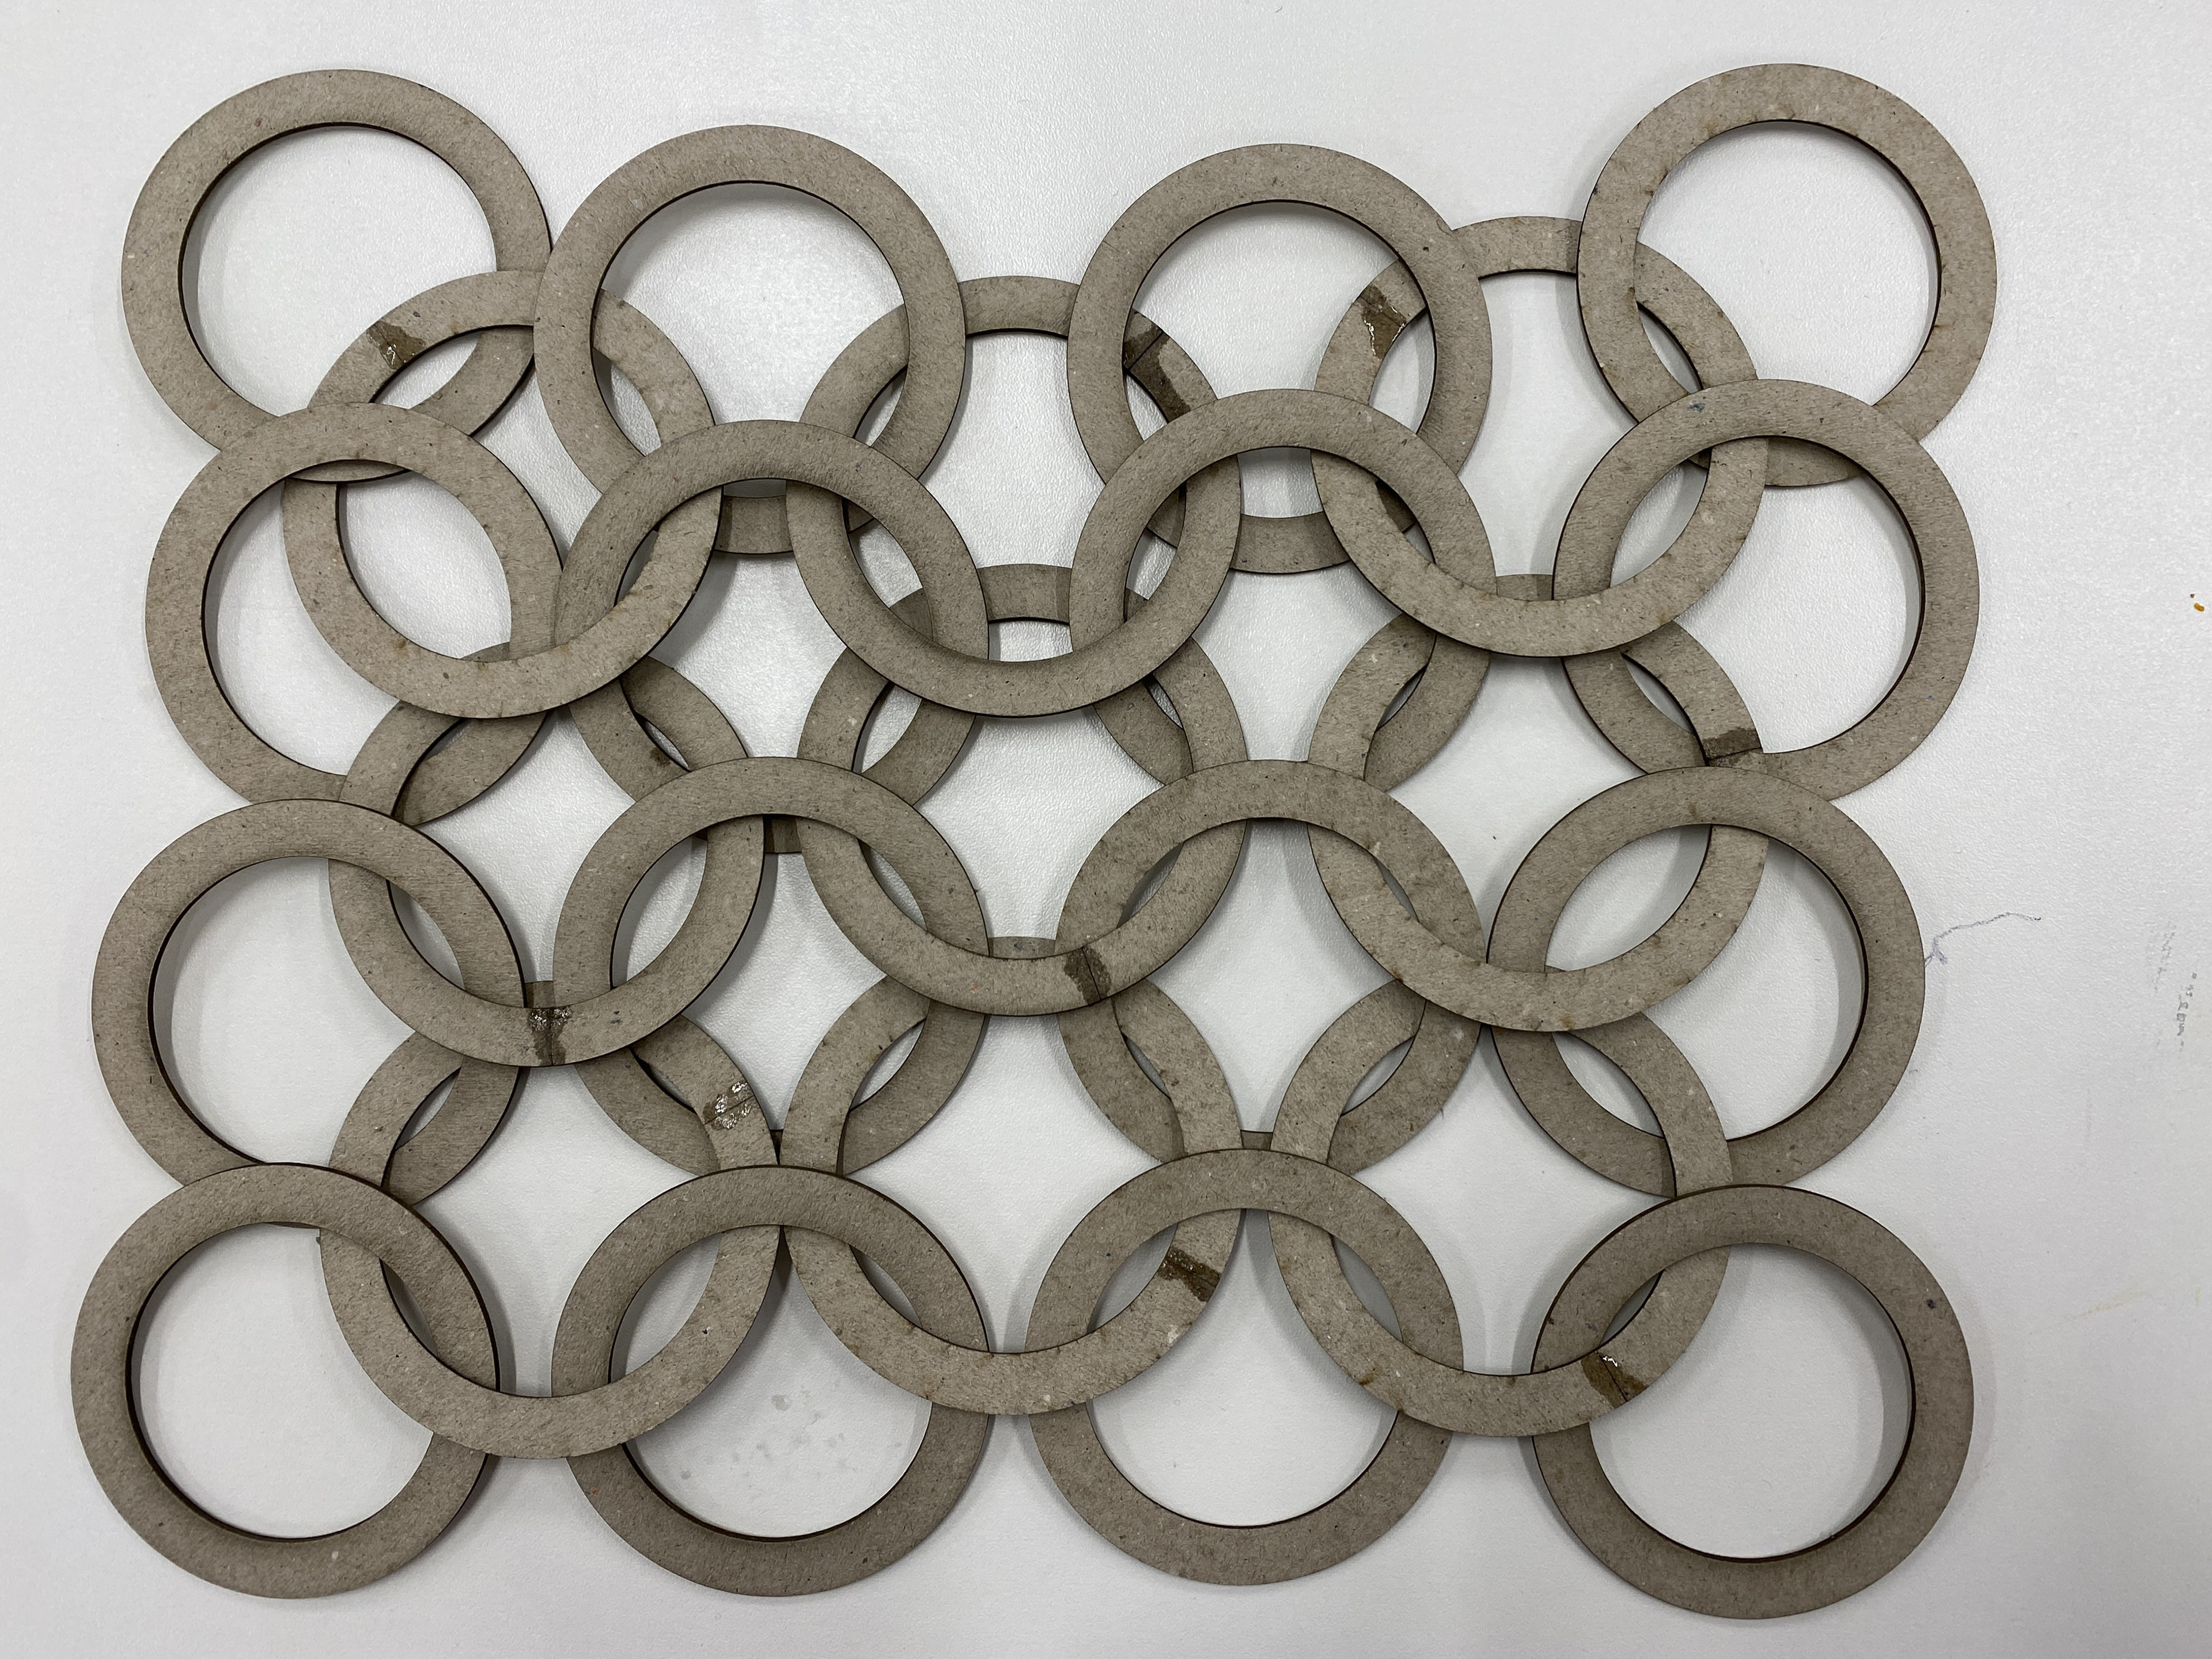
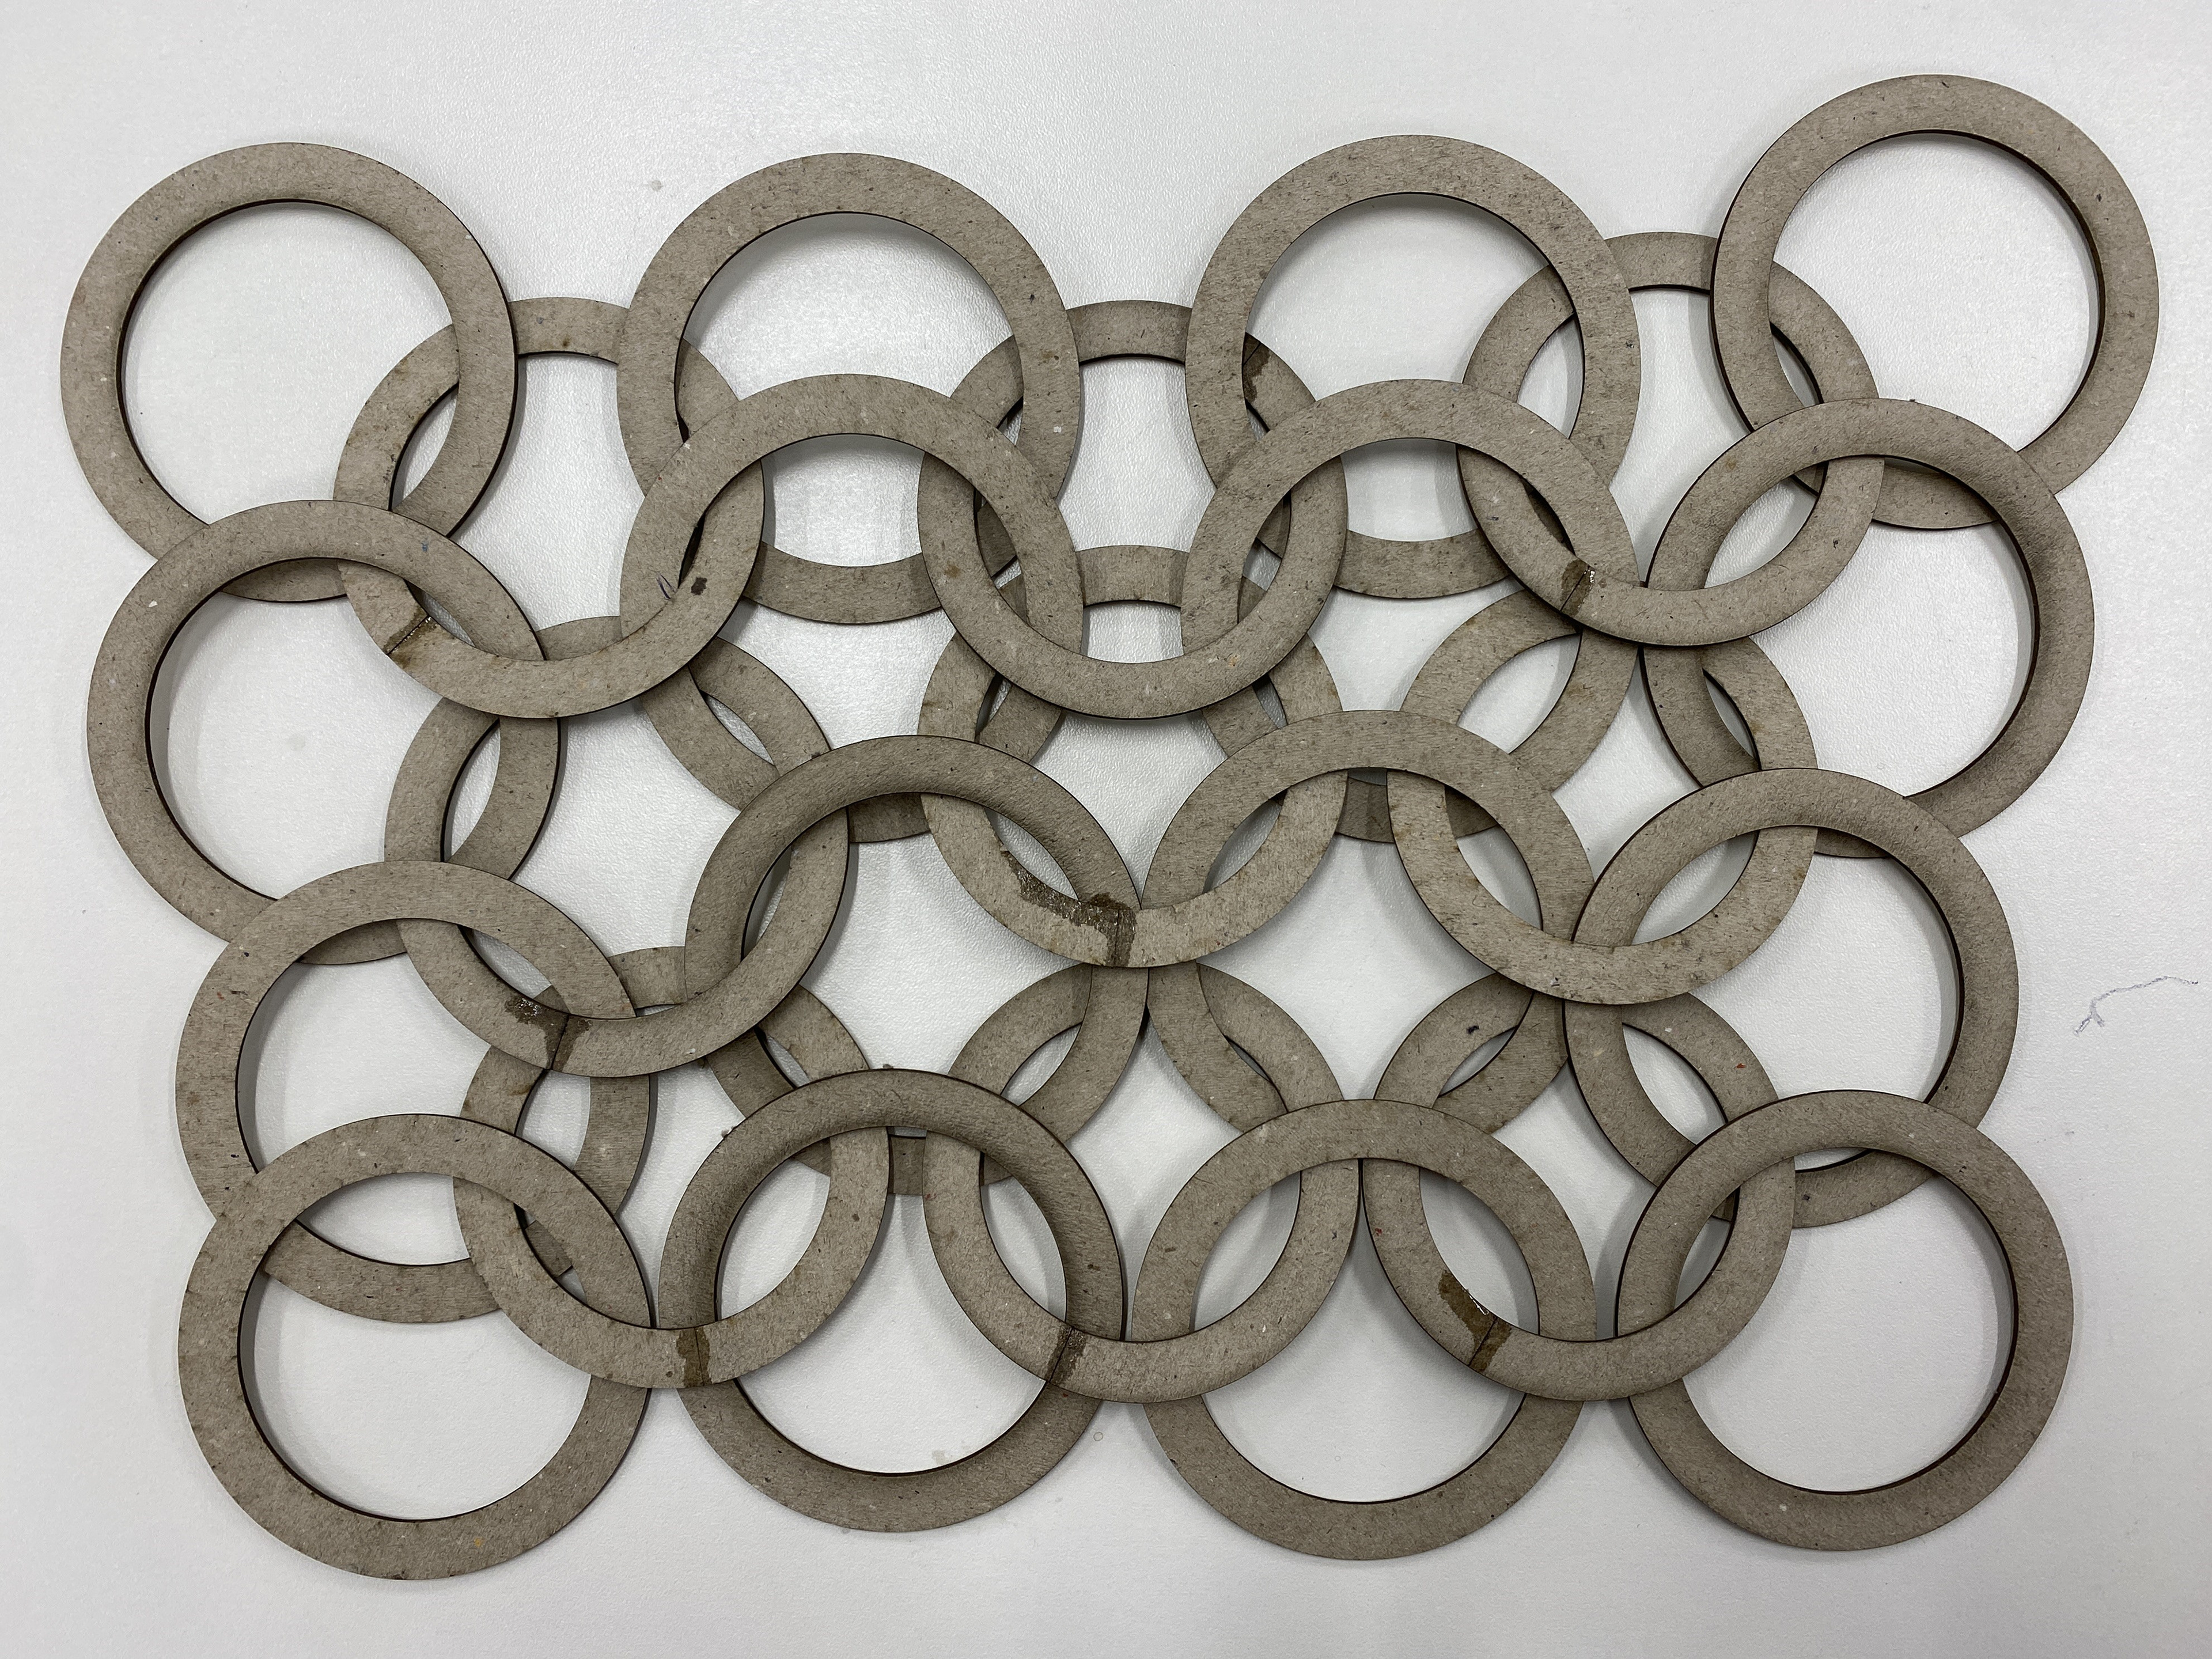
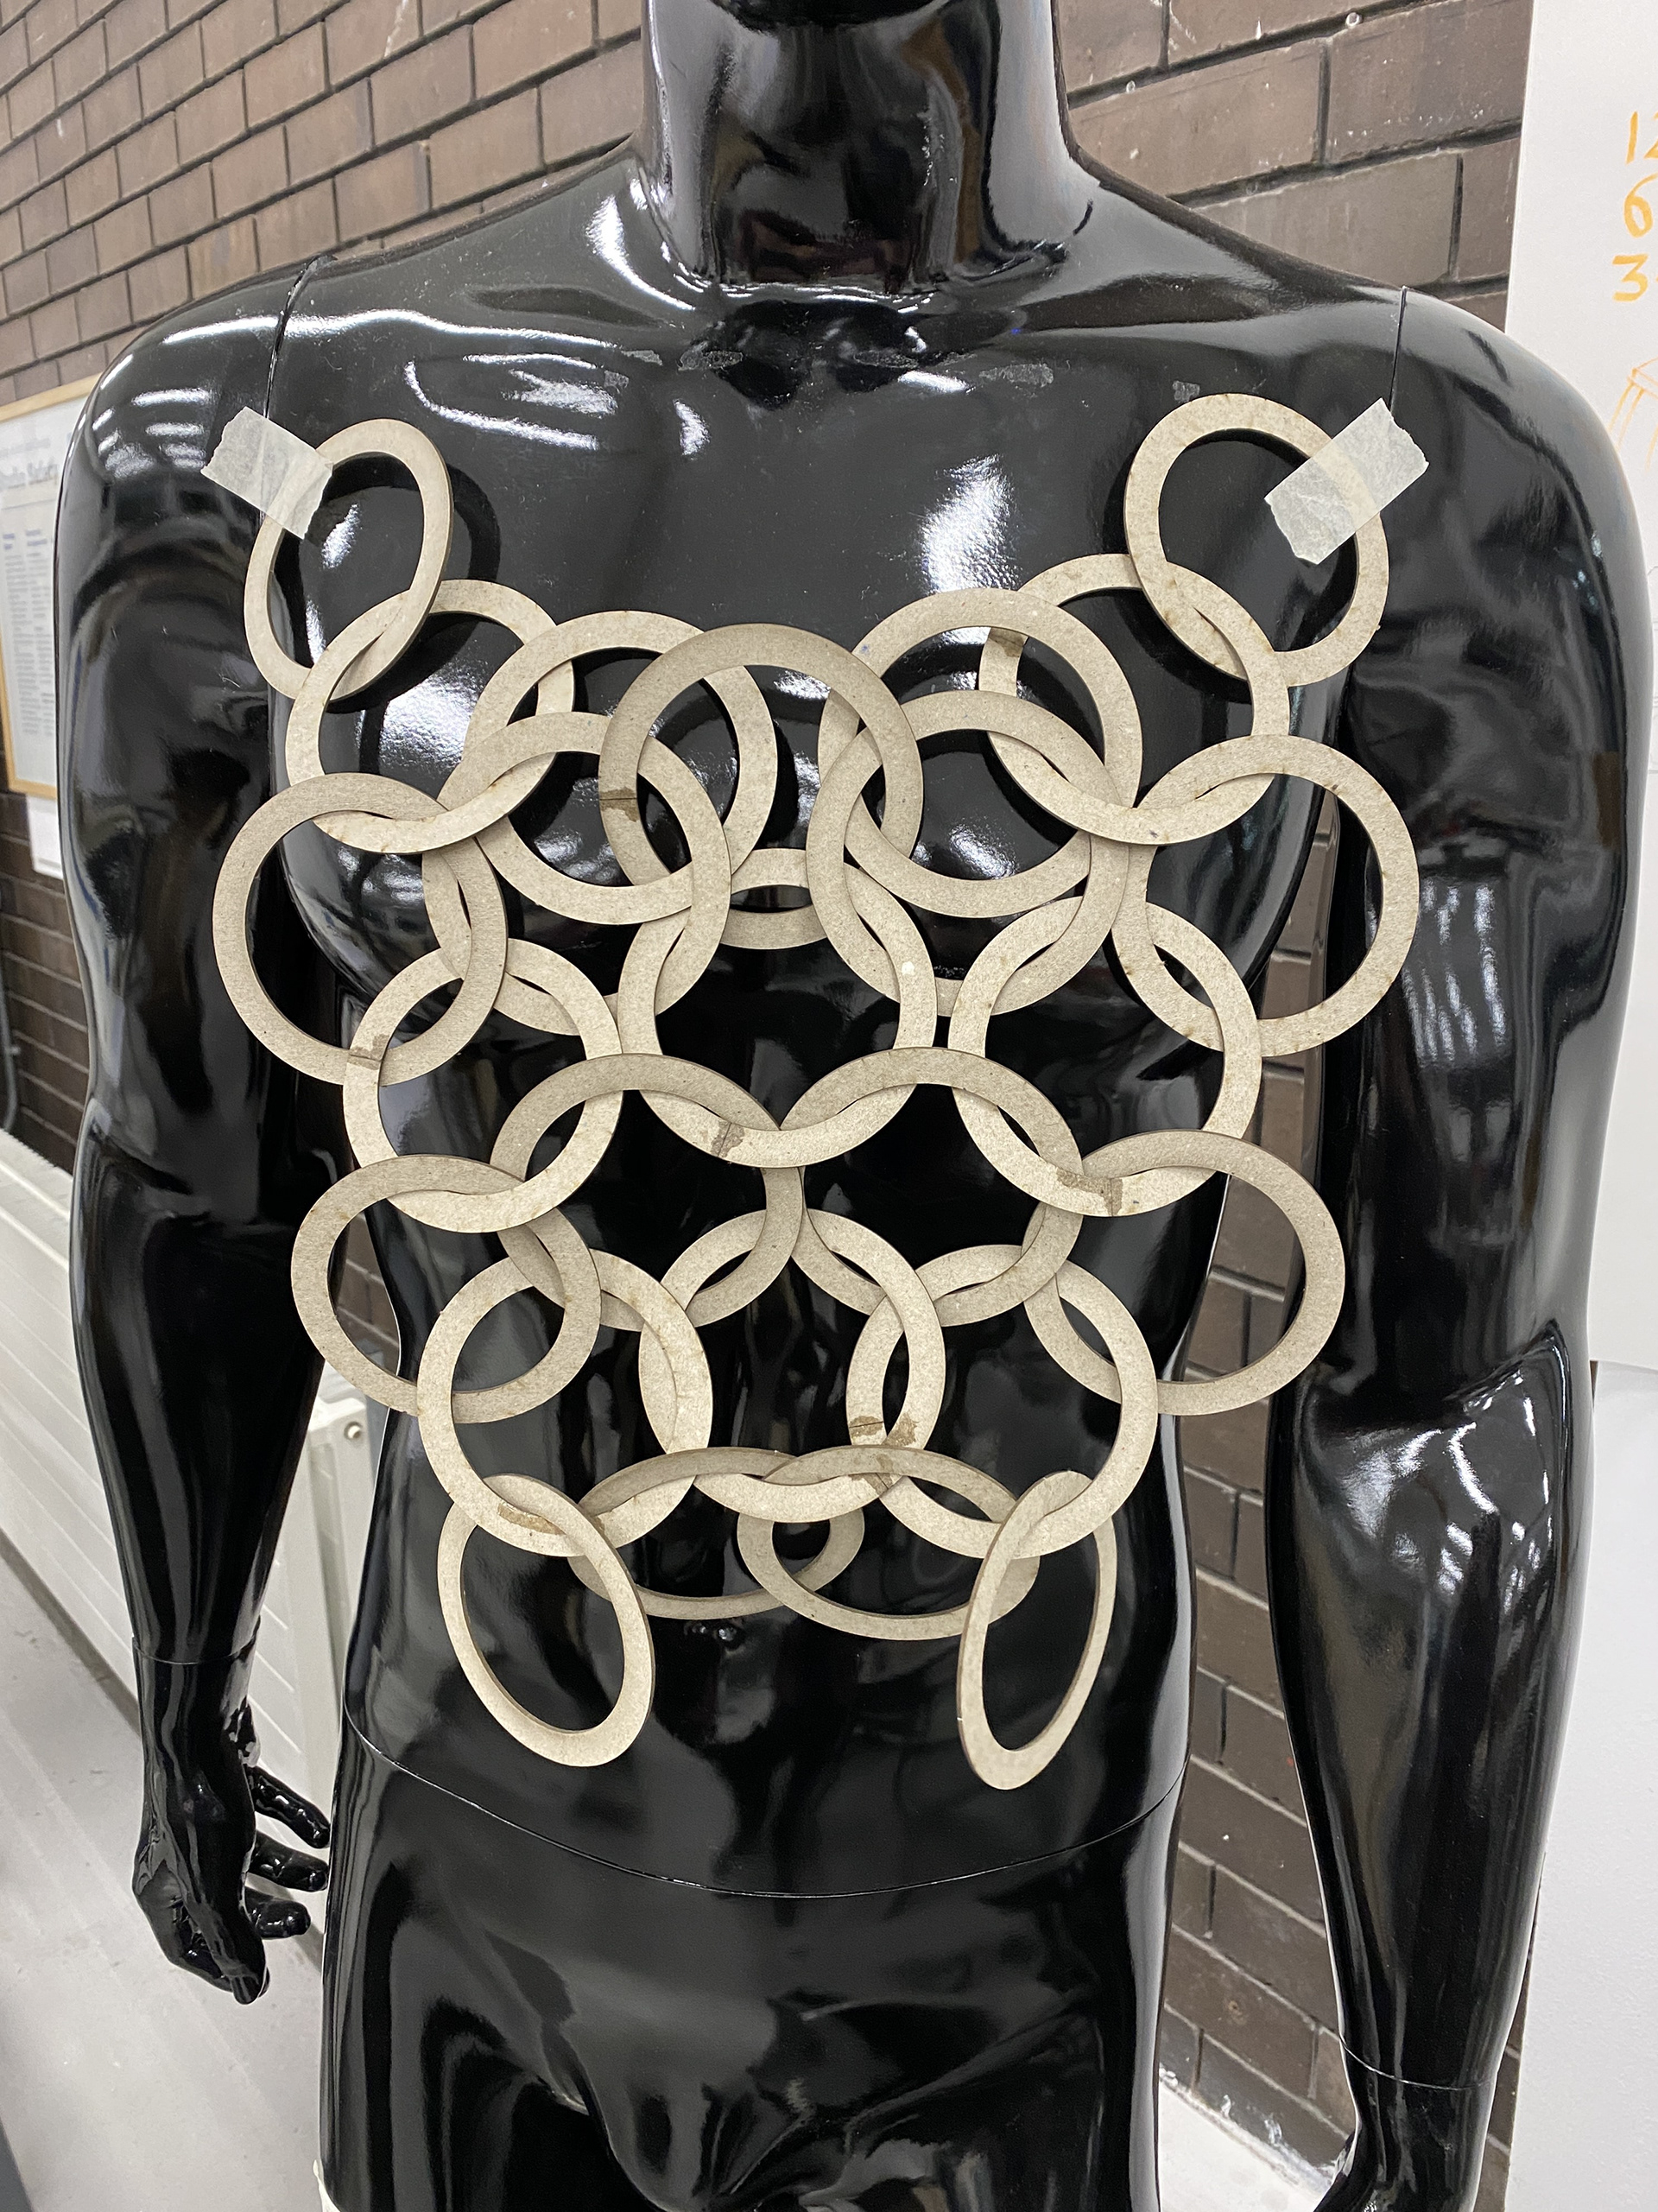
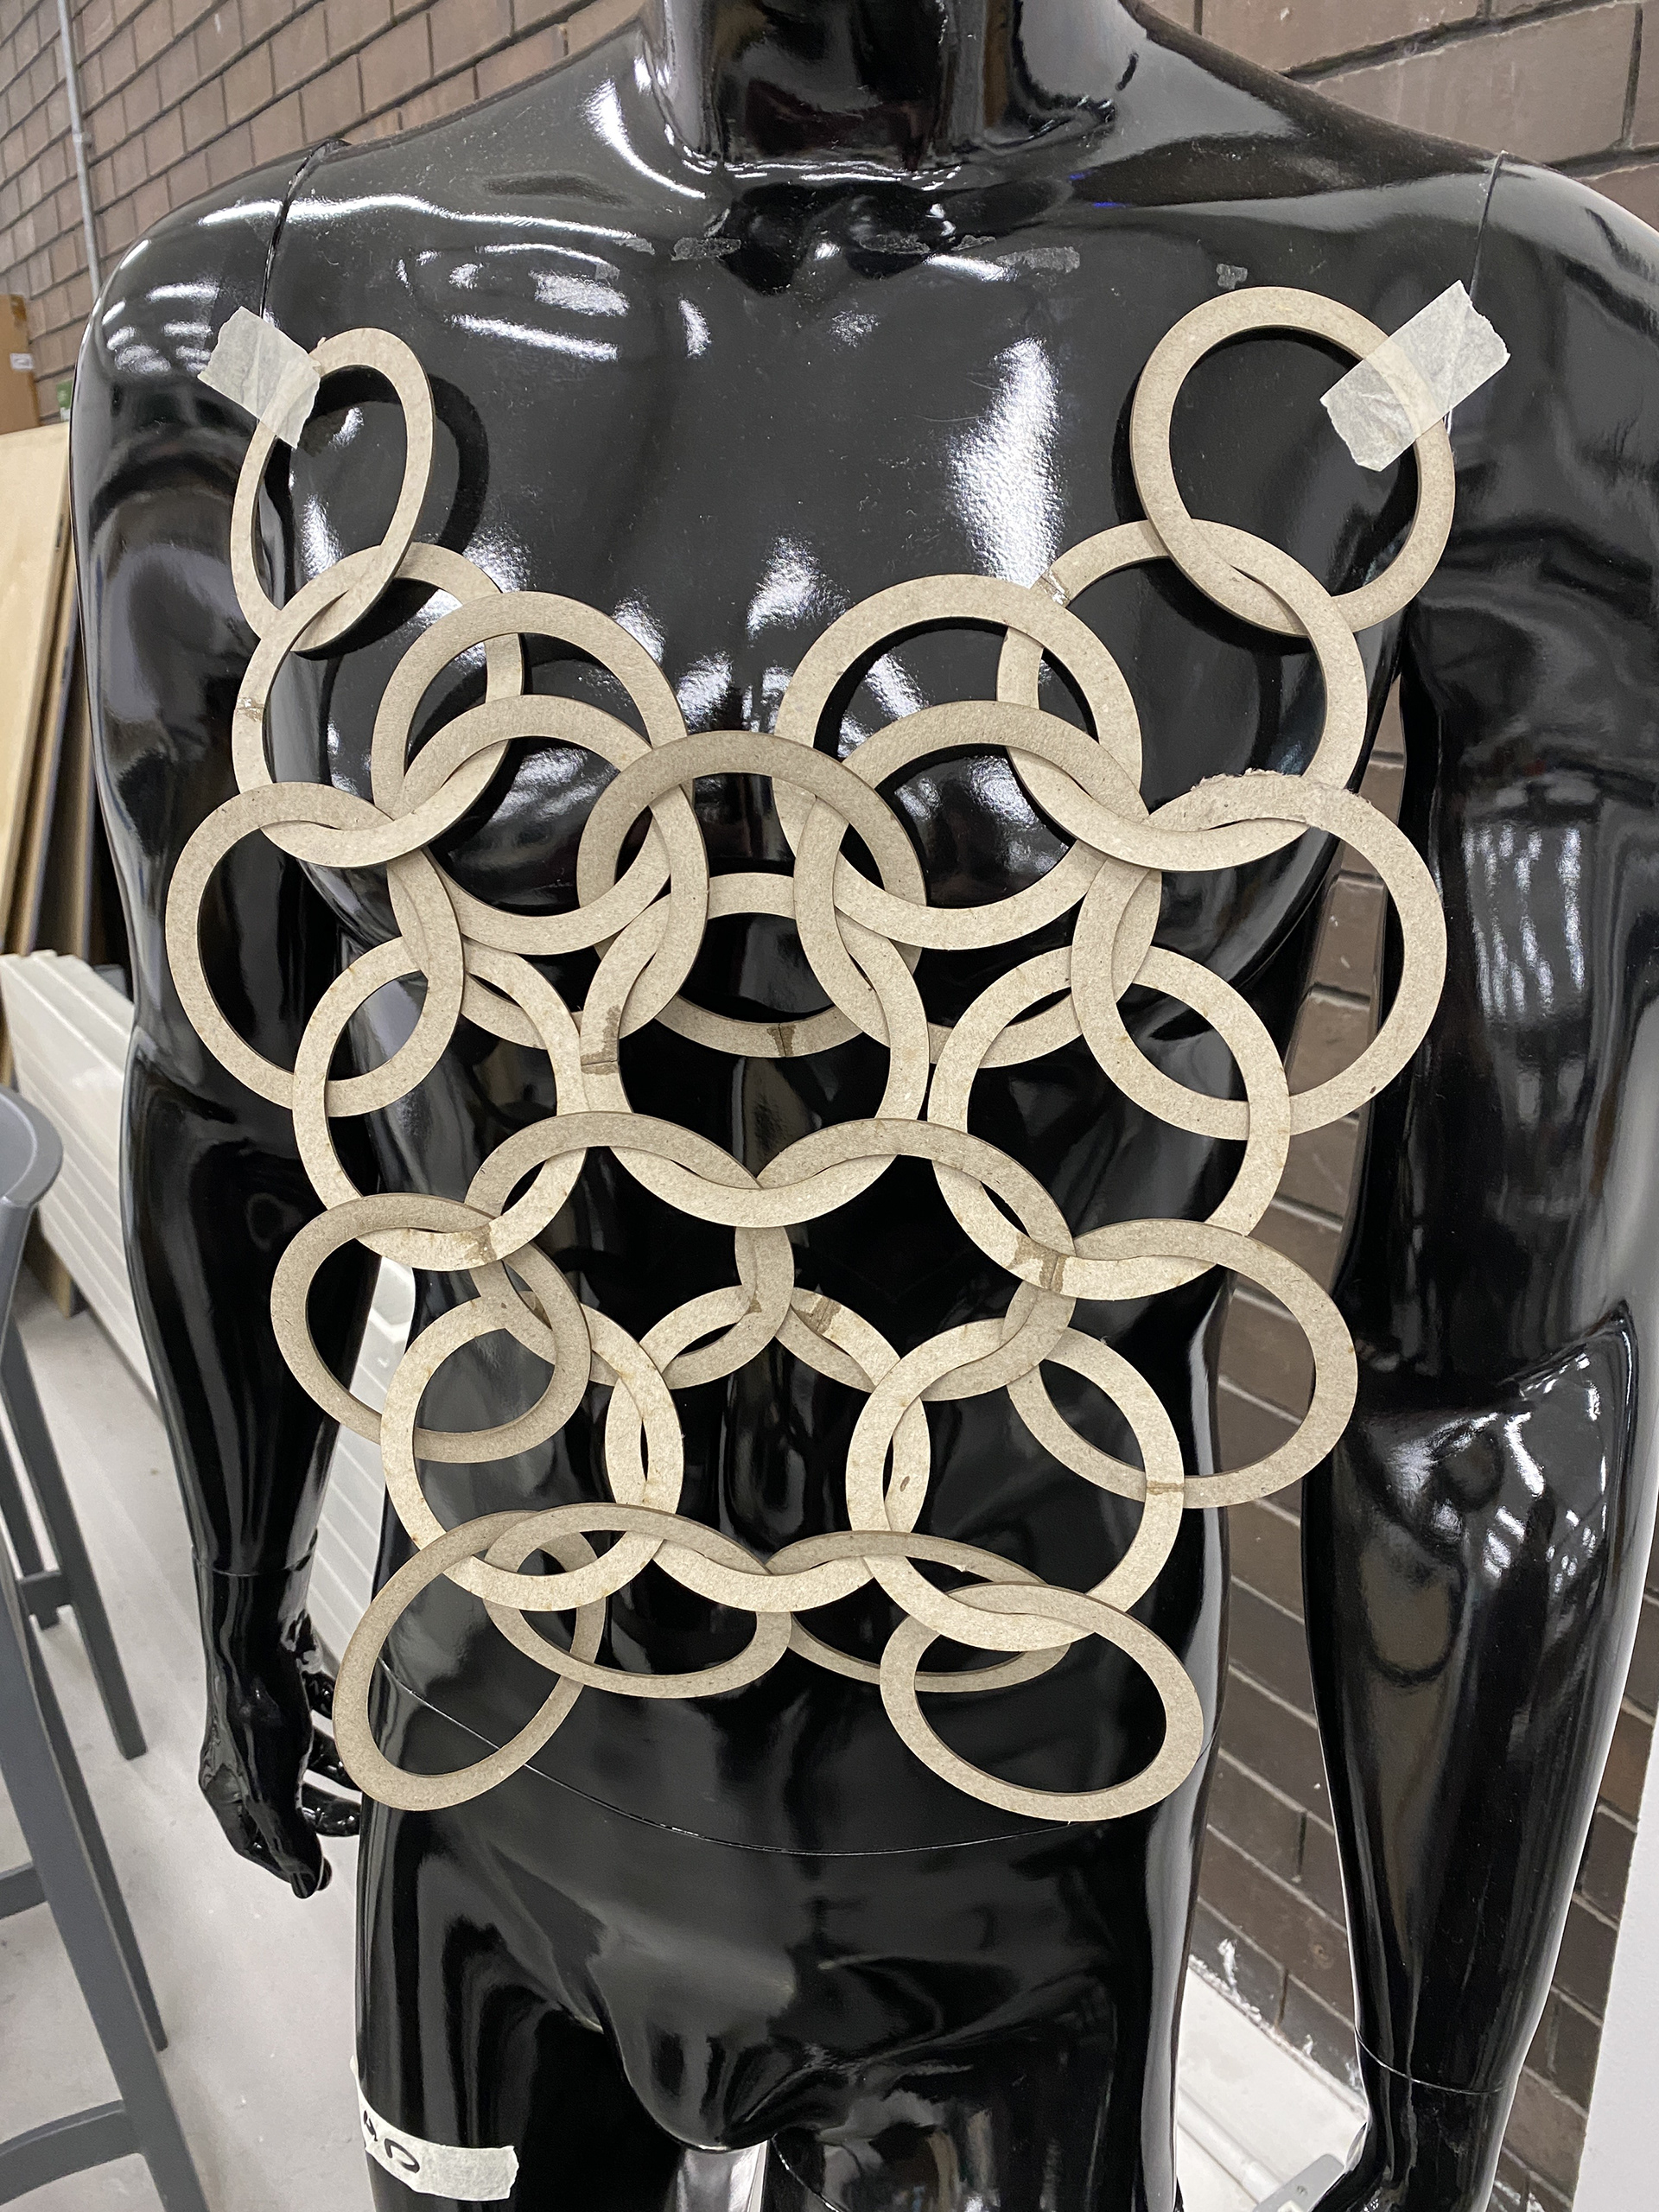
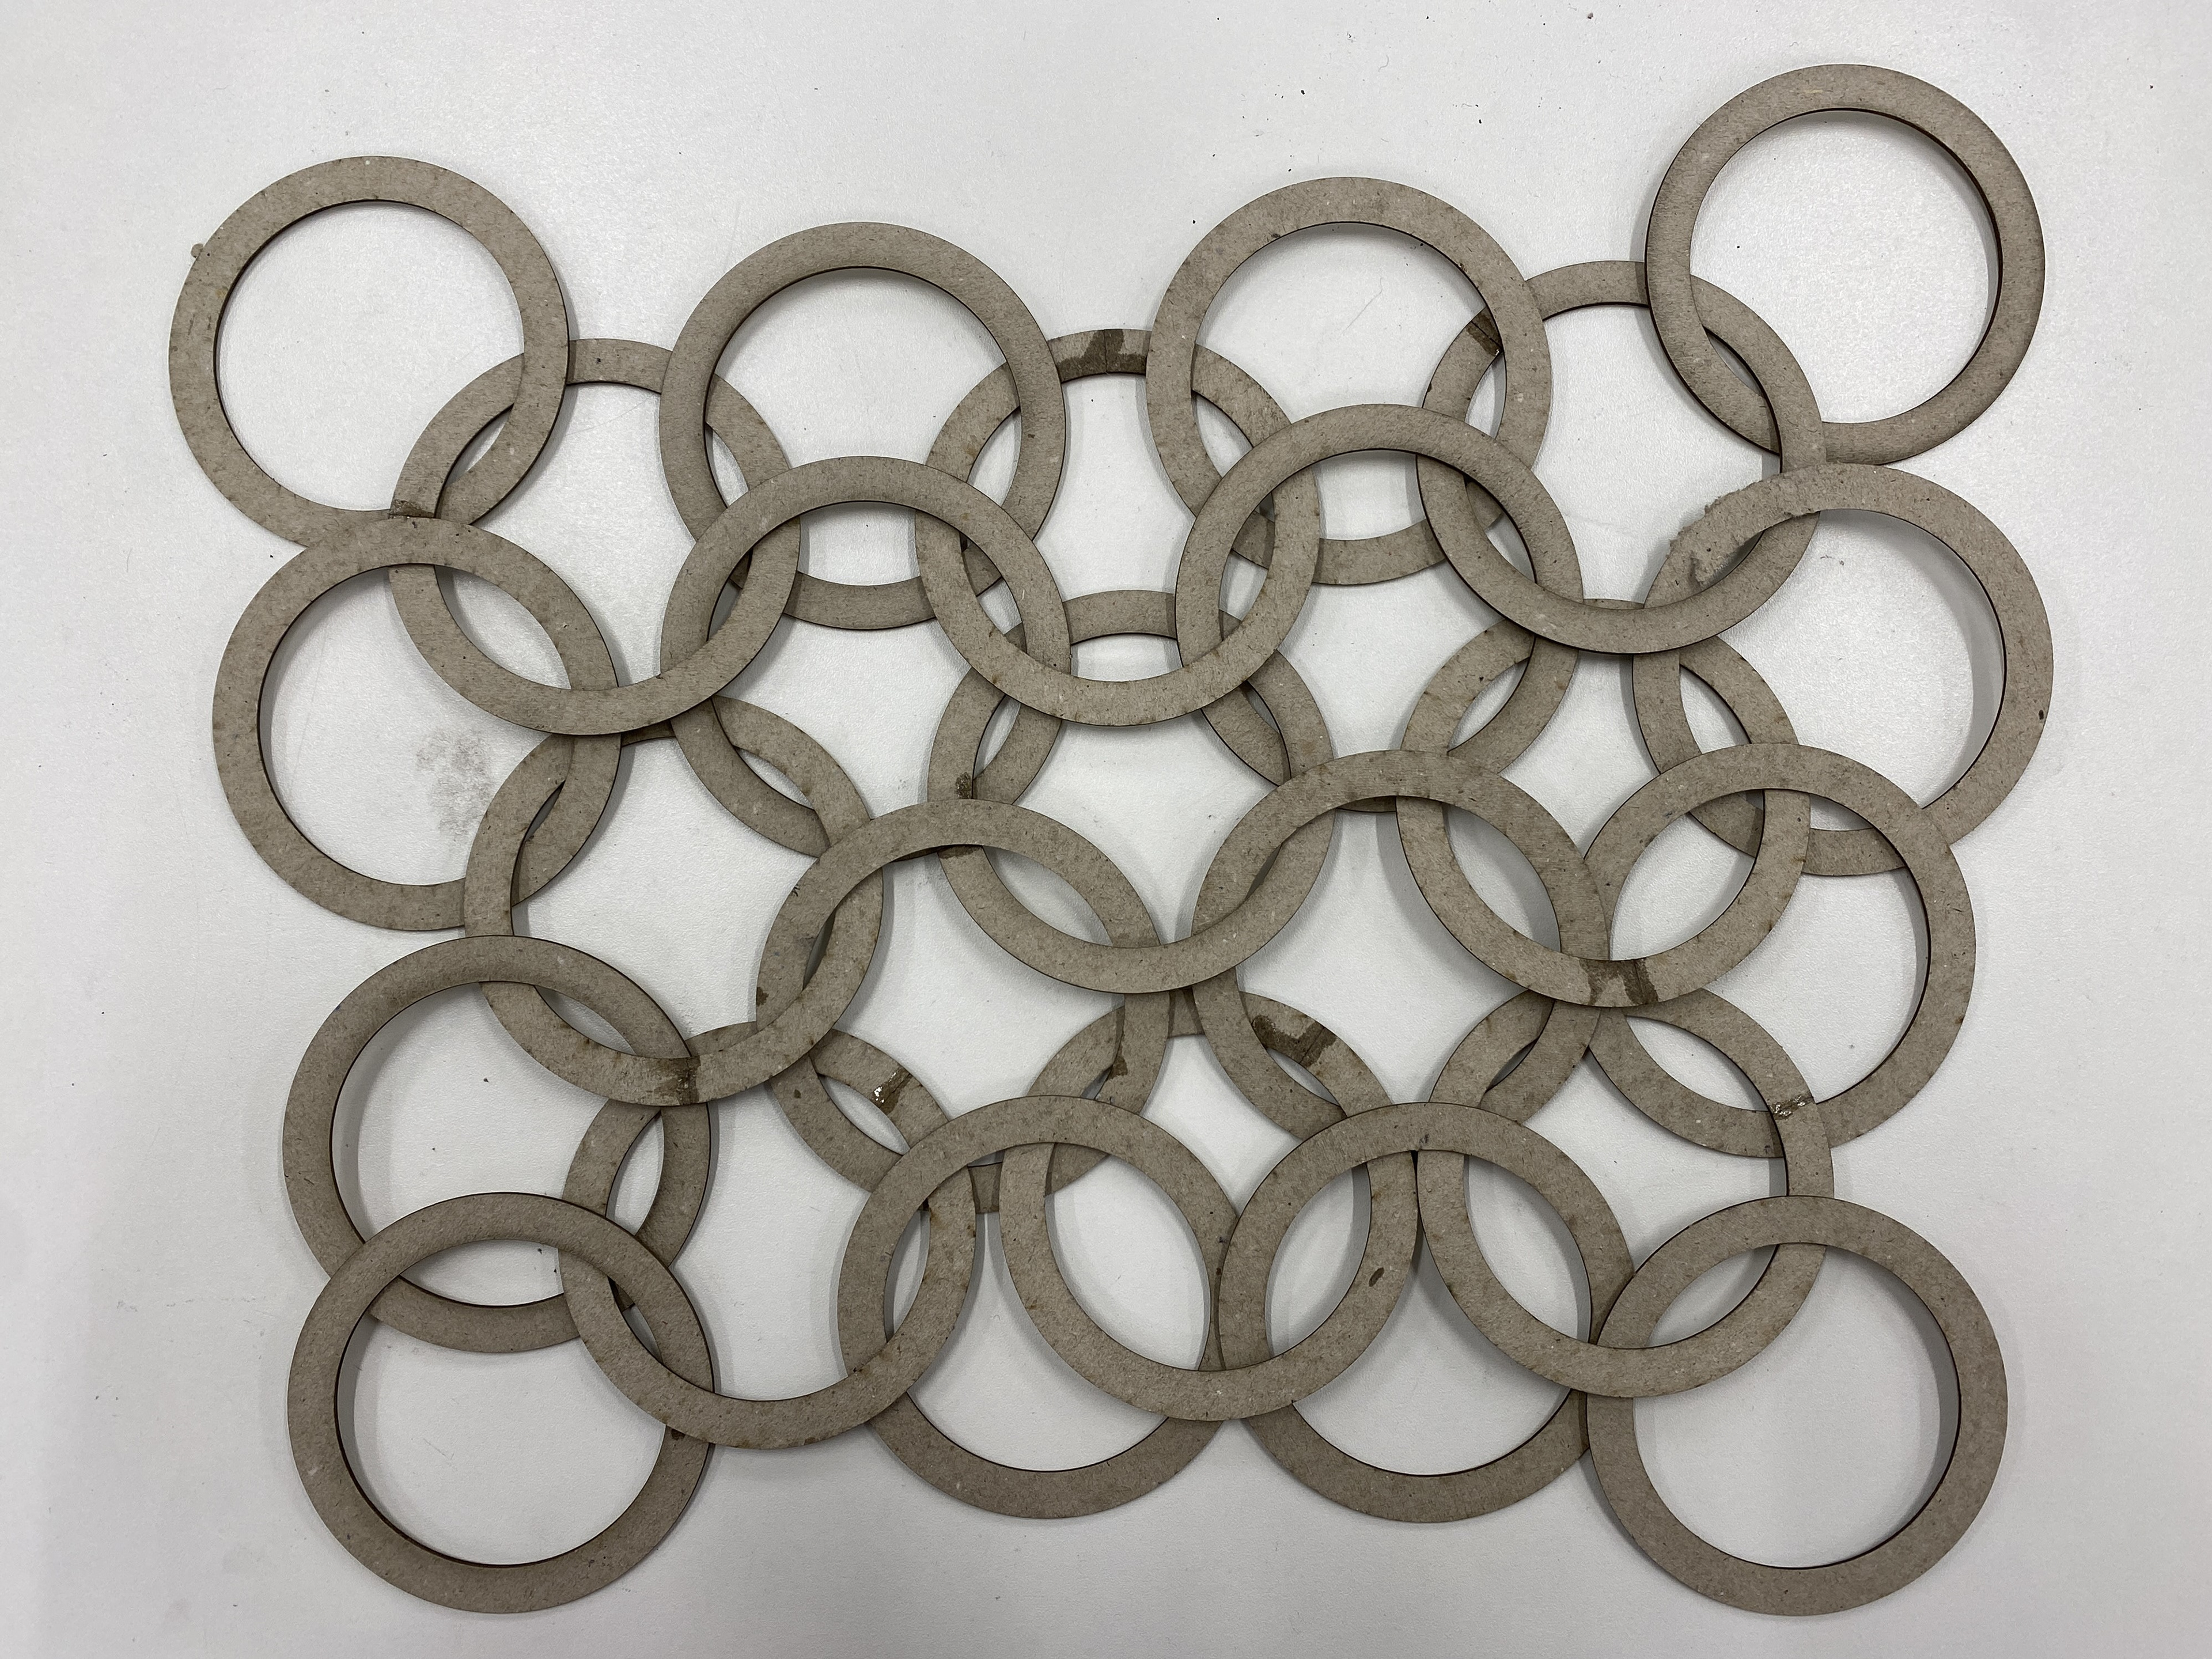
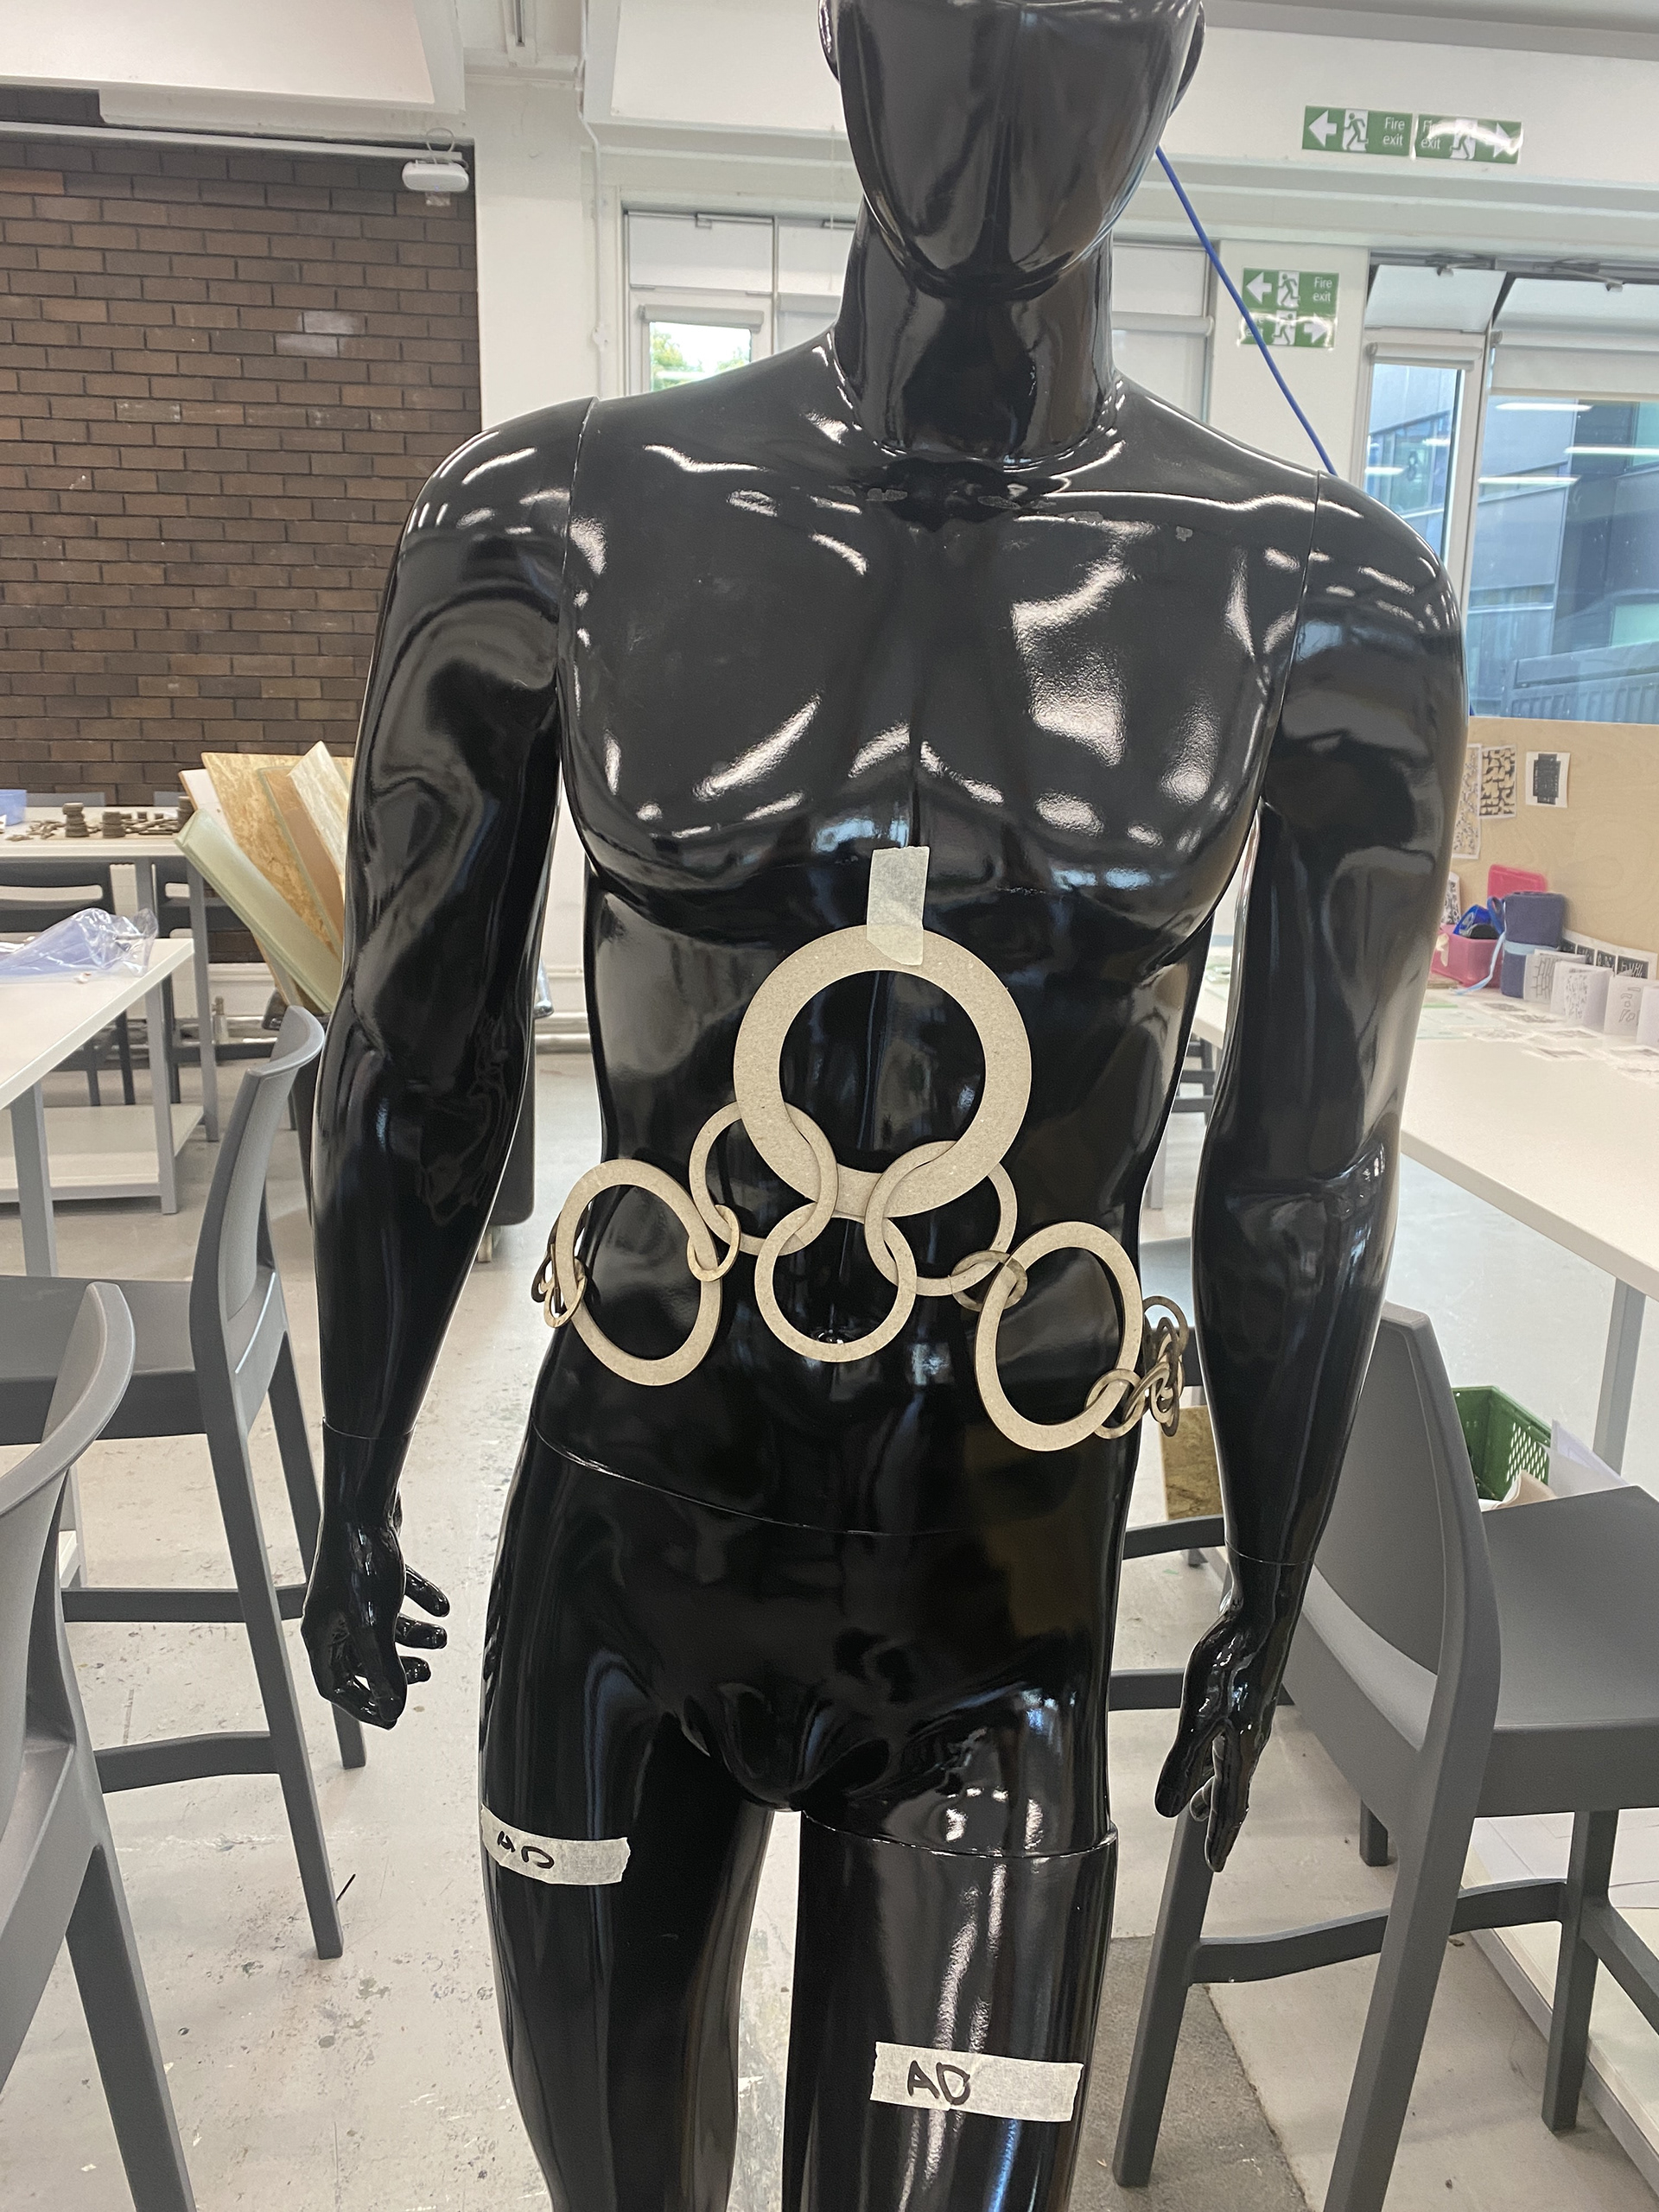
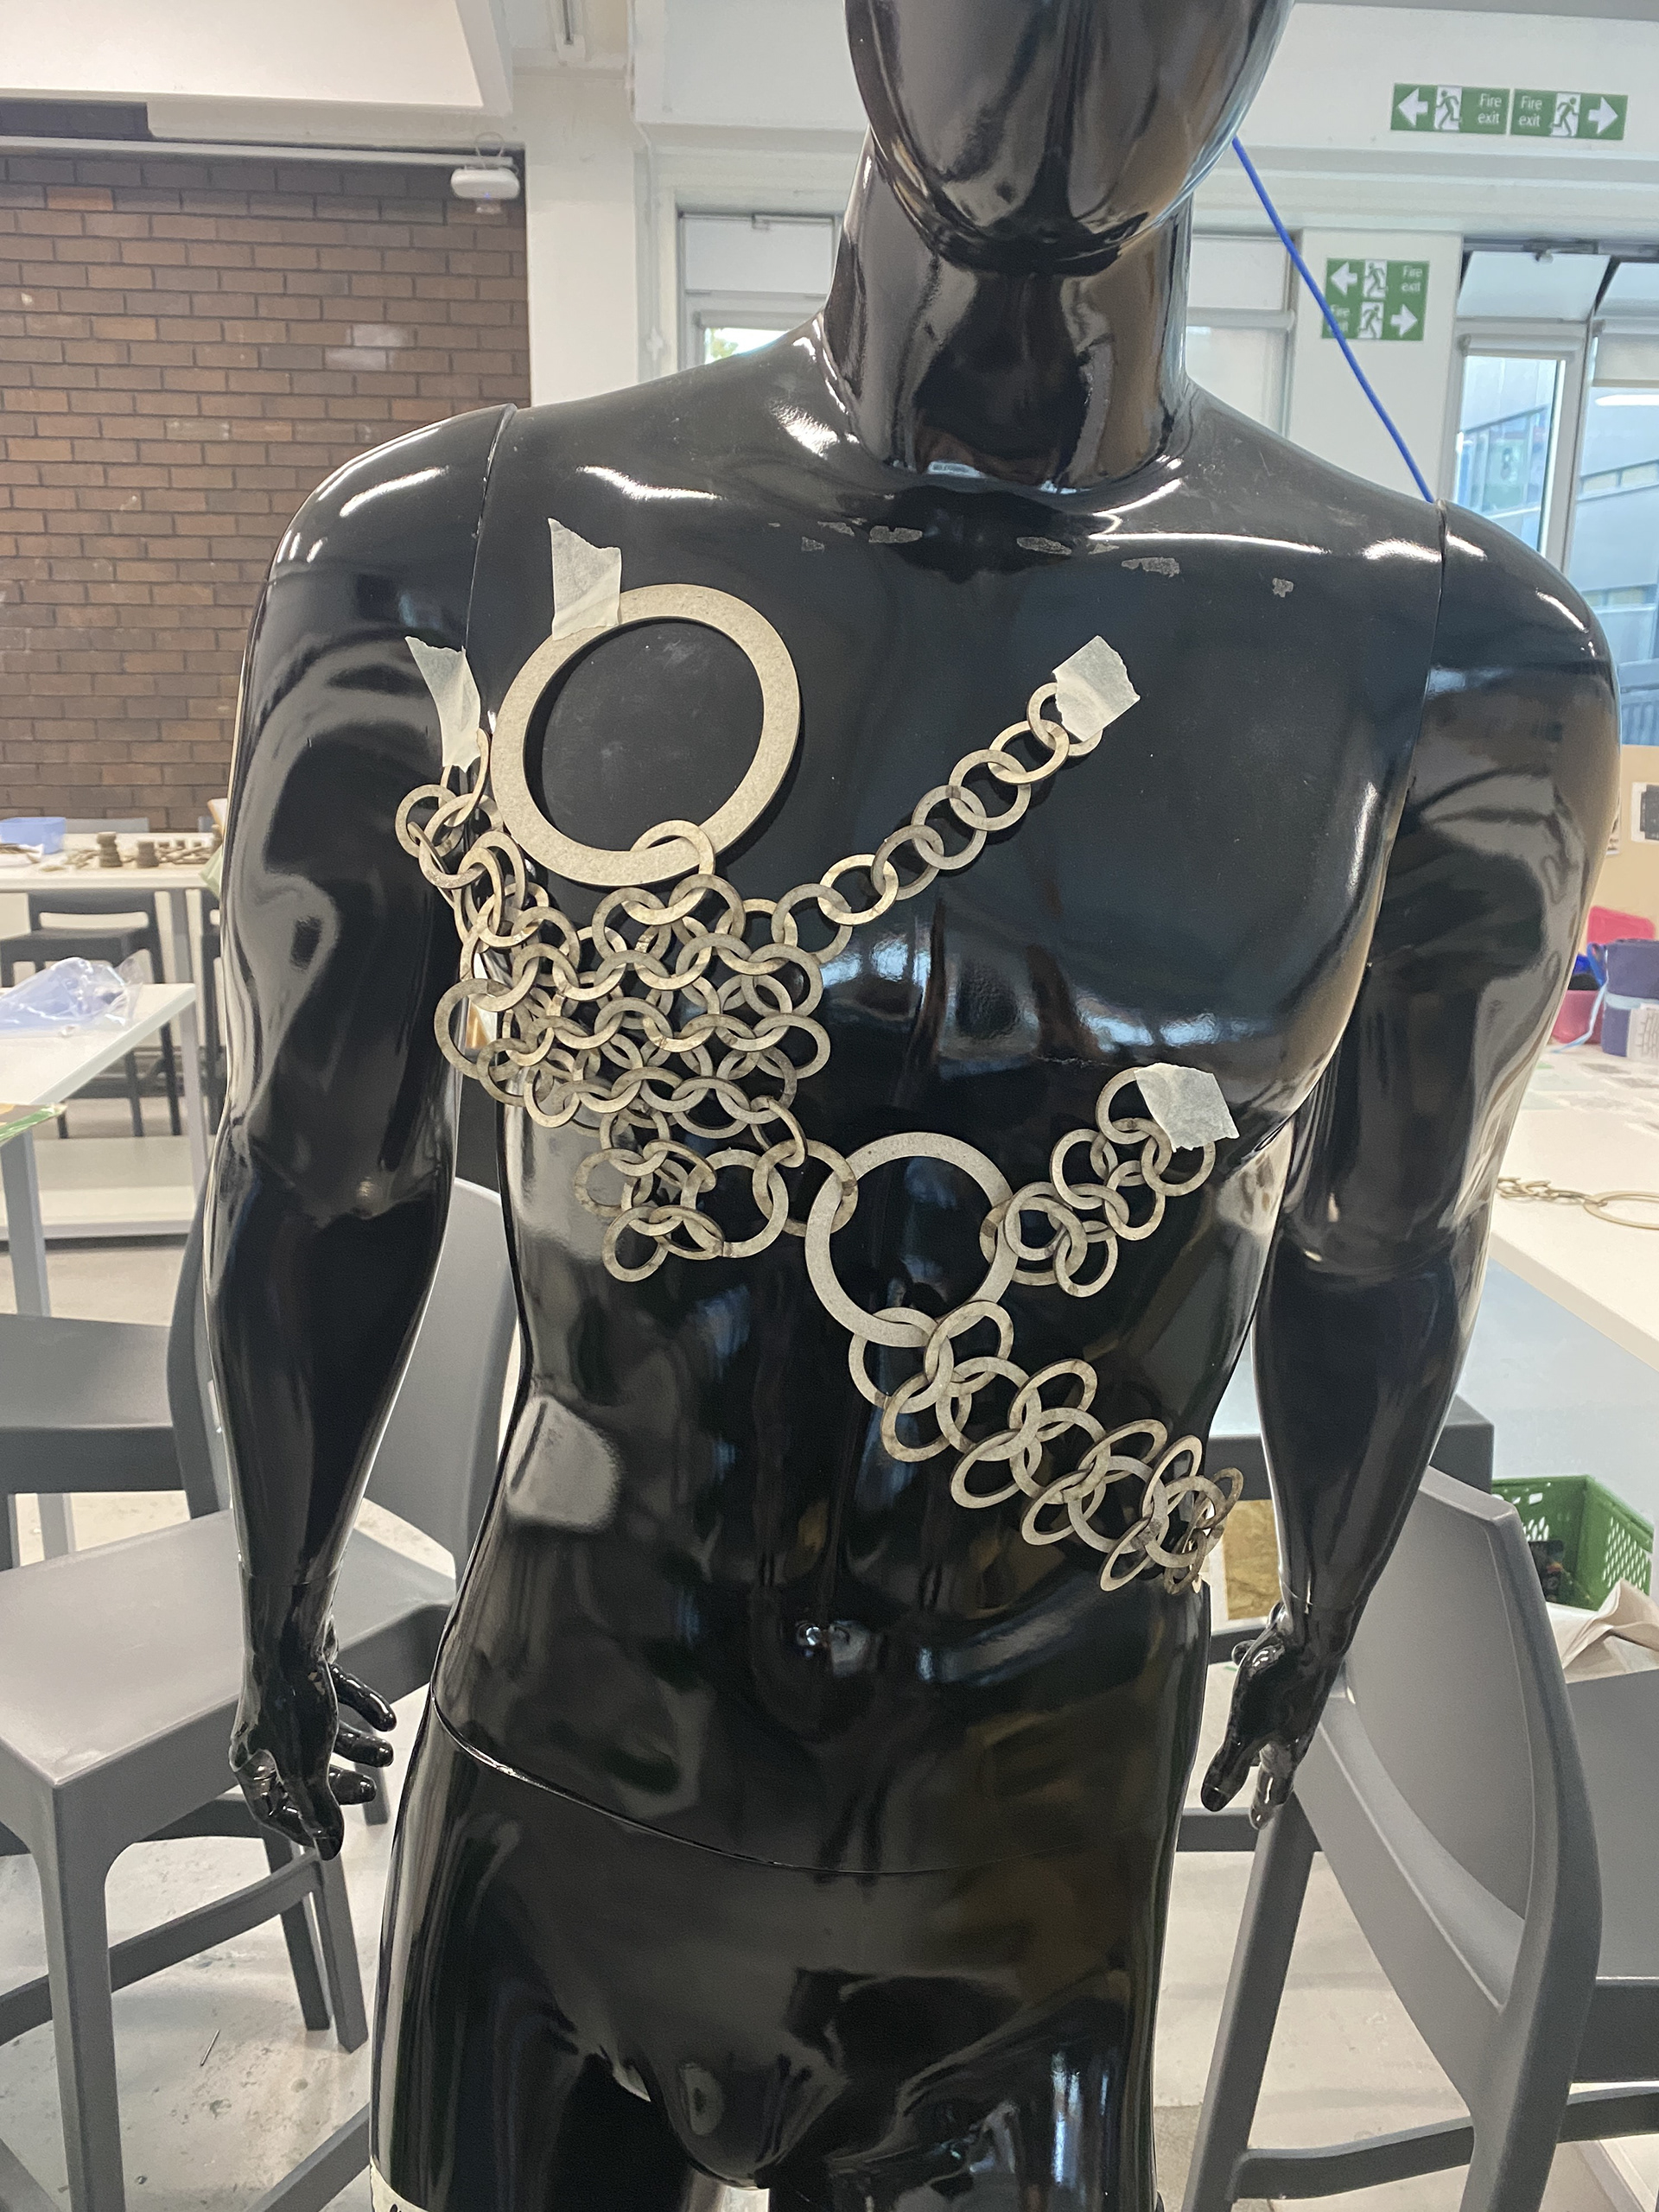
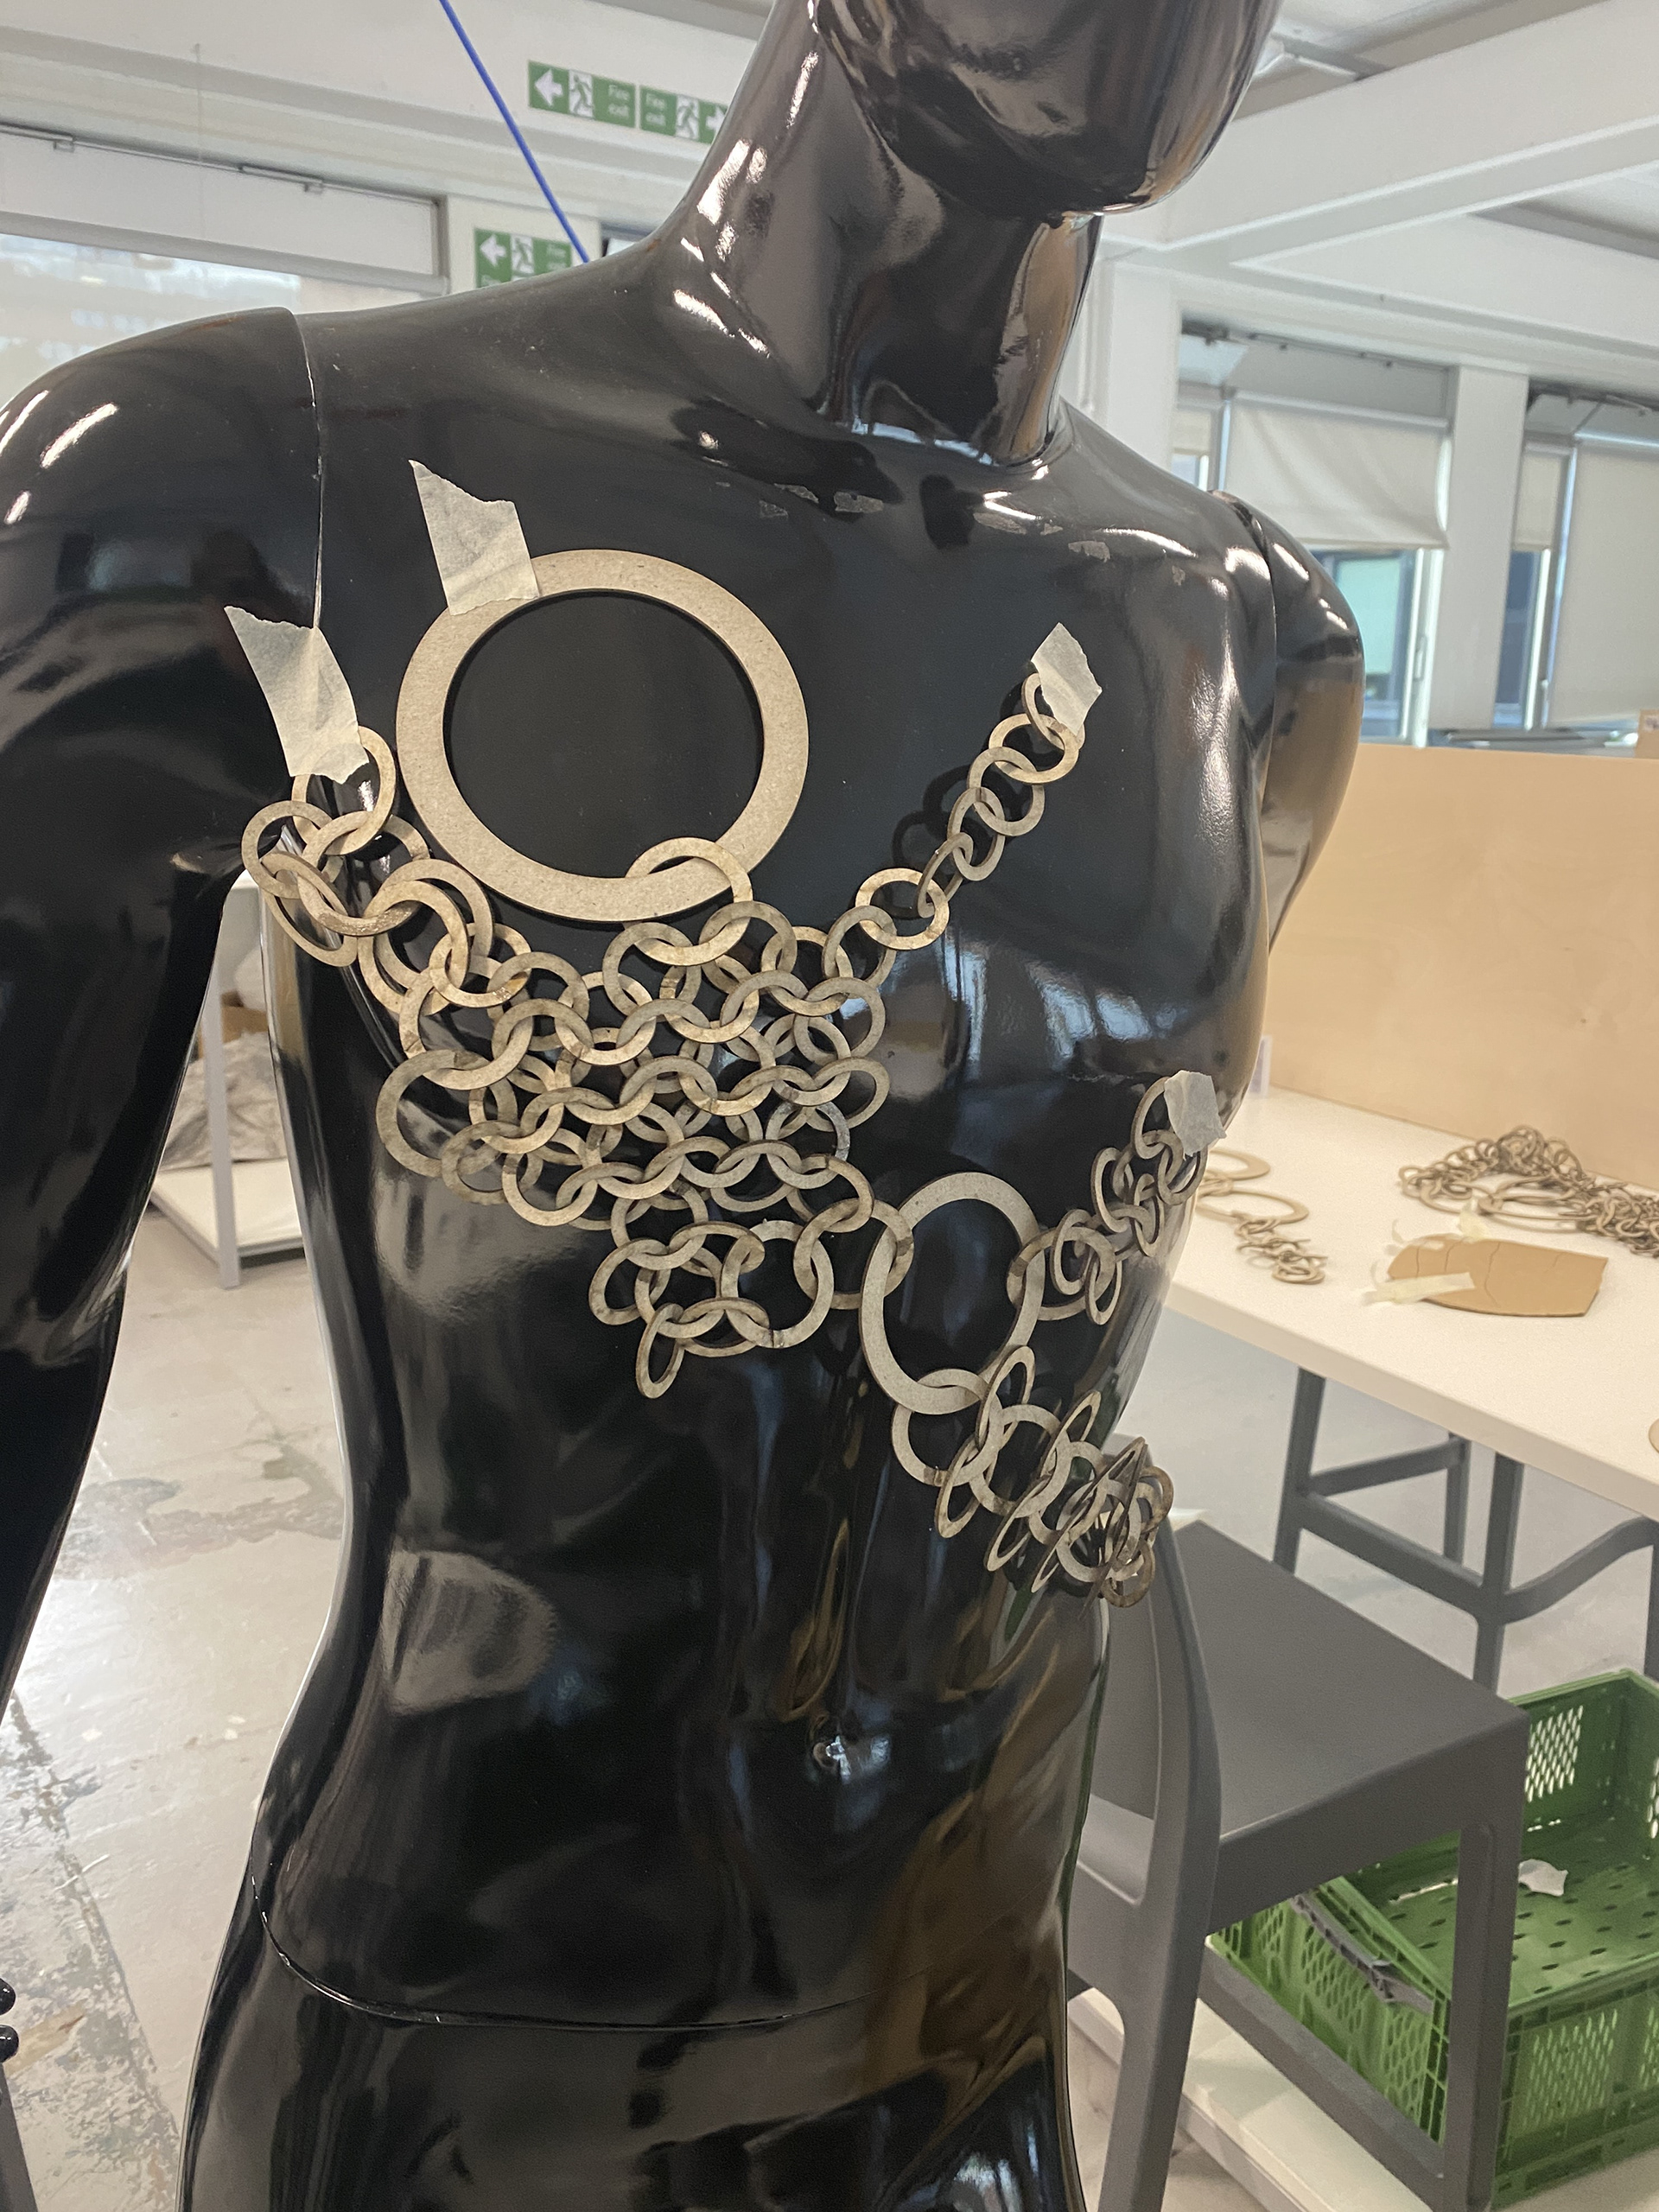
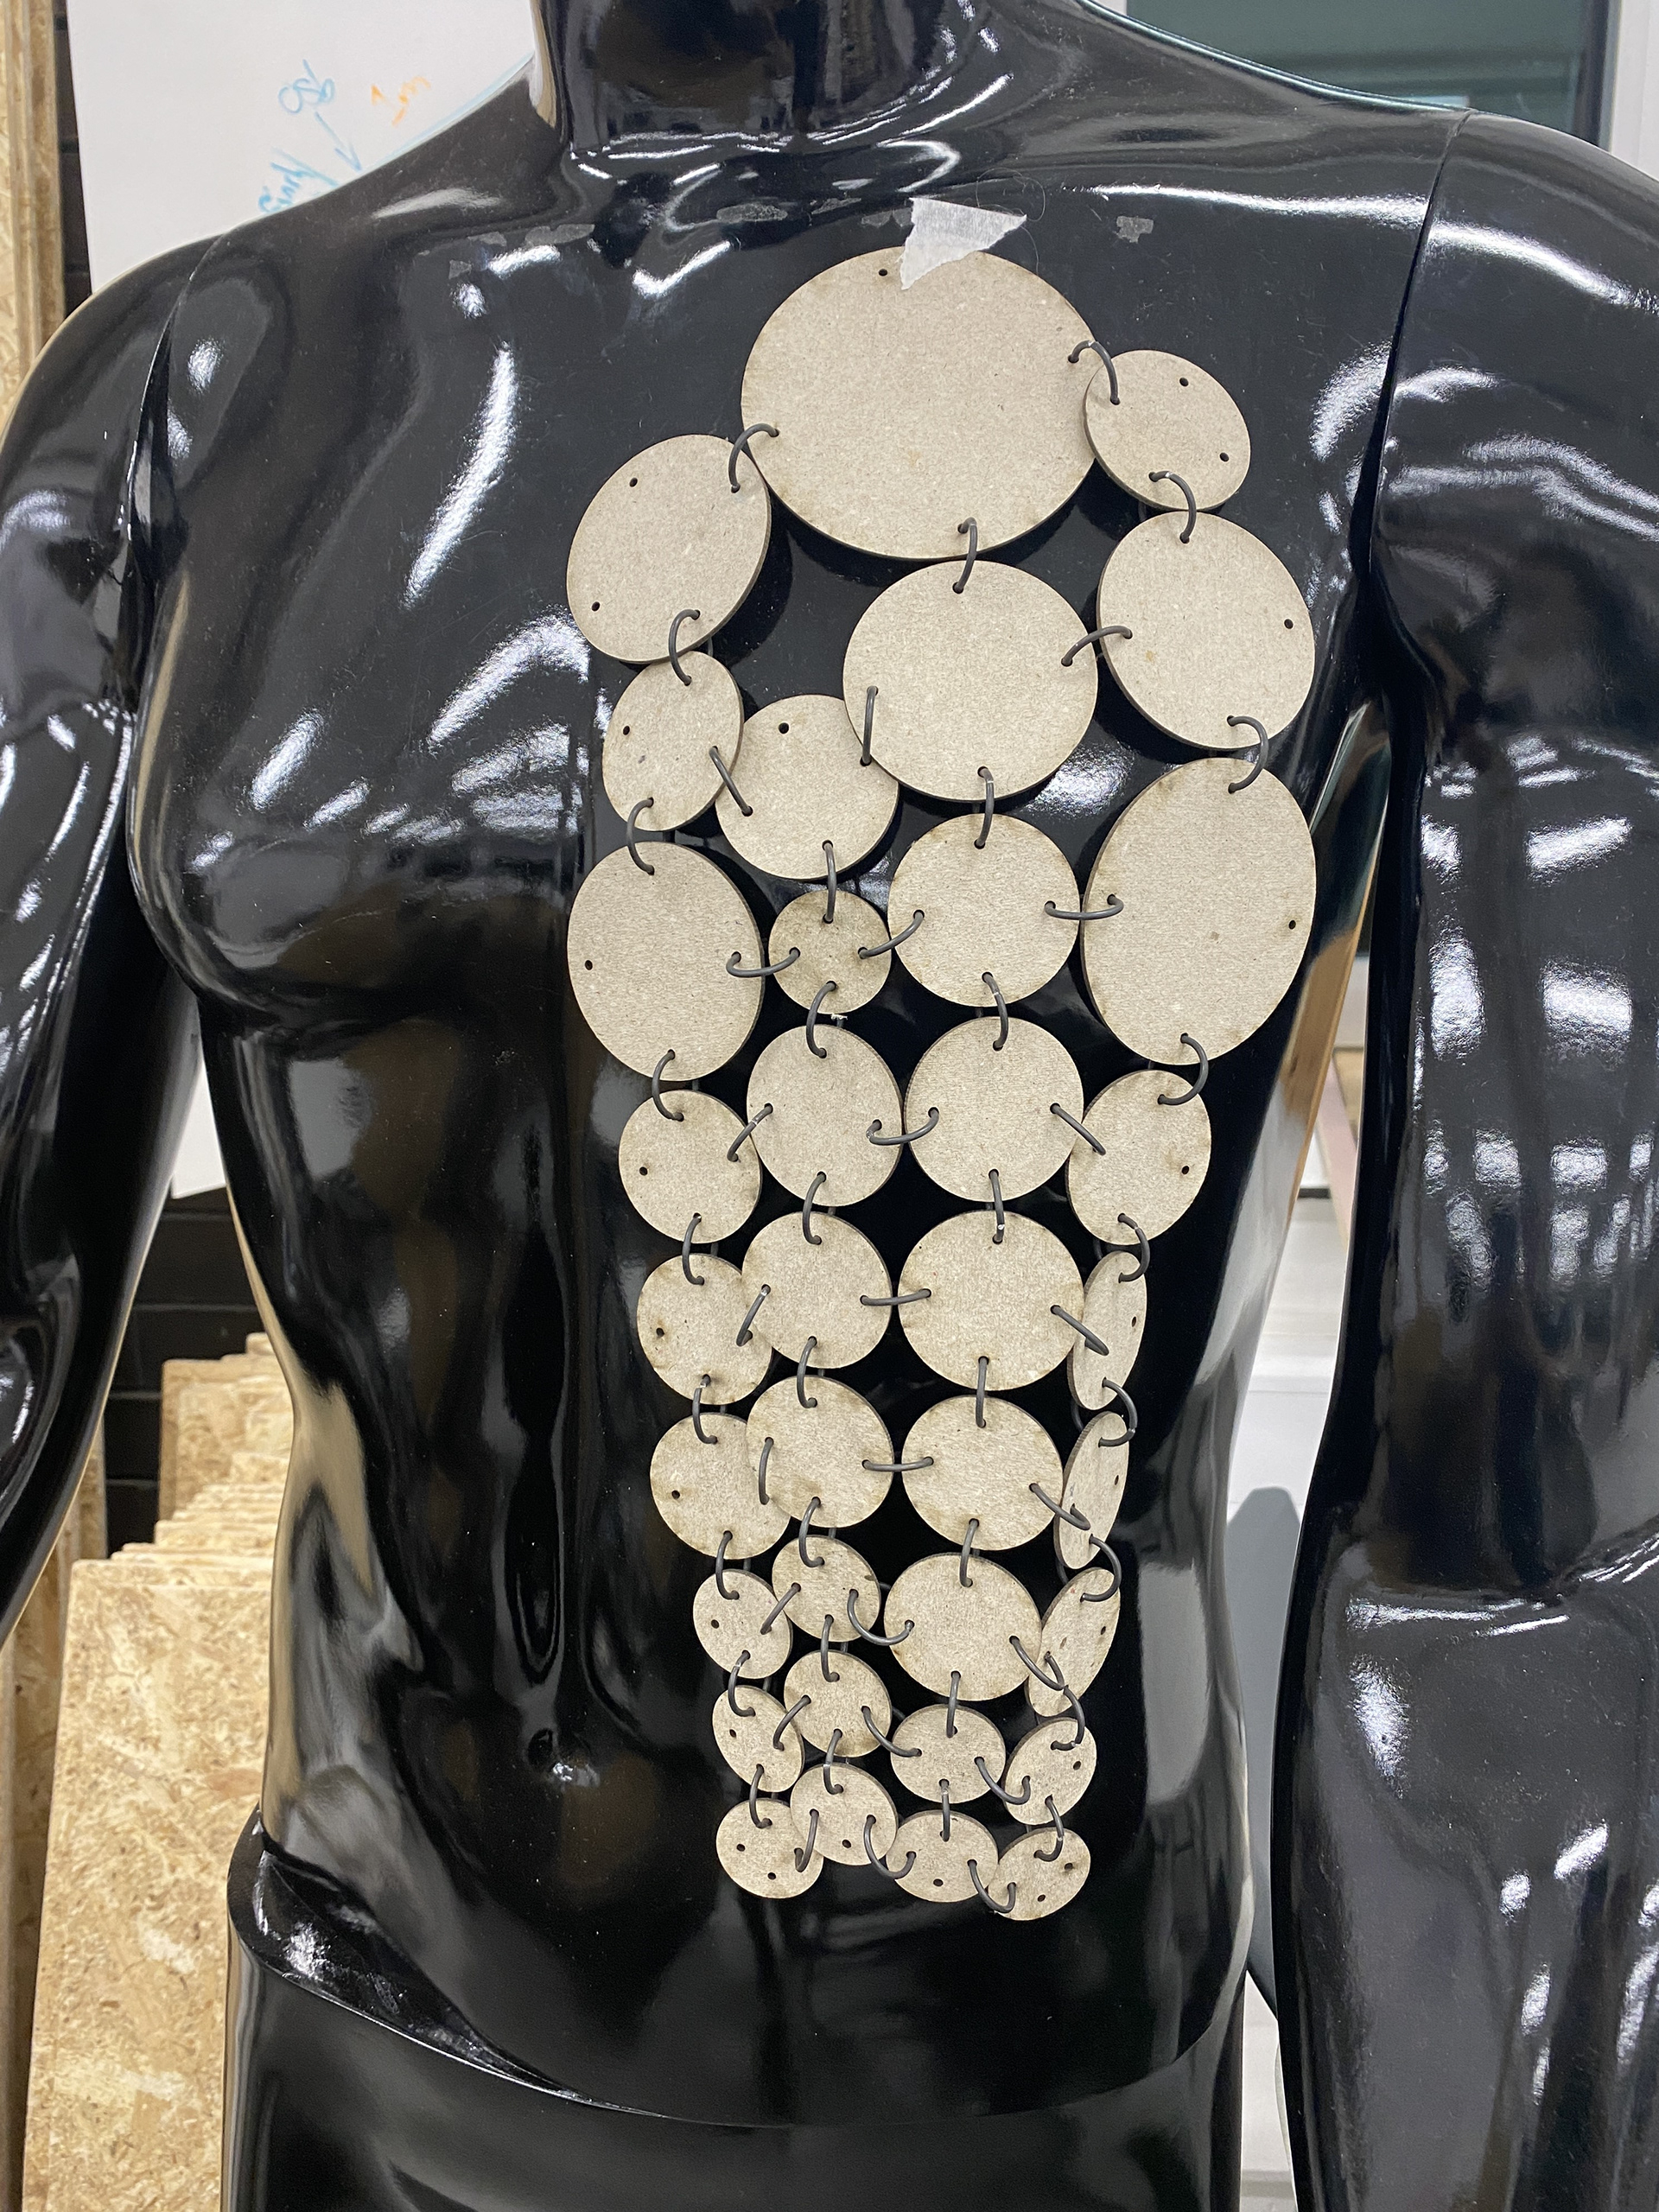
Testing circular plate mail
To experiment with the transition from chain to plate, I looked at taking the outer diameter of the different sized links and translating them into disks. I added holes for jump rings to connect these together and began exploring the shift from a fluid and flexible structure towards a rigid one.
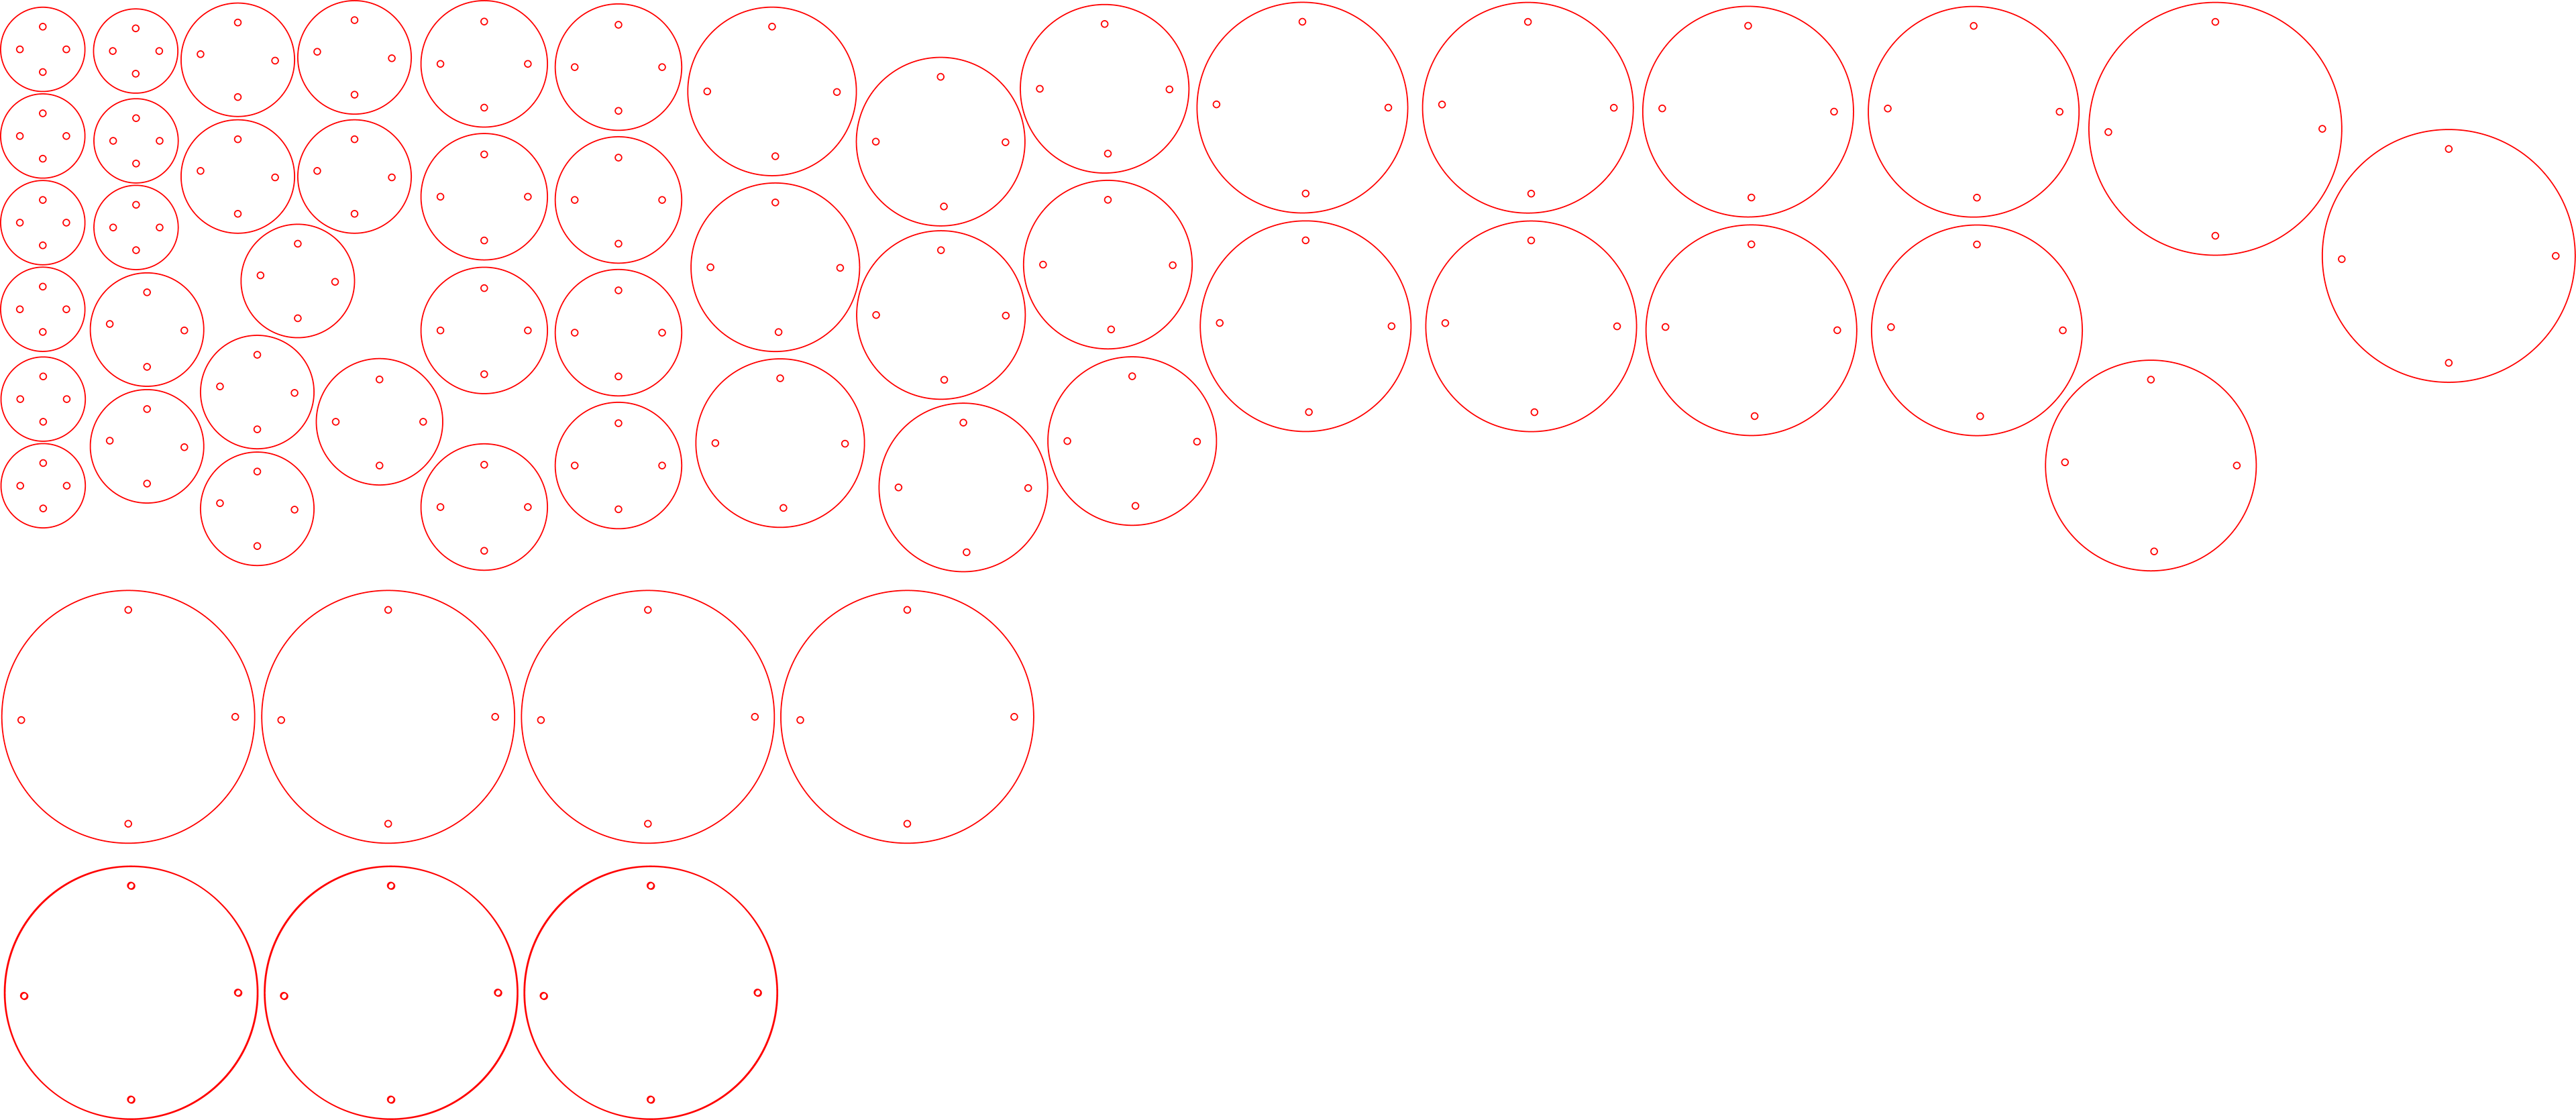

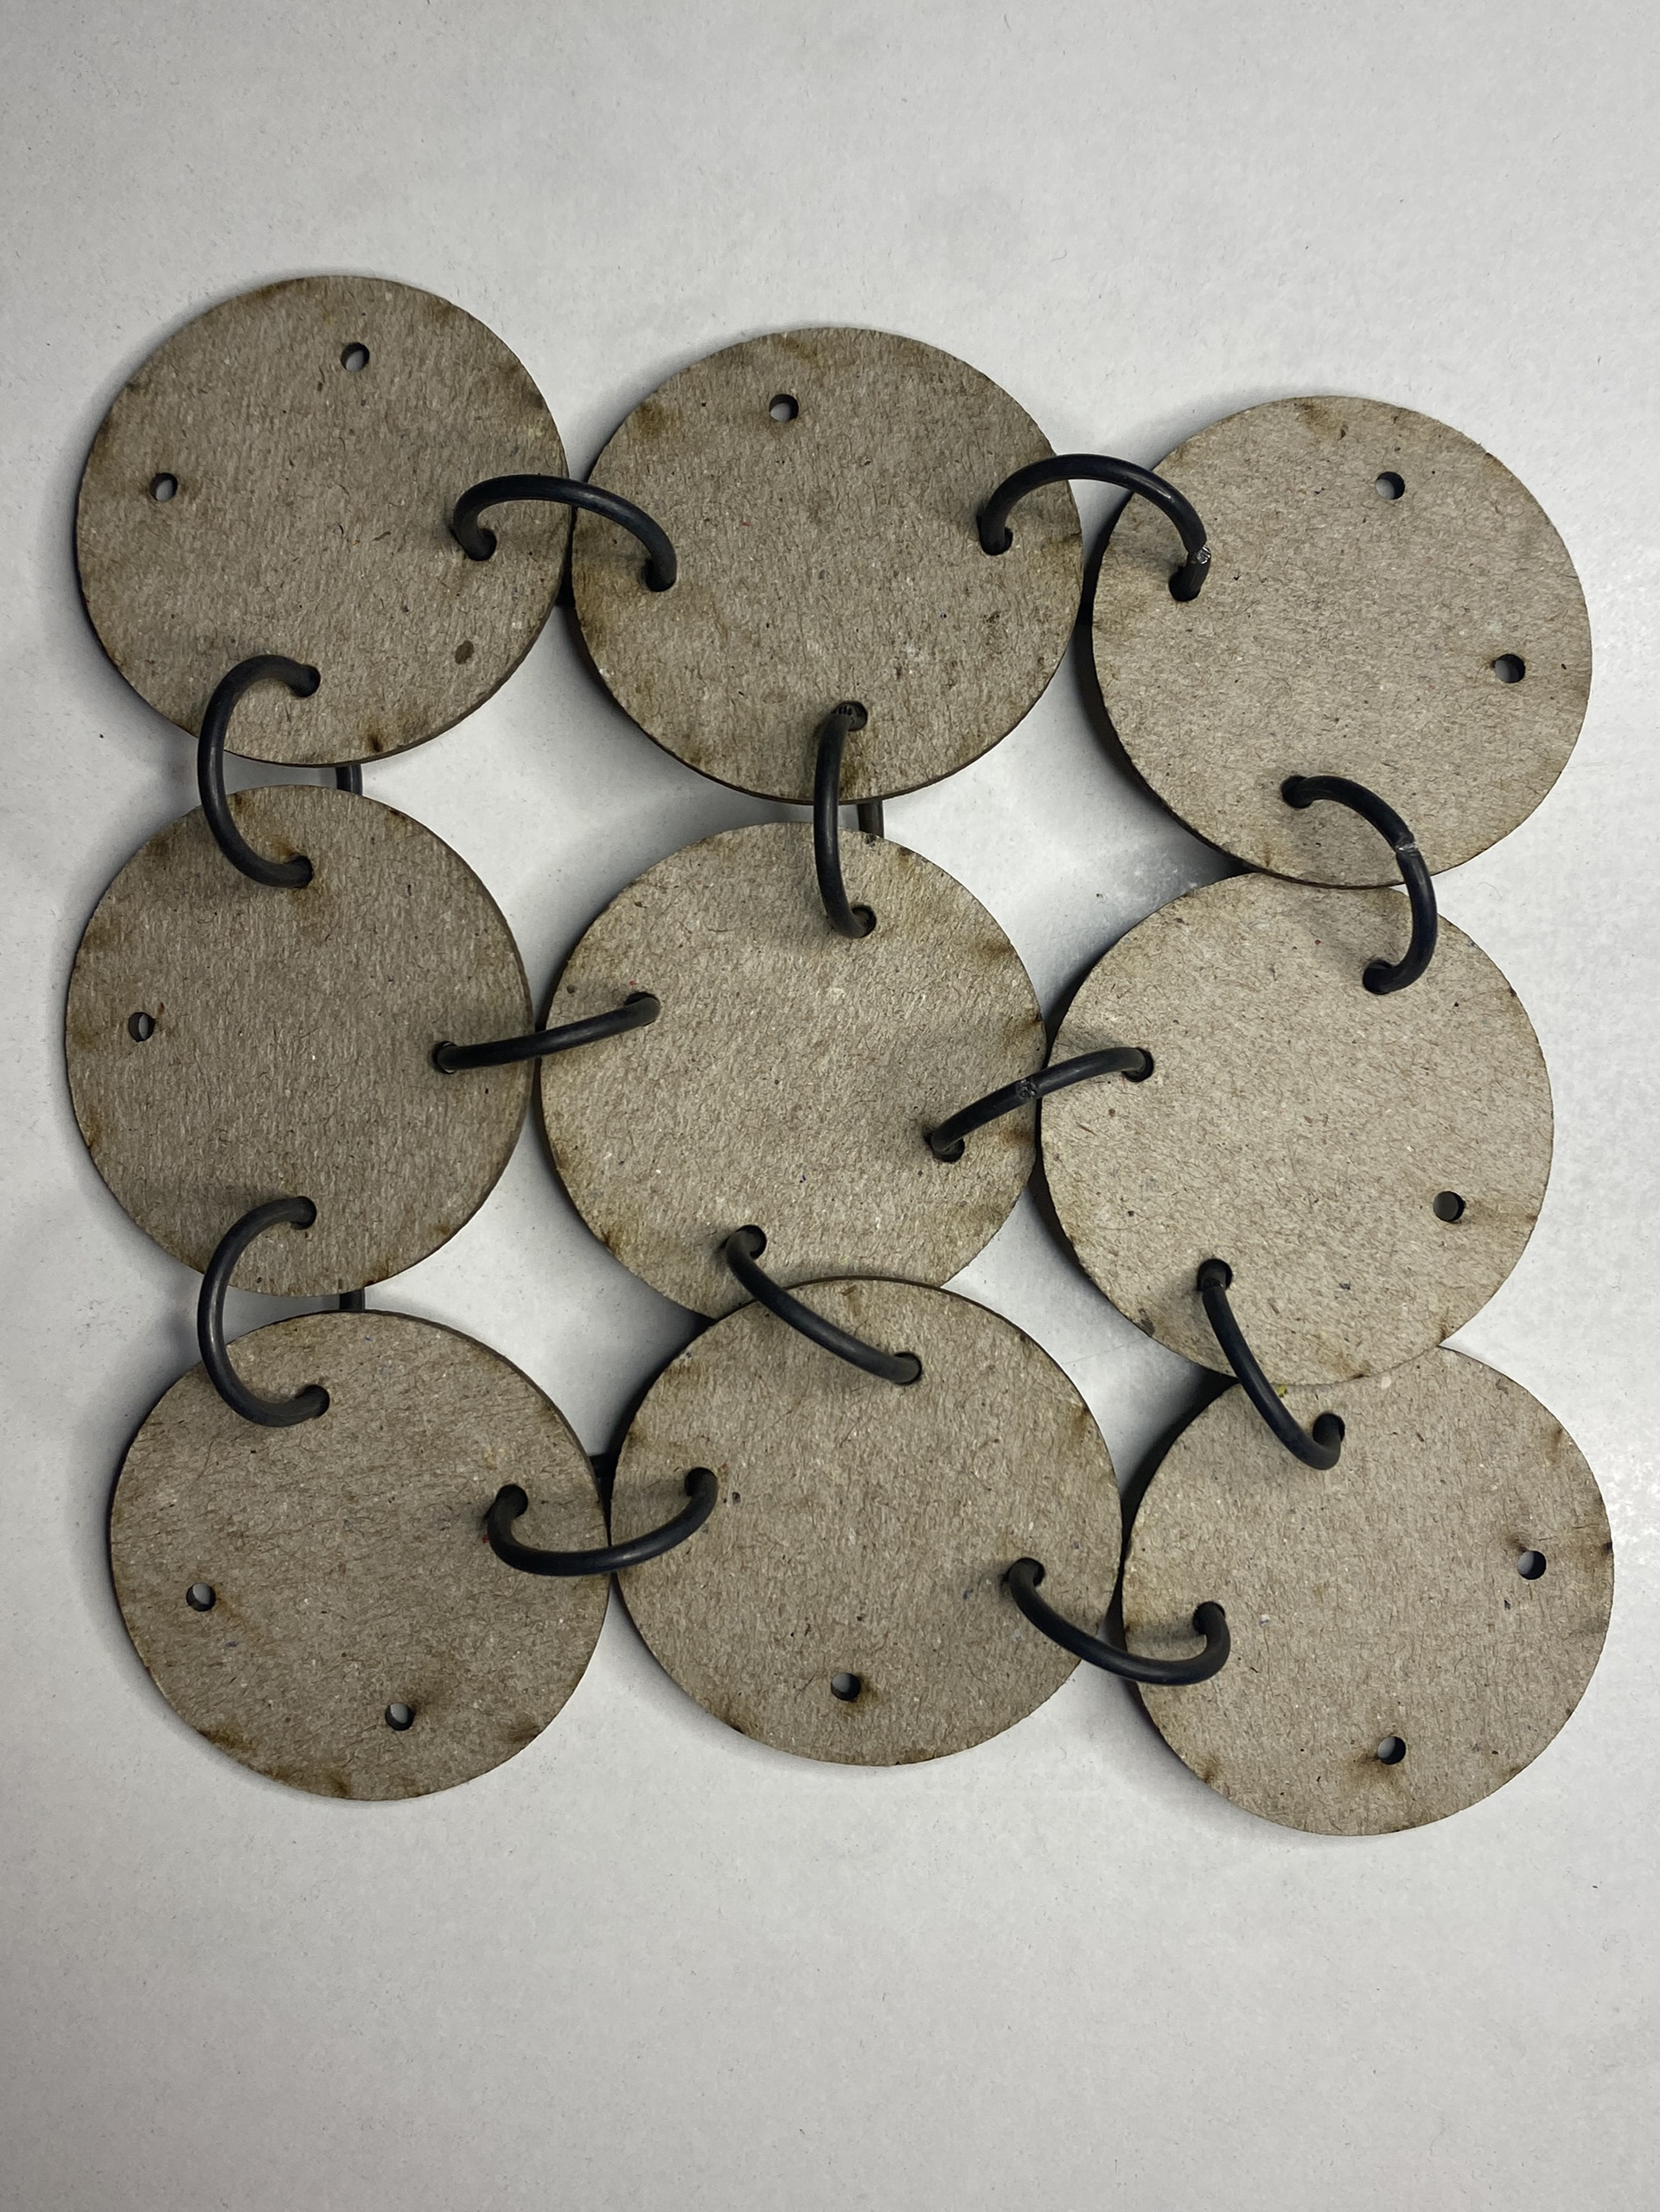
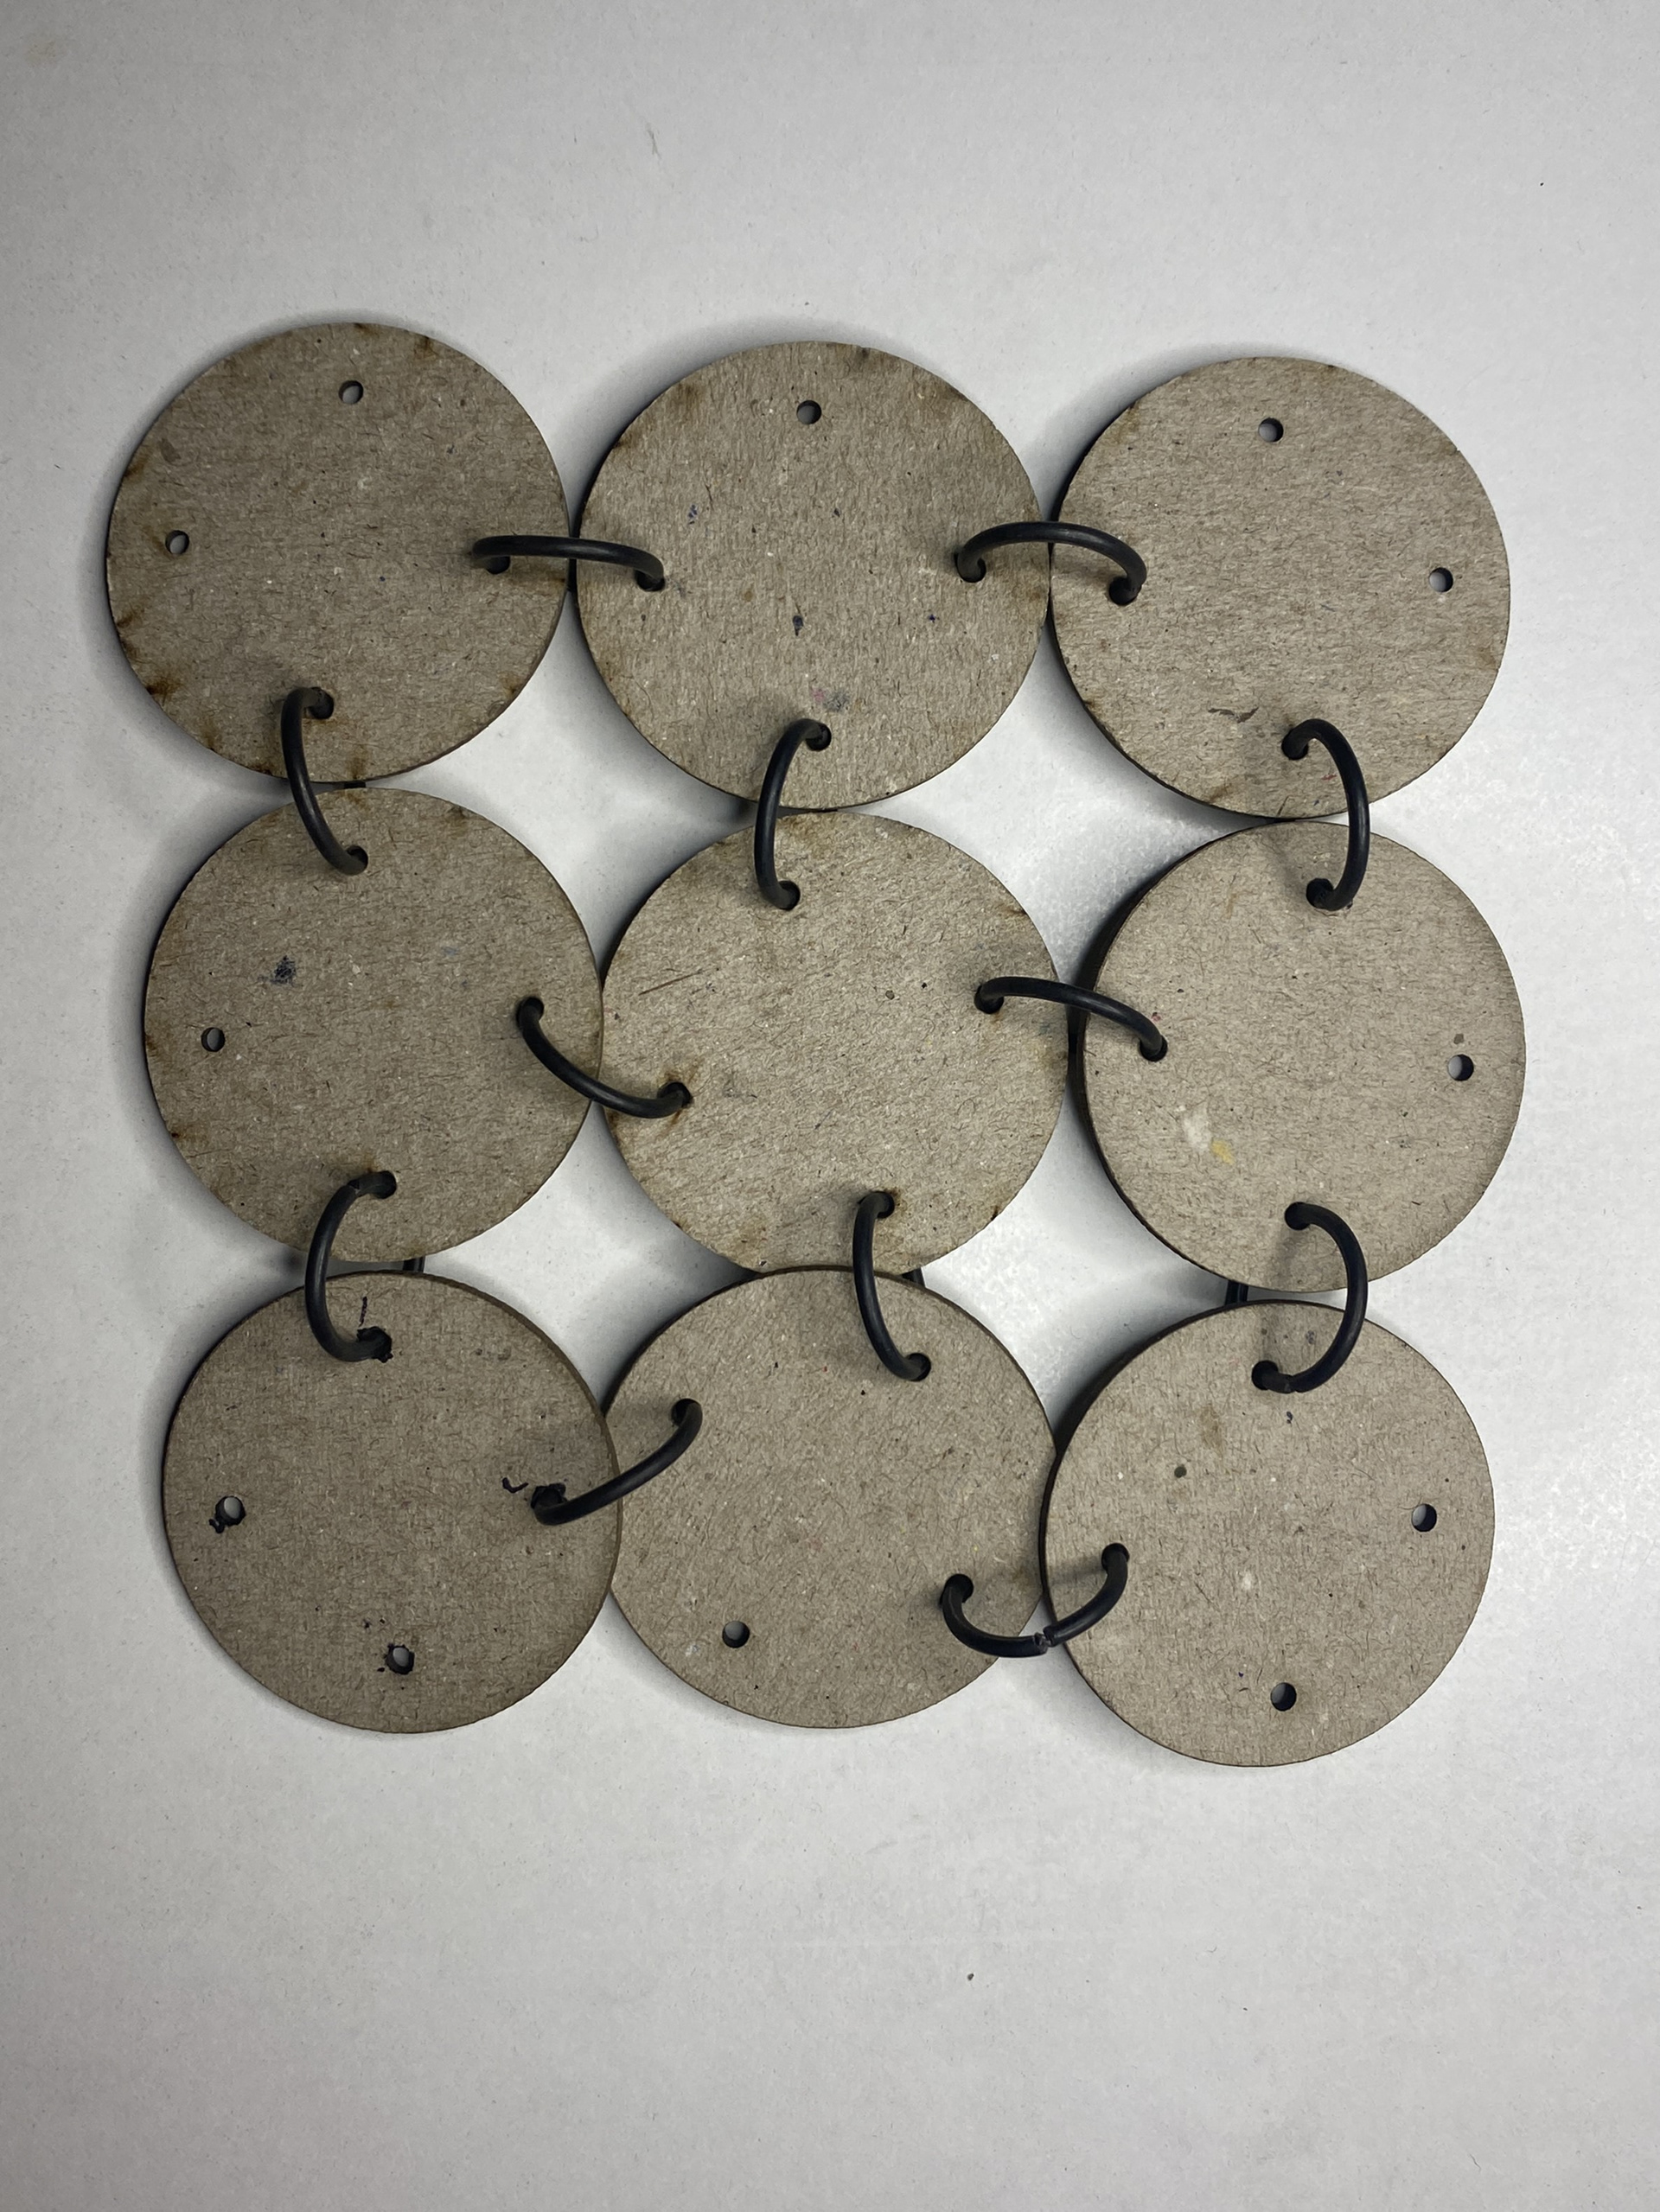
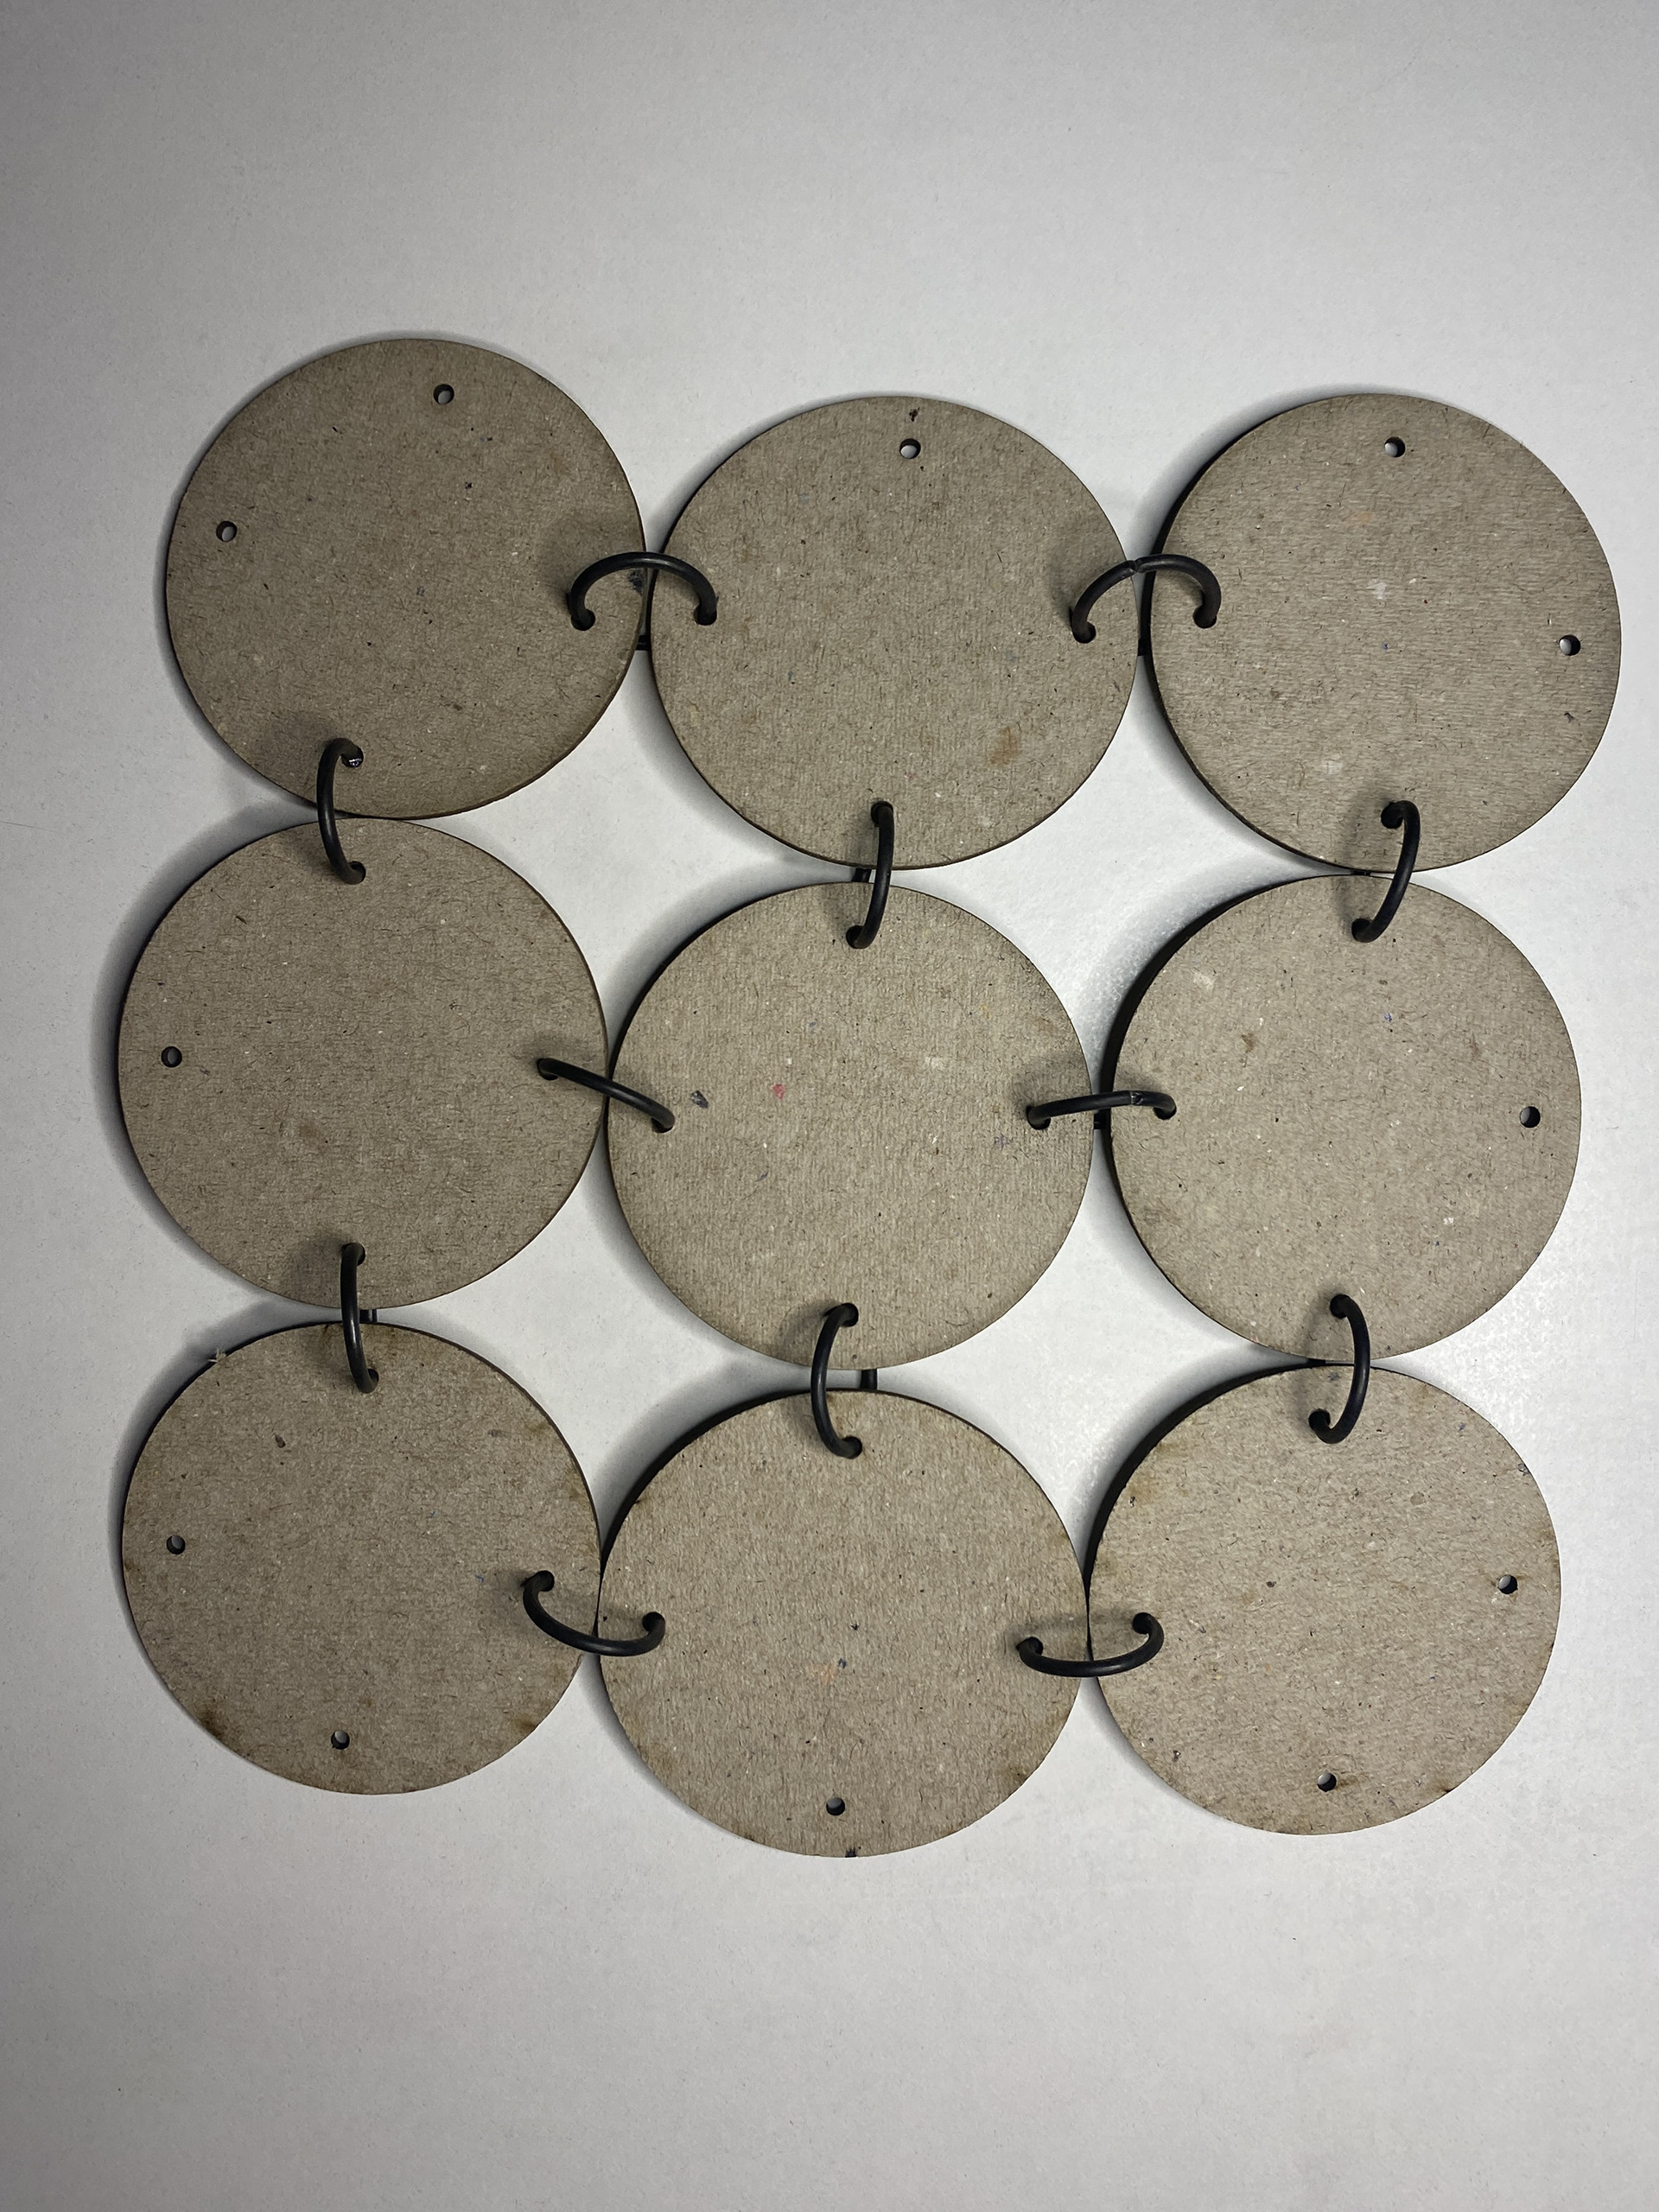
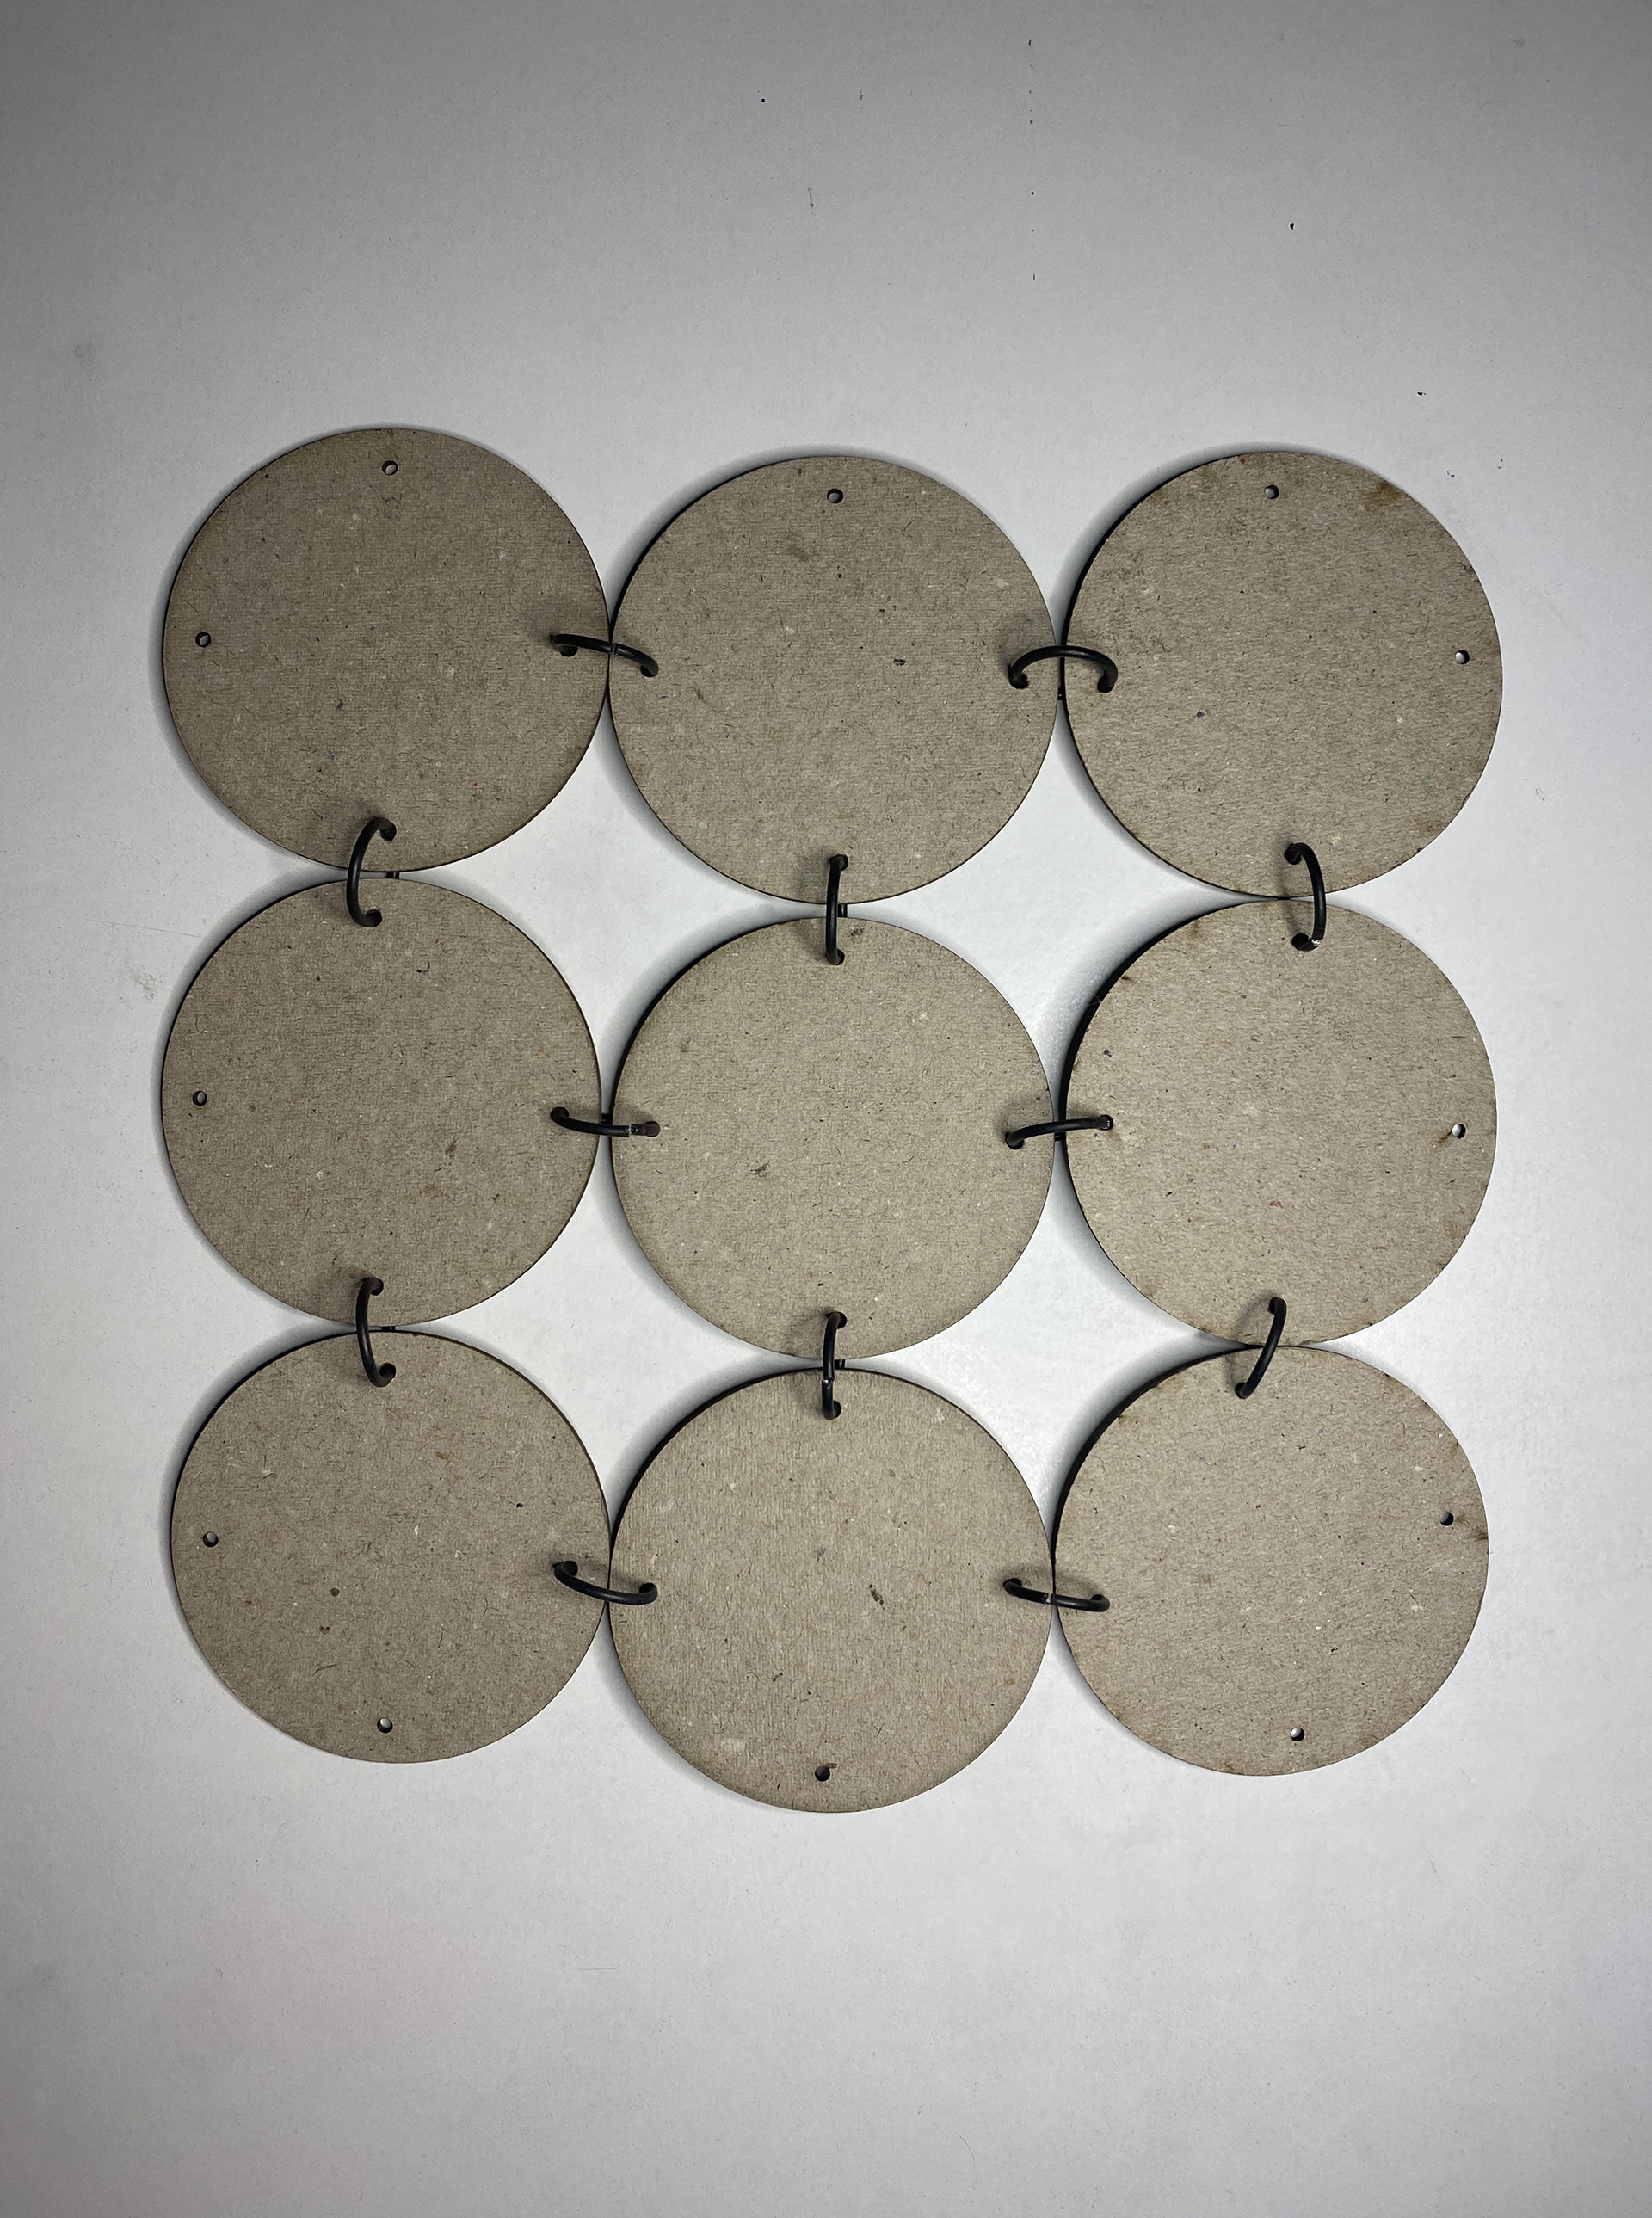
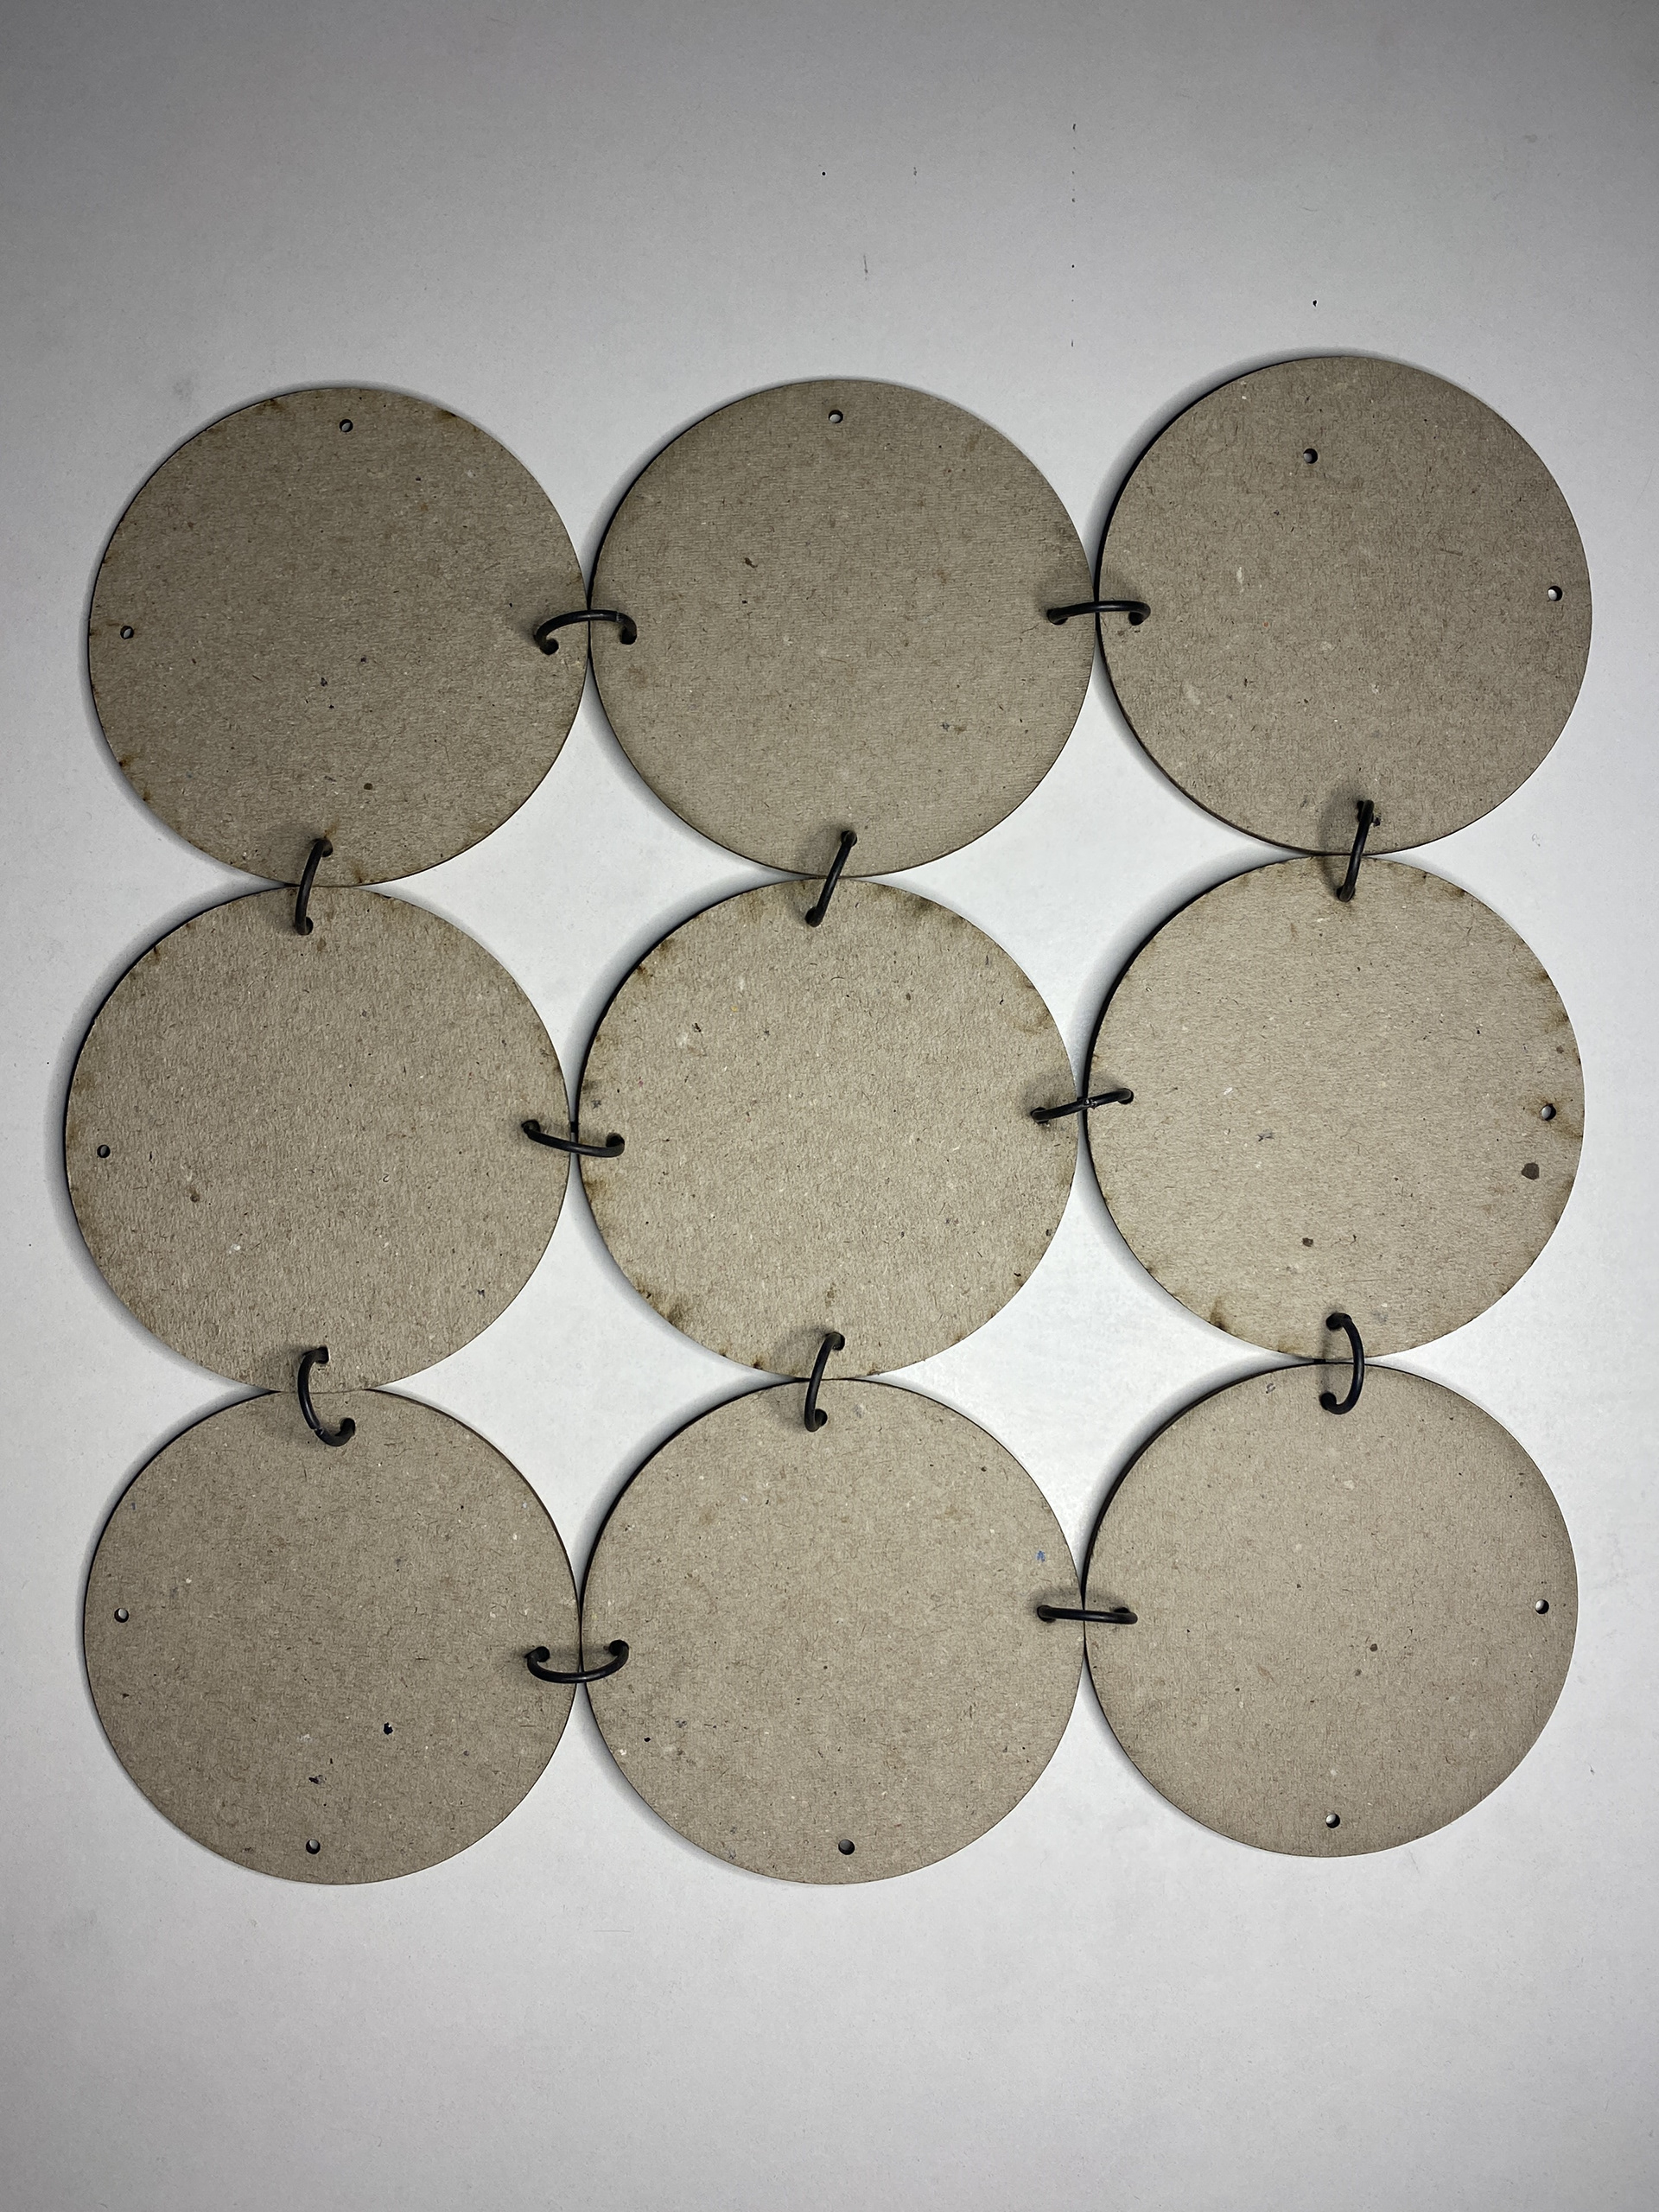
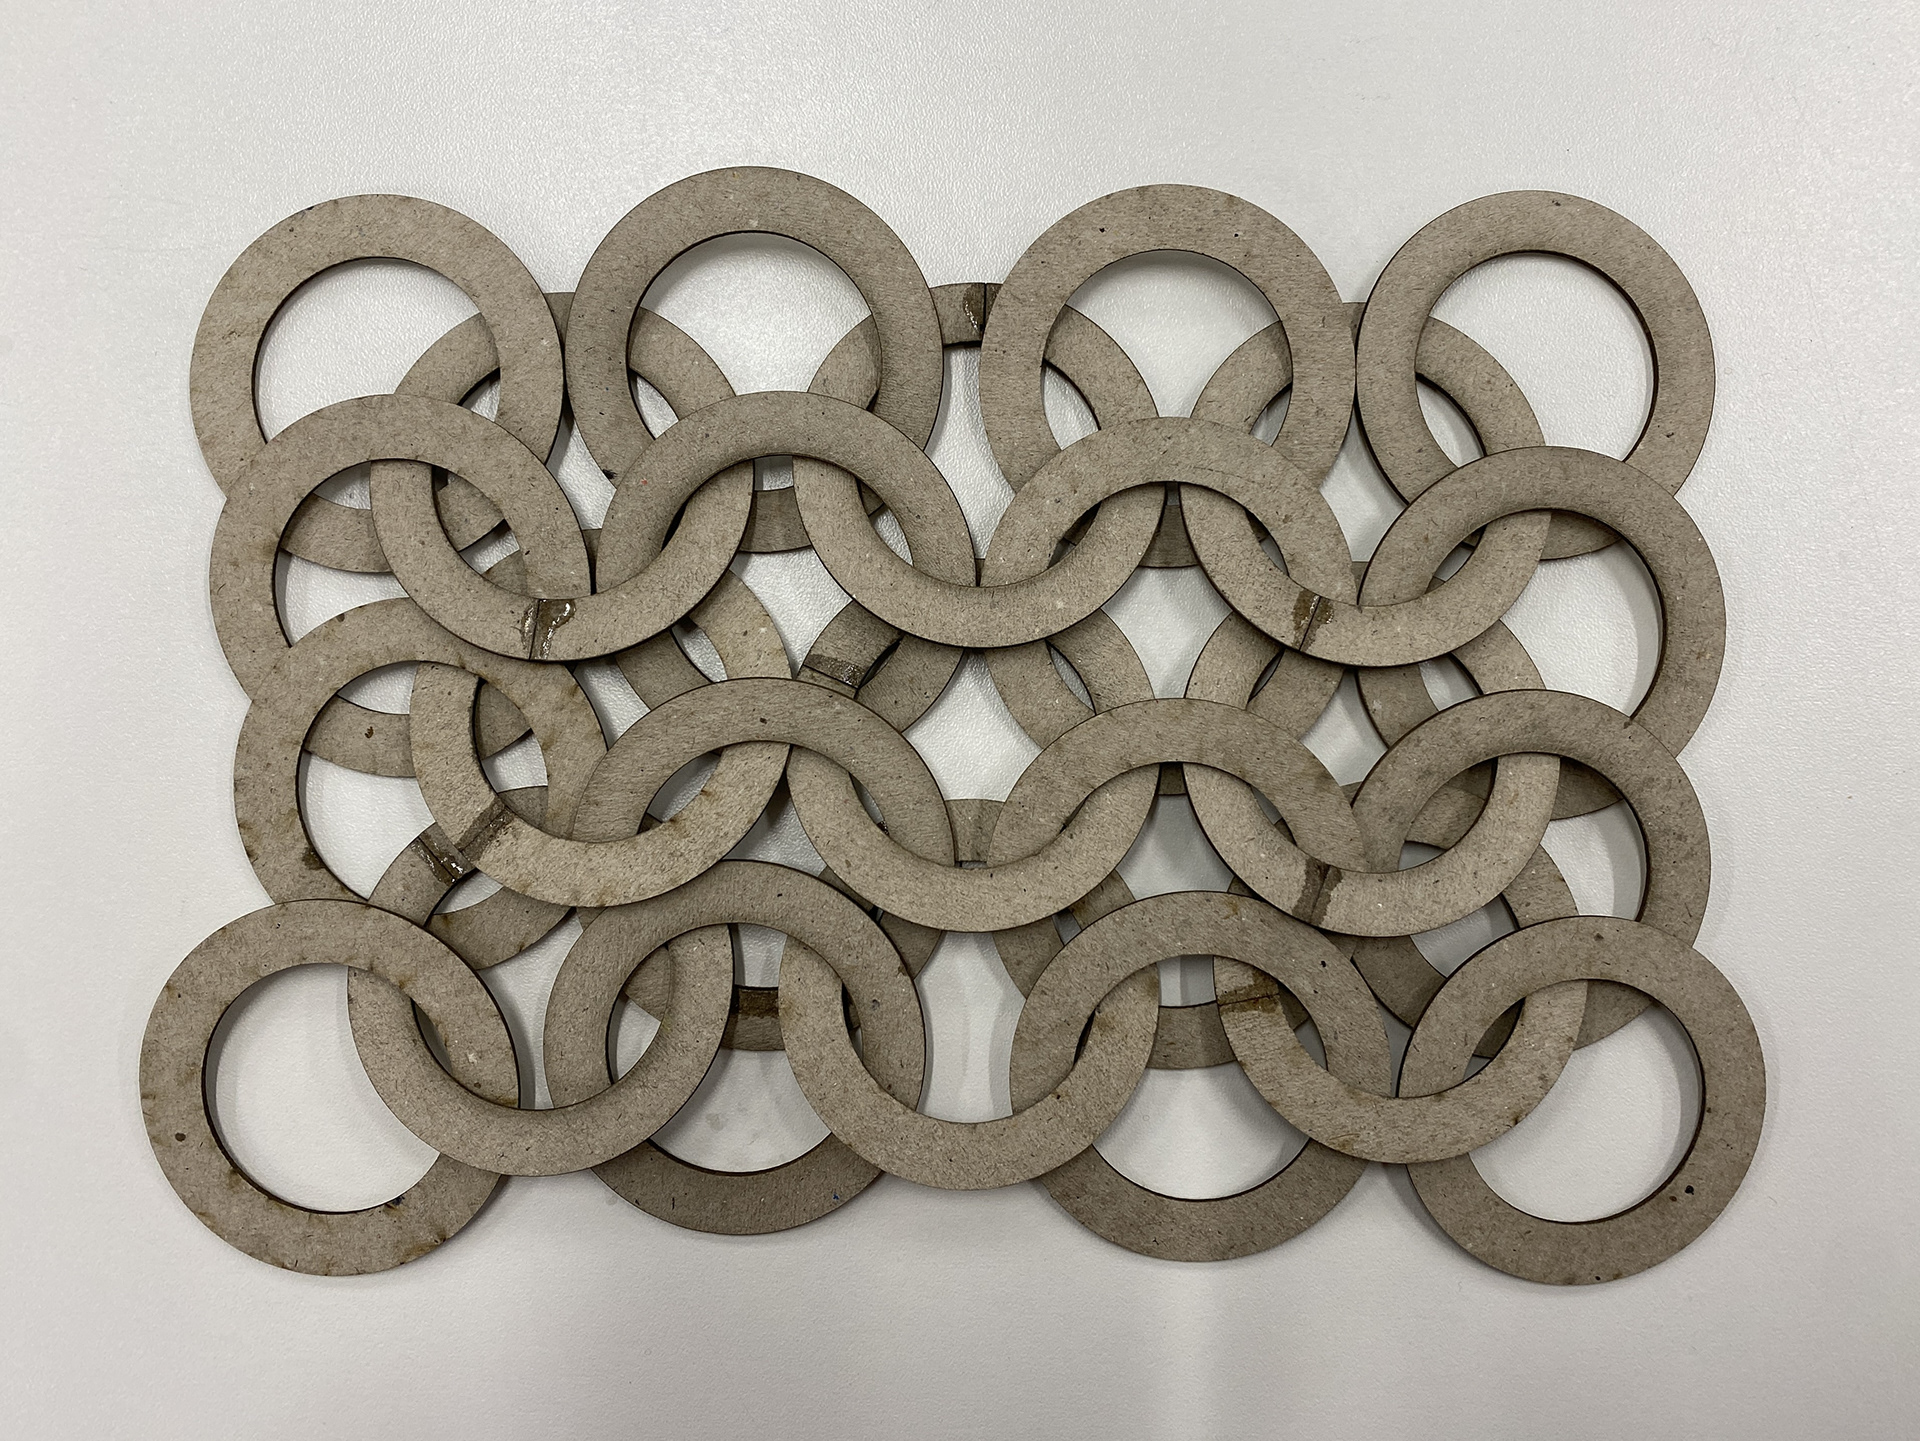
I tested all the differing diameters to explore how this would alter the structure’s flexibility. I found that the smaller the individual circles, the more the sheet would flow and mould over the body. As the circles decreased in size, the jump rings became a more imposing feature and seamed to dominate, drawing the focus away from the sheet.
I believe there is room to investigate this idea further but need to explore certain elements to achieve a more refined system. One being the connection between the chain, circles and a flat/ raised sheet, either looking at interweaving them or adding additional jump rings. Secondly, looking into altering the diameter of the circles to vary the rigidity and coverage of the structure. Finaly the size and prominence of the jump rings, ensuring that they don't become the focal point.
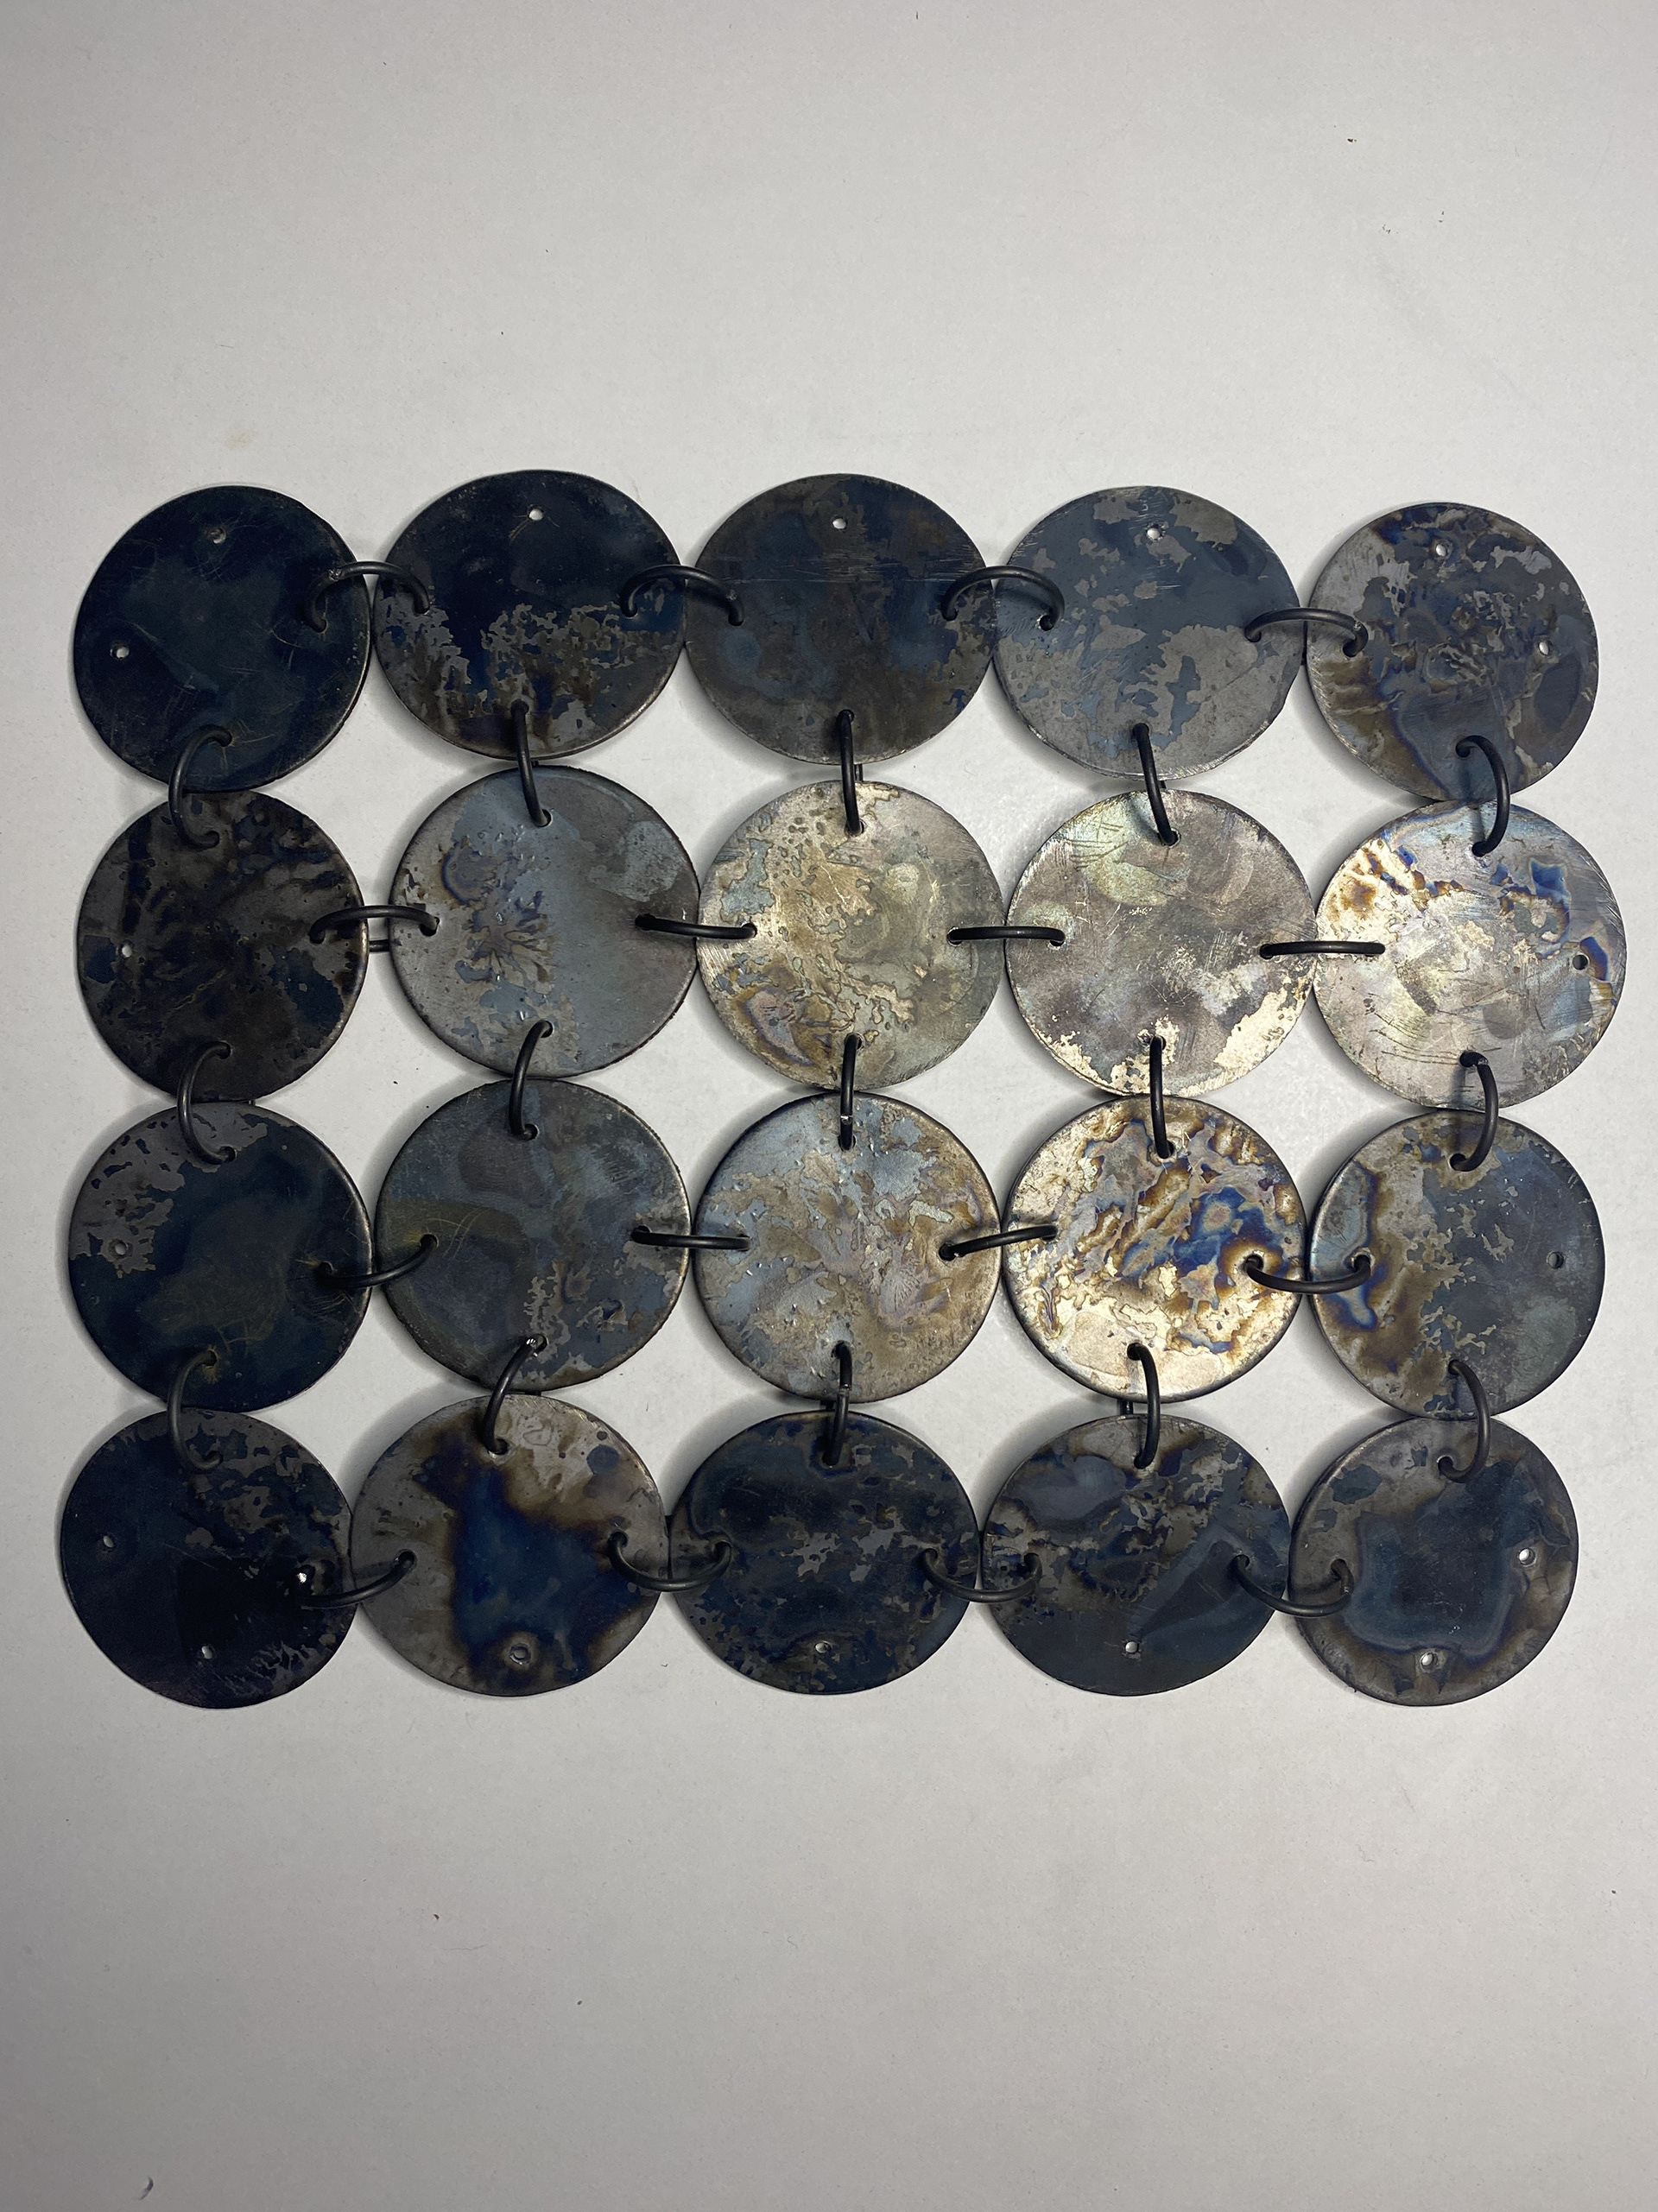
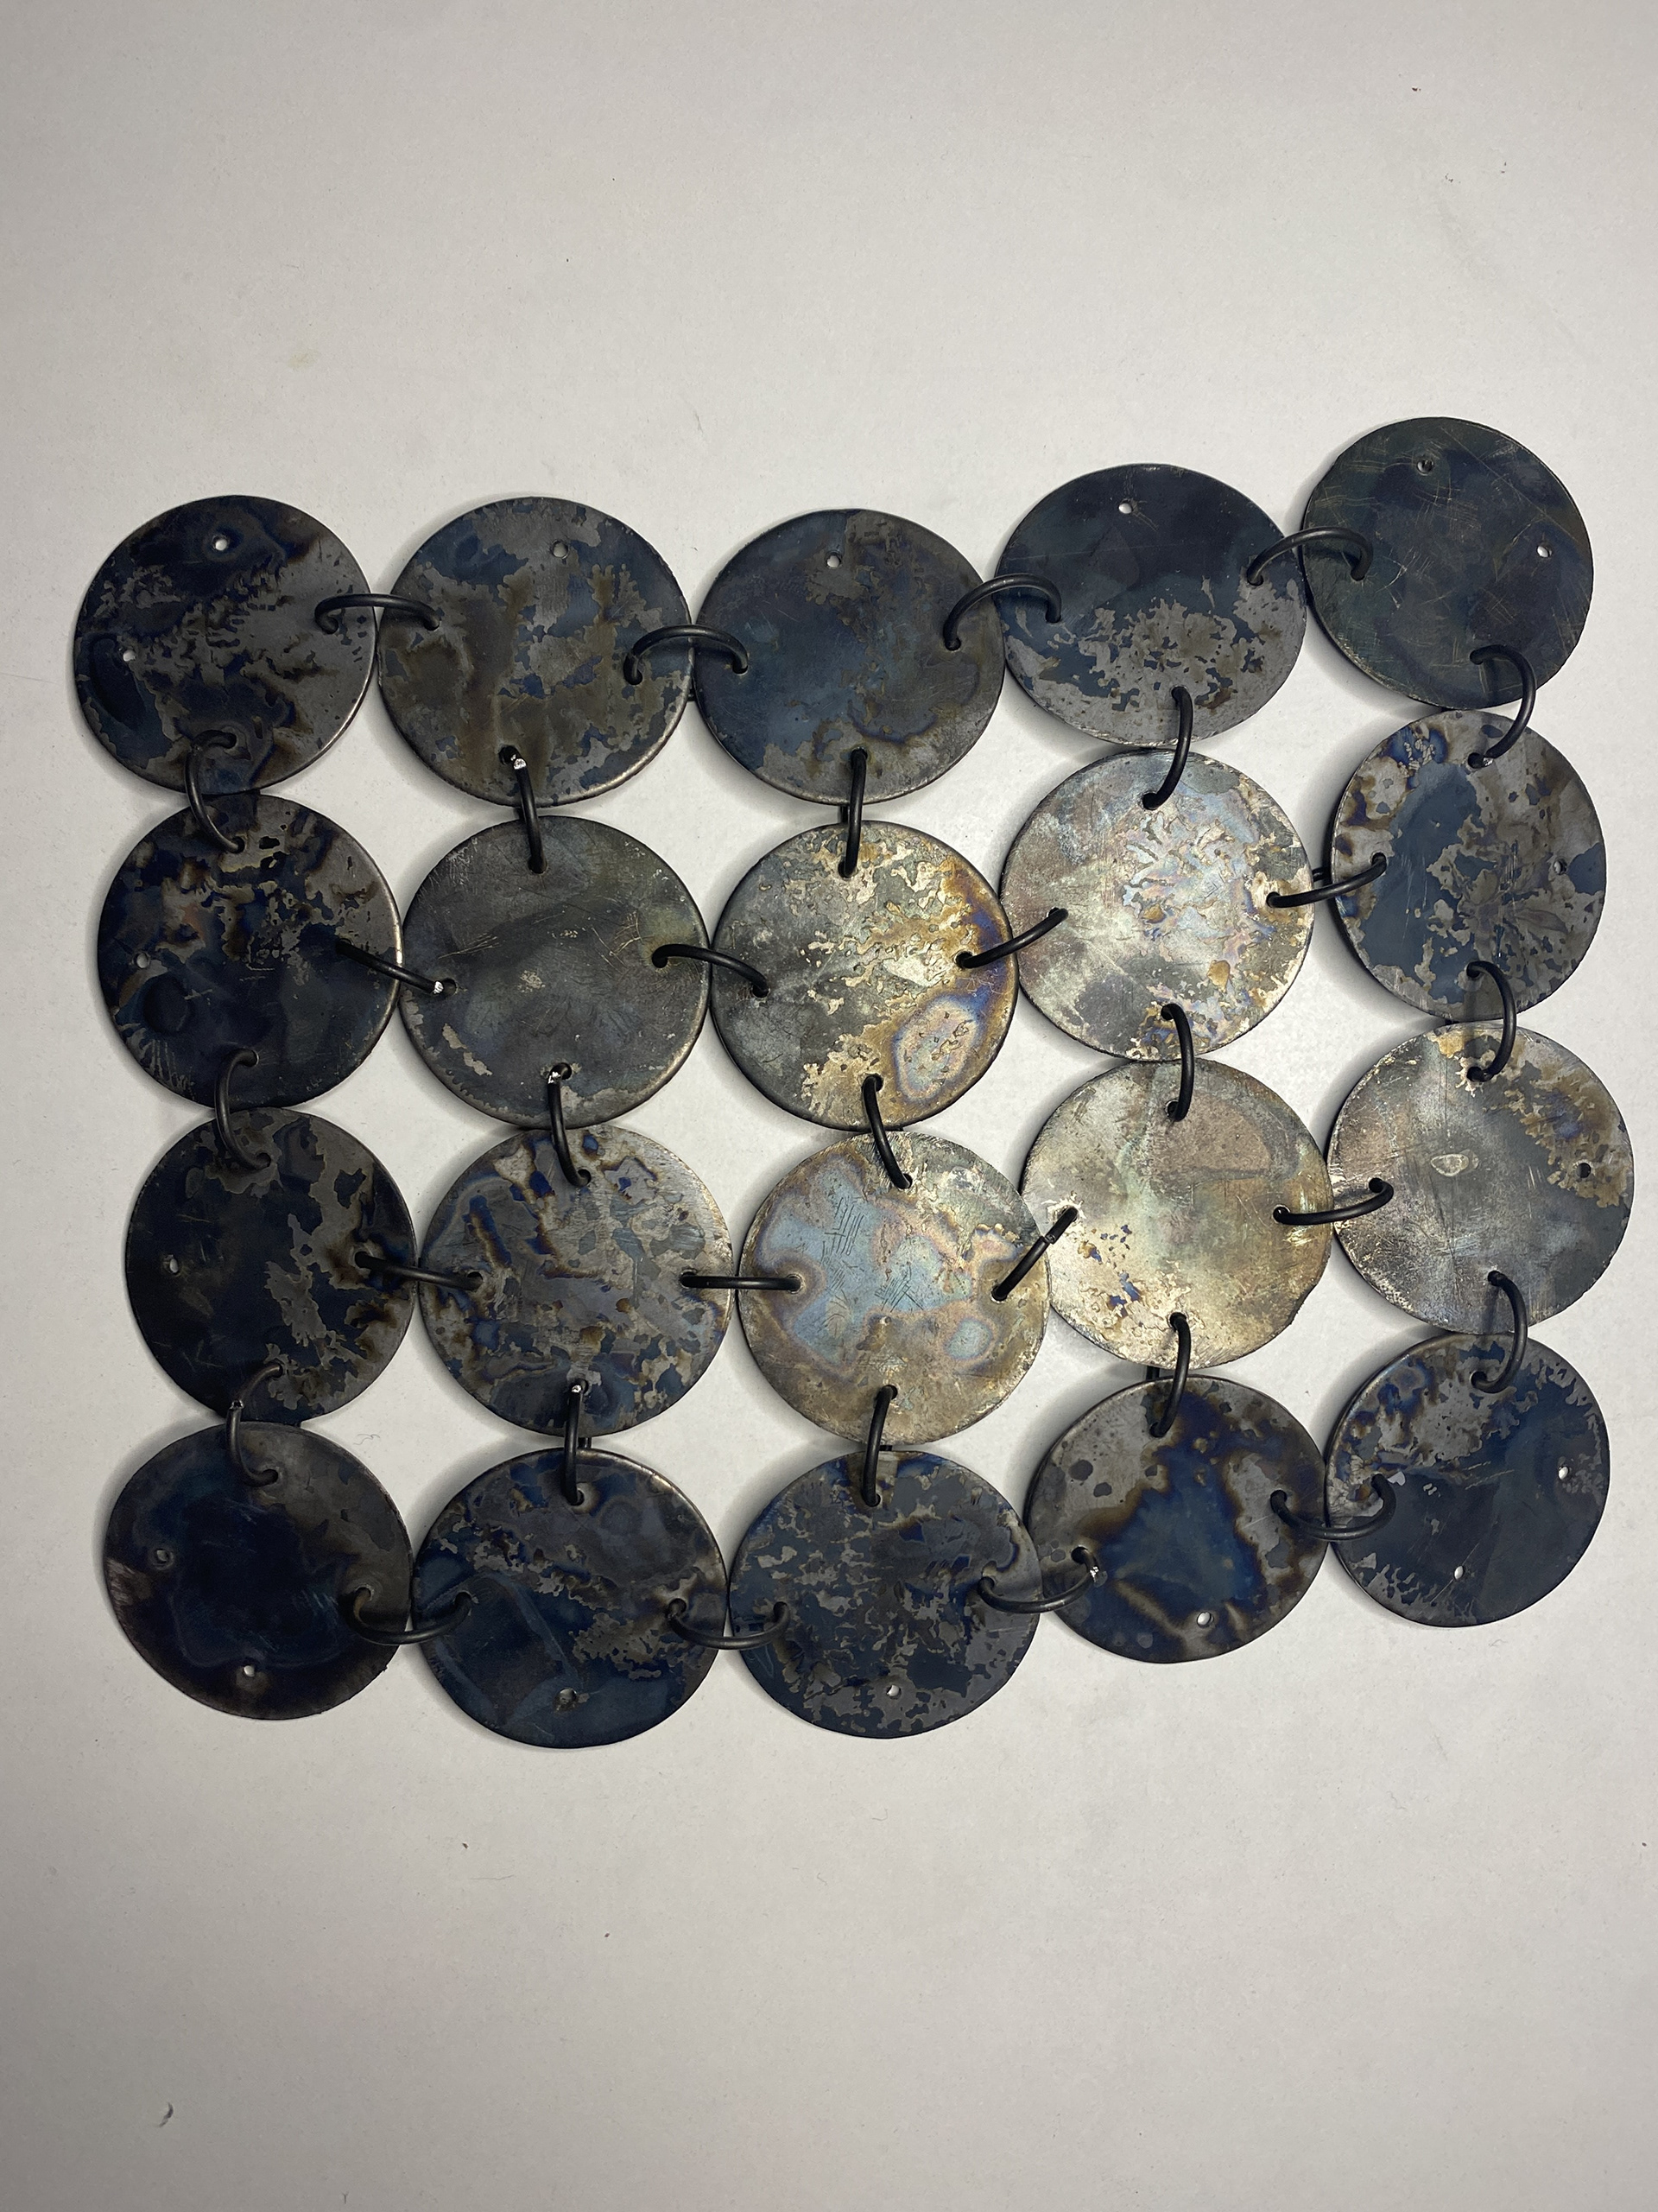
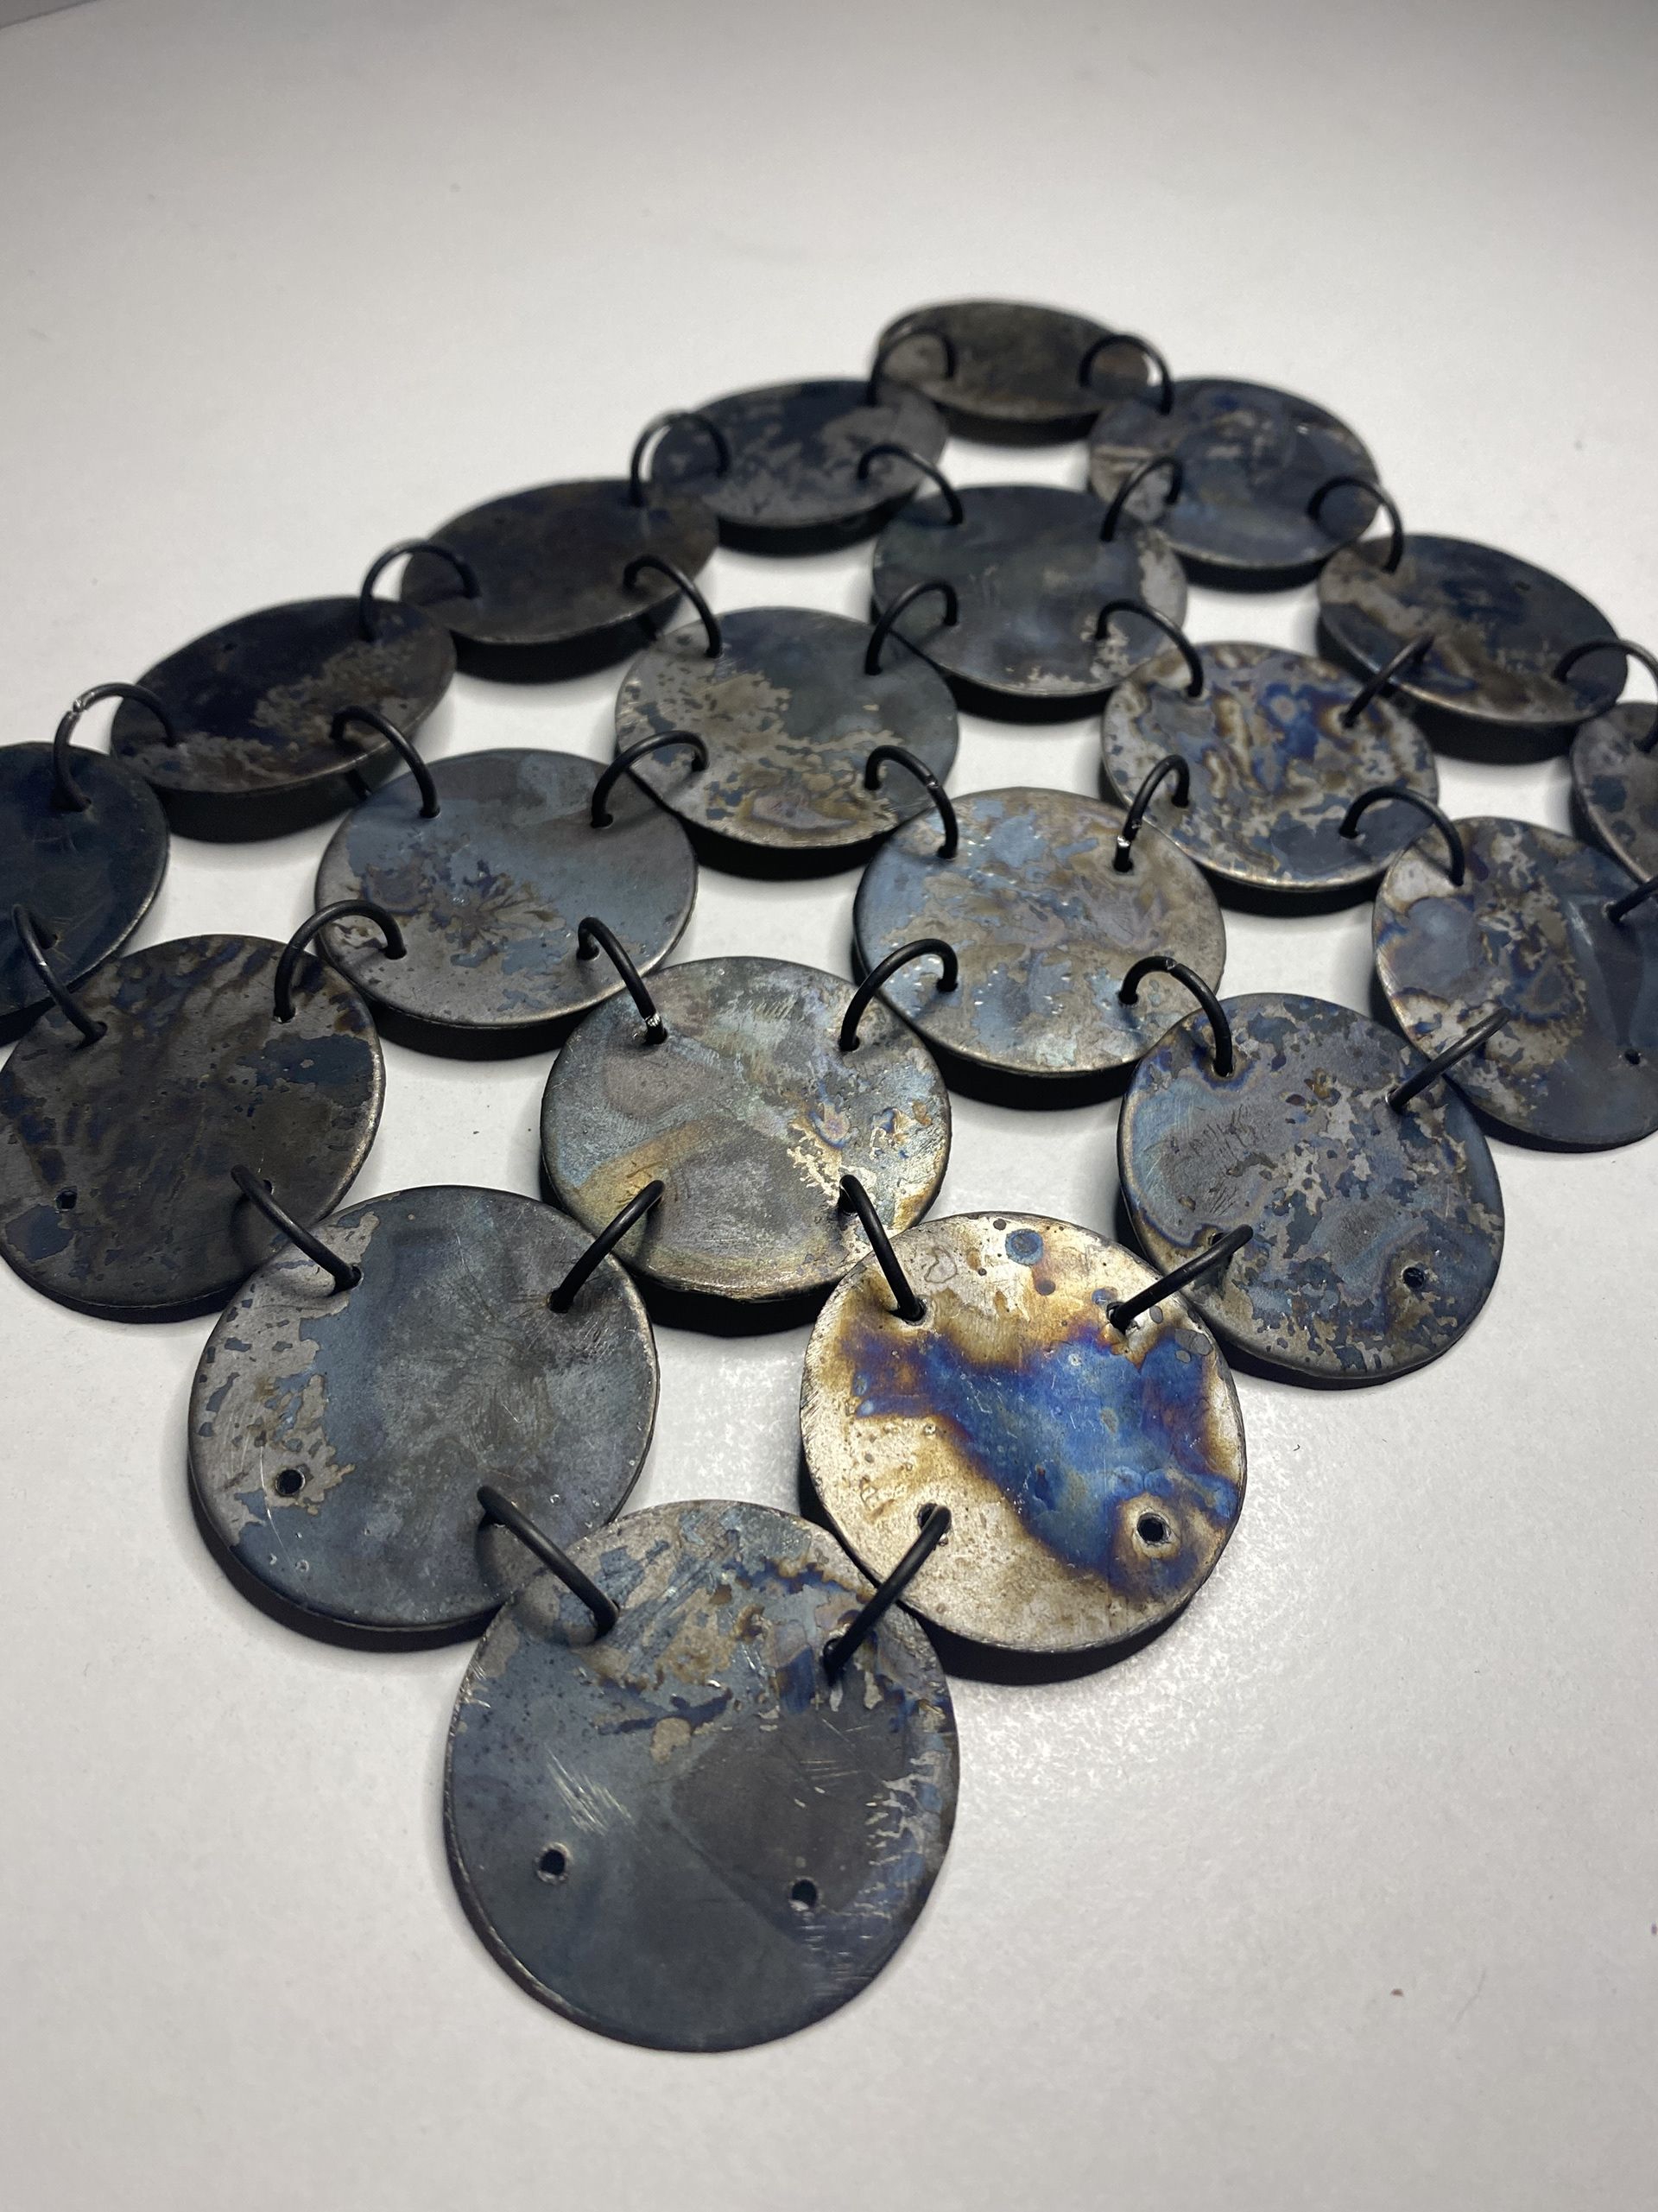
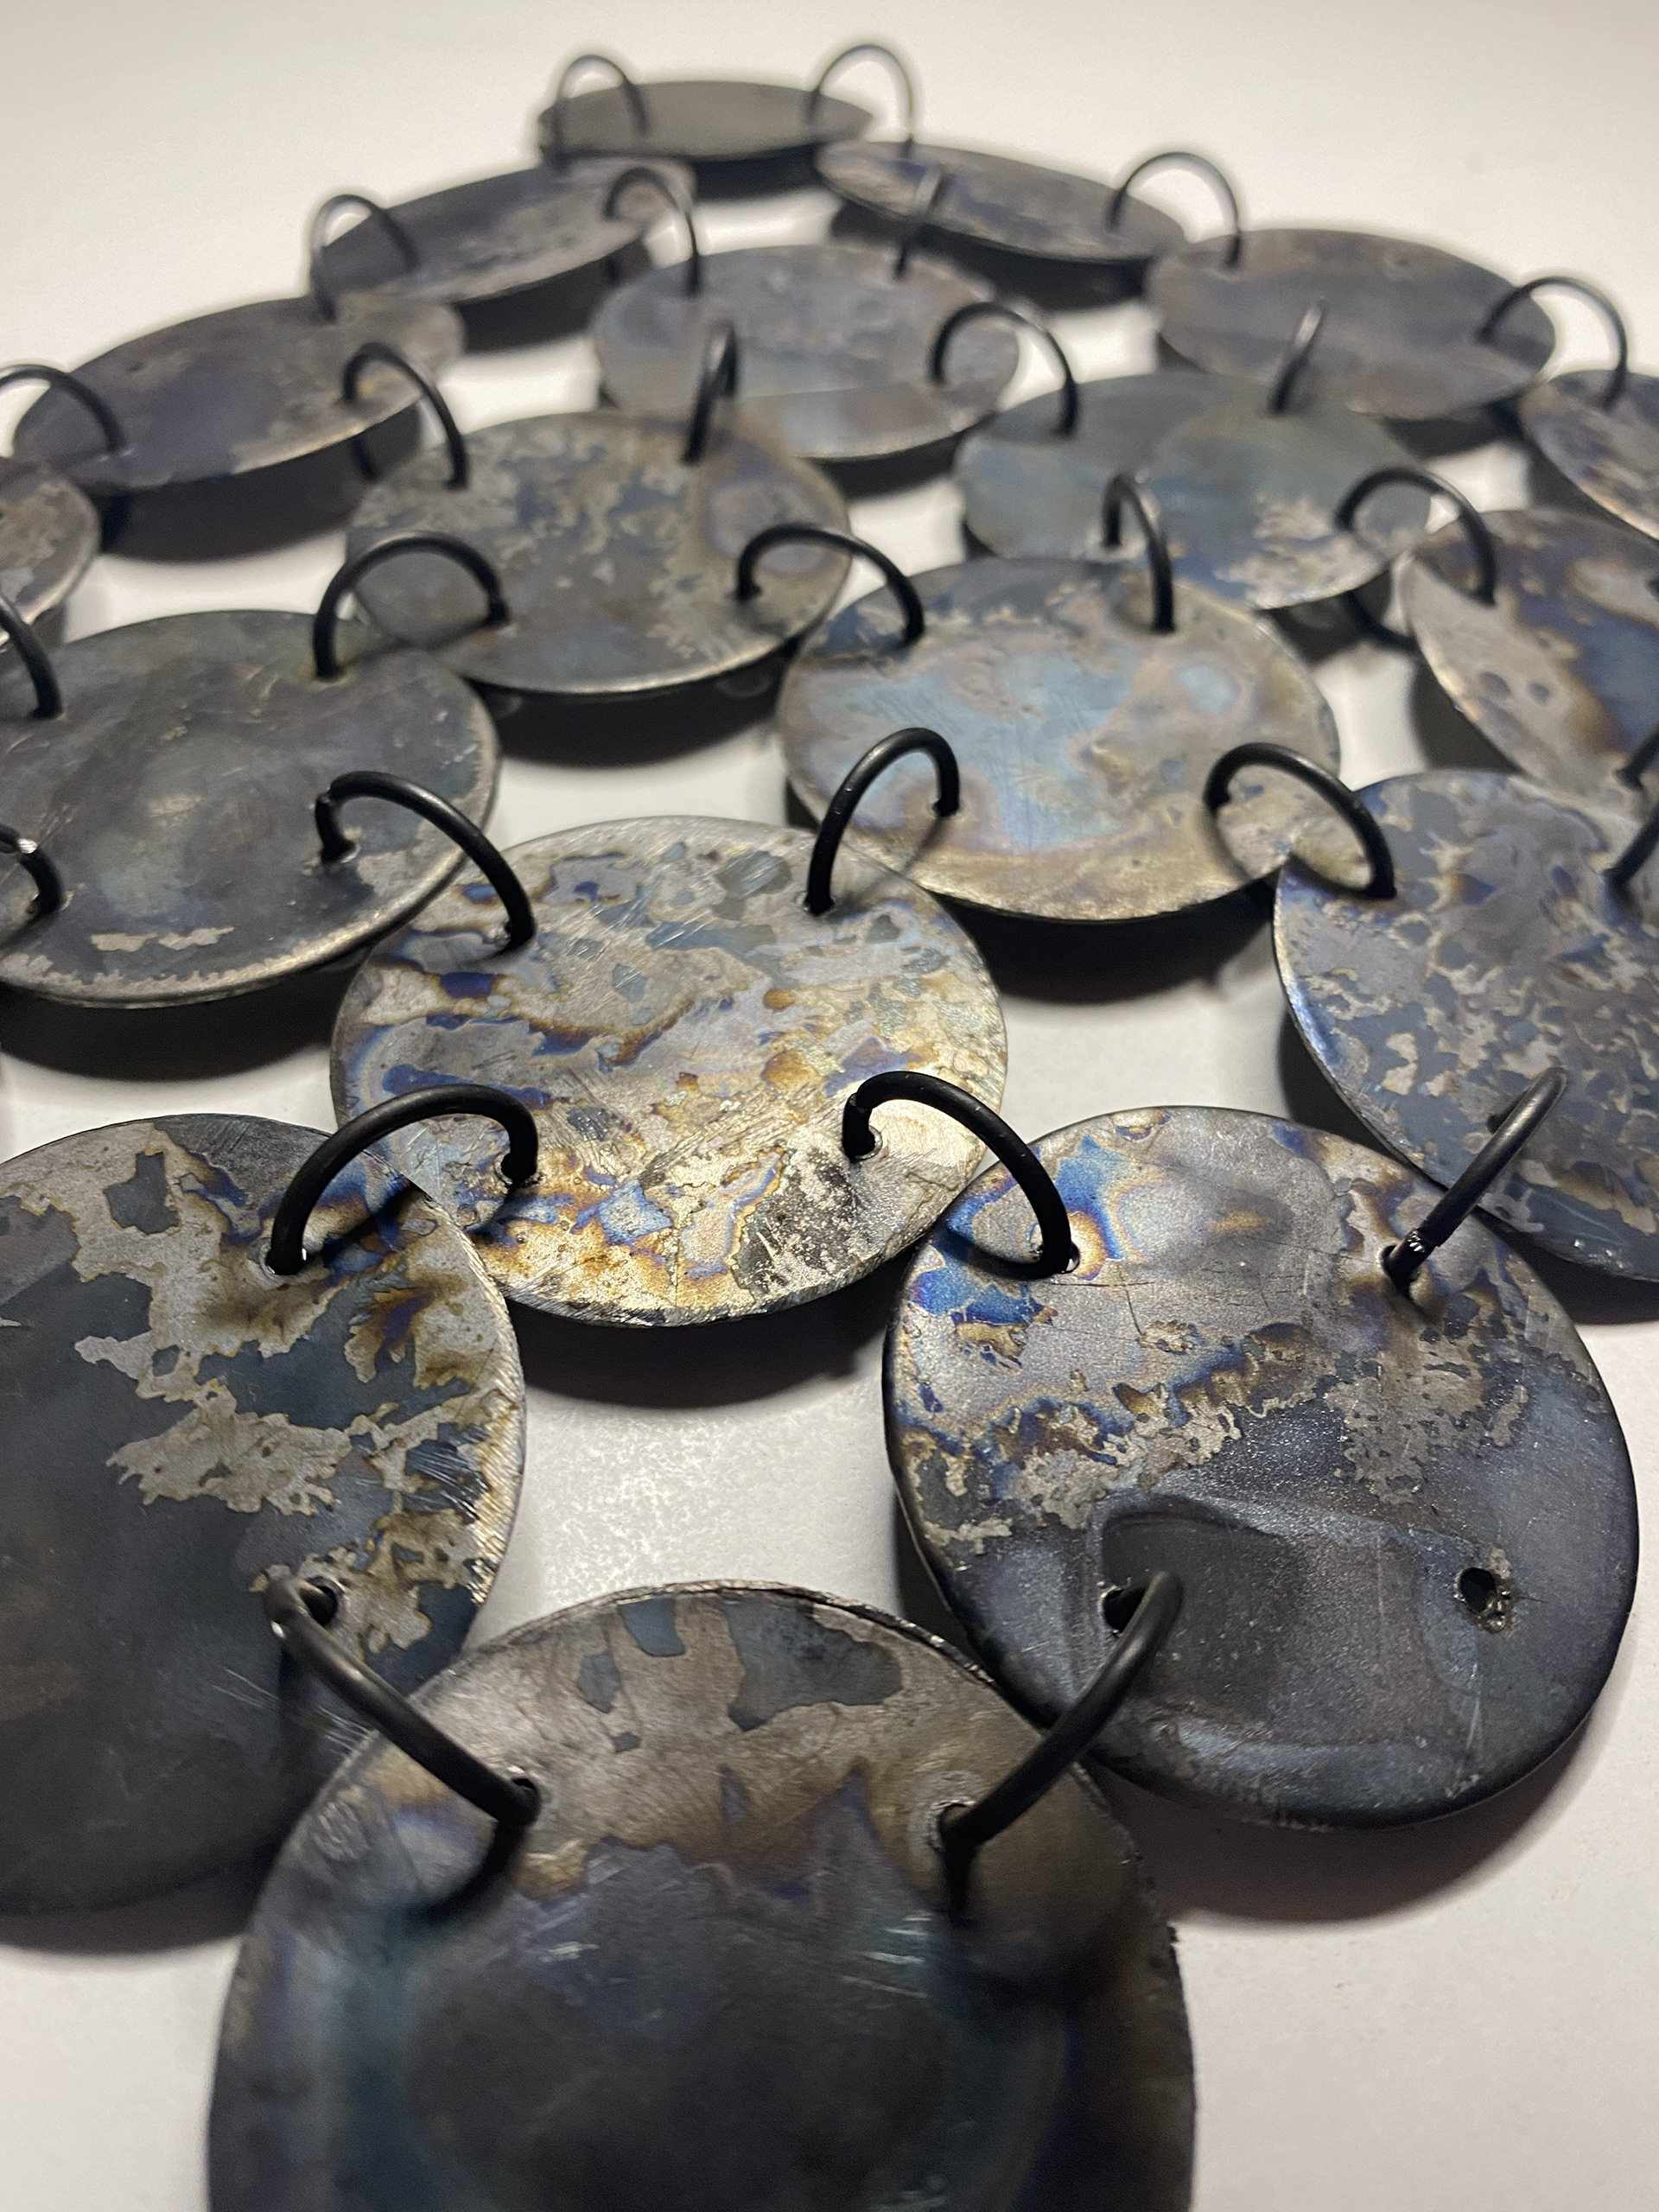
To understand the movement of the structure and how it translated into steel, I created a small sample using the diameter of the 6mm steel links (40mm circle width). I cut these out of 0.9mm steel sheet using the fly press and then drilled 2mm holes for the jump rings to thread through.
One of my main concerns with this system was the weight steel, however this turned out to be very lightweight as the material I chose was very thin. Something I need to explore is the different material thicknesses and how this affects not just the physical weight of the piece, but also the impact on the emotional protection and coverage of the piece.
I also experimented with using the forge to finish the steel by heating the disks and immediately quenching them whilst red hot. This resulted in a variety of differing patterns and markings. I believe testing this further and recording the different temperatures and ways of quenching the steel will enable me to have more control over this process, and closer align the aesthetics and narrative of the piece. I prefer the finish that the forge and quenching creates over the raw steel, as the bright and reflective surface clashes with the blackened chain.

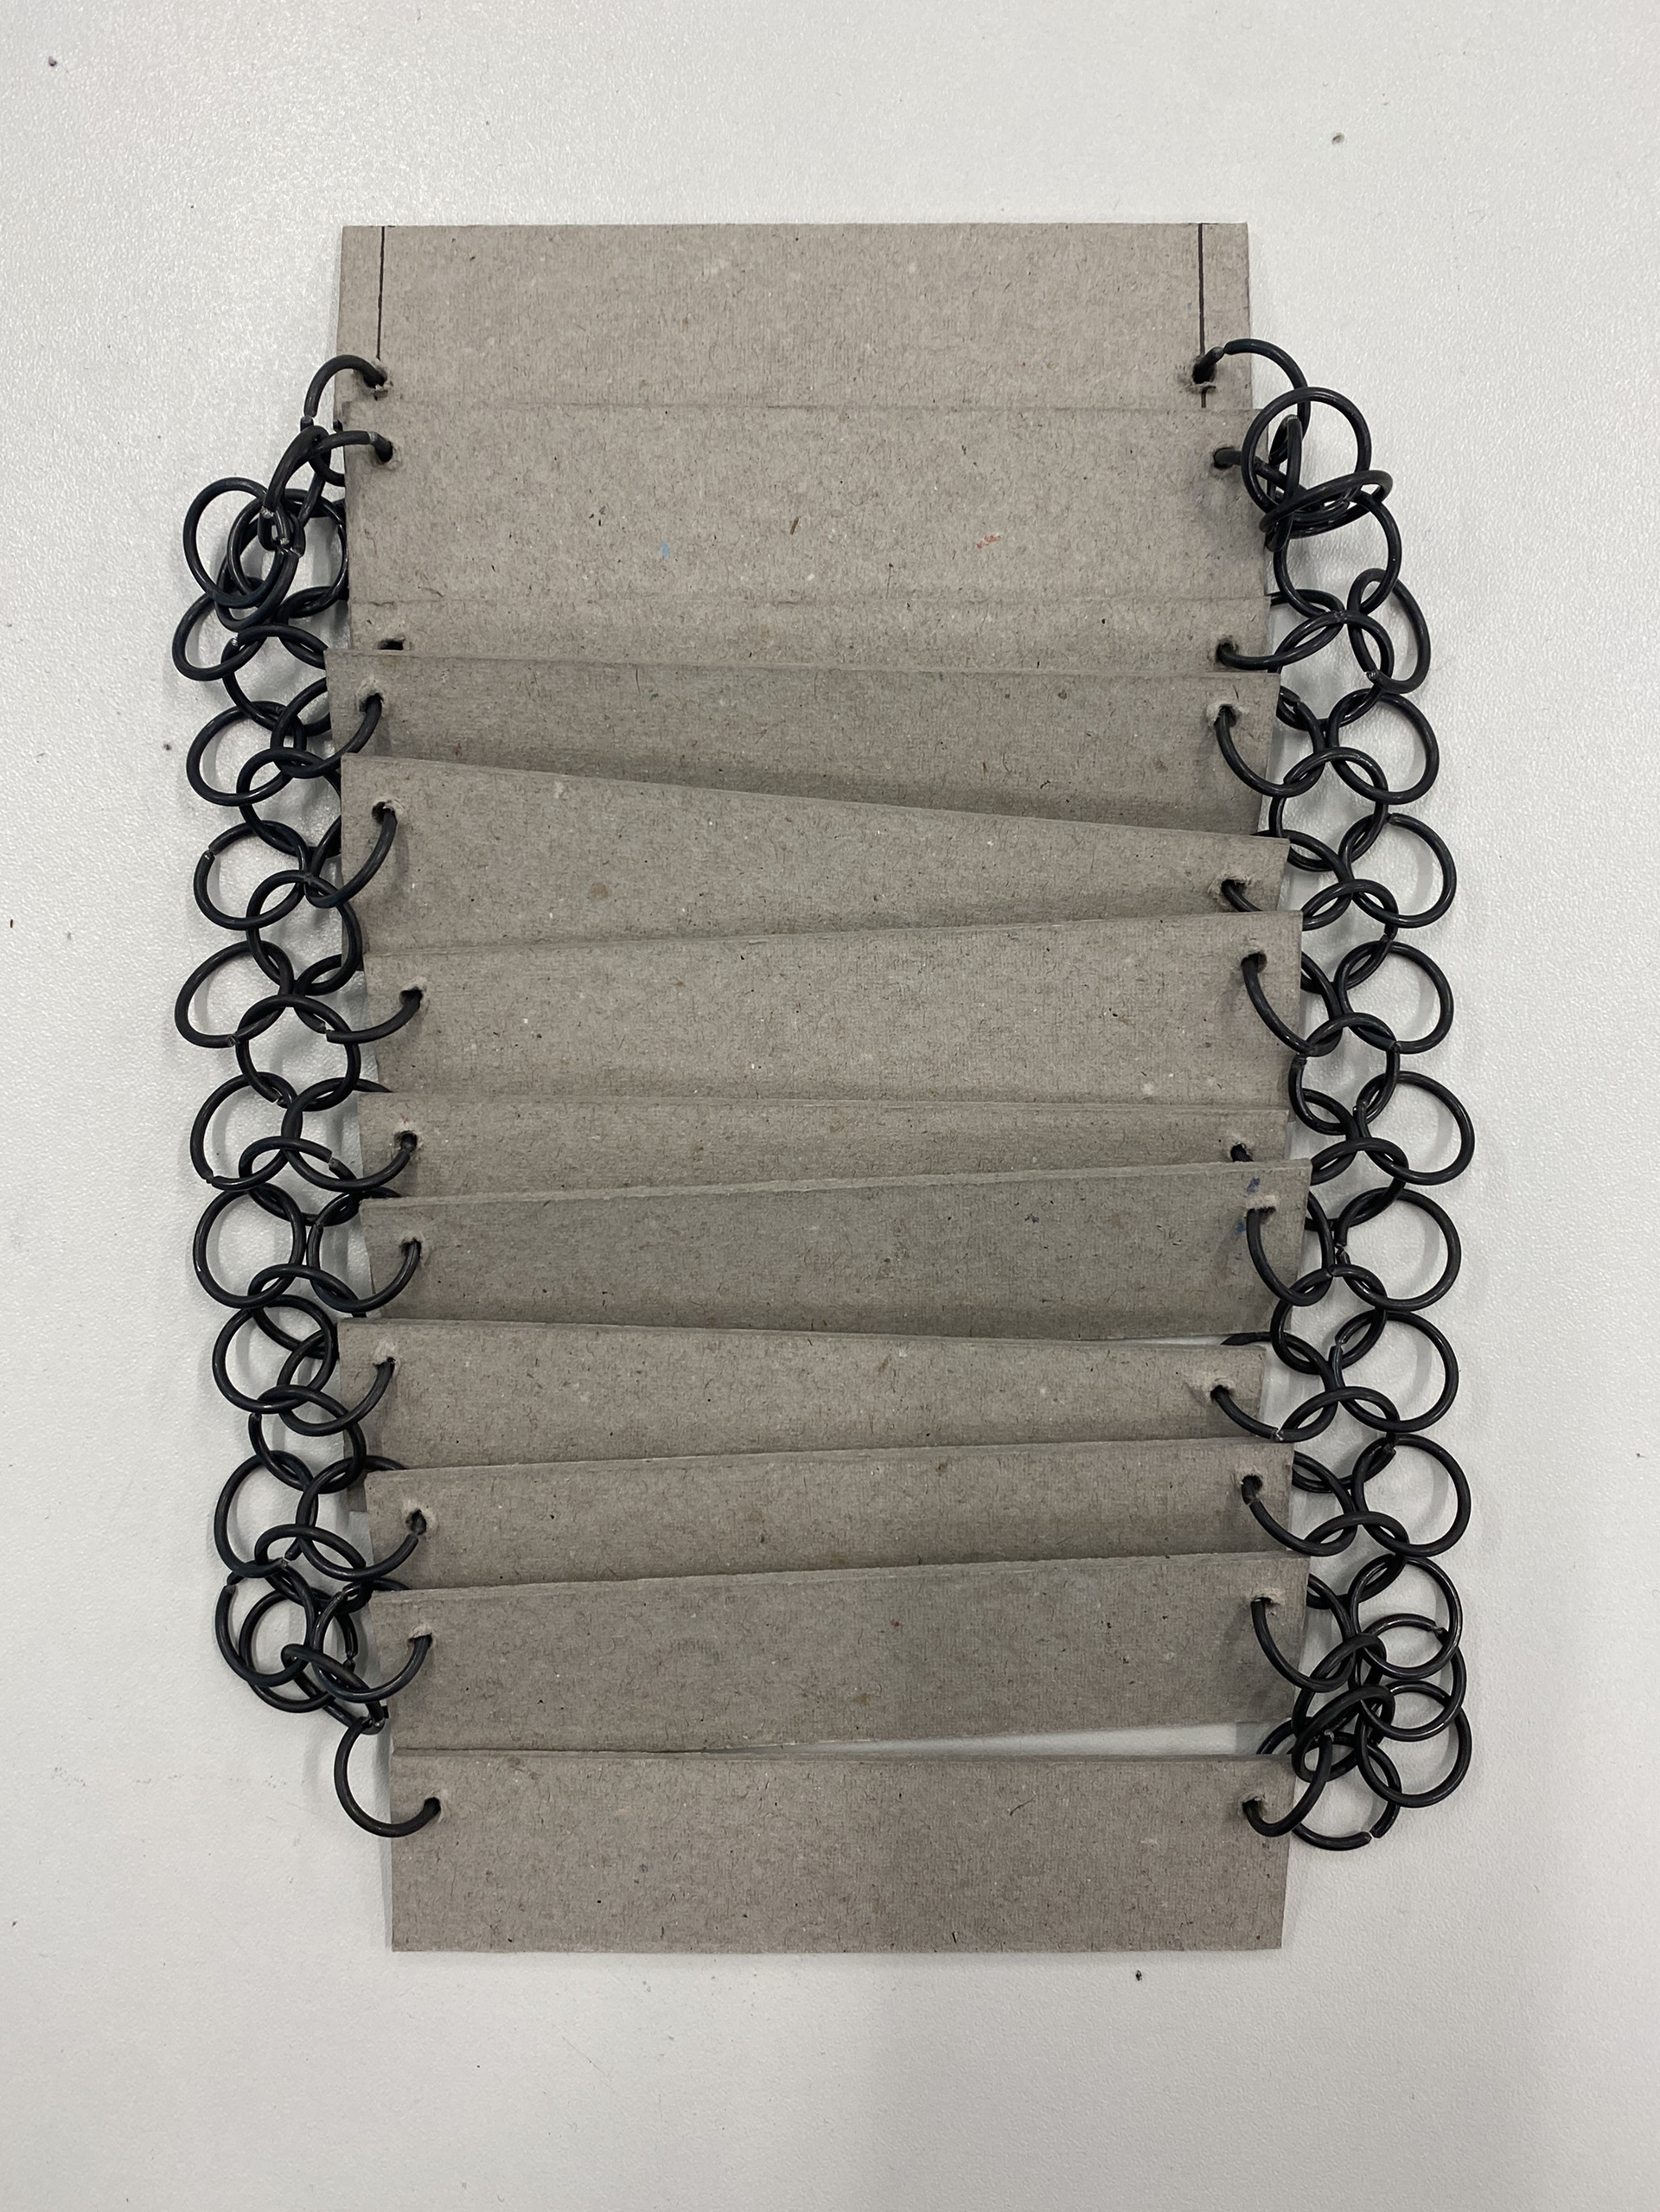
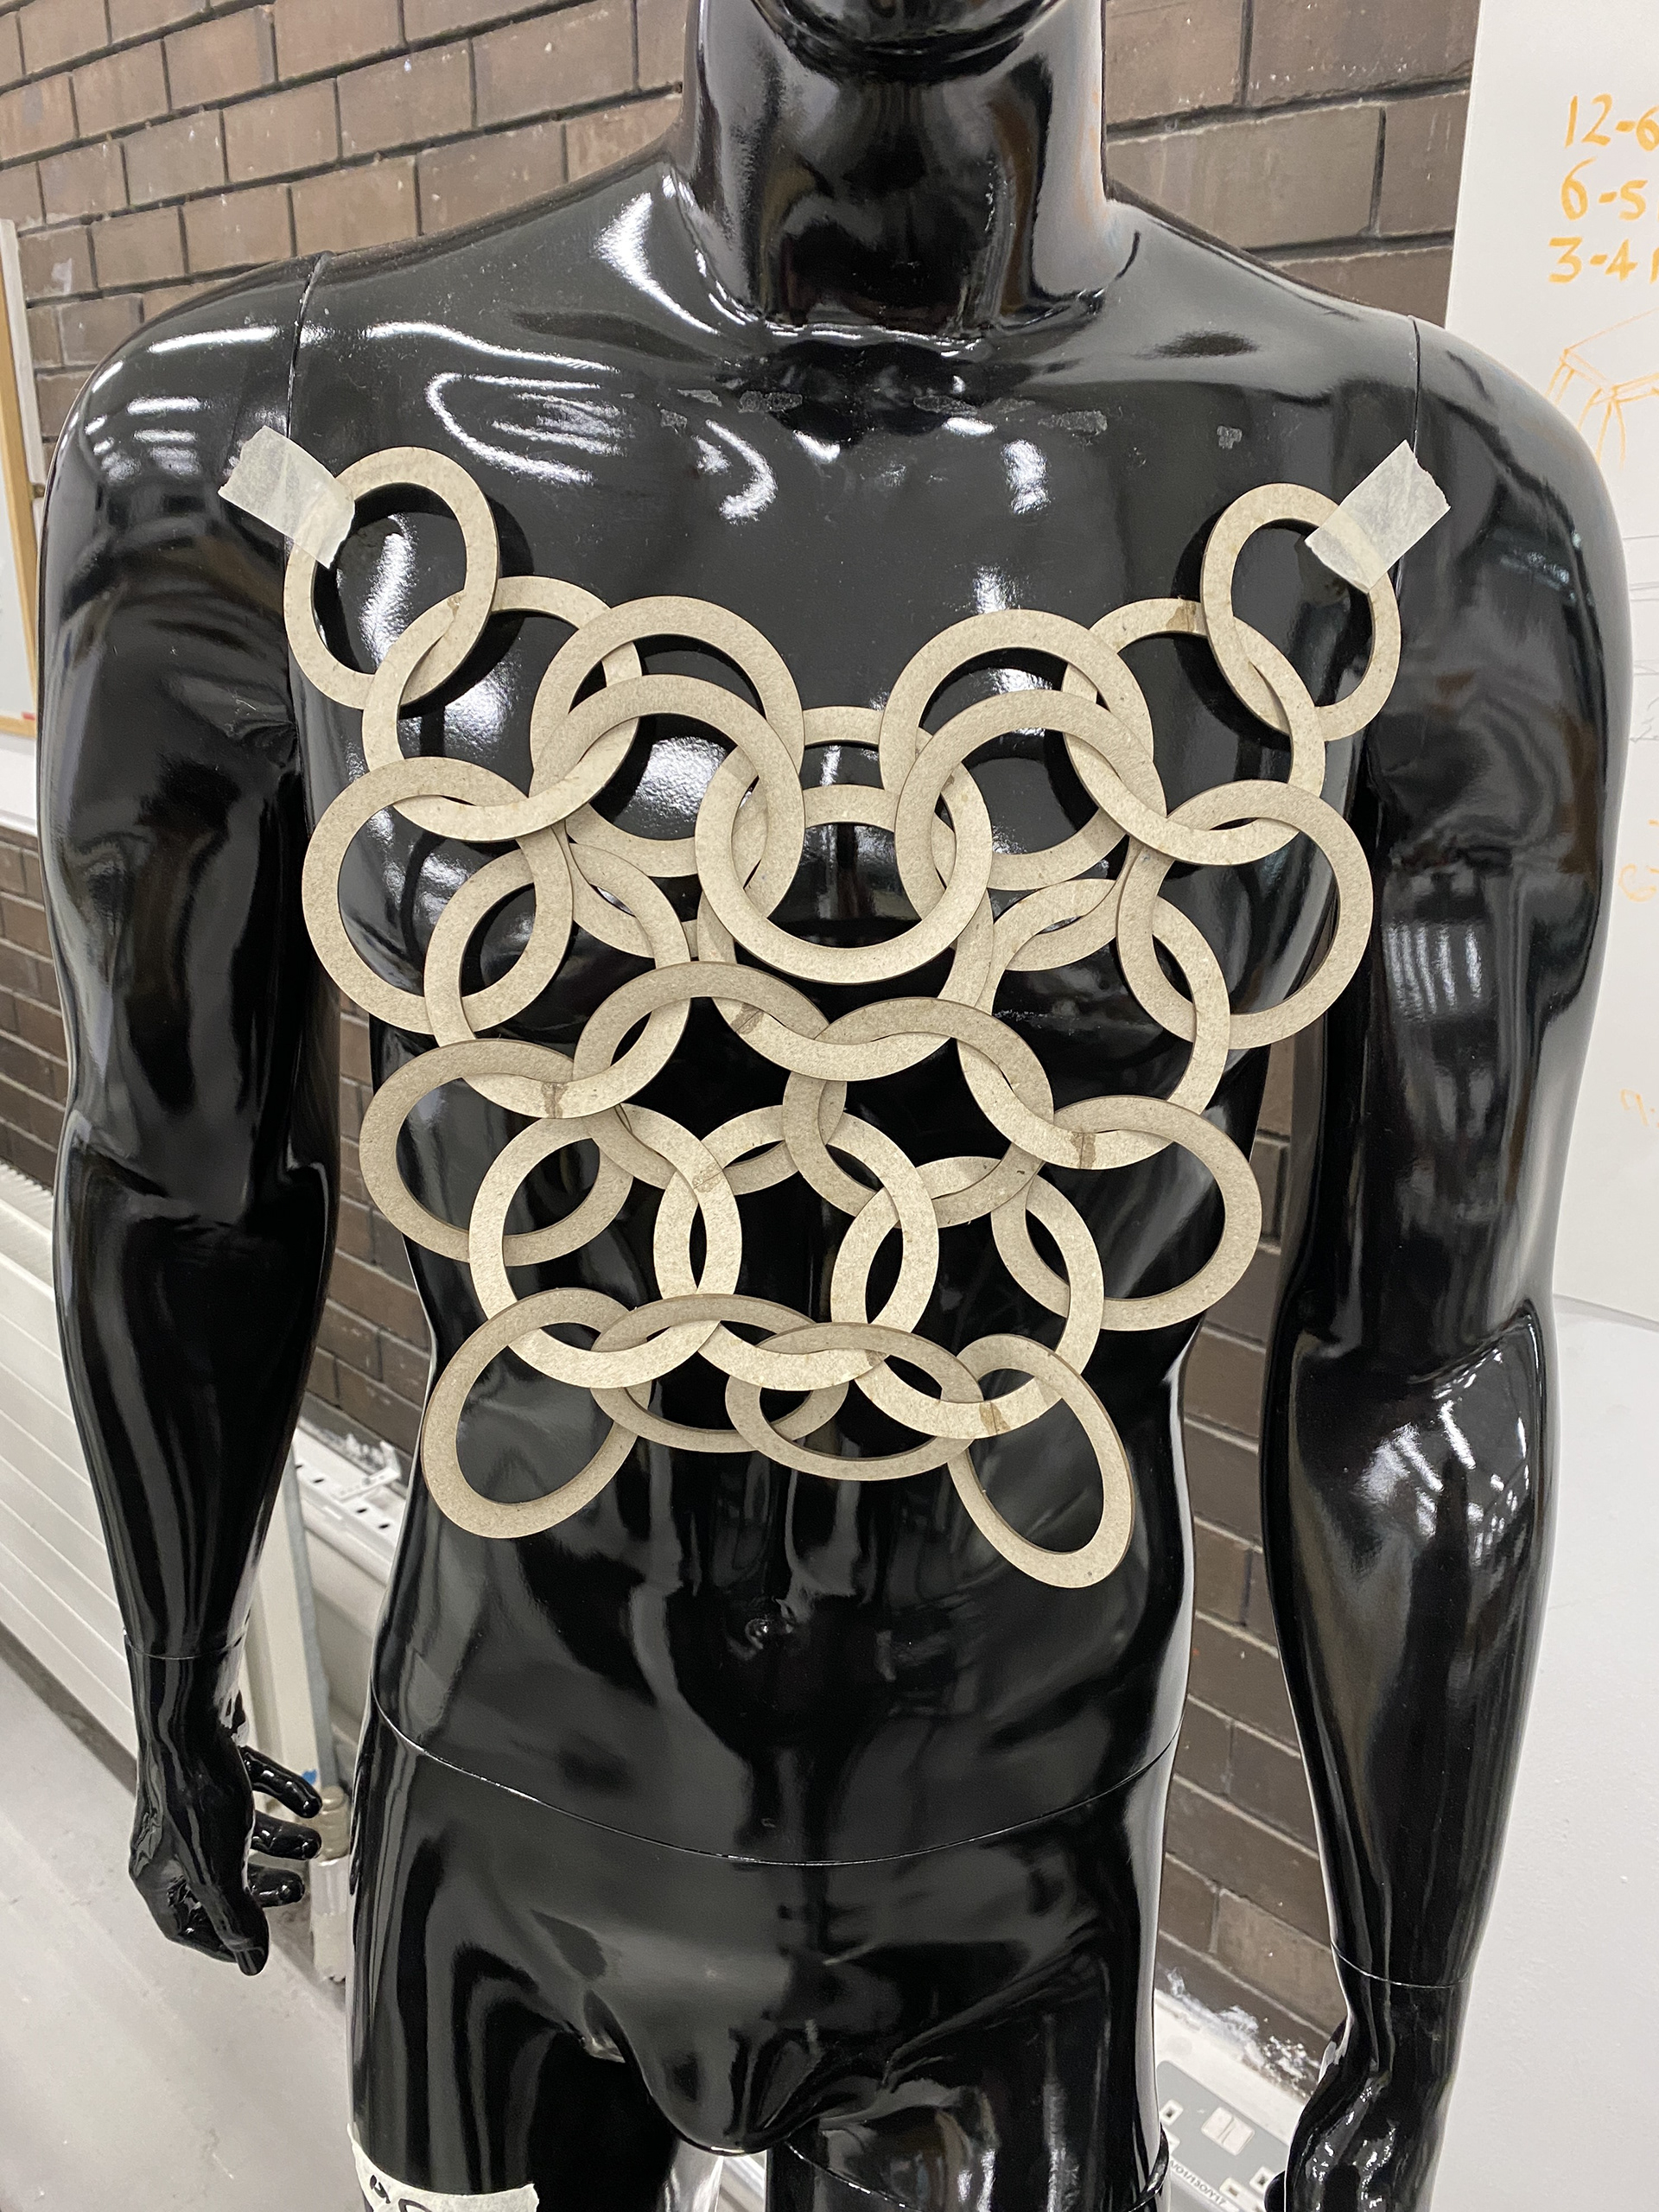
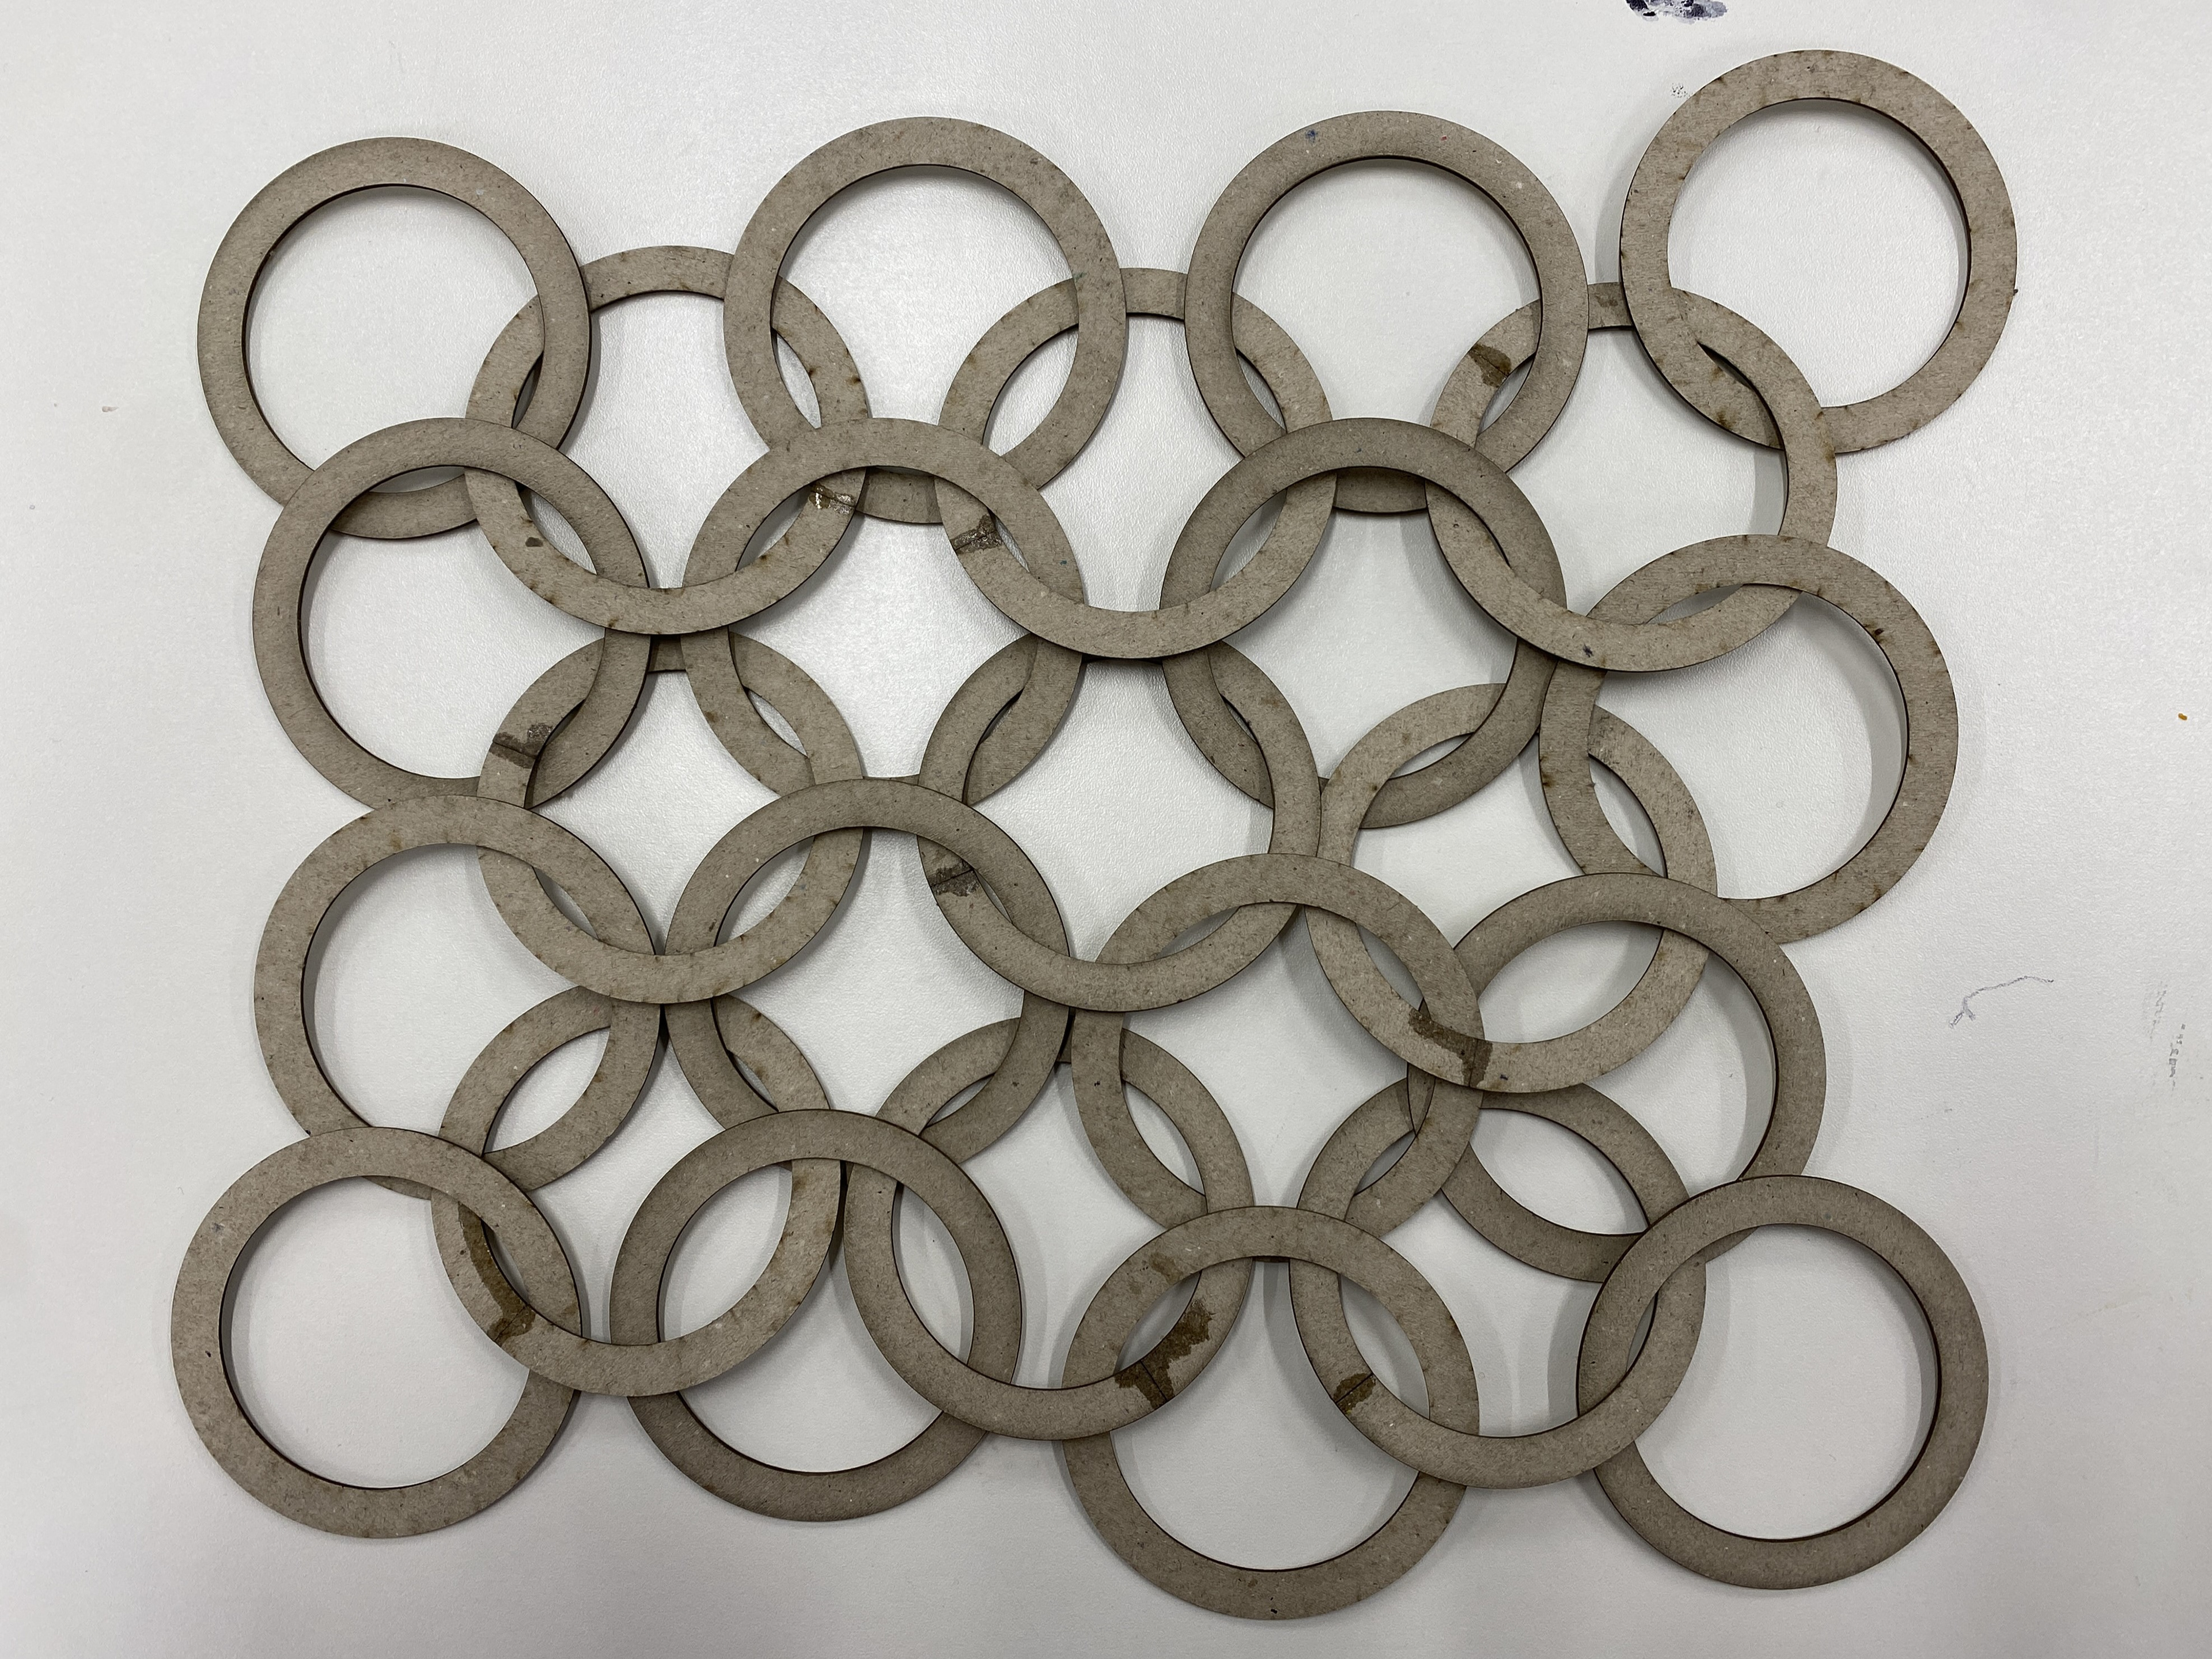
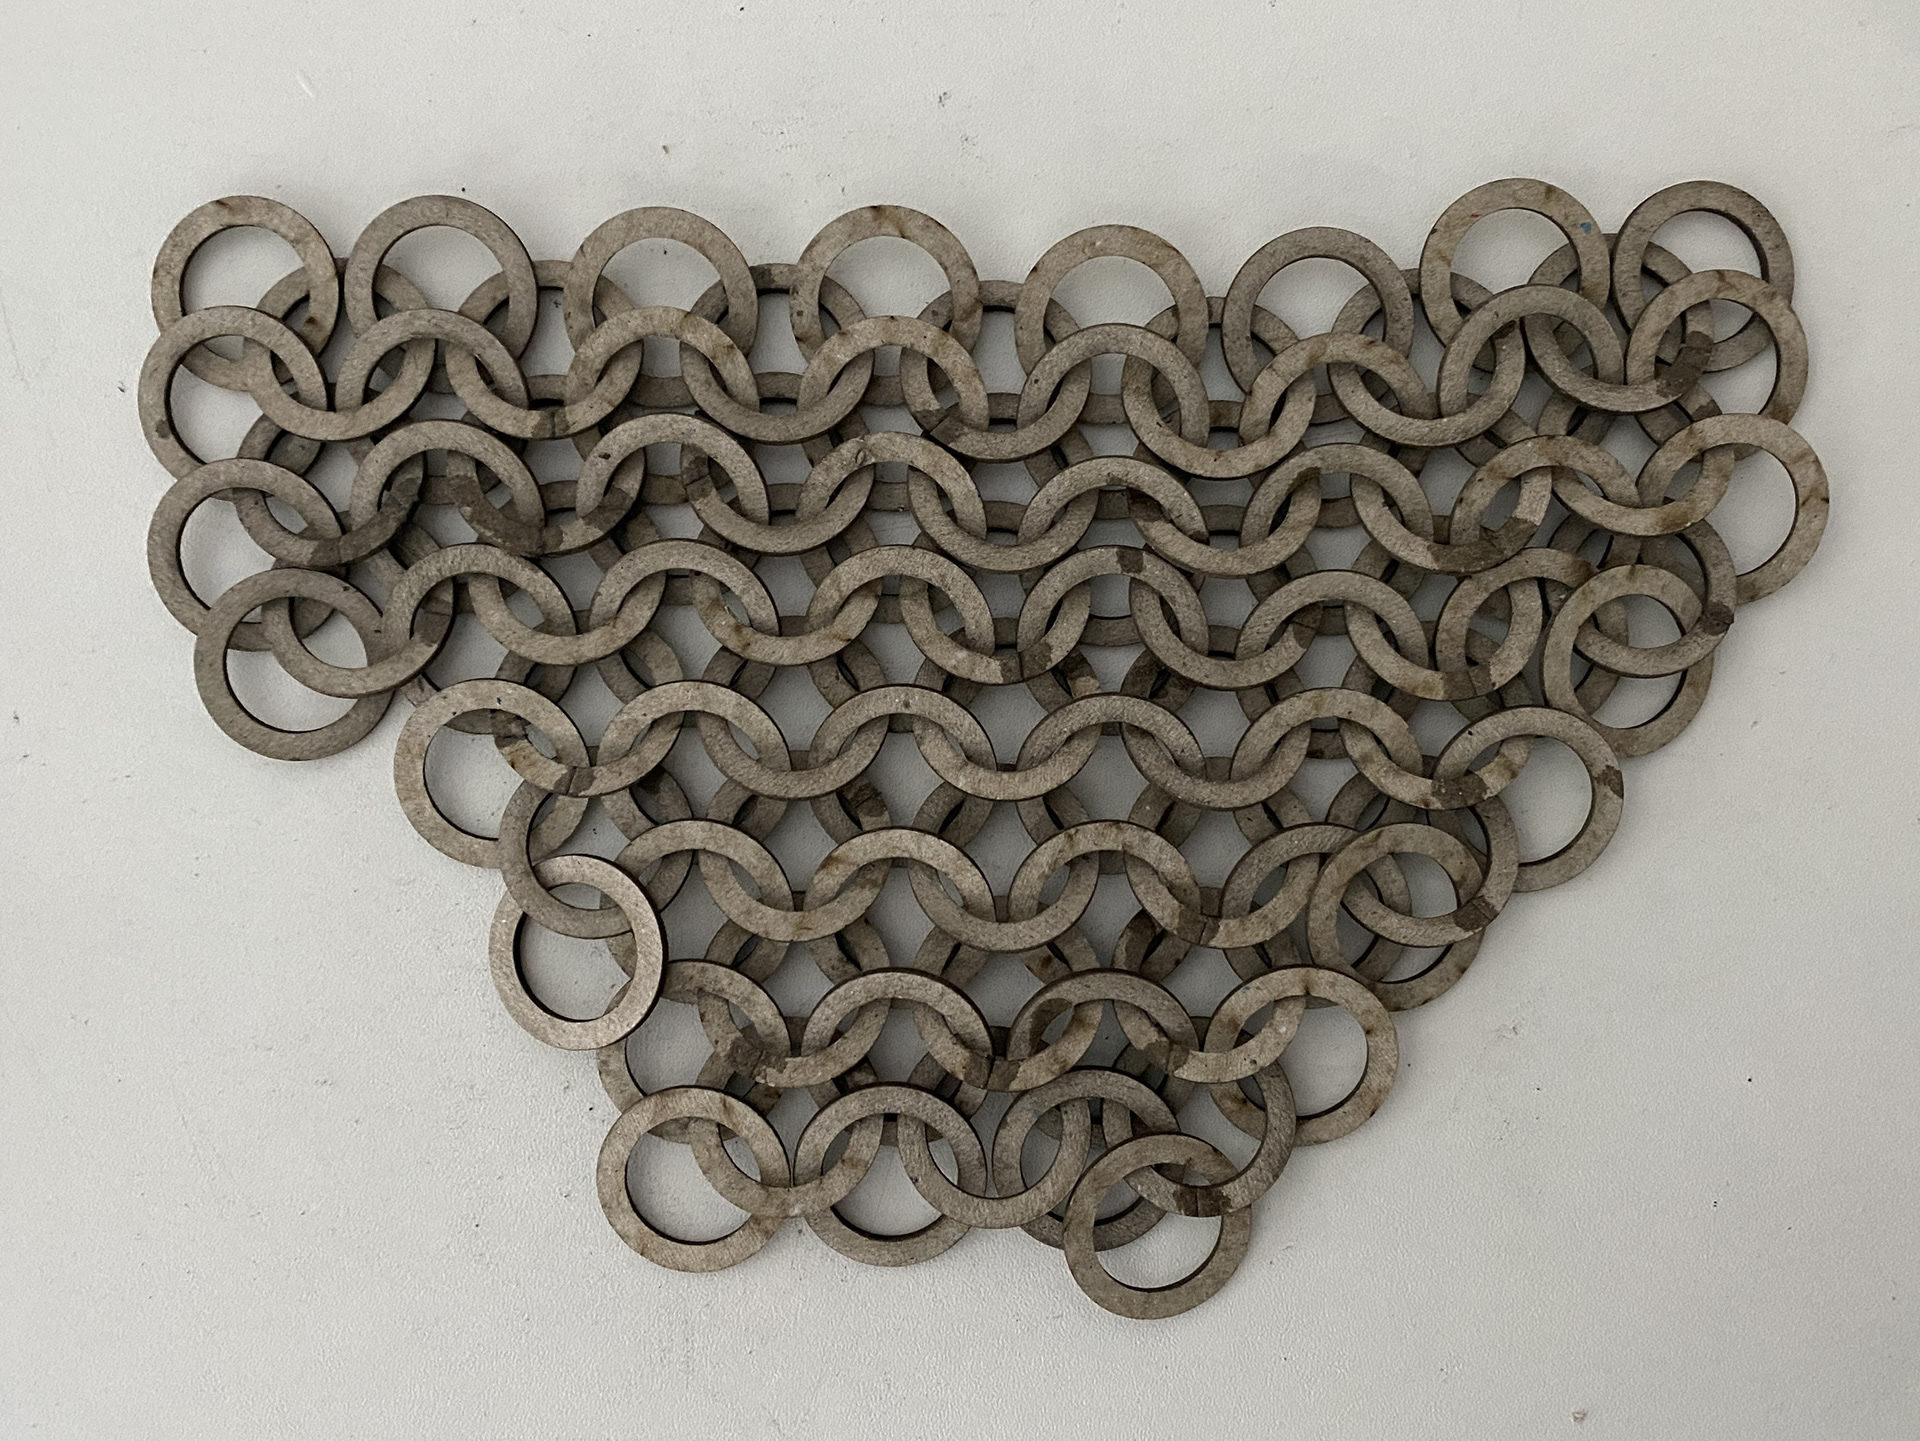
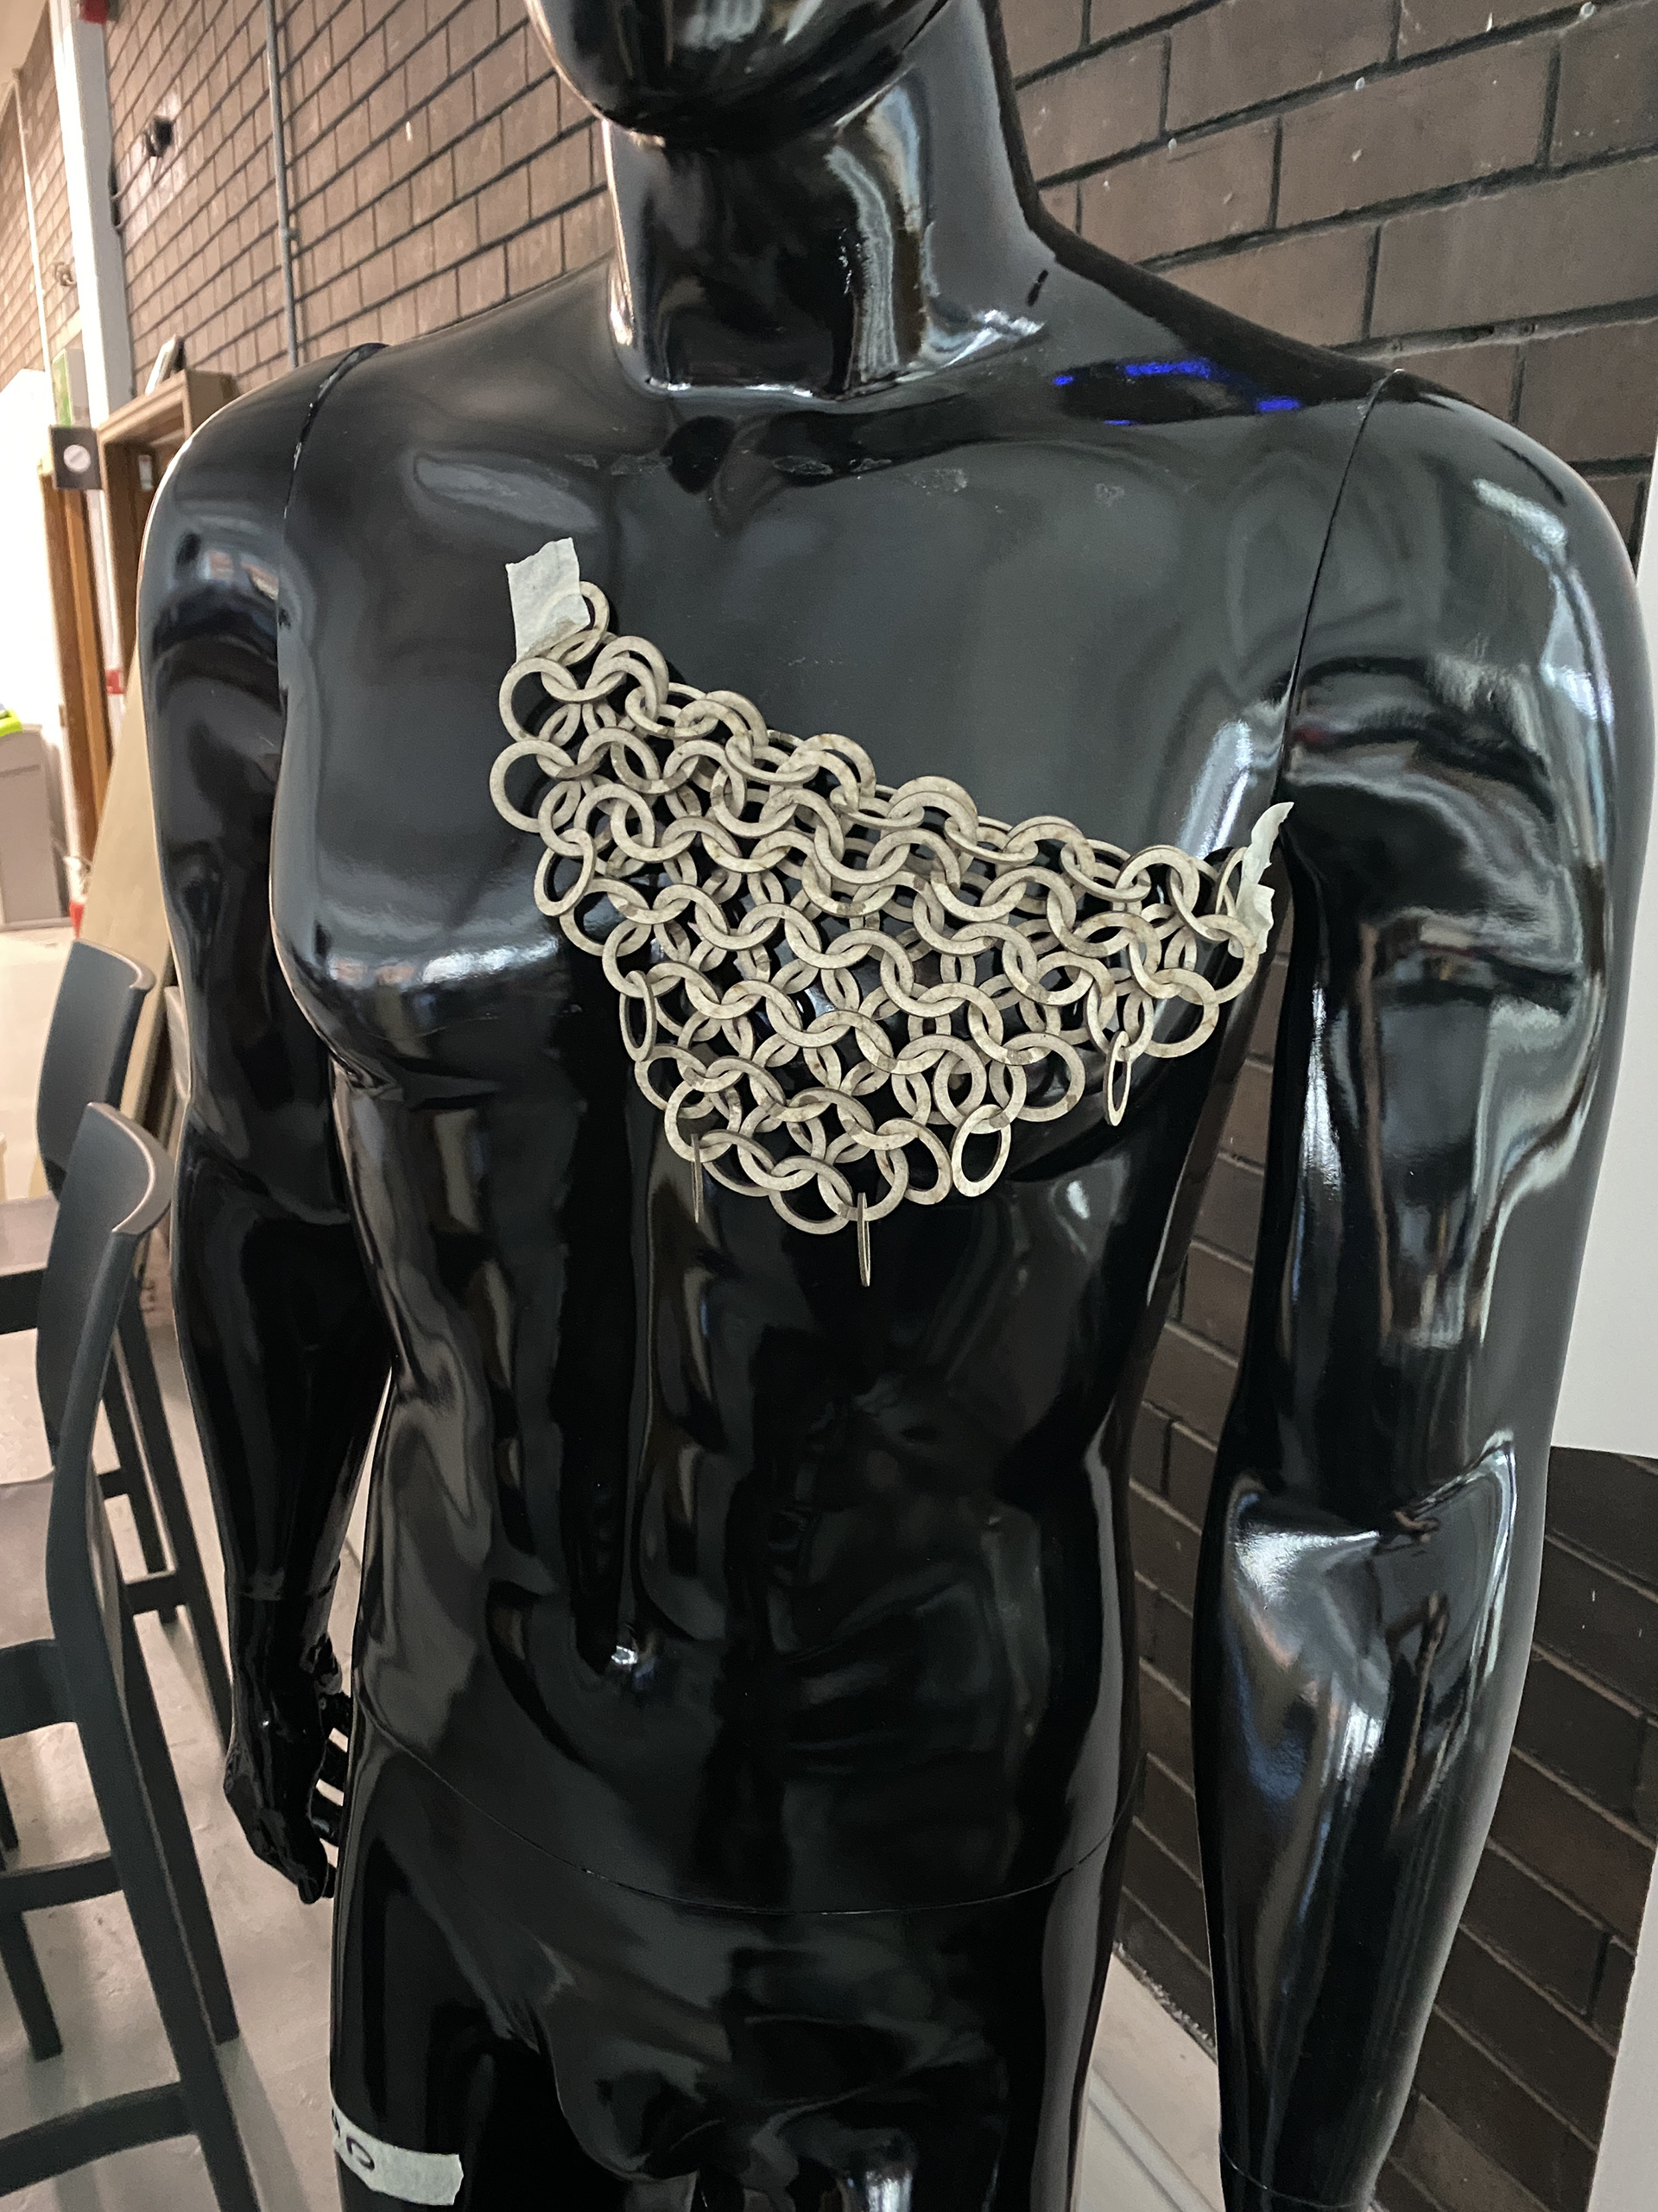
I wanted to have greater control over the flexibility and coverage across the structure, therefore I tested linking the various circle diameters together in a gradient. My intensions were to use the larger disks to block out sections, whilst using the smaller and tight knitted disks to provide more coverage.
However, this sample didn't have the intended outcomes as differing sized disks didn't tessellate together well. The structure was hard to piece together, and when I introduced the larger disks, I needed to leave gaps and inconsistent spacing. Not only did this disrupt the pattern but also resulted in the jump rings locking in place as the spacing was off. The only reliable solution would be to make the disk sizes a multiple of itself, so that 4 smaller disks could be replaced by one, keeping the uniform spacing. However, this would disrupt the continuity of the chain to plate sizes. Additionally, it would feel forced and less of an even and gradual transition between sizes.