Week at IronArt of Bath (Blacksmithing workshop)
IronArt are a small family run, metalworking business who specialise is bespoke architectural ironwork. The core of their business is handcrafting and installing railings throughout the streets of Bath, with a dedication to preserving and enhancing the historic styles of the area. They split work between restoring pre-existing pieces as well as designing and making new structures. Additionally, they have a line of metal garden furniture which is produced in batches.
I spent 5 days working alongside the team who taught me a variety of skills. I spent a morning with the owner Andy who talked me through his process of measuring up for a railing on a site visit. Most of my time was spent in the workshop learning and refining key skills, forging, MIG welding and led casting.
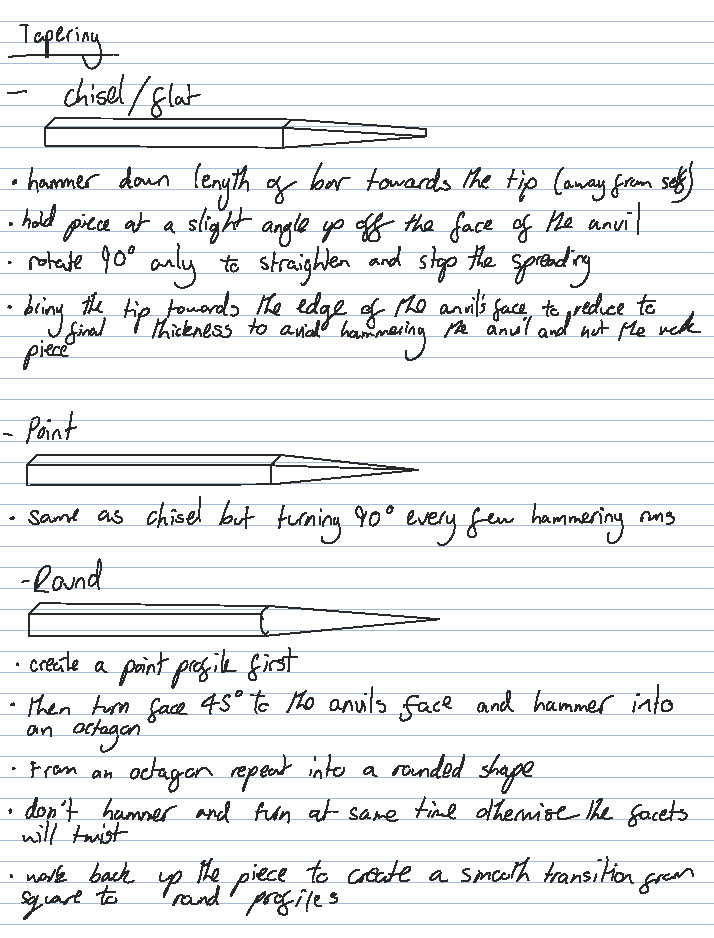
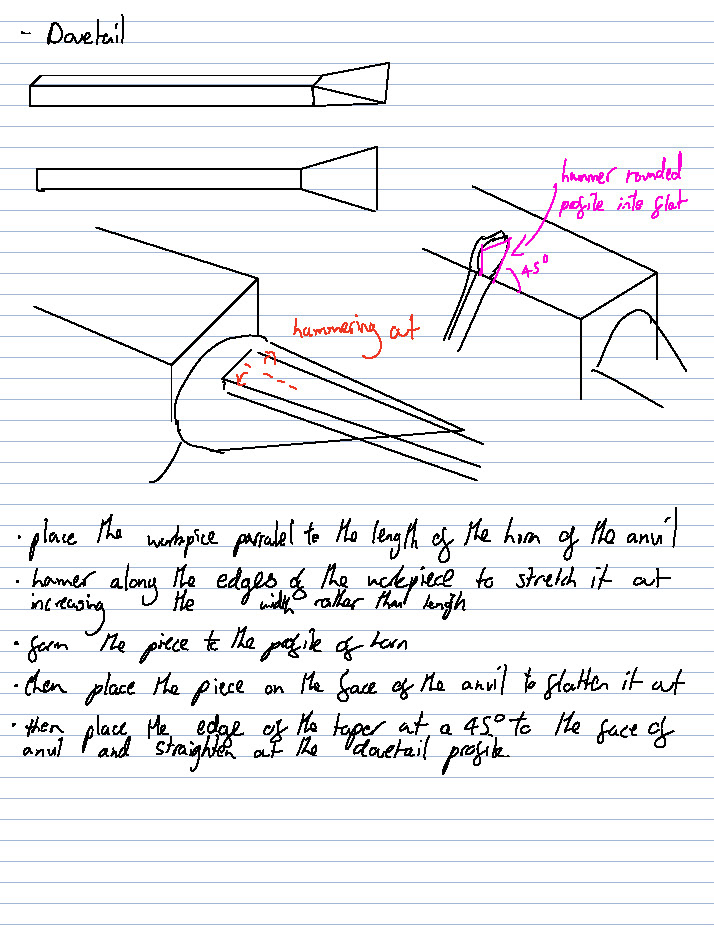

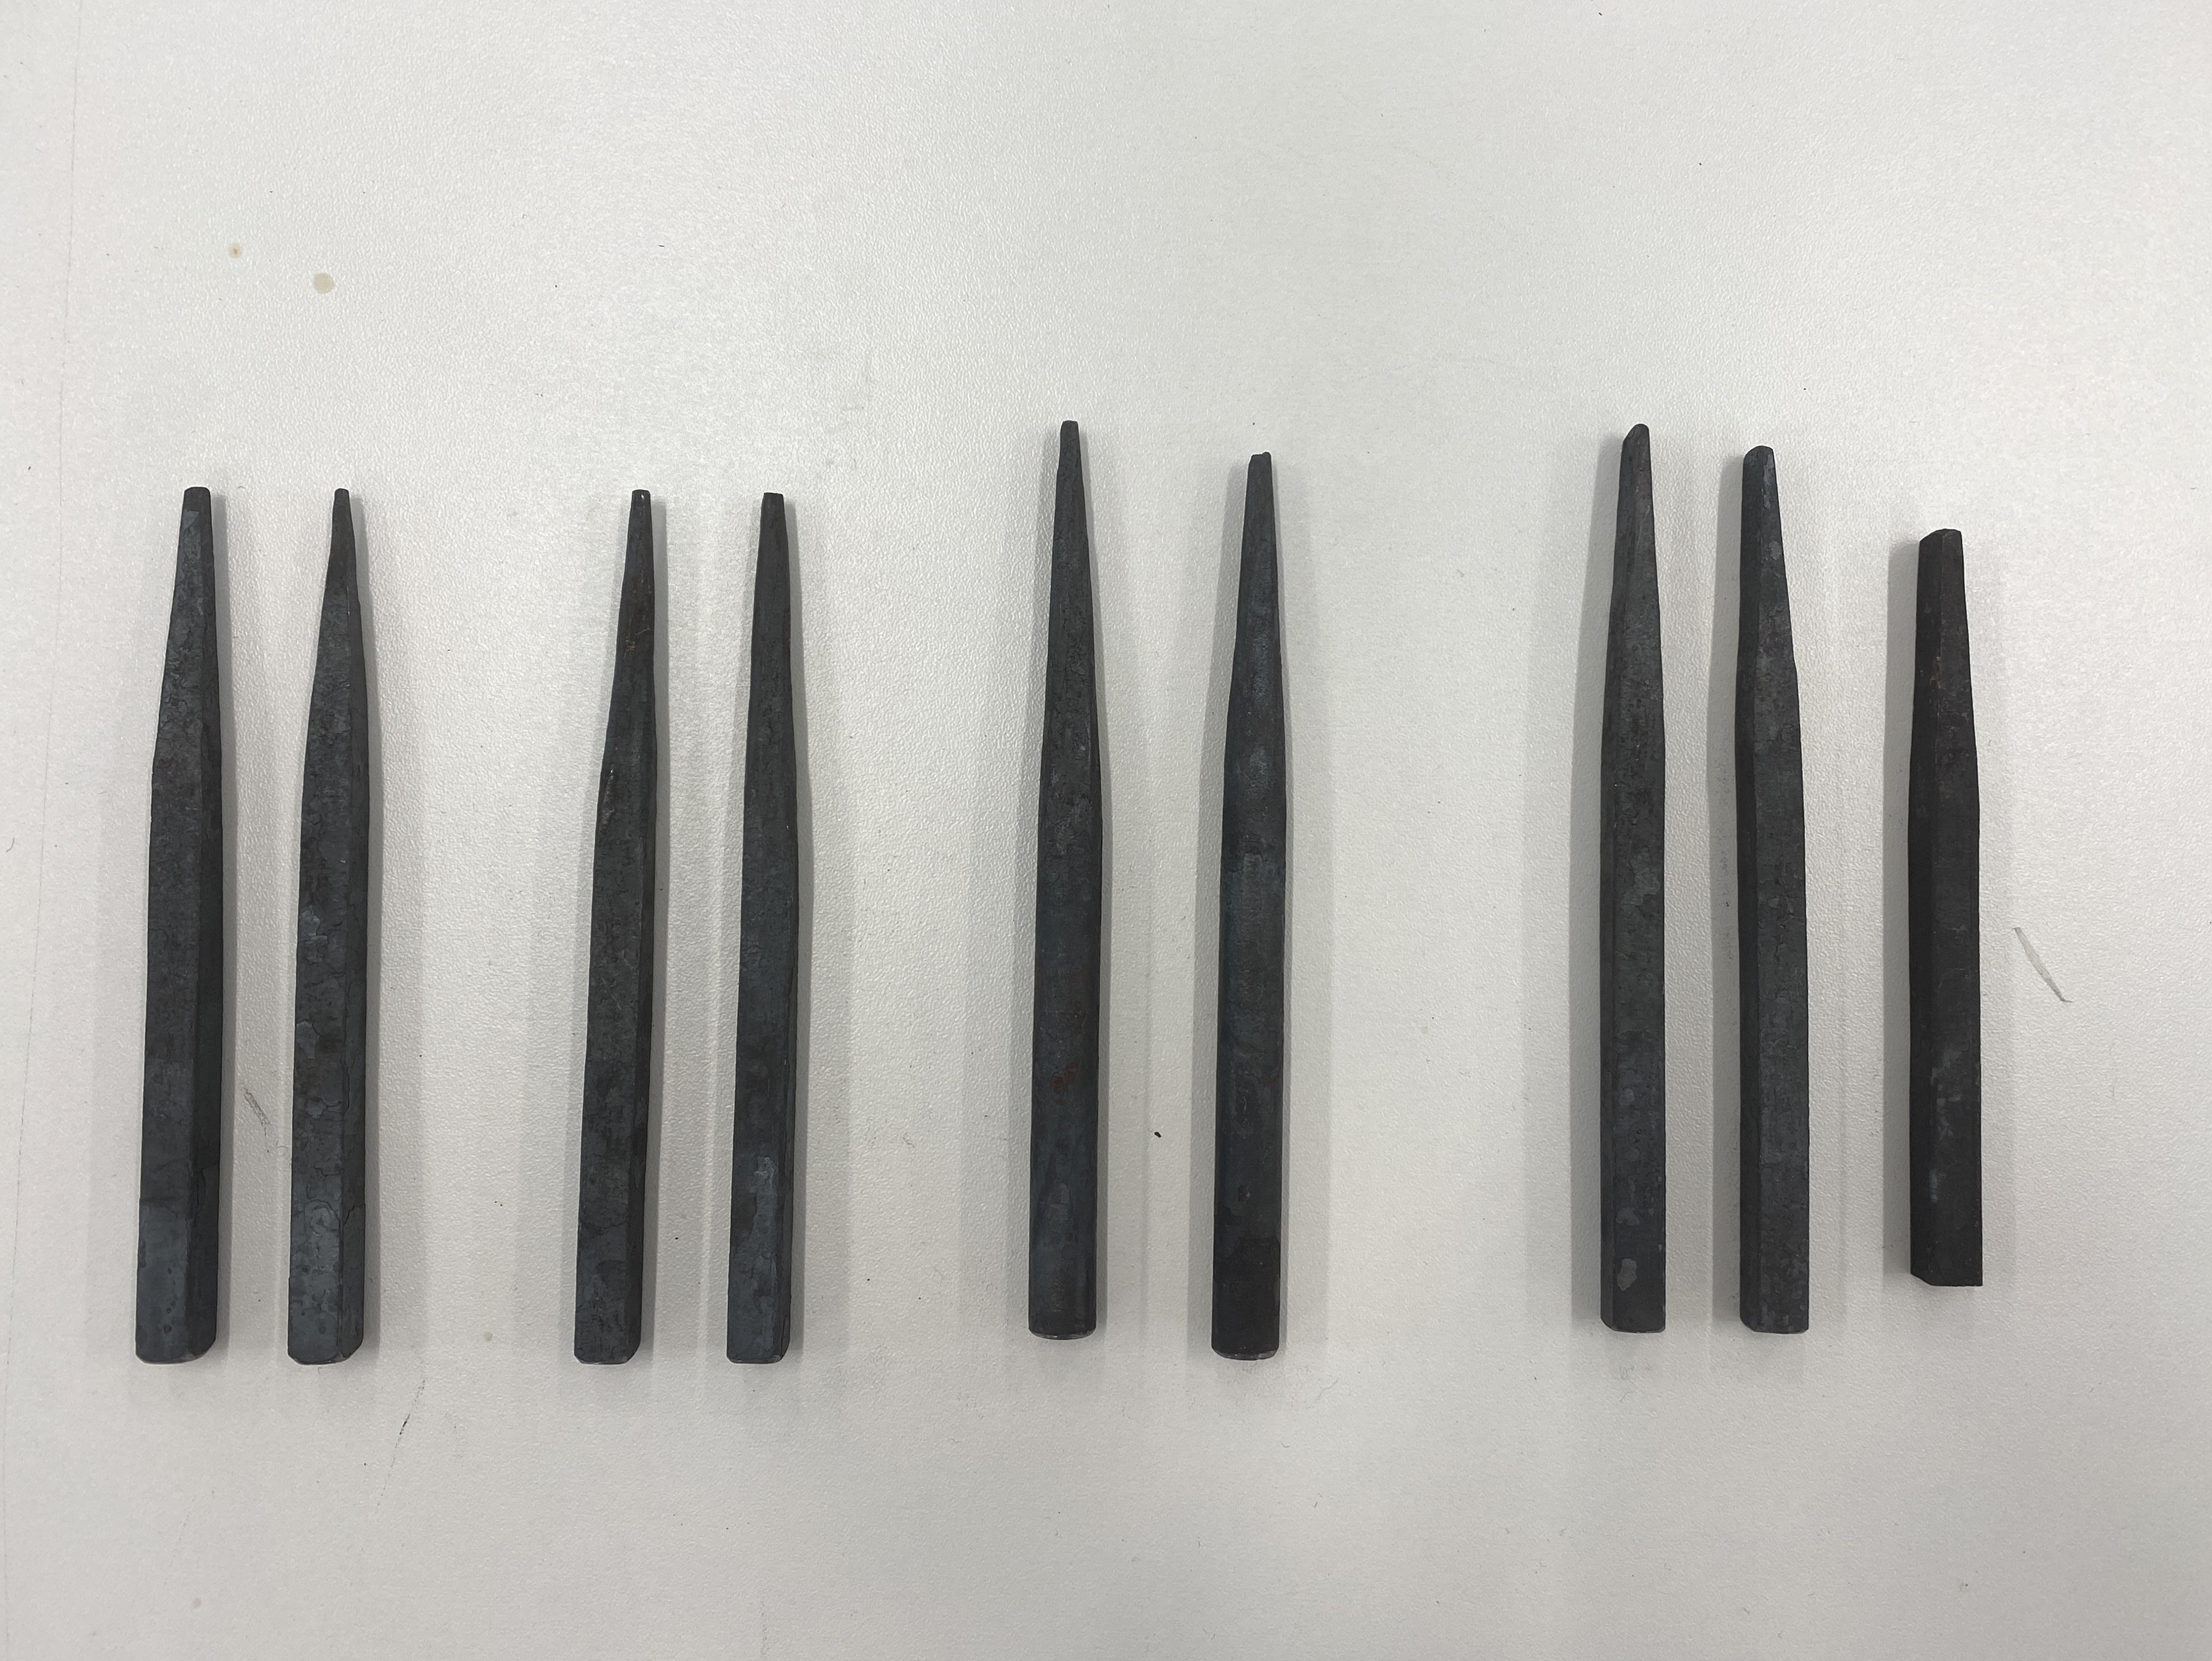
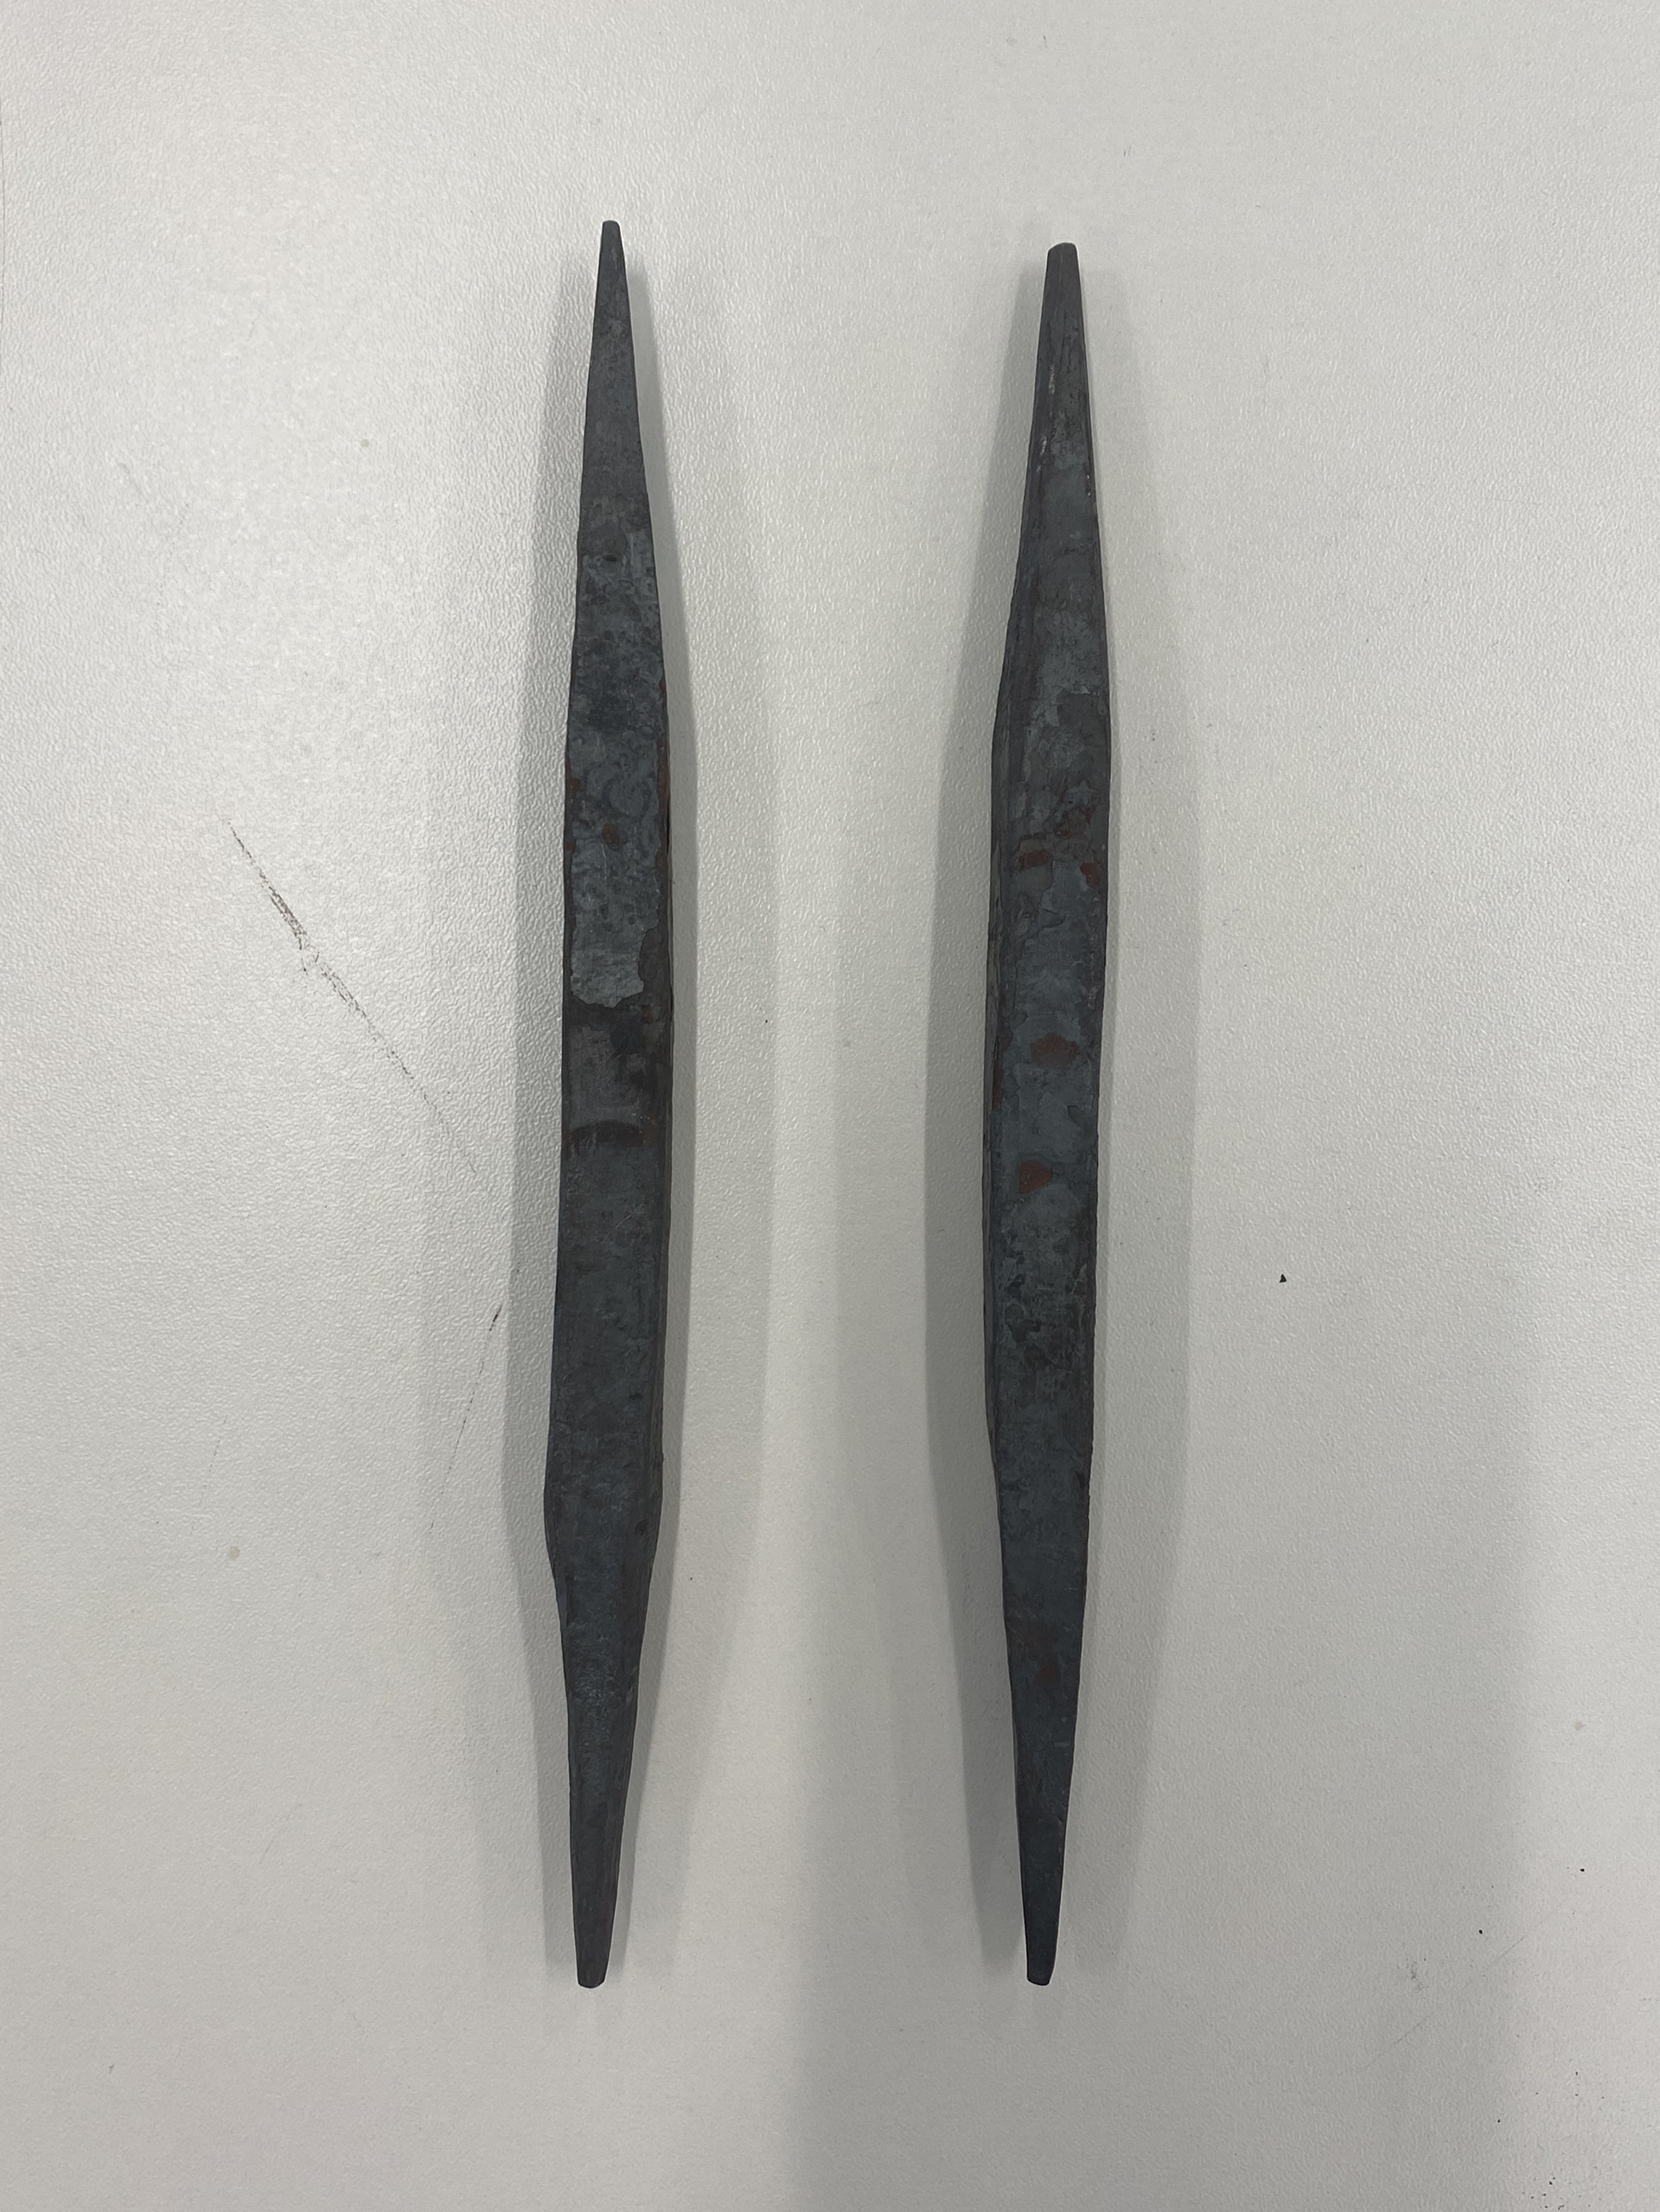
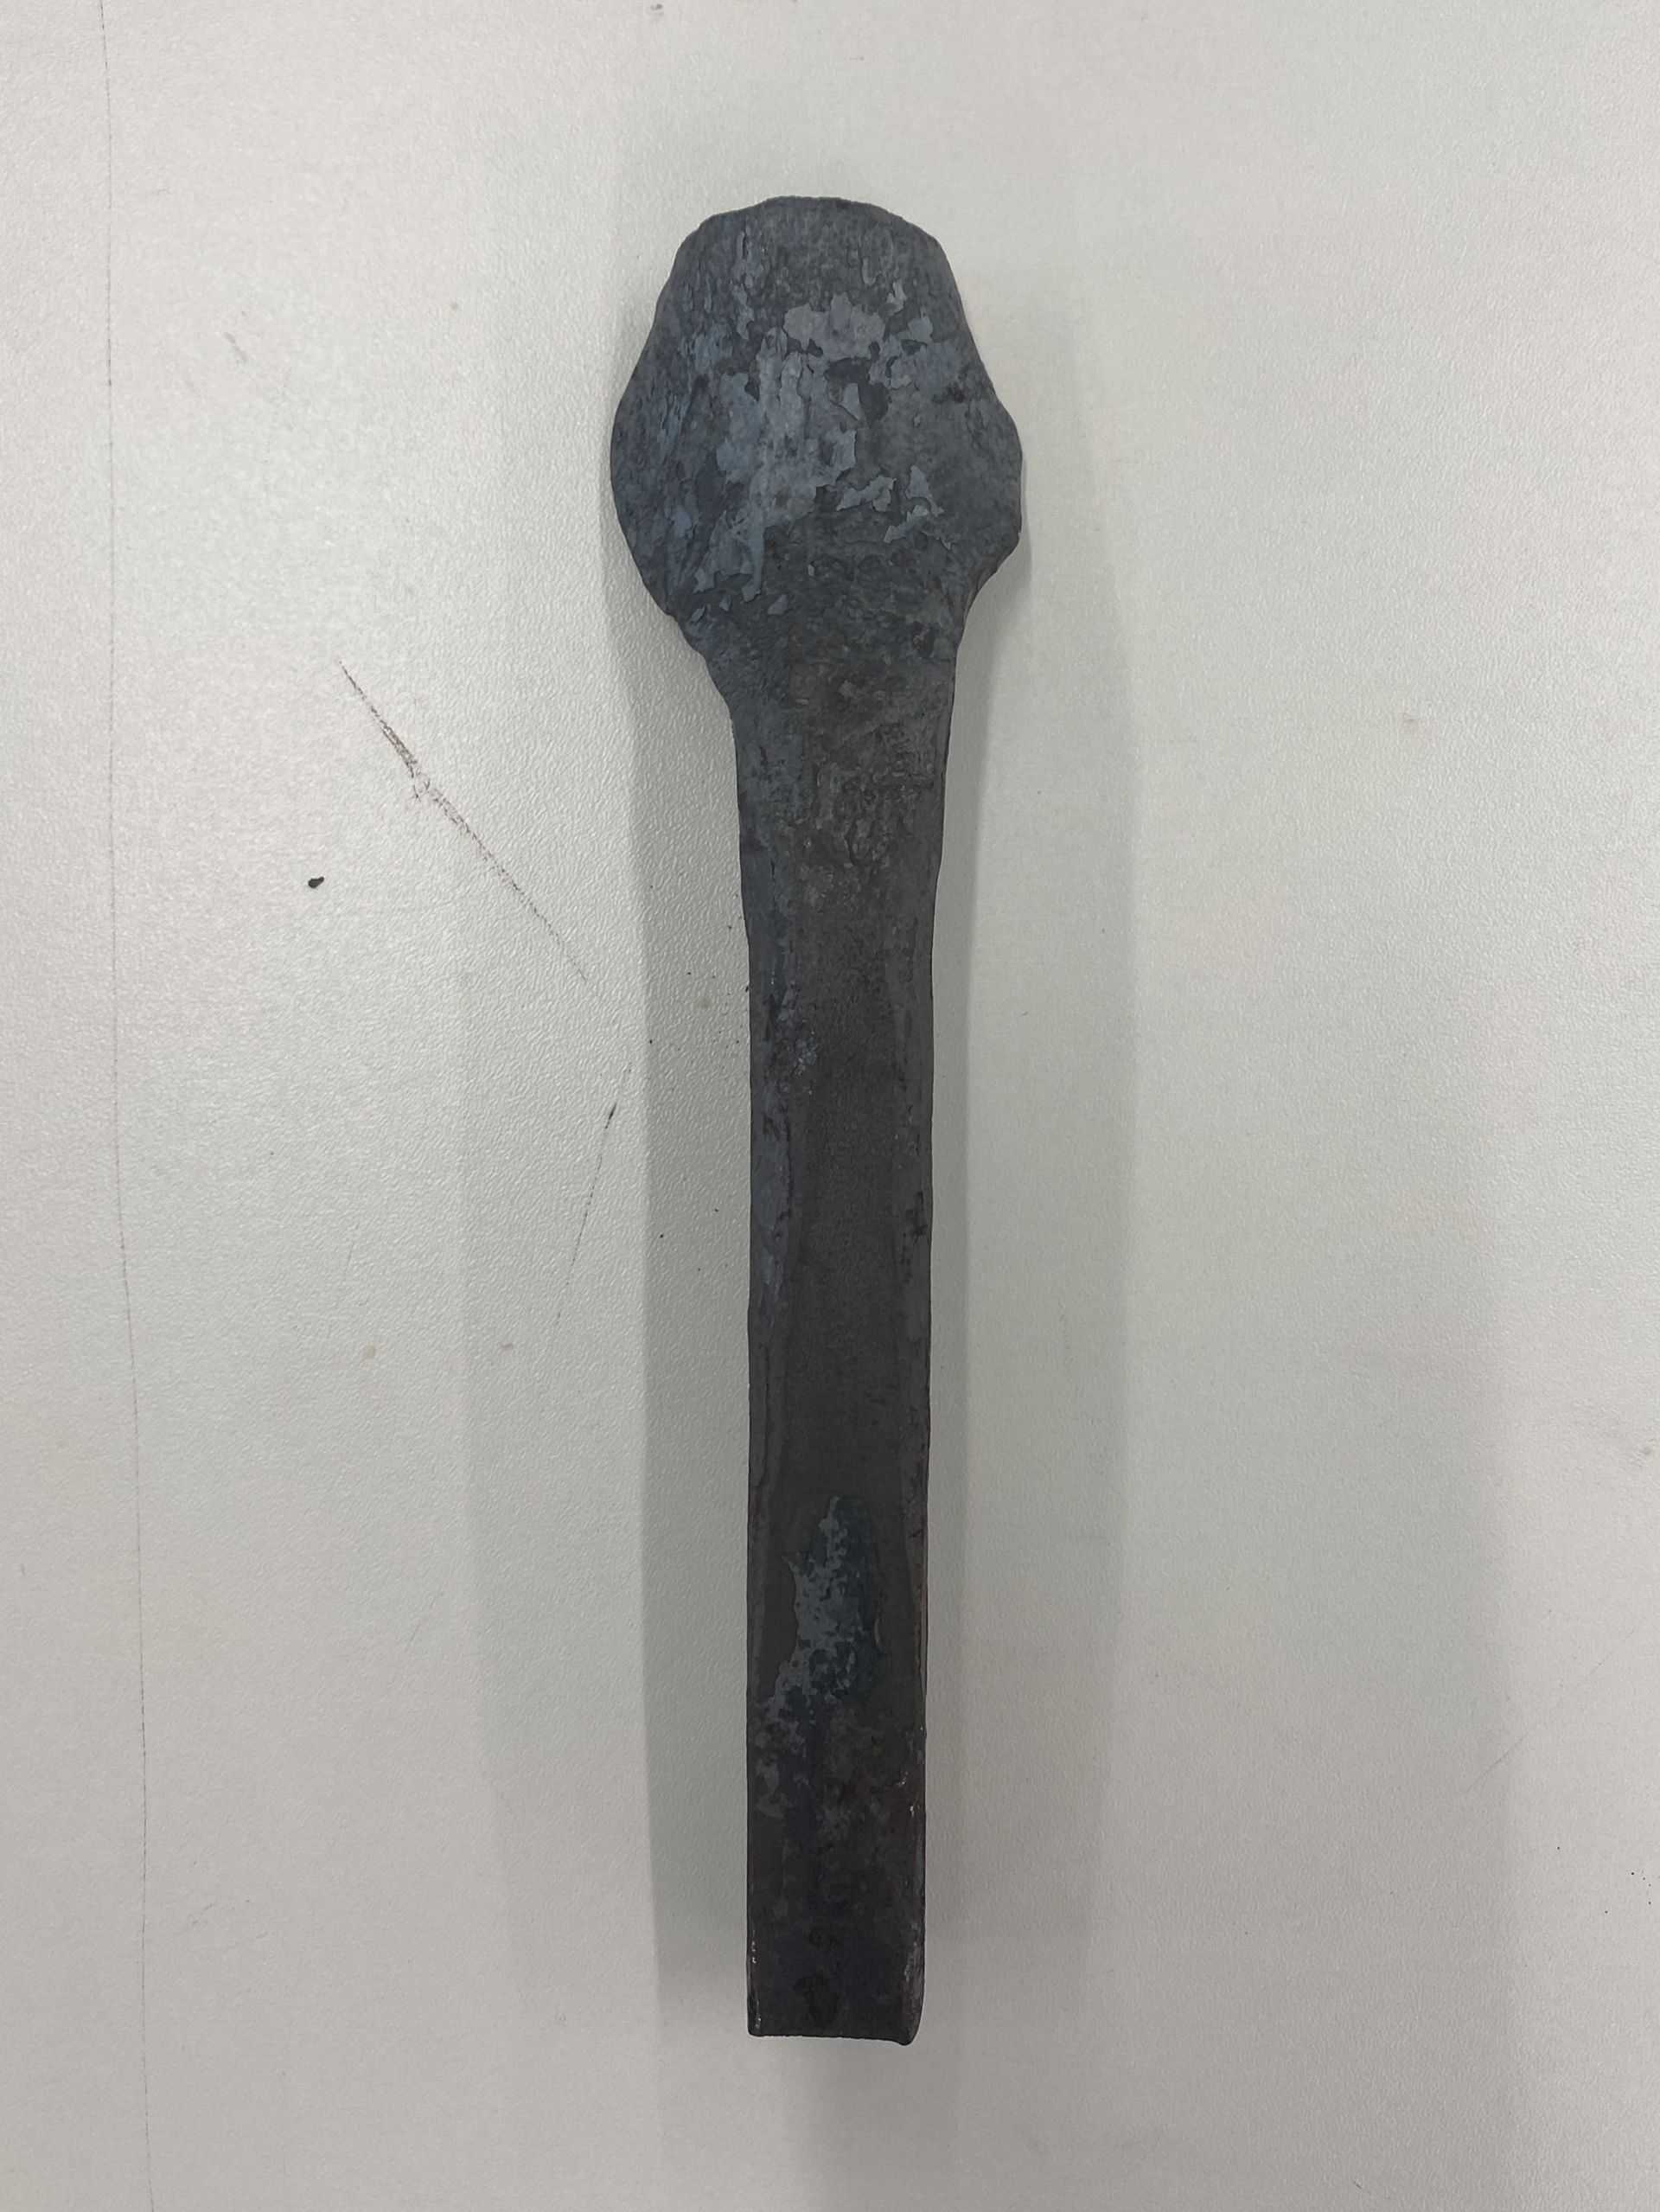
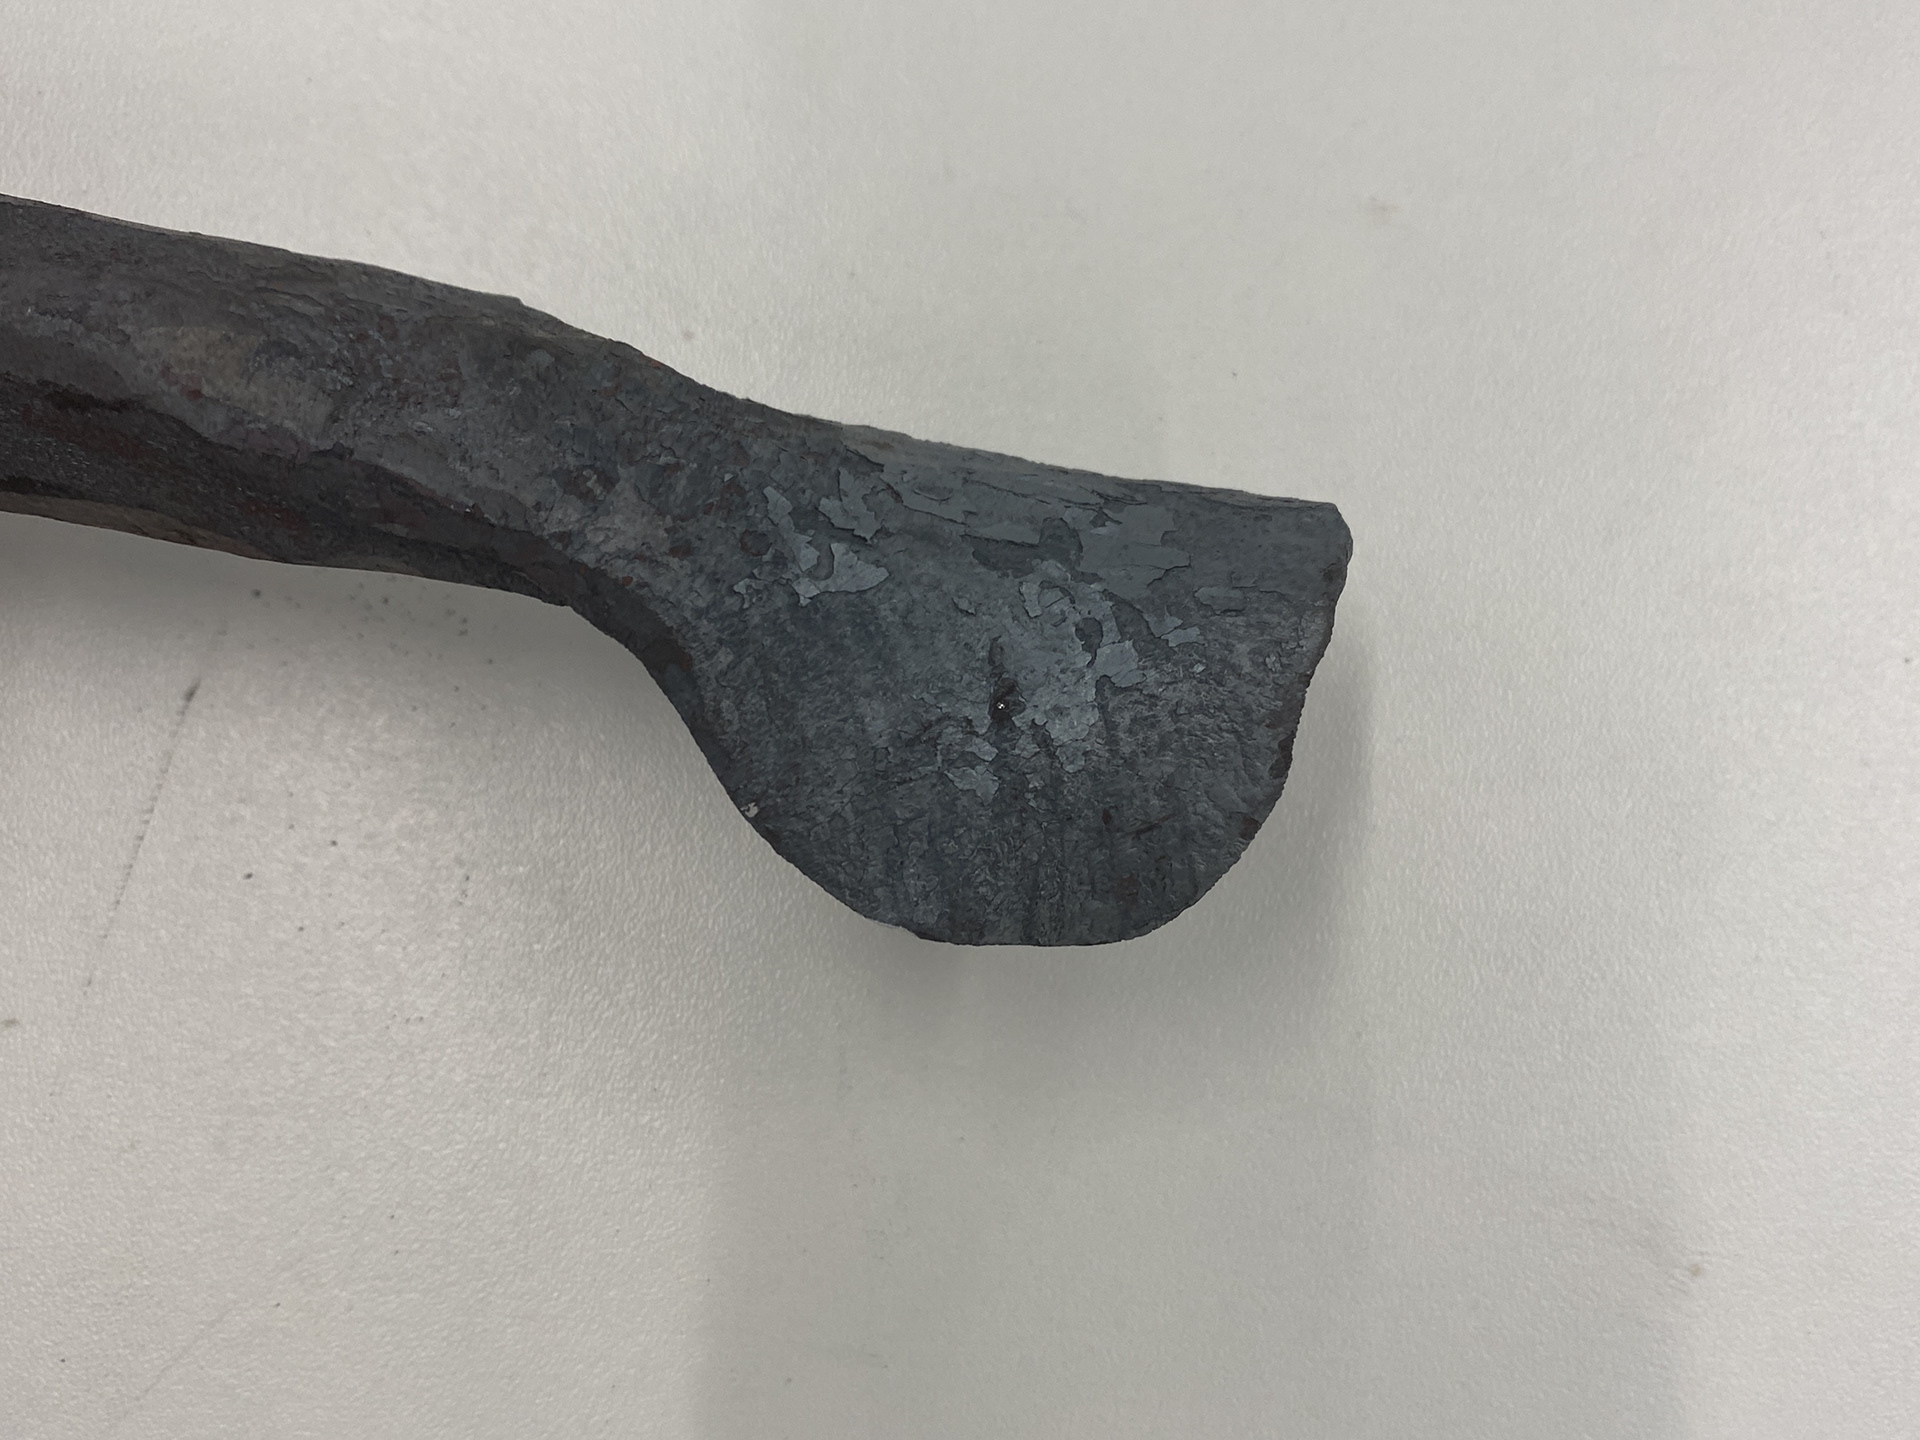
Firstly I was taught the correct way to taper 10mm square and round stock into a Square, Point and Chisel/Flat profile. Working with larger stock , I was also able to experience the difference in technique required to create a Square and Pointed taper. I also learned to create a dovetail taper from a 25mm piece of square bar which I curved over into a petal shape.
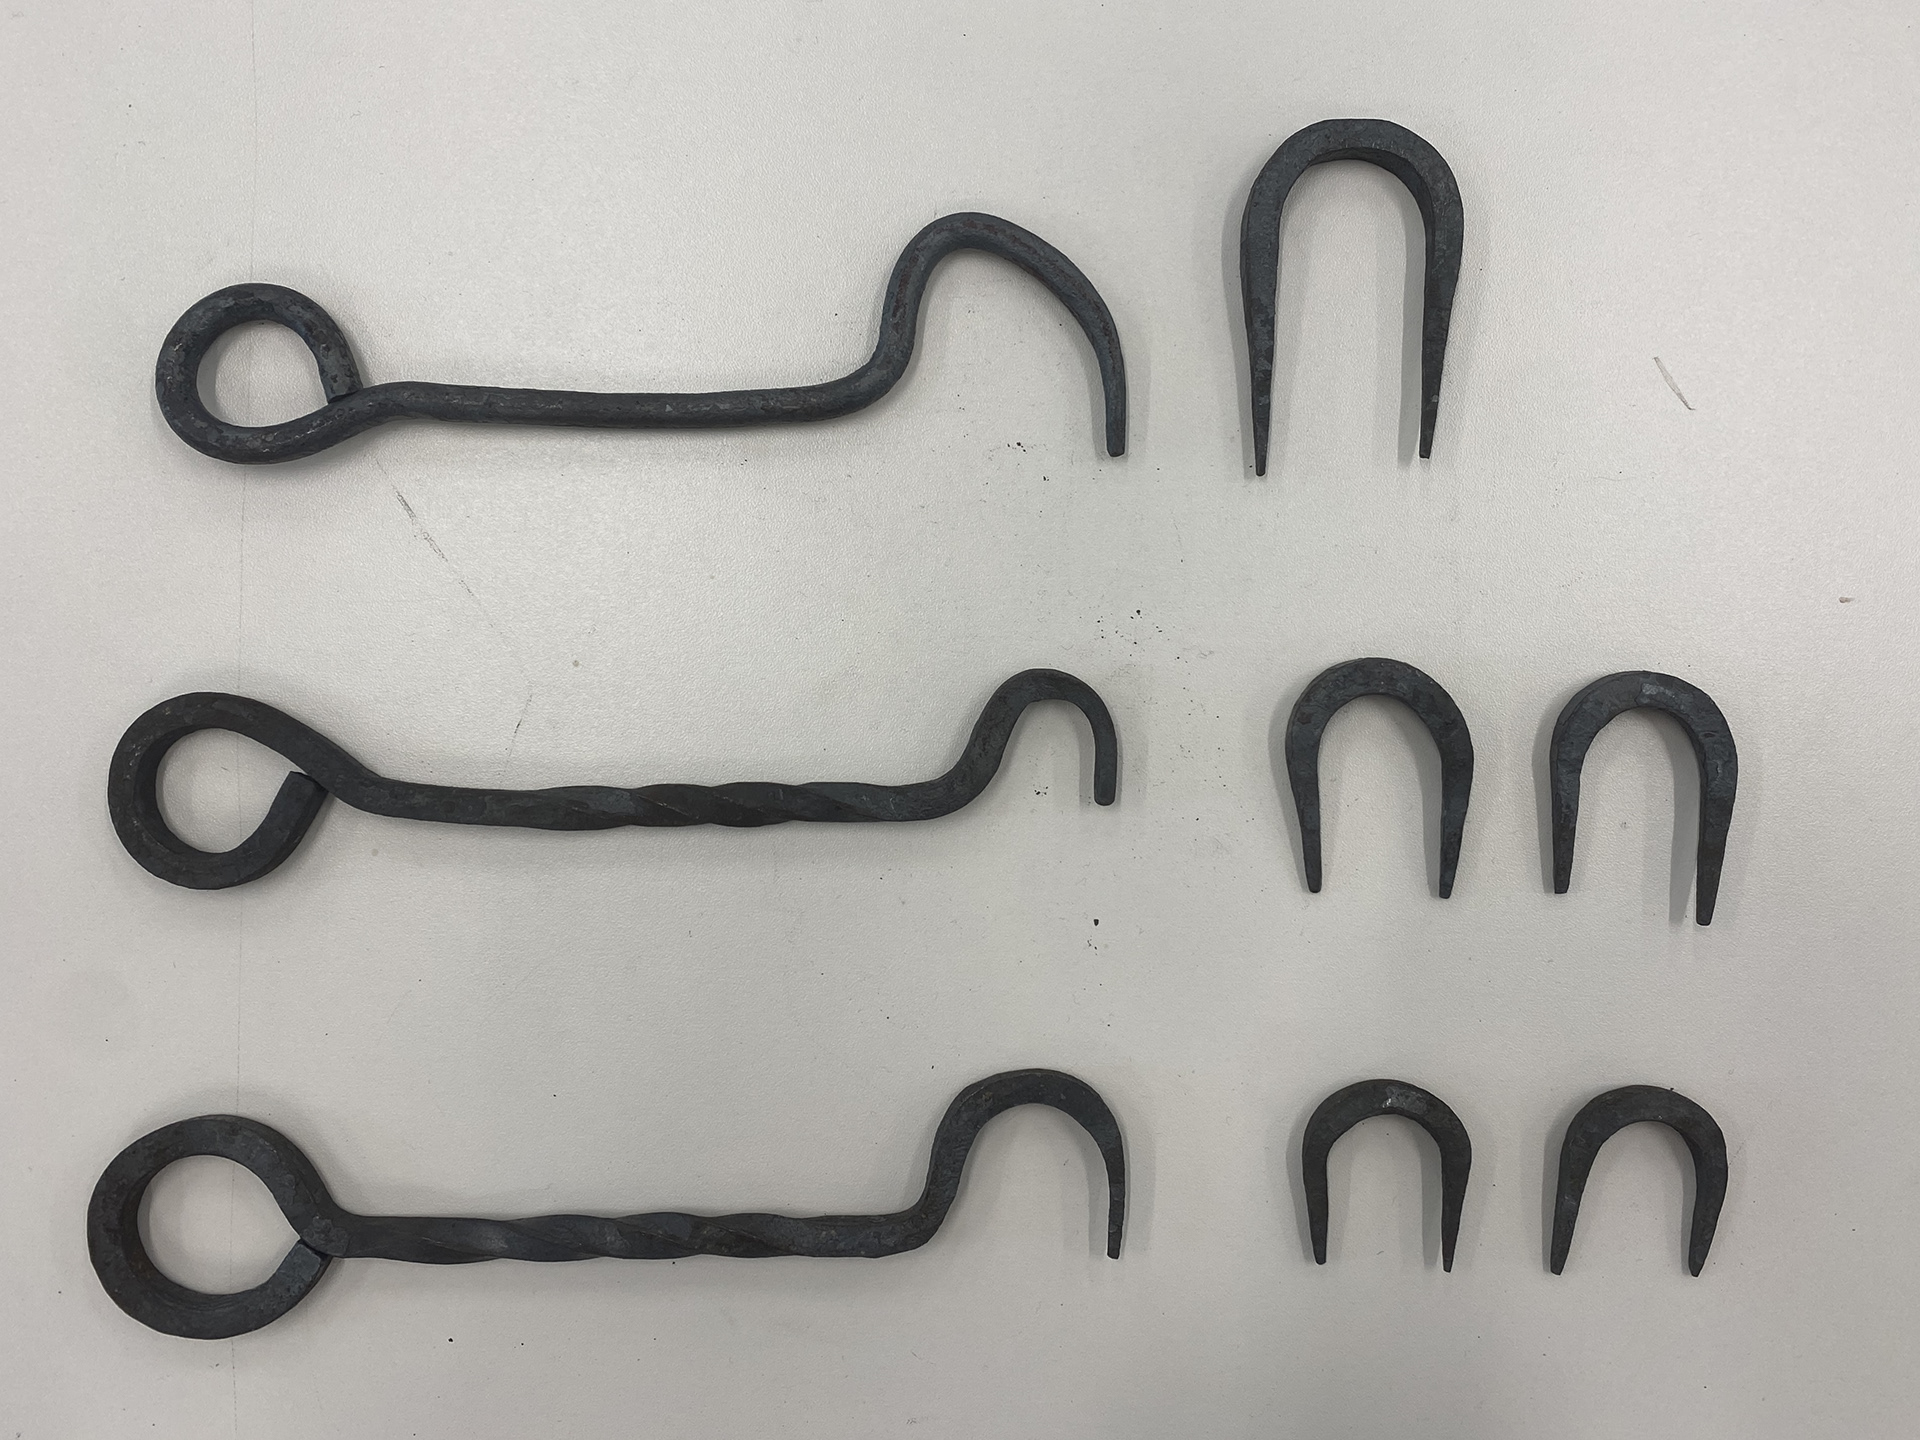
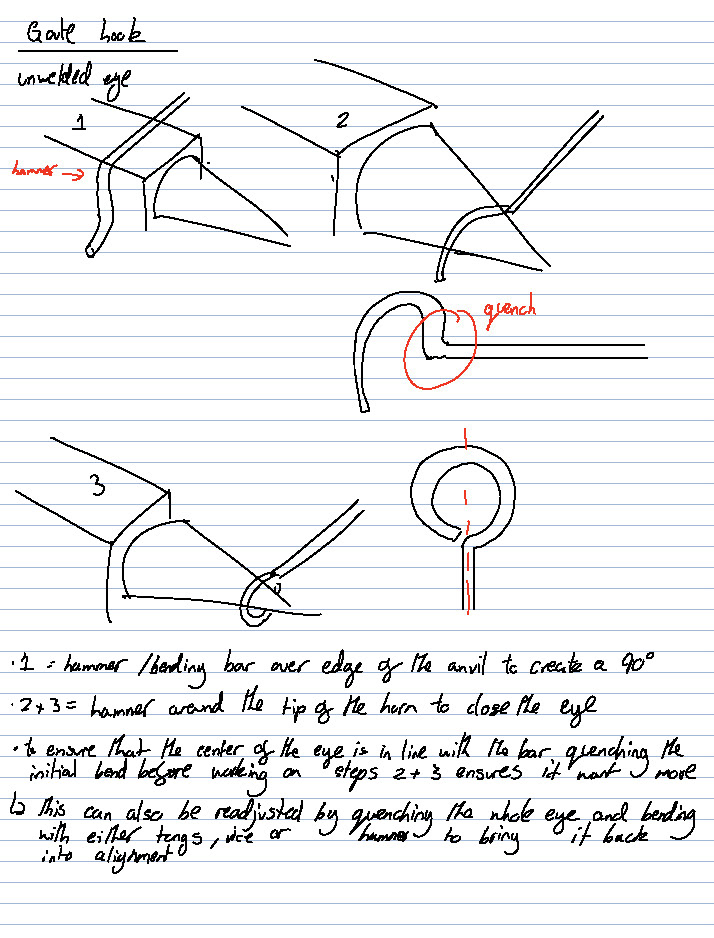
Next, I practiced making a gate hook and square latch keep. This involved learning how to bend a uniform unwelded eye which has many applications such as creating handles on tools. Forging the staples required fine control using tongs as well as precise placement of the bends to ensure an equal form. These exercises reinforced the importance of utilising all the faces of the anvil and I spent lots of time learning and adjusting my positioning.
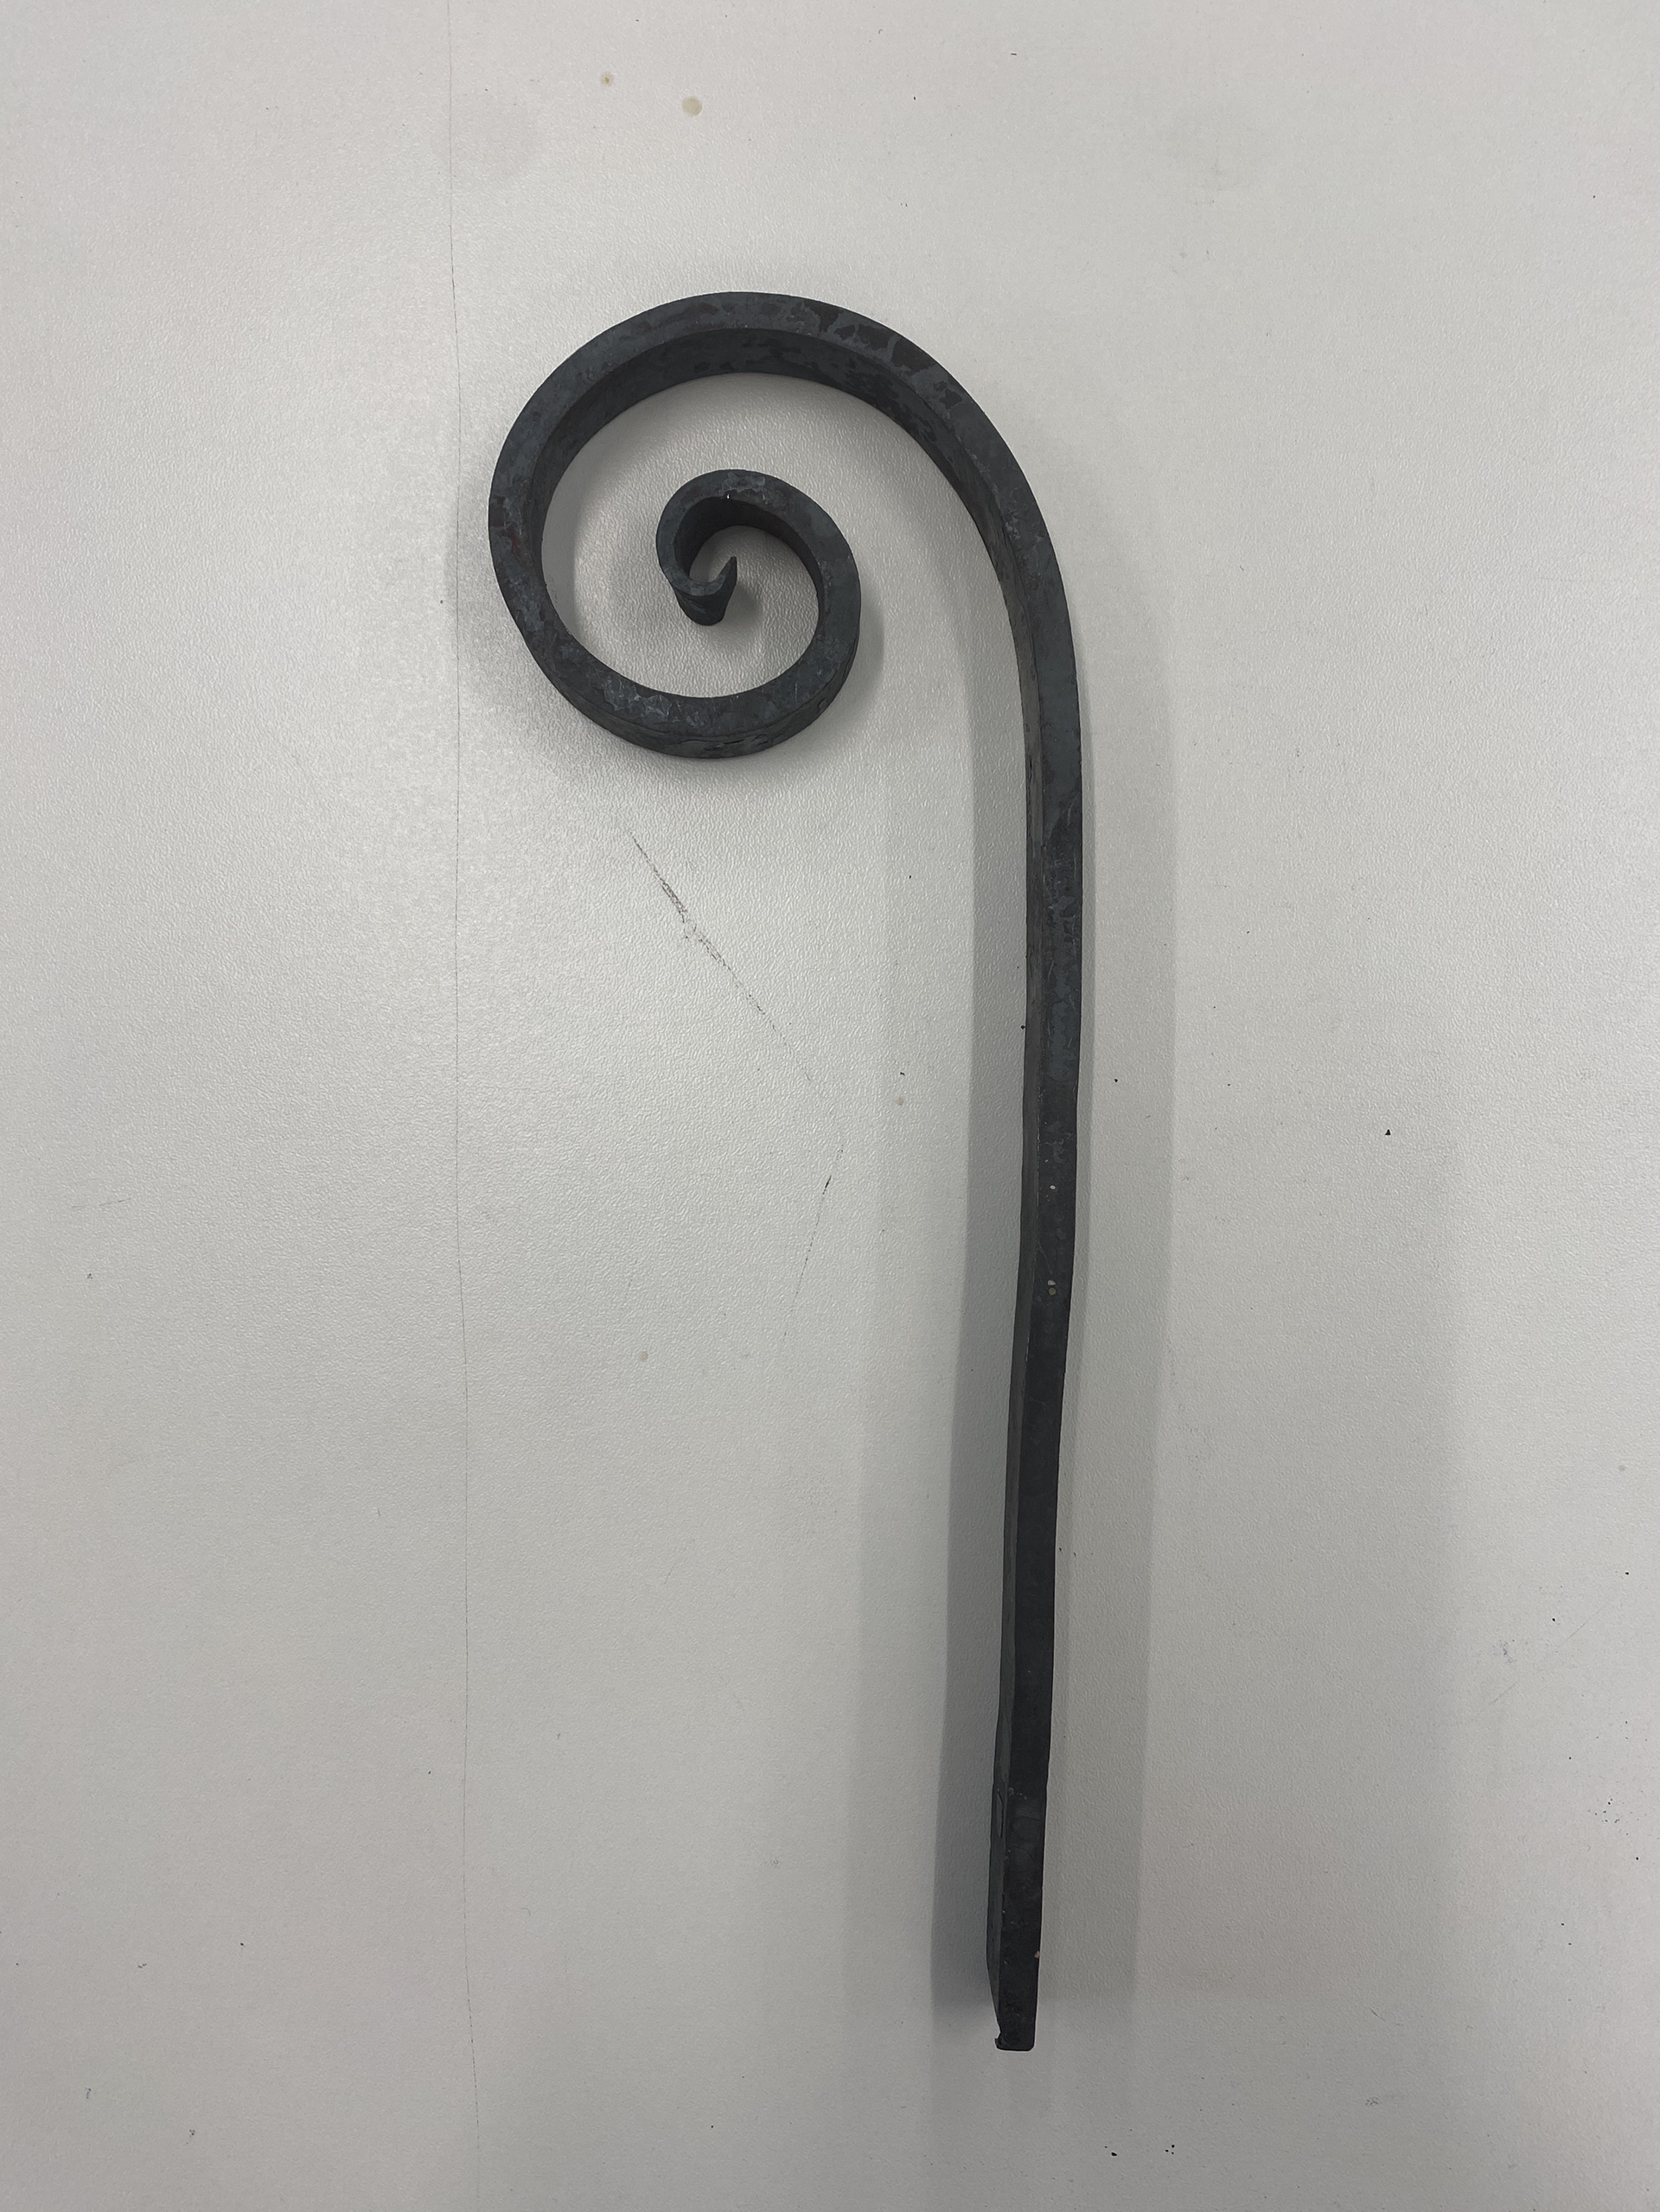
I also made a scroll using one of their scrolling jigs to assist with a uniform shape.
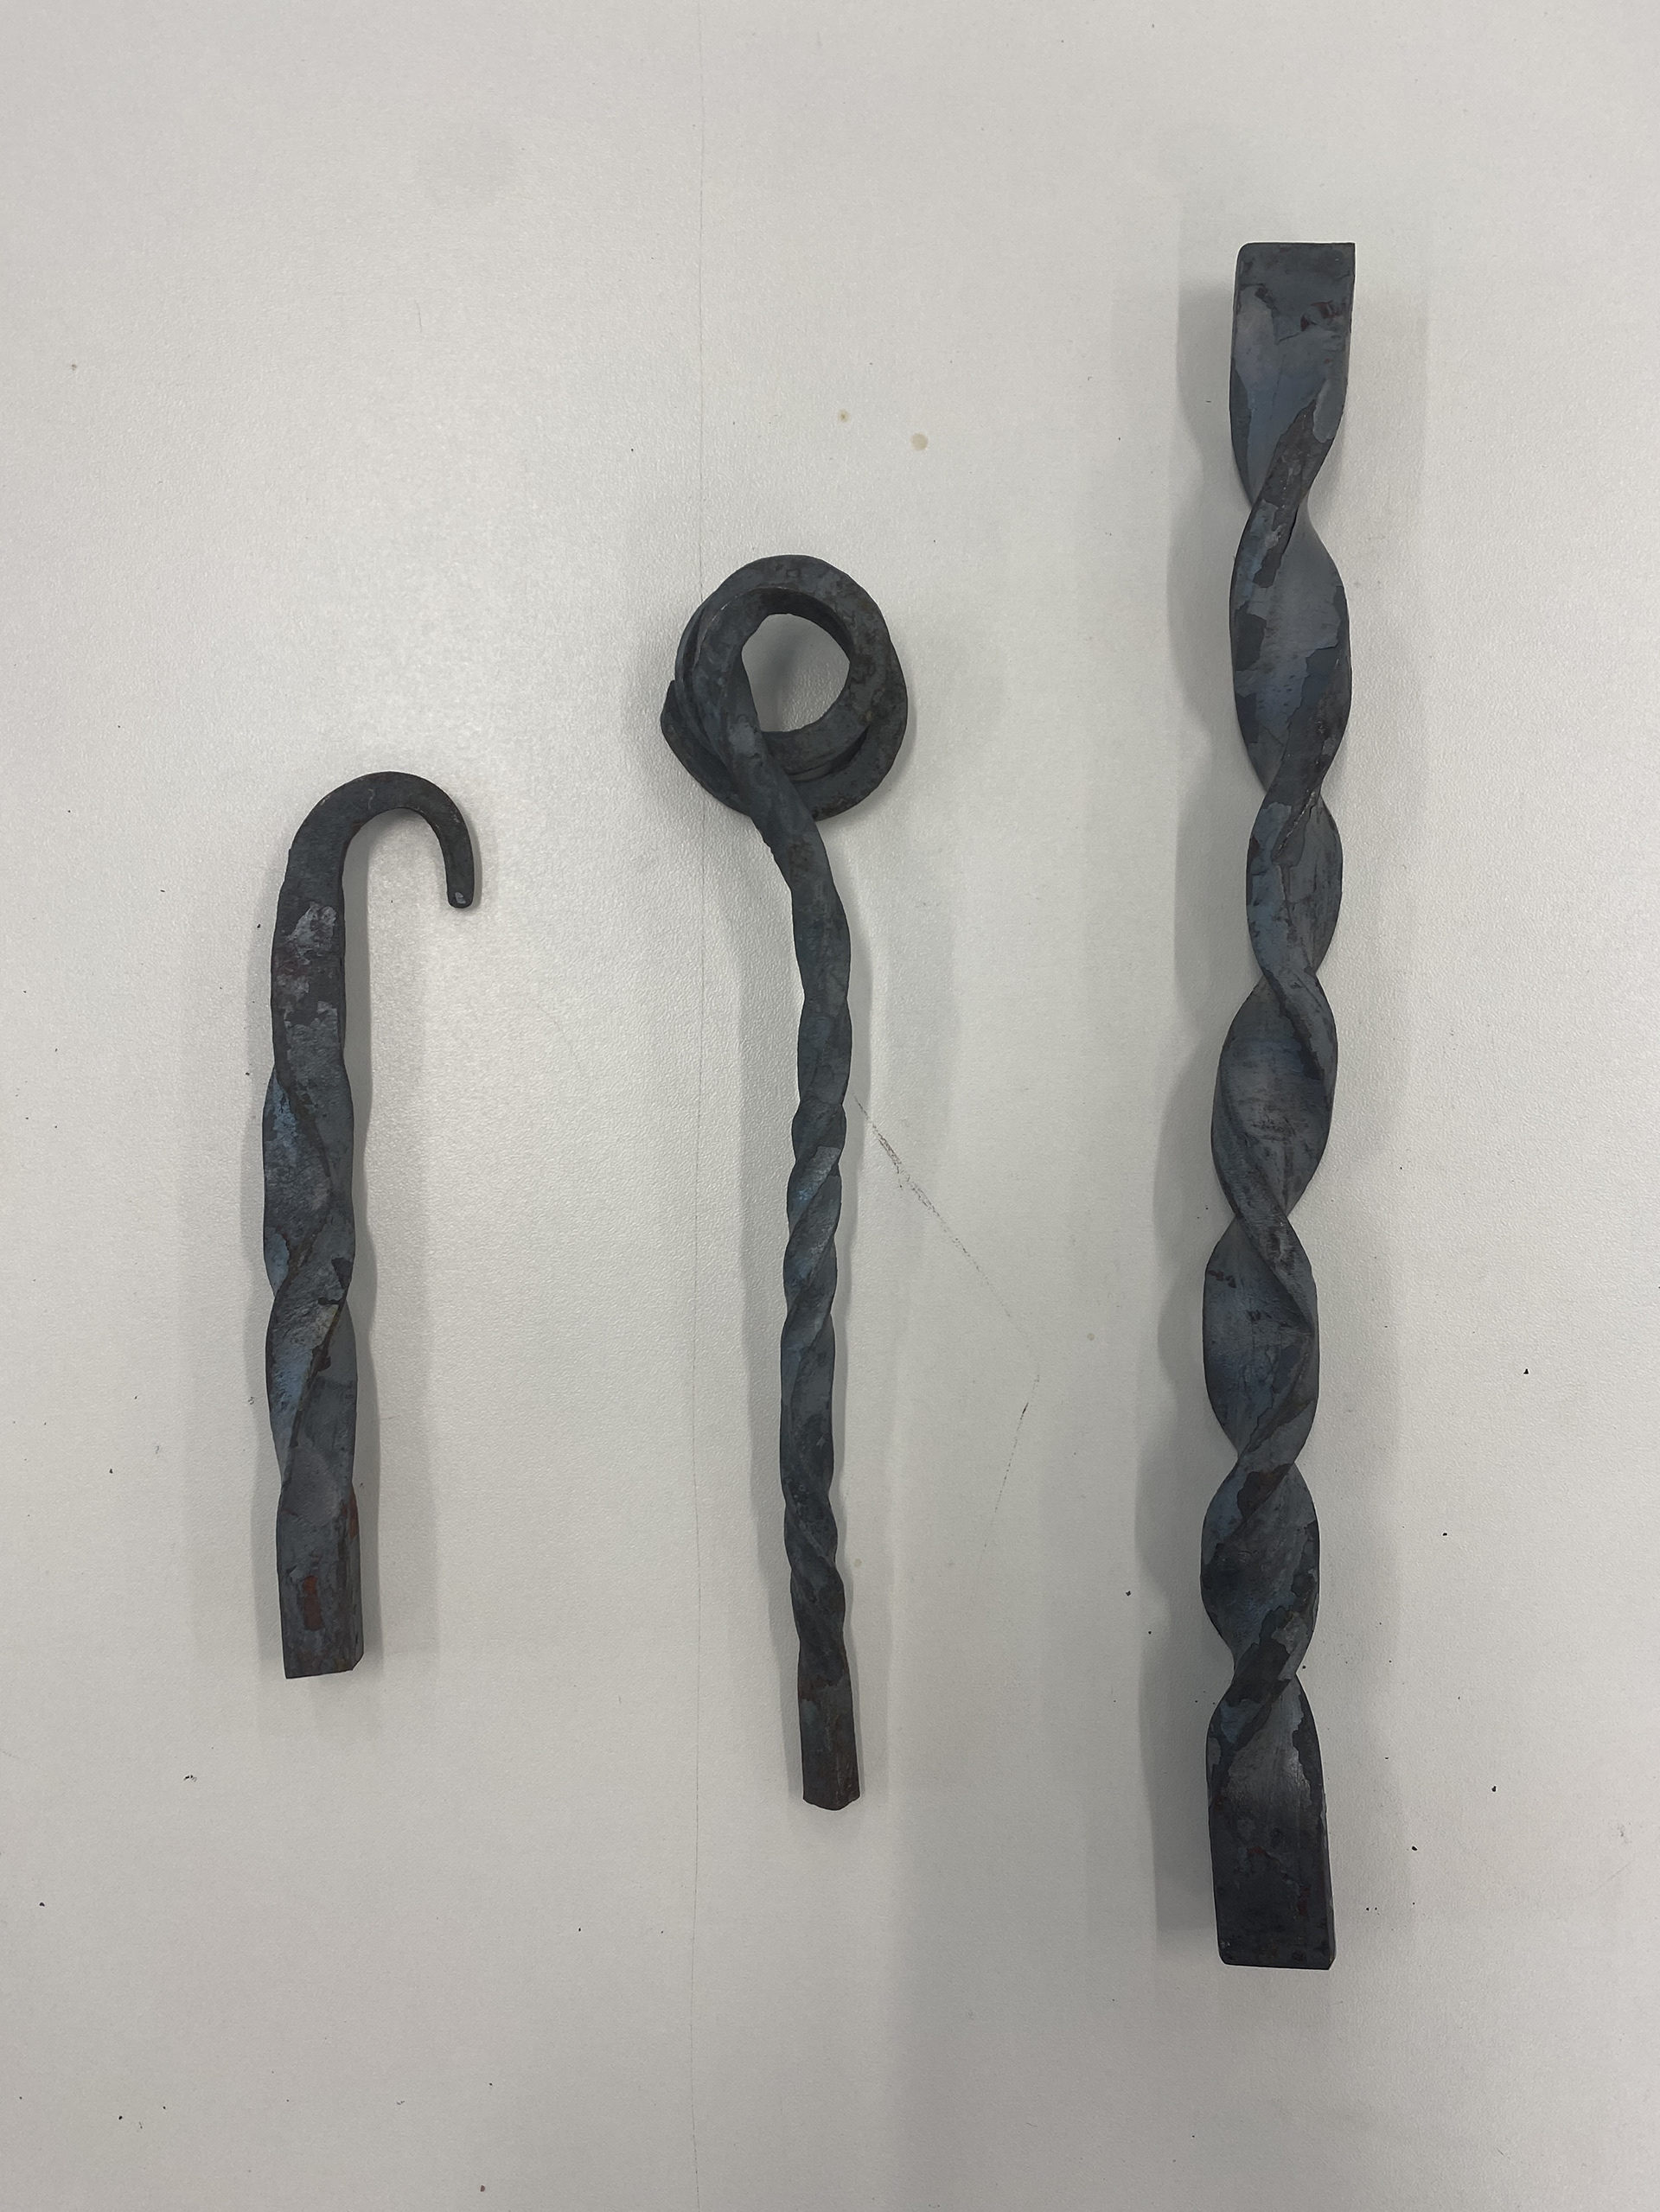
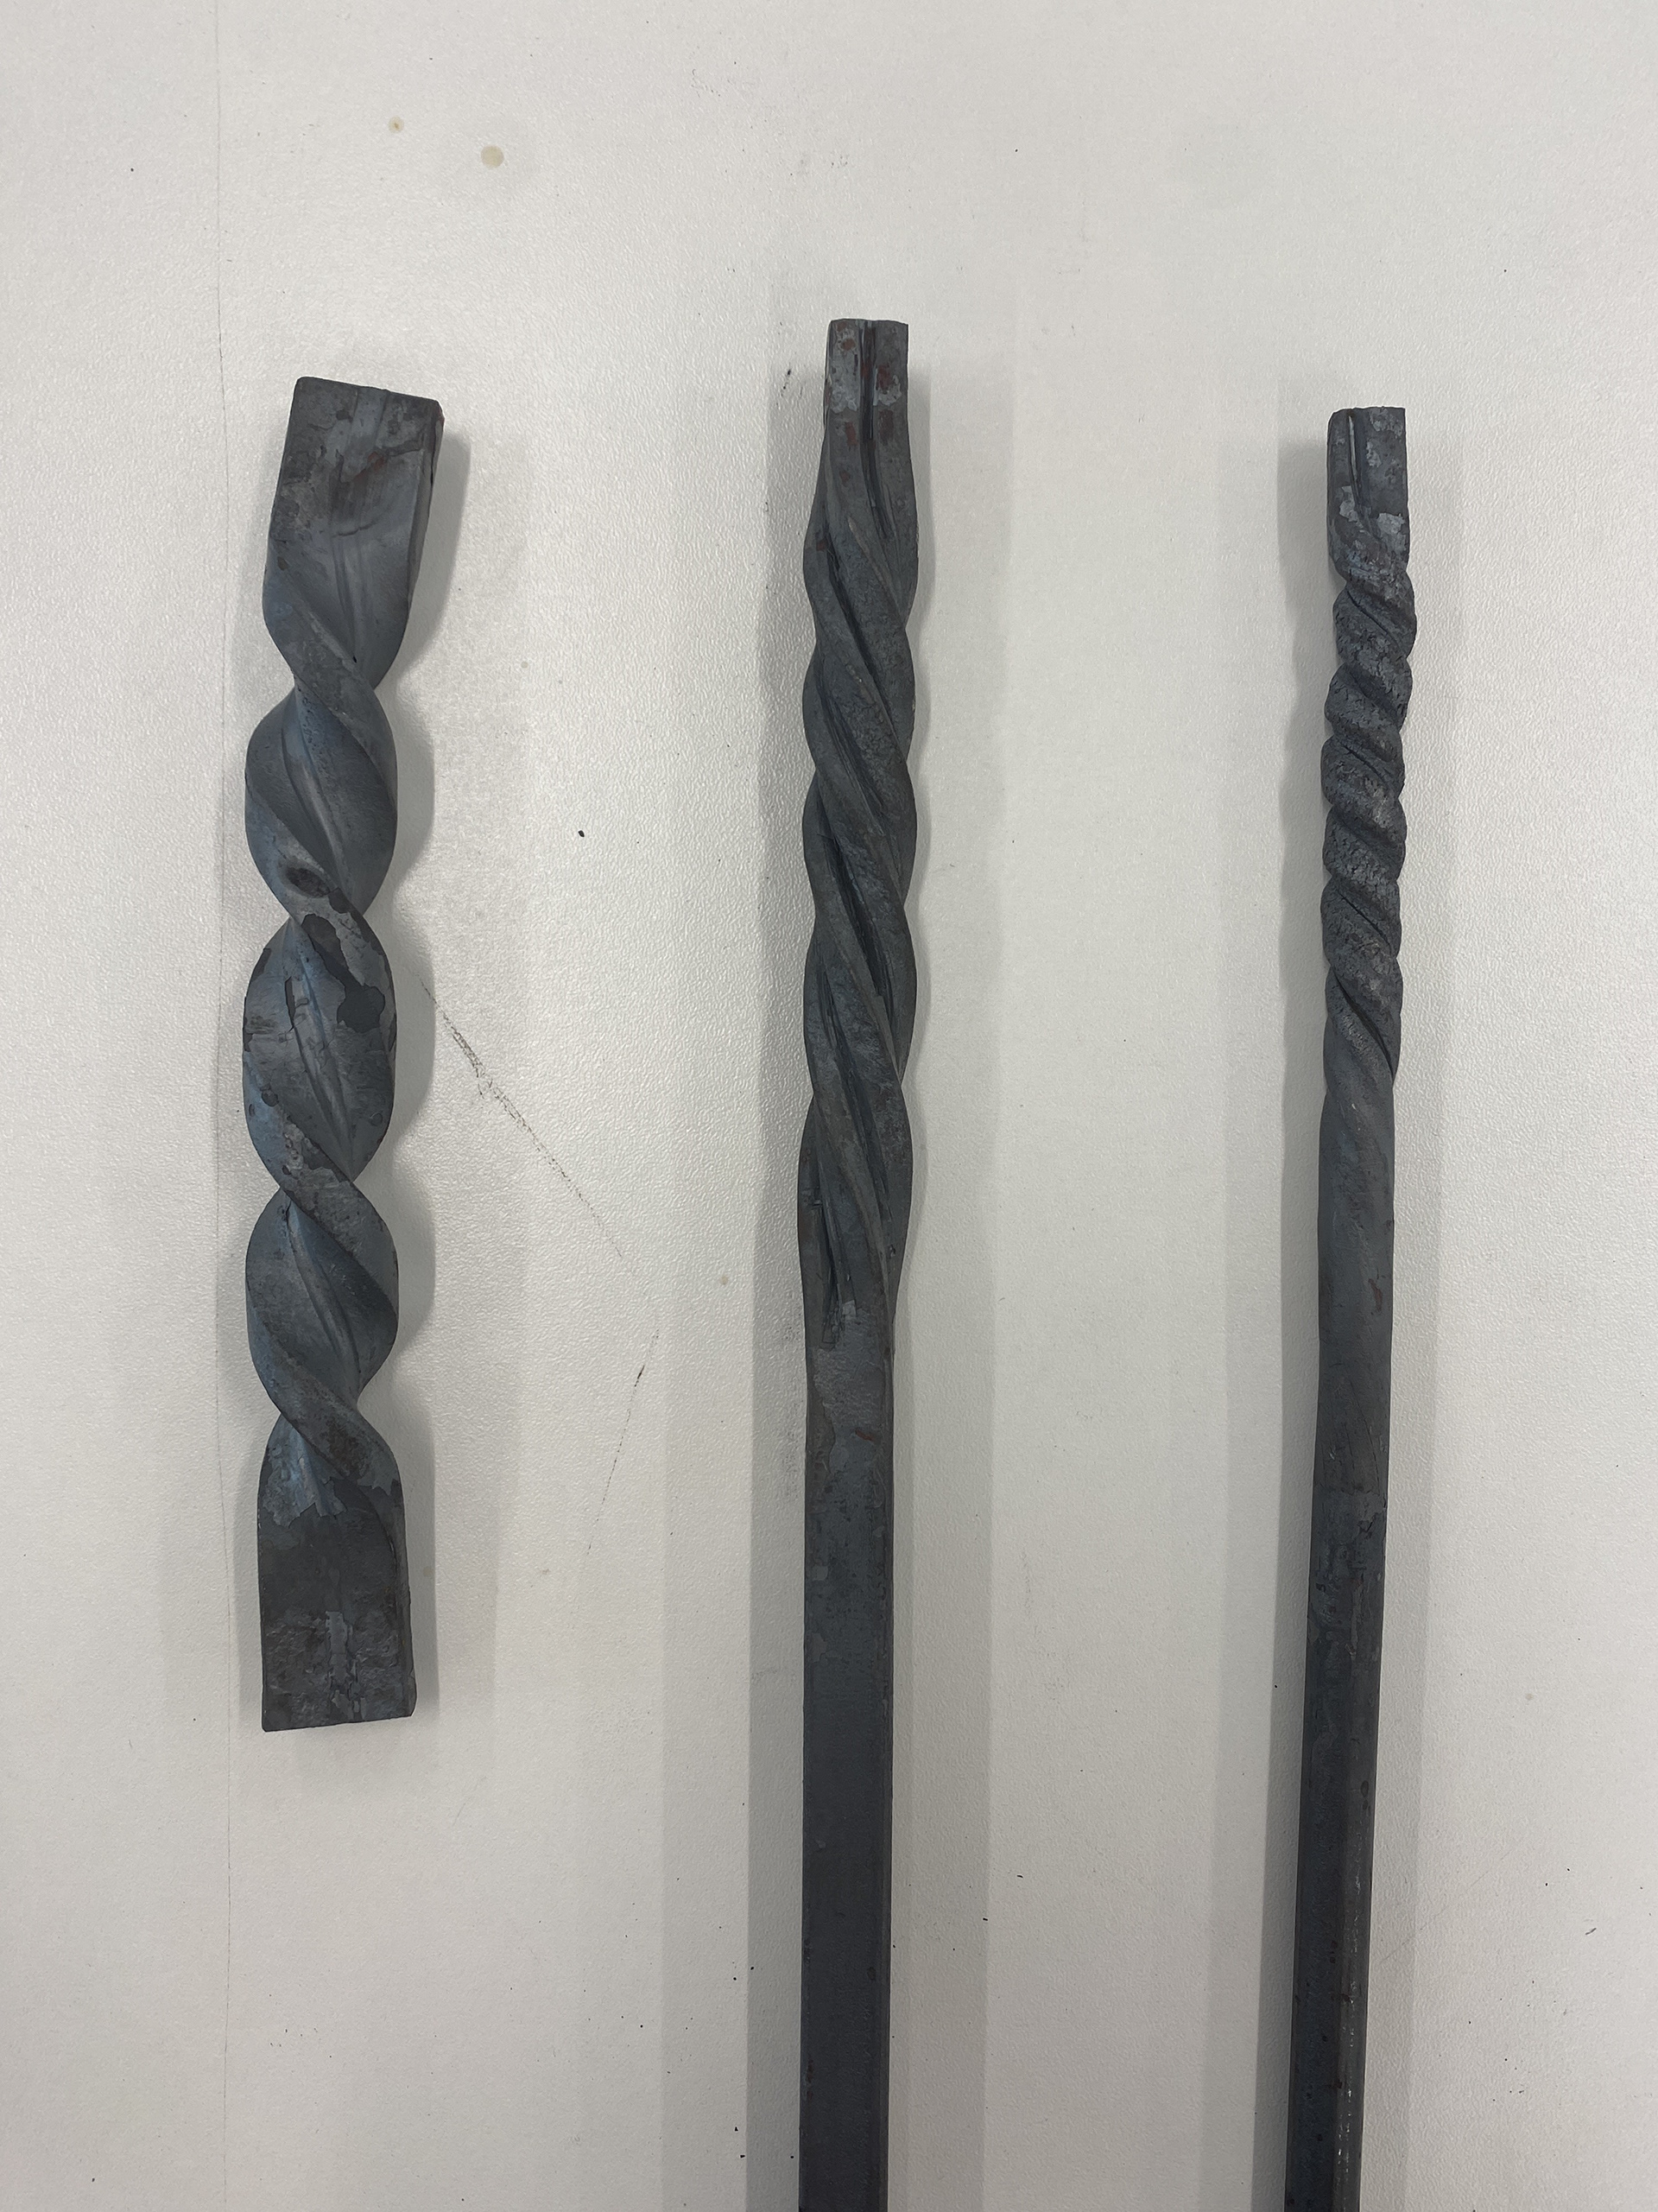
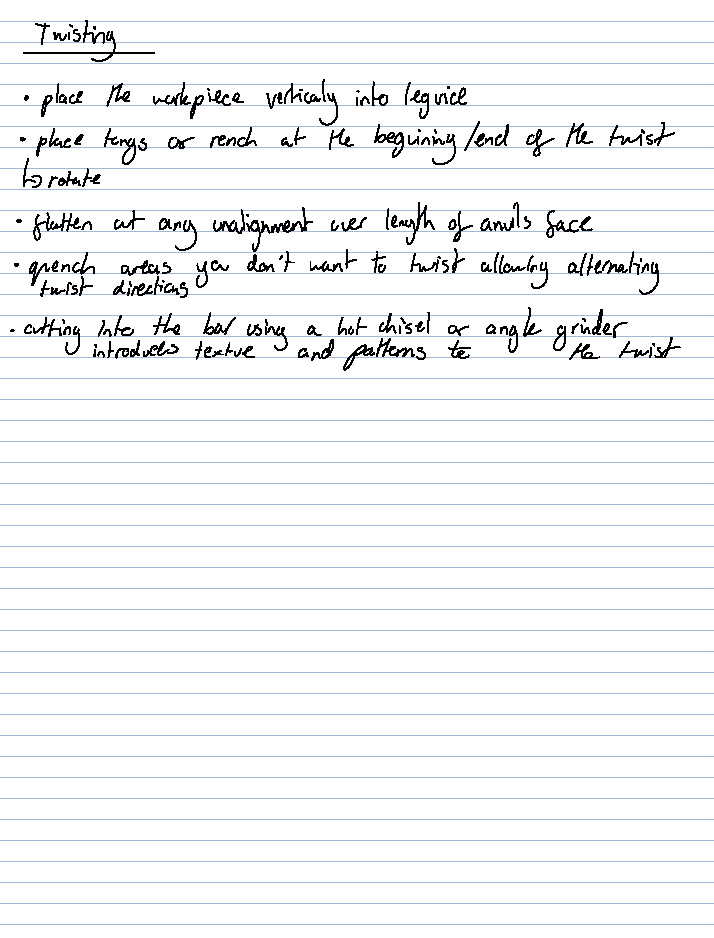
I was shown how to achieve different styles of twists in differing profiles and thicknesses of steel. The main take away form this was quenching the areas that I didn't want to move gave me greater control to create site specific alterations.
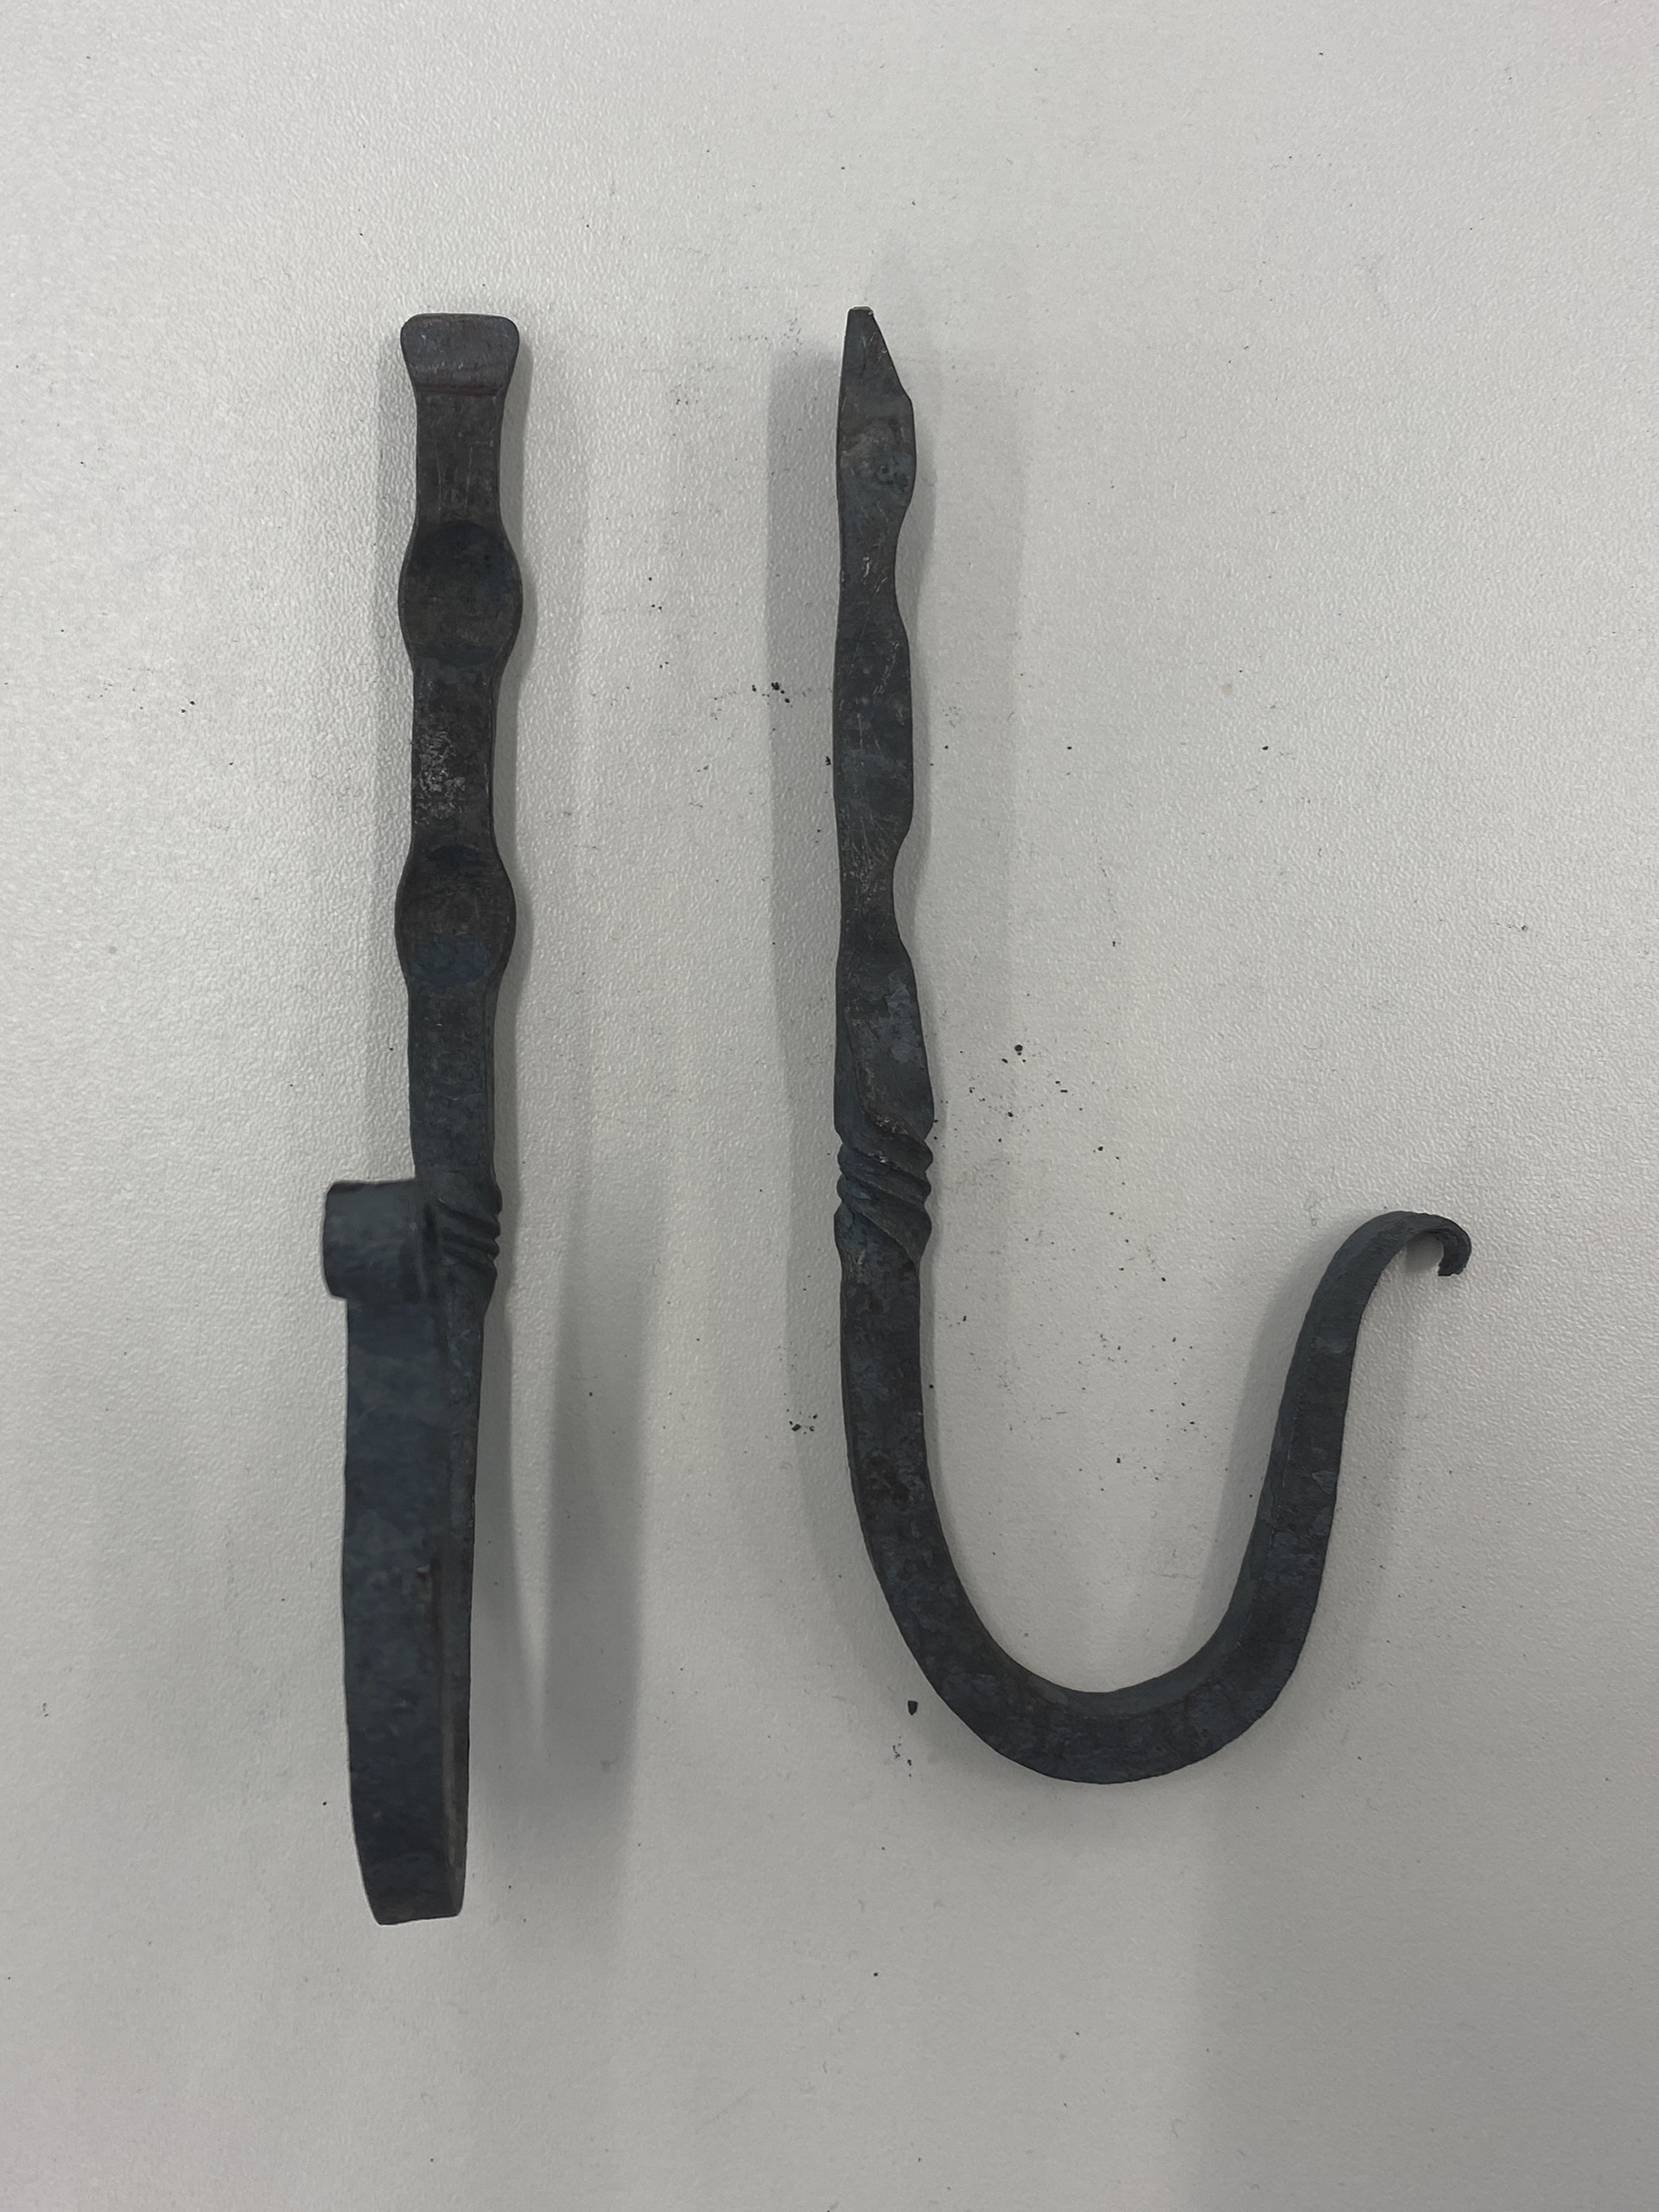
I also made a pair of hooks which reinforced the tapering, scrolling and twisting methods. Additionally, I learned to use hot chisels to cut the workpiece at an angle and punches to create recessed areas for screw holes to be drilled.
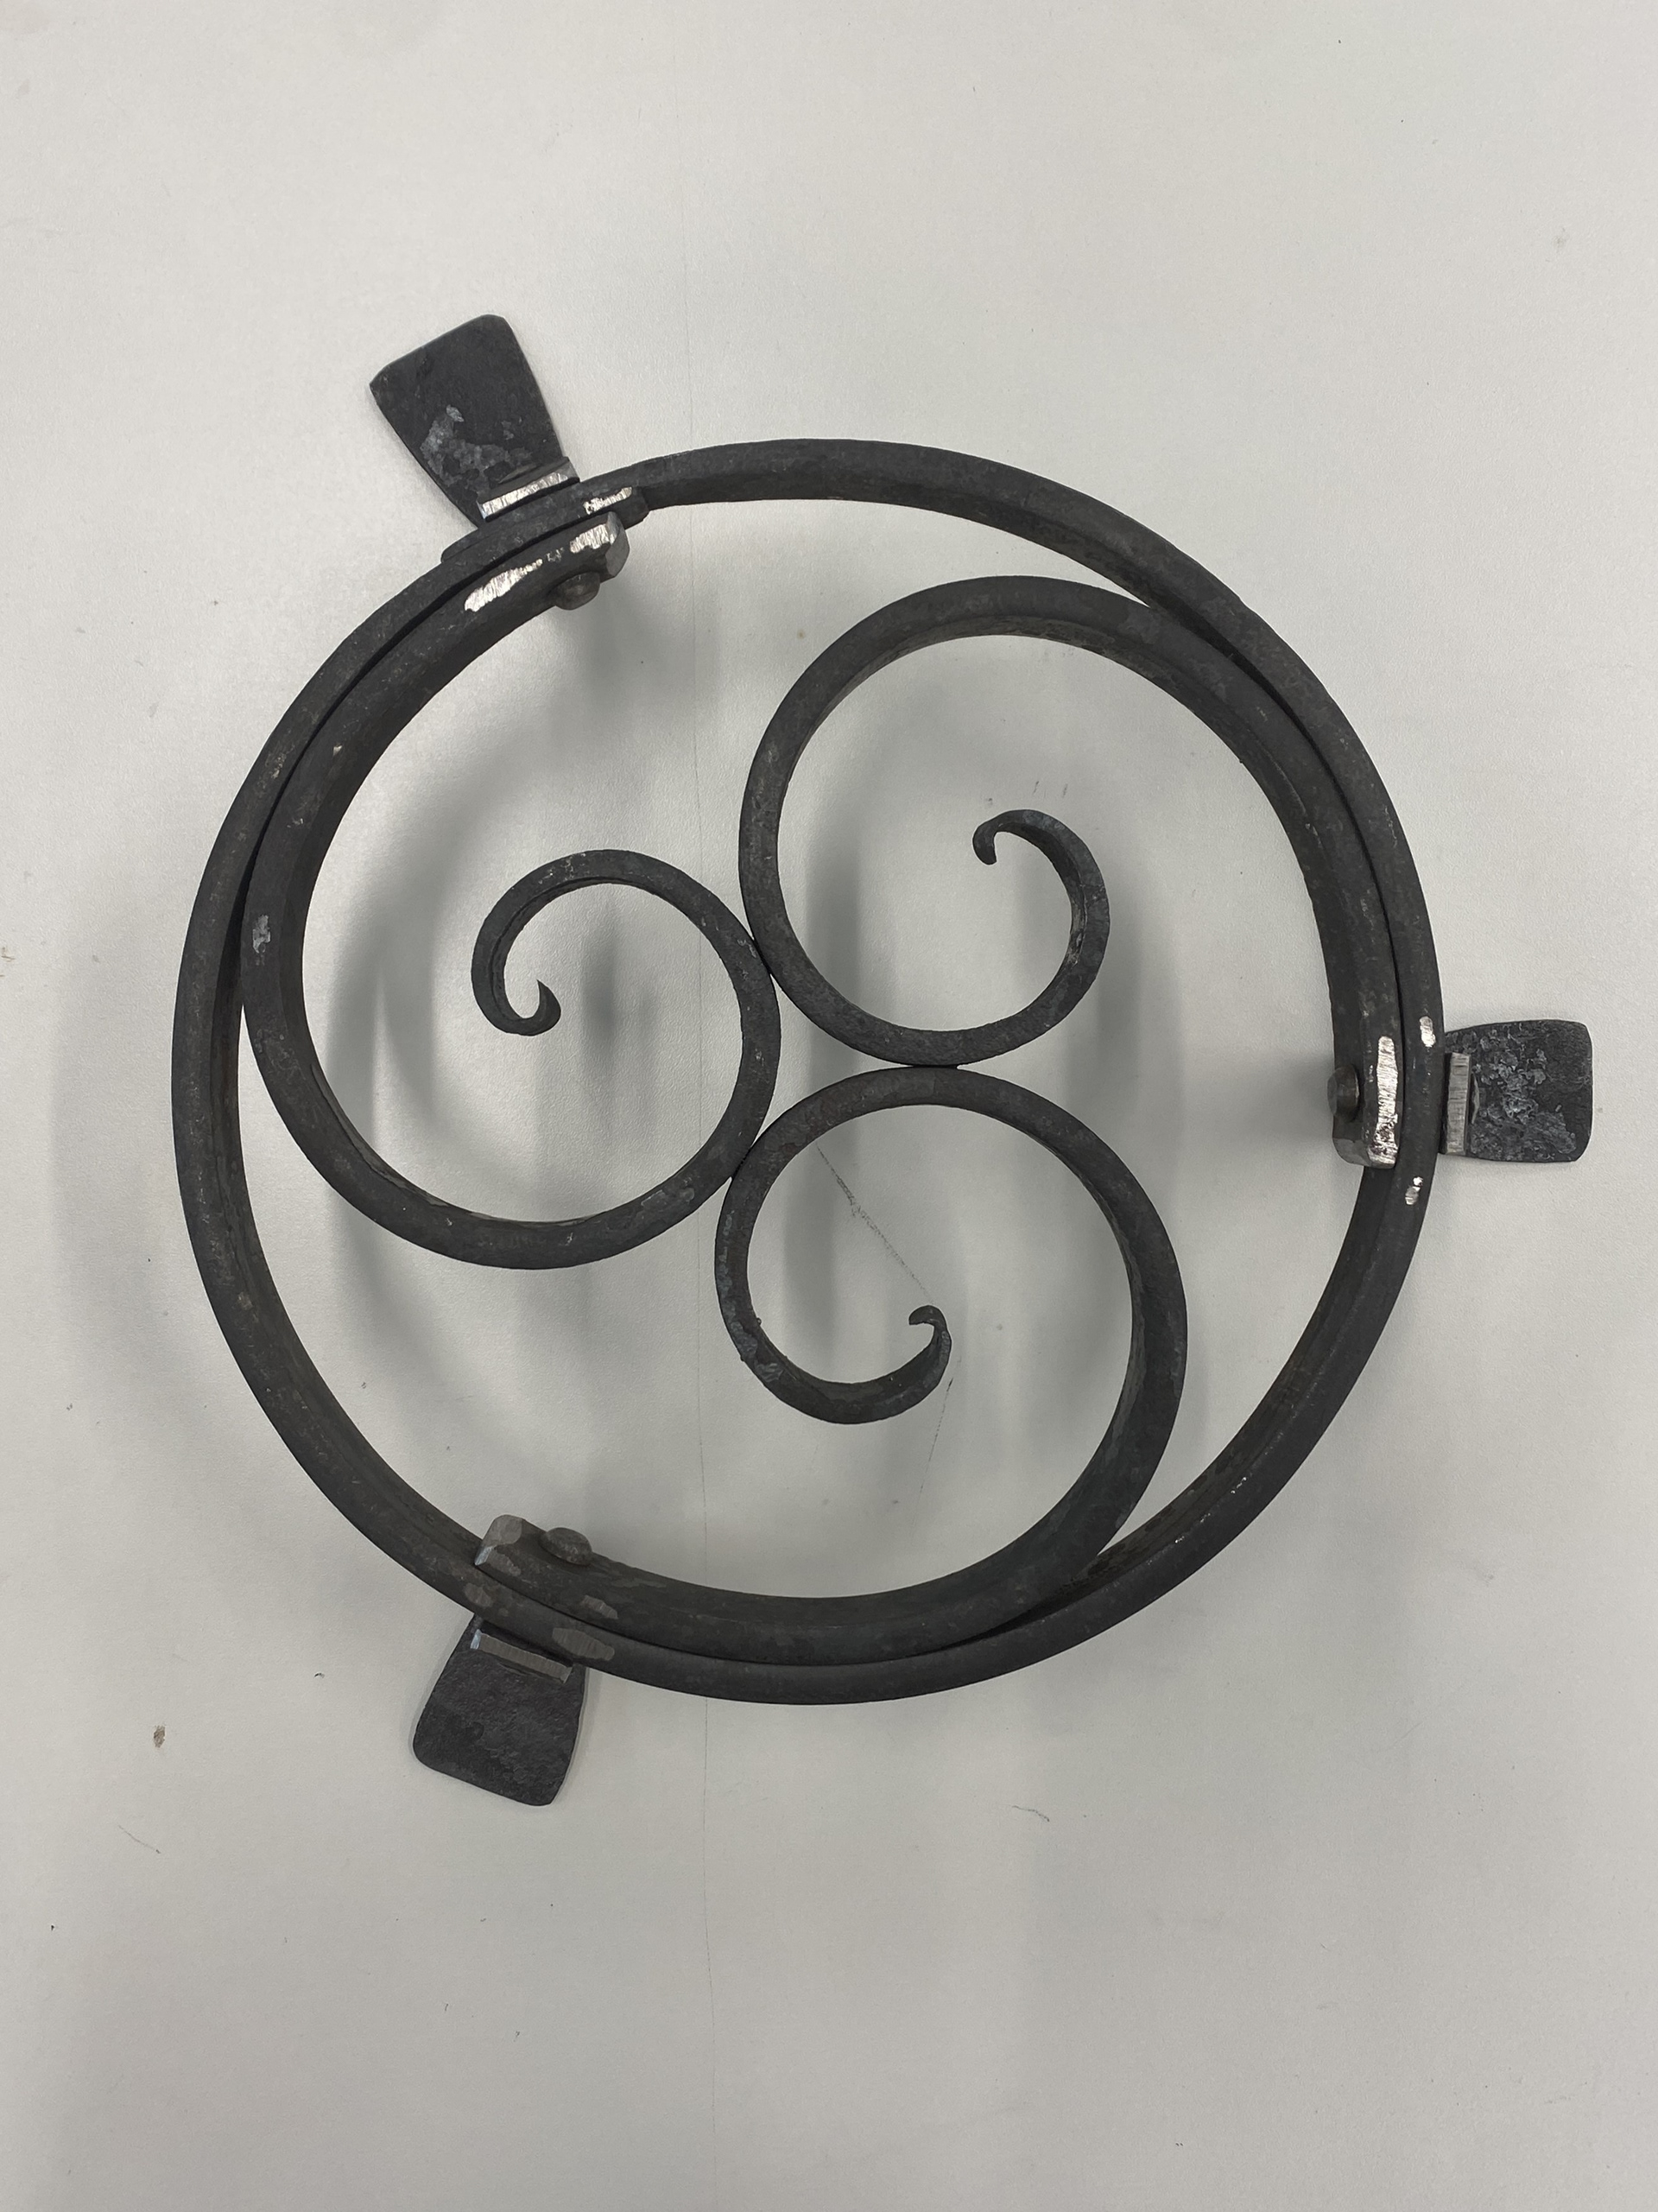
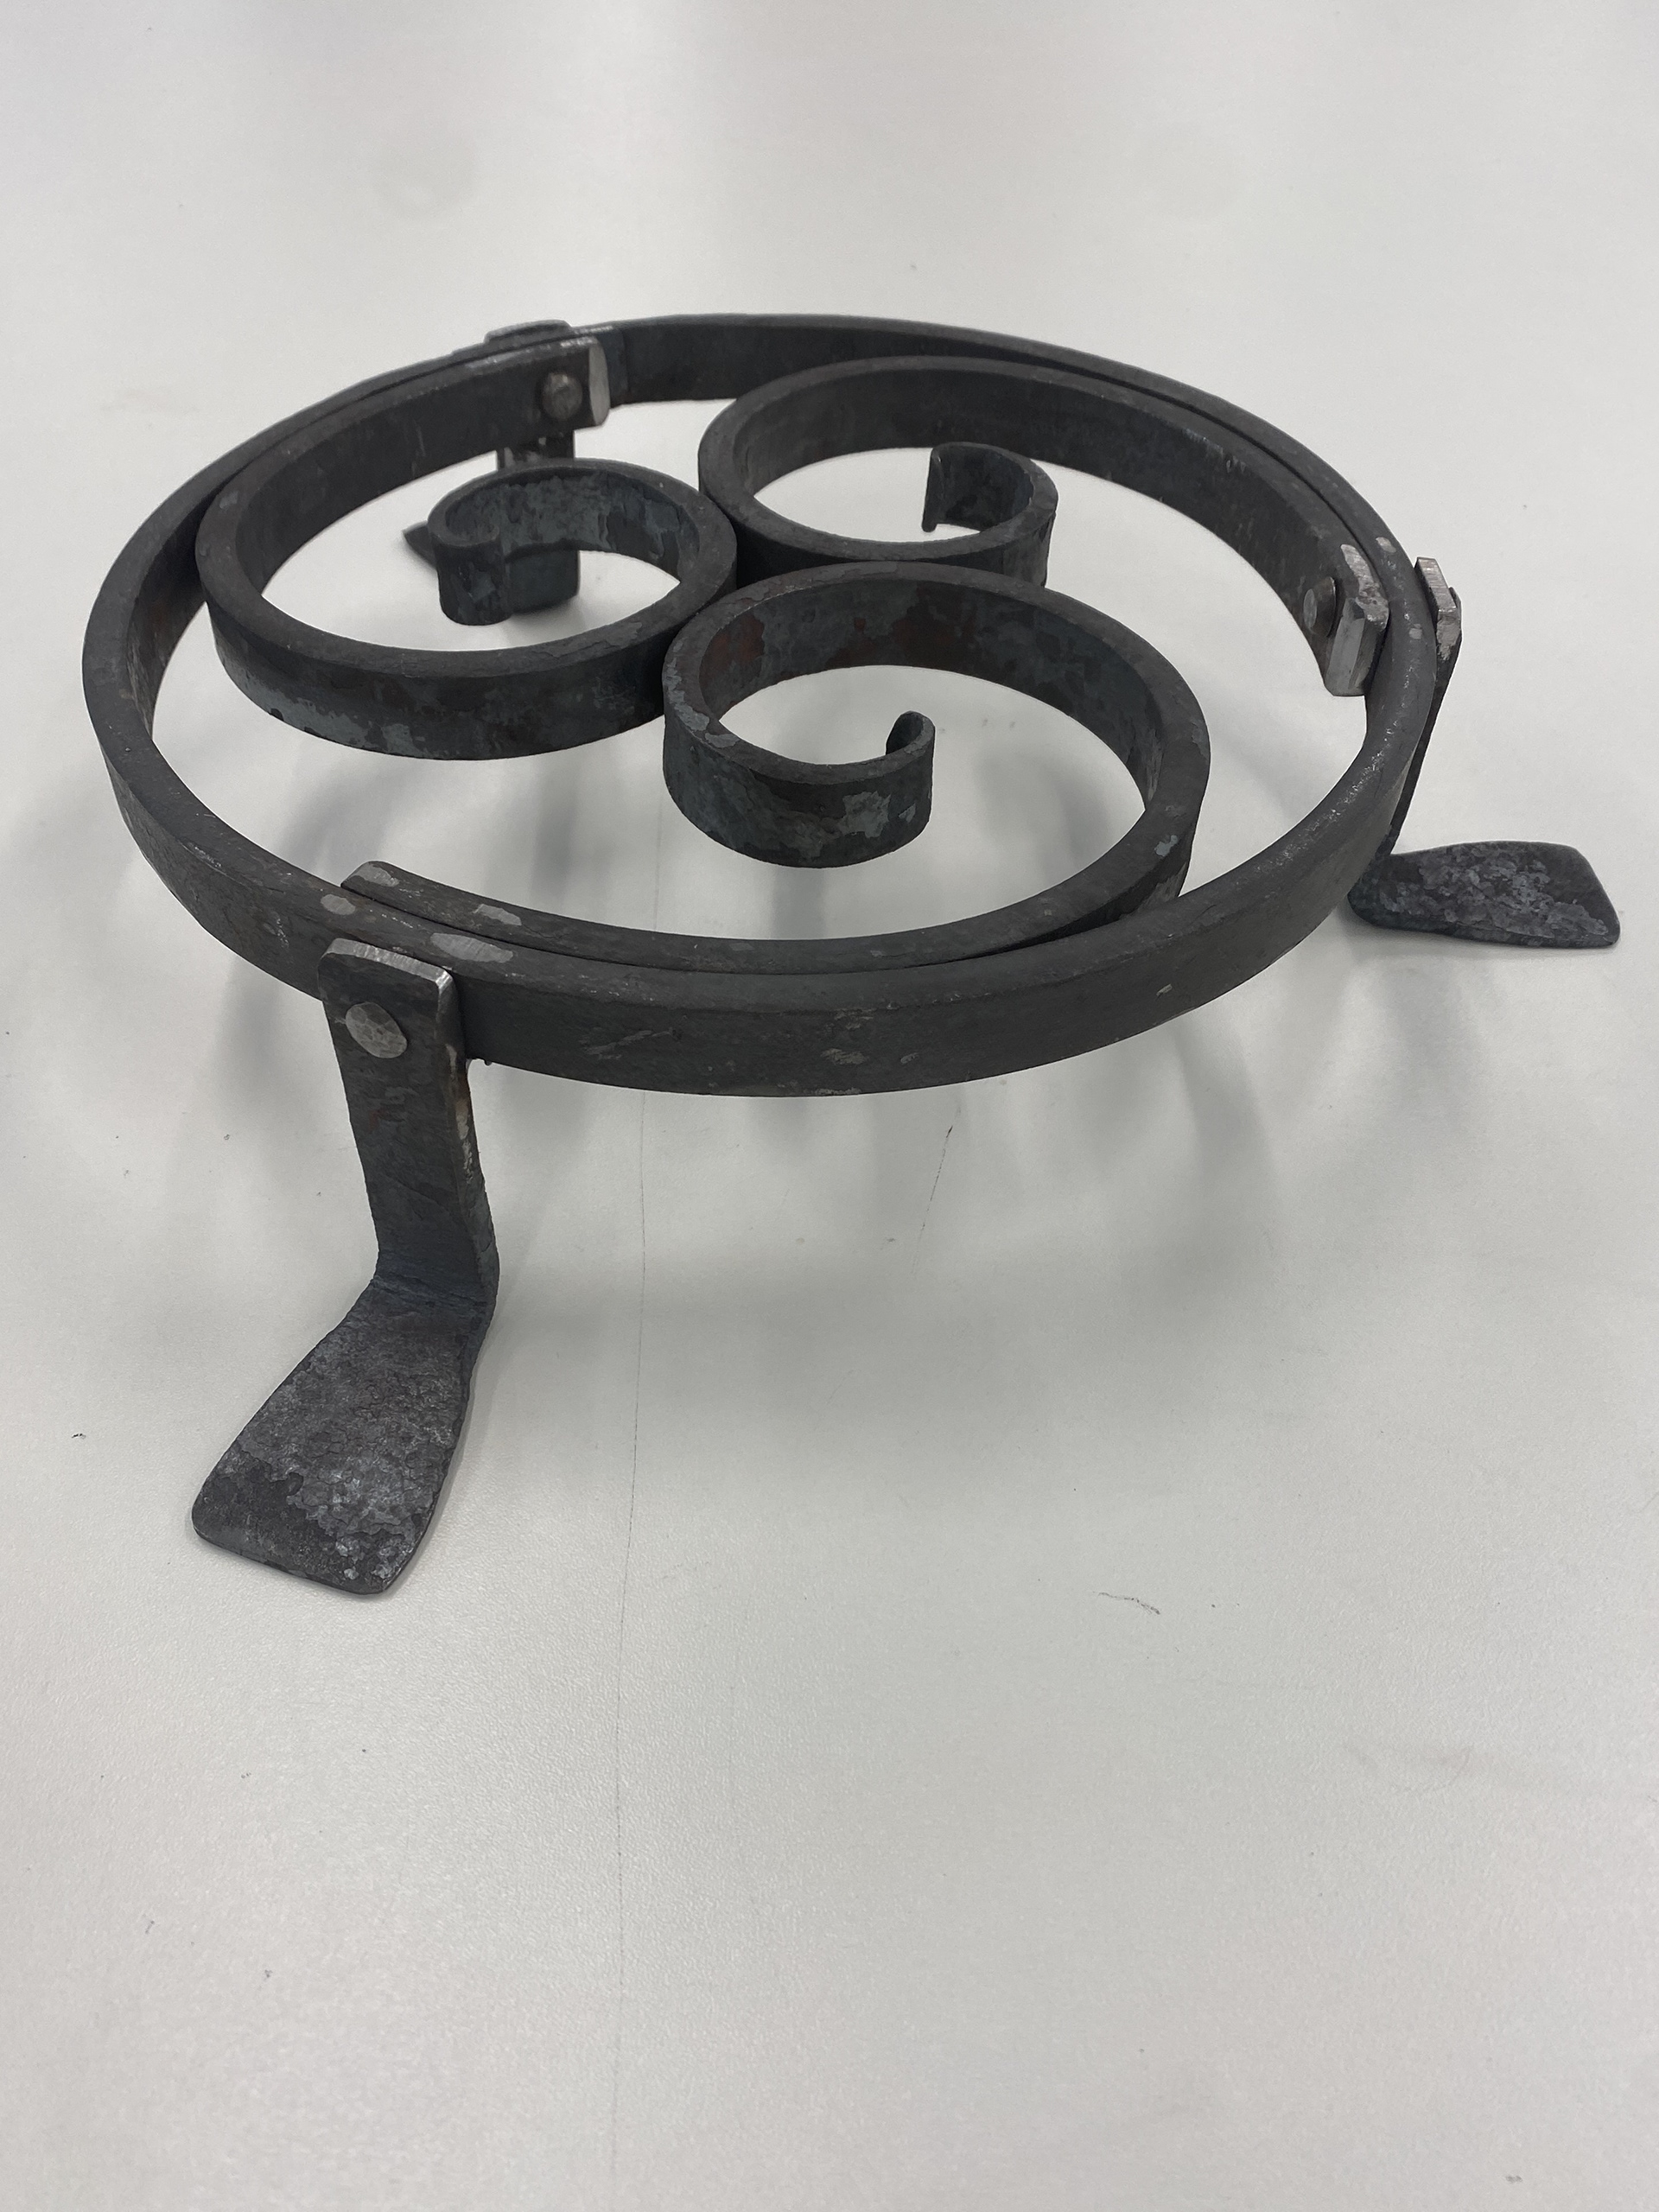
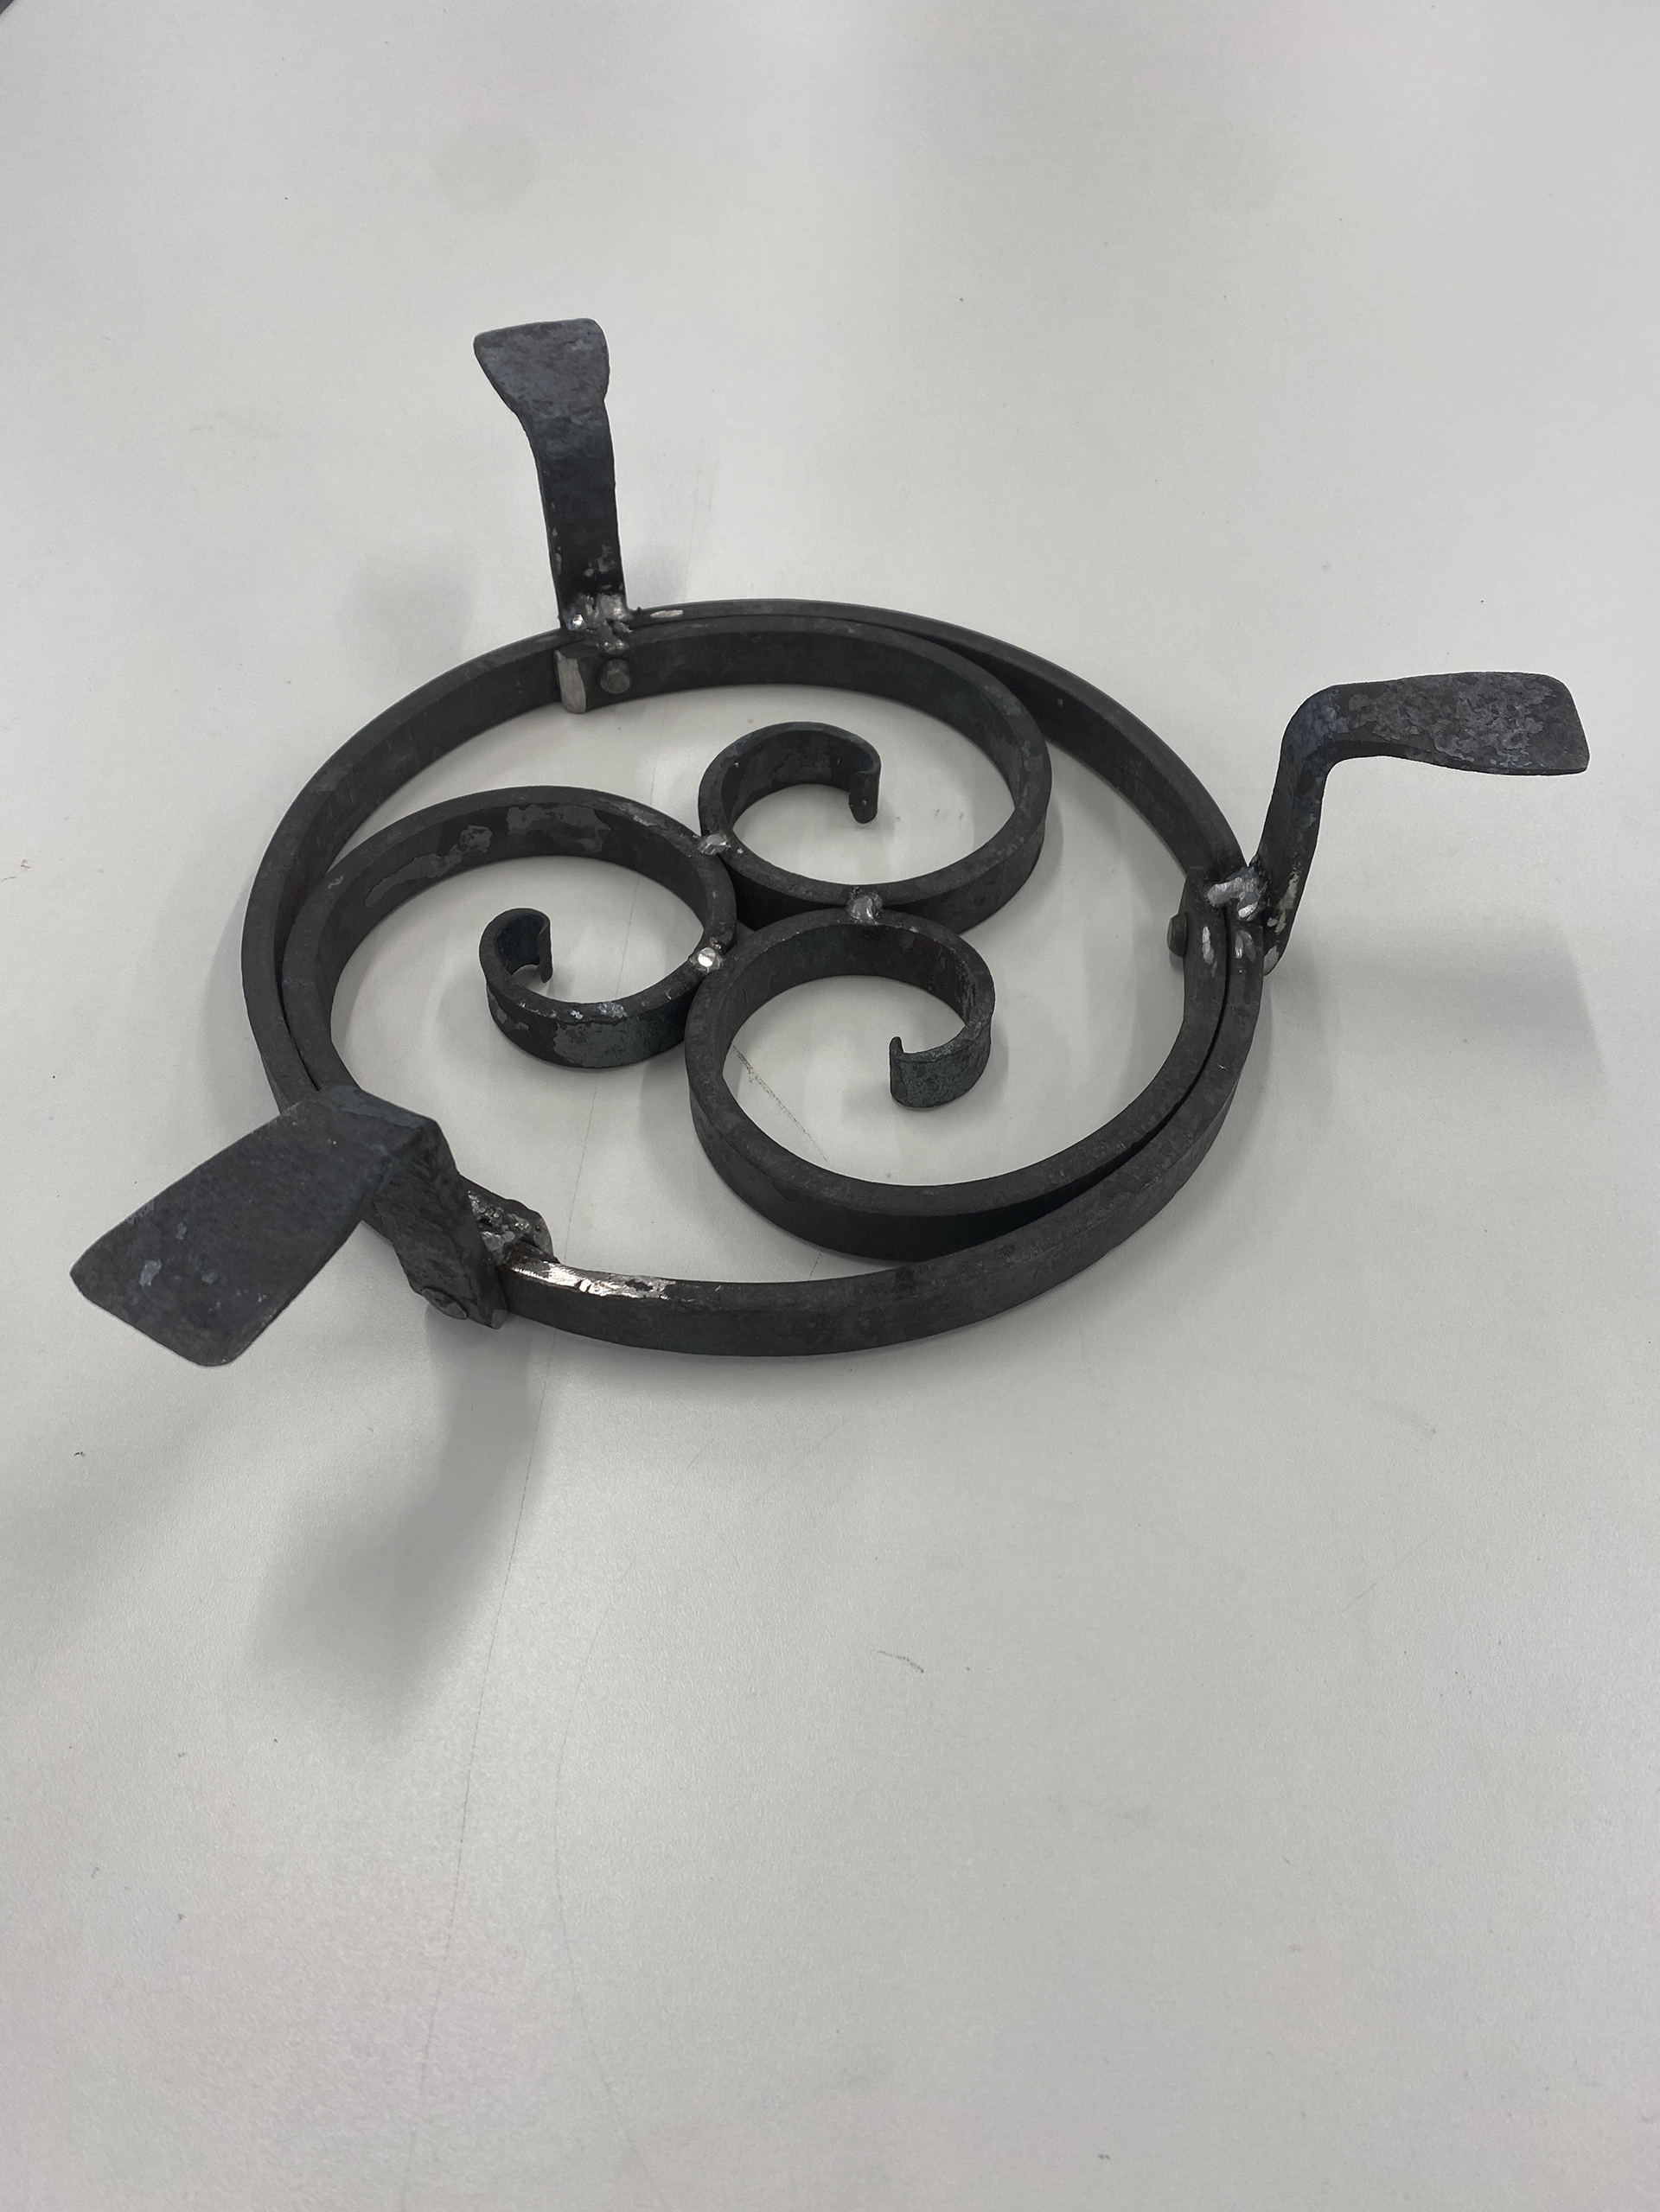
To test all the skills I had learned, I made a trivet using one of the workshop’s designs and jigs. This involved tapering for the feet and scrolls as well as bending the scroll and an outer ring. I welded and cold riveted the piece together.
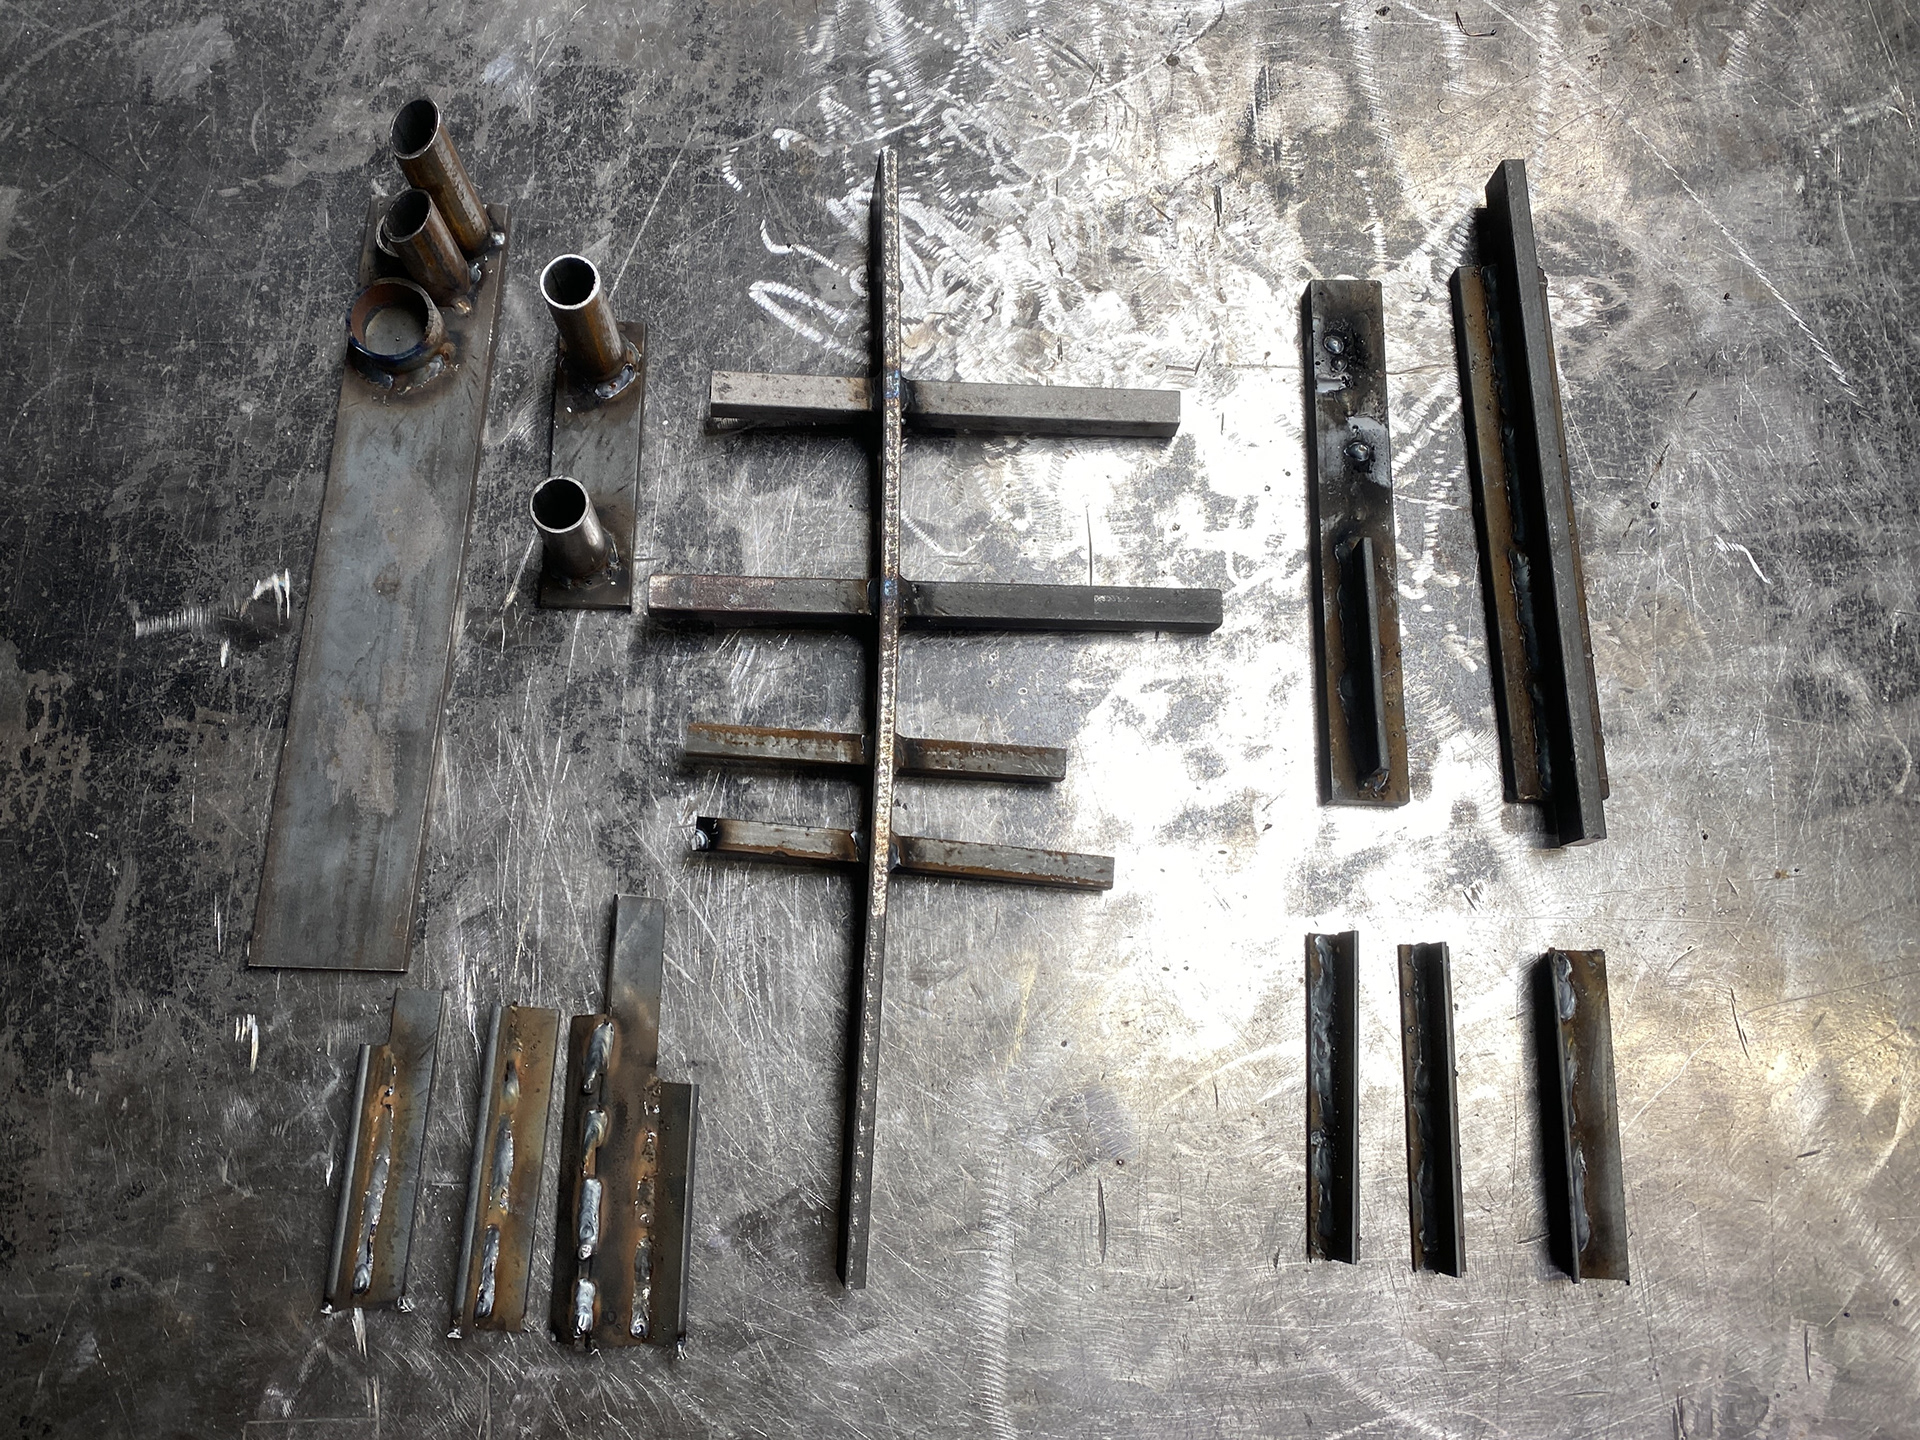
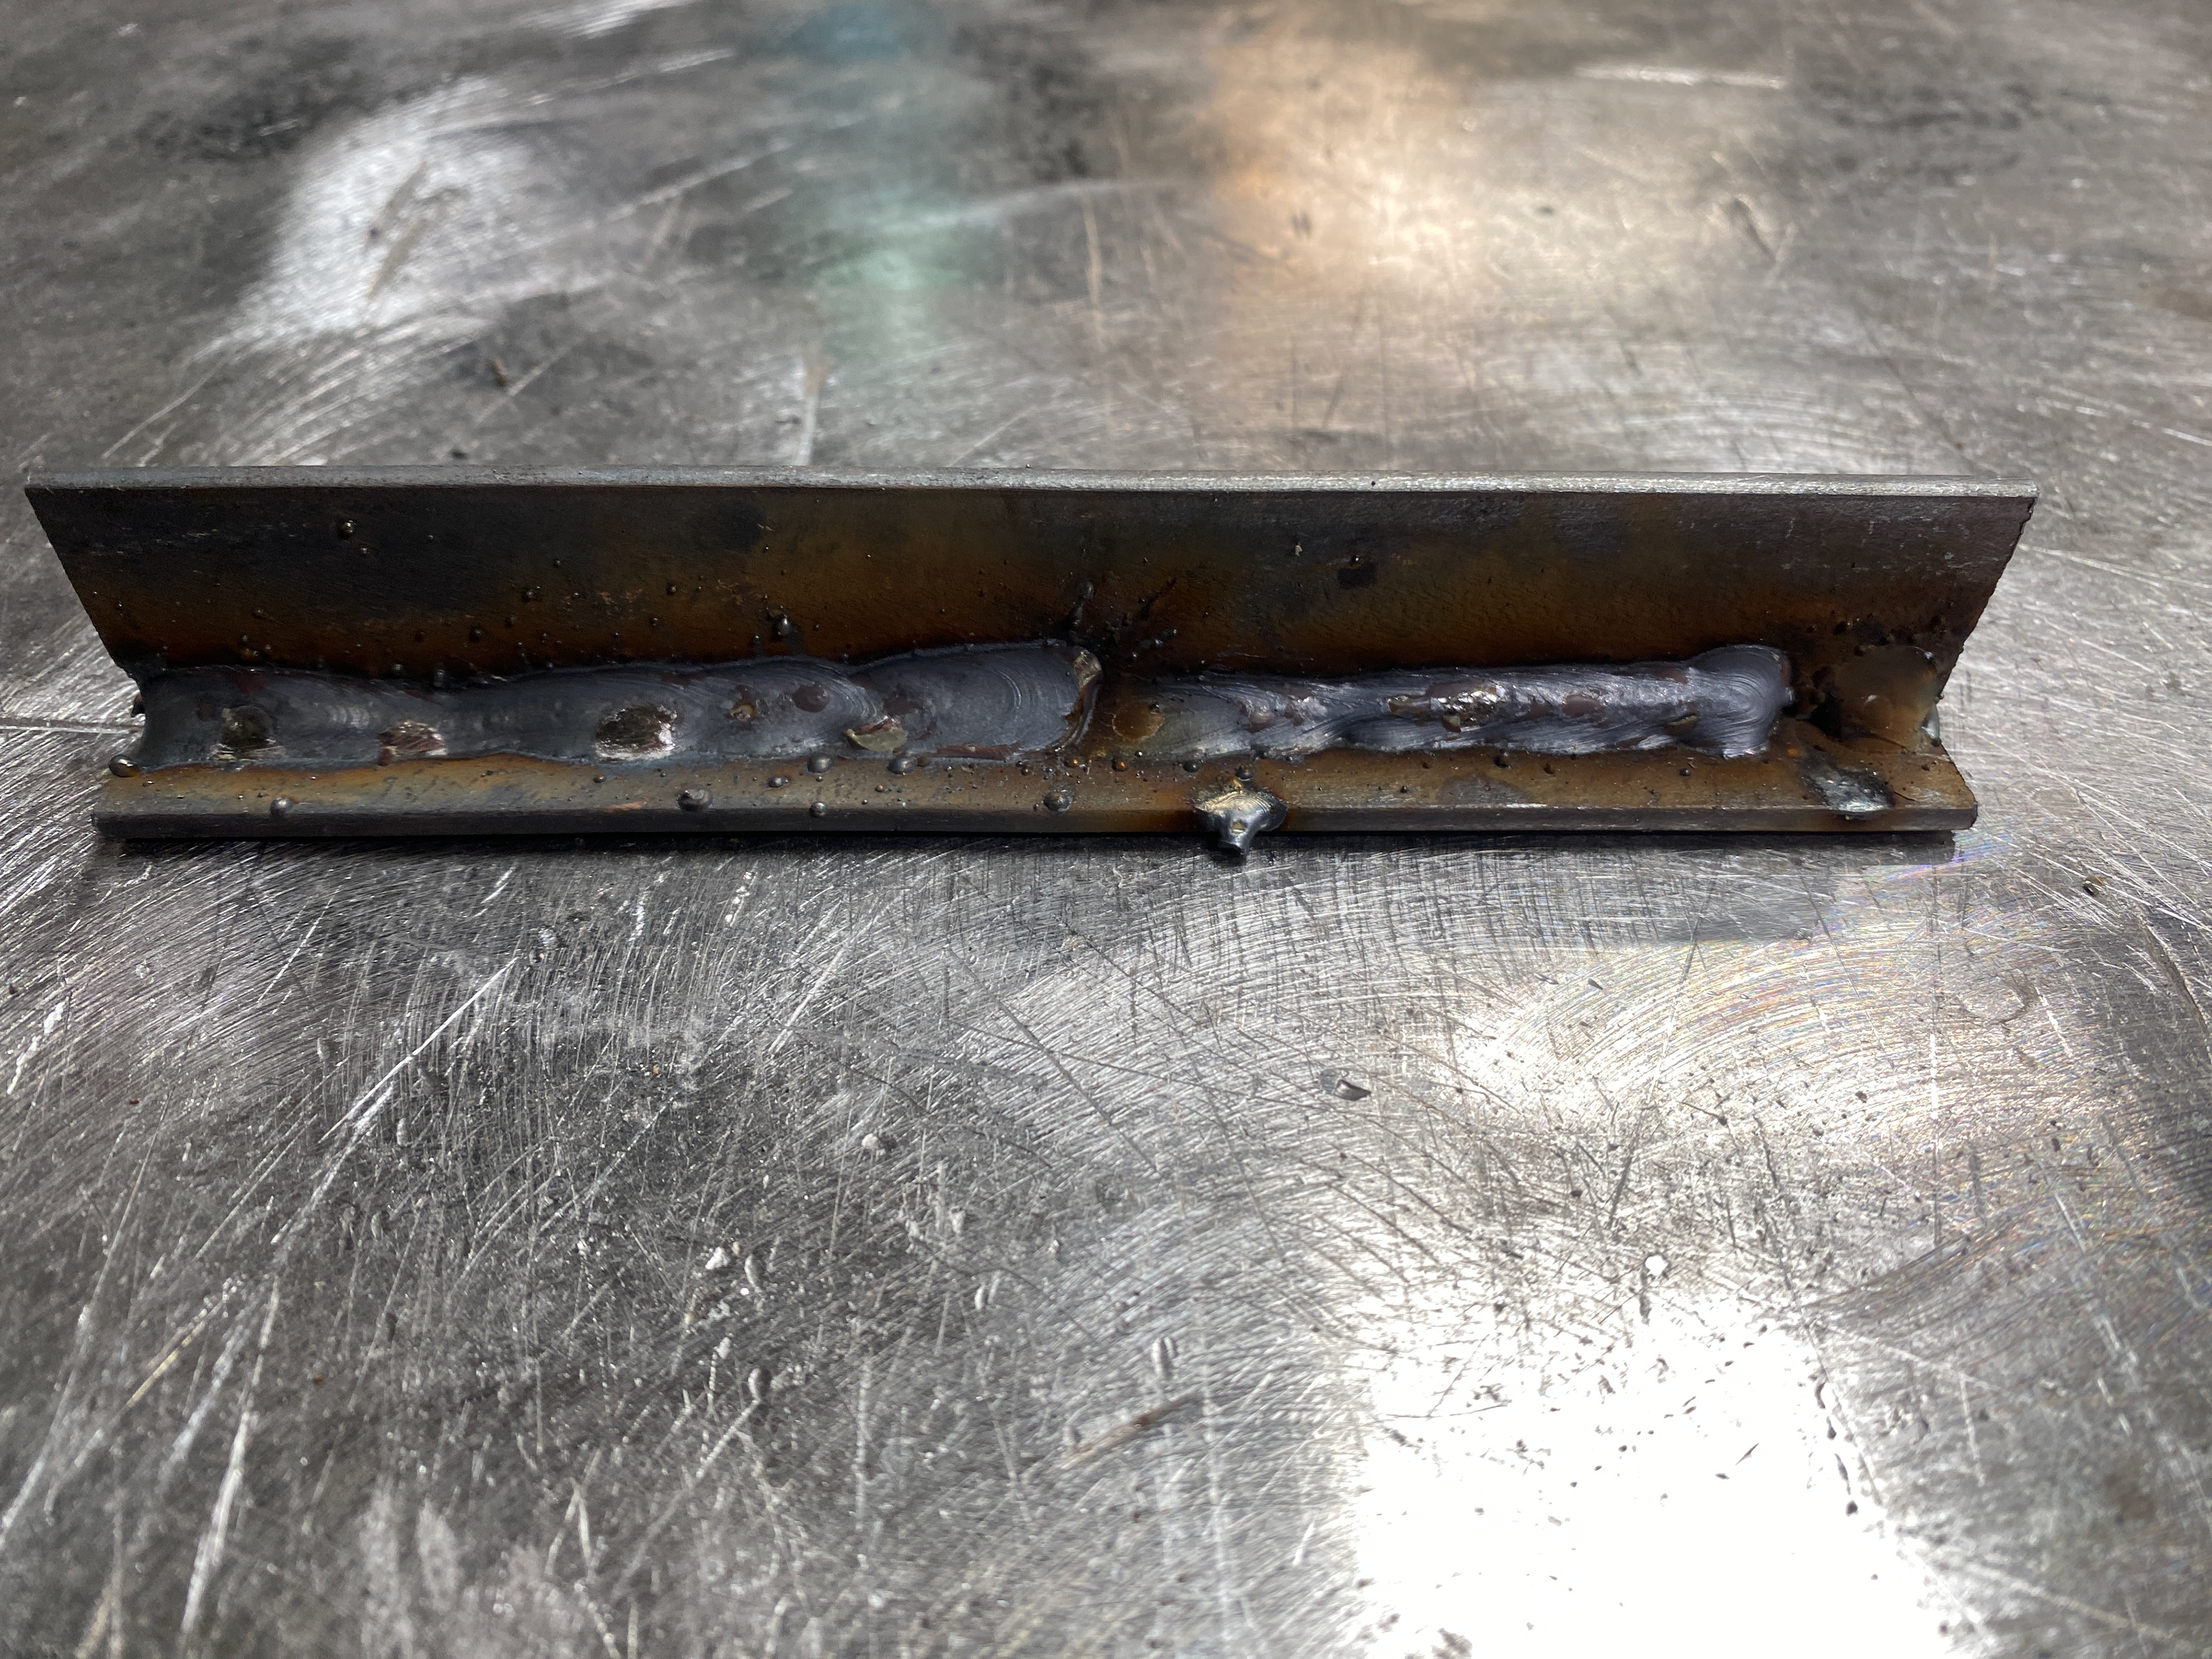

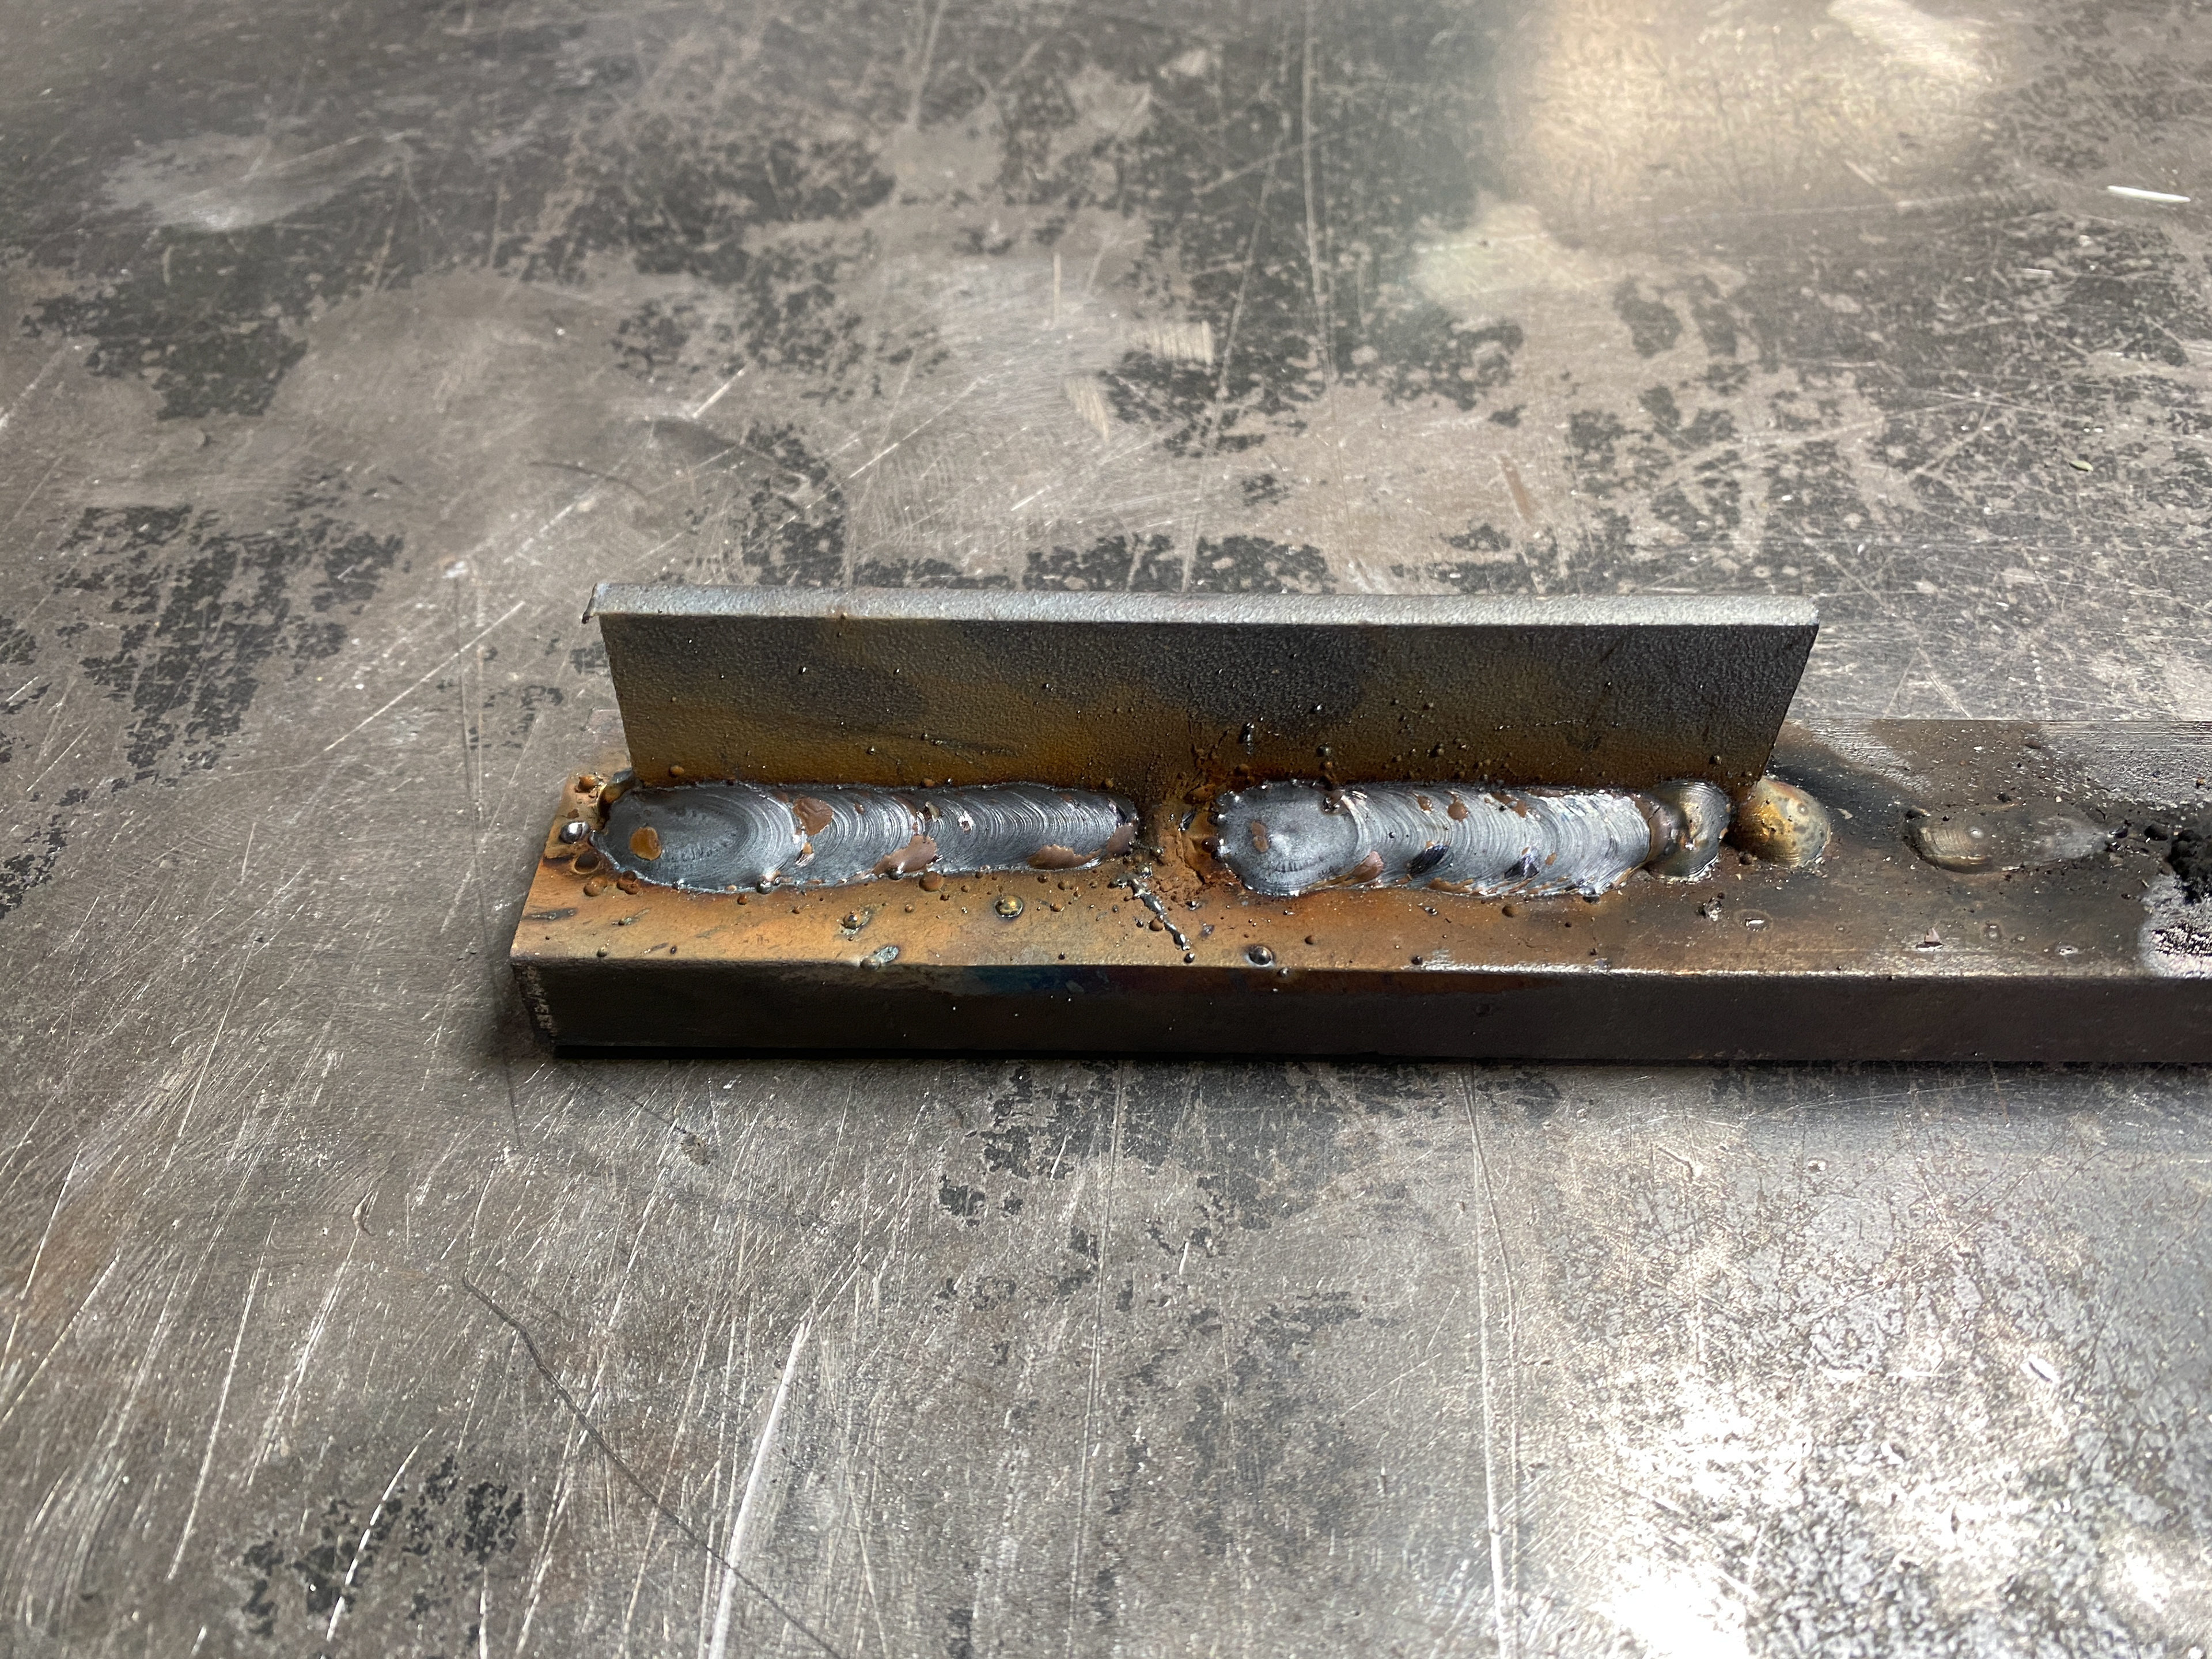
First, I learned to tack weld flat bar together and the lay a full bead along its length. The key skill here was to ensure even heating of the pieces of steel so not to warp or distort a section. Additionally, when working with differing thicknesses it is important to keep most of the heat and application of the pool on the thicker piece so as not to melt the thinner one.

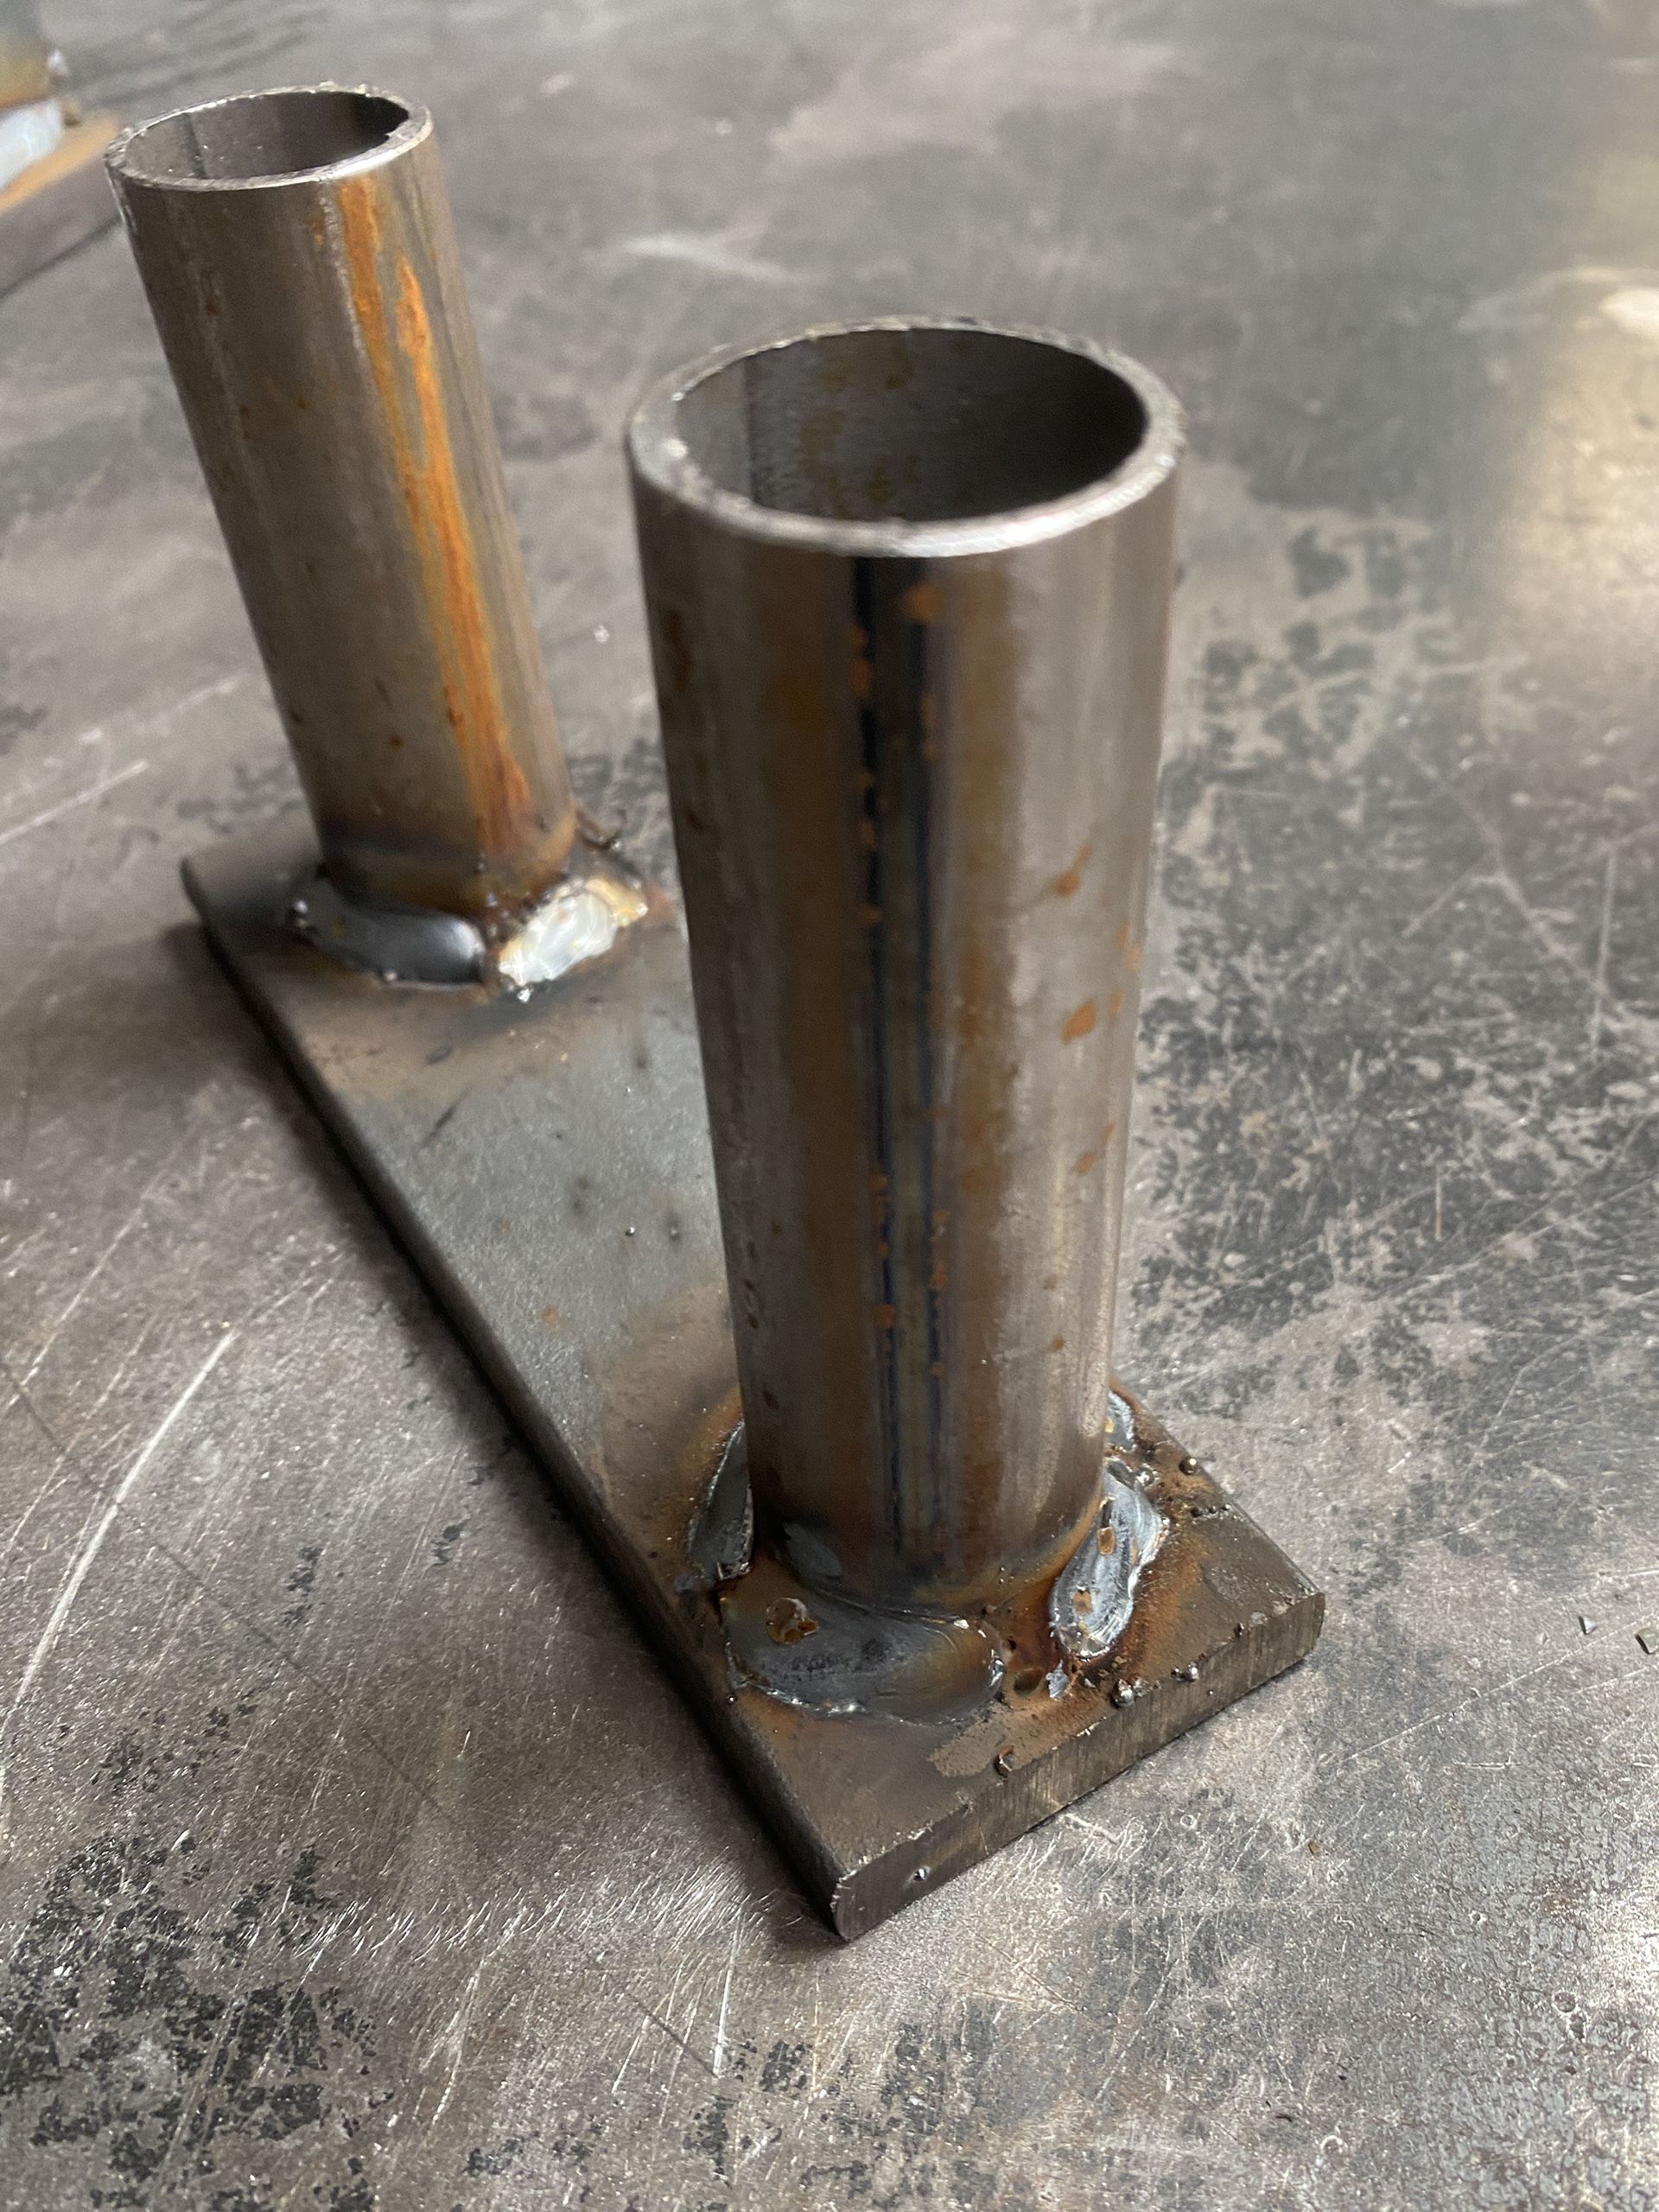
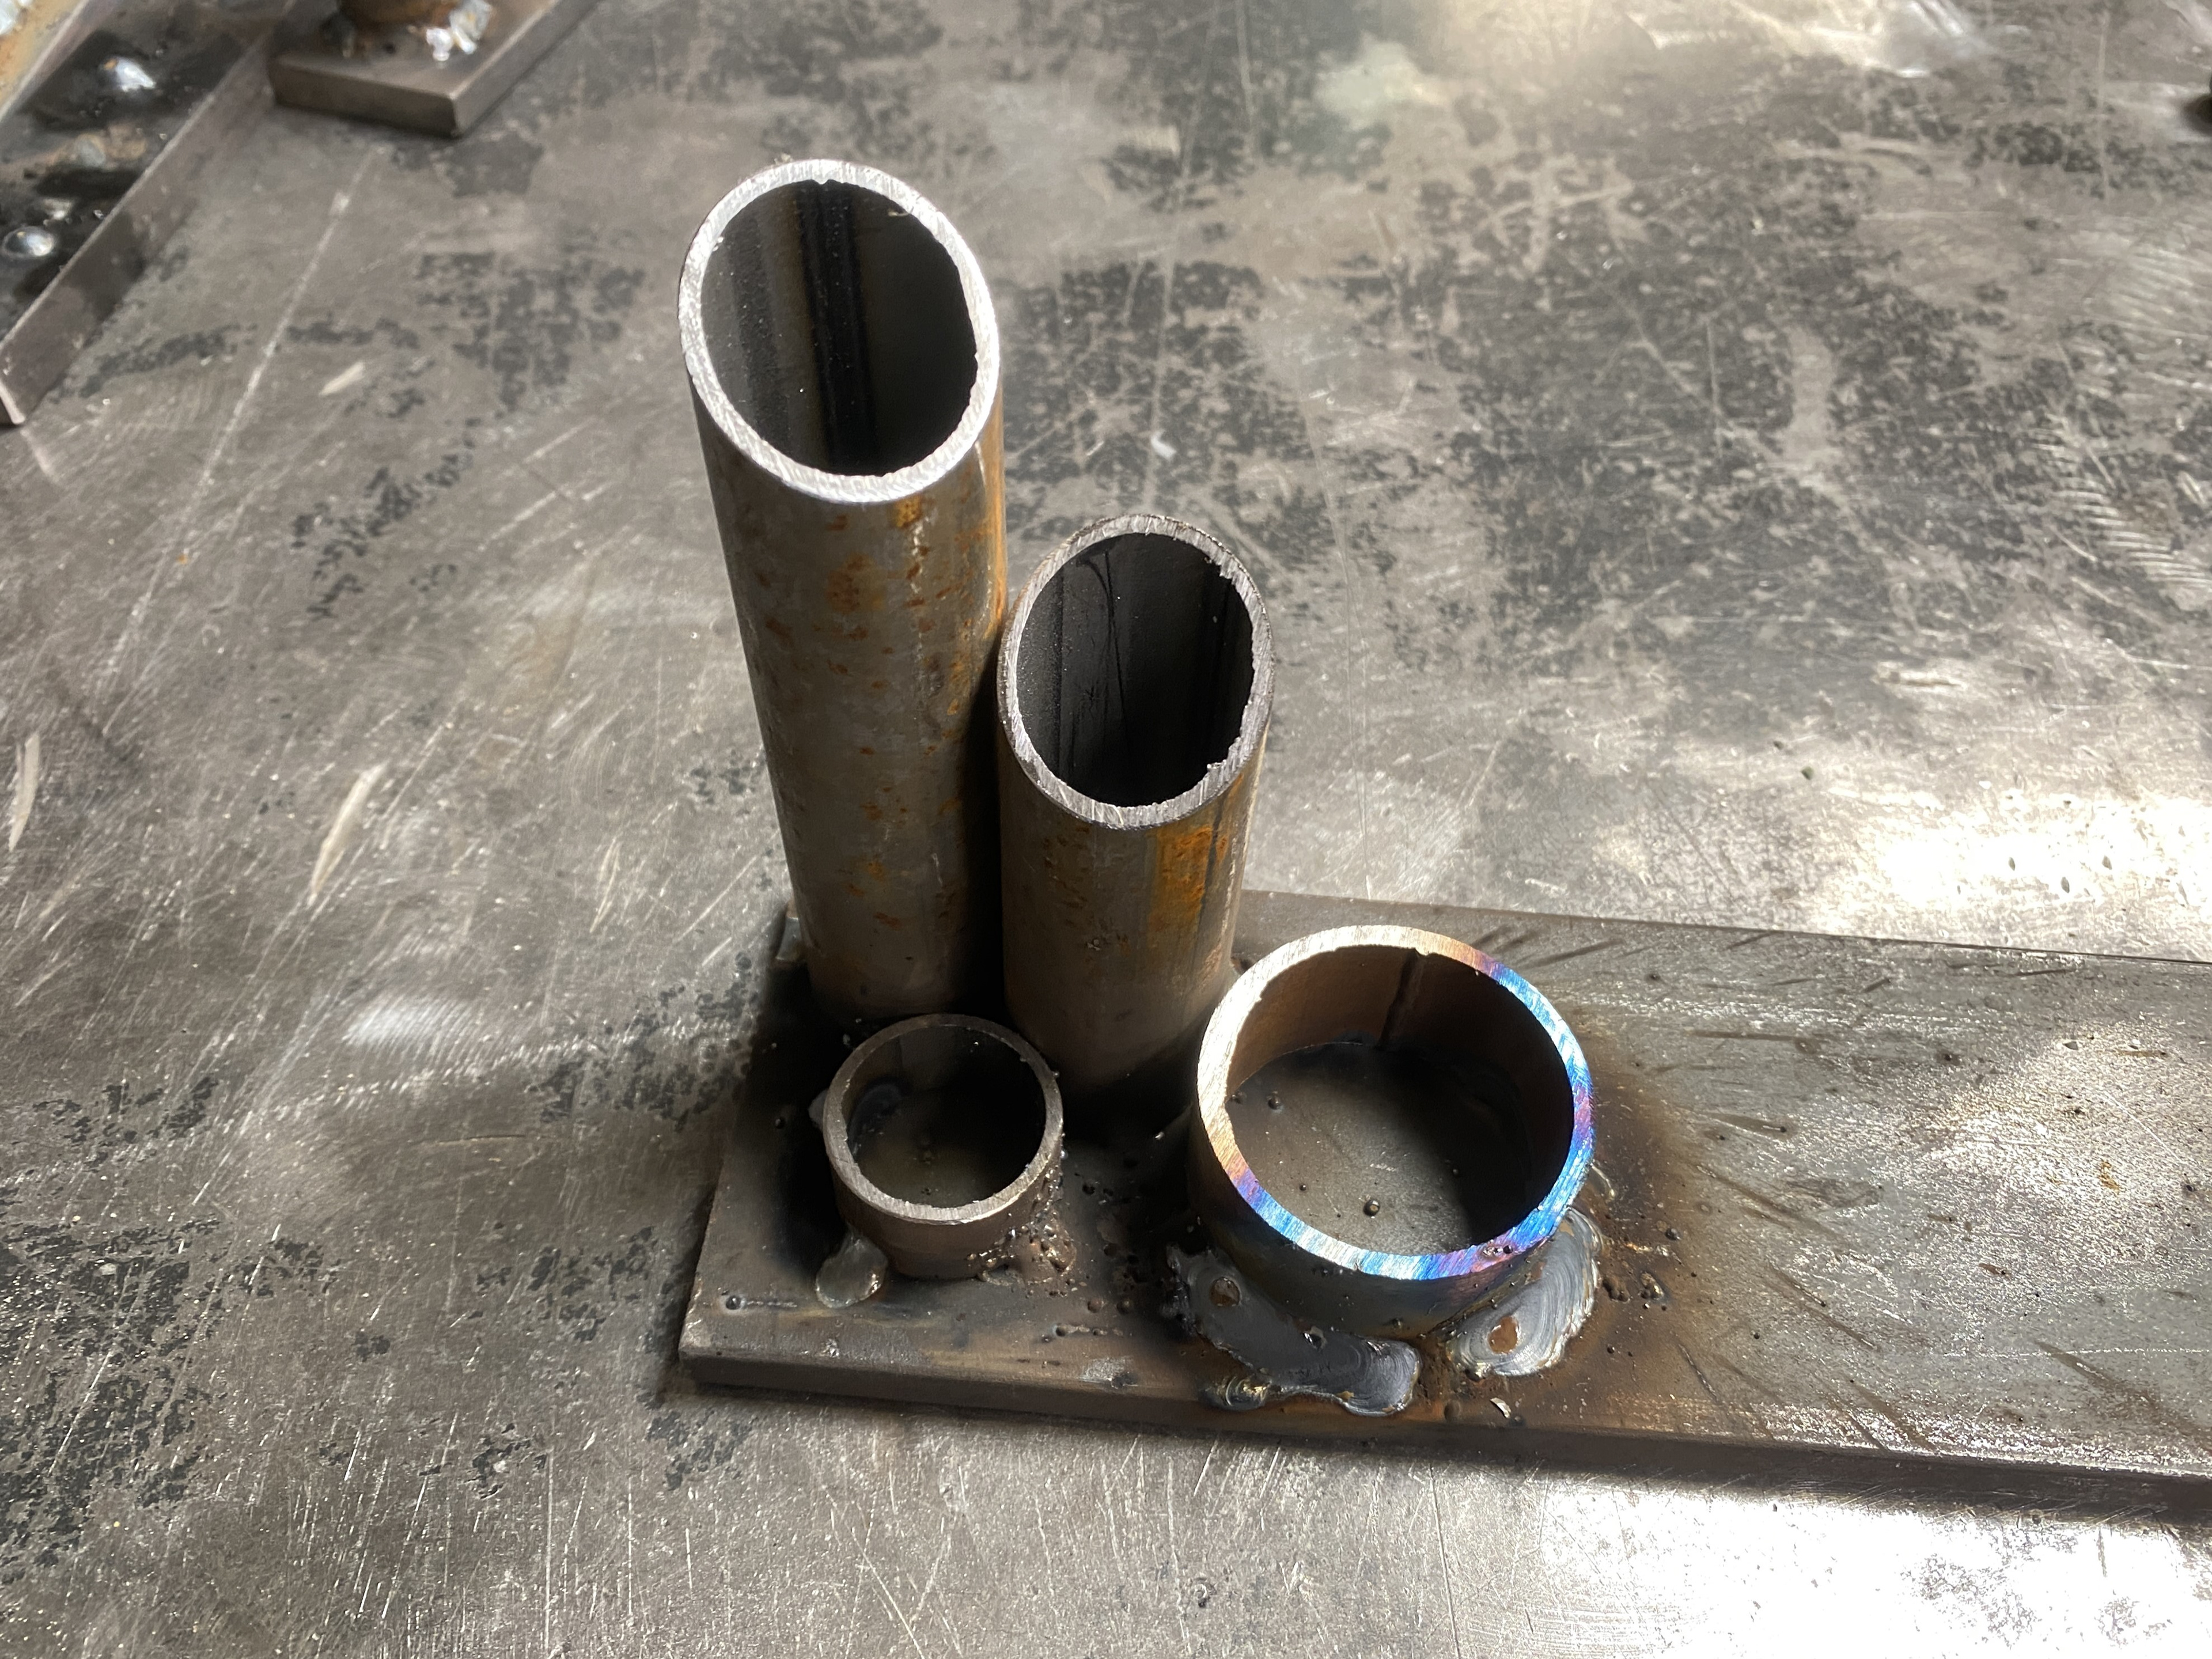
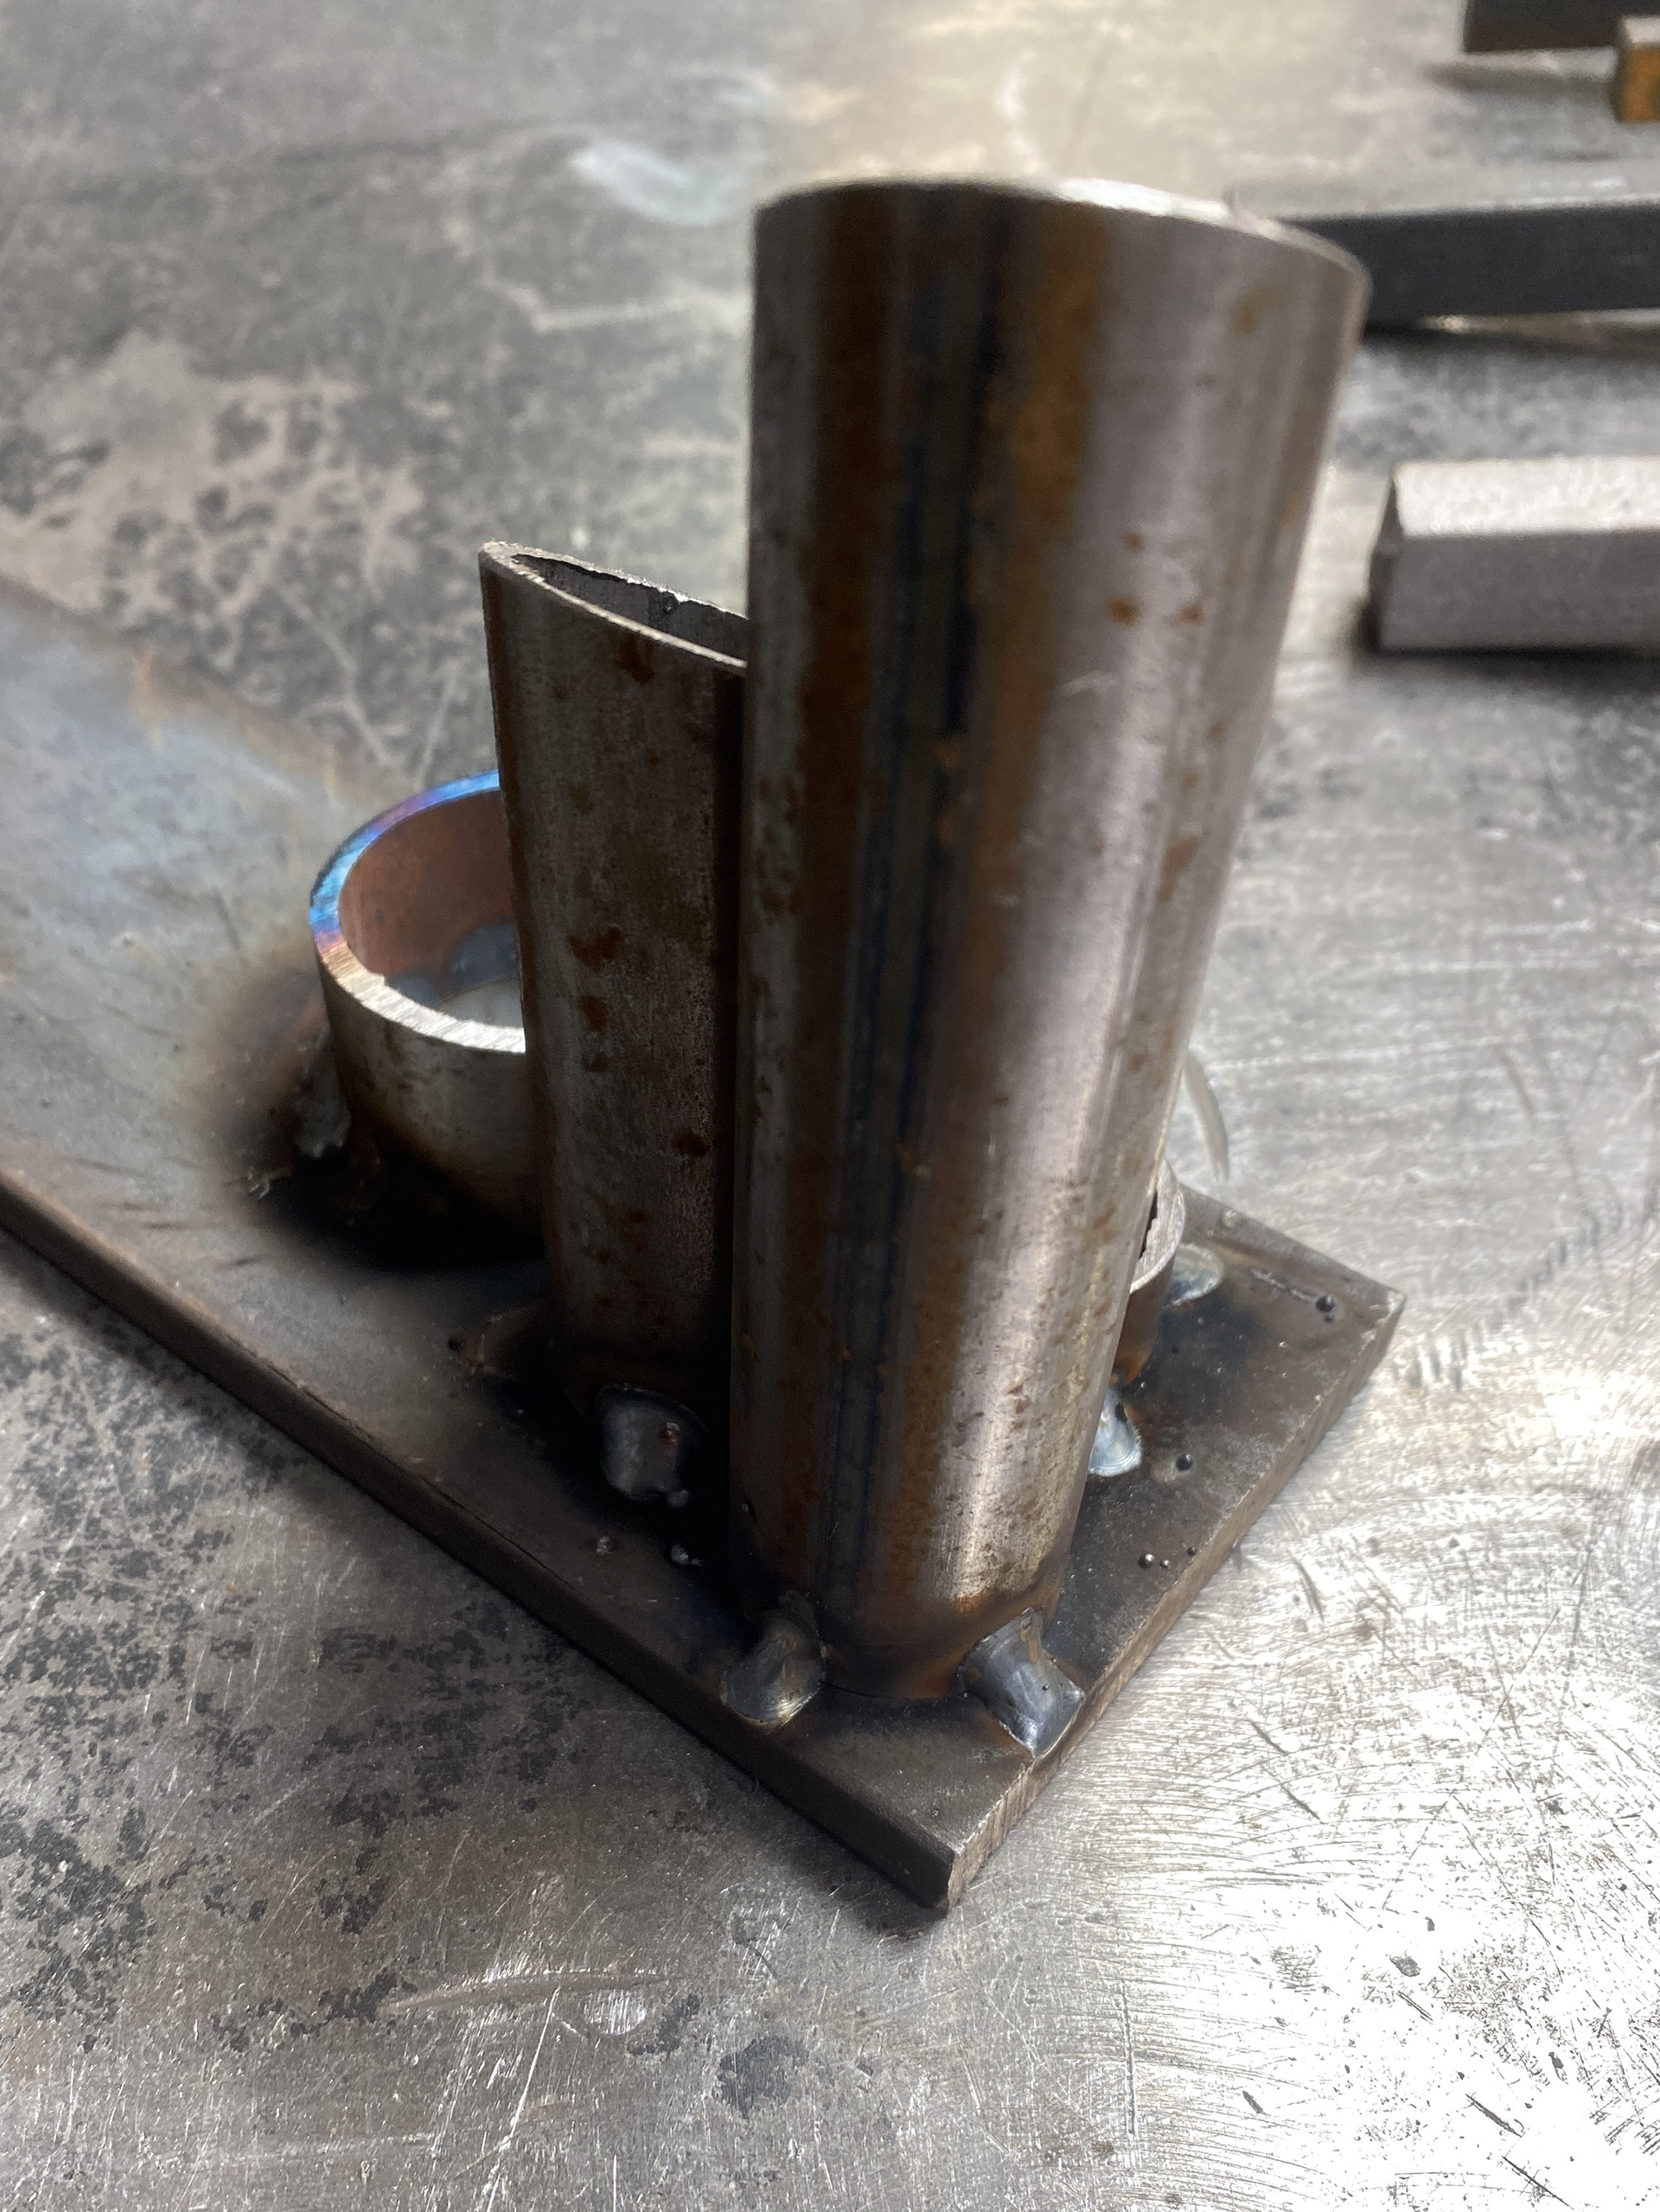
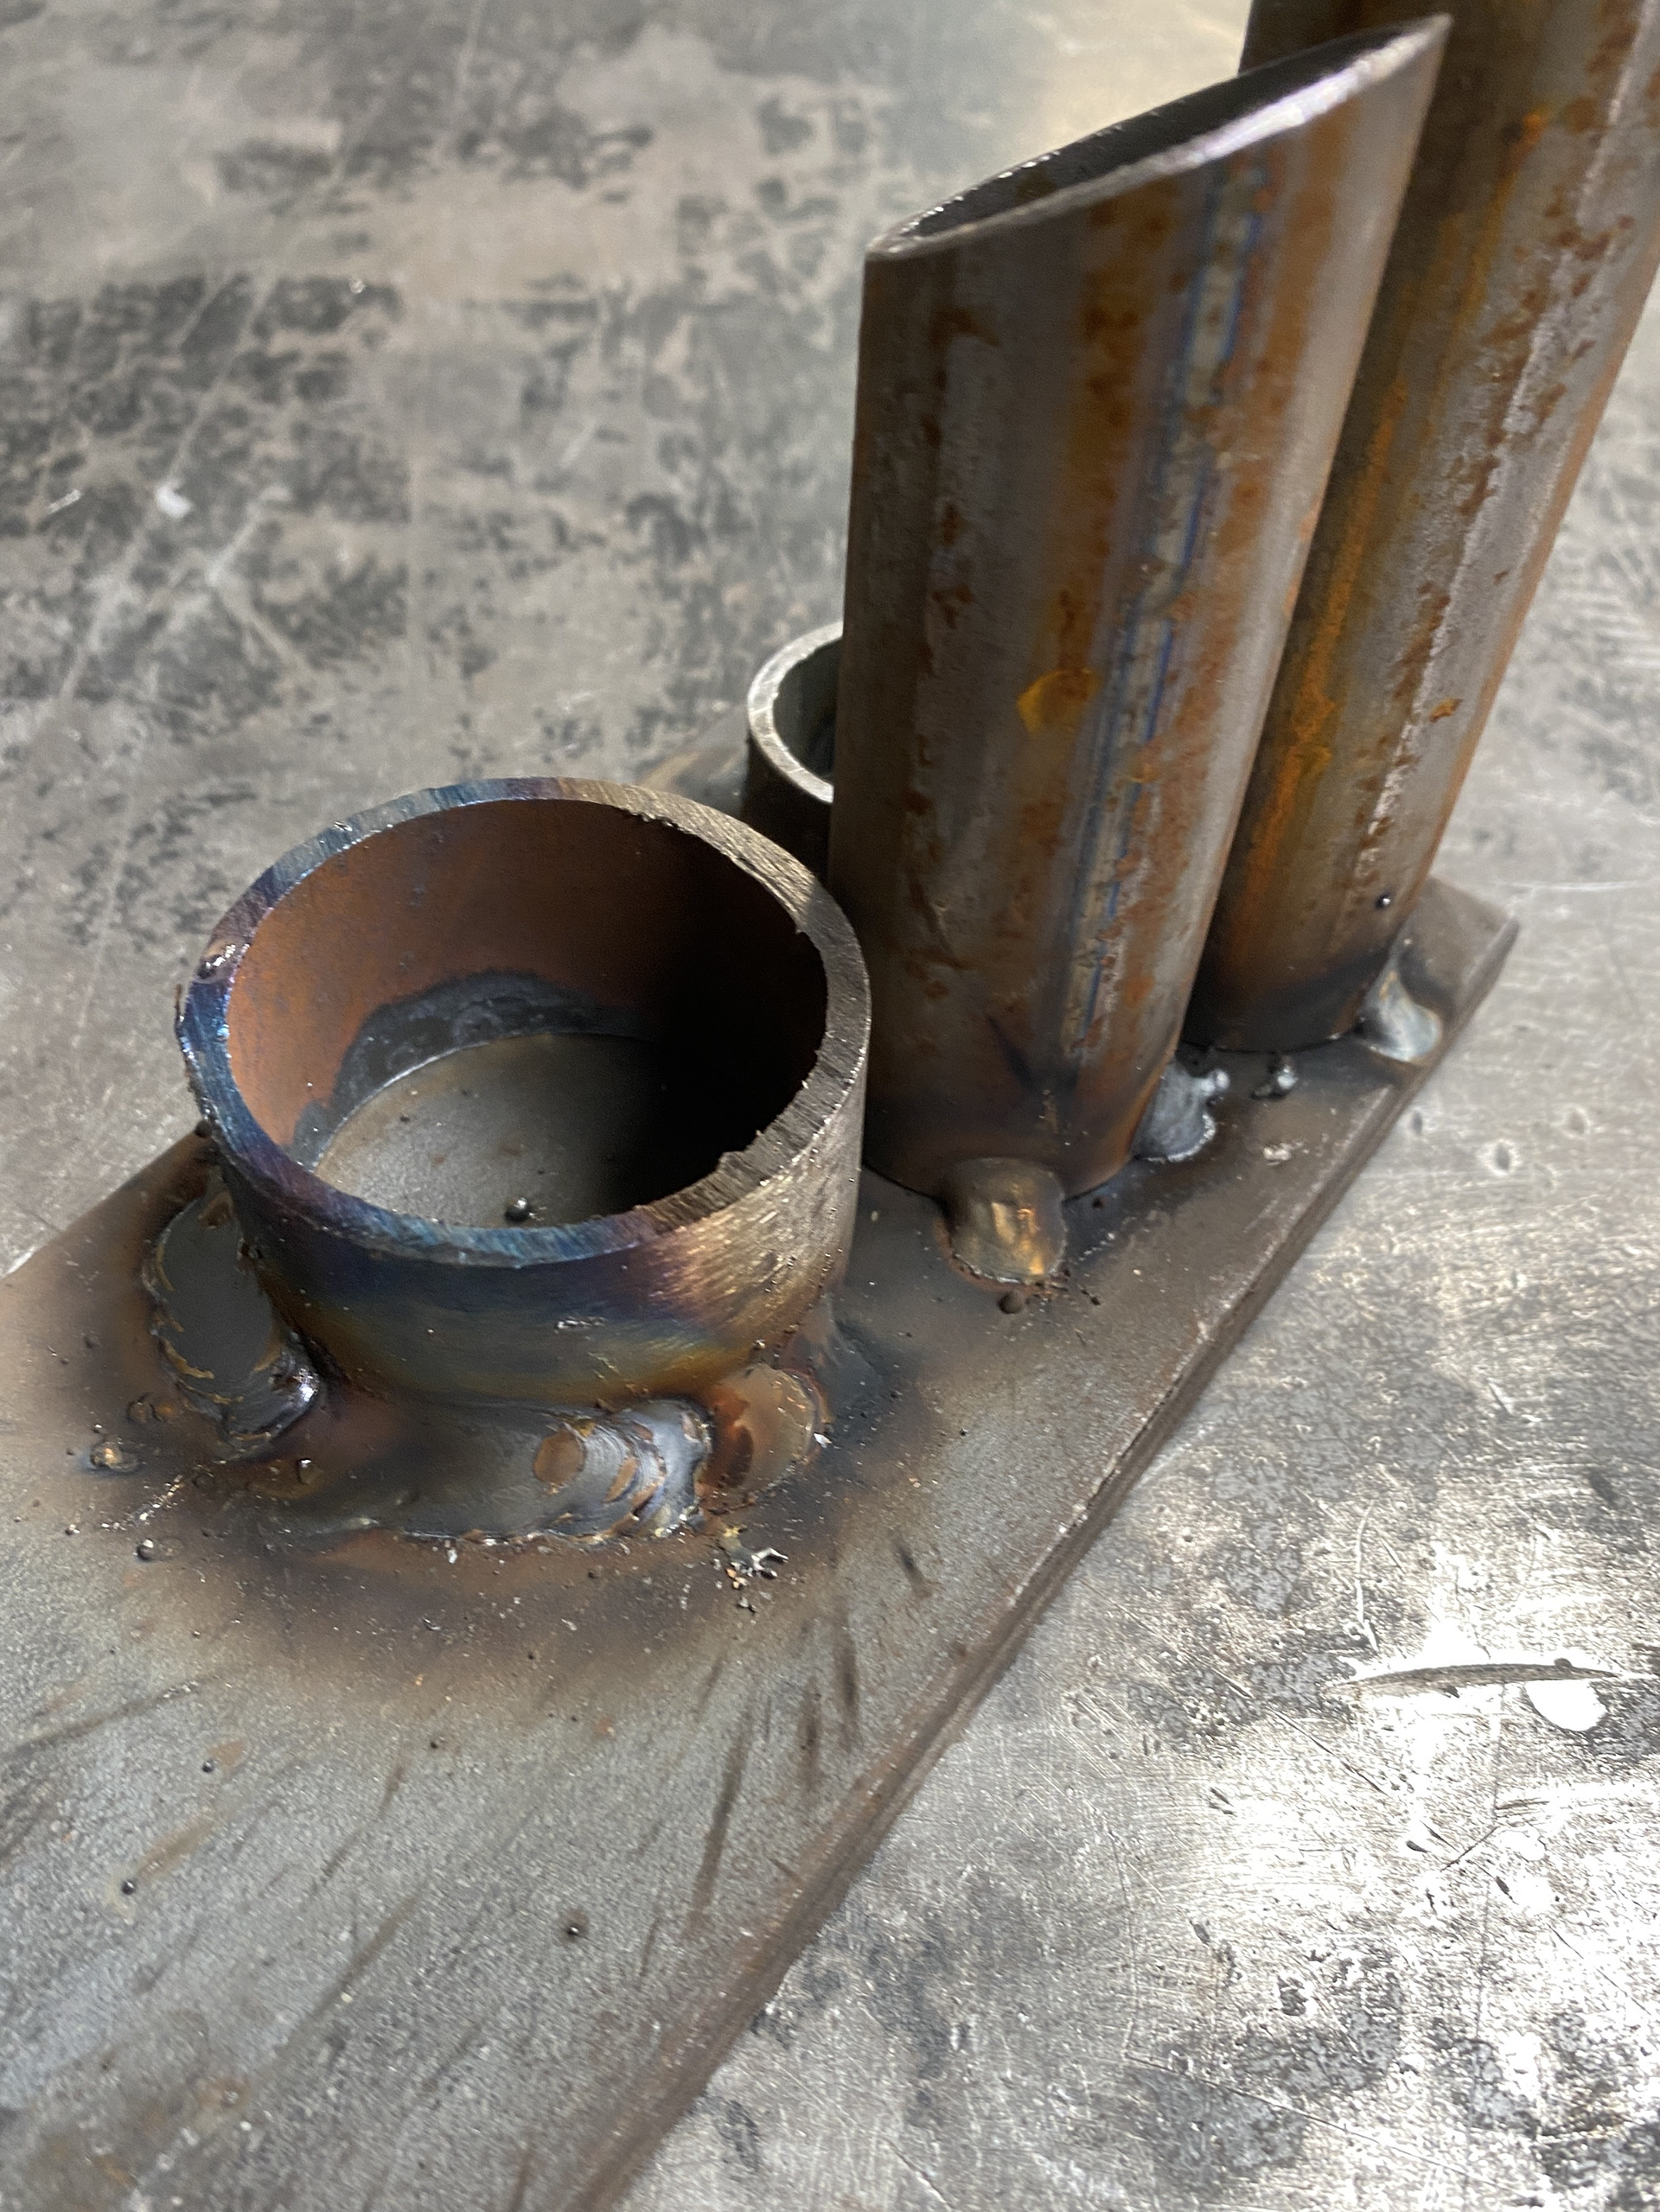
I continued the technique by tacking tube profiles to flat plate and then connecting these with a bead working around a quarter of the diameter at a time.

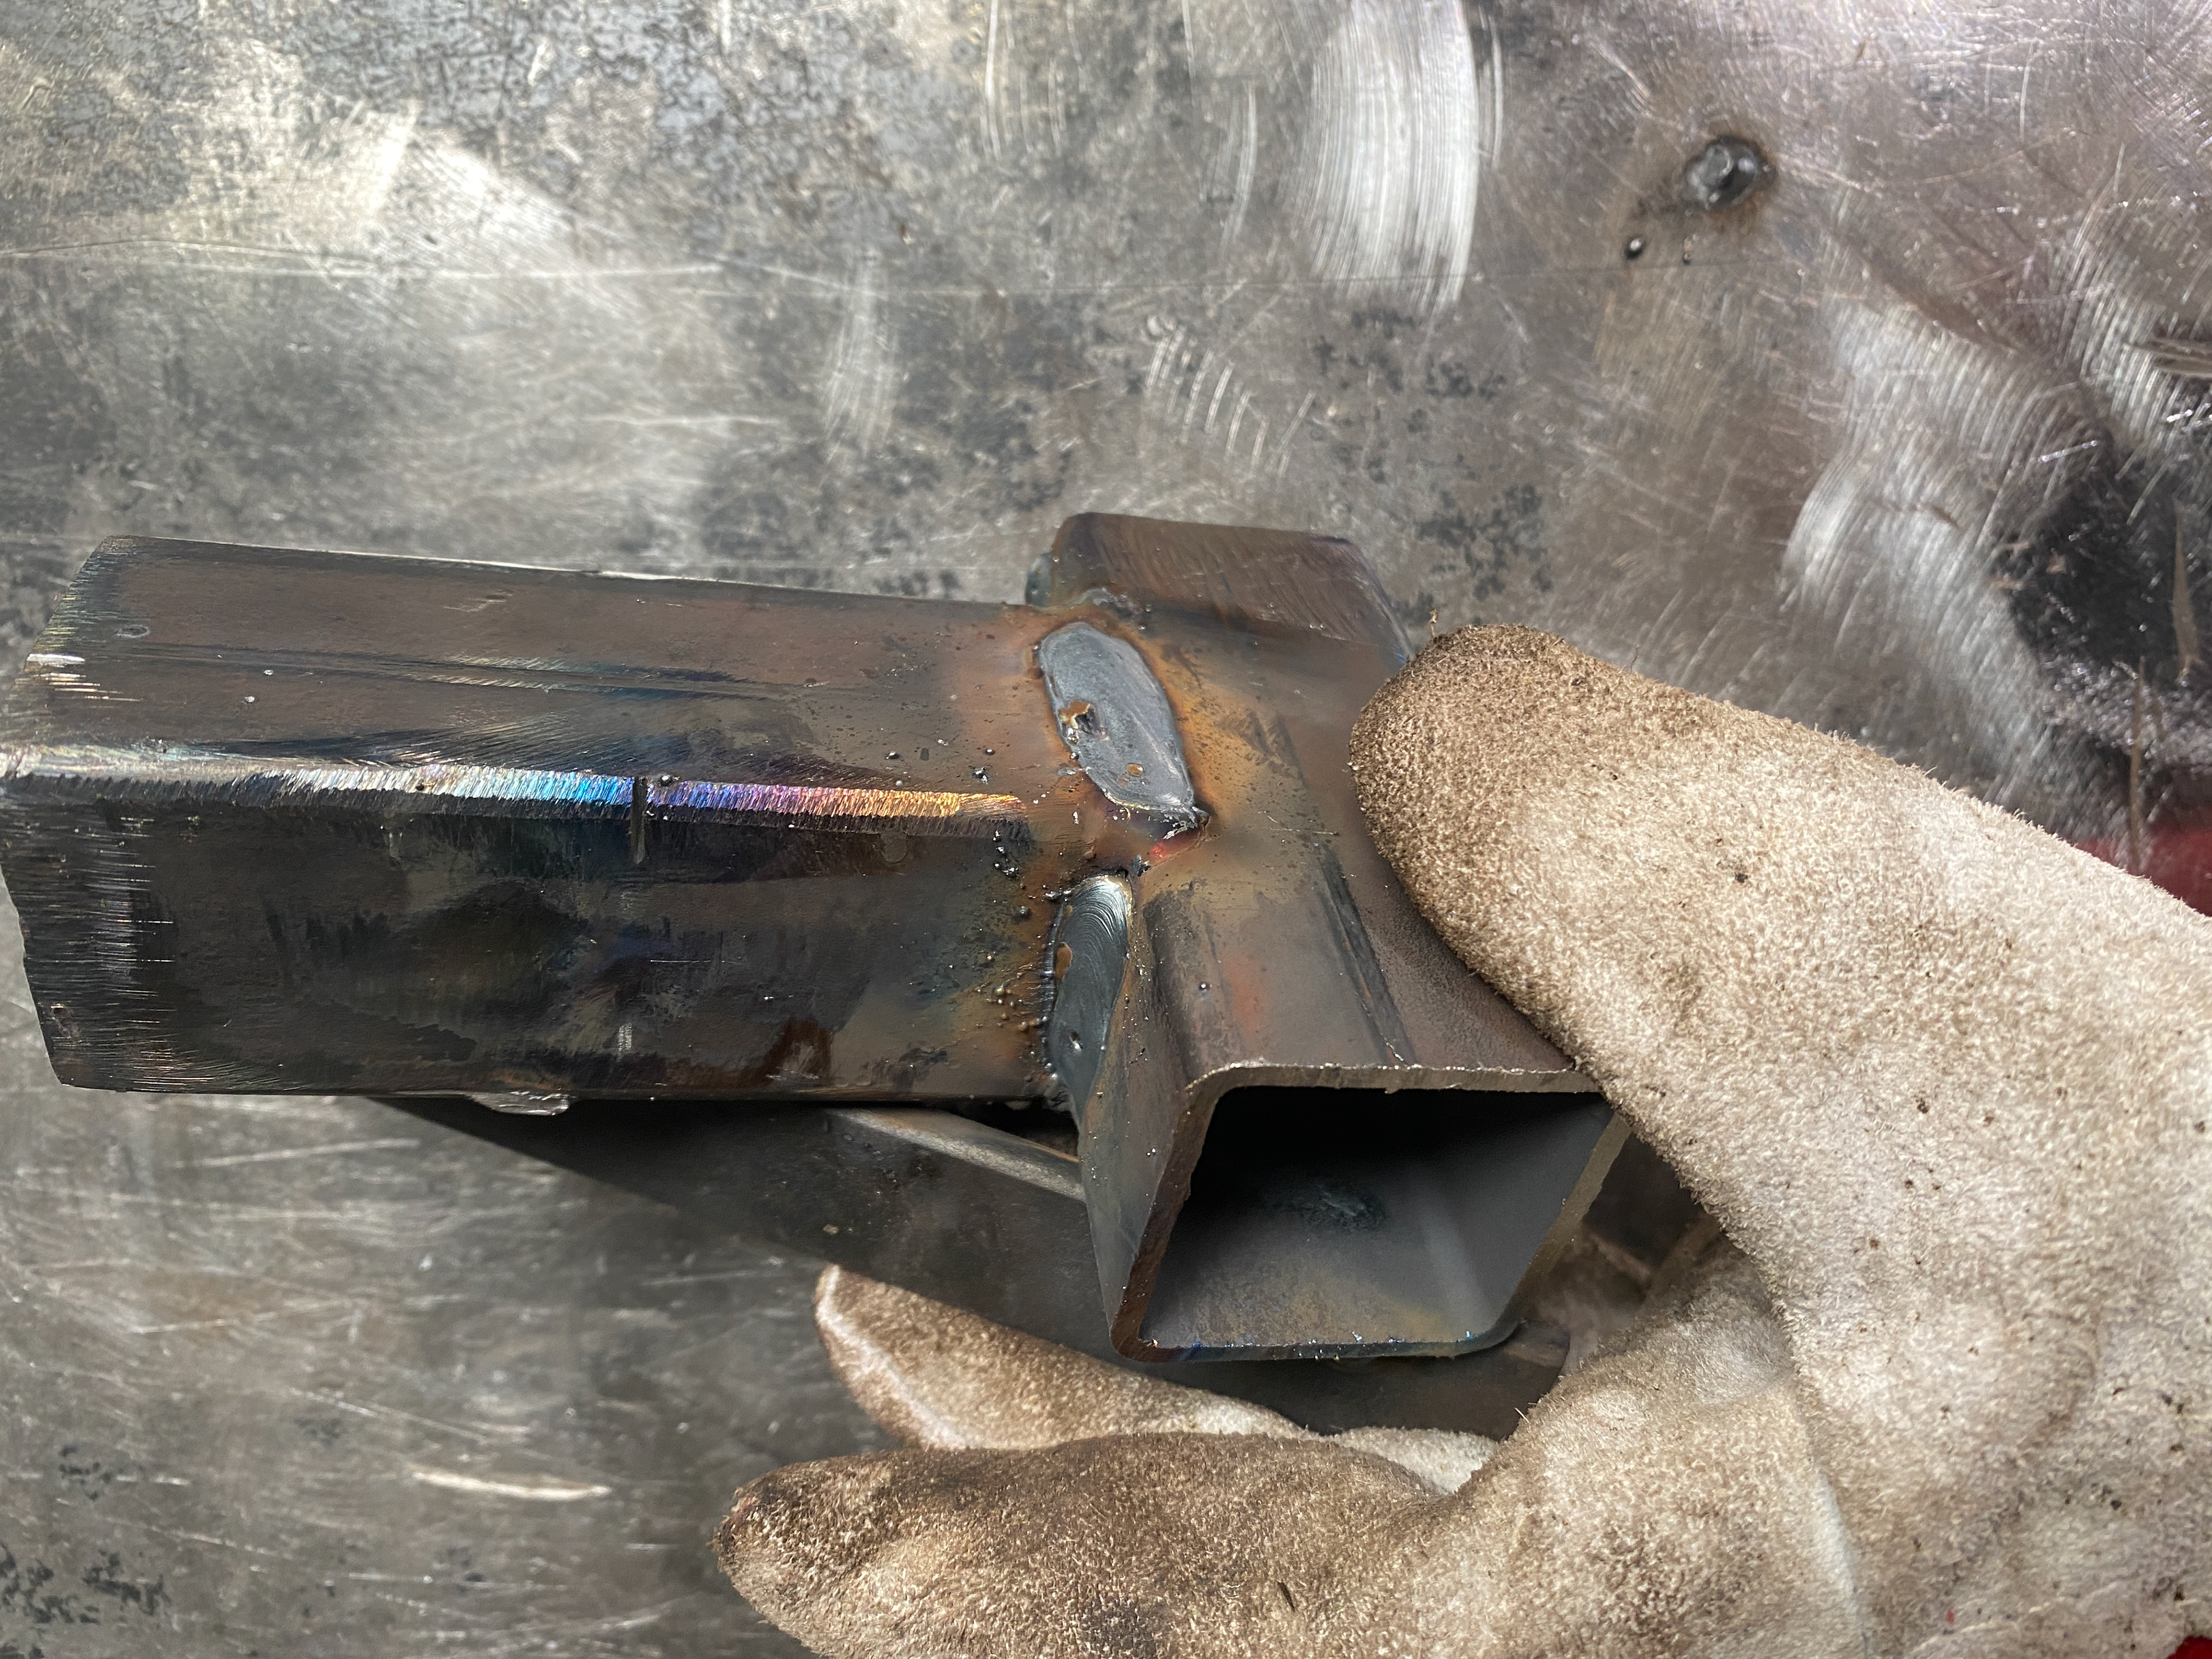

I also looked at connecting square box sections together and found that this required me to move quicker as I melted through one area.
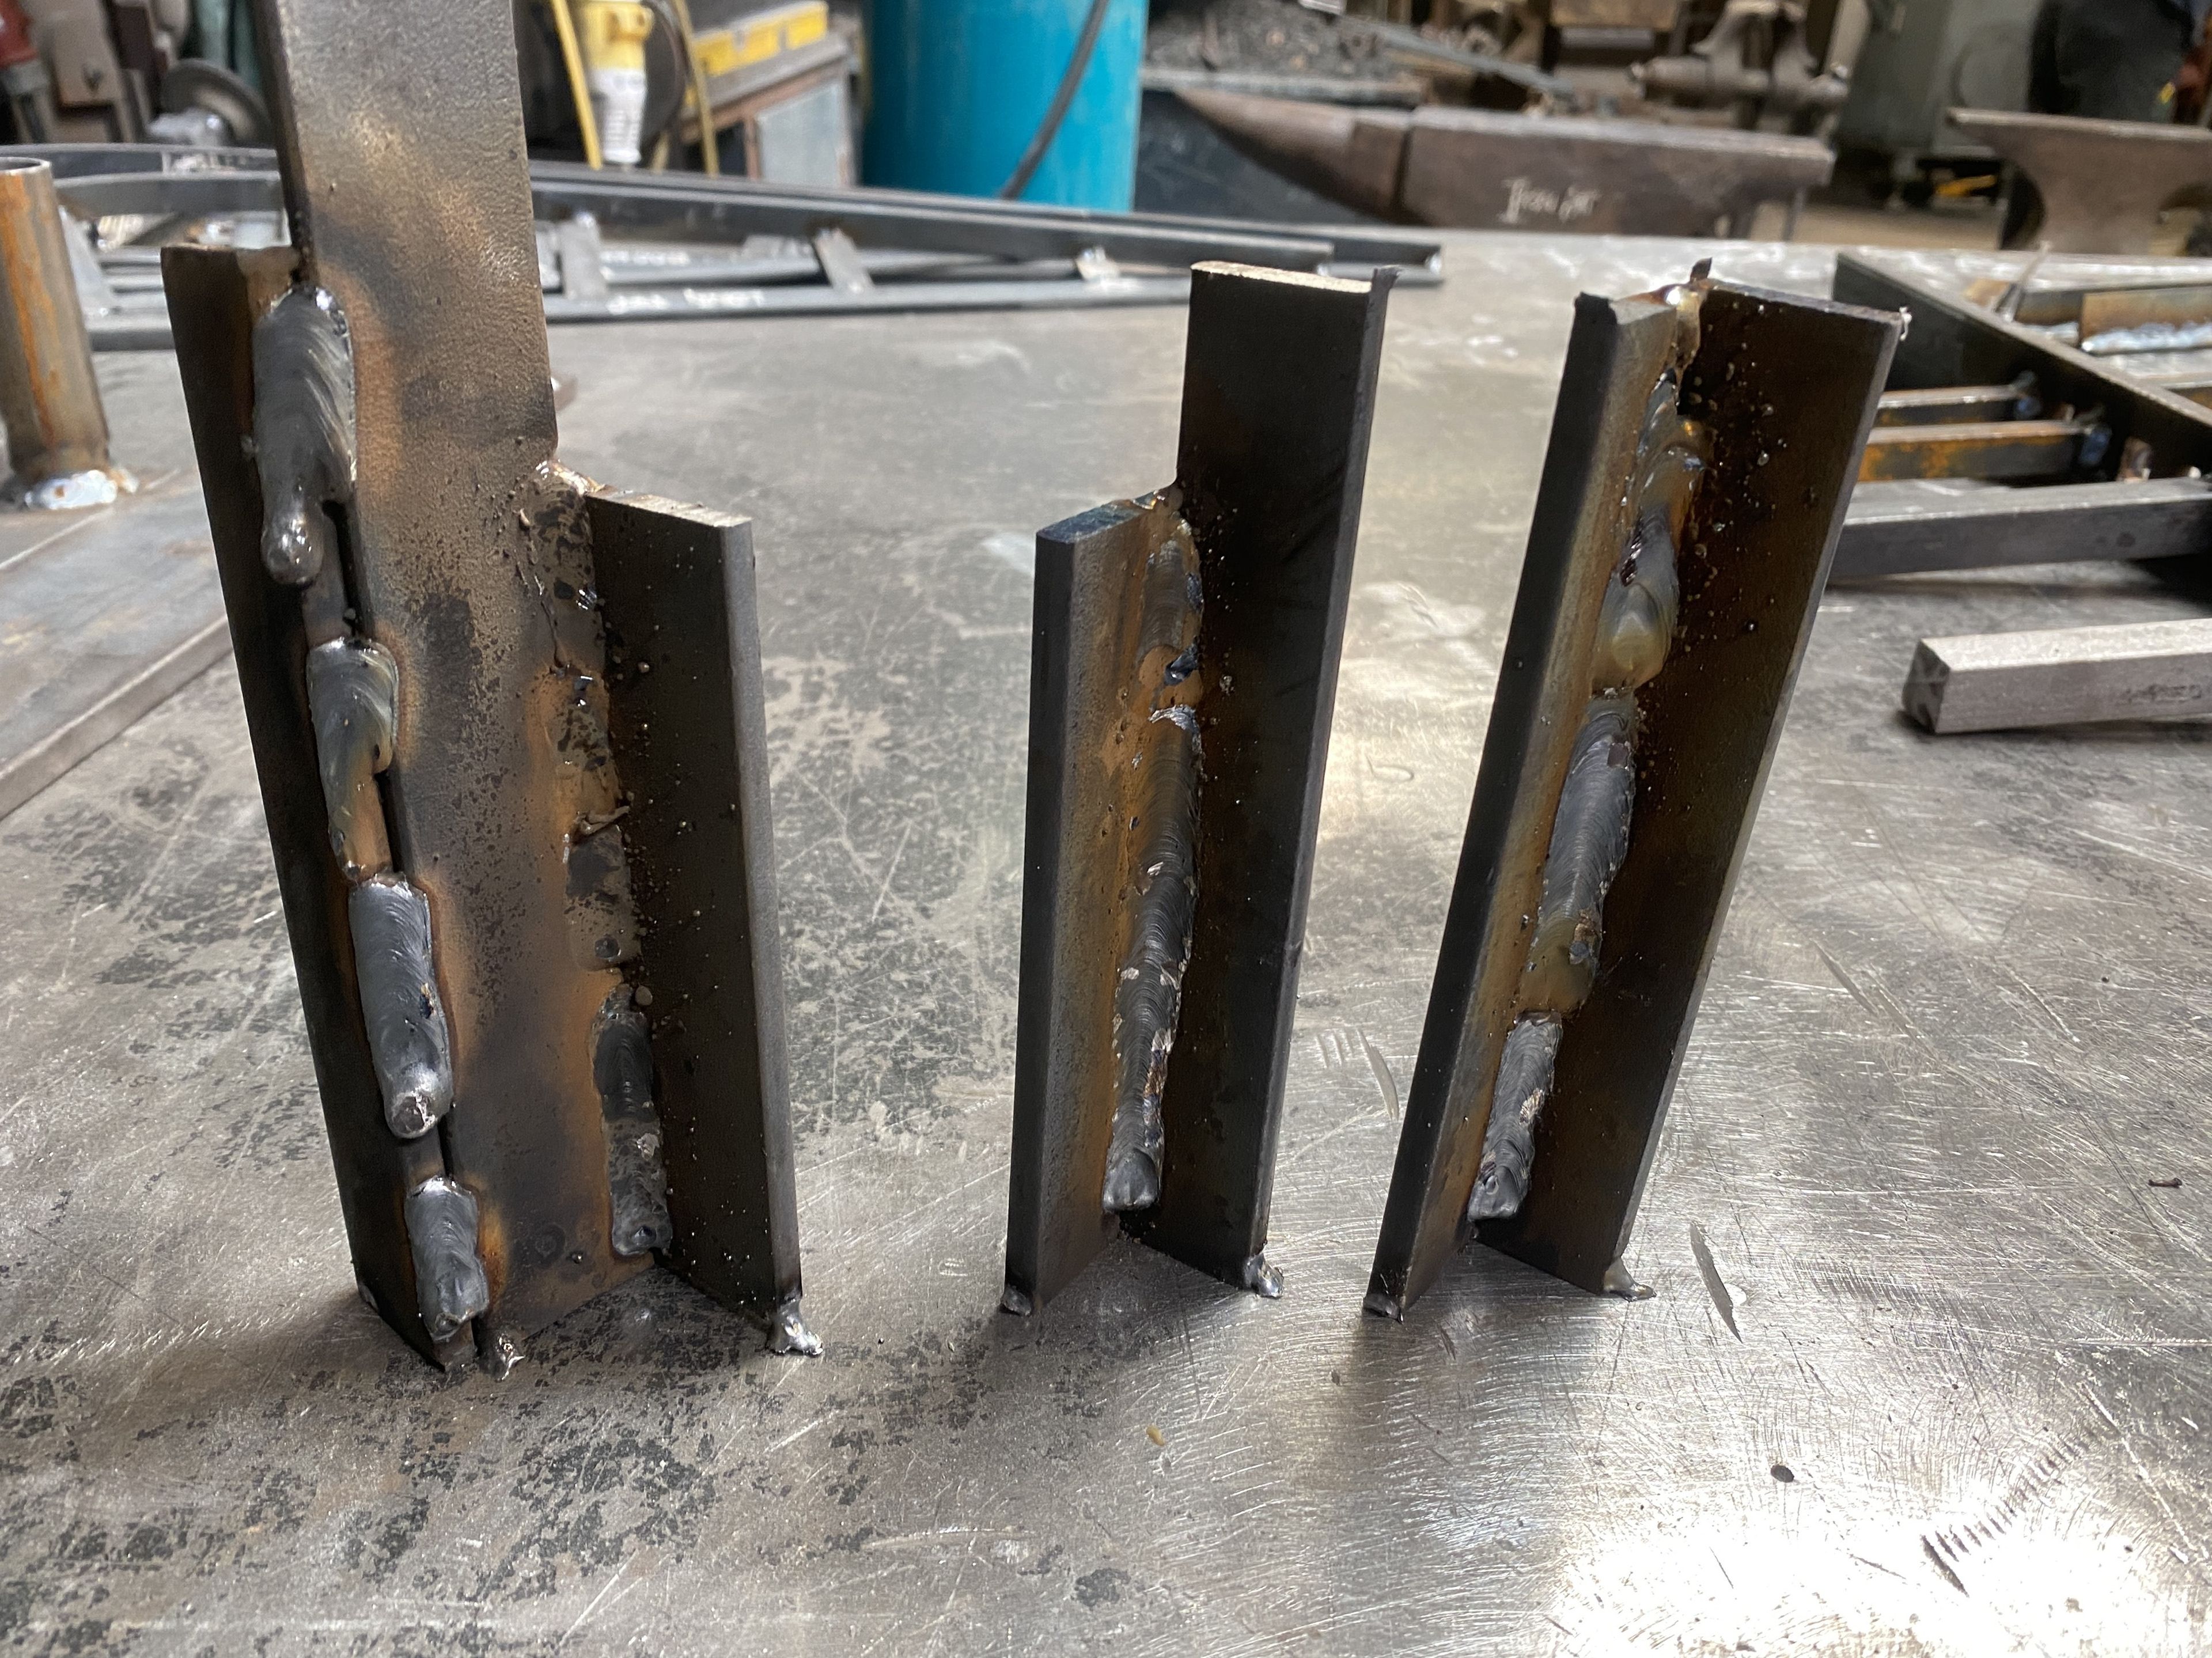
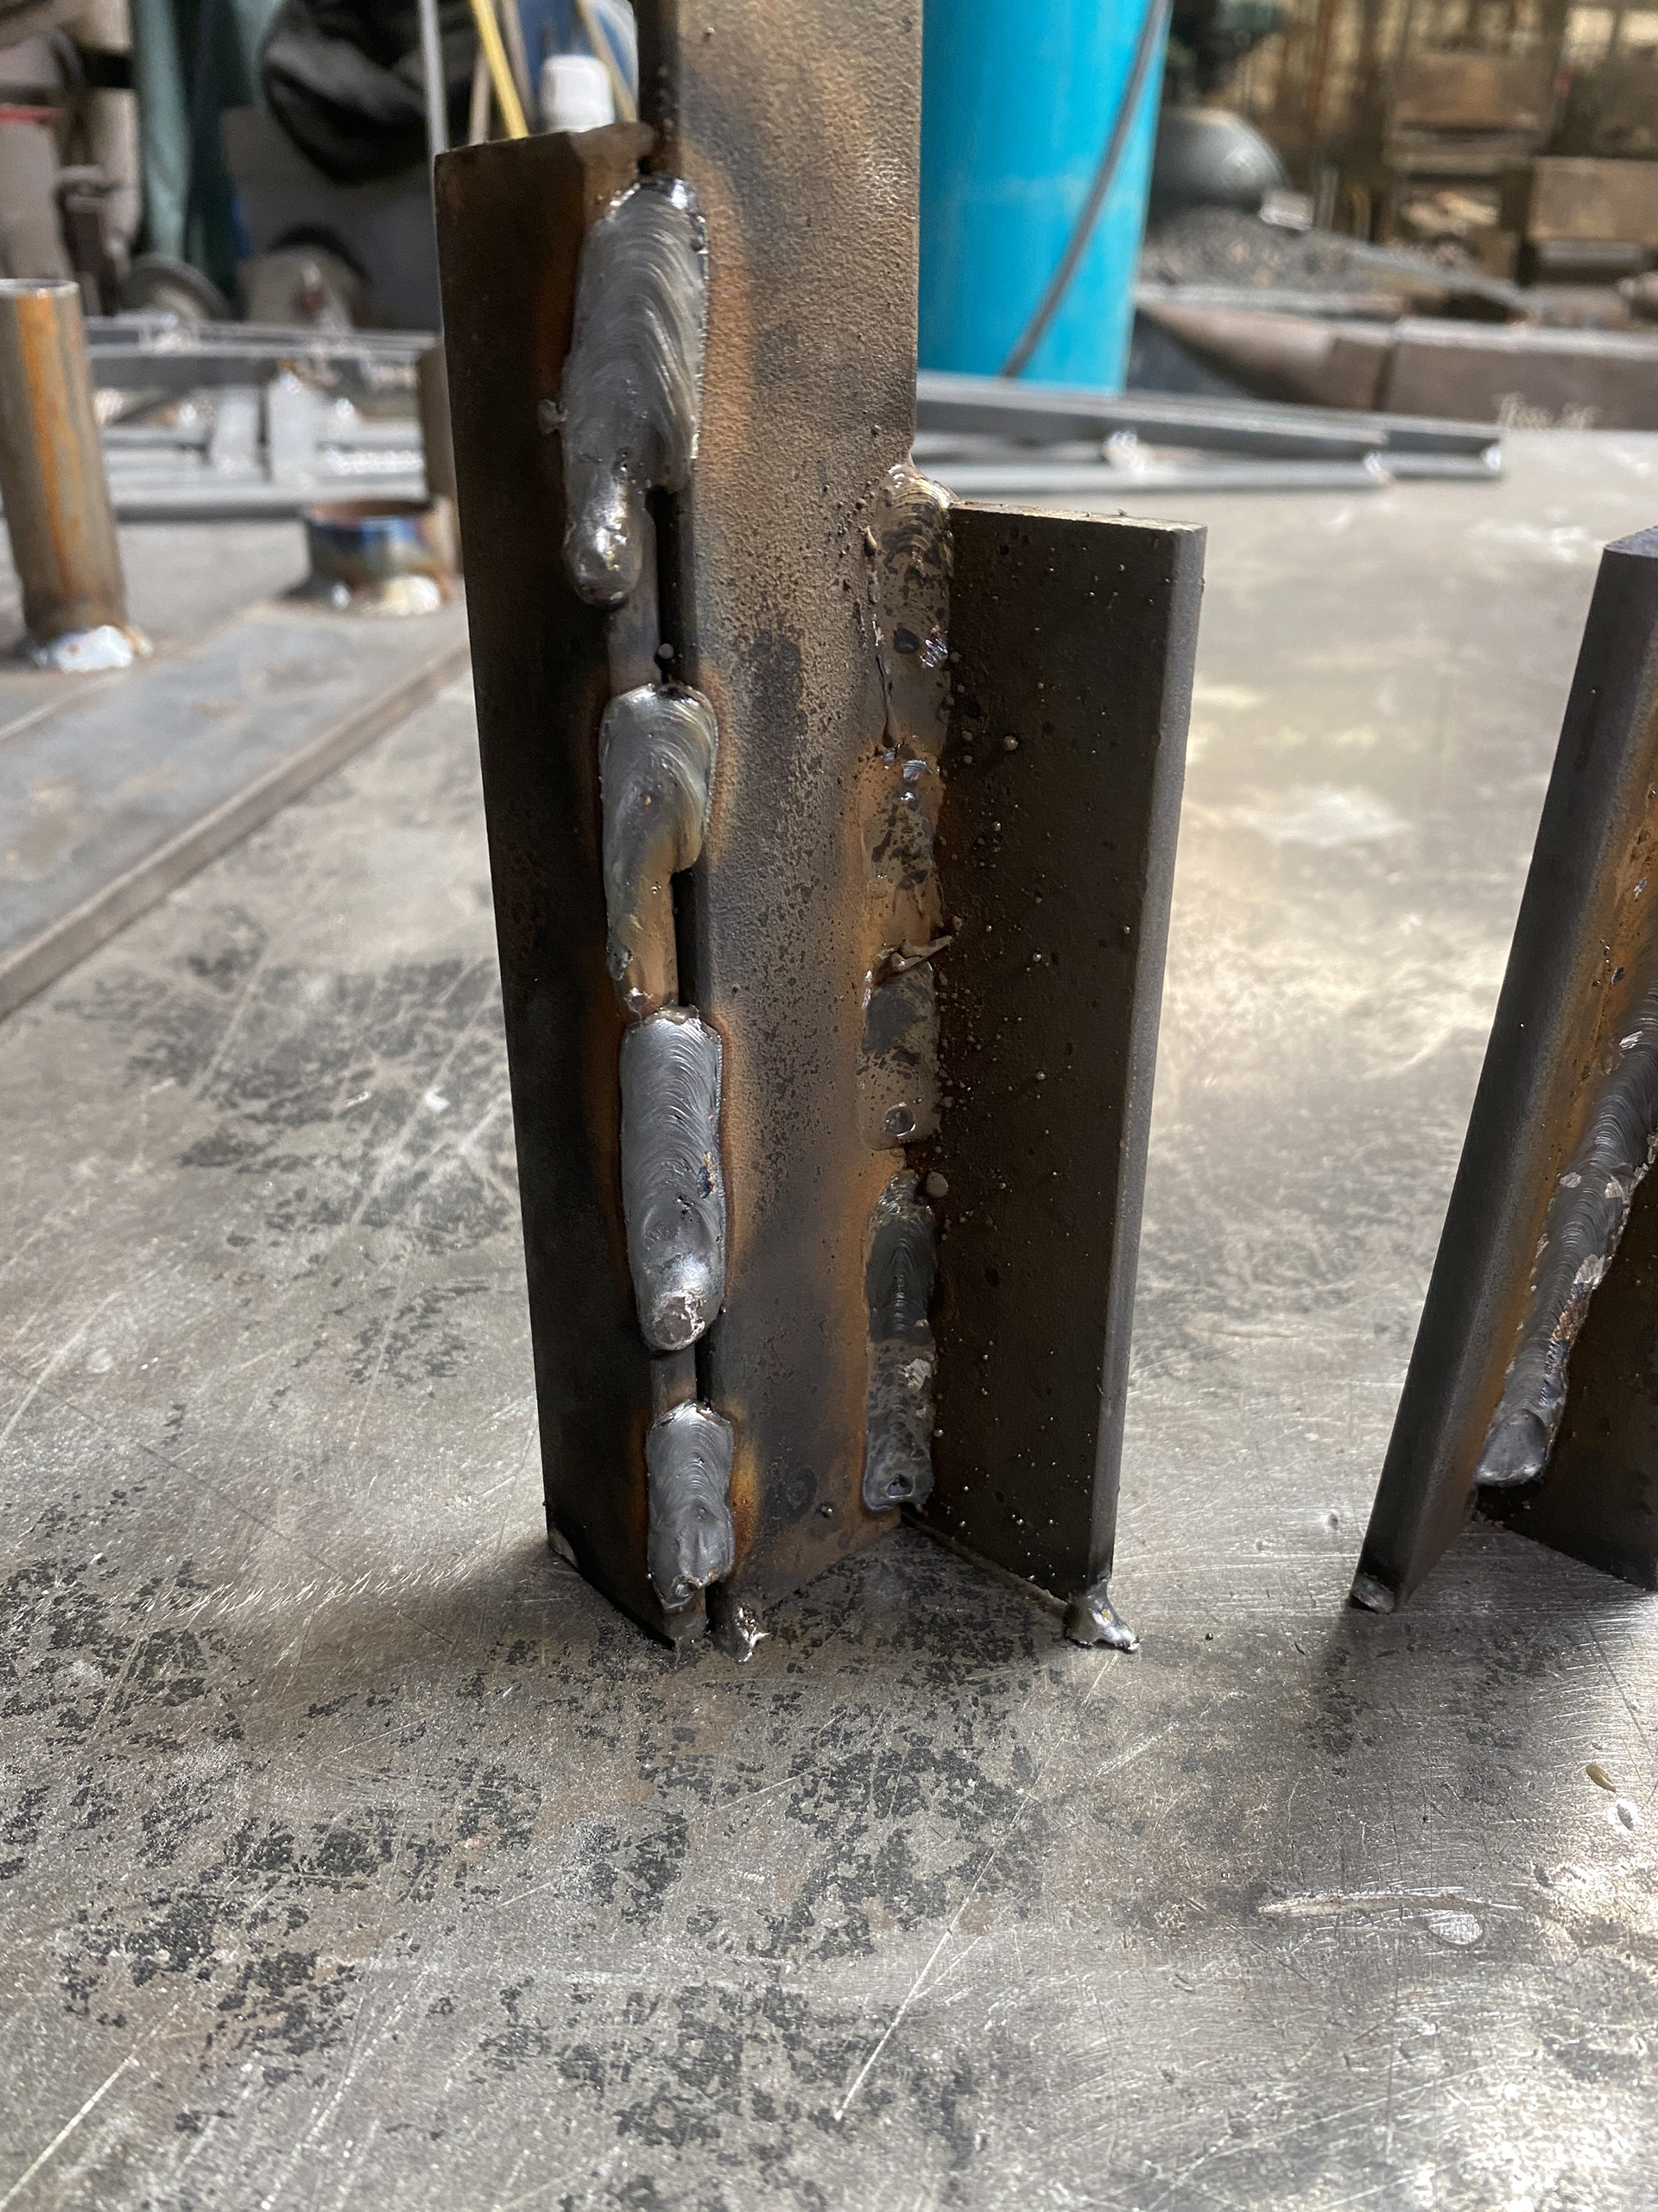
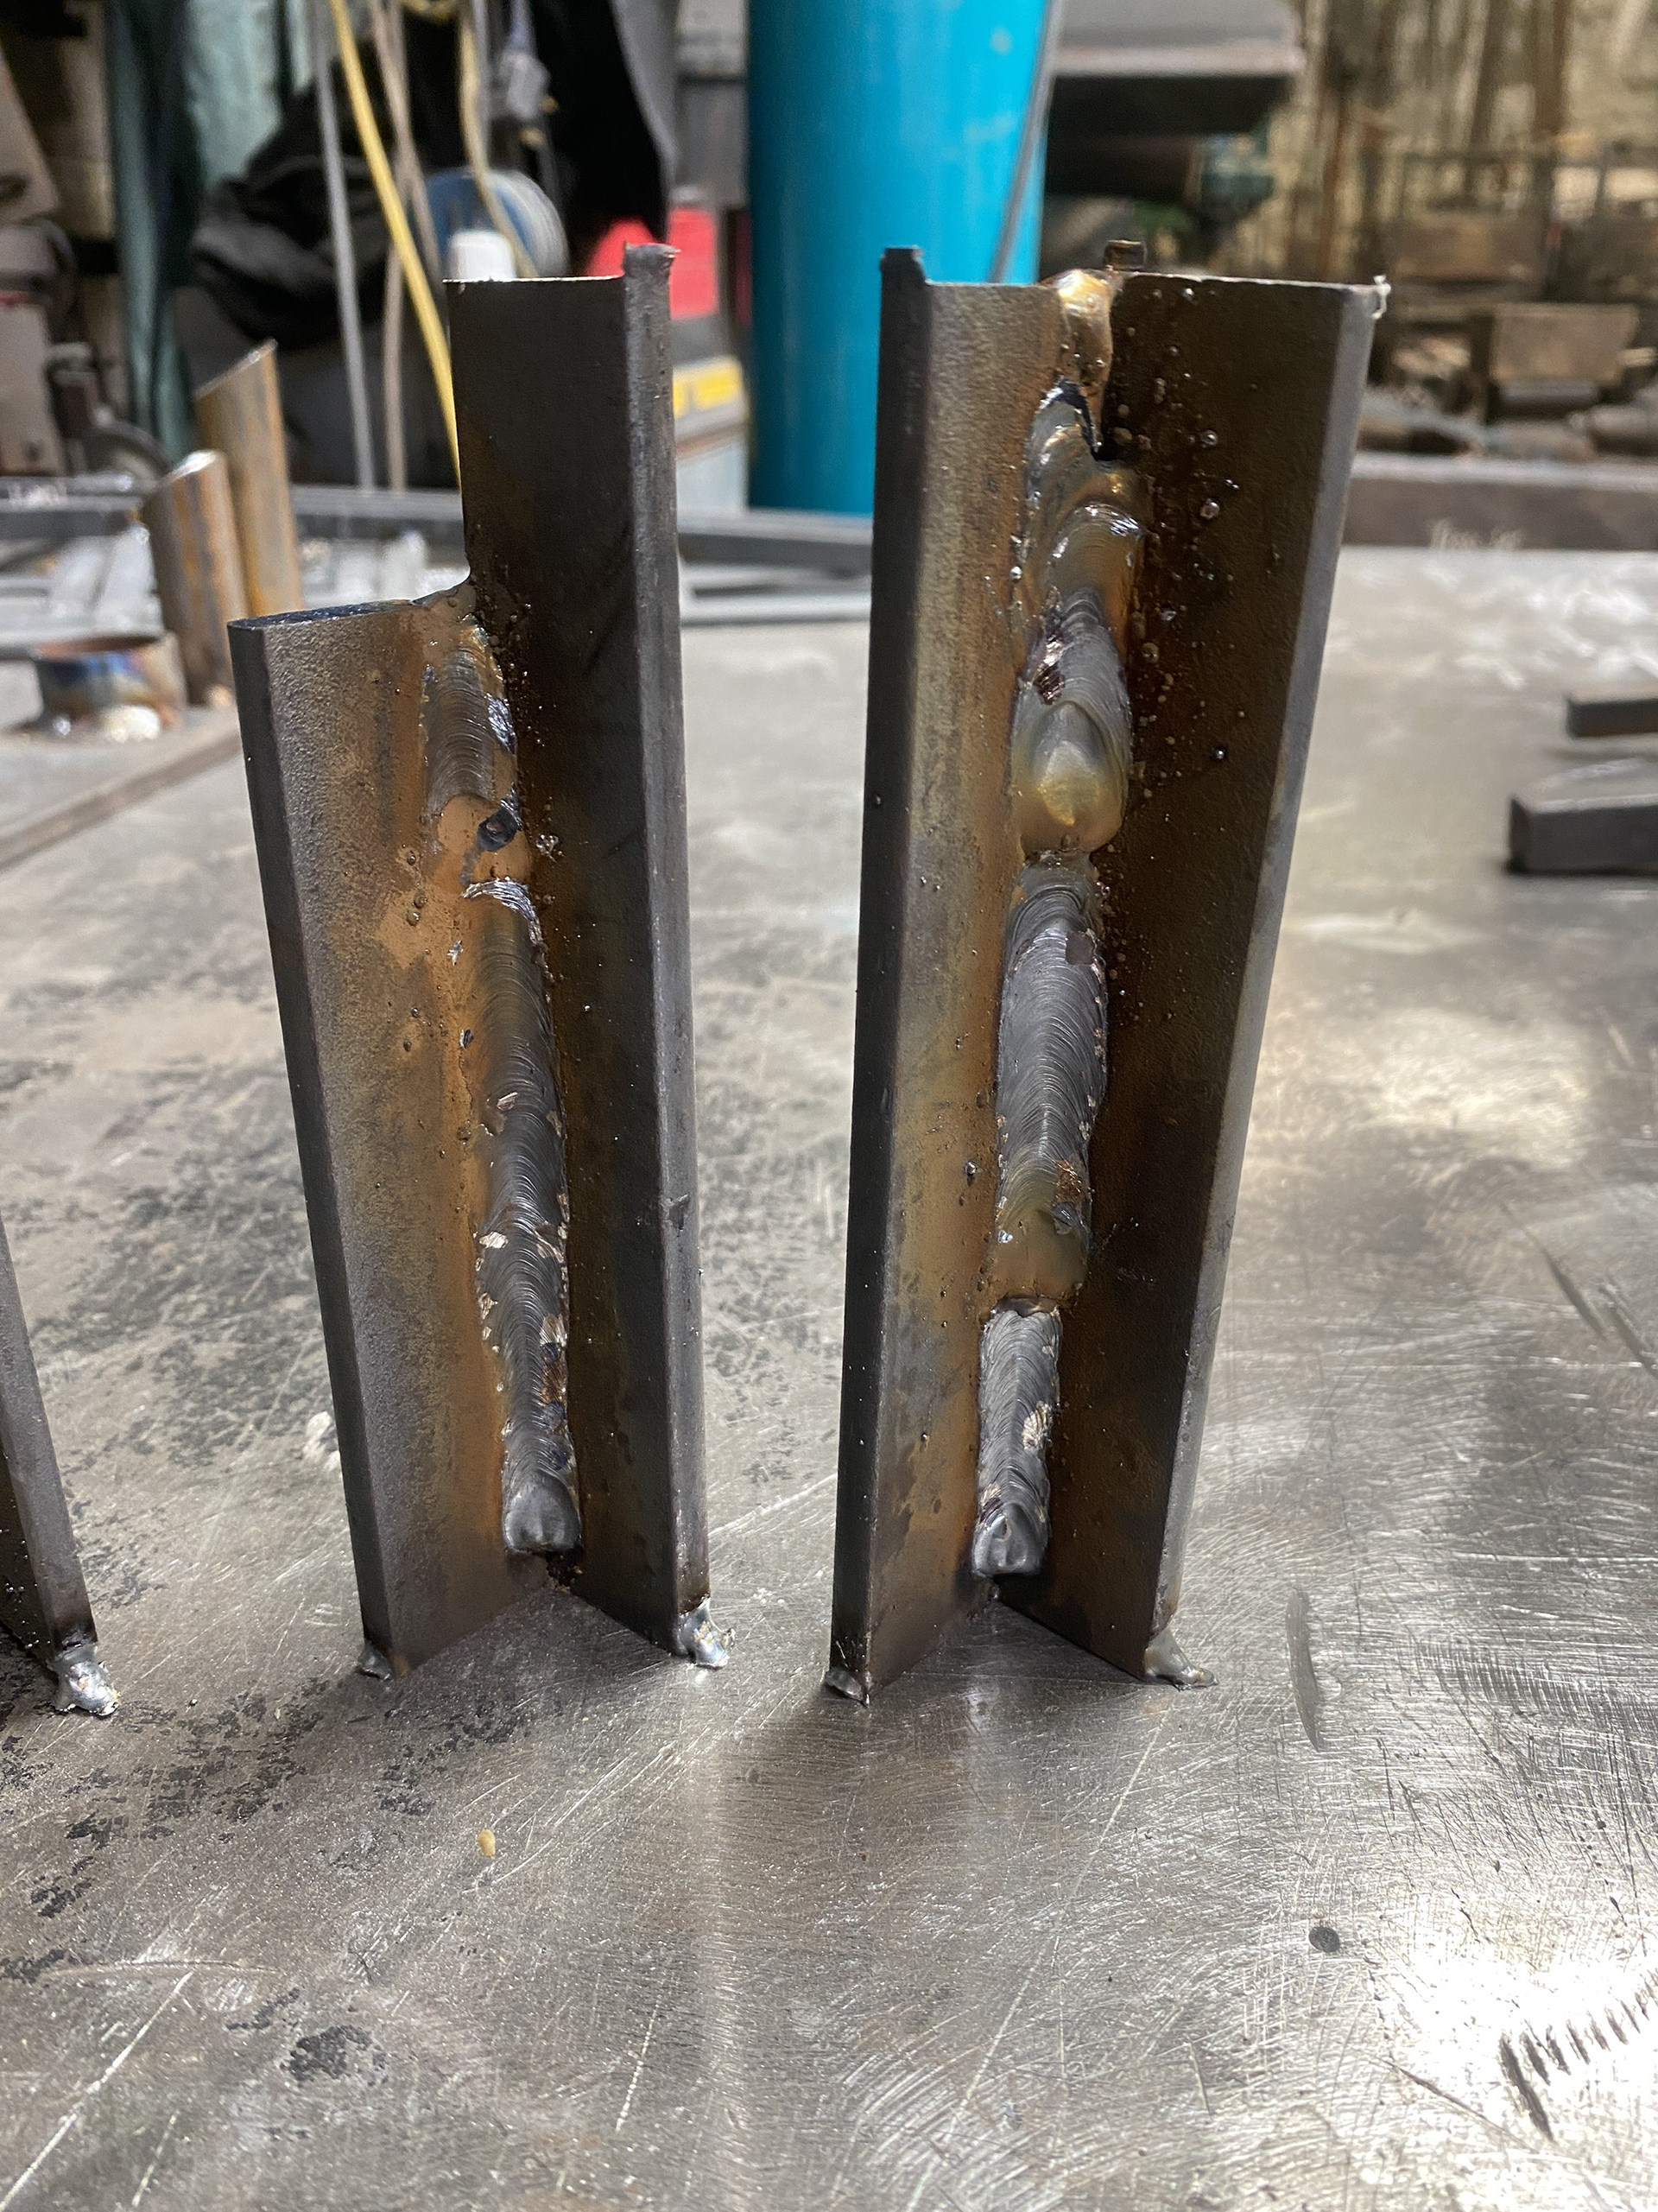
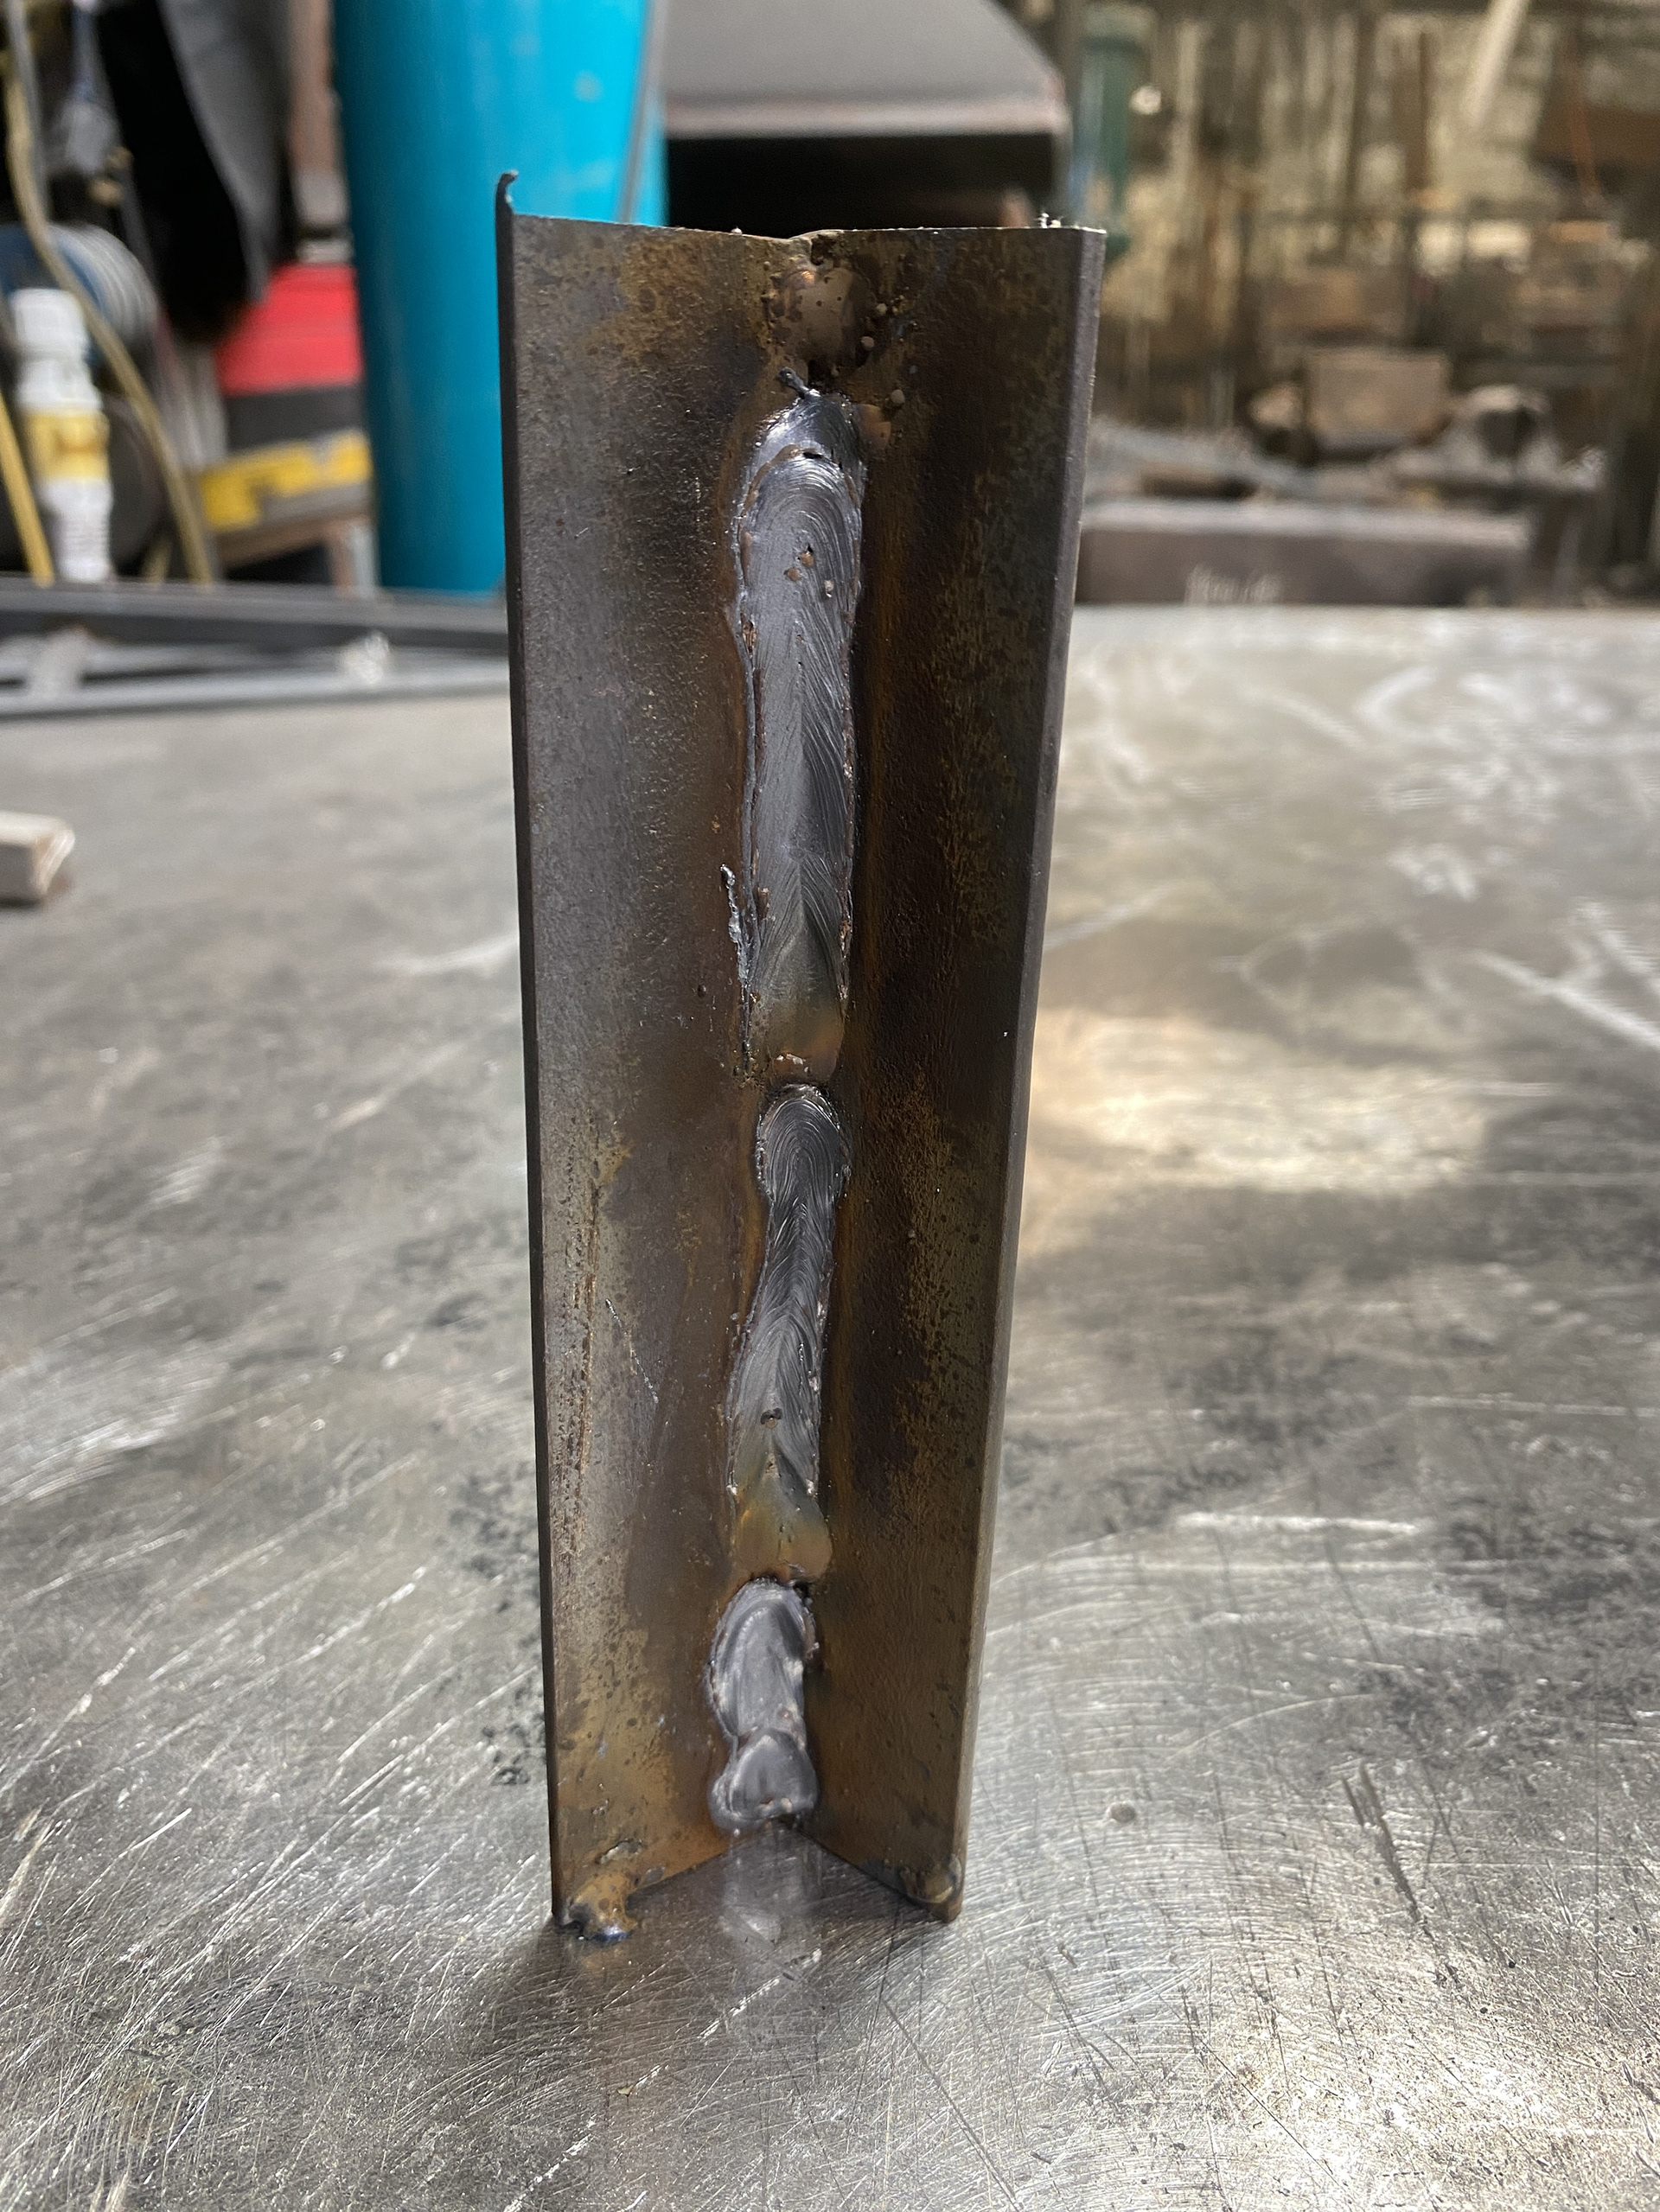
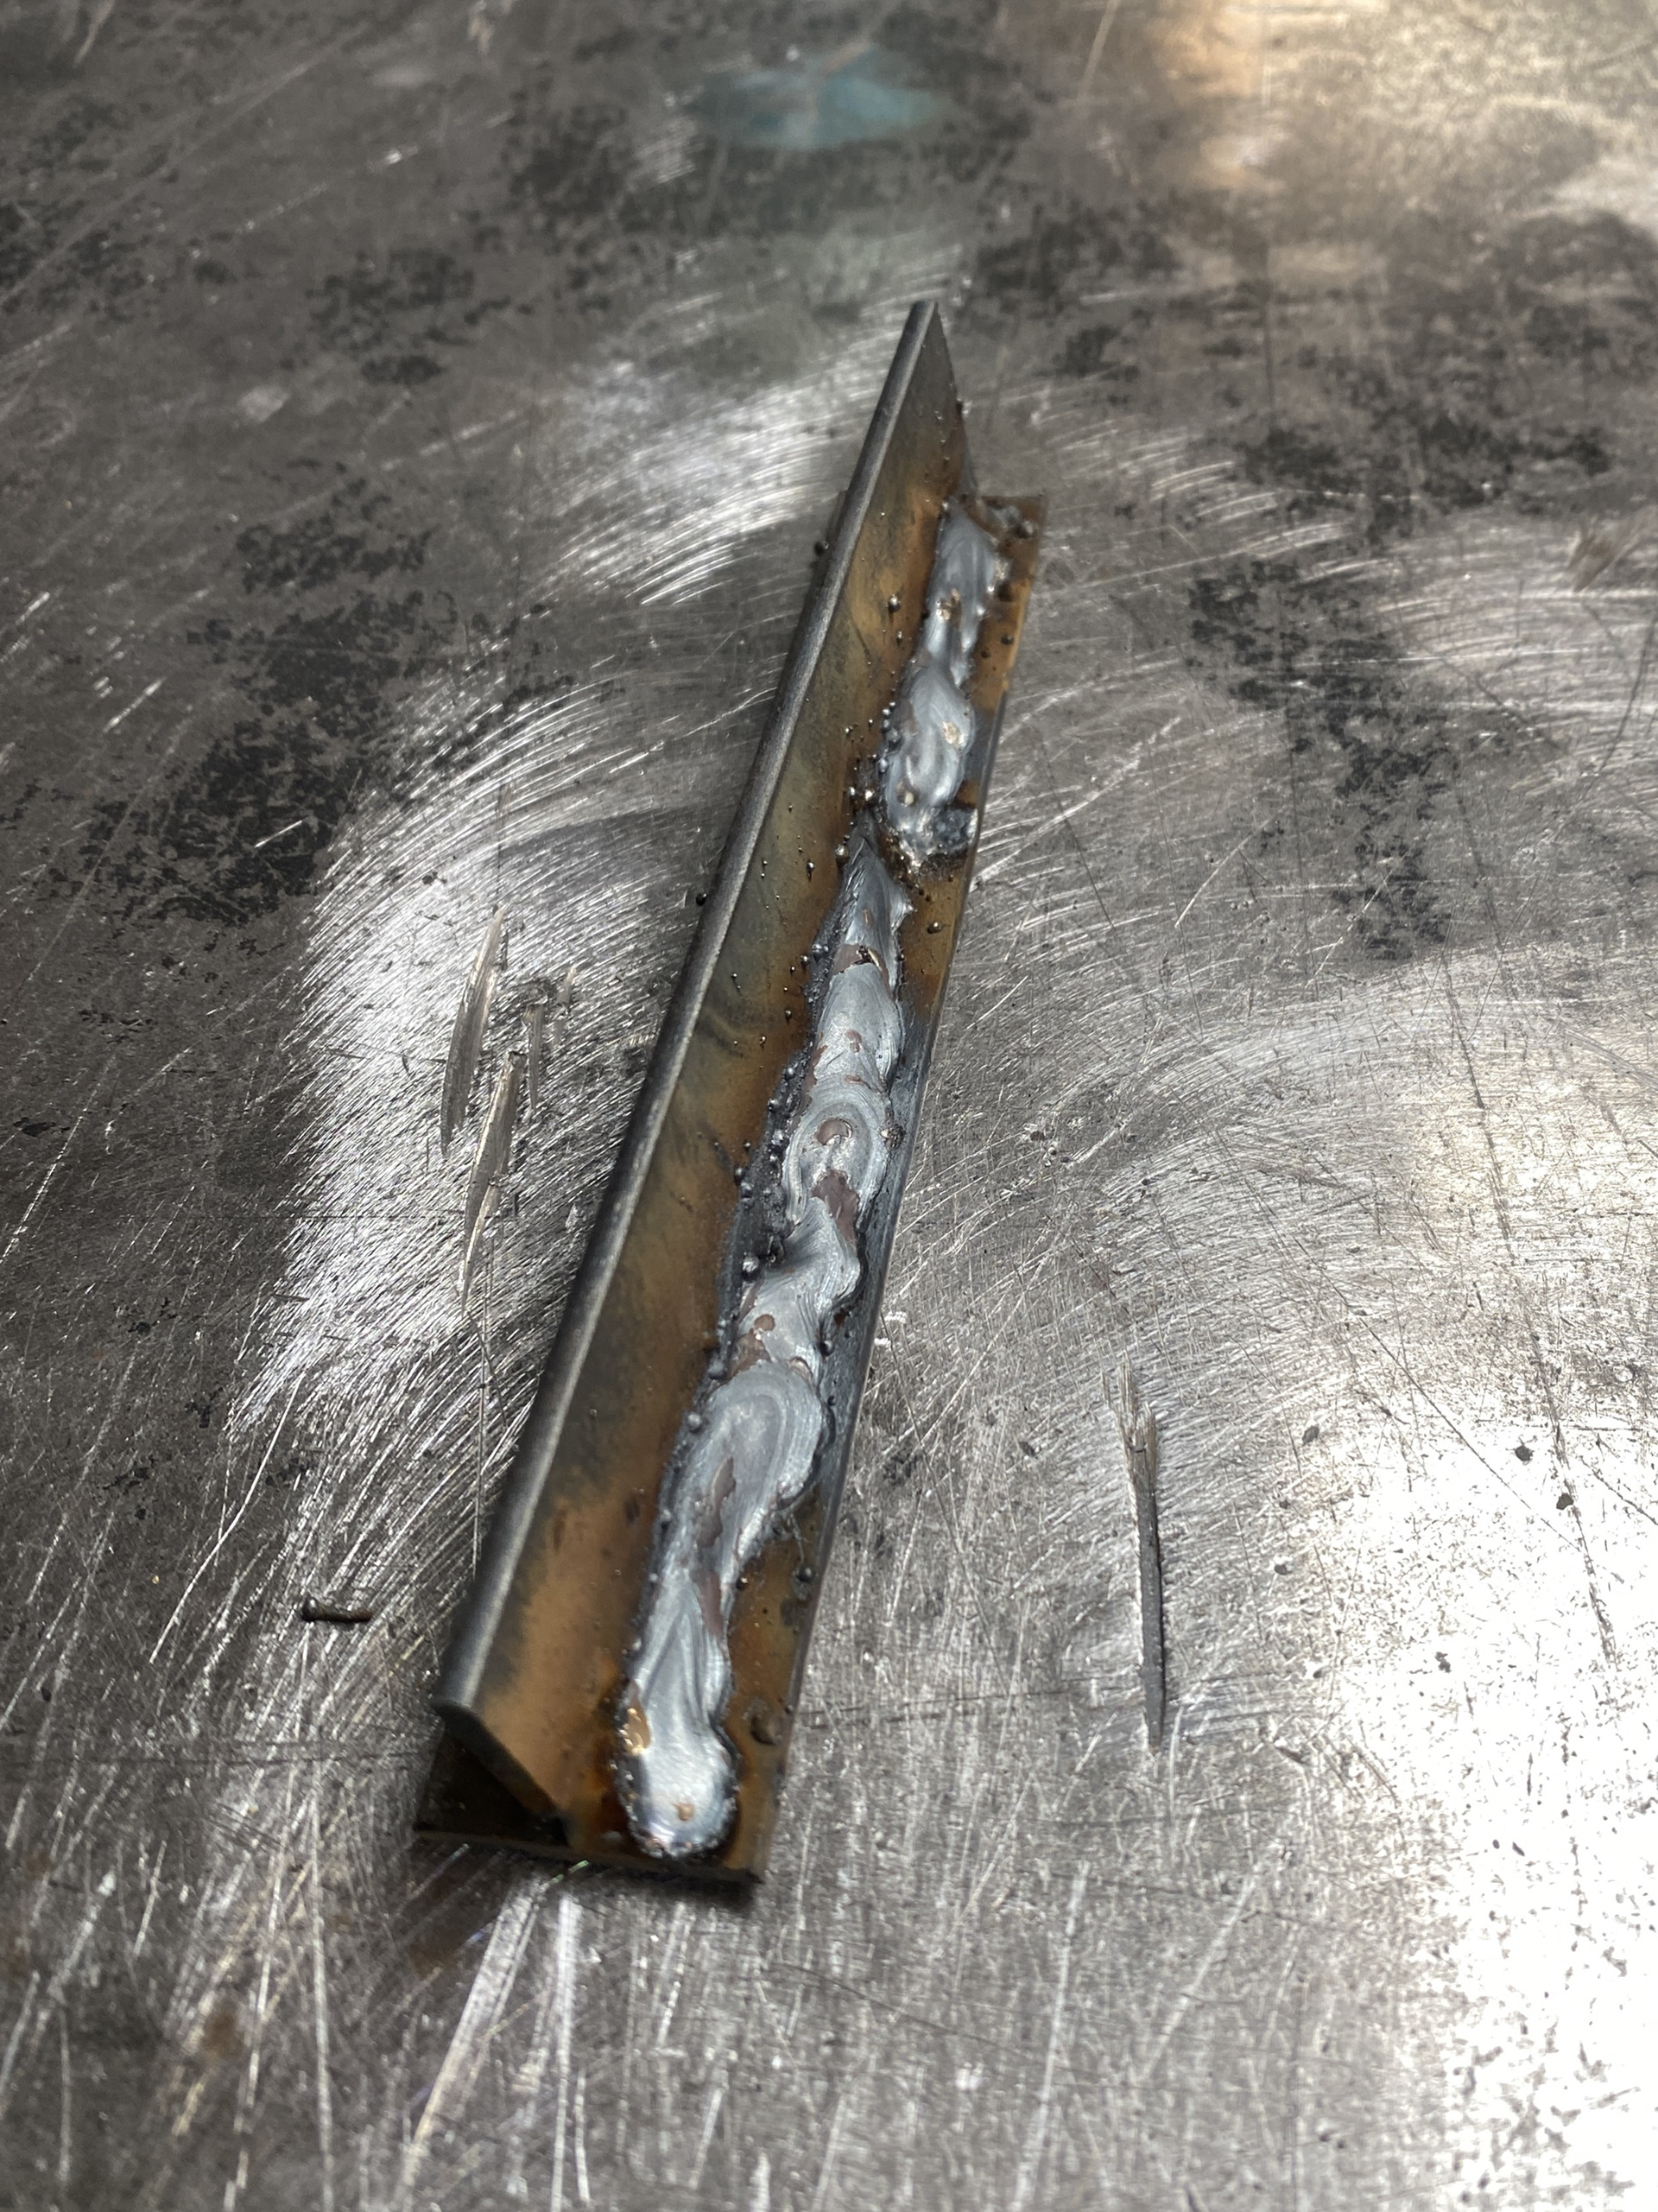
I was then taught to lay a bead vertically creating a but joint between two pieces of flat bar. This was very hard as it required me to work with gravity which pulled the bead for me rather than pushing it along myself.
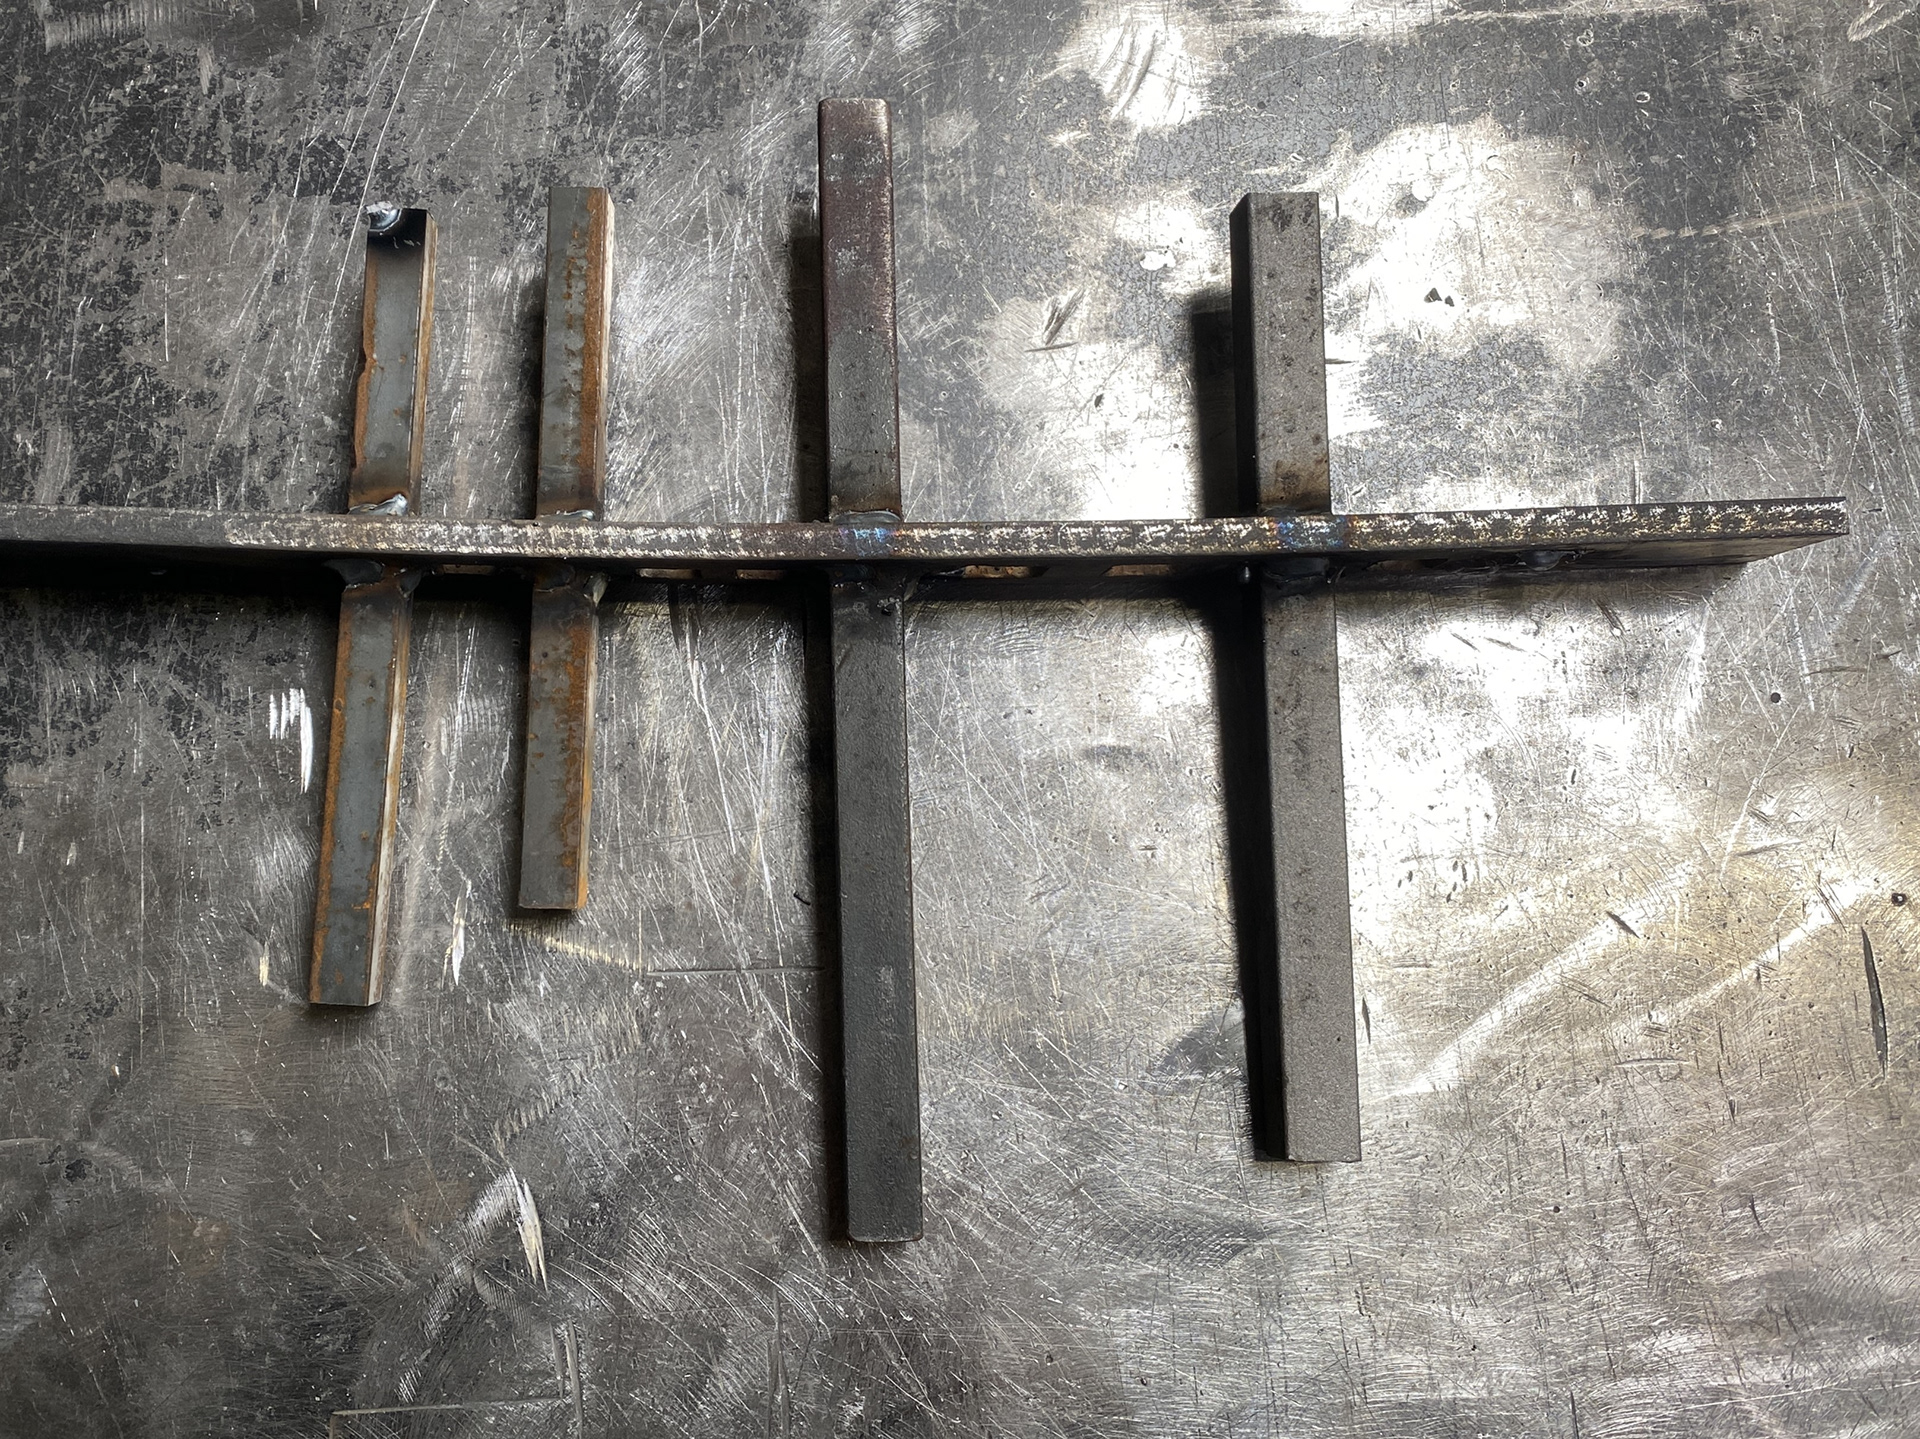
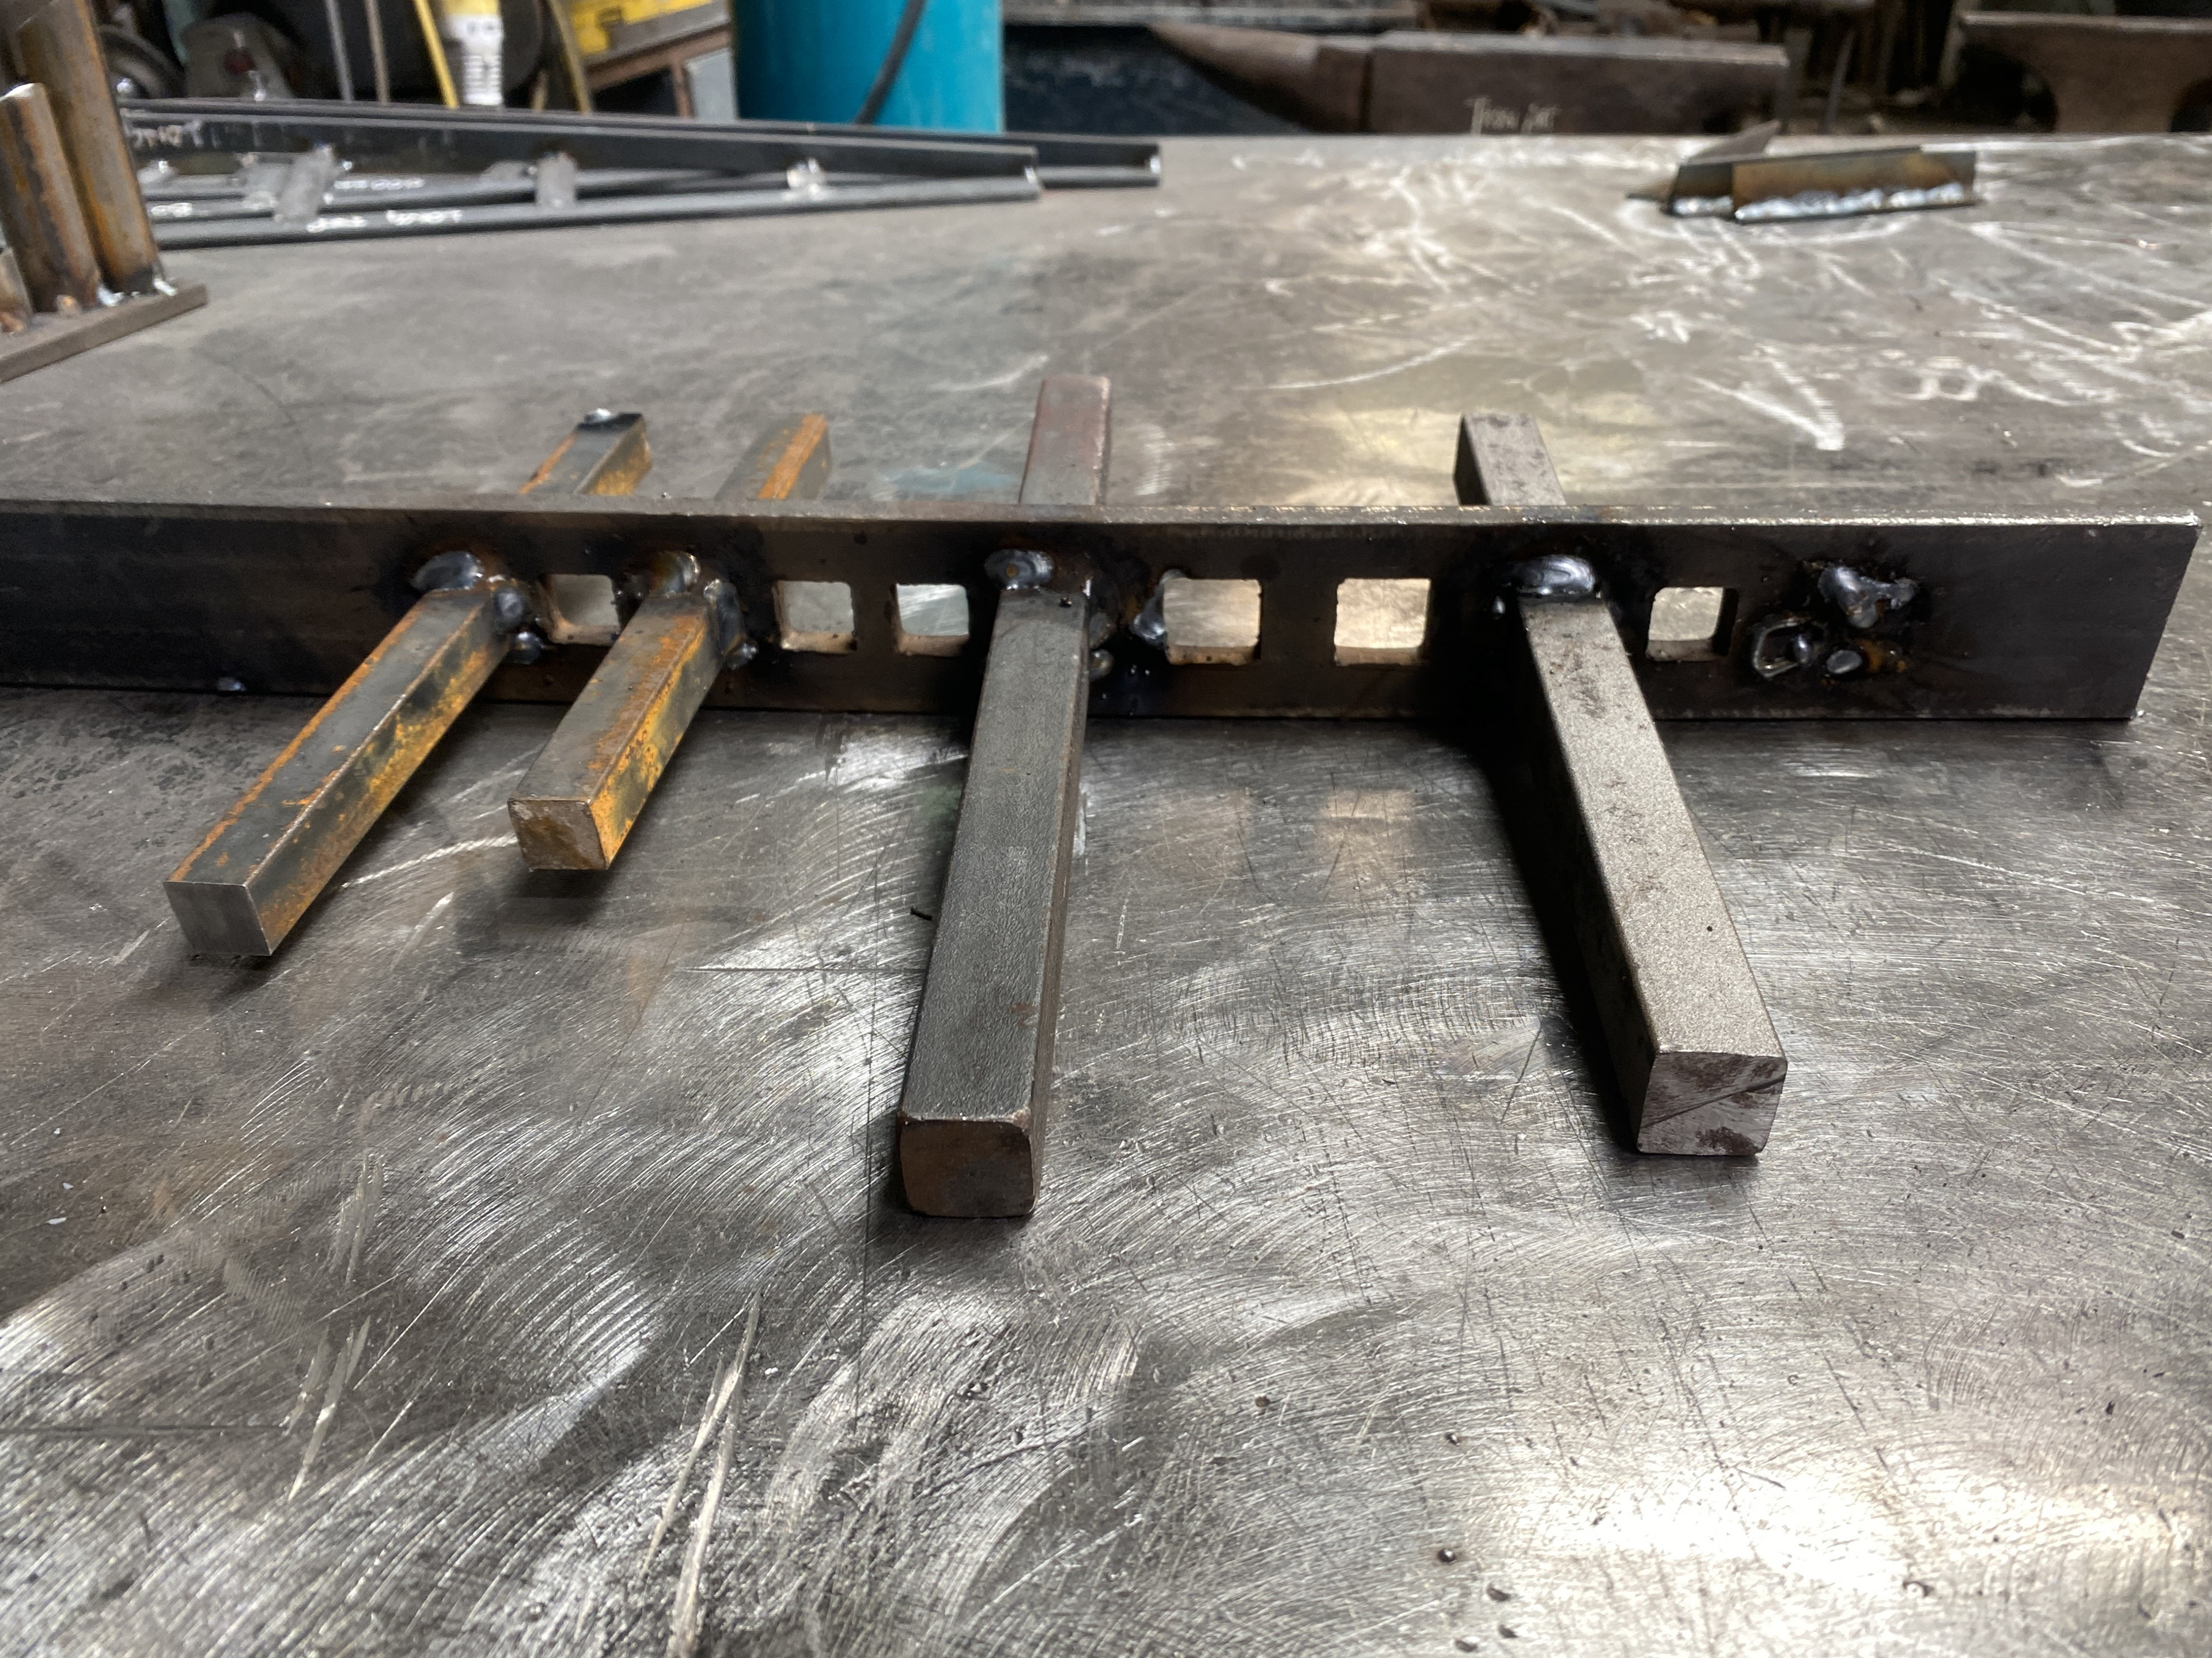
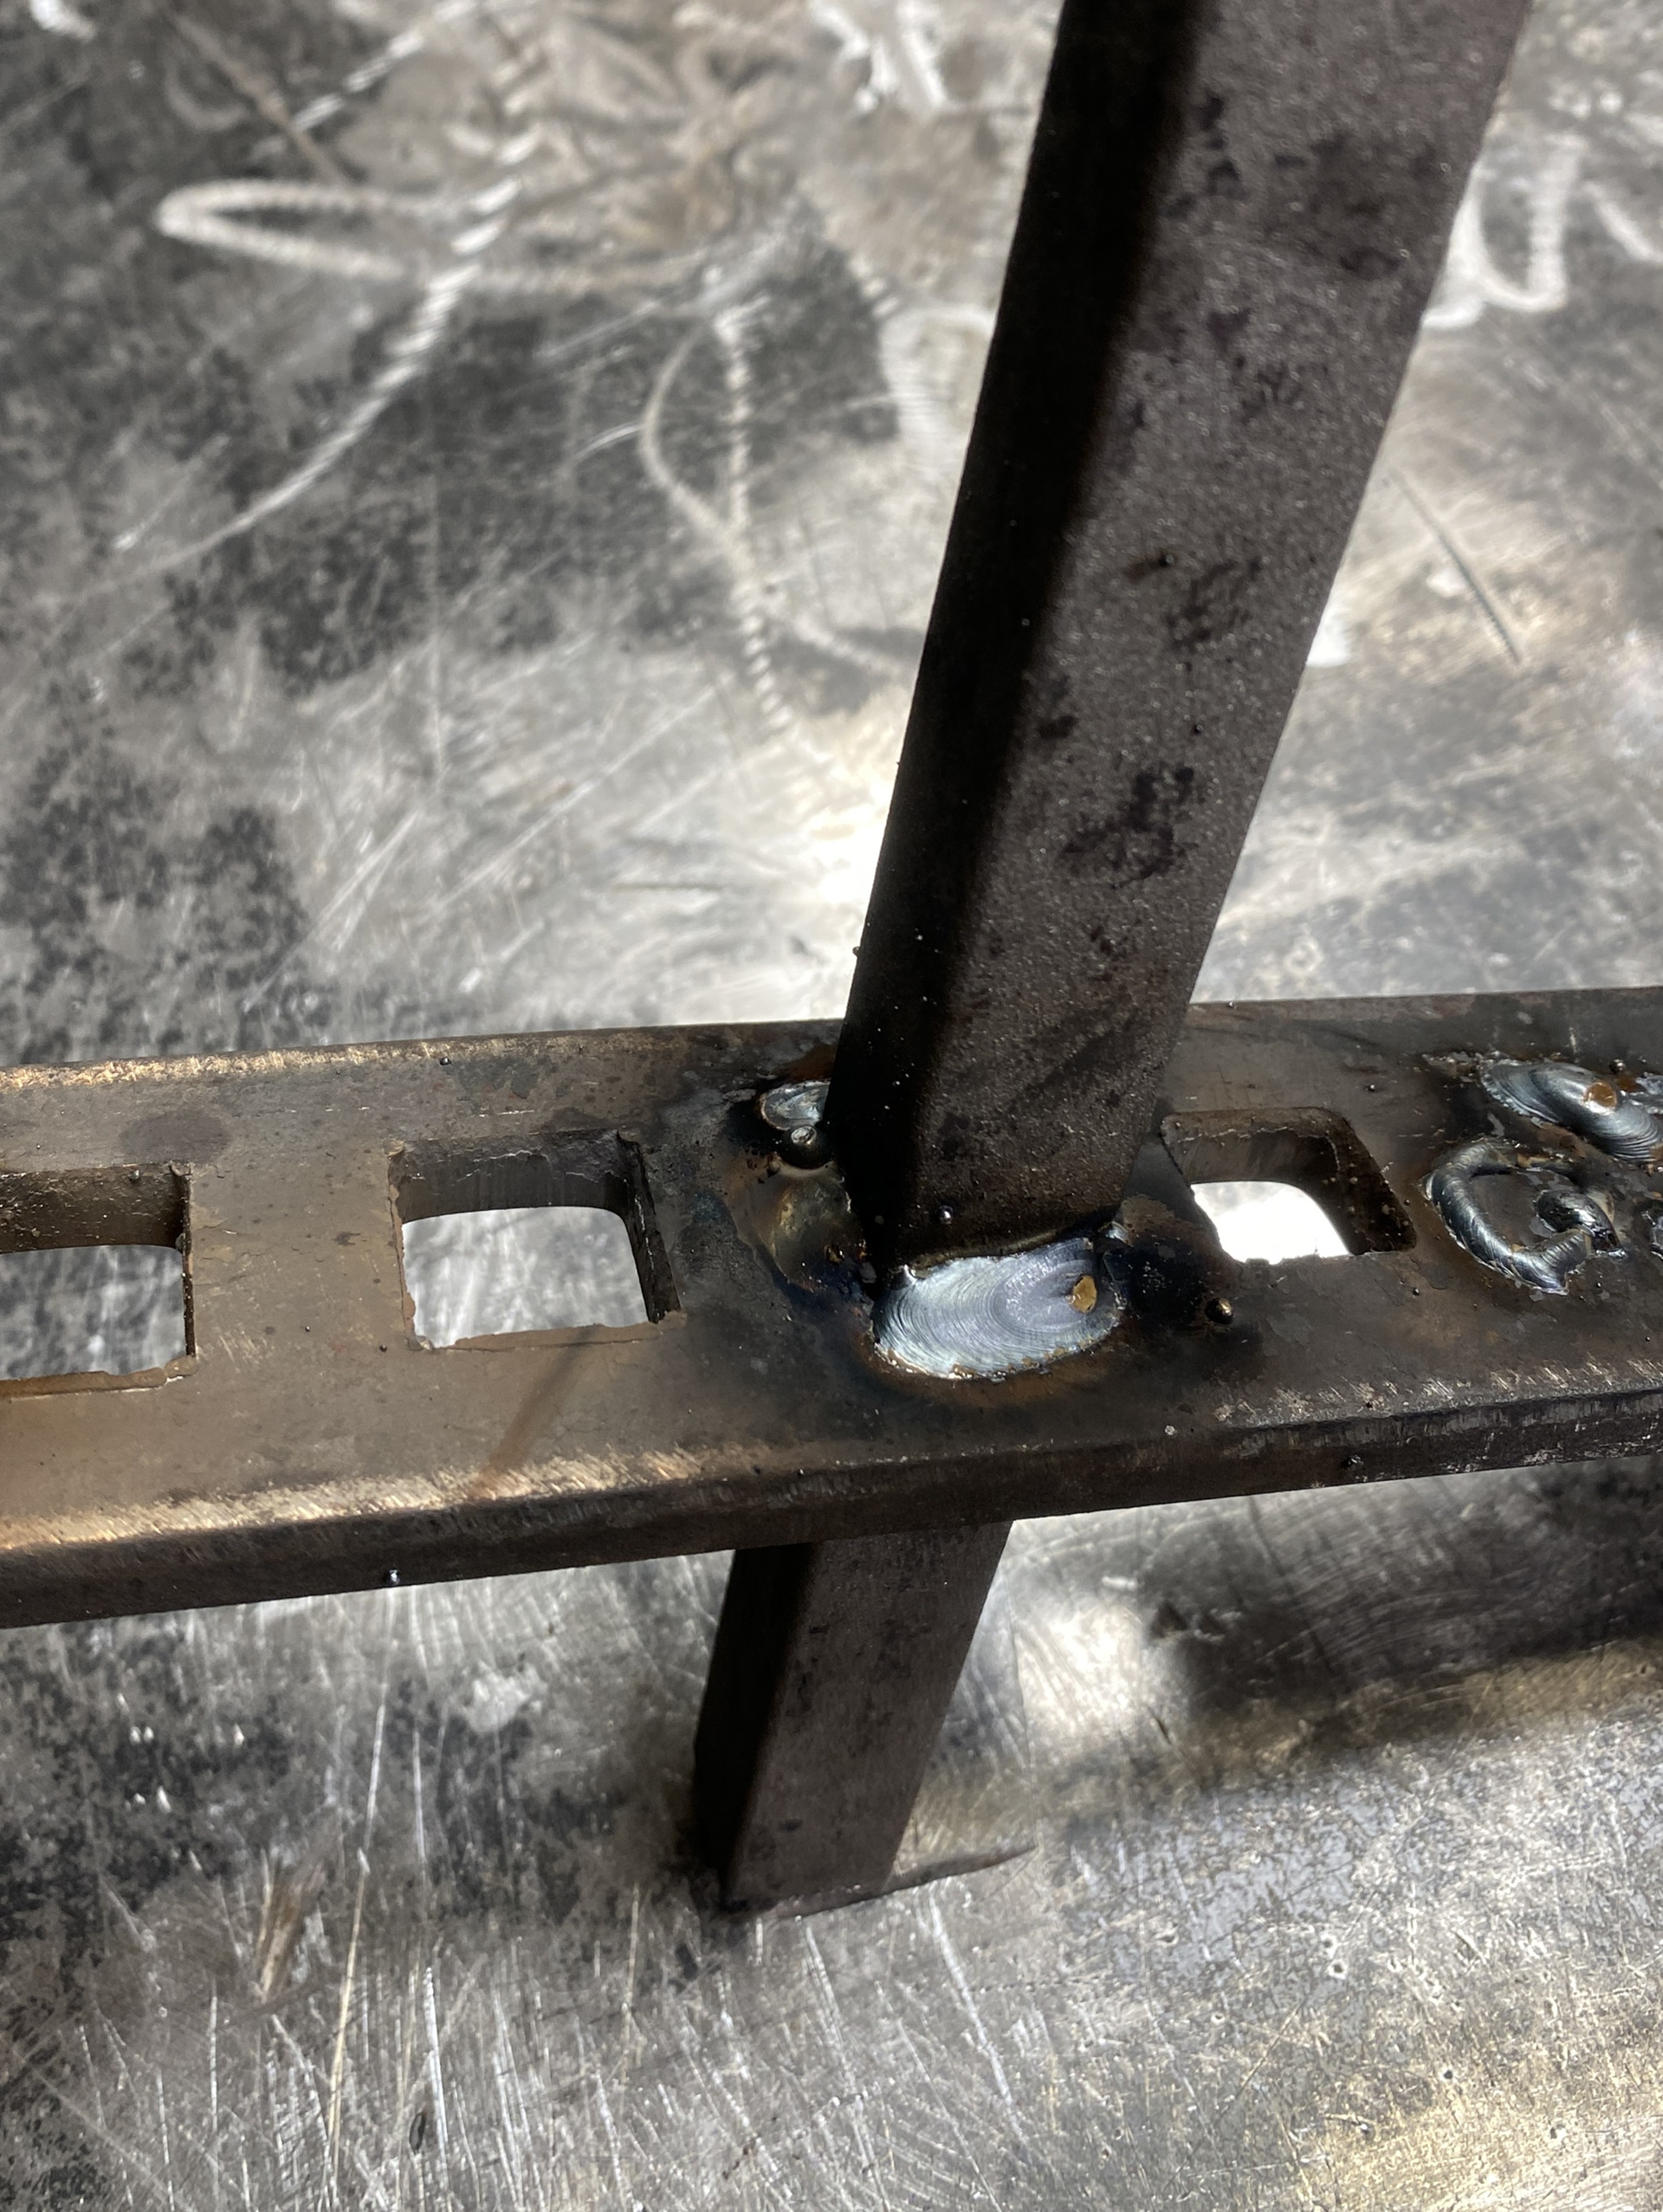
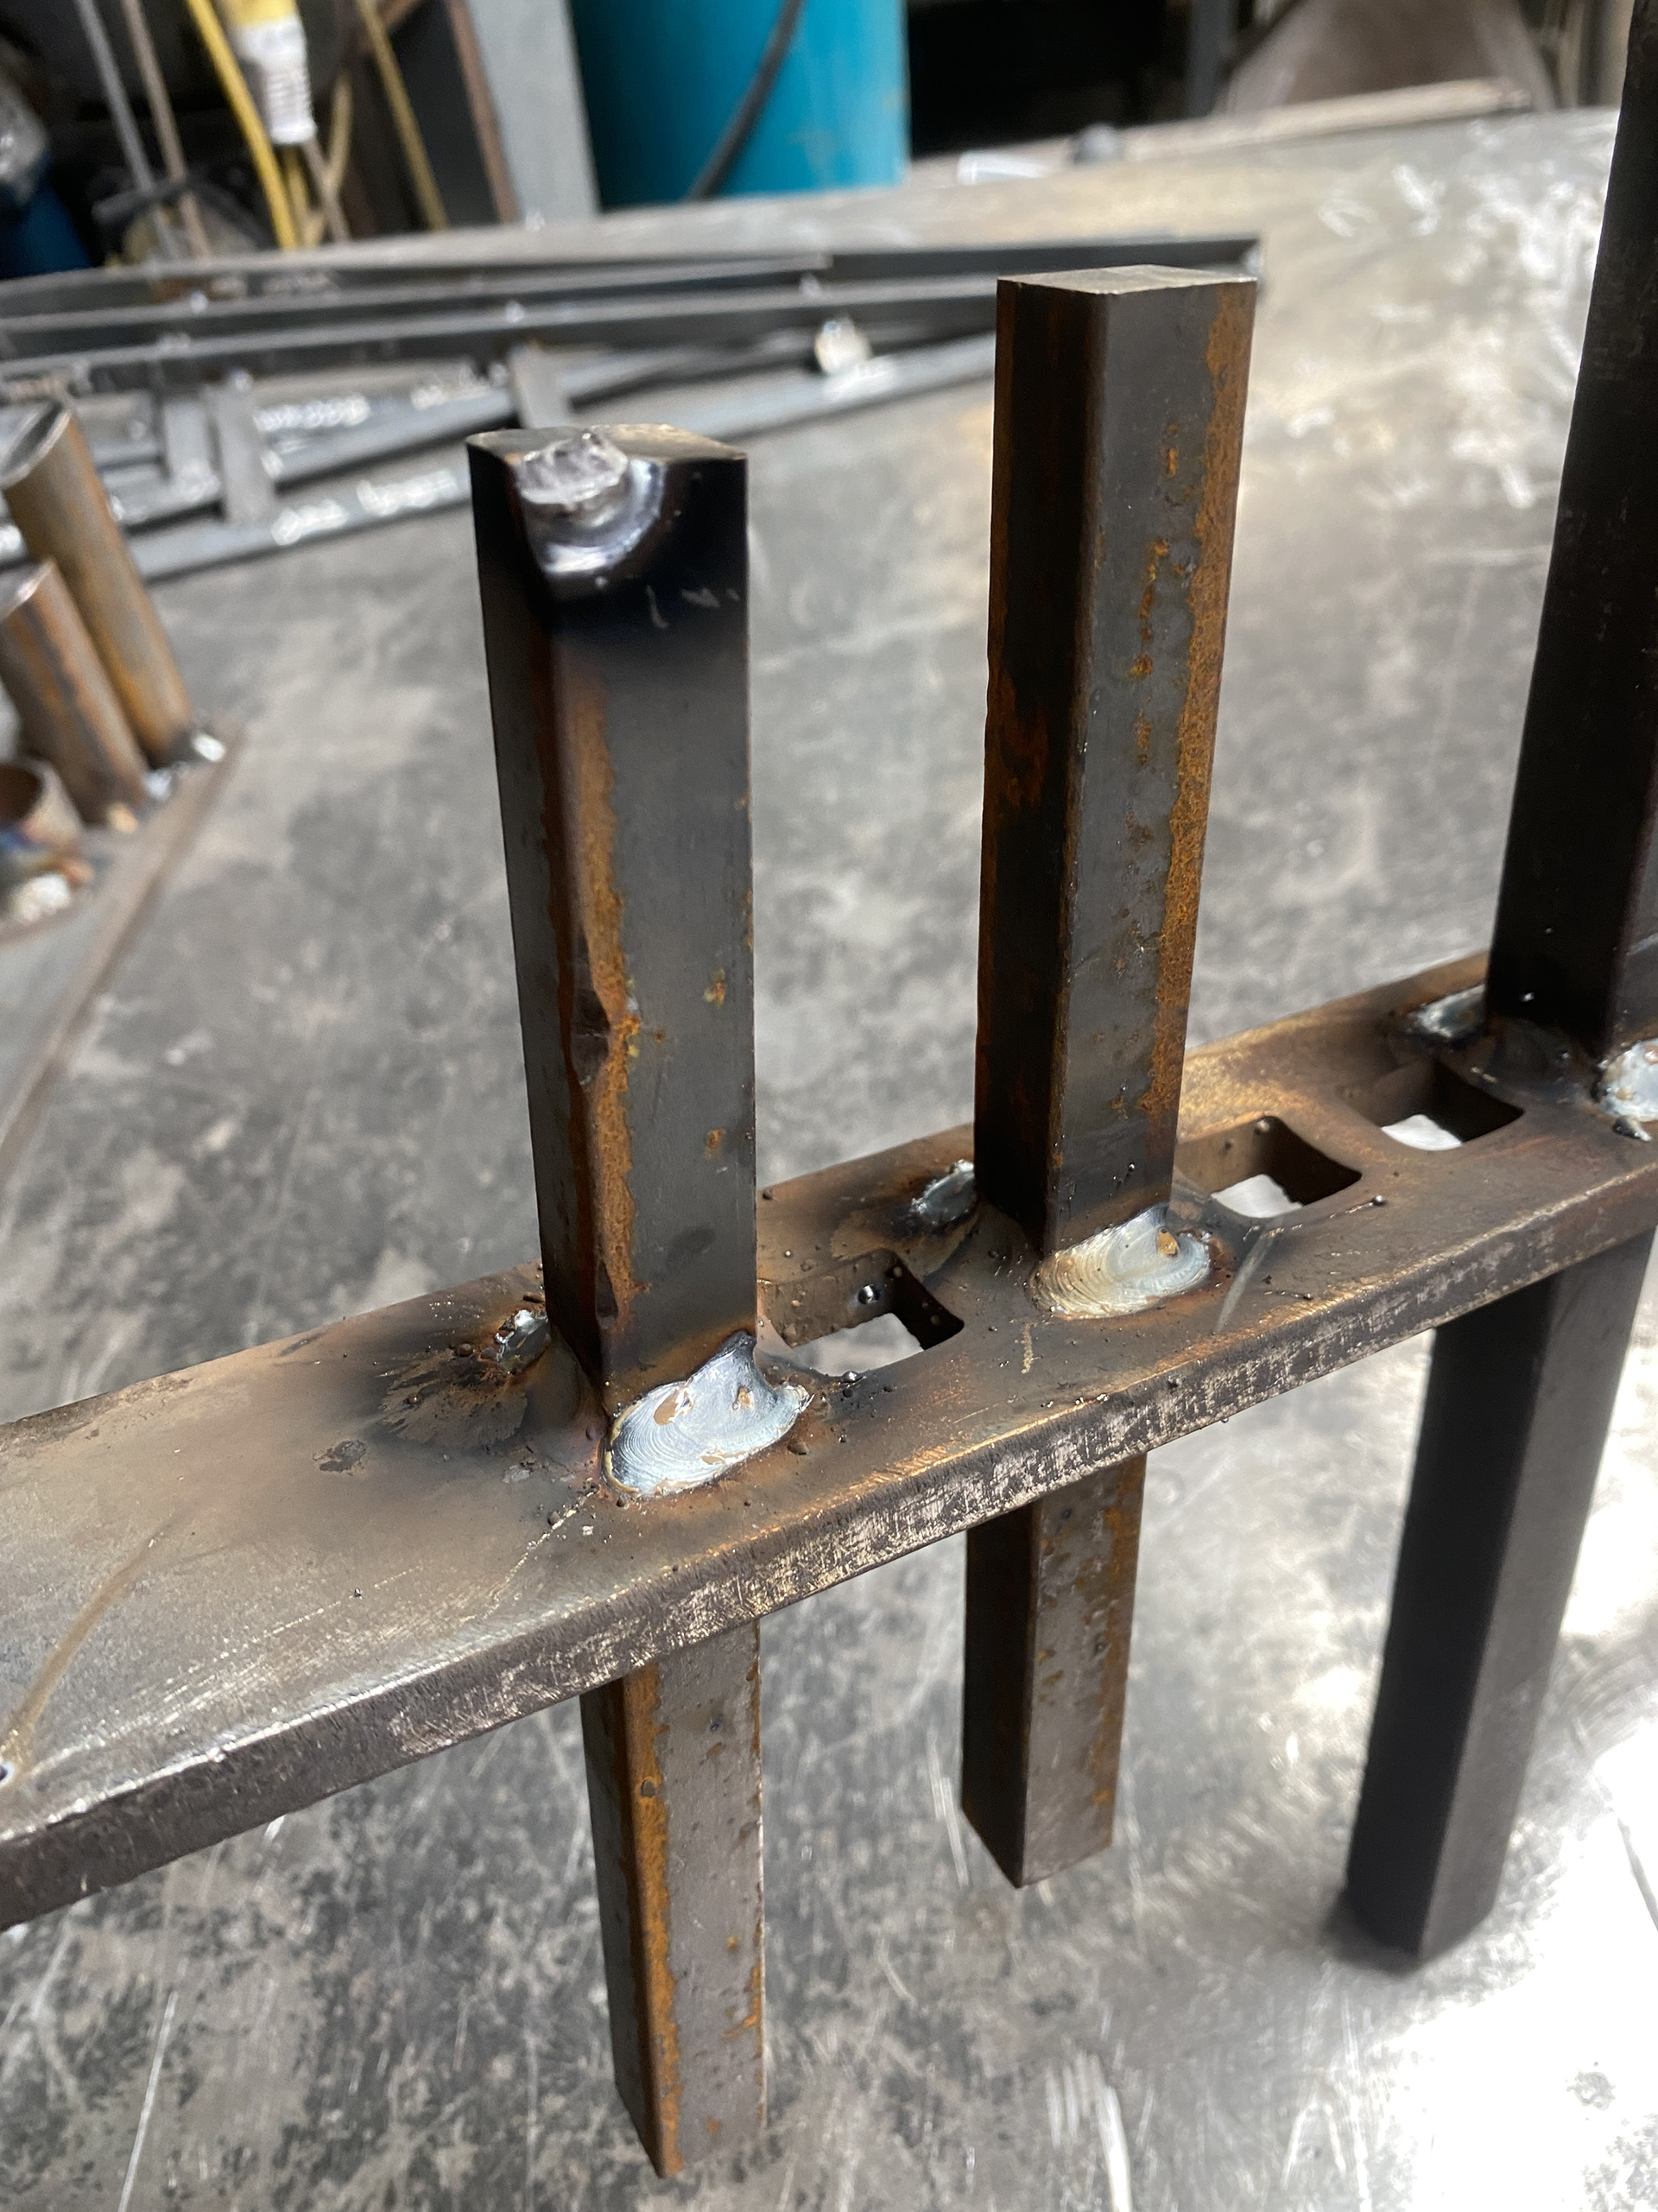
I combined the horizontal and vertical welding techniques together to join square bar through a sheet. This is a common skill required in their practice to join the baluster to the rail.
4 days working with Ella McIntosh Pewter
I spent 4 days over 2 weeks working alongside Ella McIntosh in the Manchester Craft Centre. The first week we focused on her everyday practice doing small tasks such as repairs.t This provides her the financial freedom to explore her more conceptual series of work which require a large investment of time. The second week we worked together to advance her recent body of work that was shown in Collect 2024. Over both weeks Ella reinforced my understanding of casting in pewter and introduced me to sheet working. Additionally, she guided me through the process of learning to solder and weld both cast and sheet.
Week 1:
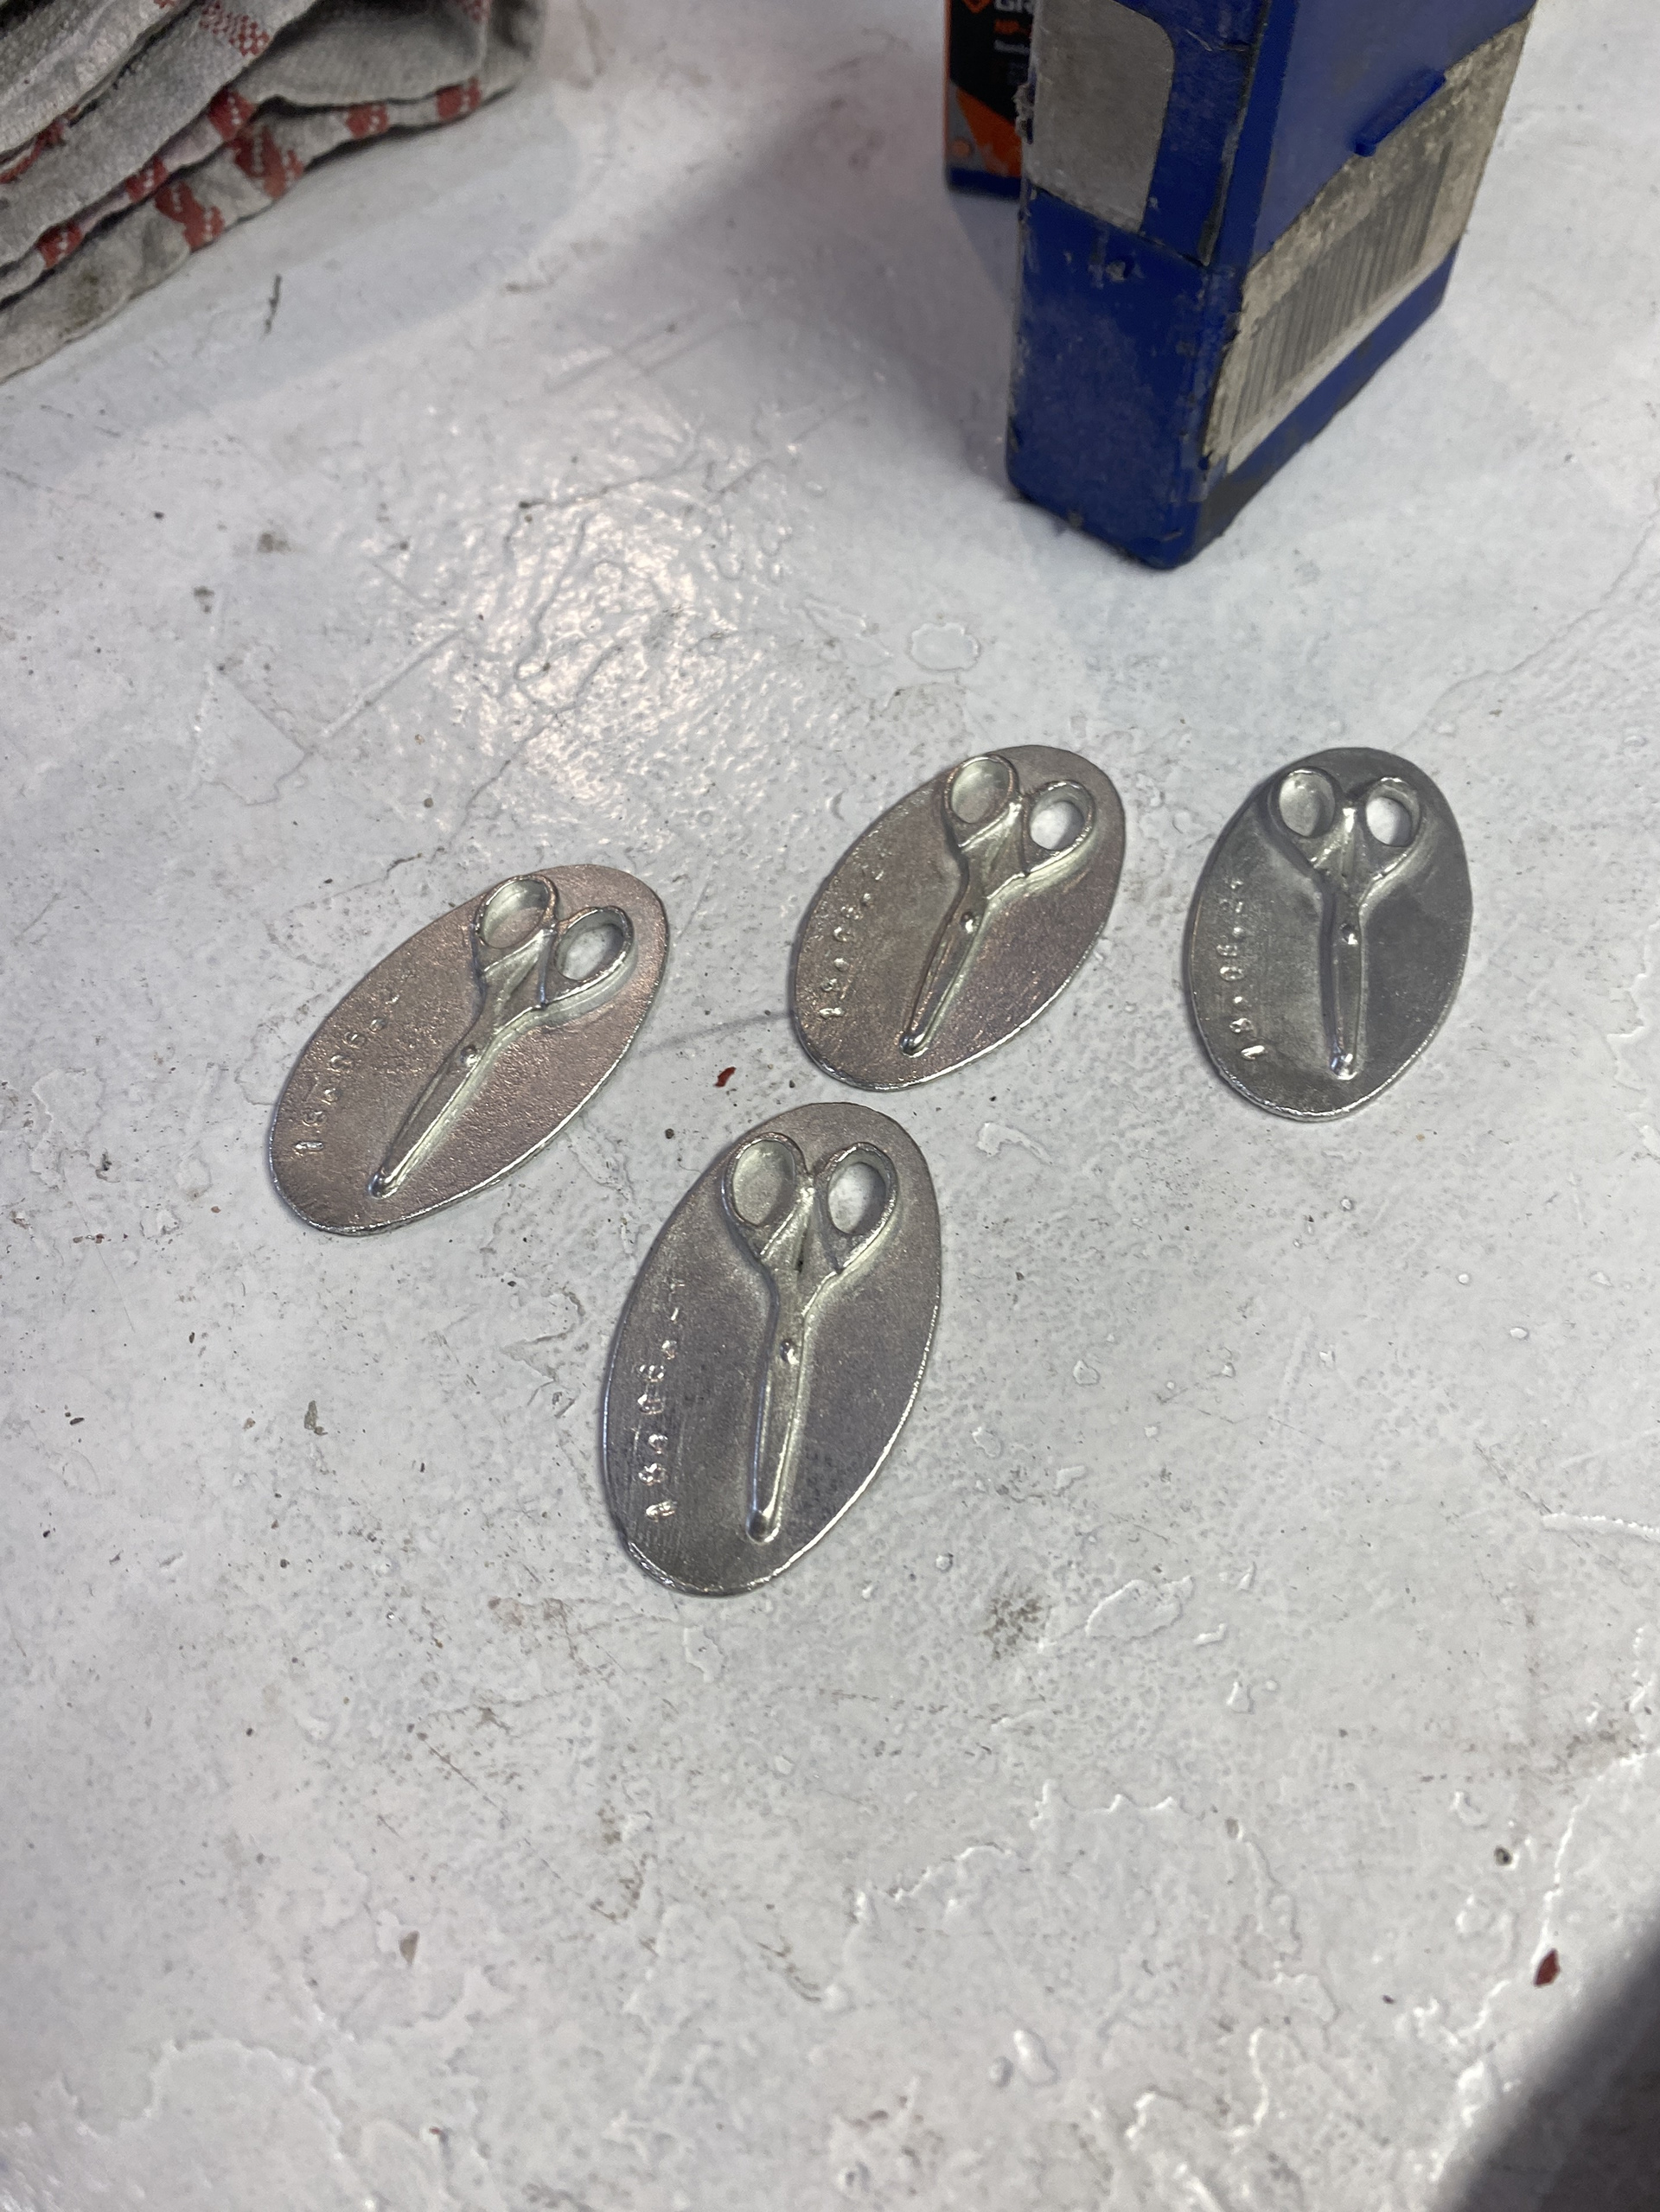
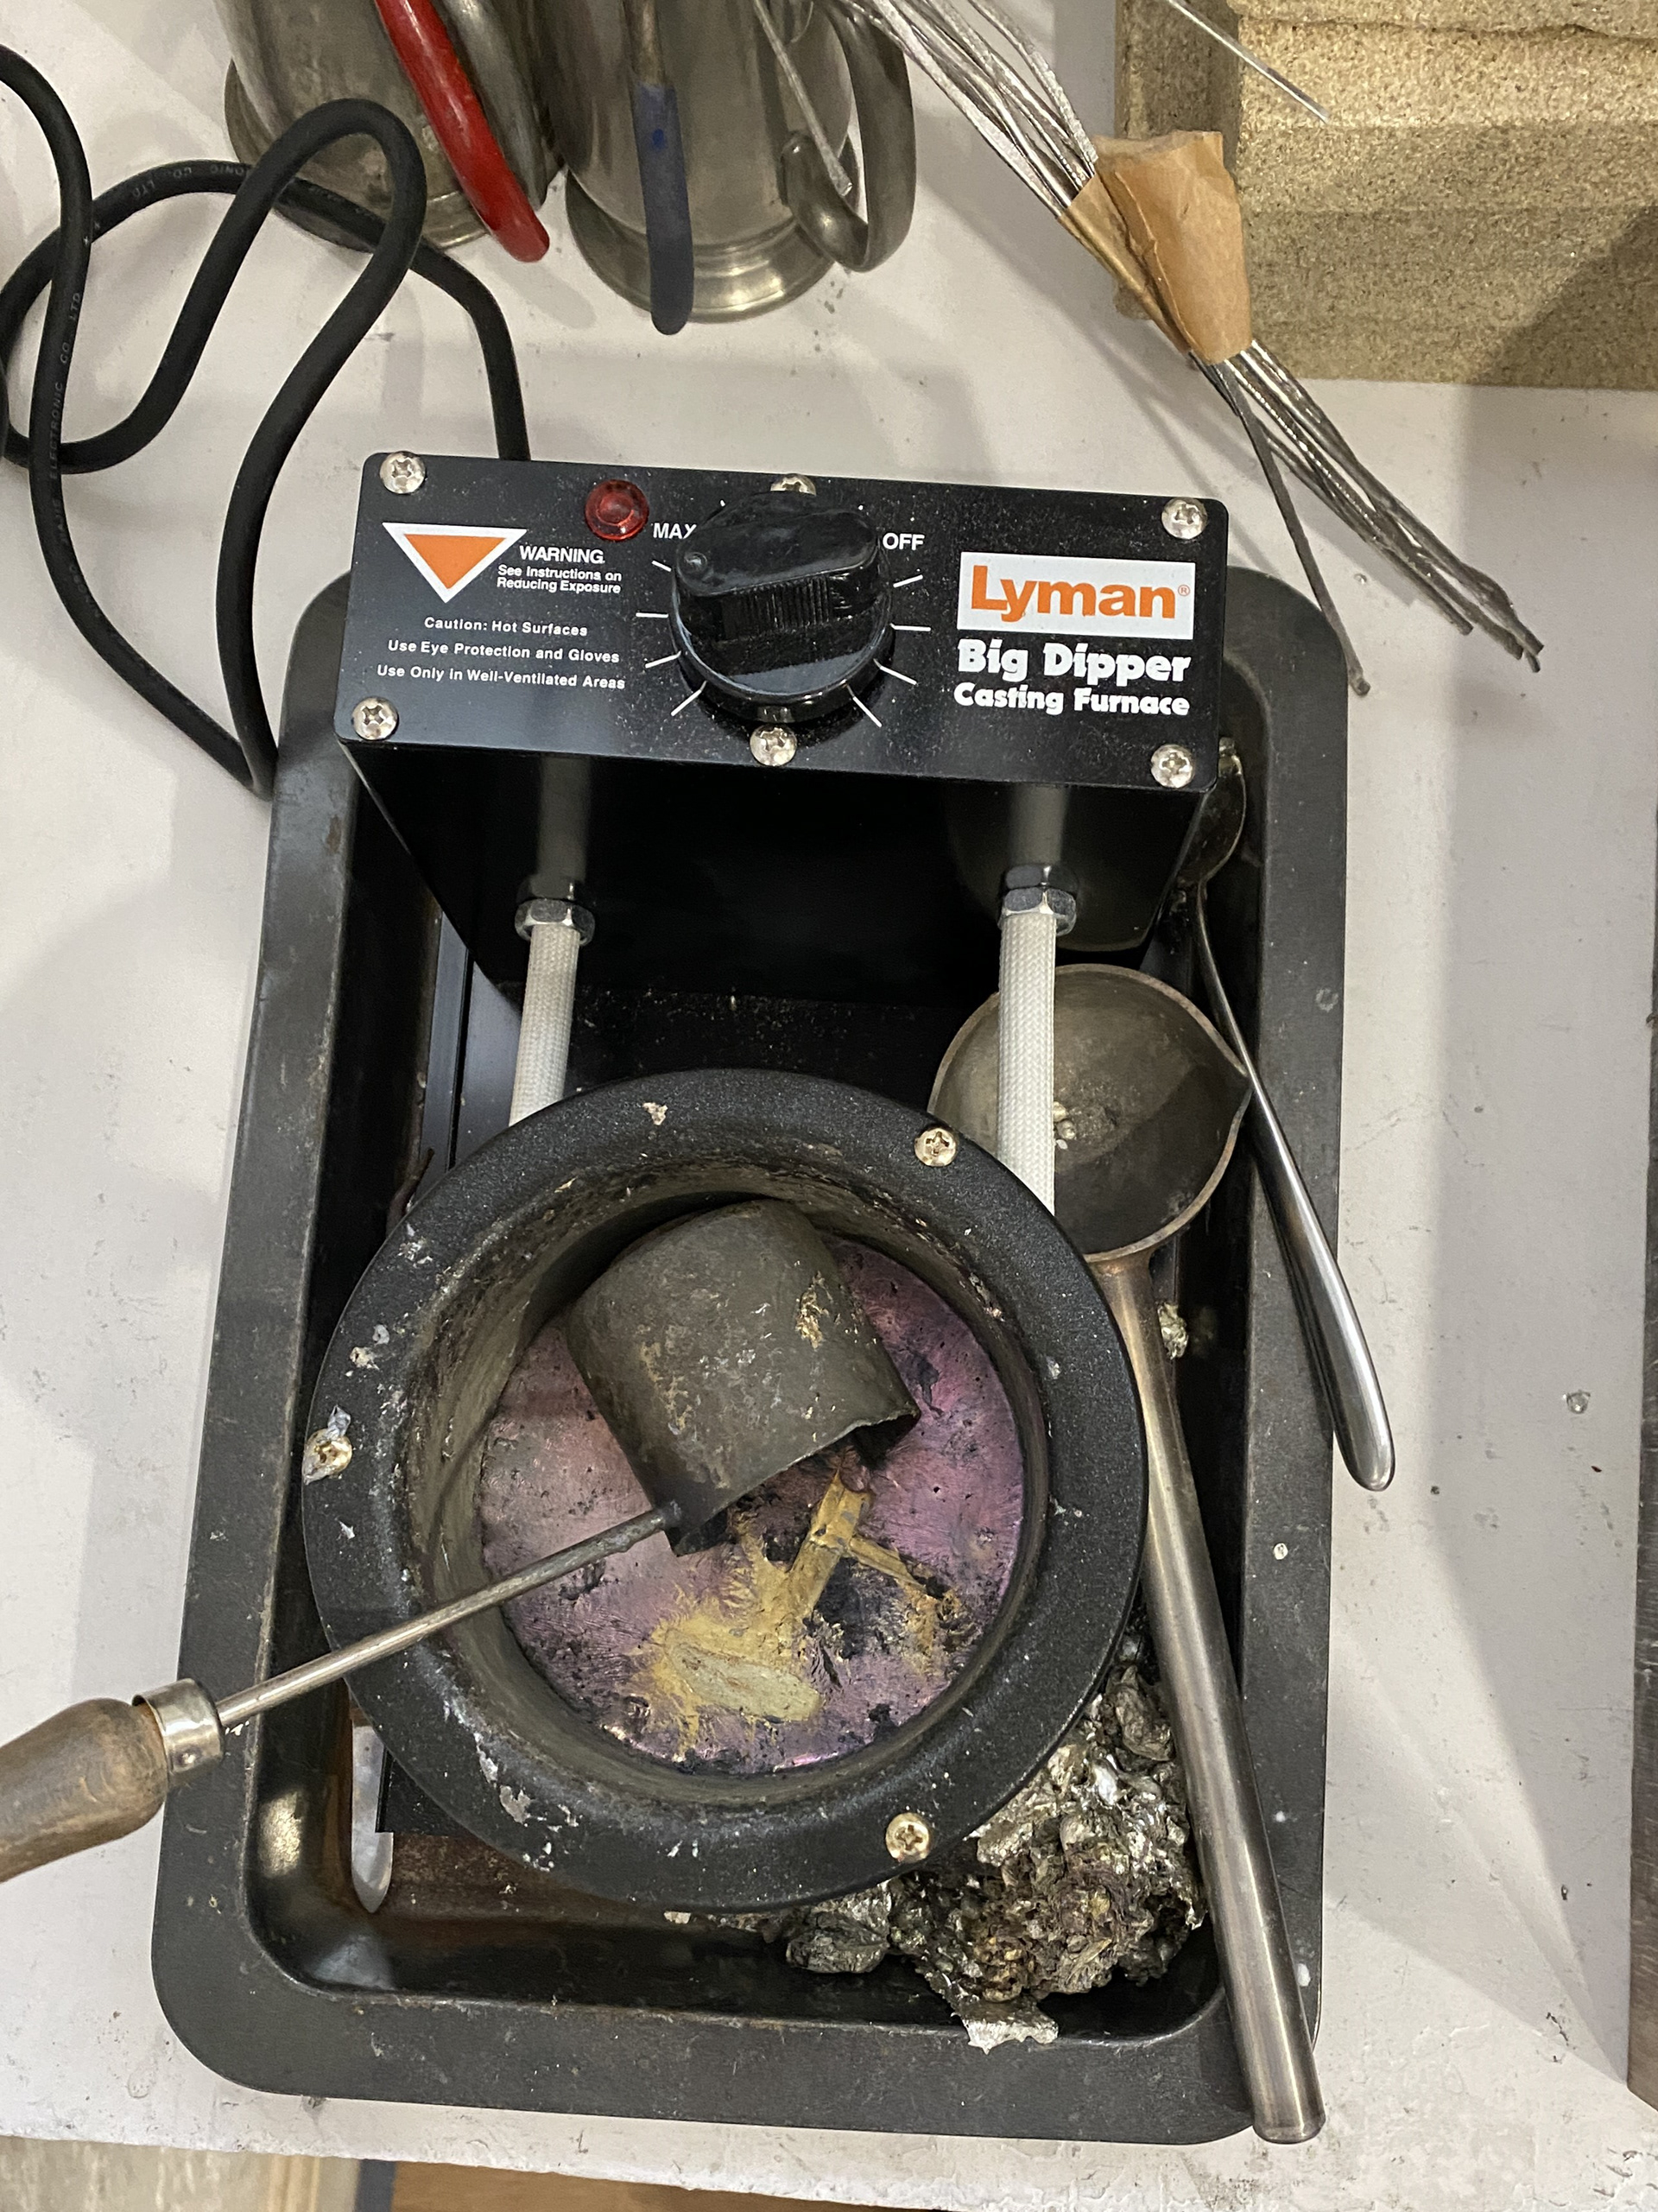
Ella had a workshop to prepare for demonstrating to school children the process of casting in pewter. She purchased a pair of miniature pewter scissors which I soldered to a sheet and stamped the date into. This created our master from which we then created a 2-part silicon rubber mould (using Tiranti RTV-65). I then practiced pouring the mould and Ella taught me how to adjust it to ensure the best cast possible, focusing mainly on the sprue section.
I explored the effects of blowtorch on 1mm thick sheet pewter. Ella talked me through the signs to look out for to avoid melting a hole in the sheet when soldering or welding.
Testing soldering scrap but joint
Another project Ella was experimenting with was transforming old pewter tankards into liquor jiggers. She helped me to solder this together from virgin material to test the size. This involved soldering both vertically and horizontally around the circumference of the cone.
Week 2
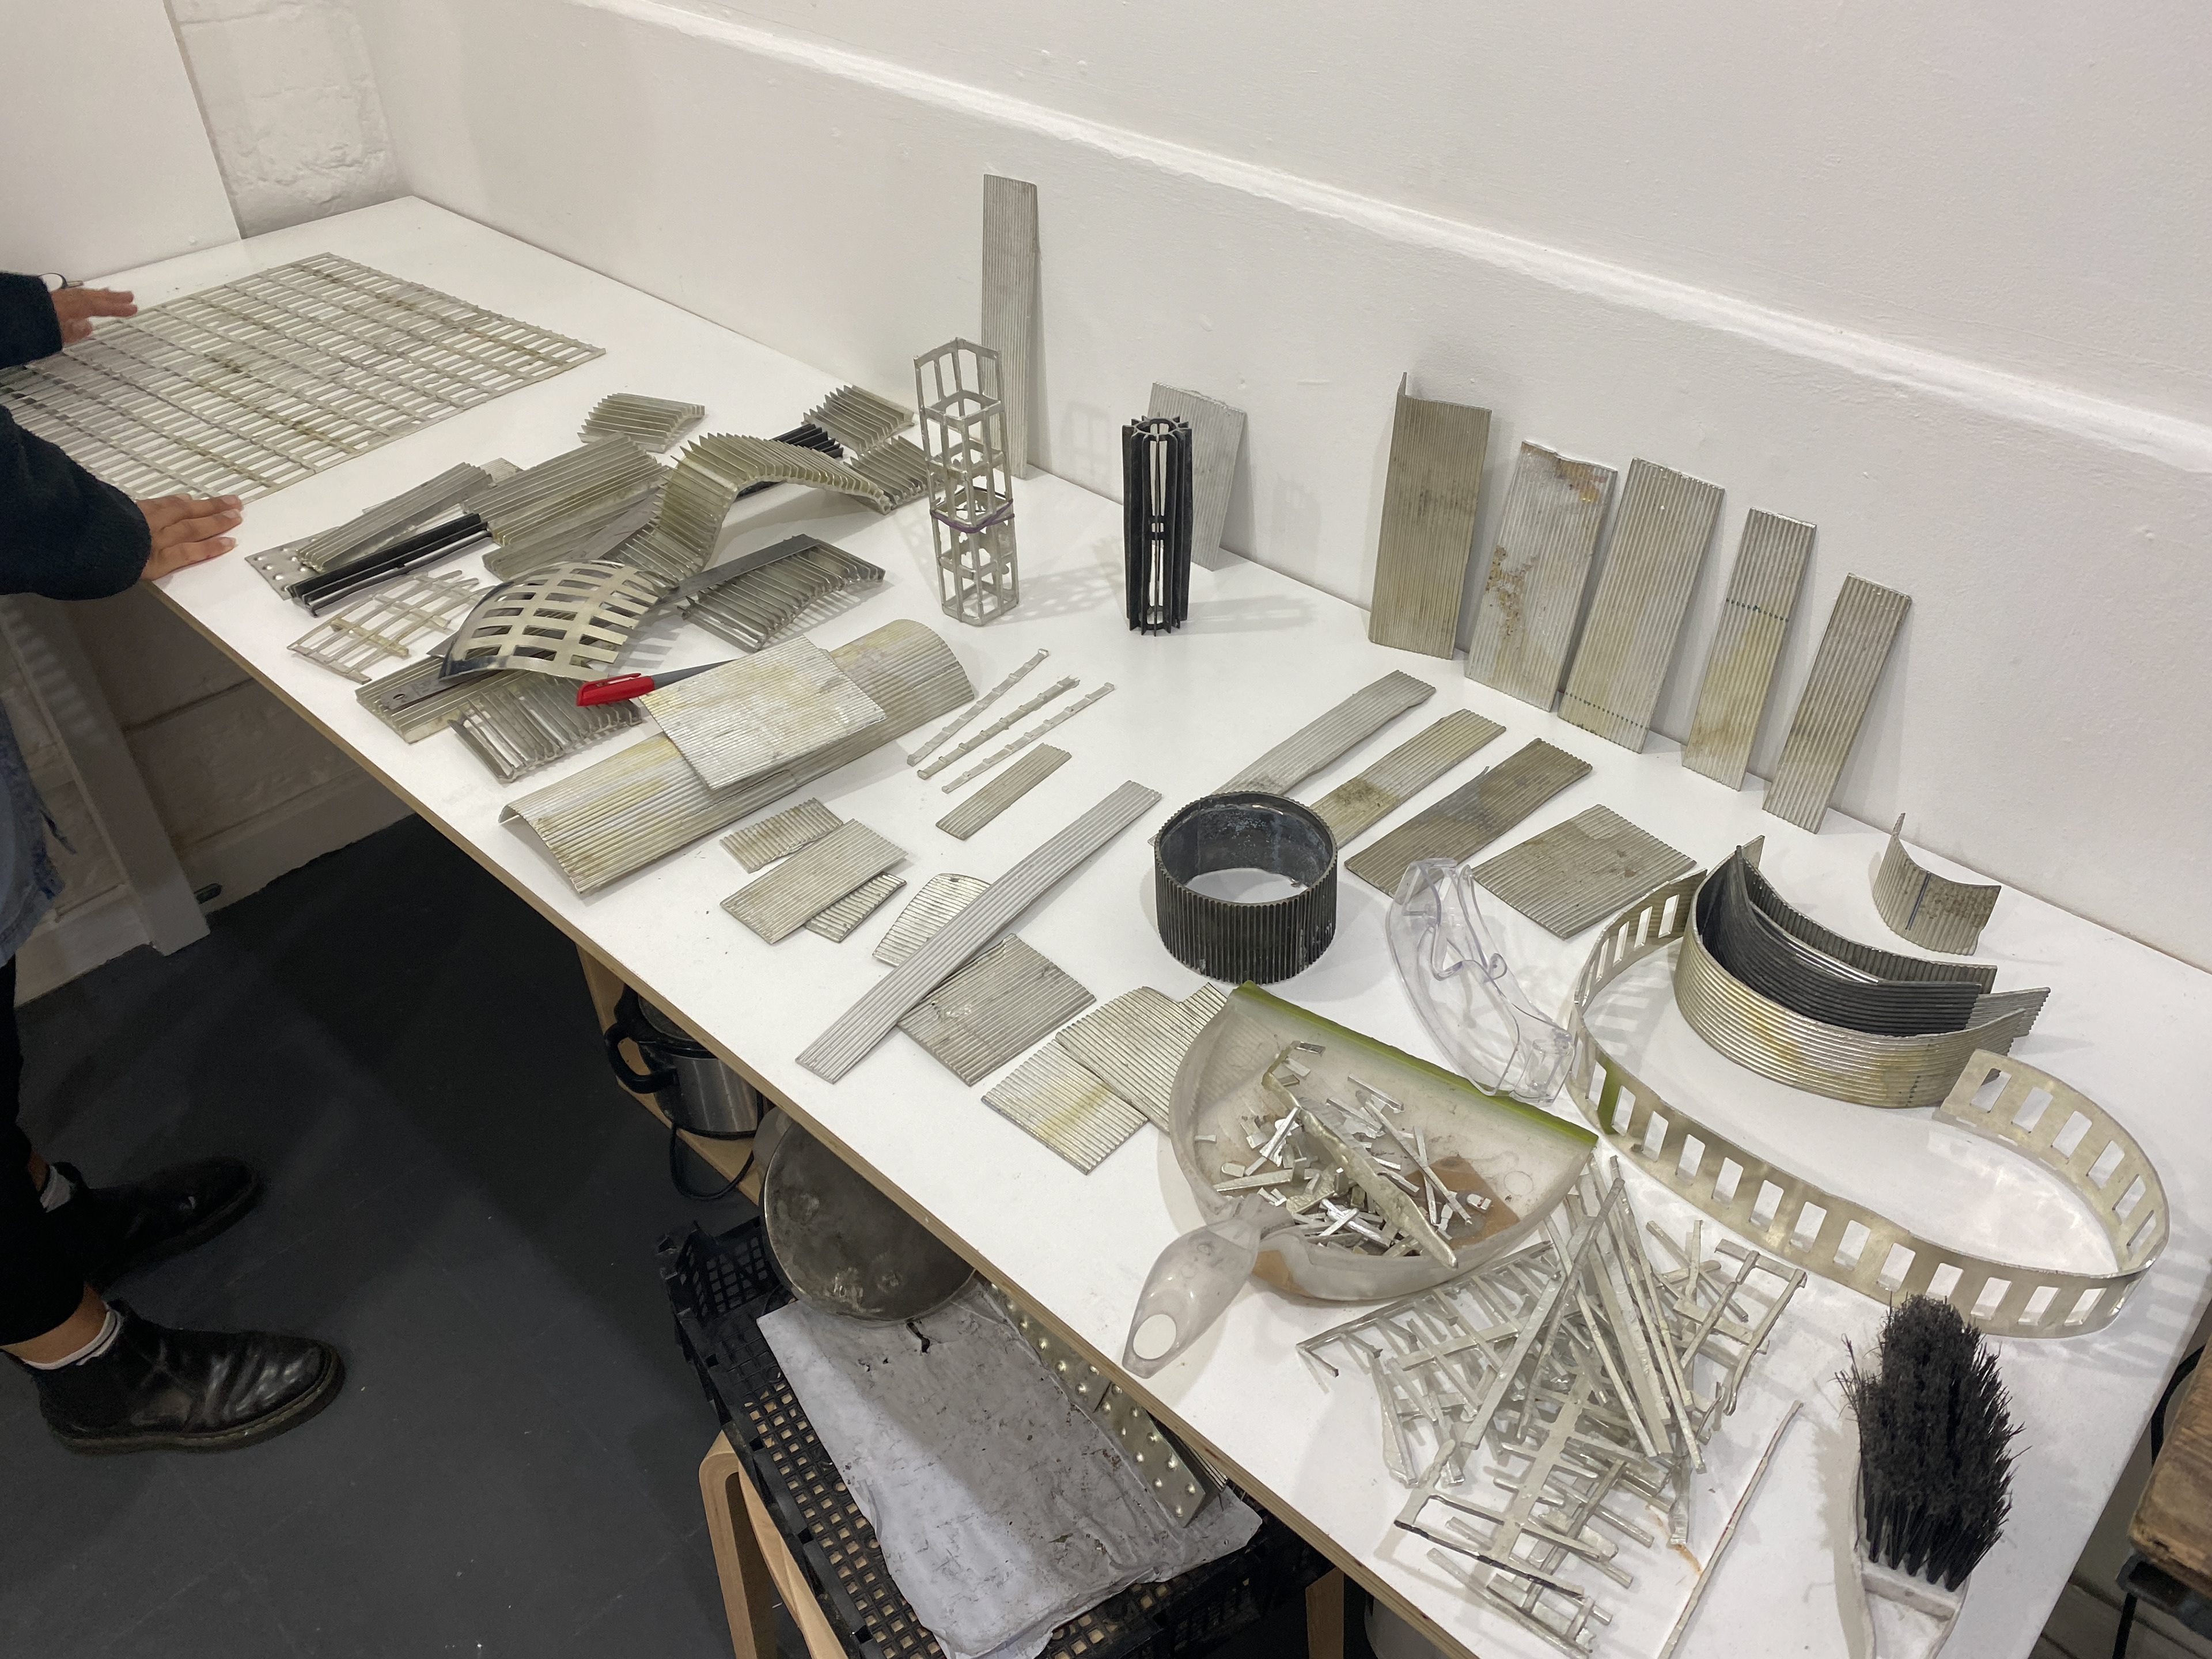
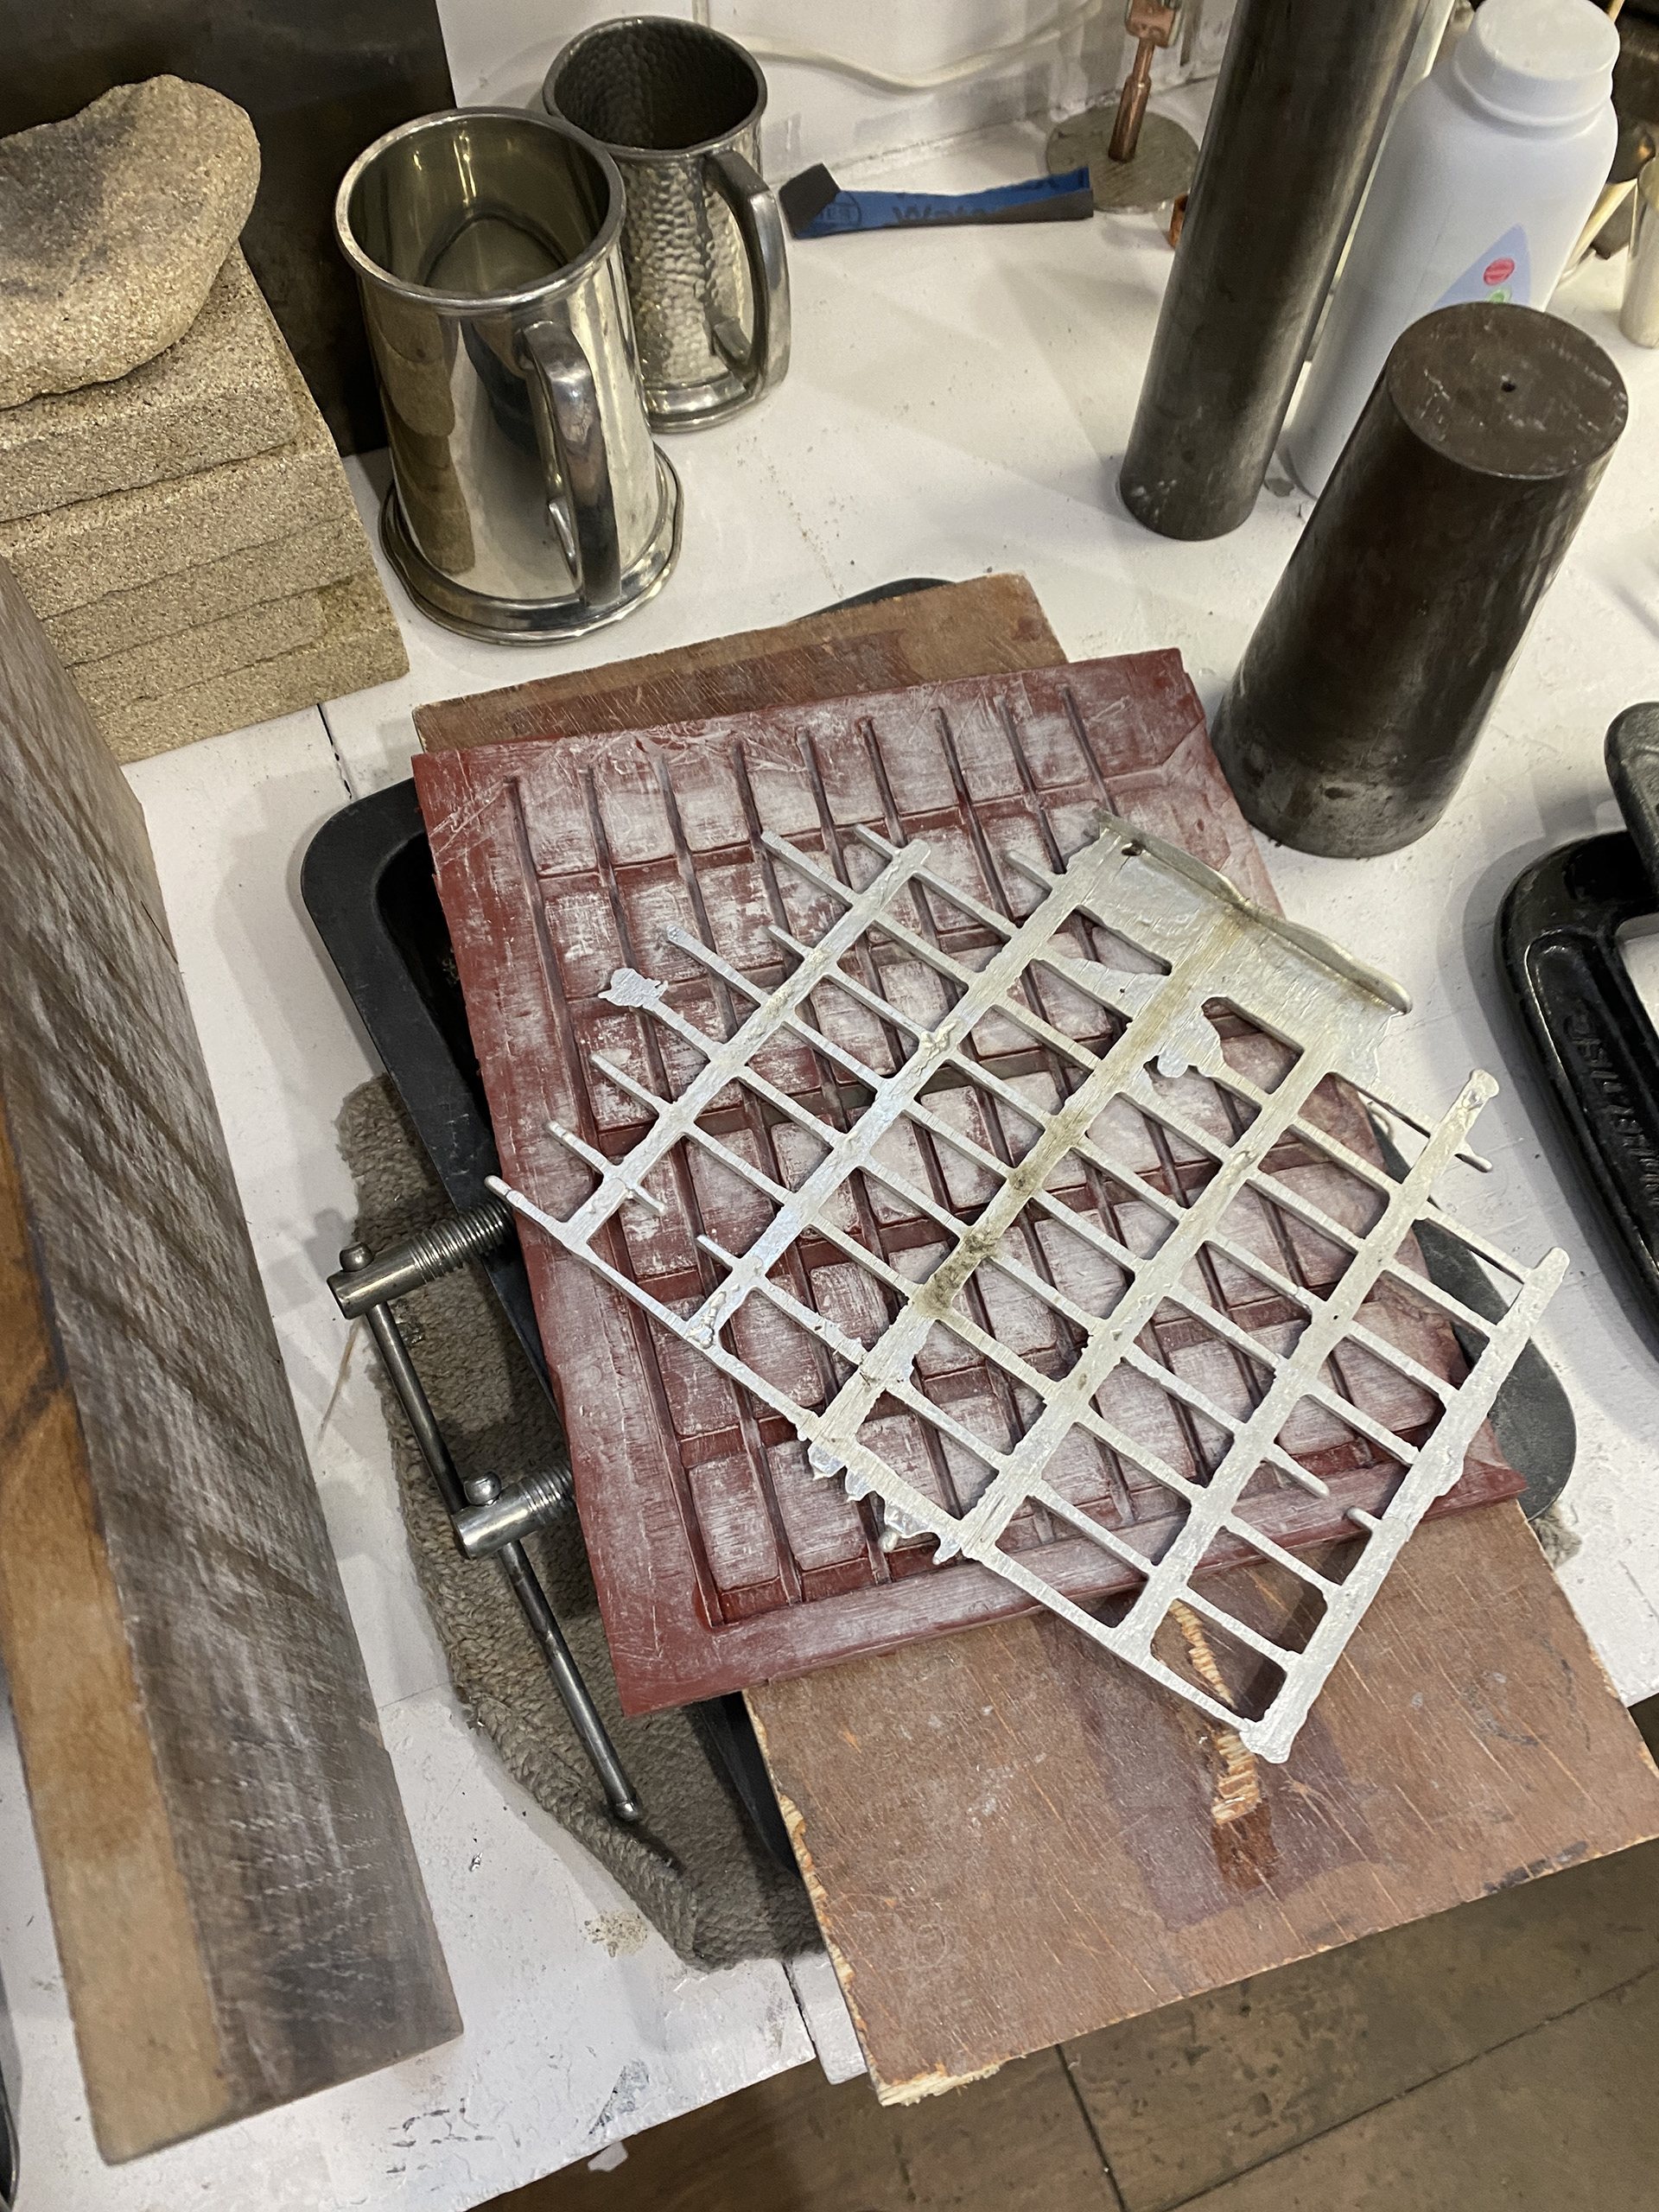
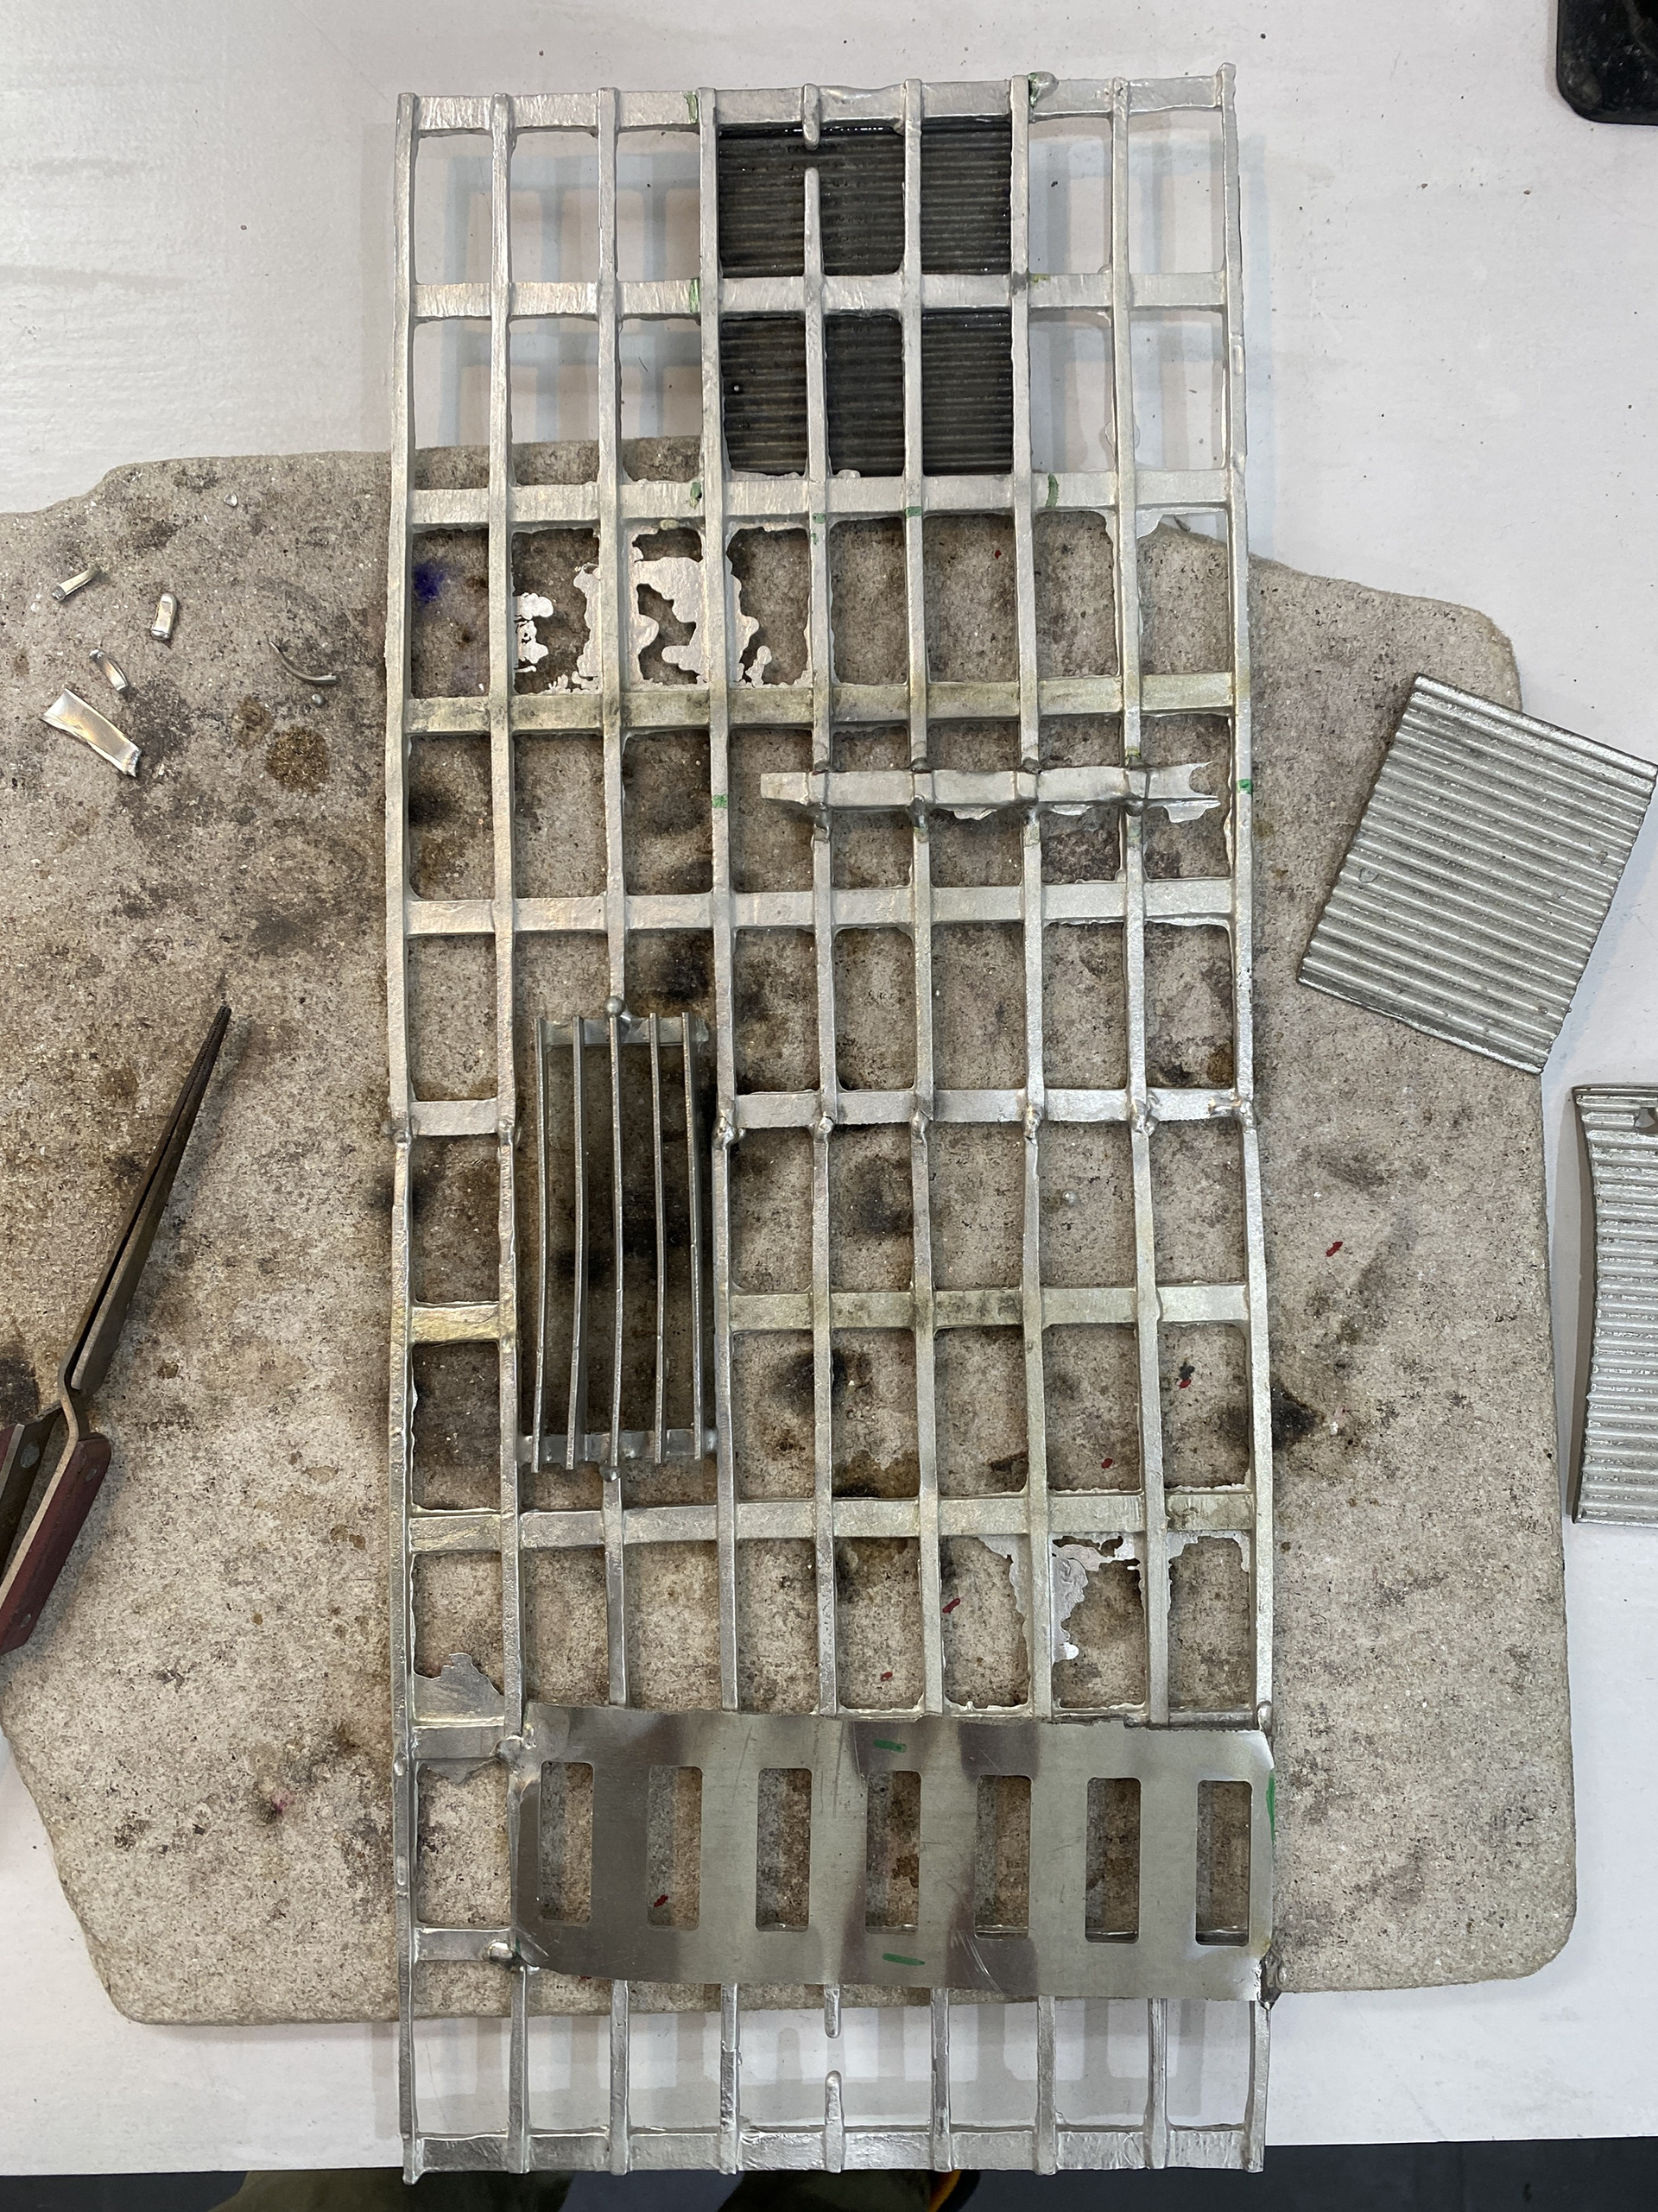
Ella collected various small sections of castings from her Collect 2024 series, looking at texture, form and tone. Additionally, we poured more pieces of her grids using scraps. Our aim was to have a range of pieces that we could begin to mesh and produce compositions. Ella's inspiration for this line of work was the skyline of the Northern Quarter in Manchester, exploring grids and systems.
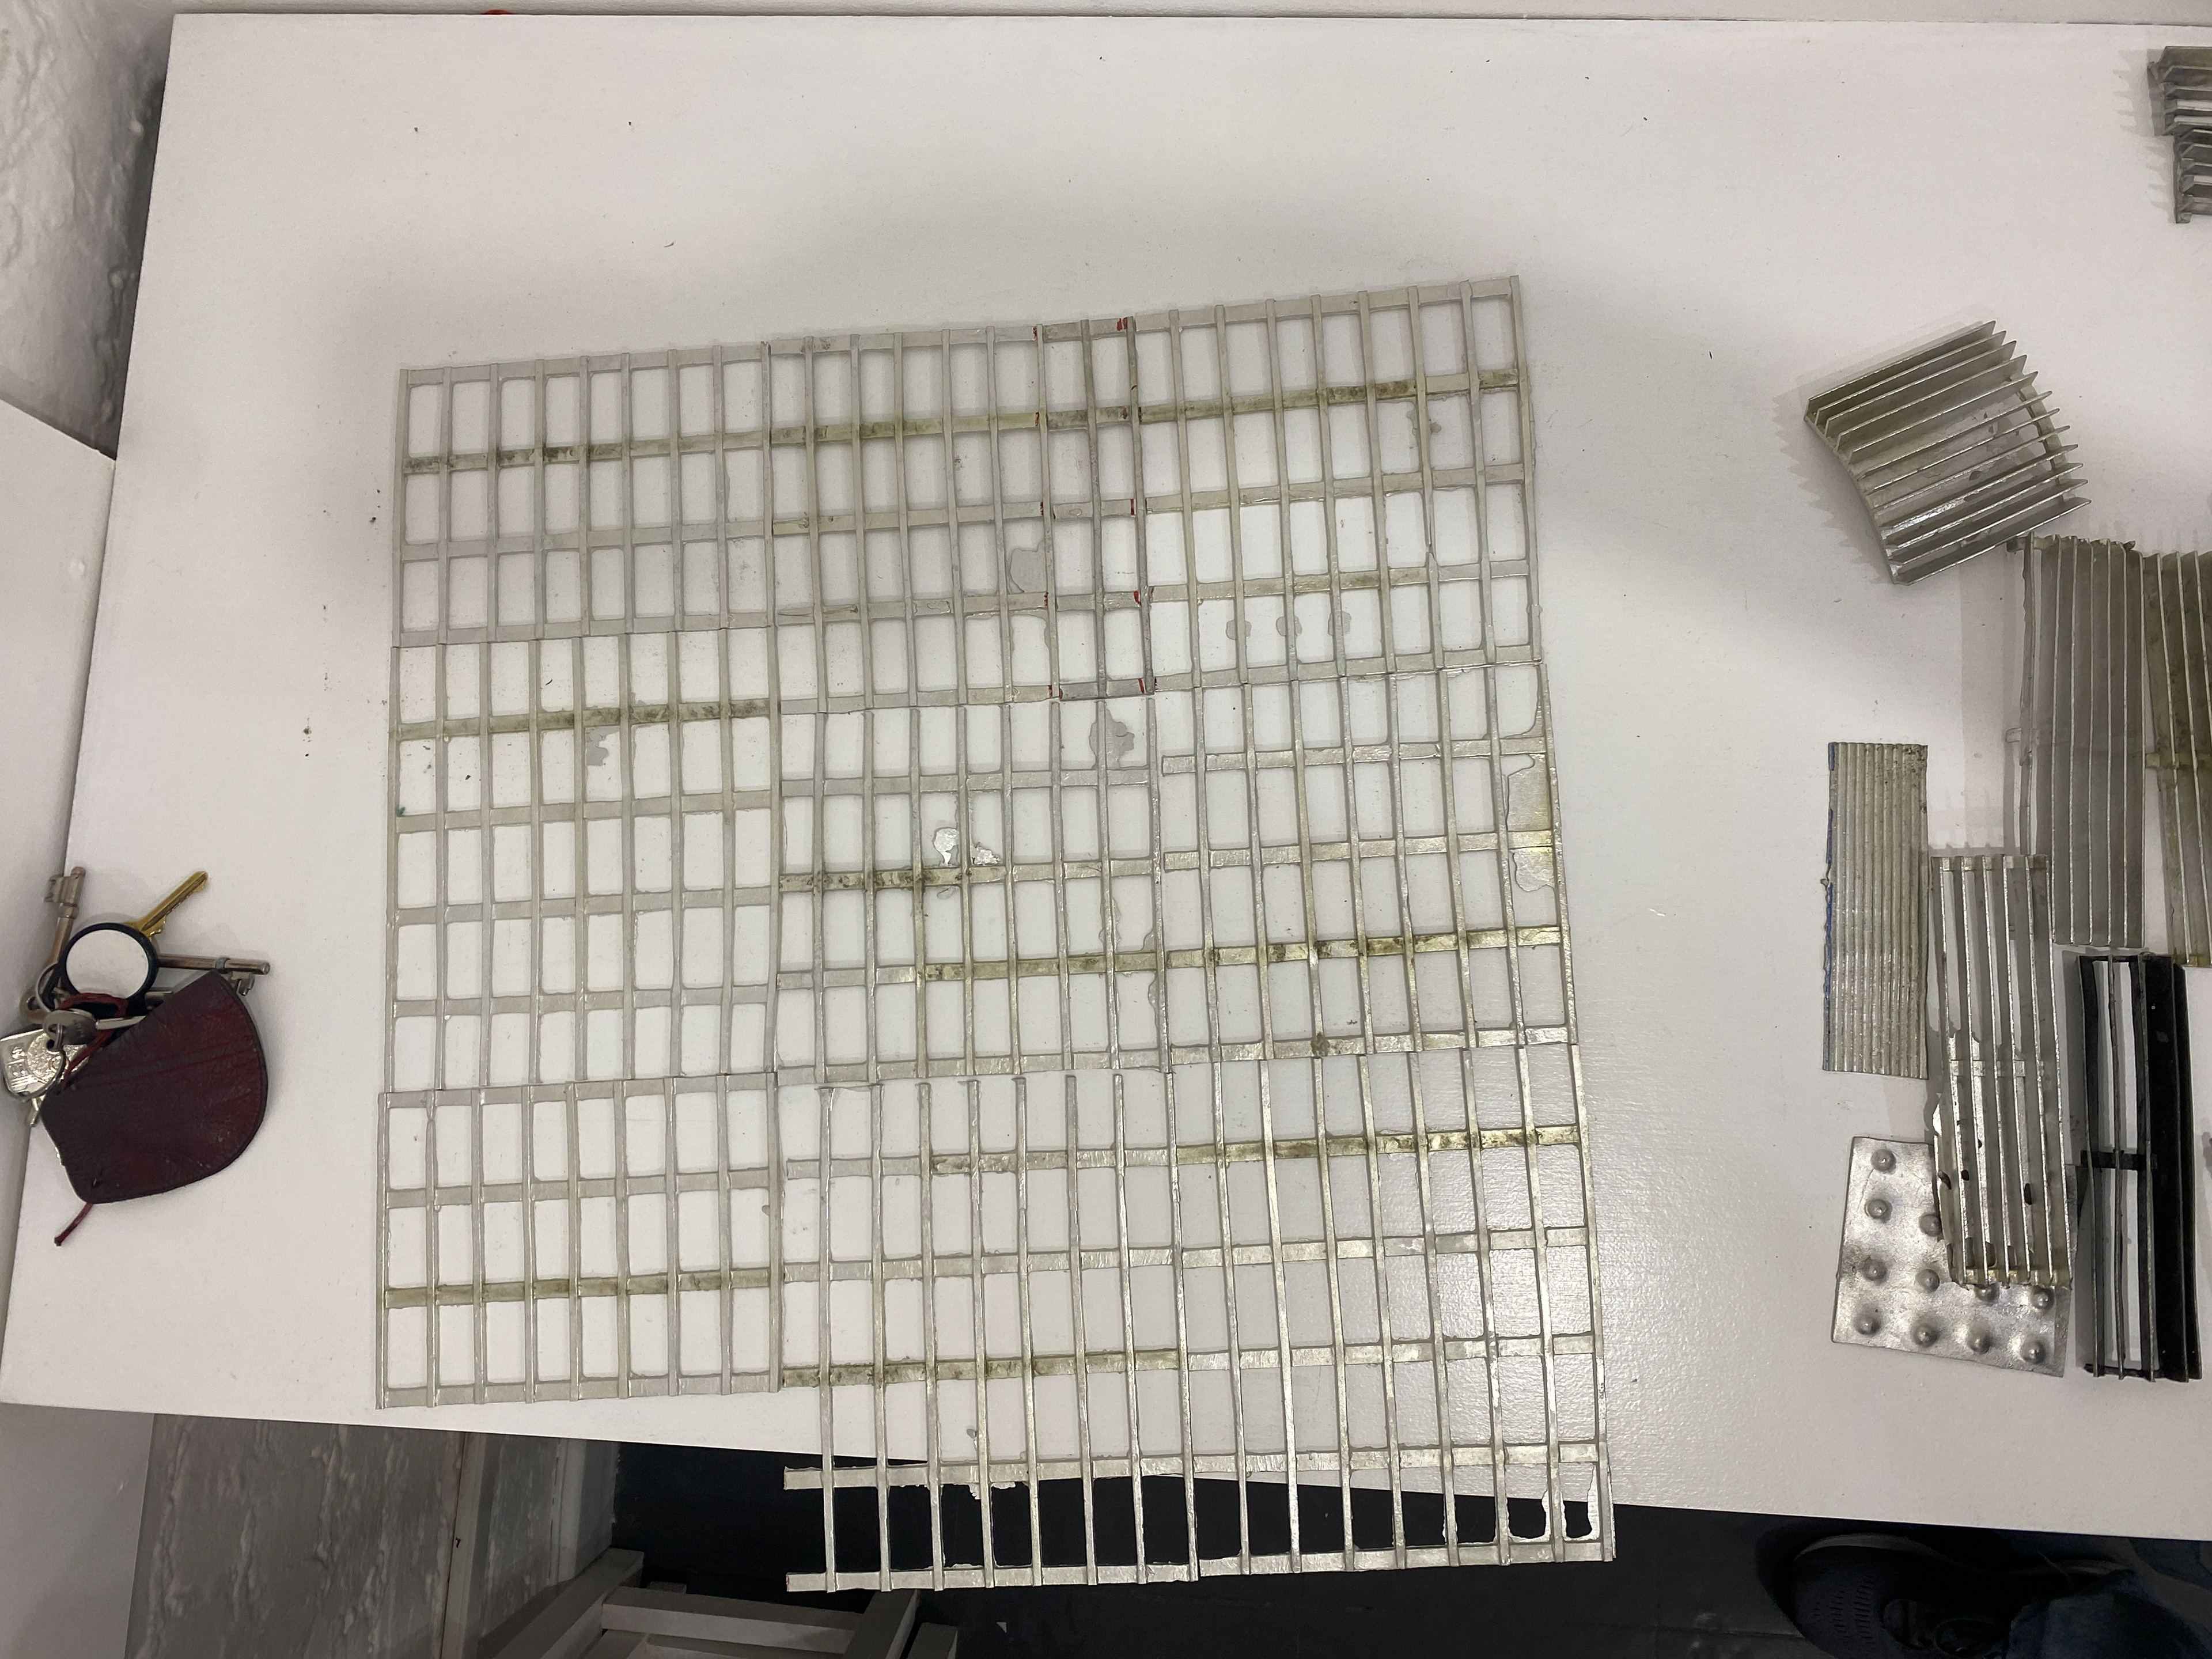
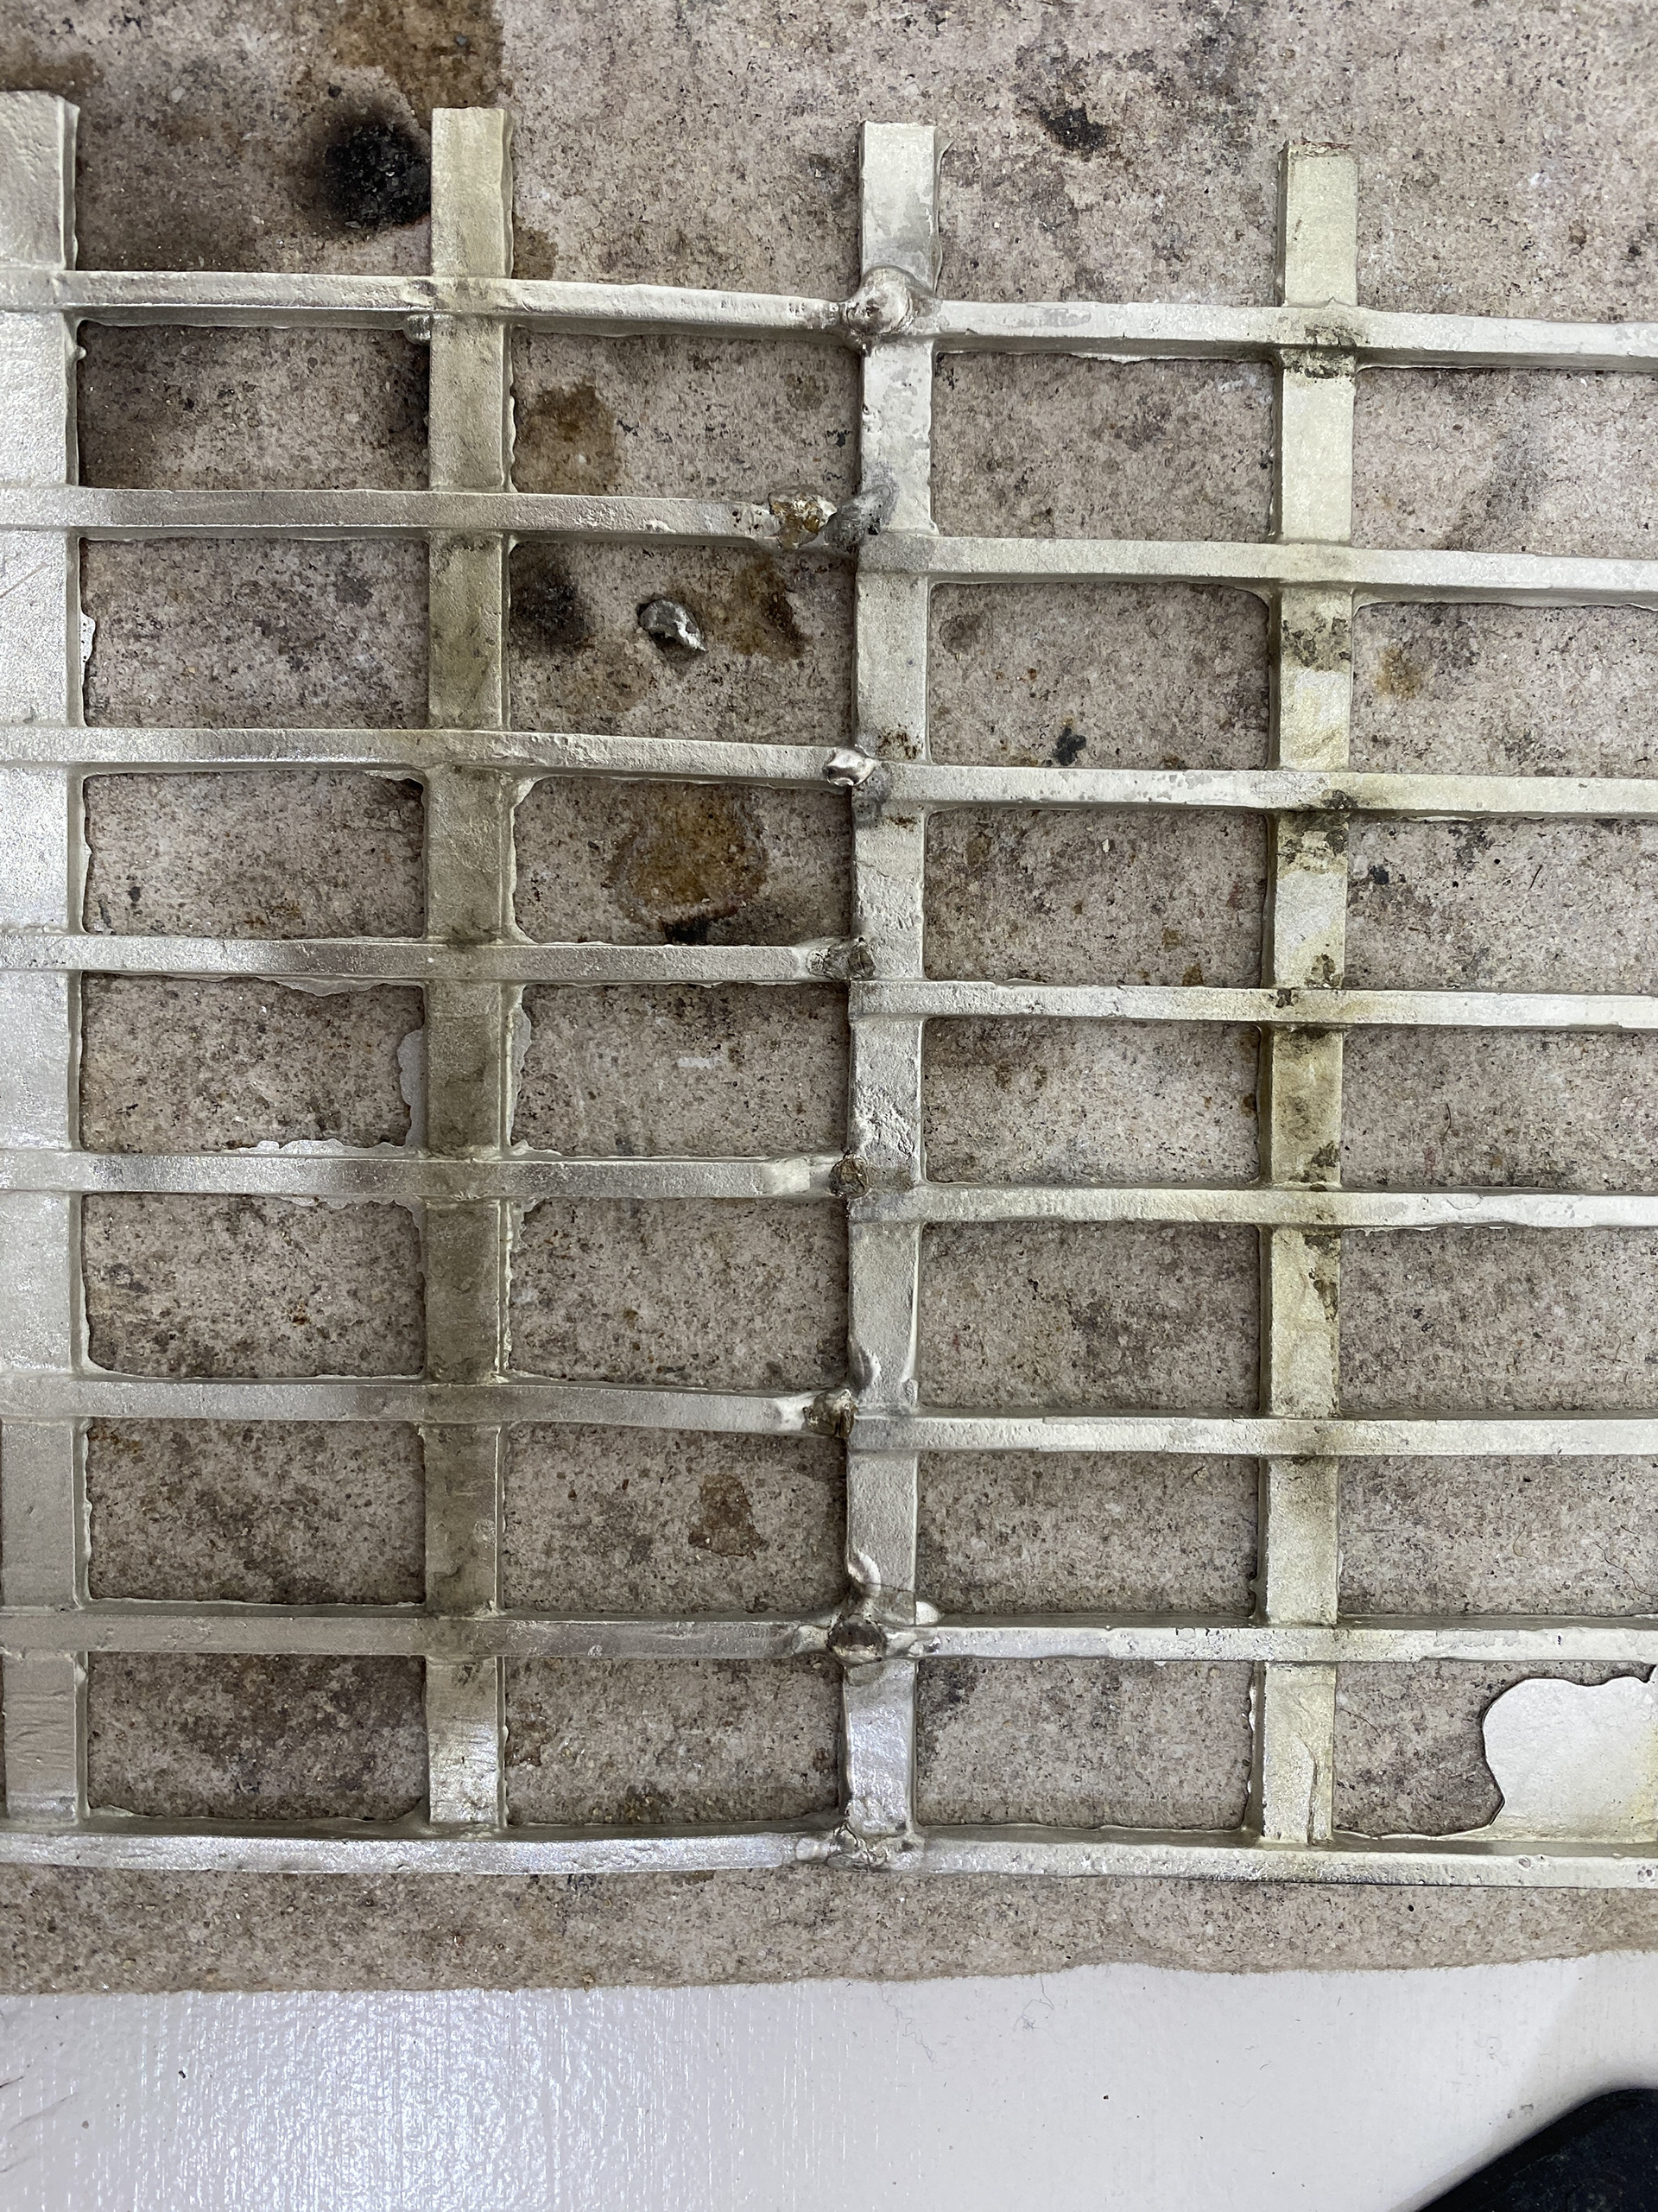

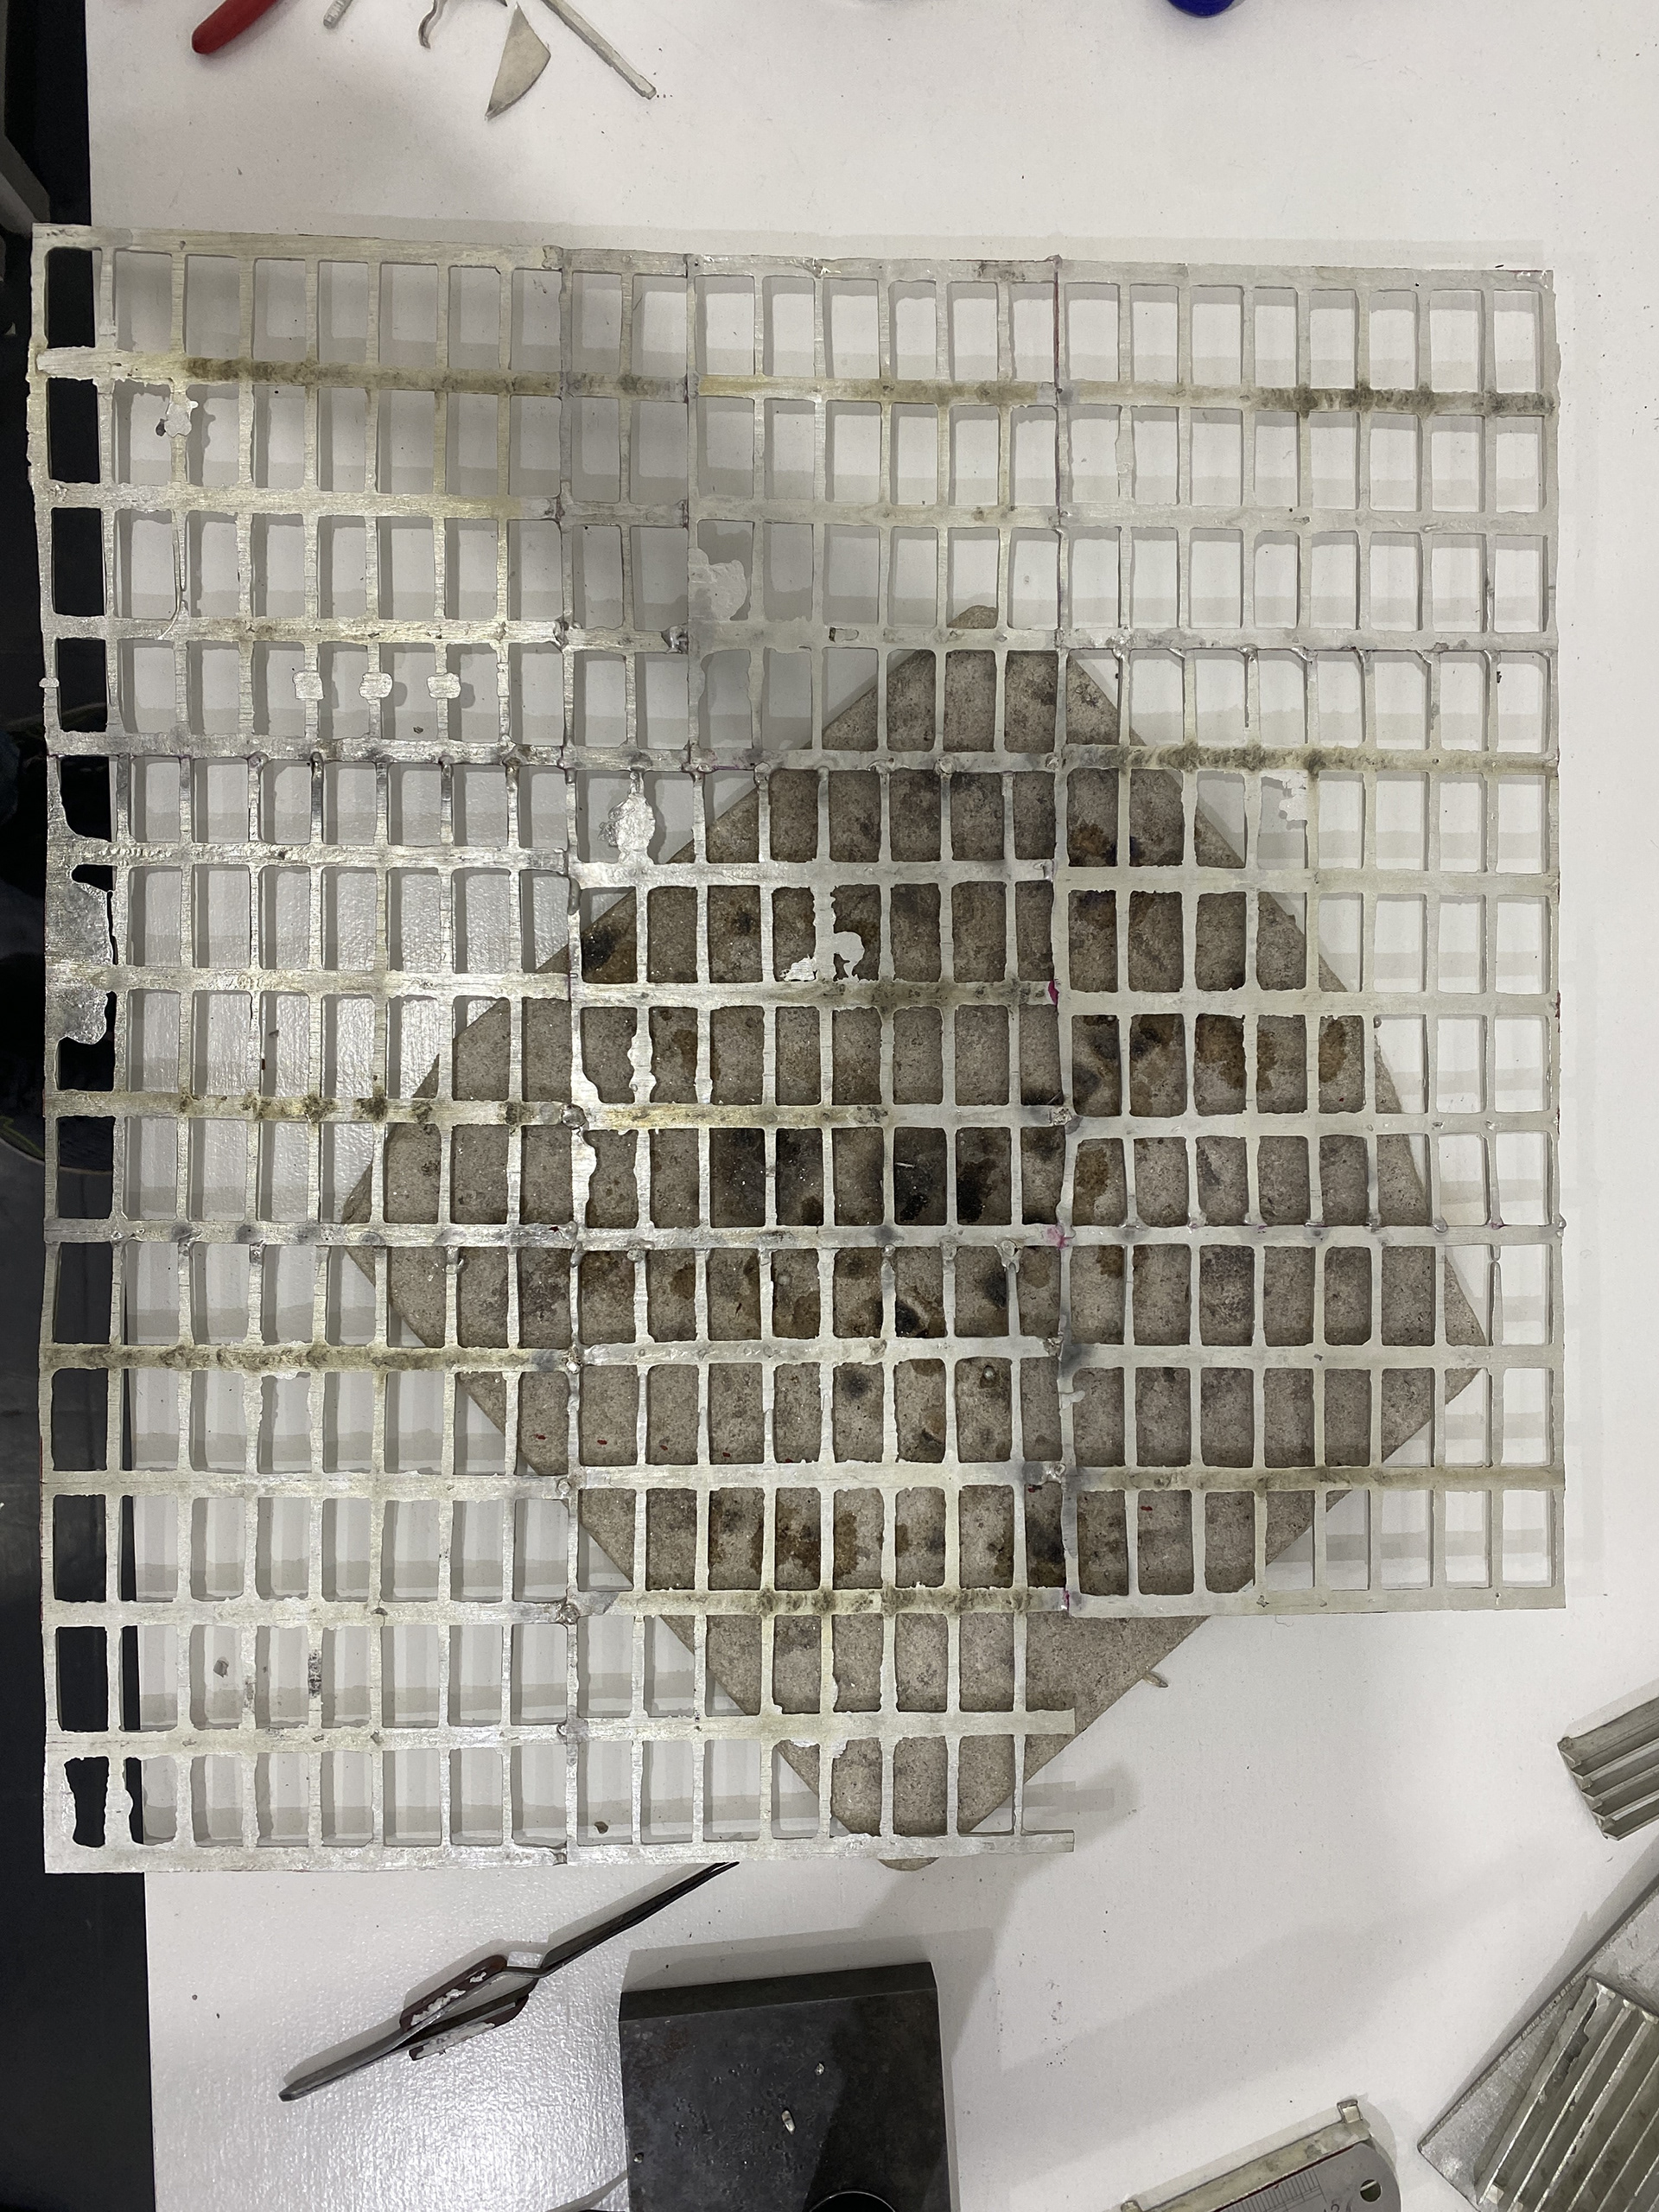
One of Ella's aims to expand on her series was to explore larger scales. I spent a morning learning to pewter weld the cast grids together so that we could experiment with forming a large sheet.

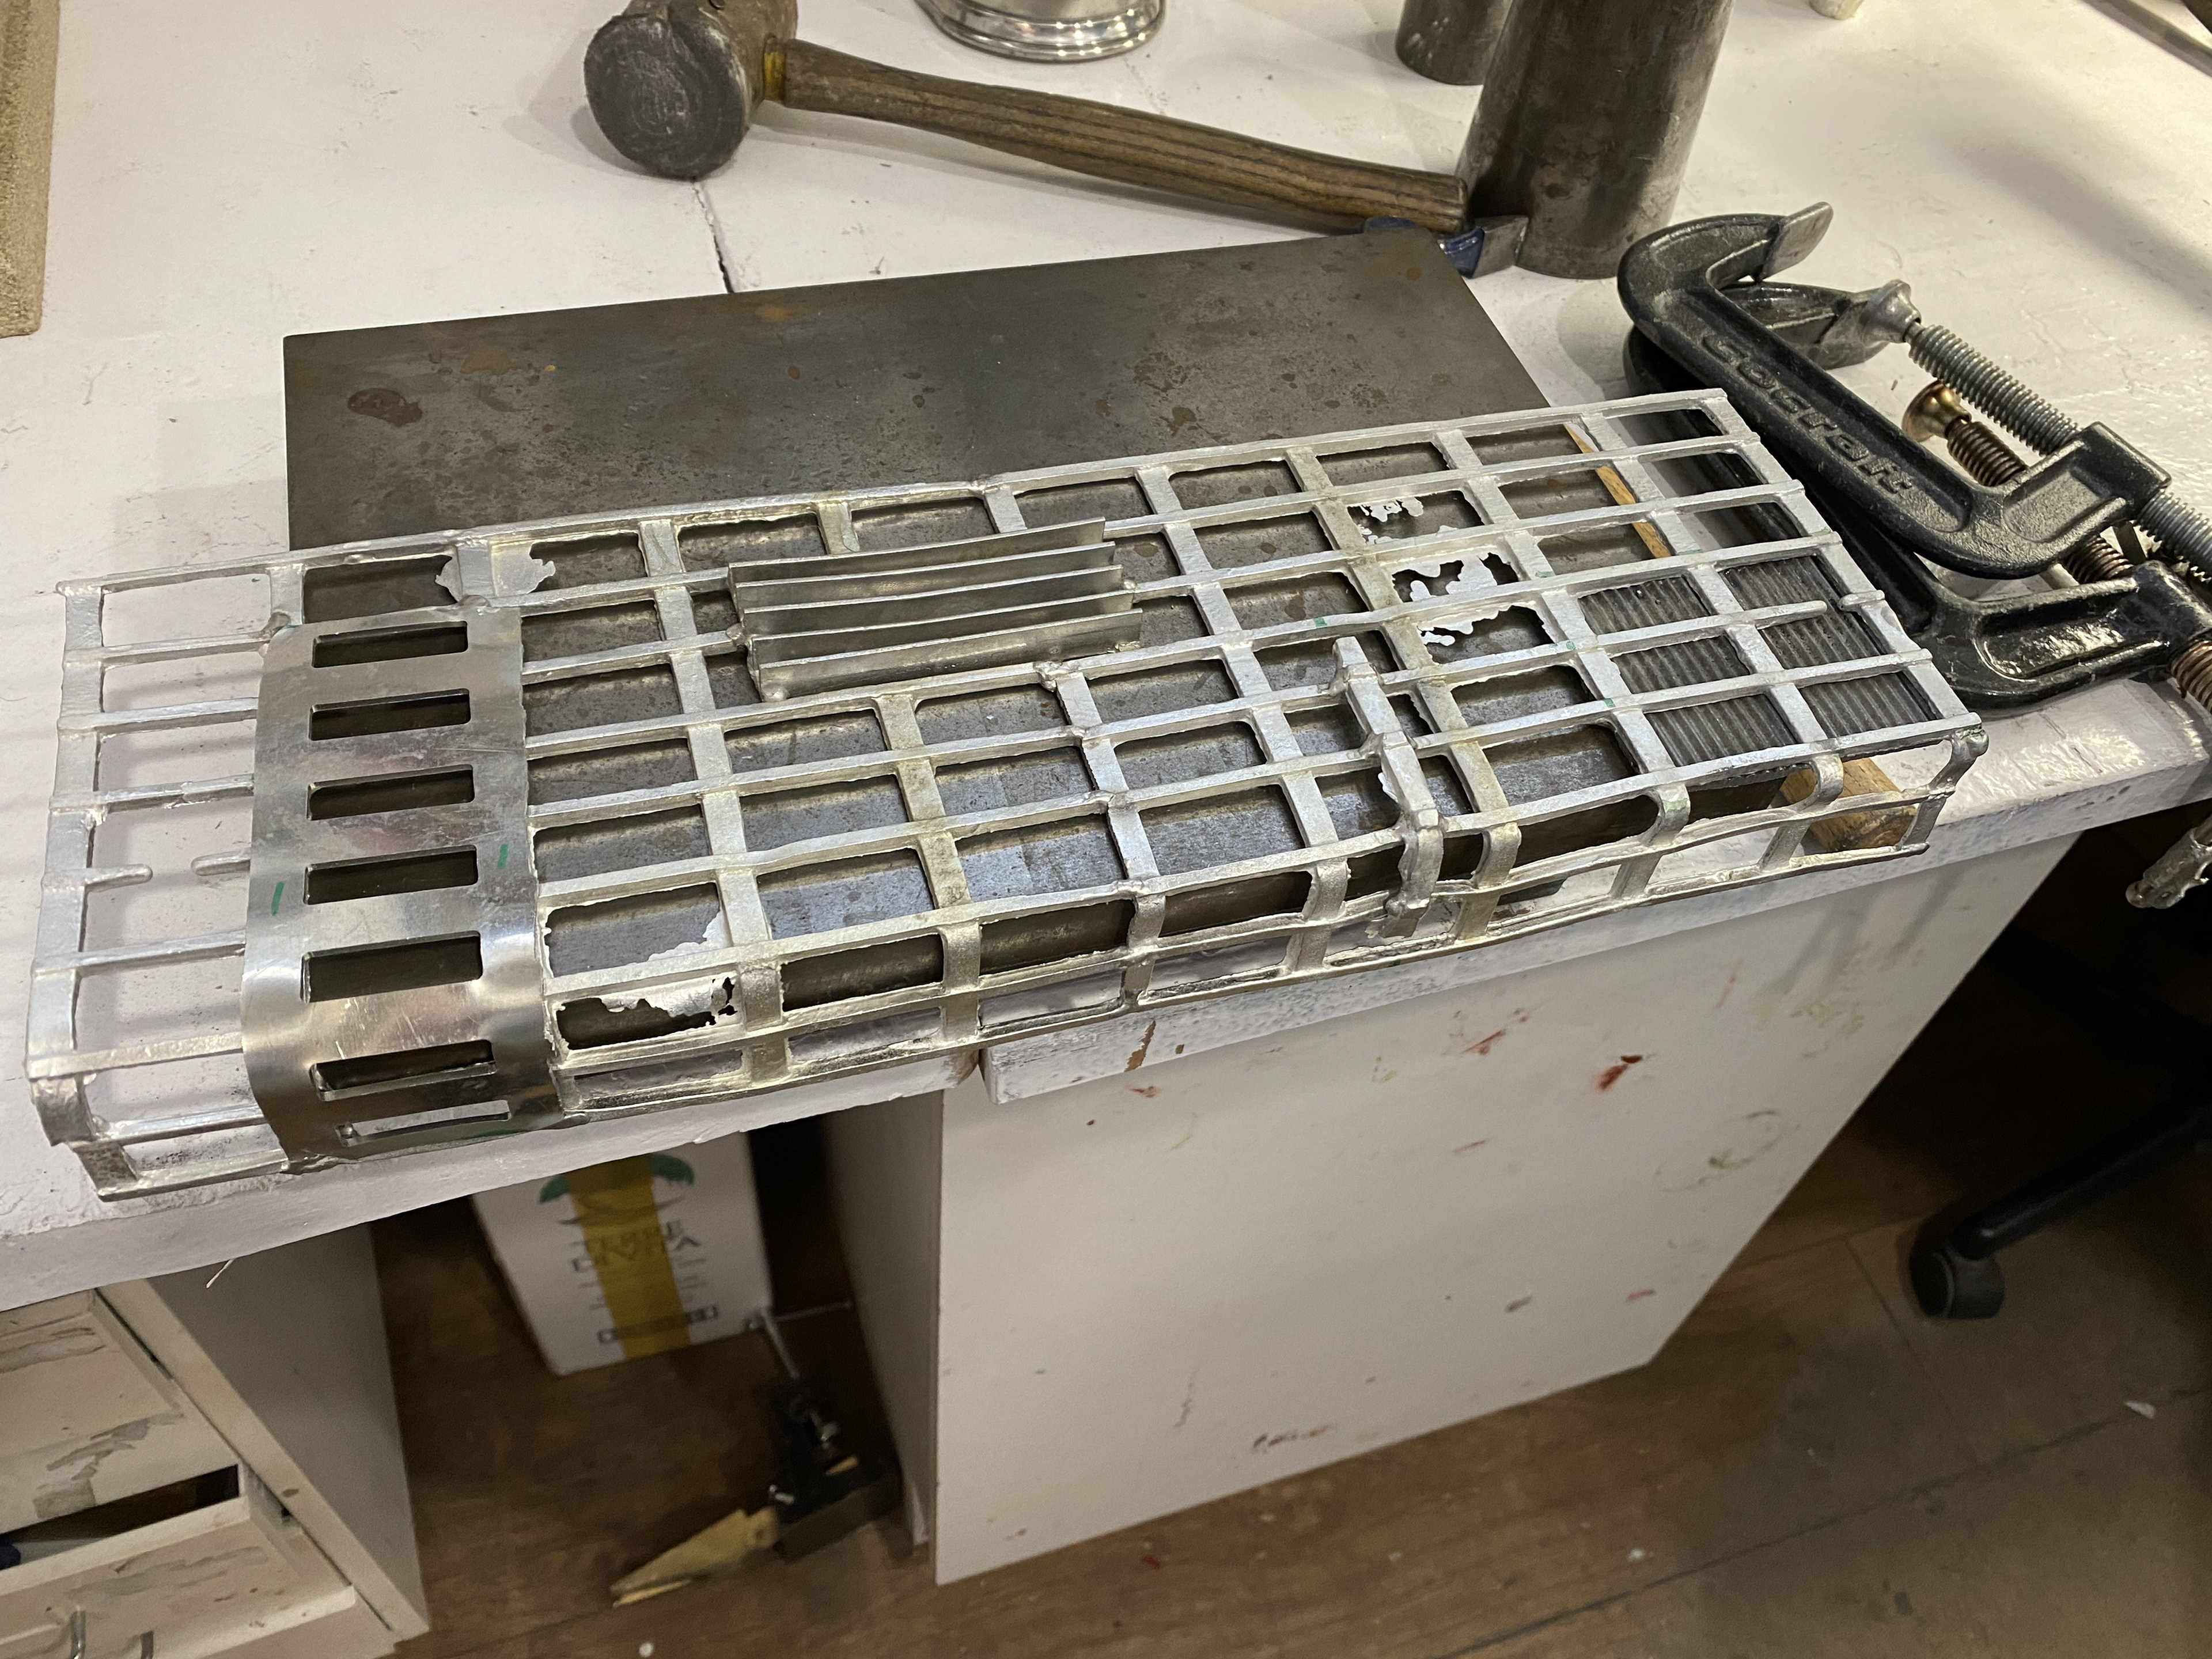
I experimented with different hammers/mallets and raising techniques to begin forming some of the casts.
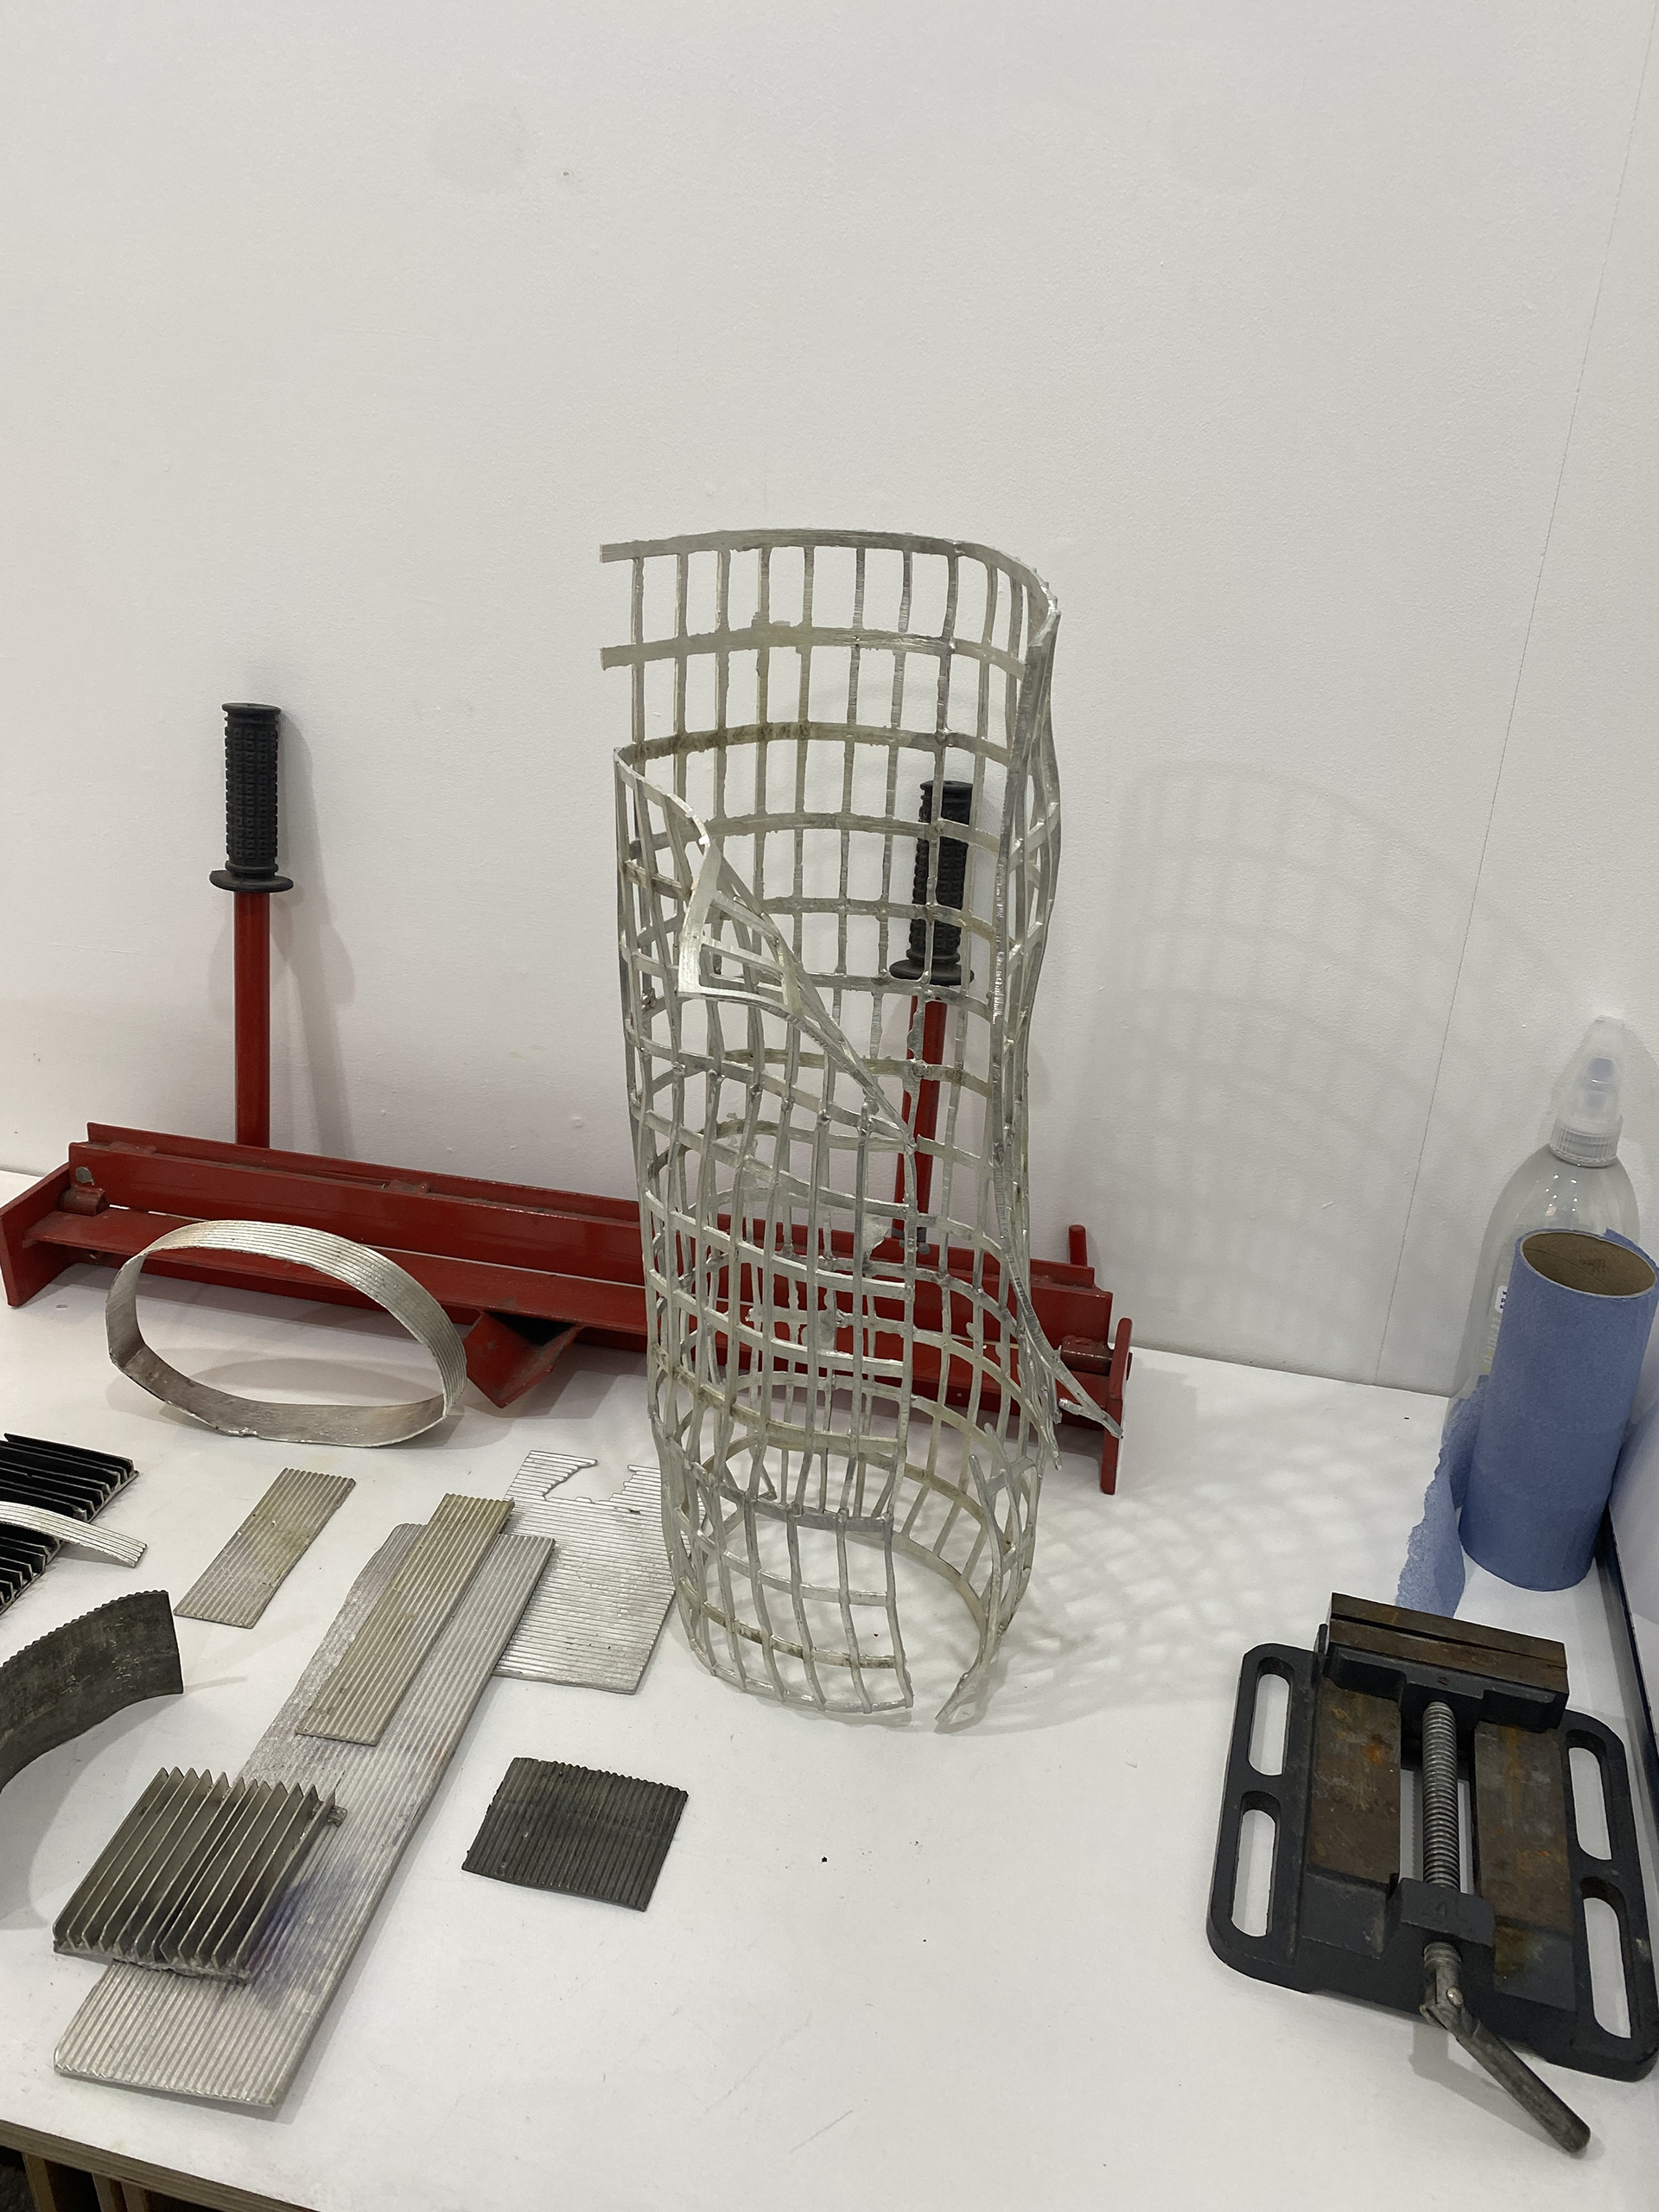

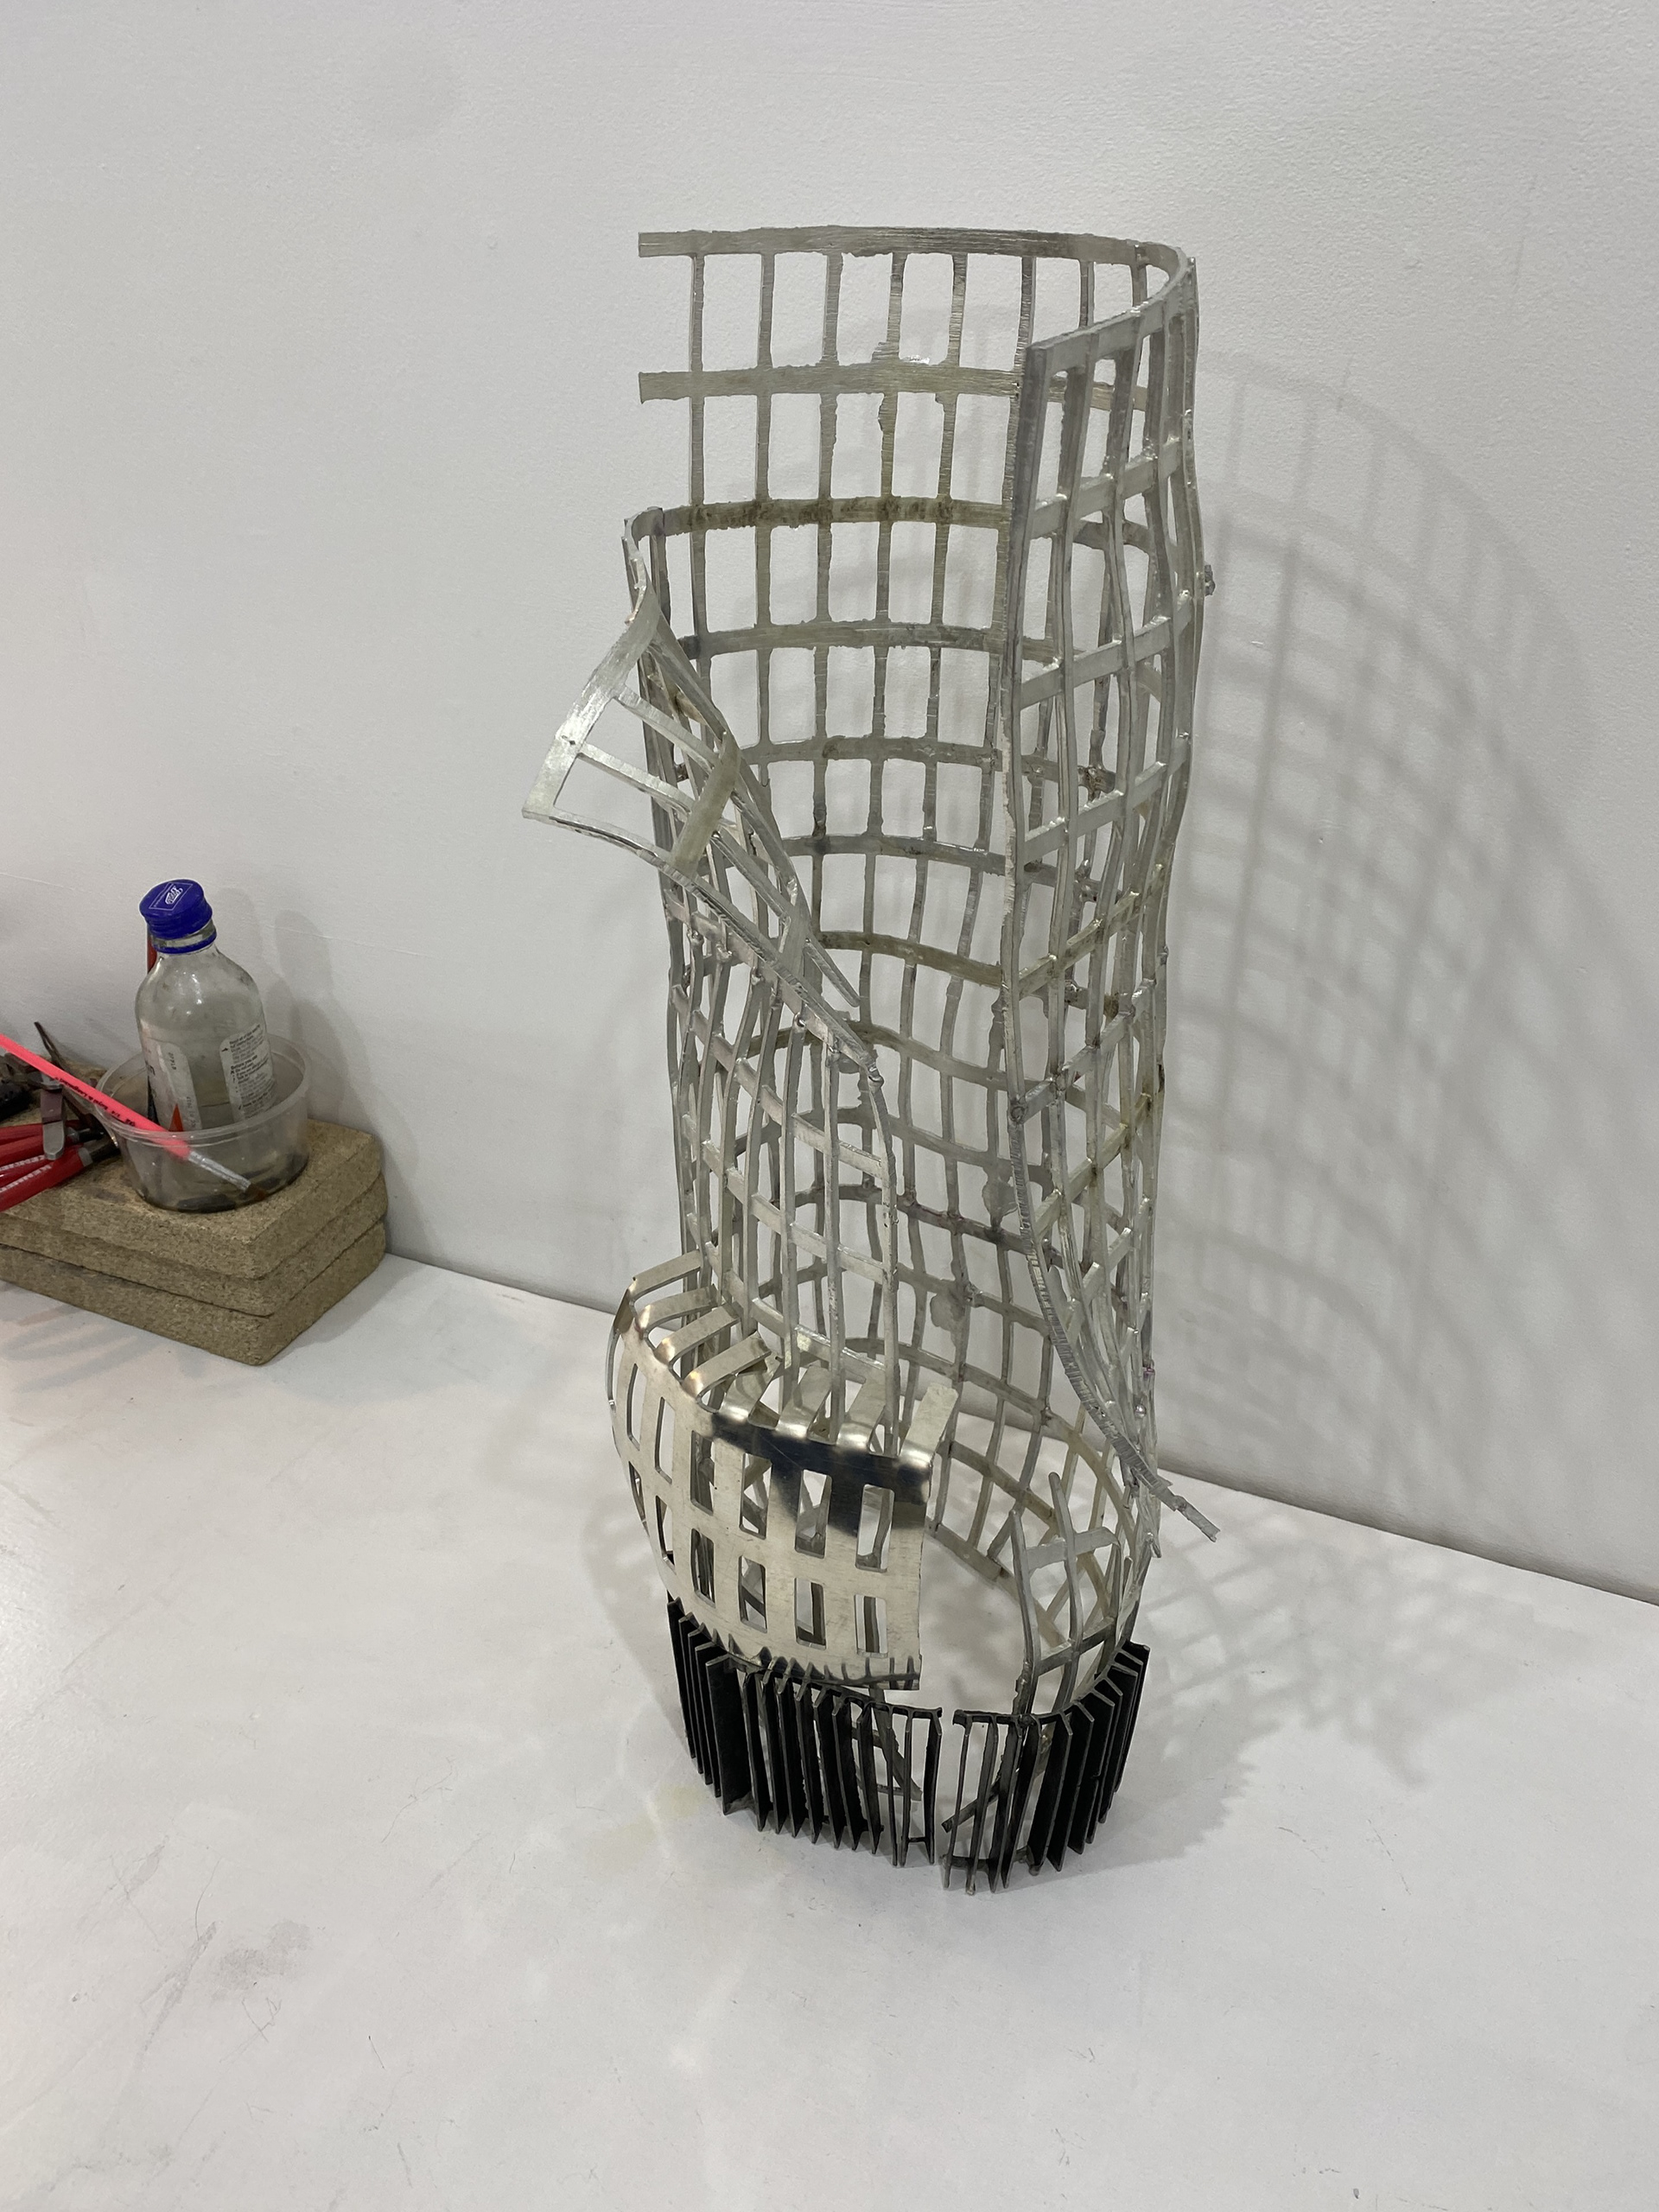
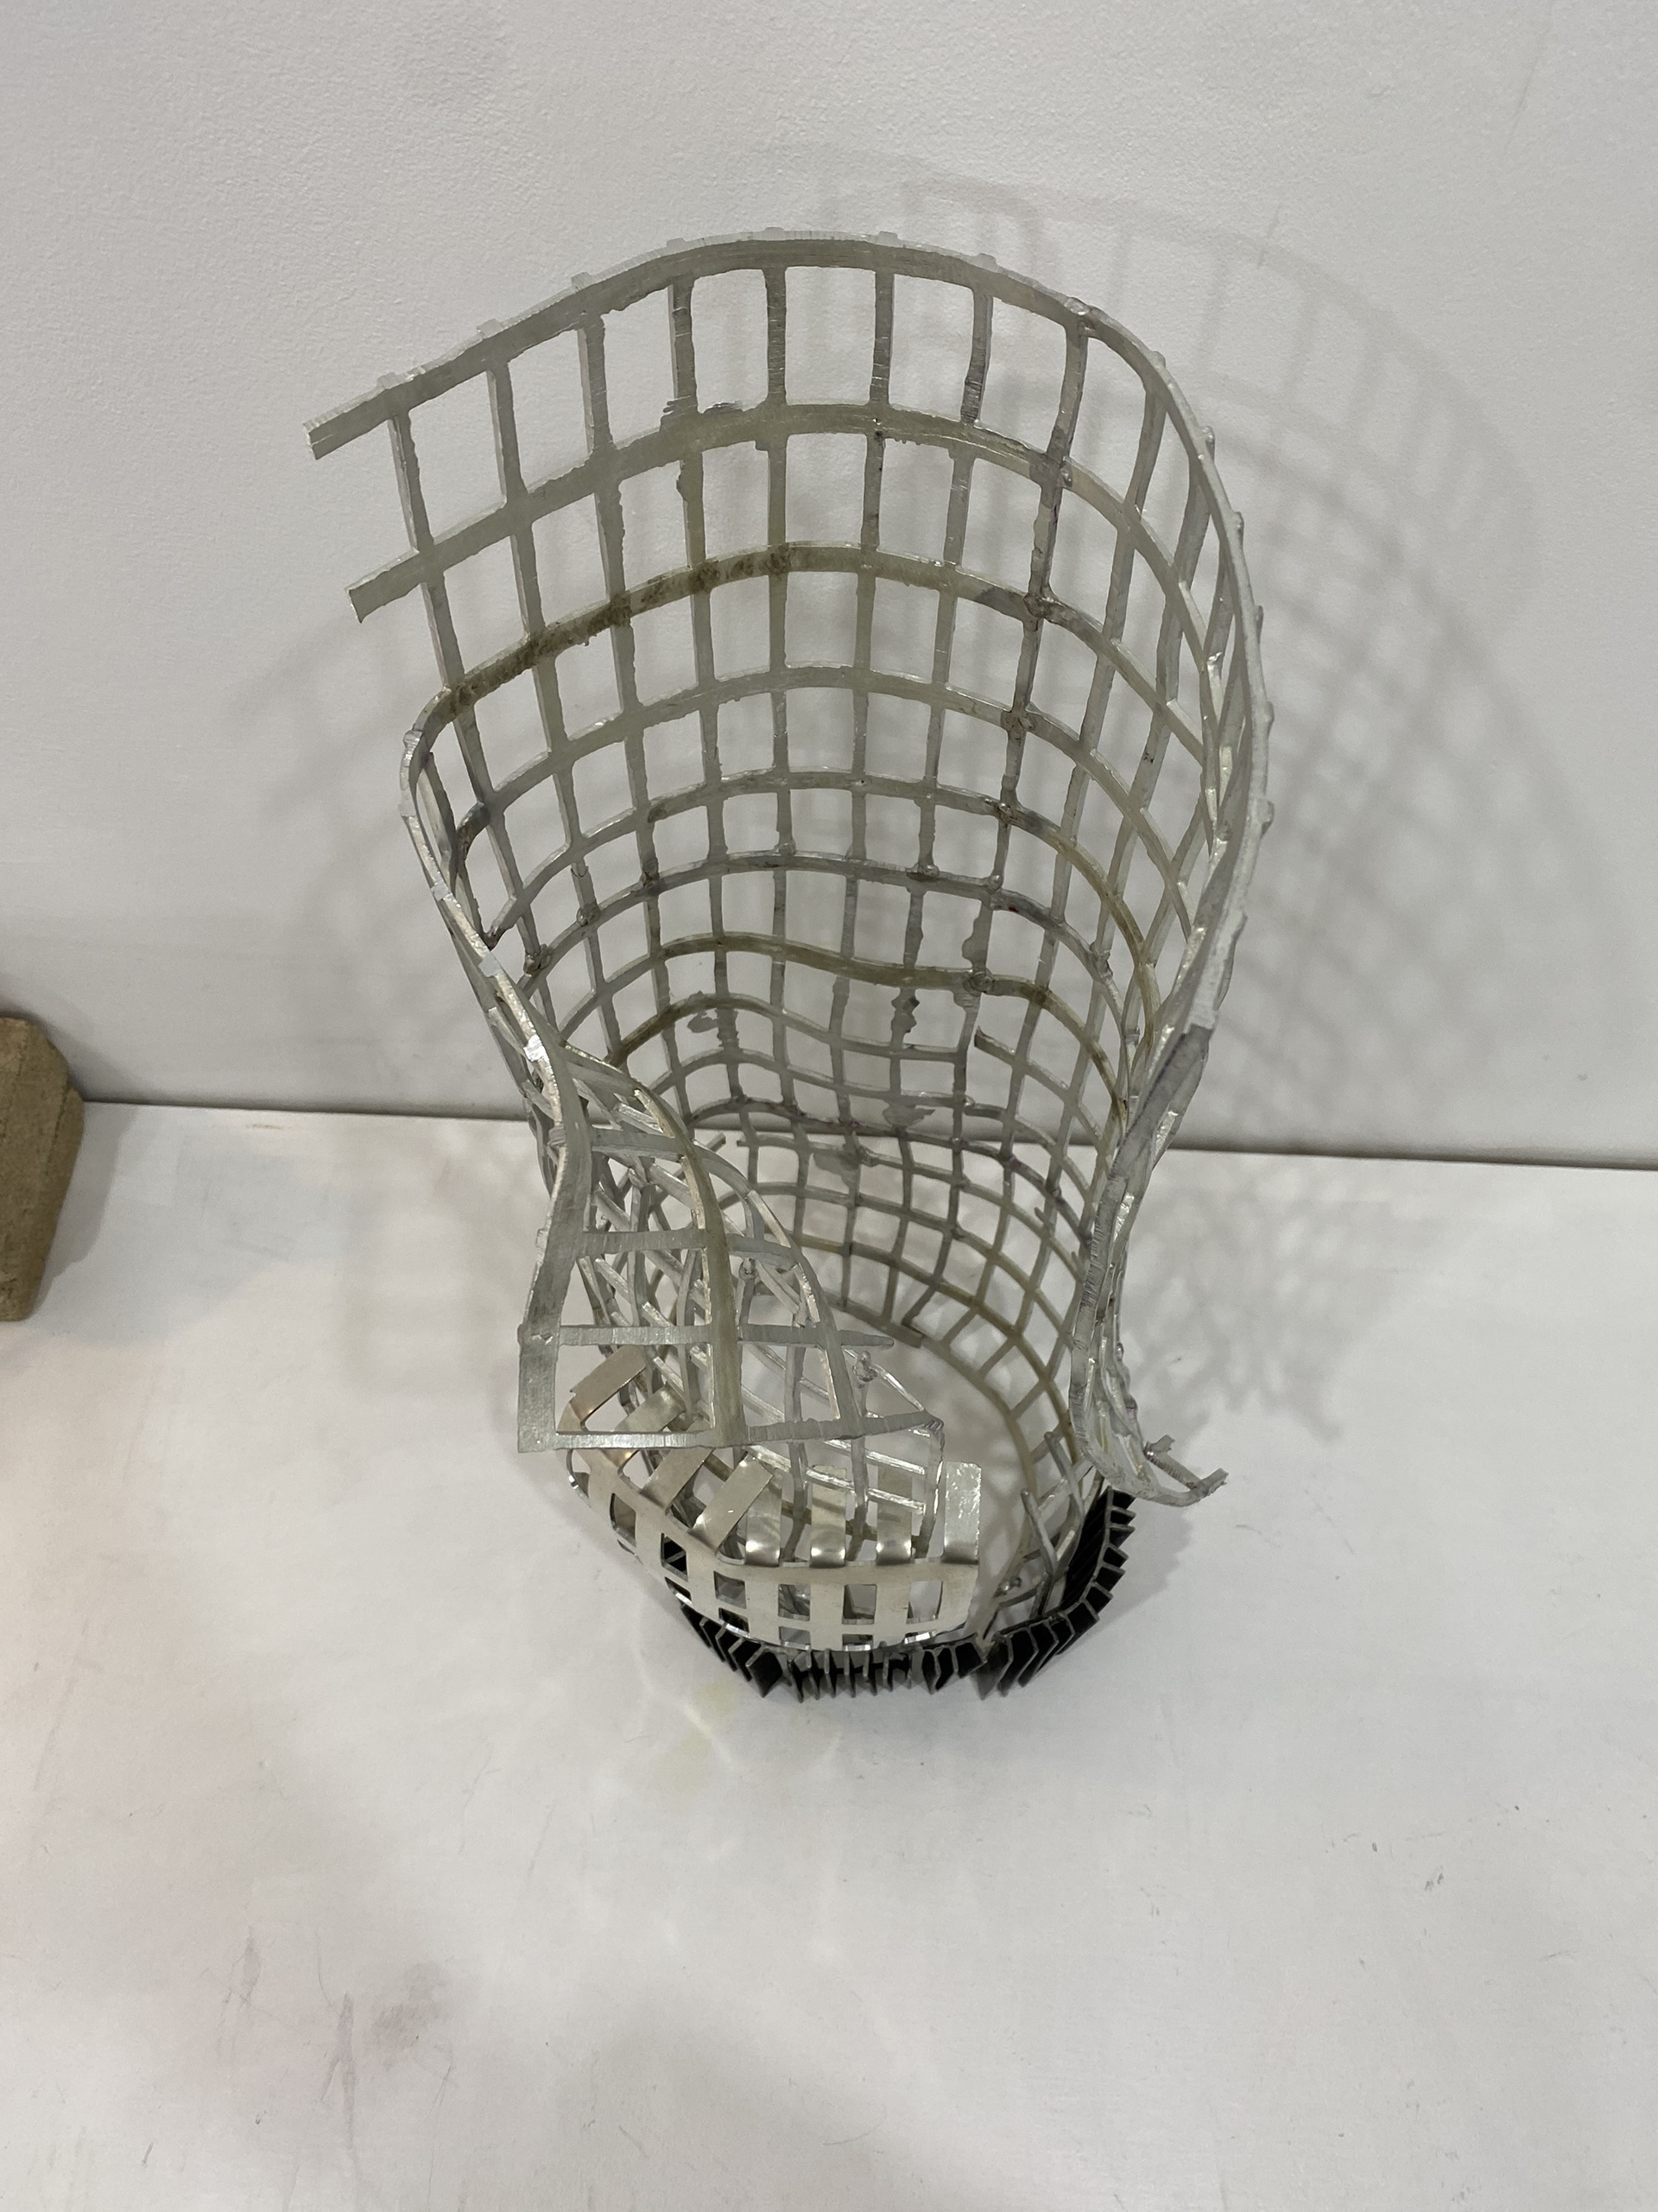
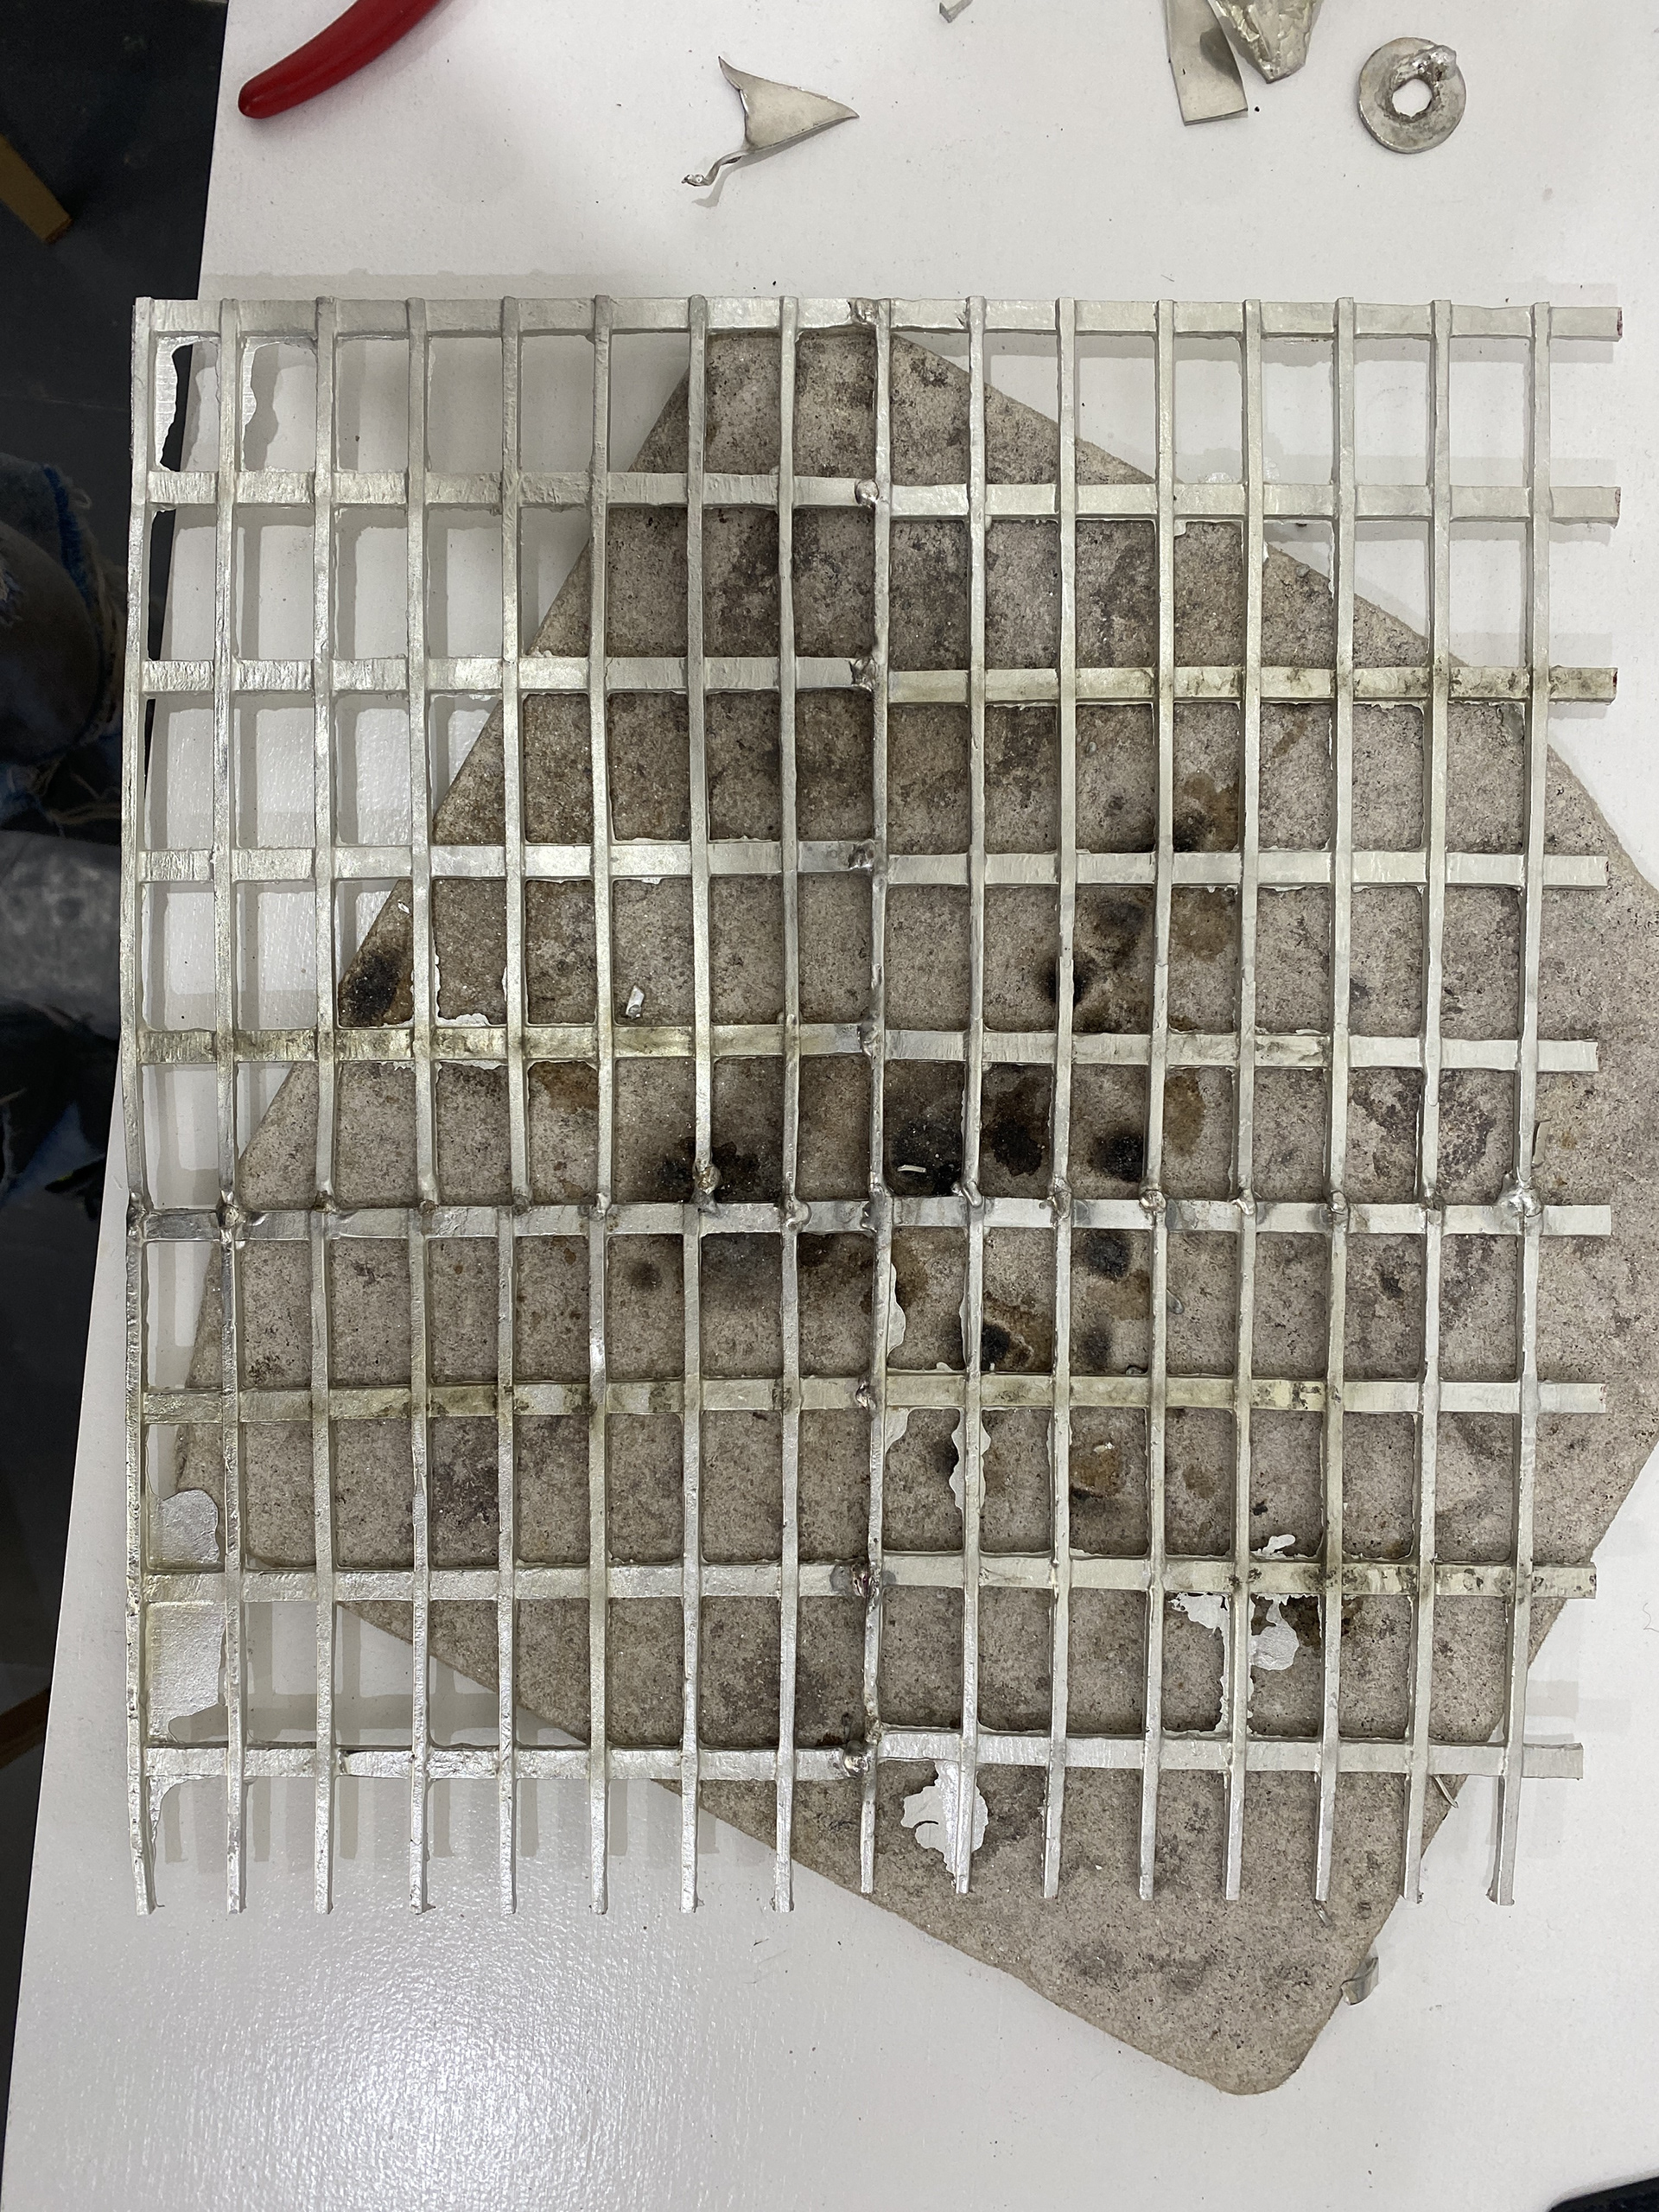
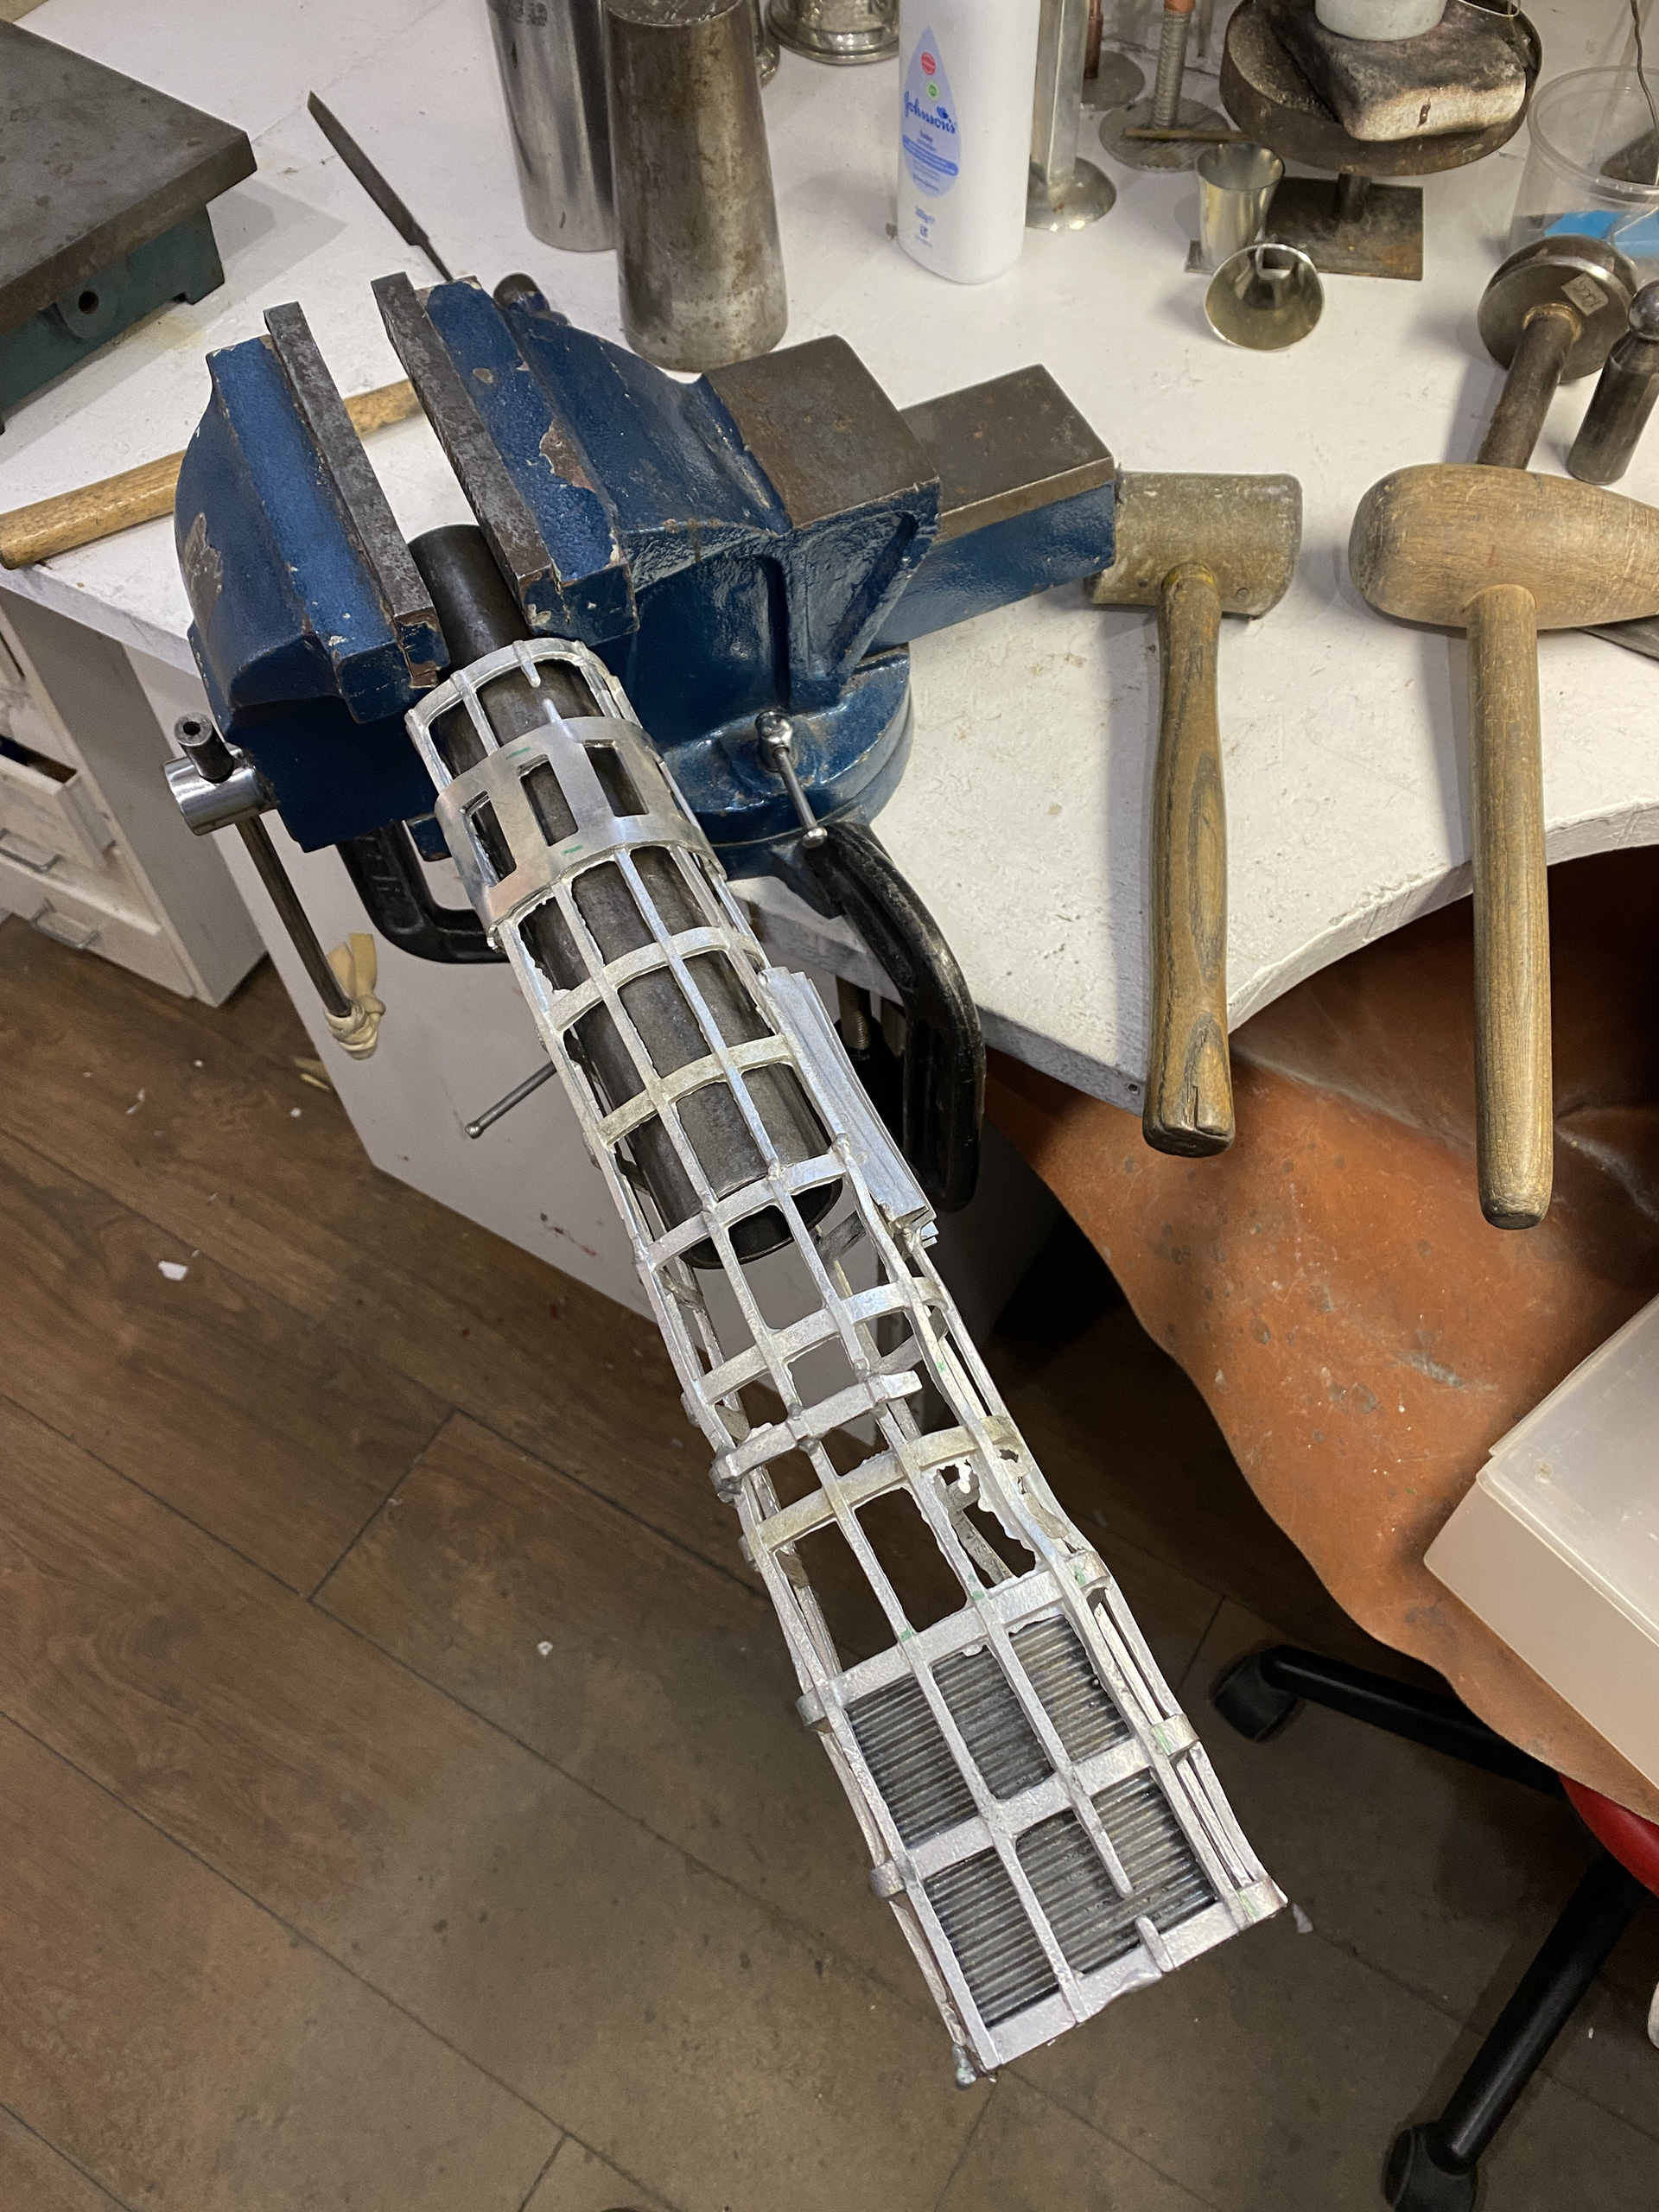
Ella and I worked together to bend and mould the large grid into a complex cylinder. She had never created curves using joined grids before, so we spent a while testing the strength and limitations of the structure. We found that the weak points were at the casting flaws rather than welding seams, which we fixed where appropriate. Finally, we began introducing additional details and textures.
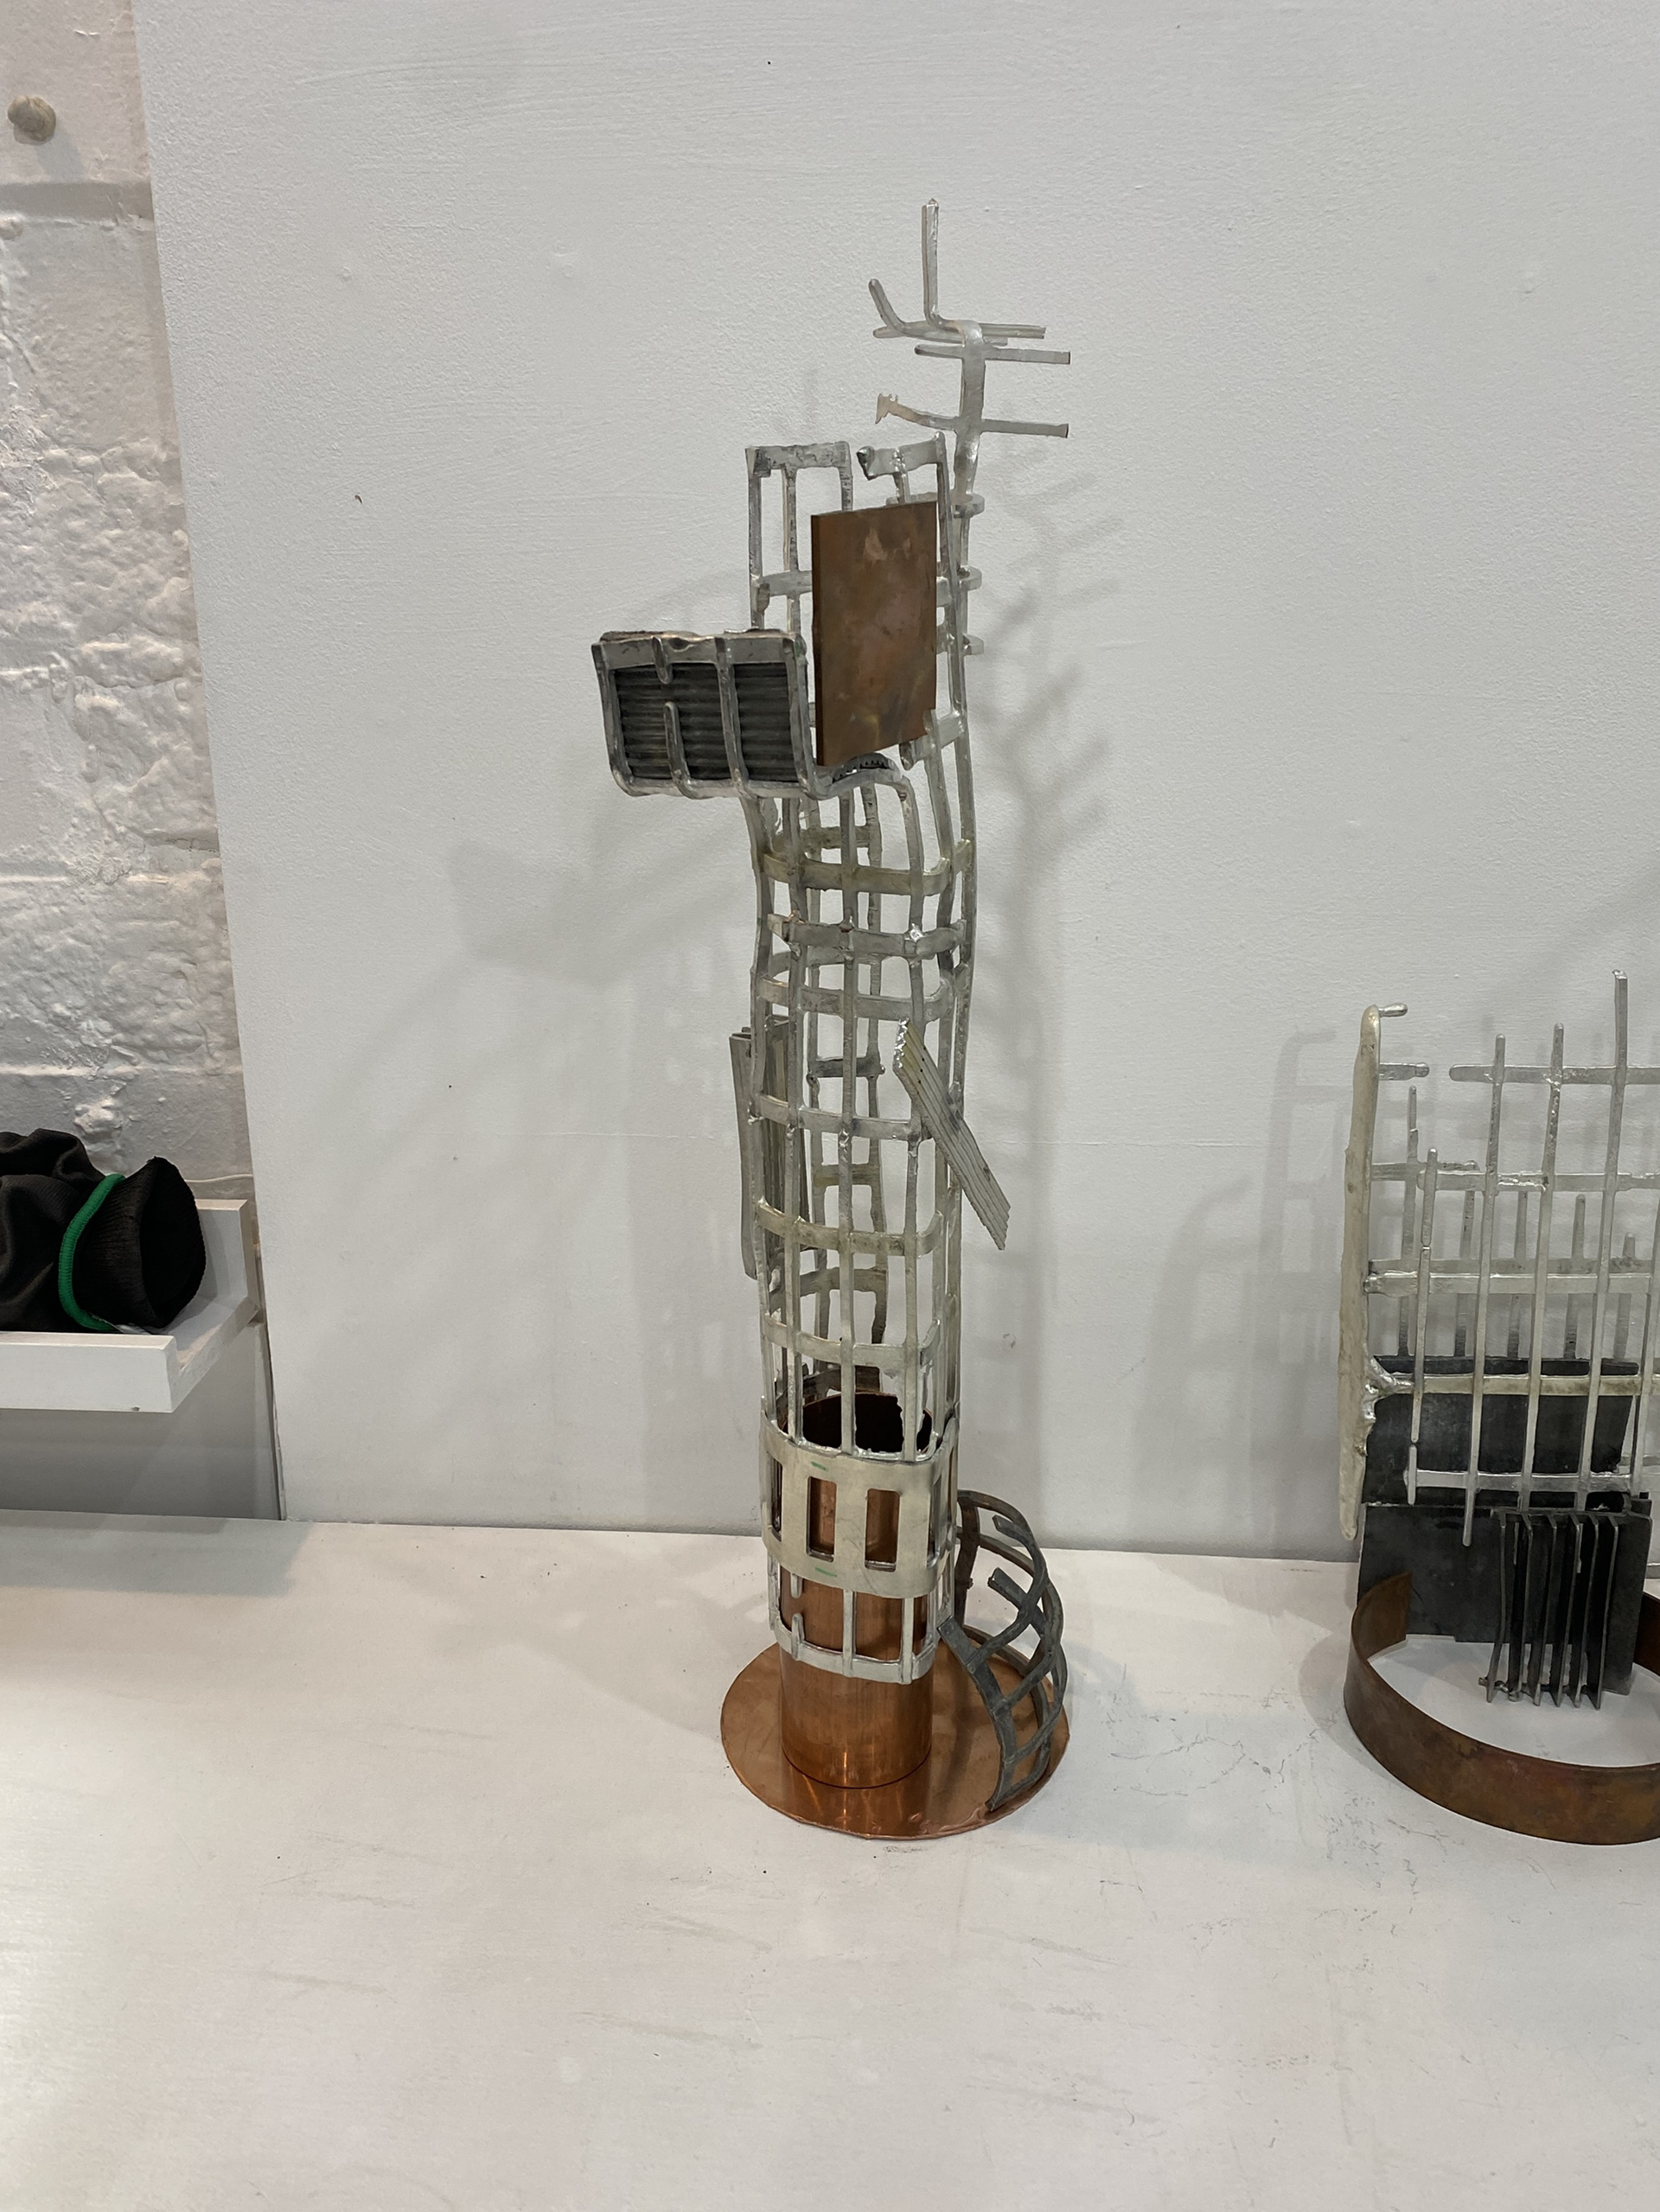
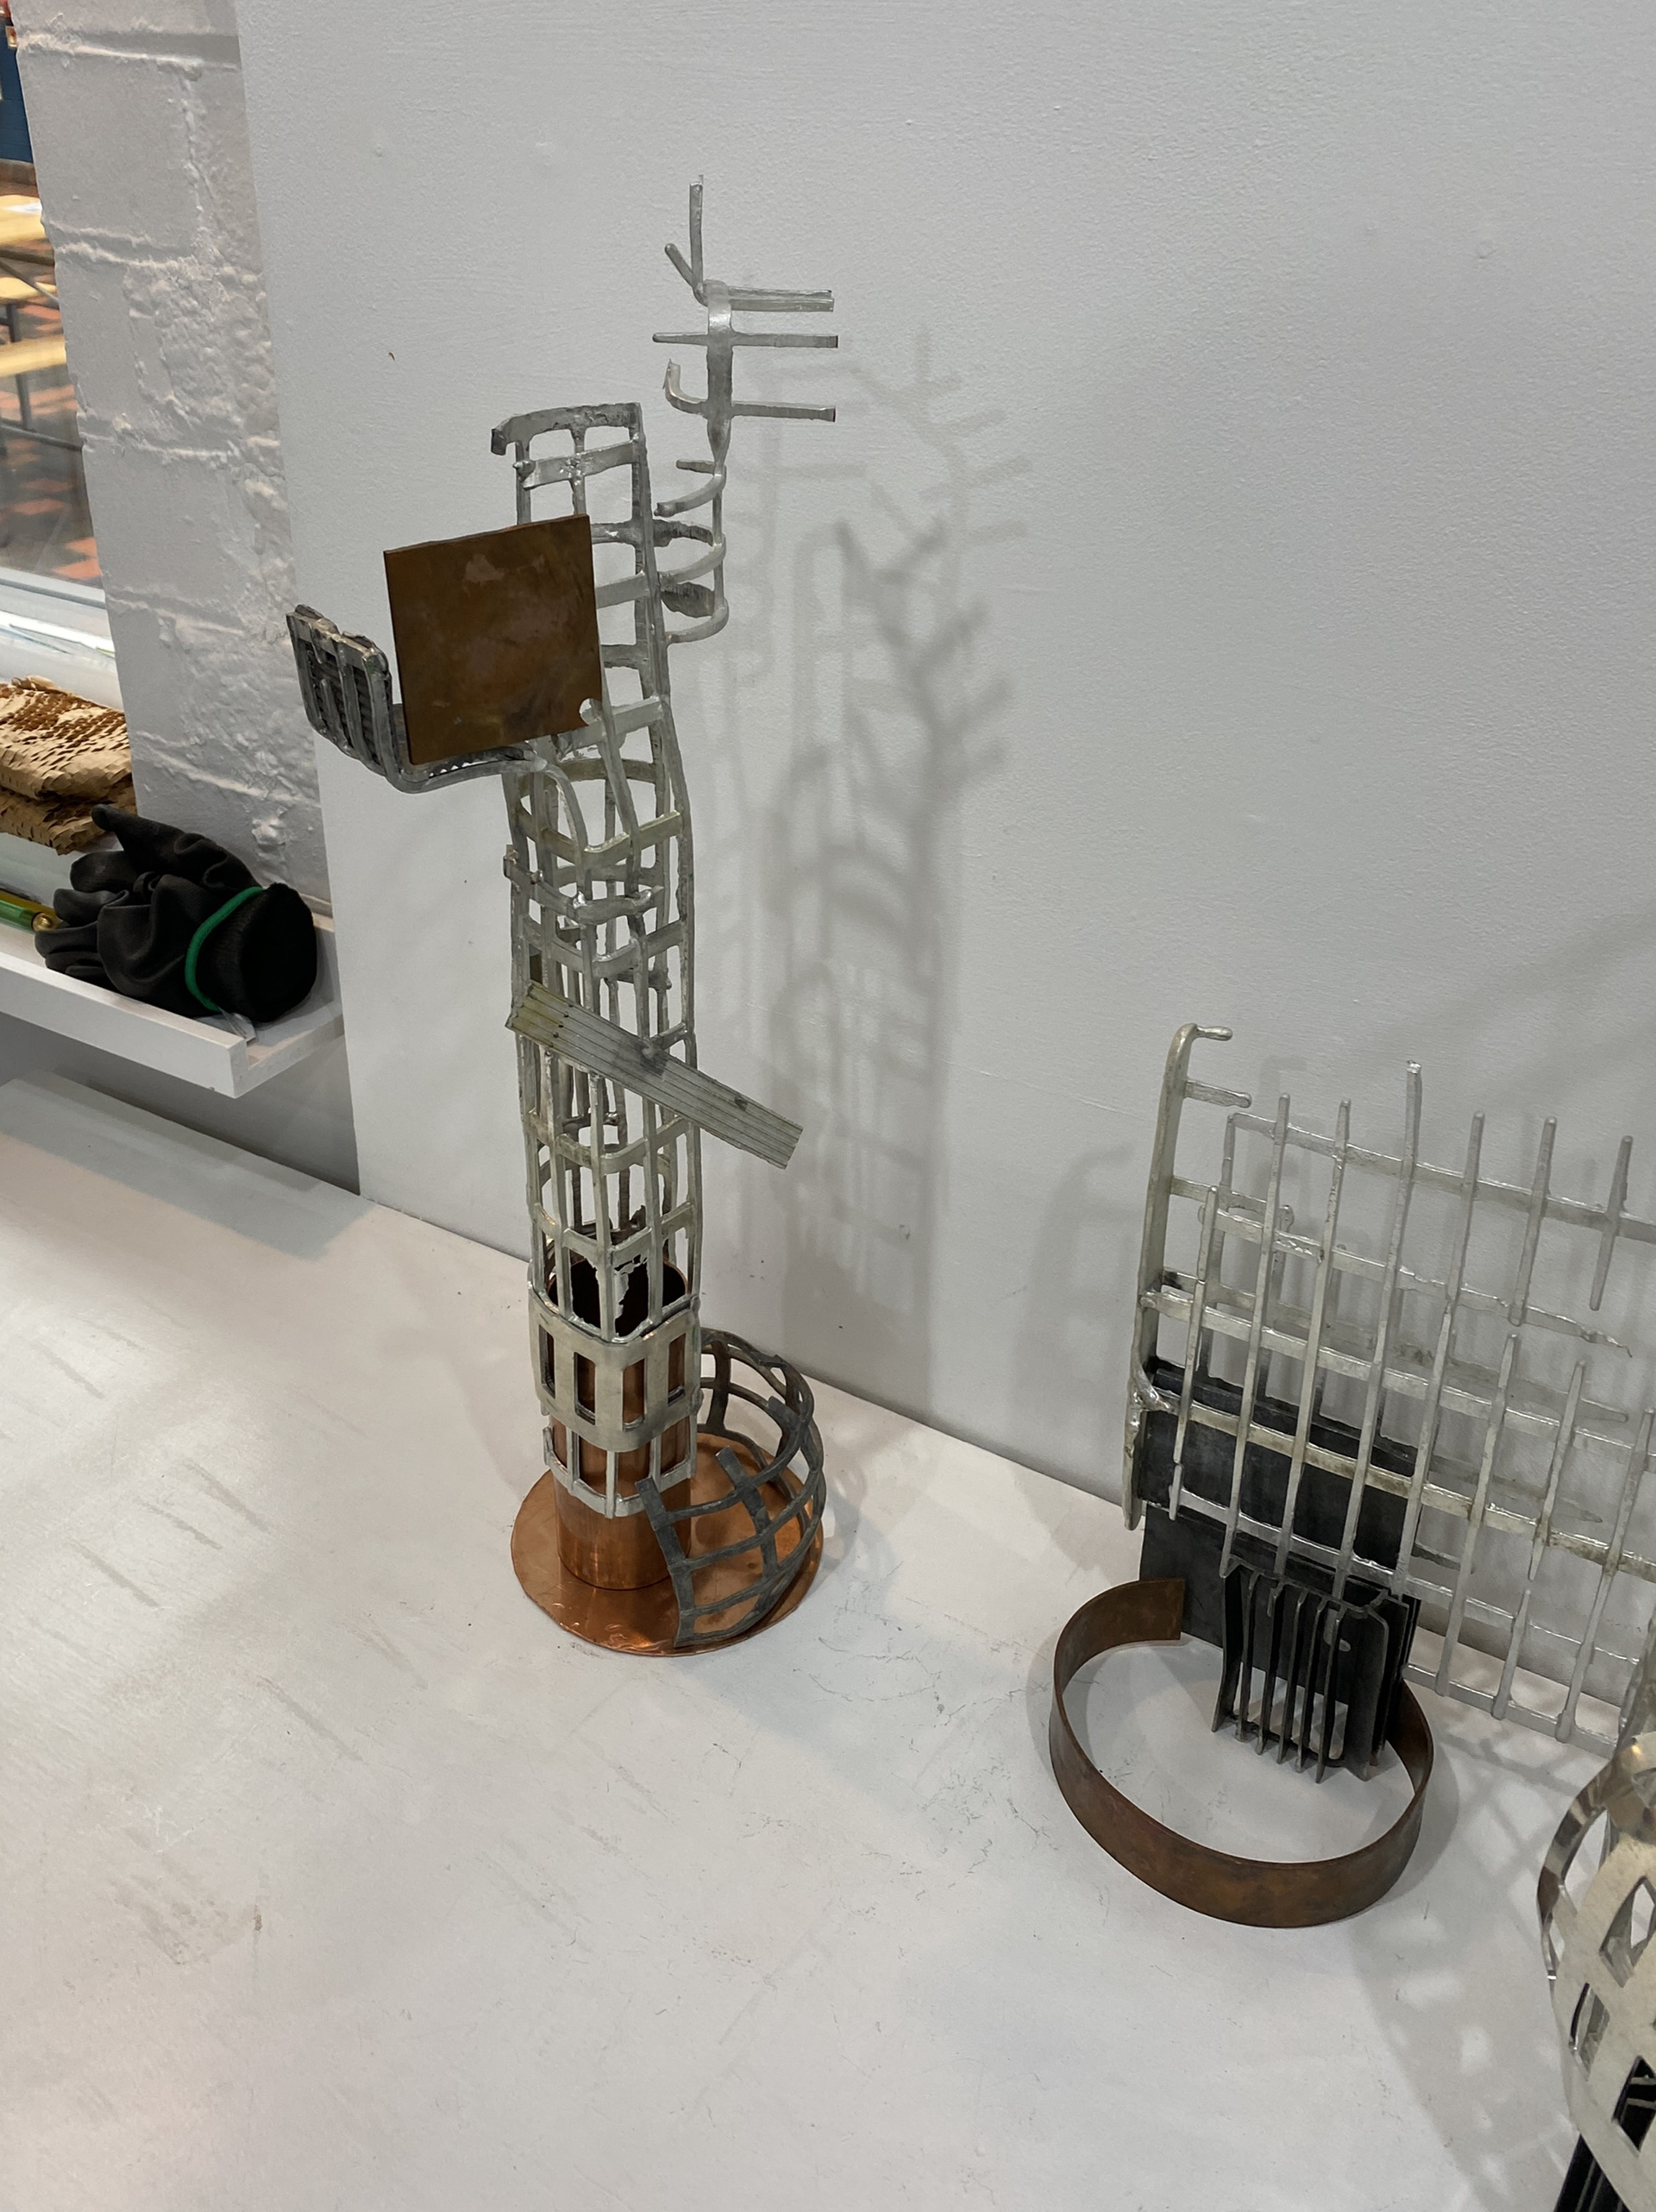
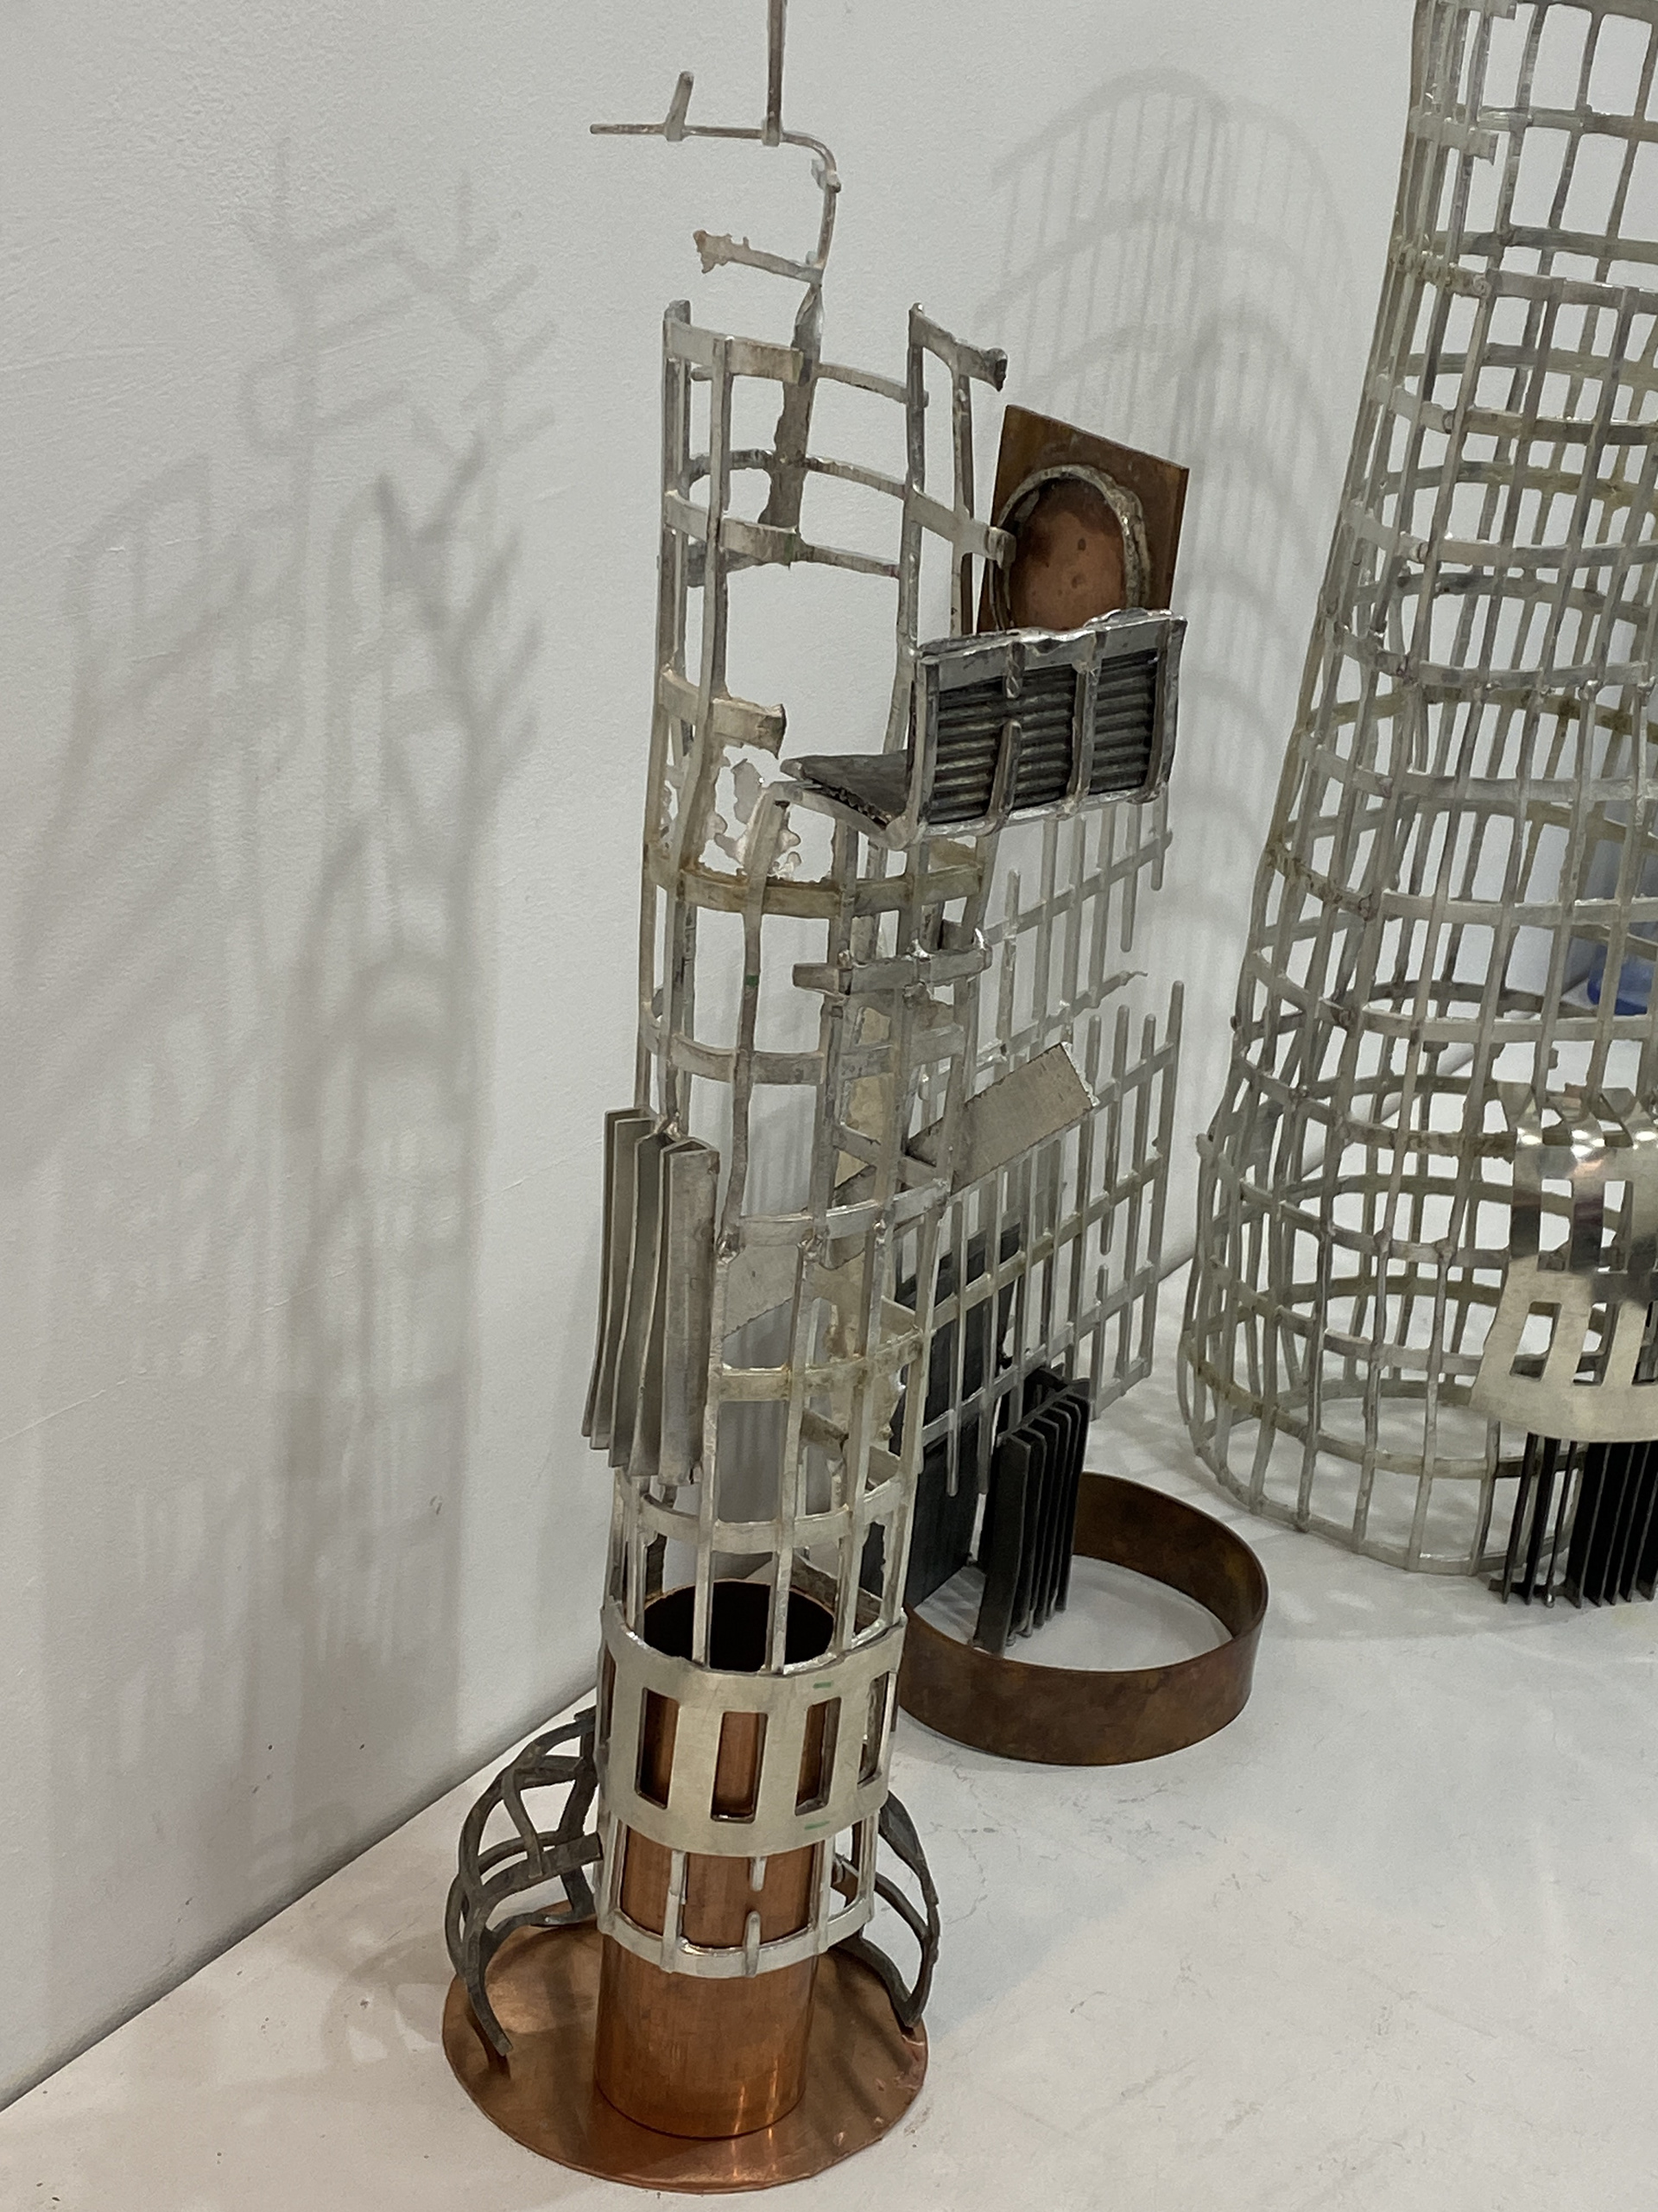
Having had success with the large sheet we tested introducing details, textures and forms into the structure before forming. I then cut and manipulated the piece and worked with Ella to create a rough composition referencing the pictures I had taken in the Northan Quarter. Additionally, we introduced copper elements to ground and compliment the structure, inspired by Ella's line of spoons.

Summer student technician job
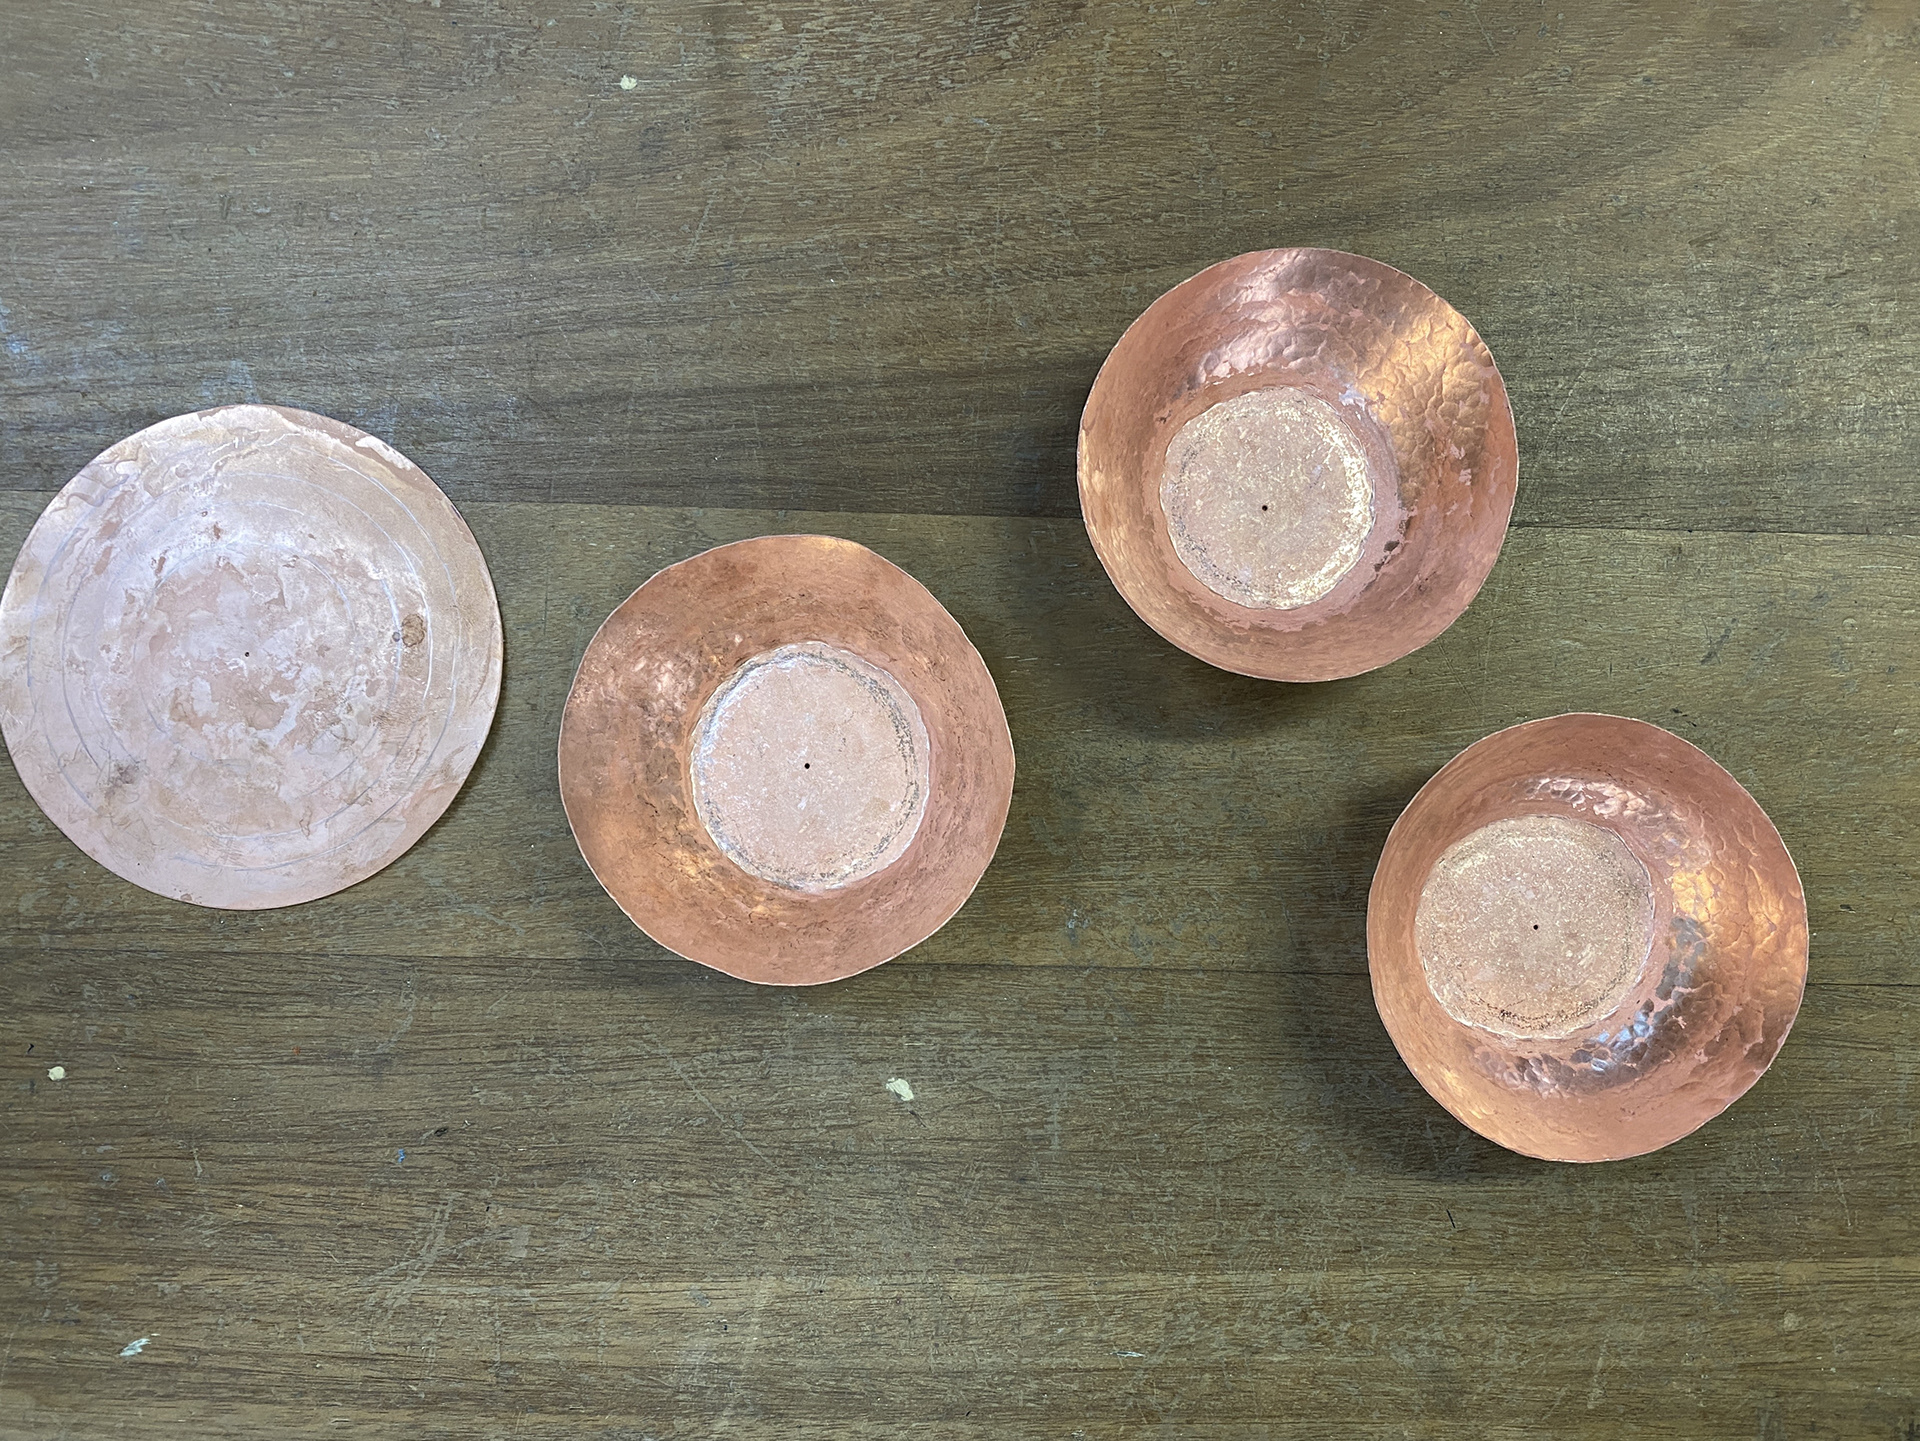
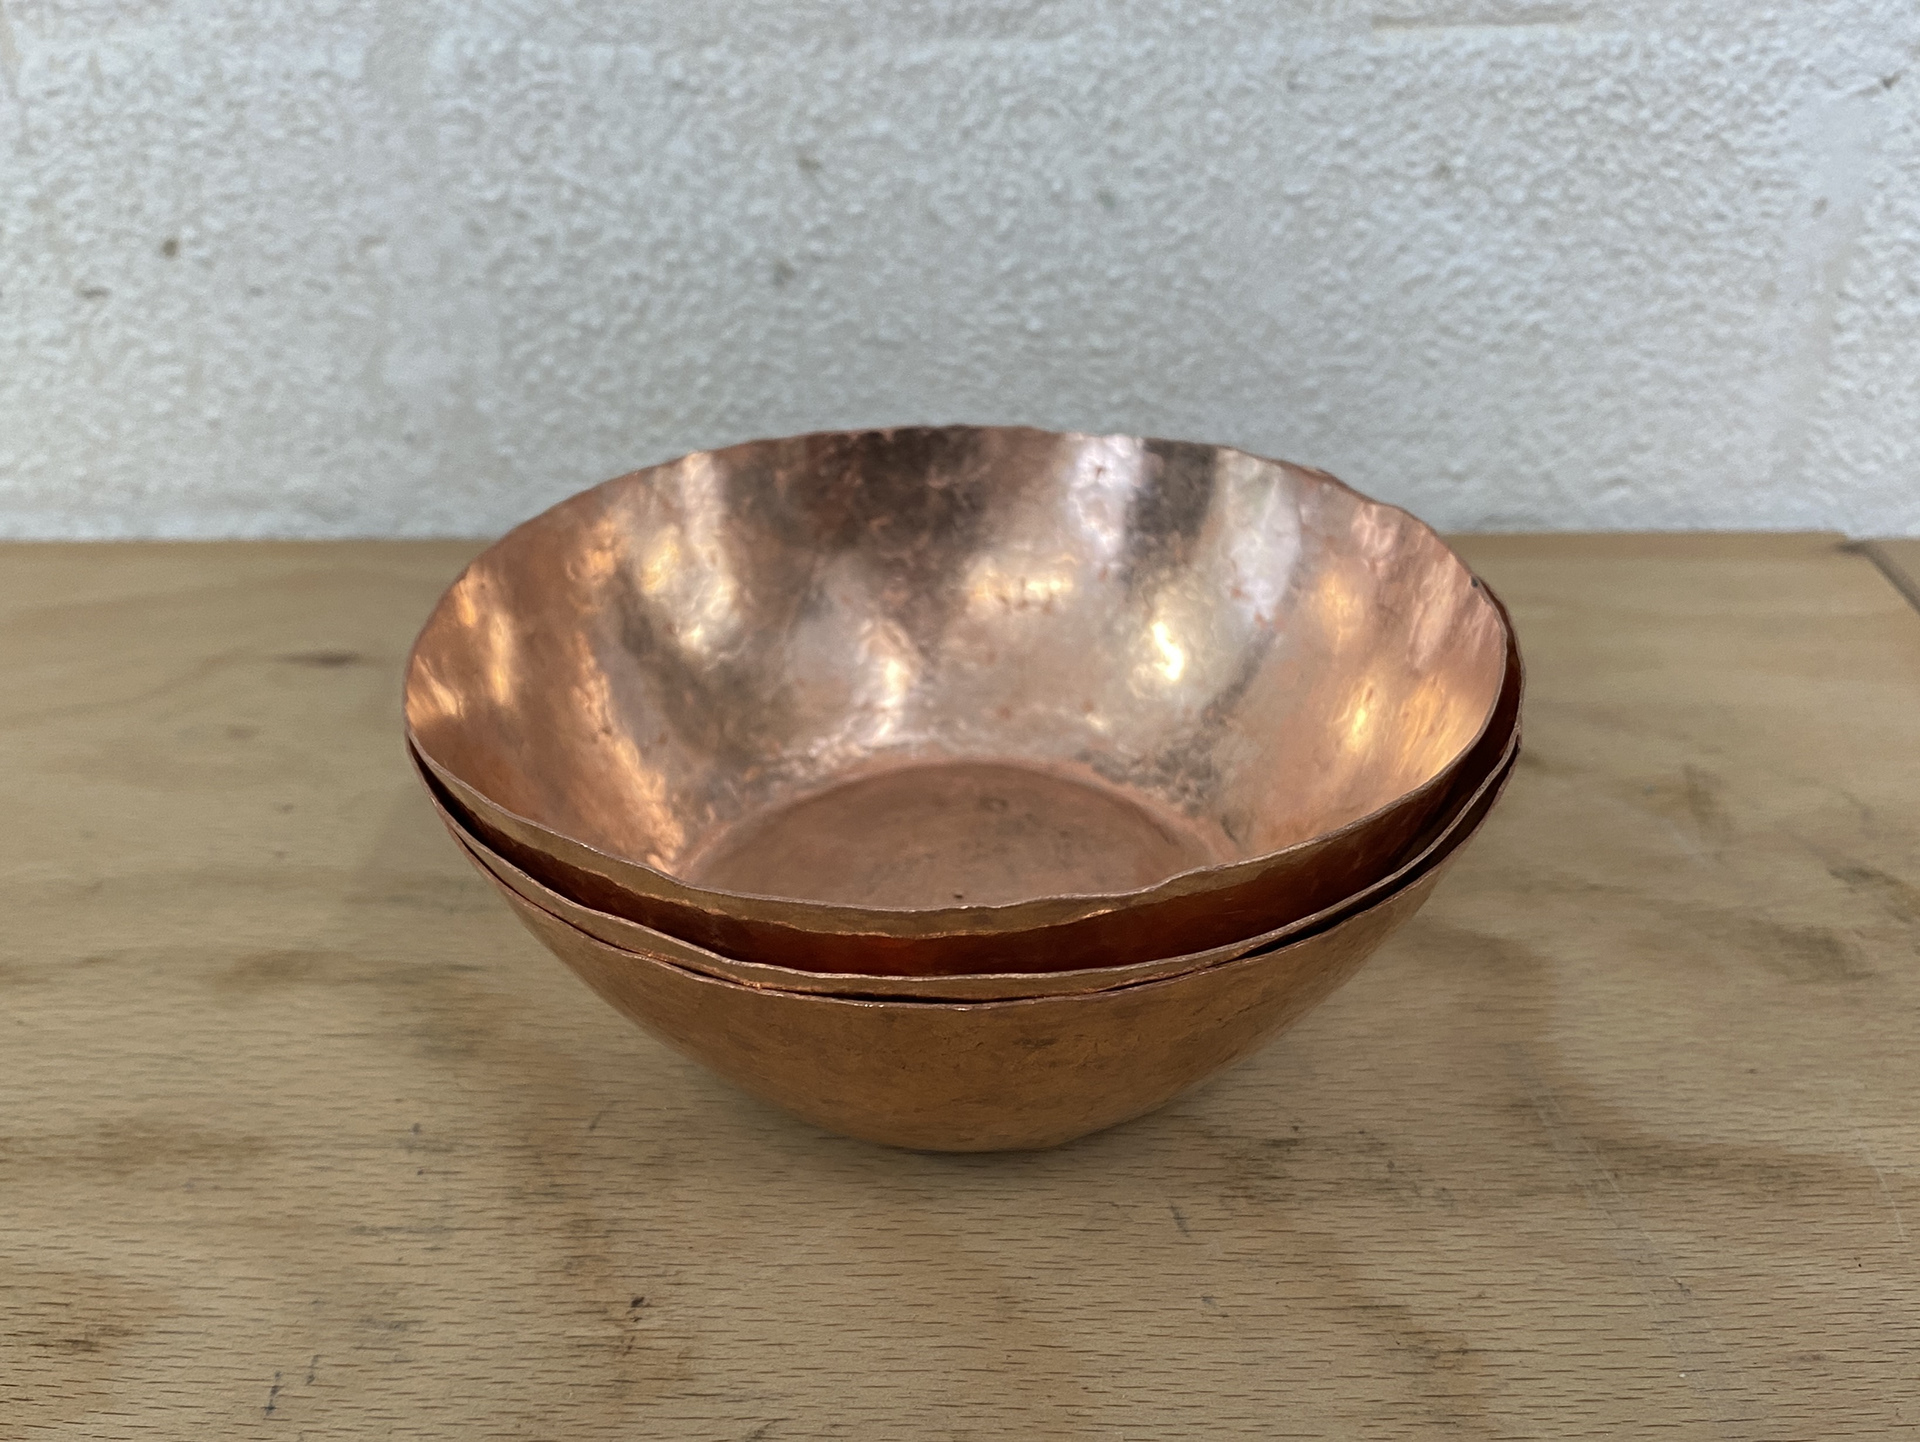
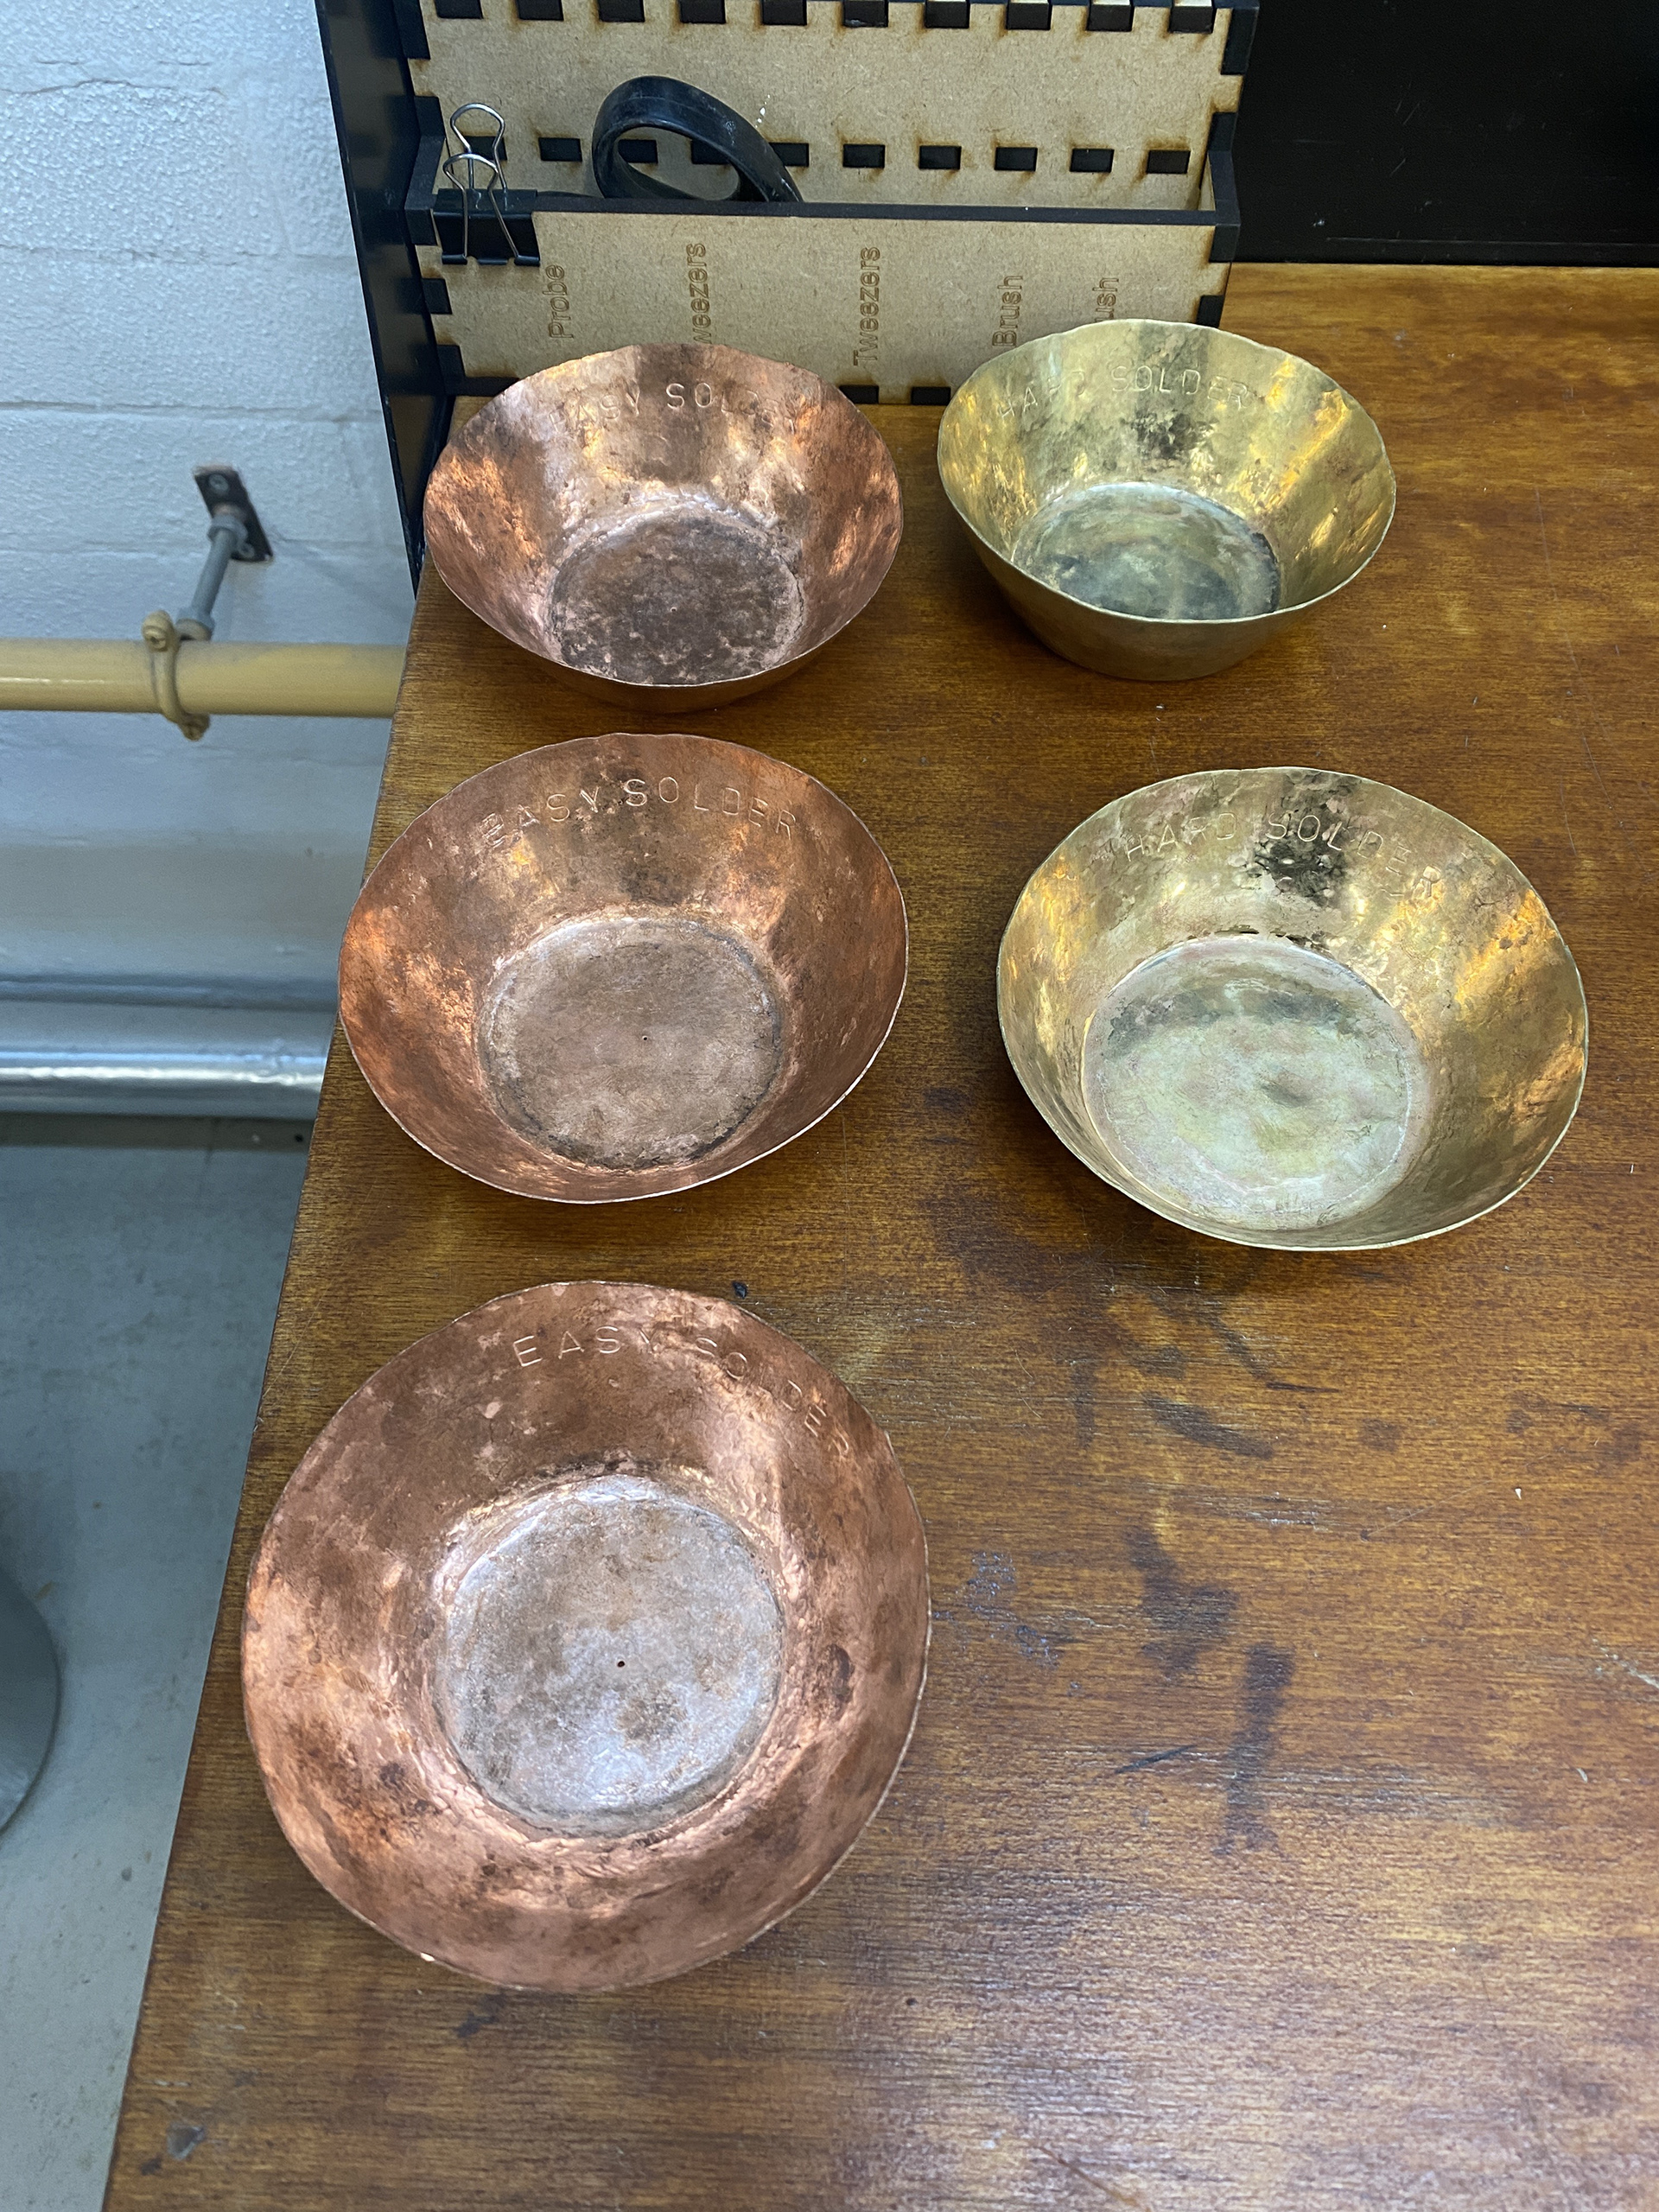
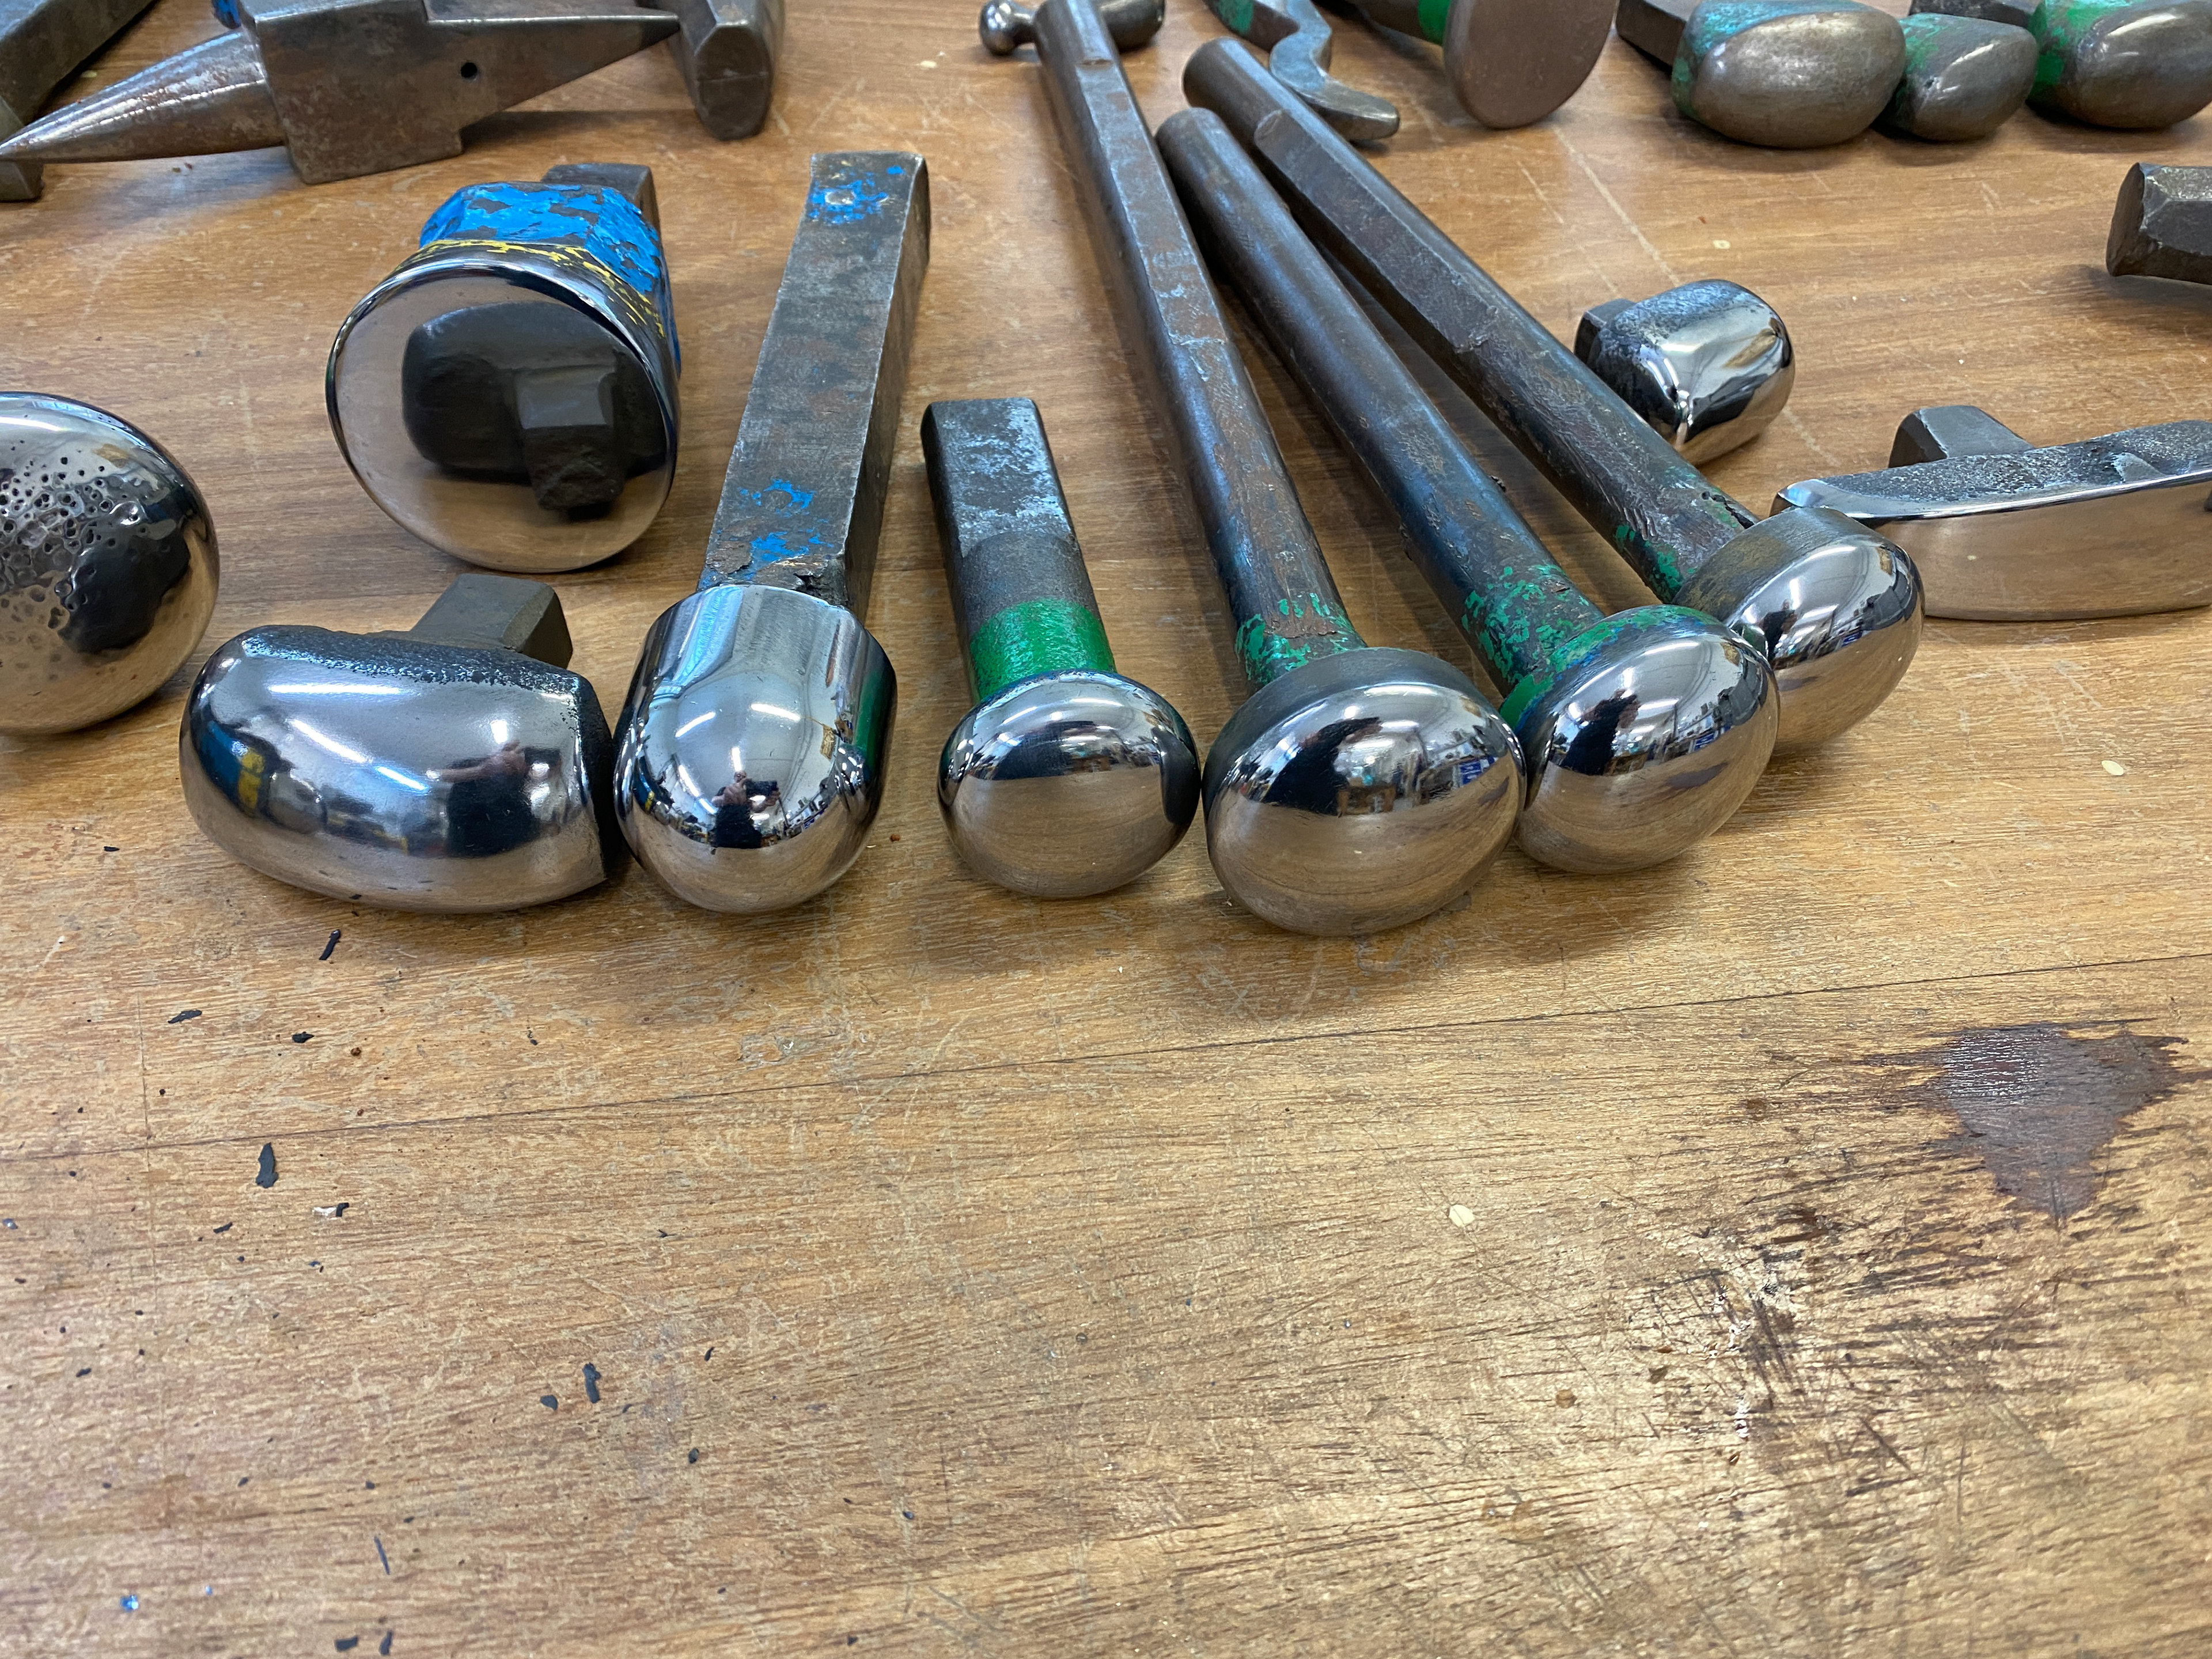
Over the summer I worked part time in the metal workshops. My main jobs were streaming and organising the different stations and equipment. The two main skills I learned were raising and resurfacing stakes. I created a series of 5 copper/brass bowls for storing spare solder pallions in. I aimed for these to be a uniform size and shape so that they could be stacked and easily stored. I also hand filed and sanded (up to 1000 grit) the old worn stakes to create a smooth surface and then learned to polish them on the buffing wheel to a mirror finish, ready to be used in the planishing process.